Elfmaze
Well-Known Member
Looks like a nice piece of kit for $1k DIY form. $1500 assembled. which in my case might be worth it... I only see one mention of it when I do a search
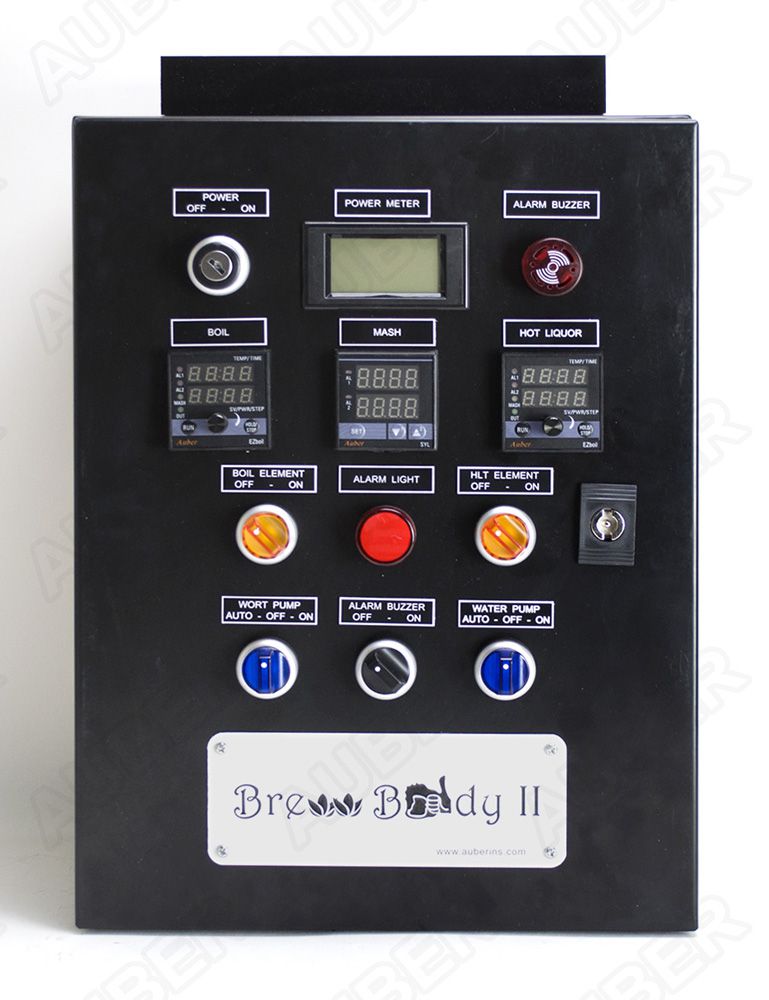

is there some Auber panel hate I don't know about? I've been out of the game for a few years.... And yes I love Kal's panels, just trying to settle on a budget i'm happy with.


I think most of the additional "elaborate" EZBoil options are wasted for me
I have one, I have had a couple issues with it. If you decide to assemble it yourself, you need to know what you're doing with electronics, and sanity check all their circuit diagrams. There was a mistake in my circuit diagrams and I was only able to diagnose it after I set the inside of my panel on fire. They replaced all the wires and internal components for free so they did help me take care of it.
Otherwise, I have had the EZboil contacts work loose and had to replace one, I have had to replace a SSR because it melted from an internal short, and I've had to replace my thermocouple cables twice because of a bad connection internally to the cables.
It has gotten a little over a full year of hard use at this point though and it's still functioning with the replacement parts. I would give it 3 1/2 stars out of 5.
If I had to do it over again, I would have shelled out for a higher quality panel that was pre-assembled. Much less hassle and higher quality parts overall.
I agree so far with my brewing as well. I find myself just manually setting the temp and power to where I need it. Possibly after some time and getting all the parameters tuned out I will become more comfortable with the automation.

Funny, I'm going through this right now. Their schematics are a bit off from their videos, which are a bit off from their pictures lol. I contacted them and asked which I should reference, and they said the schematics as opposed to their pics and videos. If you happen to have any pictures of your finished panel, feel free to share!


I do the same thing:
Probe 1: HLT water out
Probe 2: MLT wort in (HERMS coil out)
Probe 3: MLT wort out (HERMS coil in)
Probe 4: BK (directly in kettle)


![Craft A Brew - Safale BE-256 Yeast - Fermentis - Belgian Ale Dry Yeast - For Belgian & Strong Ales - Ingredients for Home Brewing - Beer Making Supplies - [3 Pack]](https://m.media-amazon.com/images/I/51bcKEwQmWL._SL500_.jpg)


