Lucky_Chicken
Well-Known Member
let me know how that hot glue holds up... I love the concept! especially since you don't have to wait for the JB to cure!

let me know how that hot glue holds up... I love the concept! especially since you don't have to wait for the JB to cure!
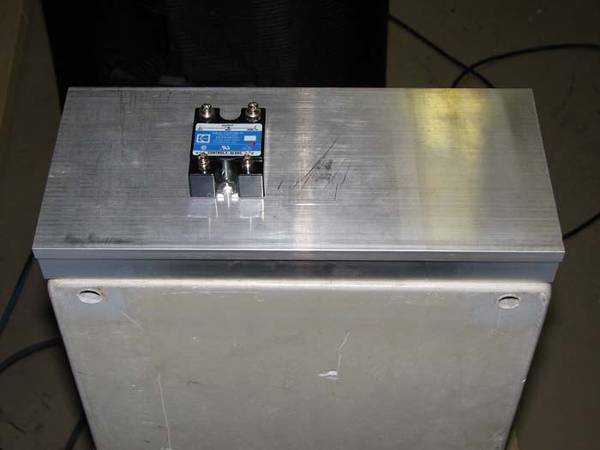
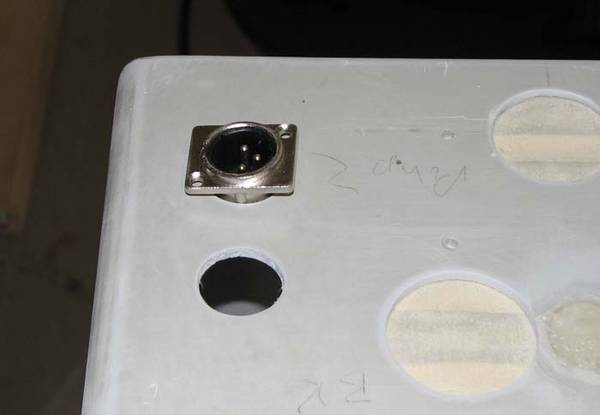
I am assuming that the green wire is your ground, but what is it attached to inside the white compartment you have made?
Edit: I went back and looked at the second picture again and noticed the shadow of the ground wire ends...So...I figure the ground wire is cut off and will be mounted directly to your pot??


![Craft A Brew - Safale S-04 Dry Yeast - Fermentis - English Ale Dry Yeast - For English and American Ales and Hard Apple Ciders - Ingredients for Home Brewing - Beer Making Supplies - [1 Pack]](https://m.media-amazon.com/images/I/41fVGNh6JfL._SL500_.jpg)


Some more progress to report. Mounted water filter and pump on brew stand. Made a dip tube for the boil kettle from some left over tubing, started soldering fittings into the HLT. Also wired together my temp probe which left me with a question. Where to put it? Here is my problem. I am using a PWM for my boil kettle that has a dial thermometer in it. No temp probe for the boil at all. I have one PID that I will use to control the element in the HLT. For strike water I would want to monitor the temp in the HLT, but for mashing I want to monitor the temp of the water leaving the mash tun. I have an extra probe, and can put one in each. Will I be able to switch which probe is connected to the PID depending on which step in the process I am in? Can I monitor mash temps with a thermometer and just set the HLT temp accordingly? I was also thinking of mounting the probe in a tee fitting after the QD, I guess it would be in the hoses so to speak, and it would move to the proper tank when I switched the pump configuration. Any suggestions?
Ah yes, I see I left out some information. Yes I am planning to recirc during the mash. This will be set up as a HERMs system so I assumed you recirc through the HERMs to maintain mash temps.


