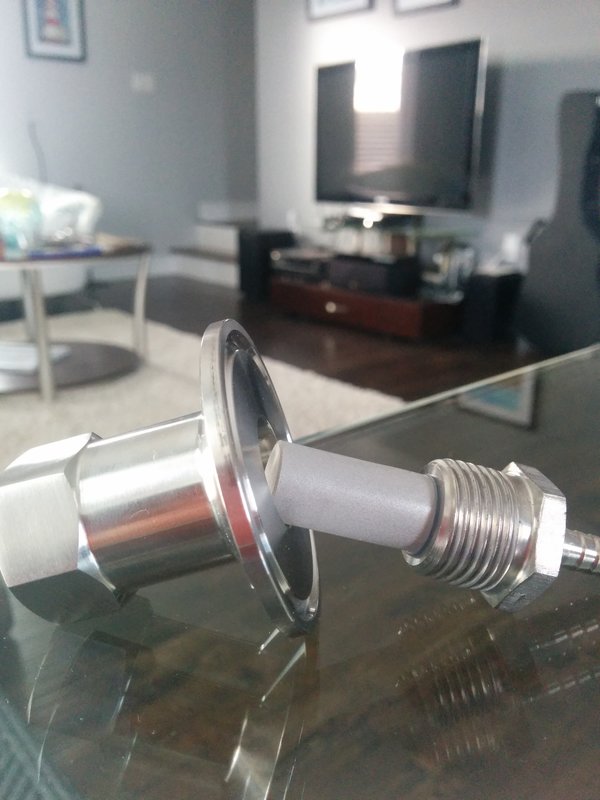
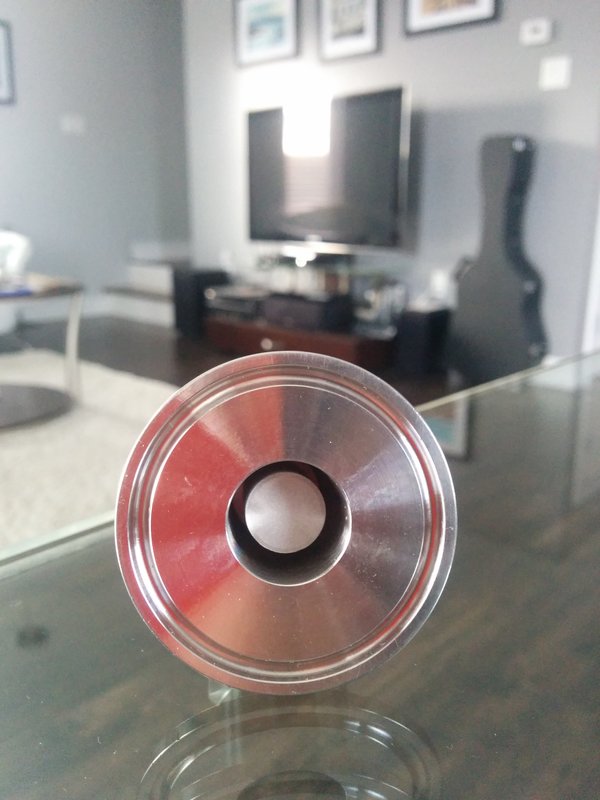
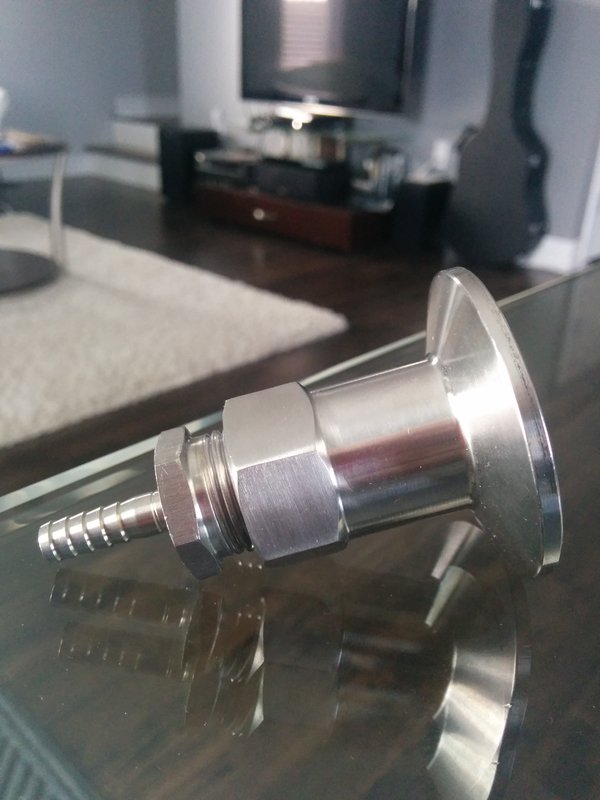
I was considering doing the same thing. I think I will just loosely set my threaded triclover piece in place of the blowoff with no gasket while chilling, and then re-install. Did you lose a tank of cO2 due to a small leak?


Had my second brew last Saturday, made a mistake I was sure I wouldn't. Ended up pumping too hard on recirculation and flooded the mash tun, I had checked it the first 20min with no issues, but after messing with the valve a tiny bit I walked away thinking I was ok. Luckily I had the heating element on 20% and caught it very quickly. I think I will need to loosen up my grain mill as I had an extremely slow drain. What is everyone using? I think I will loosen mine up to .045 and see how that does.
I did see 72% mash efficiency despite the problem, but was expecting mid-high 70's.


![Craft A Brew - Safale BE-256 Yeast - Fermentis - Belgian Ale Dry Yeast - For Belgian & Strong Ales - Ingredients for Home Brewing - Beer Making Supplies - [3 Pack]](https://m.media-amazon.com/images/I/51bcKEwQmWL._SL500_.jpg)