• Please visit and share your knowledge at our sister communities:
  • If you have not, please join our official Homebrewing Facebook Group!

    Homebrewing Facebook Group

100% homegrown

Homebrew Talk

Help Support Homebrew Talk:

This site may earn a commission from merchant affiliate links, including eBay, Amazon, and others.
Also on the yellow hop leaves, when I had it happen to mine it was just a nitrogen deficiency. http://grow.corymathews.com/2012/yellow-hop-leaves/

Thanks for the kind words! And thanks for linking to your blog -- fantastic!

You know, your yellow leaves look like they turned yellow uniformly, whereas mine began at the petiole and worked their way outward toward the leaf margin. I think in my case, the yellow leaves were actually caused by an overabundance of fertilizer. I gave them two doses of 2.5g each 15-5-15, 8 days apart. I've never seen the yellow leaf problem show up again since then, so there's a pretty high correlation between the fertilizer and yellow leaves.

I still have no idea if this amount of fertilizer is too high, because it's very hard to find the total amounts of fertilizer people give their hops. Often, people will list the relative proportions of N-P-K without saying how much total they applied.

Can anybody chime in -- what's an appropriate amount of fertilizer to give each hop plant on a weekly basis?

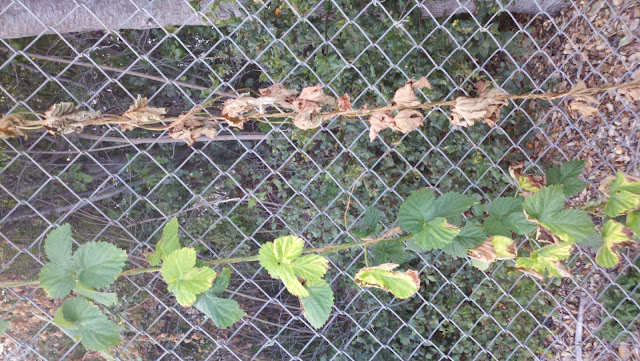
While we're on the subject of problems, I came back from a week-long trip on July 9 to discover that the automated irrigation system for the hops had been turned off:

2012-07-19_20-18-46_585.jpg


causing the bine death you see pictured above. To be fair to the perpetrator, one of the irrigation timers had sprung a leak, and I hadn't done anything about it before leaving town. Somebody who was likely well-meaning just turned the valve, shutting off water to the leaky controller and my hops.

Hey, this is part of the cost of growing on somebody else's land. The benefit is that I won't have to dig up my hops and start over ever year or two when I move house, and I don't have to purchase and maintain the irrigation system. Worth it!

In addition, it seems that most of my plants slowed their growth rate around the same time as the water stress. Now, this may be because of water stress, but it seems like hops generally slow down a few weeks after the solstice. Is that generally true? I've heard the anecdote several times that hops switch from vegetative to flowering mode around the solstice, but I've never heard someone commit to it as a hard rule. What do you guys think?

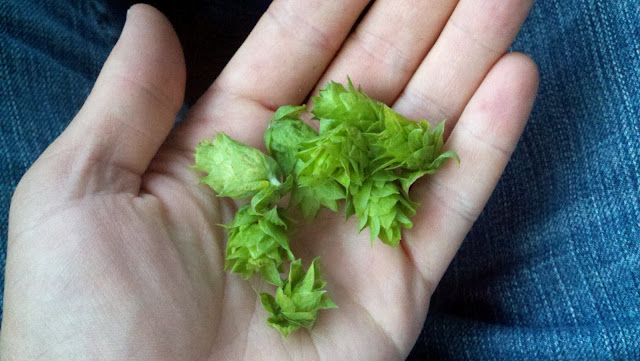
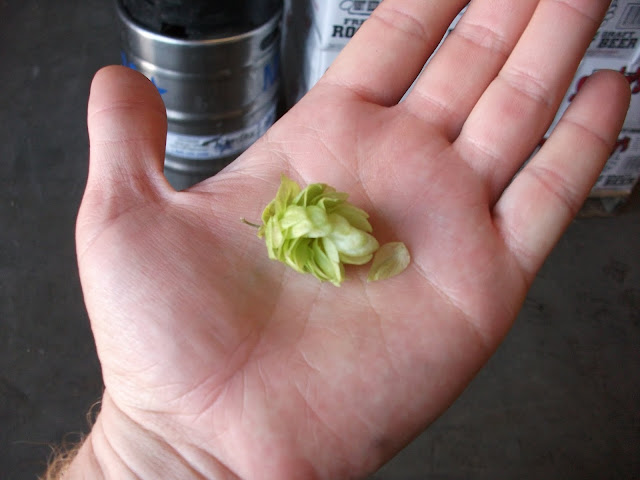
My Chinook plant gave an odd early harvest of just a few cones, which I've dried and stored:

2012-07-19_20-22-58_429.jpg


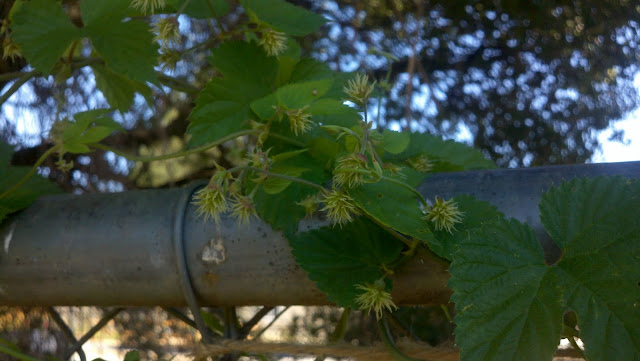
But for enough to brew a 100% homegrown batch, it looks like I'll rely on my Glacier plant:

2012-07-29_15-02-56_923.jpg


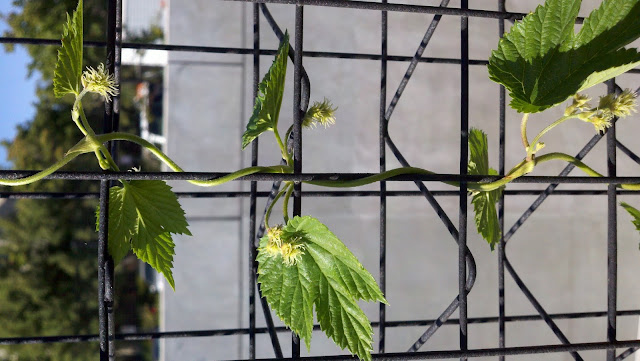
The rest of the plants don't have burrs in significant quantities. Eh, I guess it's a first-year plant thing. I was surprised, however, that four plants that I transplanted after one year of growth didn't produce more.

Meanwhile, a scrawny Cascade rhizome that I guerrilla planted and forgot about all season will be my second-biggest producer!

2012-07-17_16-48-51_966.jpg


2012-07-17_16-48-41_555.jpg


2012-08-01_14-10-13_726.jpg


I guess things do depend highly on variety, and I'm guessing that there is a lot of epigenetic variability that we don't quite understand. For example, I hear a lot of stories of individual plants having a sort of "personality" that differs from the cultivar's typical behavior. My Columbus plant has now for 2 years in a row produced a handful of very early burrs then stopped growing. I guess to truly know if the variation were epigenetic or environmental, I'd need several more of each variety growing side-by-side.

***

Back to malting -- my solution for making caramel malt is this:

1) Soak 3x 8 hours with 6-8 hour rests in between
2) Germinate turning 2x/day at room temp until acrospires are 100% grain length
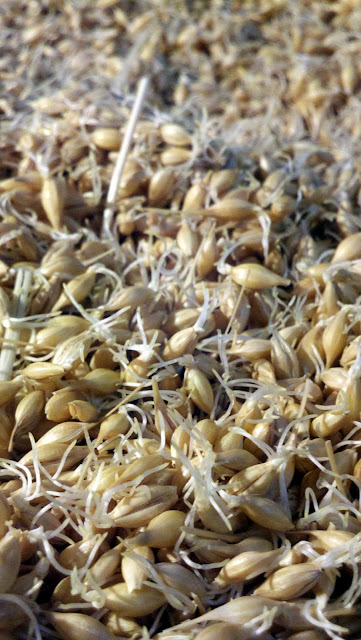
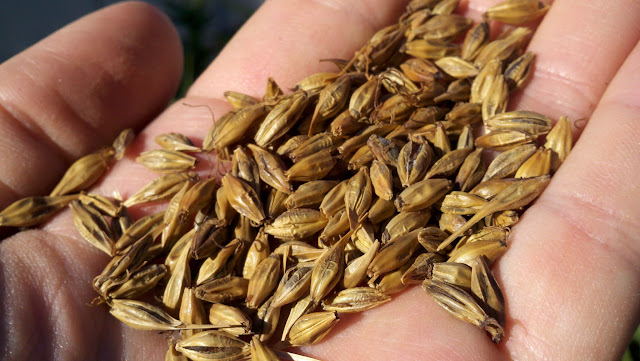
3) Soak the modified malt again for 6-8 hours. This step prevents scorching in the following steps. Just a reminder that for a base malt or a toasted / roasted malt, you would go straight to grain drying at this point and skip the secondary soaking. The grains should look plump and the rootlets should be white and tender. Any crispiness at this stage will lead to burnt malt in the next stages:

2012-08-01_22-42-38_570.jpg


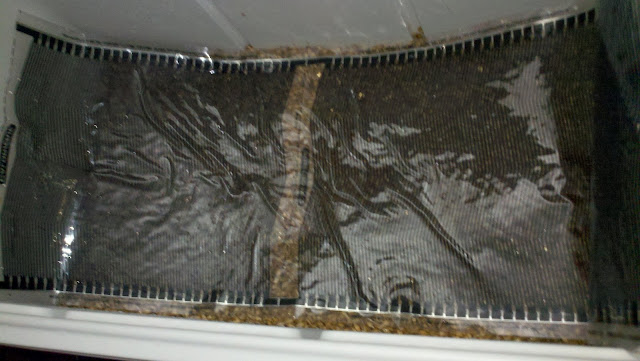
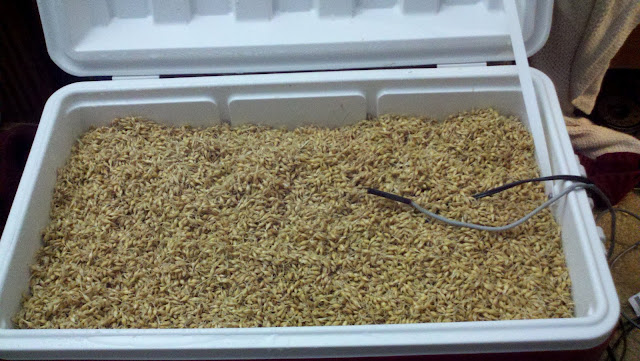
4) Stew the grains at 68C (154F) for 3 hours. I use a cooler and a 5-foot fermwrap with a temperature controller to achieve the temperature rest. It takes a very long time to reach 68C -- the ramp up to 68 plus the 3-hour rest takes about 24 hours. If your oven goes low enough, by all means stick it in a dish and cook it.

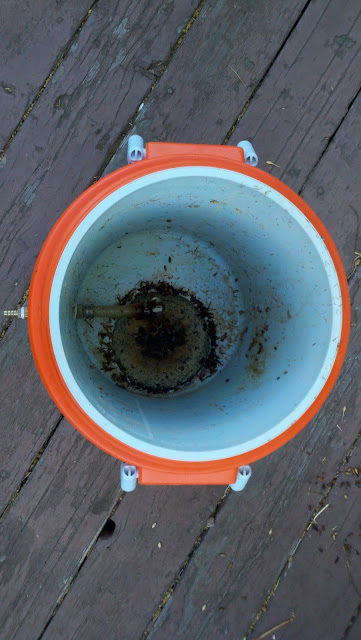
I layer the ferm-wrap with grains in the cooler, like making lasagna. This is so heat is distributed evenly. I usually make the layers of grains thicker as I go up, reasoning that most of the heat produced by the lower layers of ferm-wrap will convect updward:

2012-08-02_21-12-50_486.jpg


then I stick the temp. controller's probe in the top:

2012-08-02_21-44-42_208.jpg


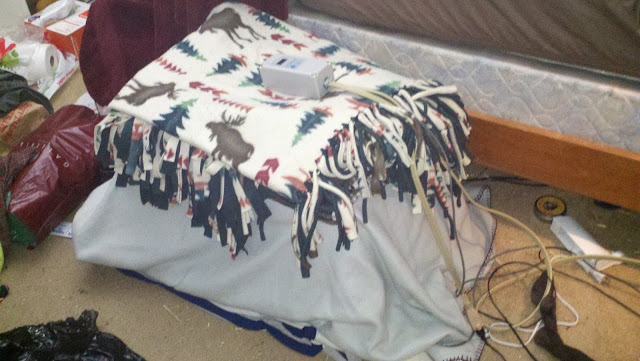
and seal it up, wrapping everything in layers of blankets:

2012-08-02_21-49-43_737.jpg


Dirty sock is optional, probably.

***

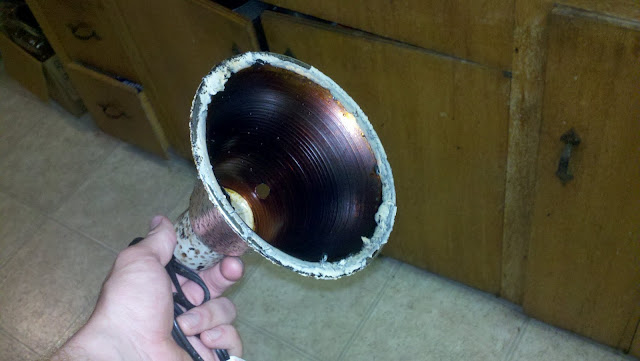
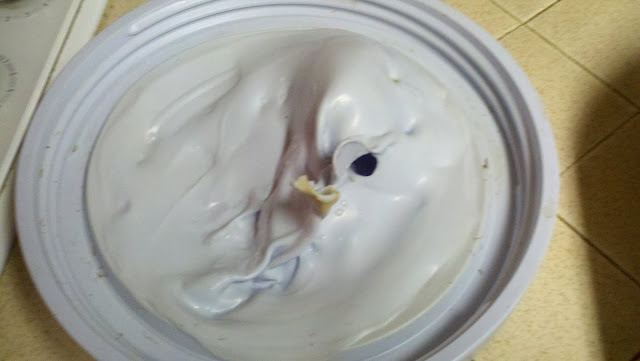
Cautionary interlude: Do not attempt to heat the grains in your cooler with a light bulb. It may be tempting to think: Hmm, 5 feet of ferm-wrap at 20 Watts / foot... that's more power than a 60W bulb. I'll just try mounting a bulb in a reflective housing to keep the grains from touching it directly, and all will be well:

2012-07-27_21-53-52_793.jpg


2012-07-27_21-56-15_385.jpg


2012-08-05_19-05-45_677.jpg


2012-08-05_19-05-57_474.jpg


It does not work.

***

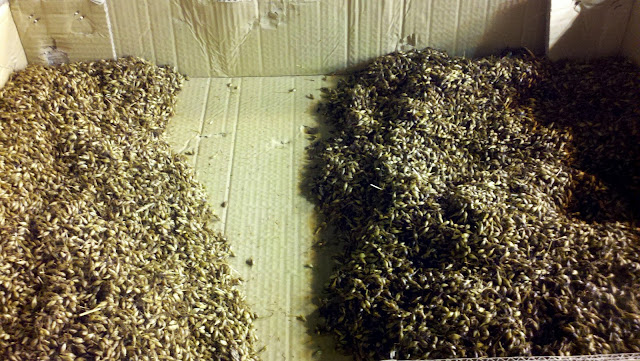
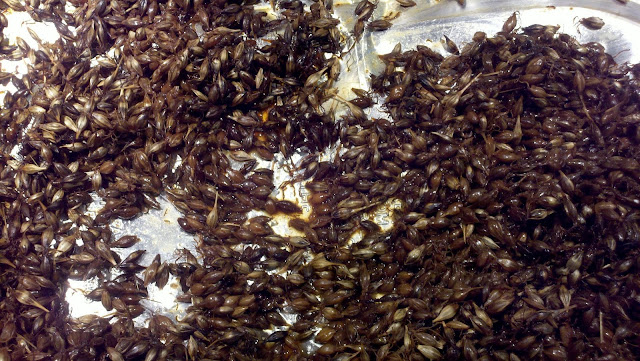
5) Once the malt is converted (3 hours at 68C), extract it from the cooler and load it into baking dishes. You will probably have to do several rounds of baking if you're making a large batch. Cook the converted malt at 275F to caramelize. The length of time you cook it will determine how dark the caramel malt is. In my oven, 3.5 hours at 275F seems to produce a malt similar to Crystal 60L. This step will be highly variable depending on the type of oven you have. You even get a huge amount of variation within an oven. The malt on the right was cooked on the middle rack, while the malt on the left was cooked on the bottom rack:

2012-08-01_22-12-26_132.jpg


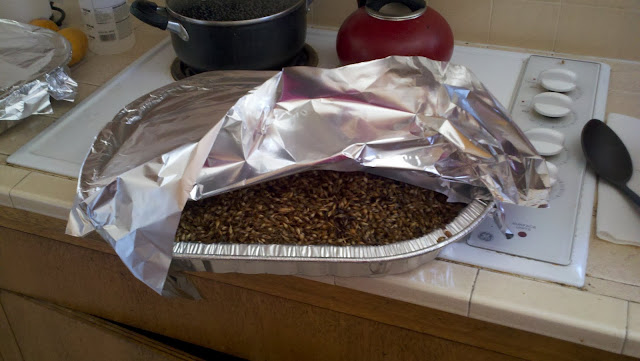
For my oven, I have to cover the grains with foil to prevent the heating element from burning the top layer of grains:

2012-08-01_11-49-18_142.jpg


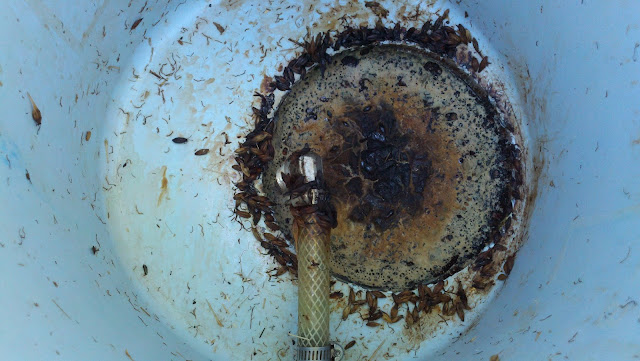
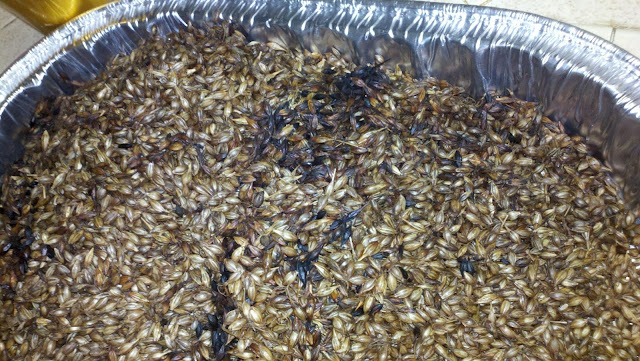
I also have to add water to prevent the grains on the sides of the dish from scorching. Here is an example of some stuff I had to throw out!:

2012-07-27_21-56-20_621.jpg


It is very hard to separate the scorched grains from the good ones when this happens, so just add enough water to avoid it entirely. I add about 3/4 liter to my baking trays, which hold about 5-7 lbs of dry malt. Some malting websites maintained by maltsters will instruct you to dry the malt as you kiln it. That is so wrong! Maybe that's how you do it with a commercial convection oven or whatever type of kiln they have in a malting house, but with your home radiant oven, the malt must be kept moist or it will quickly burn, even at 275F. However, after adding enough water and covering the dish, I don't need to turn the malt at all during the 3.5 hour baking. I just put it in and set a timer.

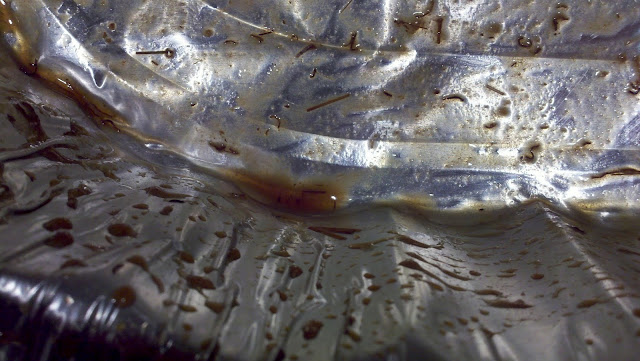
It's better to have a little too much water than not enough. You can end up with a little layer of caramel goodness at the bottom of your dish:

2012-08-01_21-20-22_567.jpg


If it weren't for all the rootlets, you could put it on ice cream:

2012-08-01_21-25-05_705.jpg


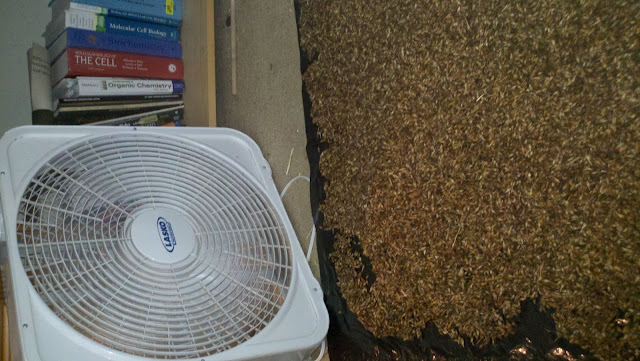
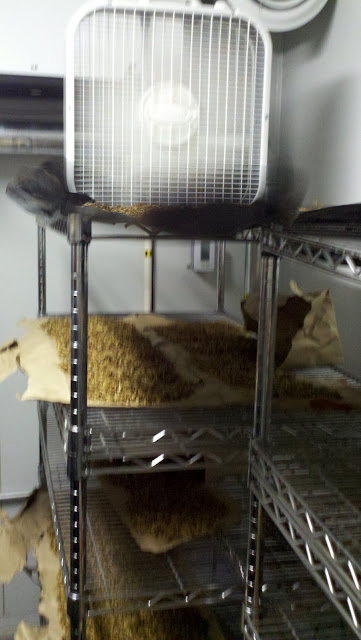
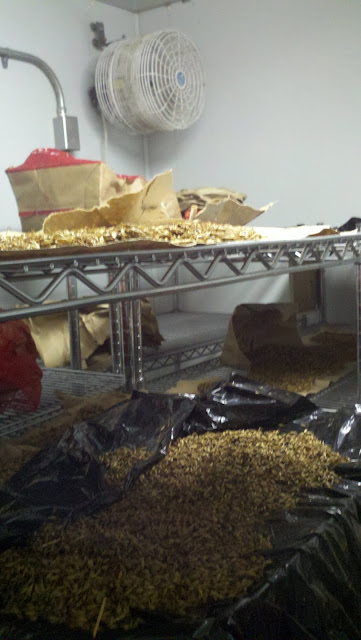
6) Now you can dry the malt. Go ahead and pour any liquid caramel that remains from the previous step onto the malt. As it dries, it will coat the grains in sugar, and that stuff will not be wasted. People love to build oasts for this step, but if you live outside of the humid East, you can get the grains dry enough to mill with a box fan and a few days of patience:

2012-08-05_18-24-58_662.jpg


No matter how you do it, it's very important not to allow the grains to remain wet for long. They will mold quickly if moisture is allowed to remain on their surface. Spread the grains thin on a tarp or plastic garbage bag and turn the grains in the morning and evening for the first few days they are drying. This will prevent a solid outer shell forming around a liquid, moldy core. (Yes, it happened; sad. I had to throw out even more malt because of this!)

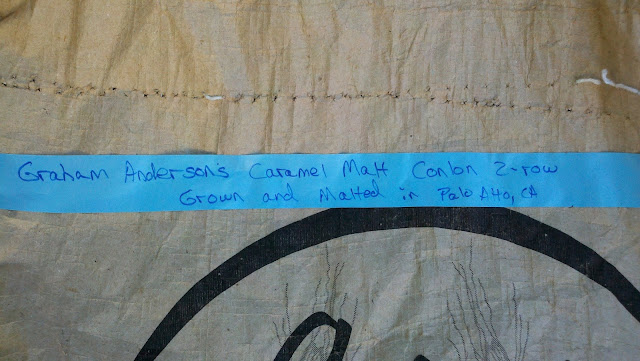
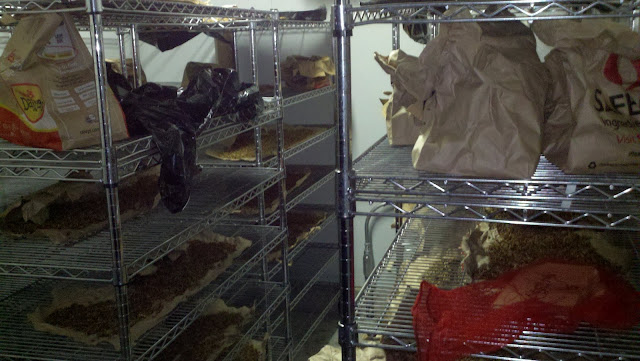
To accelerate the drying, I'm storing finished malt in a corn-drying room at the field. Let's hope I get enough finished and dried by Wednesday when the guys at Almanac need it! The goal is at least 50 lbs. of C60 malt. I started with 175 lbs, but malting at this scale has been a real challenge and I've had to toss out a lot of grains.

No matter what happens over the next few days, I've got enough grains still on plants at the field to go back and make at least one 5 gal batch of 100% homegrown!
 
drummstikk said:
Almanac recently let me know that their brewday is August 8! Oh boy, it's time to cram in a lot of malting.

This whole time I've been following this thread I didn't realize you were a local boy! I love Almanac.. In fact I'm drinking a pale ale from their snifter glass as we speak. I just wish their beer was easier to find. I have a lot of good friends on the peninsula.
 
This whole time I've been following this thread I didn't realize you were a local boy! I love Almanac.. In fact I'm drinking a pale ale from their snifter glass as we speak. I just wish their beer was easier to find. I have a lot of good friends on the peninsula.

It's hard enough to find on the Peninsula / SF! Where do you get Almanac in Ukiah? Can you find it on tap anywhere?
 
Just dropped off 66 lbs of caramel malt, probably 60-75L, at Hermitage brewery in San Jose!

I walked in, and one of the Hermitage brewers said, "Is that it?"

Haha, yep, that's it:

2012-08-07_13-36-15_128.jpg


Here are the last few steps leading up to the finished product:

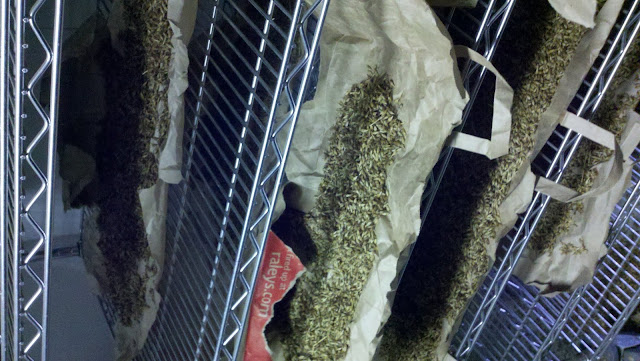
A few days ago, I realized that the finished malt was not drying fast enough. It wouldn't actually be ready to be milled by today at the rate it was going. I had the malt stored in paper sacks in a dehumidified warm room kept at 105F. So to speed up drying, I ripped open the bags that still contained damp malt, and laid the grains out flat:

2012-08-06_13-30-18_179.jpg


2012-08-06_13-30-50_393.jpg


2012-08-06_13-31-22_38.jpg


2012-08-06_23-24-19_778.jpg


That did the trick, and everything was nice and crispy today.

Still, the grains were not rock hard, as my caramel malt usually is. They really could have spent another day or two drying before I would consider them to be shelf-stable. But it hardly matters since they'll be used tomorrow.

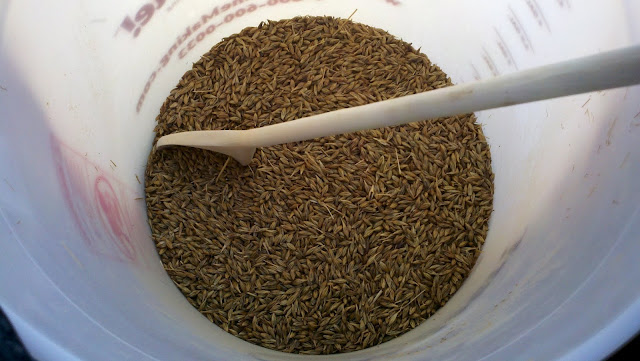
The next step is to separate the dry malt from the rootlets that formed during germination. These are called culms, and you can knock them off of dry malt by just stirring the malt in a bucket:

2012-08-07_11-34-20_642.jpg


You don't need to use your clothes dryer or any mechanical means to knock off the culms unless the malt is much wetter.

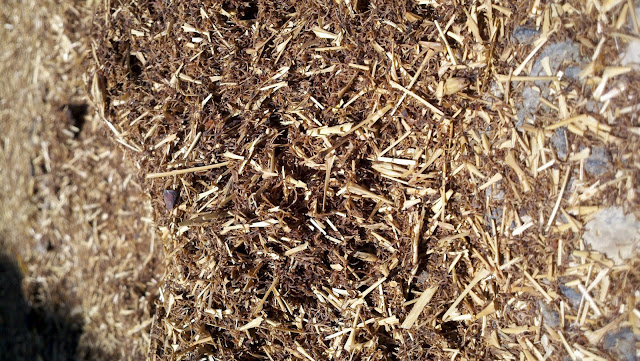
Finally, do one last winnowing step in front of a box fan. You'll end up with a pile of a small amount of chaff and a whole lot of rootlets:

2012-08-07_13-21-17_204.jpg


That's it -- from dirt to malt:

2012-08-07_17-51-51_794.jpg


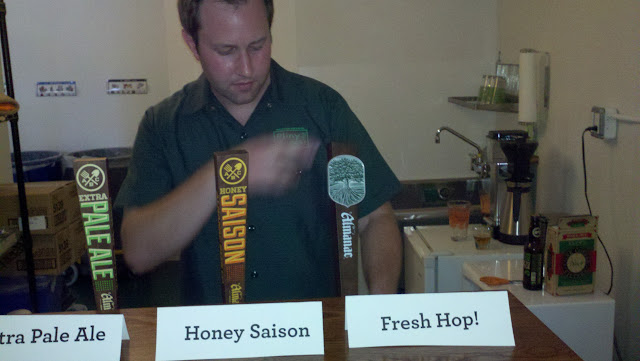
I'll try to take some good pics at the brewday tomorrow for Almanac's all-California beer, called Fresh Hop.
 
Absolutely badass mate!

Haha, thanks mate! Feels really good to hear that!

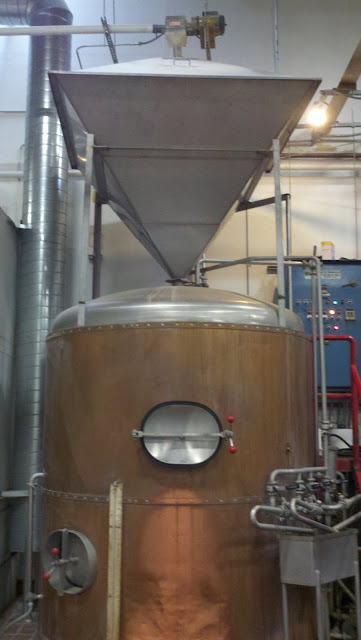
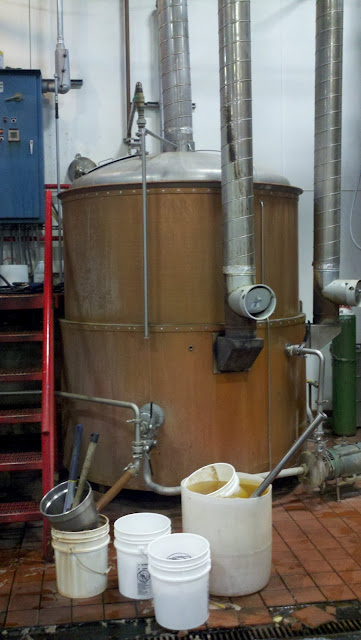
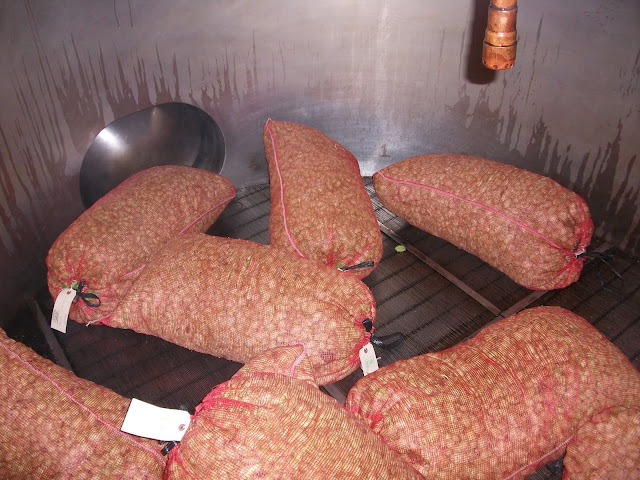
Today was brewday! Luckily, there were two skilled brewers on hand from Hermitage / Tied House Brewery to take care of this 25 barrel mash tun:

2012-08-08_08-27-38_101.jpg


and boil kettle:

2012-08-08_08-29-18_406.jpg


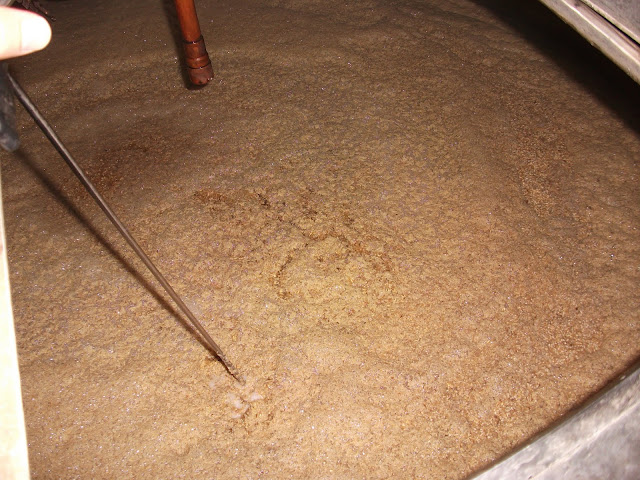
We mashed in, and I was sure I could see my little caramel grains in there somewhere:

DSCF1089.JPG


Maybe those small dark dots?

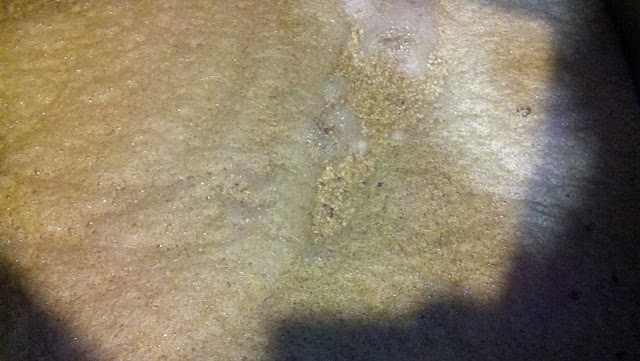
2012-08-08_09-32-05_241.jpg


Hmm, maybe not.

But there they are!

2012-08-08_13-26-02_875.jpg


2012-08-08_13-25-56_470.jpg


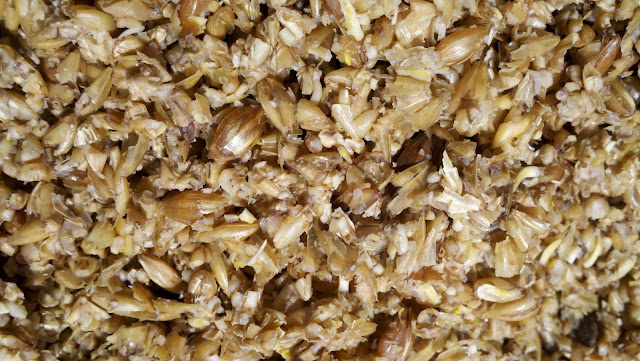
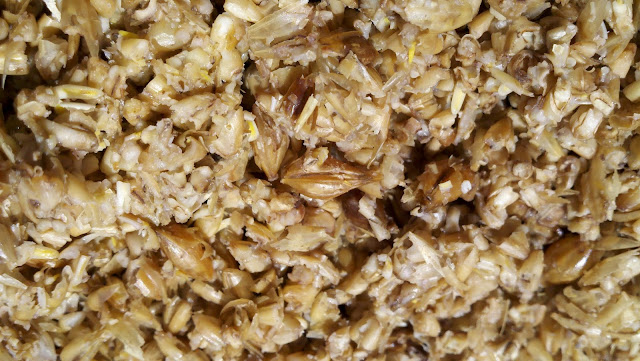
Because the grains were still not bone dry when they went through the mill, most of them were not broken into pieces, but still broken open:

2012-08-08_13-23-11_677.jpg


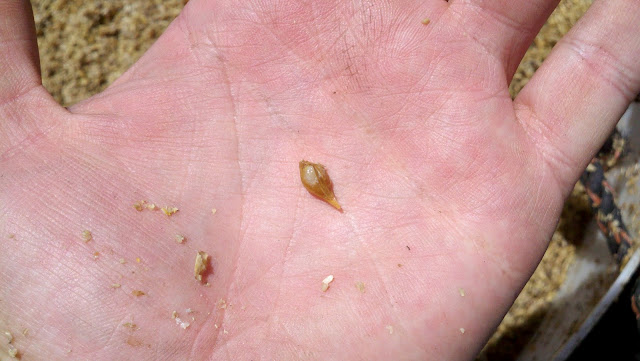
Some were not broken at all:

DSCF1209.JPG


This could just be due to the mill, but I bet these grains would be below the plump cutoff if I had run them over a screen.

This was fun!

DSCF1197.JPG


and the brewers were more than happy to let an enthusiastic home brewer rake out the mash tun. Anything is fun the first time, right?


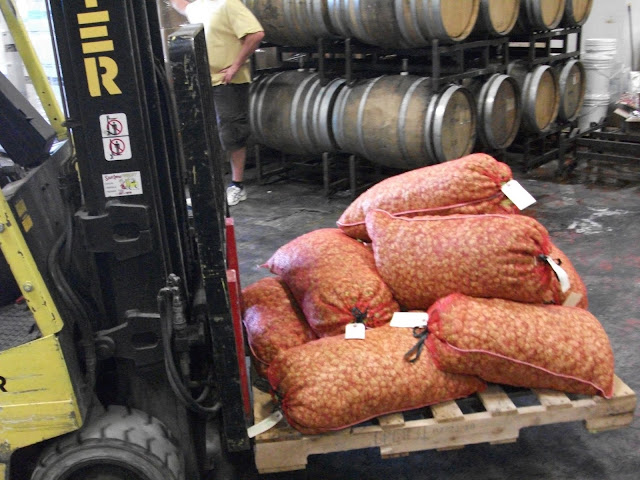
Jesse Friedman from Almanac showed up with 80 lbs. of Cascade, Chinook, Ivanhoe, and Gargoyle (Gargoyle???) that were picked THIS MORNING in Lake County.

DSCF1175.JPG


DSCF1149.JPG


The Ivanhoe is a modern-day mimic of Cluster, and has a subdued aroma as you'd expect with American-type resiny and hop oil aromas. The Gargoyle on the other hand had a fruity grape-like aroma. It was really fantastic!

They promptly found their way, tags and all, into the mash tun, which was to be used as a hopback:

DSCF1250.JPG


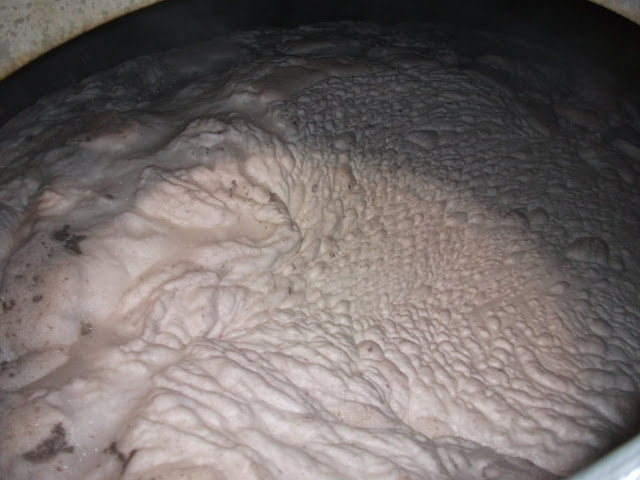
Meanwhile, in the boil kettle, this happened:

DSCF1191.JPG


a scaled-up version of the meringue-like stuff you see right before your kettle boils, which lead to this:

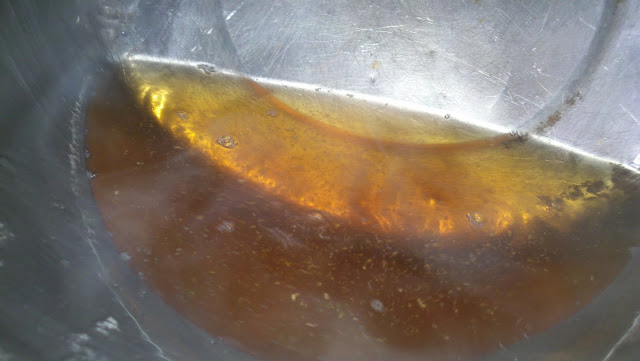
2012-08-08_14-44-12_248.jpg


I realize it's a bit tough to asses the color without a clear glass and some sense of scale, but let me tell you -- it was darker and more golden orange than you would expect from base malts alone. Even at 4-5% of the grist, I see the field in there!

From this point on, it's in the very capable hands of Peter and Greg, two brewers with Hermitage. Can't wait to taste it!

Now, on to that other goal: 100% homegrown
 
Other sources of seed -- yes, the National Plant Germplasm System will send you 5g of just about any seed in the world. That's where I got the bere barley seed from.

Outstanding project! I just acquired a few acres of my own in western MD, and hope to grow some hops and a bit of barley, myself. Out of curiosity, when you requested the seeds from the NPGS, what did you put as your "research topic"?

Gotta buckle down & till a bit of field...

Cheers!
--Misha
 
Outstanding project! I just acquired a few acres of my own in western MD, and hope to grow some hops and a bit of barley, myself. Out of curiosity, when you requested the seeds from the NPGS, what did you put as your "research topic"?

Gotta buckle down & till a bit of field...

Cheers!
--Misha

Thanks for the very kind words!!!

I am intensely jealous of your recent purchase. For the NPGS, I explained that California no longer has any locally adapted varieties of malting barley. Every production malting barley was bred for the upper midwest: Montana, Idaho, the Dakotas, Minnesota, Alberta, Saskatchewan, Manitoba. They are resistant to upper midwest diseases and do best in an upper midwest growing season.

It wasn't always this way, so barley should be able to be adapted to most local climates in the US. Lynn Gallagher at UC Davis is undertaking a closely-related project (she's legit!), moving genes for resistance against local fungi and viruses into production malting barley varieties to engineer a California malt.

I just explained that I was going to use artificial selection to develop a locally-adapted malting strain. As it turns out, the crop did very well, so I don't think there was much selection pressure, at least not this first year. I'm told that typically when people try to grow midwestern barleys in the Bay Area, they get hammered by stripe rusts and yellow barley dwarf virus. I got lucky.

Anyway, tell them you're developing a malting barley variety for the Mid-Atlantic region, because that's precisely what you are doing! No need to stretch the truth -- NPGS will be more than happy to give you some material for your project.

Good luck on the farm! Are you going to plant a frost-resistant winter variety, or are you plowing to prepare the field for planting next spring?

Sounds simple enough... Developing a malting barley variety for the Mid-Atlantic. All the better, 'cause it's true! :)

I believe they occasionally do winter wheat, hereabouts; I'd like to try my hand at a winter barley. Unfortunately, the field is "too far gone" to put anything in it this fall. (We bought the place after the last owner died--and he hadn't kept up with anything for likely a few years. On the bright side, the field has been fallow for a while... On the down side, there's tons of work to be done...) Also, I don't know of any convenient sources of Charles barley (a winter 2-row). So, that'll have to wait until next year.

In the meantime, I can get a couple of small patches ready for some spring barley, to propagate & build up a seed stock. I'm thinking Bere, and maybe some Hana. (I'm into historical re-creation, and constantly researching beer history; those are the two oldest "named" varieties I've come across... Does anybody know of any other ones?) I'll probably start the field with something "normal," like Conlon, as well.

Cheers!
--Misha
 
I believe they occasionally do winter wheat, hereabouts; I'd like to try my hand at a winter barley. Unfortunately, the field is "too far gone" to put anything in it this fall.

Best of luck! I bet there is something deeply satisfying about clearing a section of land to make a field.

Also, I don't know of any convenient sources of Charles barley (a winter 2-row).

Kathy Stewart-Williams at U Idaho ([email protected]) was selling Charles last year for $48 per hundredweight. You have to buy at least 50 lbs, which is probably more than you need, but you'll have access to one of the only modern winter malting barleys.

I'll probably start the field with something "normal," like Conlon, as well.

That's what I grew. As you already know, Conlon is the most likely of the varieties you mentioned to do well, but the least "interesting" in terms of historic appeal.

One thing to keep in mind is timing: a winter crop will mature a bit sooner than a spring crop, but no so much sooner that you can use the same field for a spring barley crop. So every year, you can plant winter or spring barley in one field, but not both.

Given that constraint, and given that there is still some risk of frost damage to a Winter barley, you may just want to plant spring barleys every year. One notable winter barley that would be worth growing despite the added challenge is Maris Otter.
 
Best of luck! I bet there is something deeply satisfying about clearing a section of land to make a field.

It is rather nice, looking across what I've cleared so far and imagining what I'll have growing there...

Kathy Stewart-Williams at U Idaho ([email protected]) was selling Charles last year for $48 per hundredweight. You have to buy at least 50 lbs, which is probably more than you need, but you'll have access to one of the only modern winter malting barleys.

I'll have to see if I can get some for next year. 50# is much more than I'll need, but I should be able to practice malting techniques on what doesn't get planted...


That's what I grew. As you already know, Conlon is the most likely of the varieties you mentioned to do well, but the least "interesting" in terms of historic appeal.

One thing to keep in mind is timing: a winter crop will mature a bit sooner than a spring crop, but no so much sooner that you can use the same field for a spring barley crop. So every year, you can plant winter or spring barley in one field, but not both.

Given that constraint, and given that there is still some risk of frost damage to a Winter barley, you may just want to plant spring barleys every year. One notable winter barley that would be worth growing despite the added challenge is Maris Otter.

I've got about an acre to "play" with, more or less; I hope to break it down into 1/8-acre chunks, and rotate through. So, I should be able to do some of both spring and winter barley, plus a couple of other things, and not have to harvest everything all at once (I'll be working by hand, at least the first couple of years...).

I hadn't even thought of Maris Otter. Halcyon is a possibility, too. Hmmmm... Wheels are turning. :cool:

Regardless, once I get my field started, I'll have to document it... In its own thread, so as not to hijack this one any more than I already have. :p

I gather you'll be repeating the growing/harvesting next year? I'd like to be able to compare/contrast (and learn along with you)!

Cheers!
--Misha
 
Regardless, once I get my field started, I'll have to document it... In its own thread, so as not to hijack this one any more than I already have. :p

I gather you'll be repeating the growing/harvesting next year? I'd like to be able to compare/contrast (and learn along with you)!

Cheers!
--Misha

Hey man, my goal is to make this thread a resource for anybody interested in growing every ingredient. There's enough hops information in other threads, so this one has tended to revolve around grains. If you want to add your work here, I'd love it!

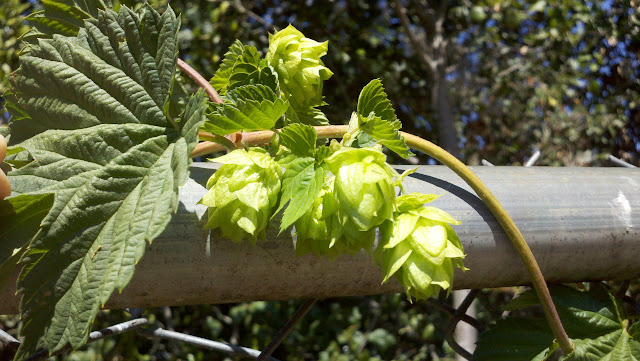
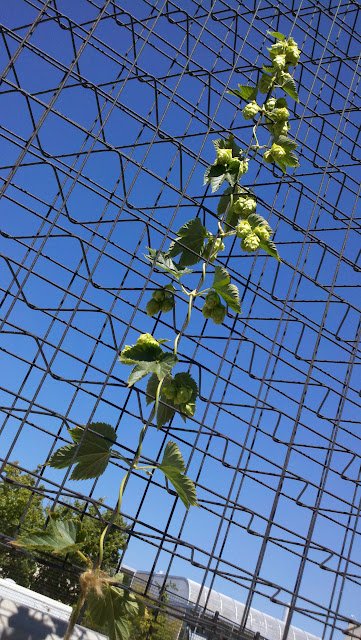
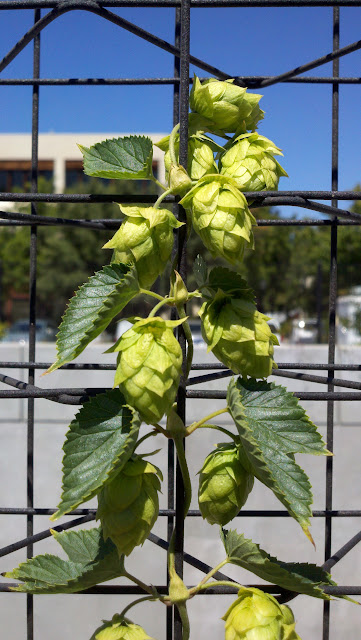
Speaking of hops, my plants did alright,

2012-08-20_14-21-16_943.jpg


2012-08-20_14-03-20_258.jpg


2012-08-20_14-03-37_476.jpg


but among 10 surviving plants, I only got about one ounce of hops! I attribute this to a first-year (and transplant) problem, but problems with irrigation and overfertilization may have contributed. Regardless, I think I got enough to bitter one small batch of beer.

I harvested the cones by hand and dried them in a 110F <35% humidity grain drying room for three days each. Then I put in freezer bags and store at 4C. Just need to get out there and grab a few more grains from the hay still sitting to the side of the field, and I'll finally have that 100% homegrown beer.

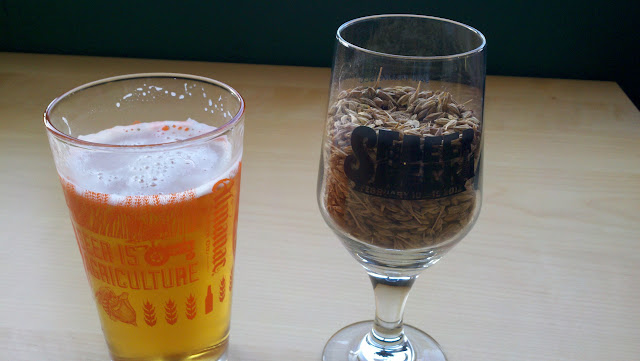
In the meantime a little beer porn:

2012-08-23_19-21-13_61.jpg


2012-08-23_19-22-16_913.jpg


Those are the homegrown and homemalted grains on the right, and the resultant beer on the left. It's a little bit darker (more orange) than an all-pale malt grist, right? Hmm, hard to say, but you can taste the crystal malt for sure.
 
Just a quick "bump" to this thread, and an update on what I've got going on:

I requested 4 cultivars from the USDA, and to my surprise, they arrived at my place in a couple of days. The particular varieties were: Bere (6-row spring, British landrace that's probably been continuously cultivated since the Viking invasions), Hana (2-row spring, Moravian variety used in the first Pilsners), Maris Otter (2-row winter, English), and Halcyon (2-row winter, English, descended from Maris Otter, bred for higher yields). I also ordered some Conlon (2-row spring) commercially, so I would have a large enough plot of barley to do something with.
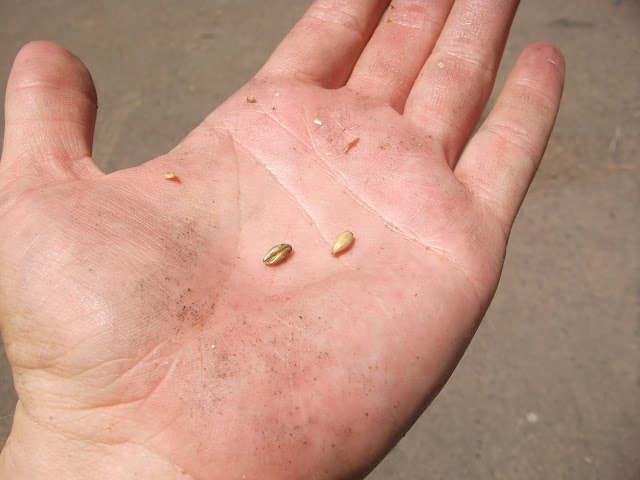
My first impression: the USDA provides 5g of seed. In barley terms, that's not quite enough for a 6 sq.ft. plot; still, a start is a start--I can "grow them up" in a few seasons into "real" quantities. :)
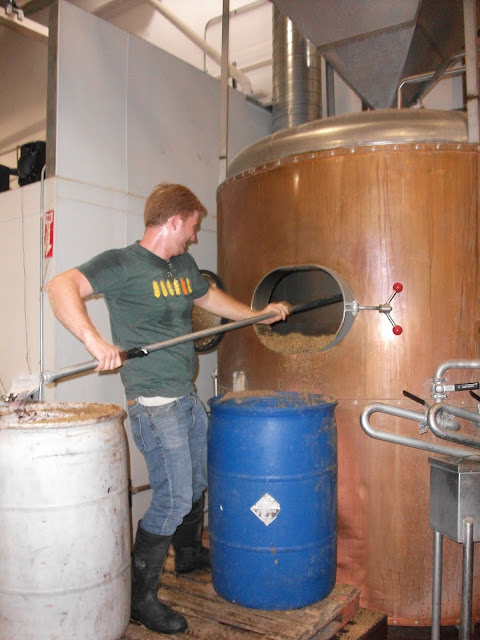
I don't have pics online yet (SWMBO "borrowed" my camera), but I got the winter varieties down in their "test" plots in late September. They took under a week to sprout, and they're a good 3-4" tall as of now. So far (knock wood) no critters seem to have taken any sort of an interest in them at all. My biggest concern has been weather: did I plant too early? too late? Most of my references say to sow the seed "about 4-5 weeks before first frost," which is currently predicted for this weekend. I figure I'm probably OK; this weekend will mark 4 weeks since planting. Hopefully, it will become a waiting game to seeing how cold this winter is... Isn't this a fun game? :drunk:

In the meantime, I've still got to revamp the barn to become a brewing space, plus about a million other things... As soon as I'm able to "steal" the camera back, I'll post pictures. (I'll probably have more on my blog, as well; the link is in my sig).

Cheers!
--Misha
 
Ah, I've been so busy! Still some unthreshed grain at the field, and lots of Almanac beer in my bedroom to bottle up. Homegrown hops in the freezer...

Anybody else growing grains this winter??
 
I know man I know.. It's hard to find time for the more important things in life. Did your hops ever pan out?
 
Ah, I've been so busy! Still some unthreshed grain at the field, and lots of Almanac beer in my bedroom to bottle up. Homegrown hops in the freezer...

Anybody else growing grains this winter??

Maris Otter and Halcyon samples this winter, with Bere, Hana, and Conlon waiting for spring. I've got some Cascade hops in a planter from my old place, and I'll be getting them in the ground in the spring, along with (hopefully) one or two other varieties.

So much fun, checking on the barley every couple of days... :cross:

--Misha
 
This is nothing short of awesome in my book! Very inspiring to grow my own beer. Great job!
 
So, after surviving the winter, my Maris Otter and Halcyon mini-plots have put the spurs to it, and are growing quite nicely. I've got mini-plots of Bere and Hana sown, and they've germinated and sprouted (although I think birds may have gotten to the seed; I saw lots of empty barley husks, and there aren't as many shoots as I would have liked, particularly of the Hana).

As a backup, I held back a few (10 or so) seeds from each variety, and they're doing just fine in small planters, where I can keep them safe from predation...

I hope to get the Conlon sown this week. I've also got my hop rhizomes waiting for me to finish the pergola for them to climb: two each of Cascade, Magnum, Sterling, and Willamette. (My two 4-year-old Cascade rhizomes, now "retired", have been transplanted to an area where they can climb an old pear tree...)

If only the homestead wasn't a 130-year-old work-in-progress; then I could maybe focus on the important things, like brewing... :)
 
I pulled this off a website that discusses polyculture systems...

Agricultural Legume Inter-planting

Sir Albert Howard also experimented with growing a food producing legume, chickpeas, with wheat. He had observed that the Indian growers often grew grains inter-planted with a legume, so he grew three rows of wheat and then a row of chickpeas, in an experiment. The growth of the outer two lines of wheat was so superior to the middle that he weighed the grains at harvest, and found that the lines adjacent to the chickpeas yielded 34% more than the inner line. (A History of Agriculture in India Vol III, Randhawa). This is corroborated by FH King, in &#8216;Farmers of Forty Centuries&#8217; who observed Chinese growers growing grains and beans, two rows of grain, then a row of beans, etc. The Chinese farmer had clearly worked out the optimum configuration for themselves, without the help of scientists.

Taking Howard&#8217;s figures of 34% increase in yield, if you are replacing every third row of grain with a legume, you are losing 33% of your grain yield, from the loss of that row, but gaining a 34% increase in each of the remaining two rows. My mathematics isn't amazing, but I understand that to mean that the extra yield from the remaining two rows will provide about 2/3 of the yield lost from the missing row, and there will be a yield of bean/legume, that wasn't there before.
 
Hairy Vetch, clover, or non climbing peas would also work well although I like the thought of having a food crop growing amongst the barley if possible.

The mix of plant types also cuts down the incident of diseases and pests.

I would also be inclined to plant comfrey, dandilion, garlic, marigold, calendula, mustard, and borage.

These plants do specific things like de-compact the soil, bring vital nutrients to the surface, attract beneficial predatory insects, repel parasitic insects, and provide yet another edible or medicinal crop within the same space without competing with the barley.
 
Well I just secured an area to plant my grains this season. I got some small samples from the seed bank and will be growing them up this year in a polyculture environment like I described above, but quite a bit more complex than that :)
 

Latest posts

Back
Top