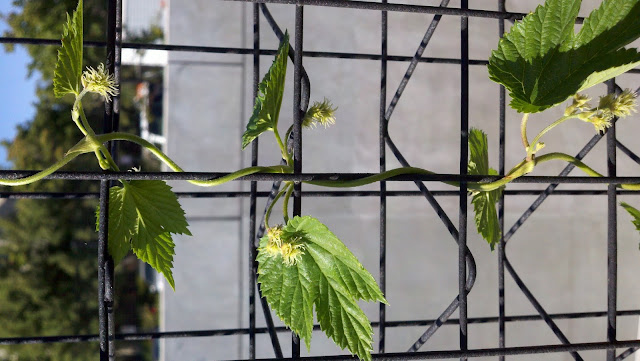
Also on the yellow hop leaves, when I had it happen to mine it was just a nitrogen deficiency.
http://grow.corymathews.com/2012/yellow-hop-leaves/
Thanks for the kind words! And thanks for linking to your blog -- fantastic!
You know, your yellow leaves look like they turned yellow uniformly, whereas mine began at the petiole and worked their way outward toward the leaf margin. I think in my case, the yellow leaves were actually caused by an overabundance of fertilizer. I gave them two doses of 2.5g each 15-5-15, 8 days apart. I've never seen the yellow leaf problem show up again since then, so there's a pretty high correlation between the fertilizer and yellow leaves.
I still have no idea if this amount of fertilizer is too high, because it's very hard to find the total amounts of fertilizer people give their hops. Often, people will list the relative proportions of N-P-K without saying how much total they applied.
Can anybody chime in -- what's an appropriate amount of fertilizer to give each hop plant on a weekly basis?
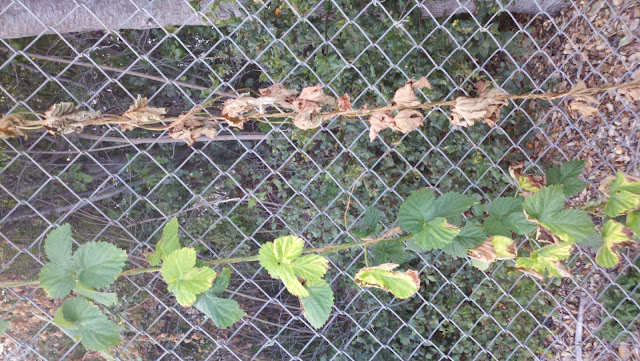
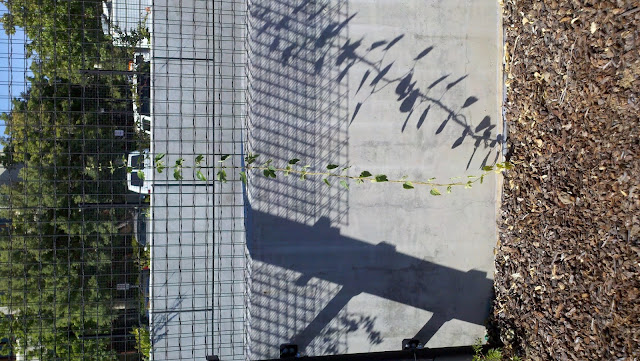
While we're on the subject of problems, I came back from a week-long trip on July 9 to discover that the automated irrigation system for the hops had been turned off:
causing the bine death you see pictured above. To be fair to the perpetrator, one of the irrigation timers had sprung a leak, and I hadn't done anything about it before leaving town. Somebody who was likely well-meaning just turned the valve, shutting off water to the leaky controller and my hops.
Hey, this is part of the cost of growing on somebody else's land. The benefit is that I won't have to dig up my hops and start over ever year or two when I move house, and I don't have to purchase and maintain the irrigation system. Worth it!
In addition, it seems that most of my plants slowed their growth rate around the same time as the water stress. Now, this may be because of water stress, but it seems like hops generally slow down a few weeks after the solstice. Is that generally true?
I've heard the anecdote several times that hops switch from vegetative to flowering mode around the solstice, but I've never heard someone commit to it as a hard rule. What do you guys think?
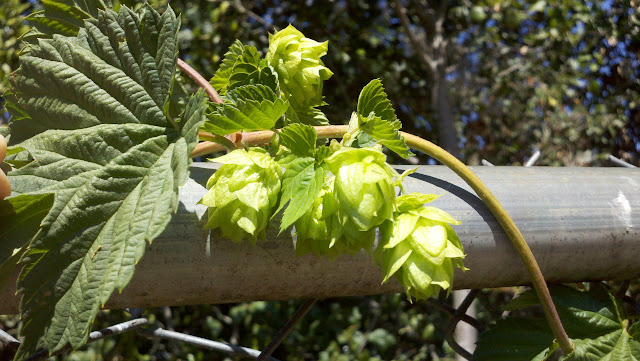
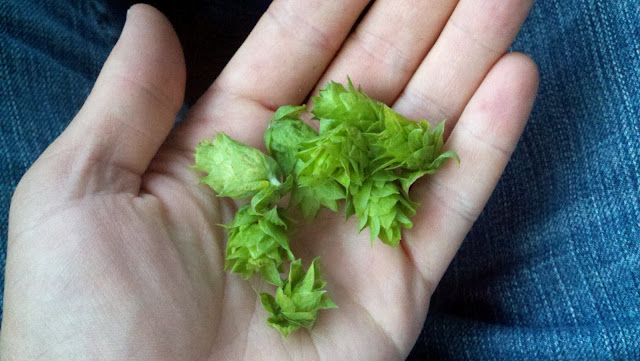
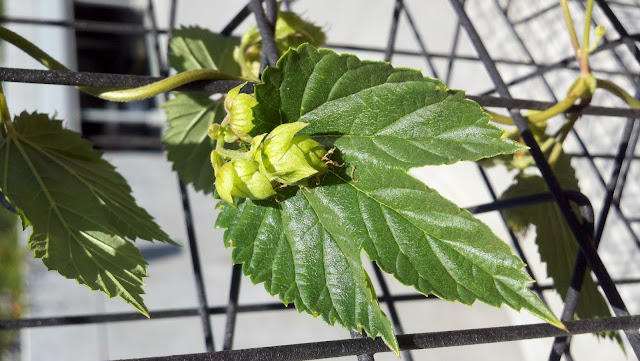
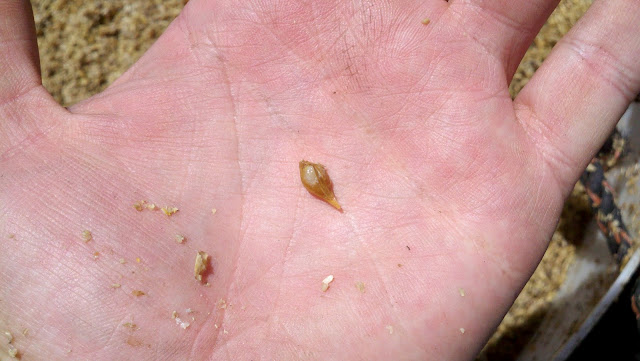
My Chinook plant gave an odd early harvest of just a few cones, which I've dried and stored:
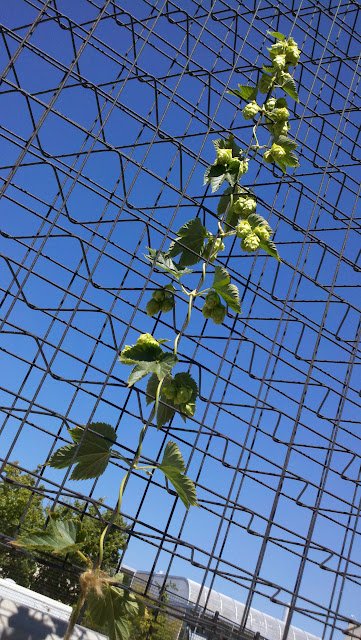
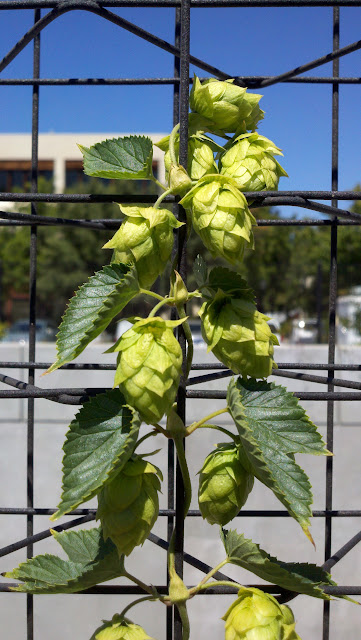
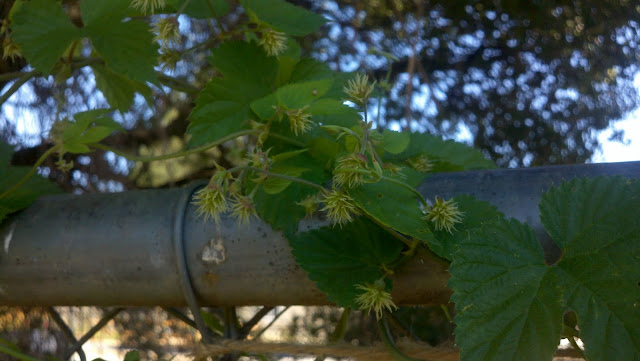
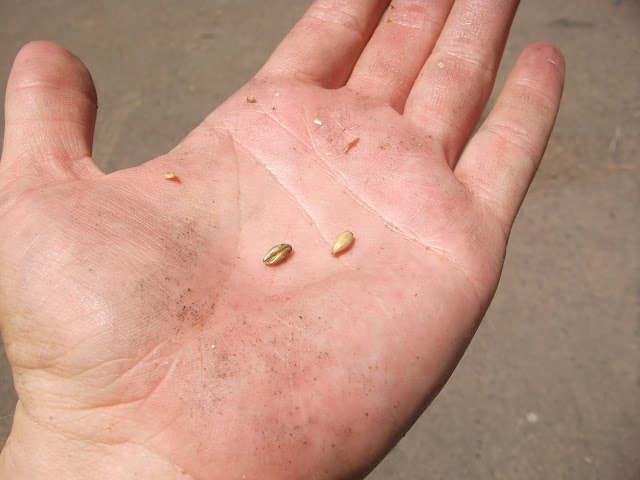
But for enough to brew a 100% homegrown batch, it looks like I'll rely on my Glacier plant:
The rest of the plants don't have burrs in significant quantities. Eh, I guess it's a first-year plant thing. I was surprised, however, that four plants that I transplanted after one year of growth didn't produce more.
Meanwhile, a scrawny Cascade rhizome that I guerrilla planted and forgot about all season will be my second-biggest producer!
I guess things do depend highly on variety, and I'm guessing that there is a lot of epigenetic variability that we don't quite understand. For example, I hear a lot of stories of individual plants having a sort of "personality" that differs from the cultivar's typical behavior. My Columbus plant has now for 2 years in a row produced a handful of very early burrs then stopped growing. I guess to truly know if the variation were epigenetic or environmental, I'd need several more of each variety growing side-by-side.
***
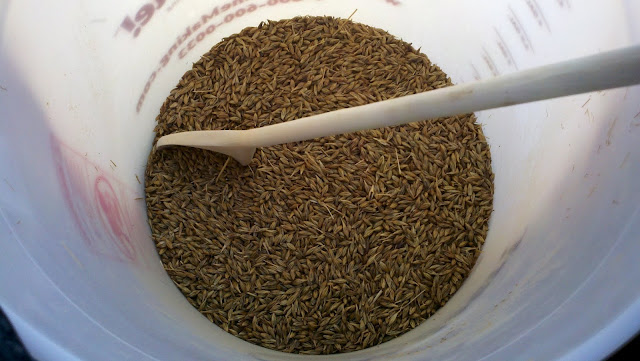
Back to malting -- my solution for making caramel malt is this:
1) Soak 3x 8 hours with 6-8 hour rests in between
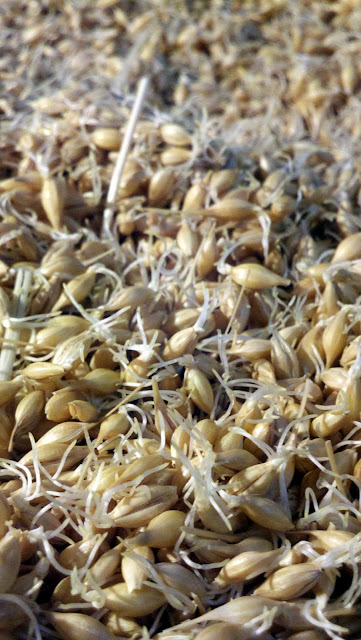
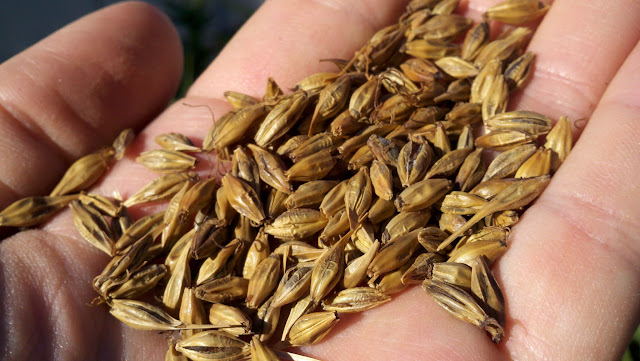
2) Germinate turning 2x/day at room temp until acrospires are 100% grain length
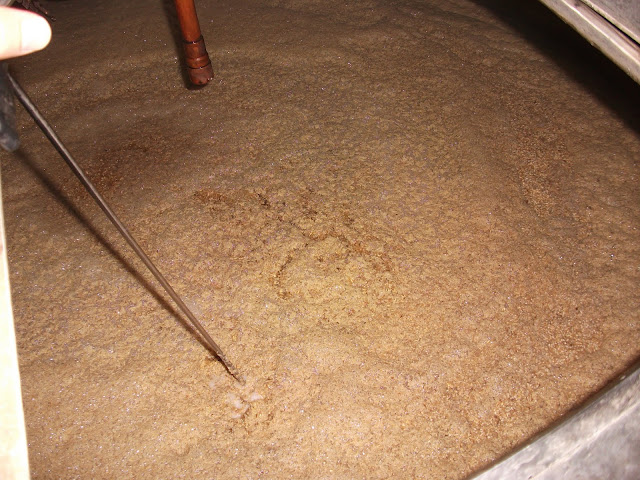
3) Soak the modified malt again for 6-8 hours. This step prevents scorching in the following steps. Just a reminder that for a base malt or a toasted / roasted malt, you would go straight to grain drying at this point and skip the secondary soaking. The grains should look plump and the rootlets should be white and tender. Any crispiness at this stage will lead to burnt malt in the next stages:
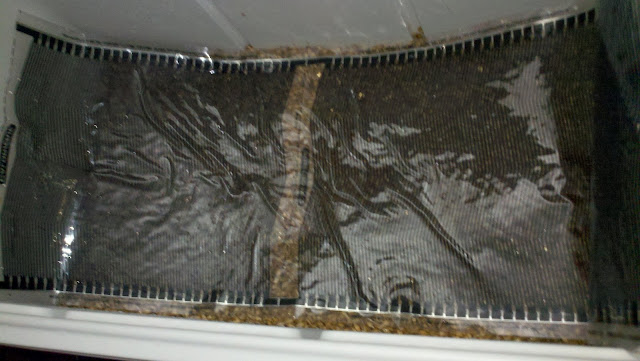
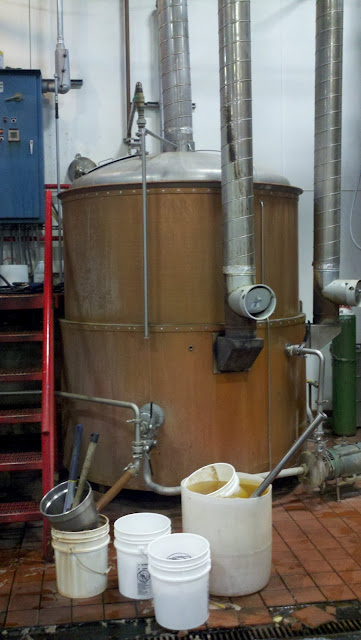
4) Stew the grains at 68C (154F) for 3 hours. I use a cooler and a 5-foot fermwrap with a temperature controller to achieve the temperature rest. It takes a very long time to reach 68C -- the ramp up to 68 plus the 3-hour rest takes about 24 hours. If your oven goes low enough, by all means stick it in a dish and cook it.
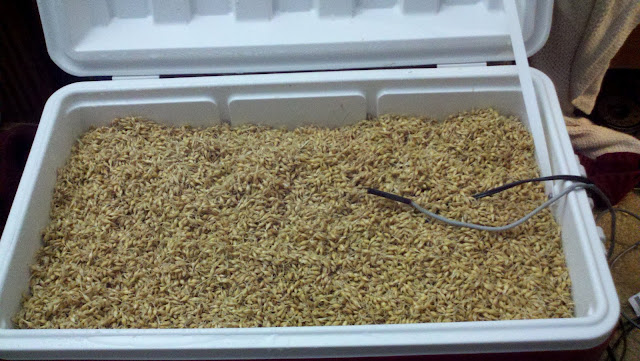
I layer the ferm-wrap with grains in the cooler, like making lasagna. This is so heat is distributed evenly. I usually make the layers of grains thicker as I go up, reasoning that most of the heat produced by the lower layers of ferm-wrap will convect updward:
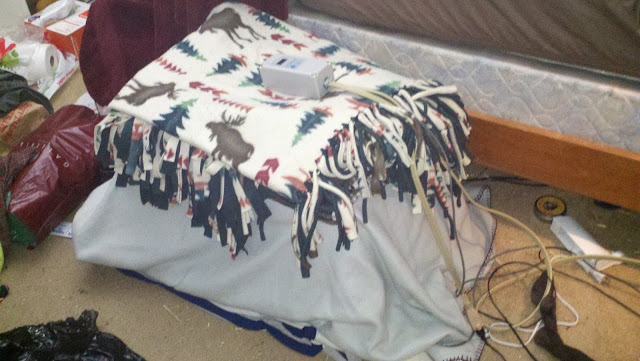
then I stick the temp. controller's probe in the top:
and seal it up, wrapping everything in layers of blankets:
Dirty sock is optional, probably.
***
Cautionary interlude: Do not attempt to heat the grains in your cooler with a light bulb. It may be tempting to think: Hmm, 5 feet of ferm-wrap at 20 Watts / foot... that's more power than a 60W bulb. I'll just try mounting a bulb in a reflective housing to keep the grains from touching it directly, and all will be well:
It does not work.
***
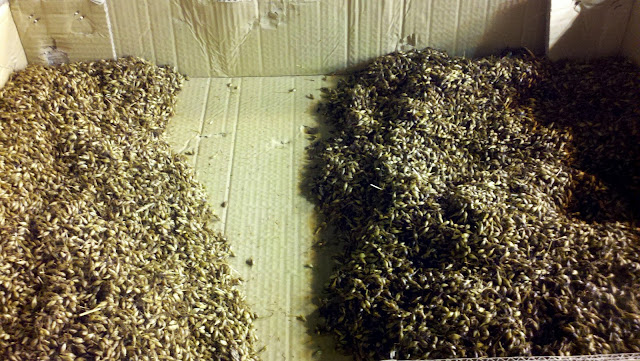
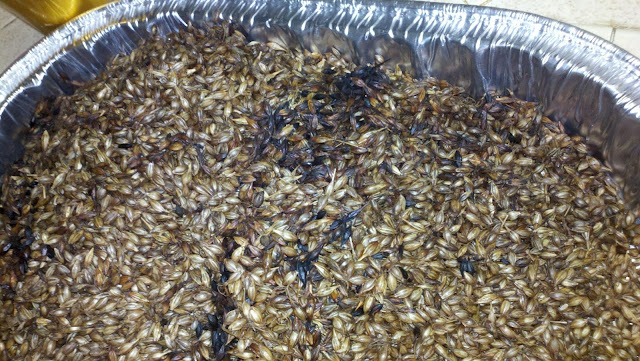
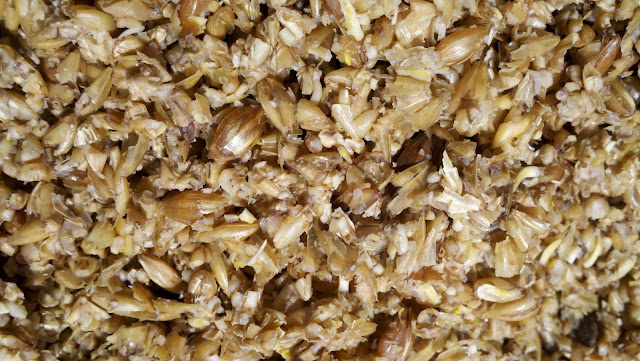
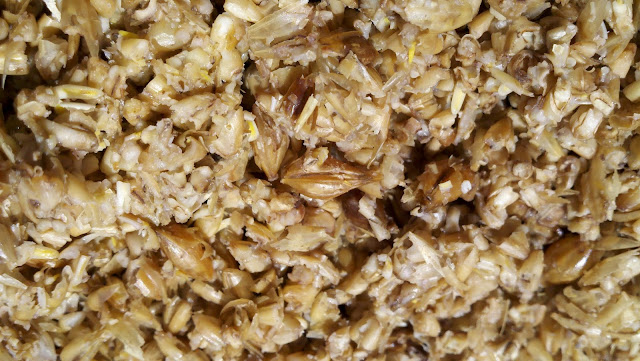
5) Once the malt is converted (3 hours at 68C), extract it from the cooler and load it into baking dishes. You will probably have to do several rounds of baking if you're making a large batch. Cook the converted malt at 275F to caramelize. The length of time you cook it will determine how dark the caramel malt is. In my oven, 3.5 hours at 275F seems to produce a malt similar to Crystal 60L. This step will be highly variable depending on the type of oven you have. You even get a huge amount of variation within an oven. The malt on the right was cooked on the middle rack, while the malt on the left was cooked on the bottom rack:
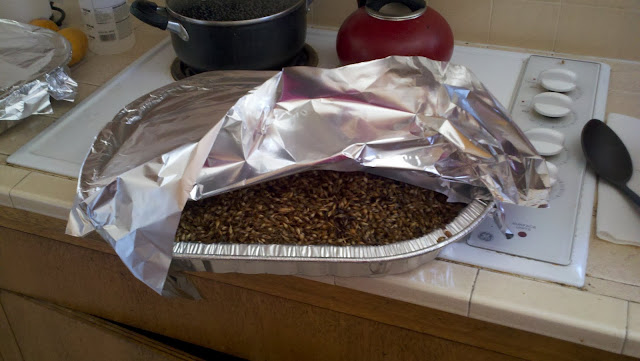
For my oven, I have to cover the grains with foil to prevent the heating element from burning the top layer of grains:
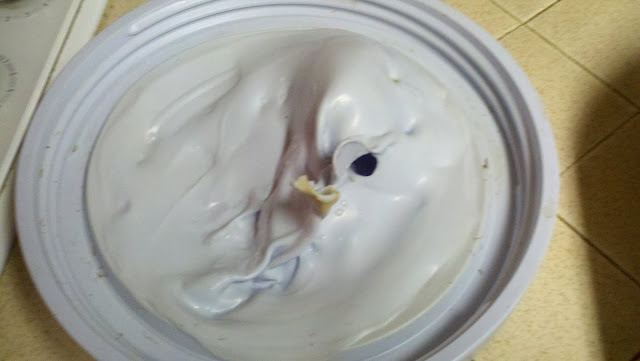
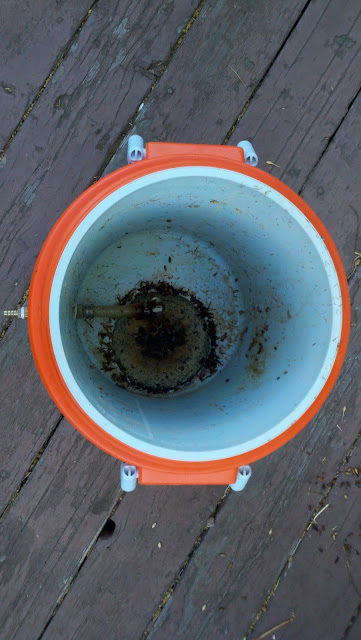
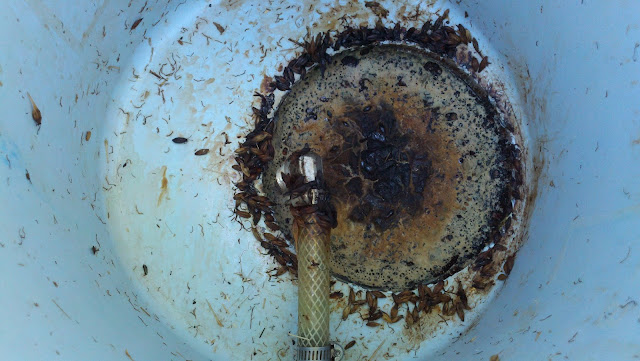
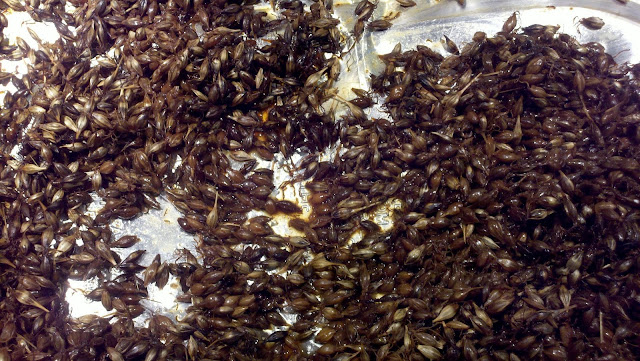
I also have to add water to prevent the grains on the sides of the dish from scorching. Here is an example of some stuff I had to throw out!:
It is very hard to separate the scorched grains from the good ones when this happens, so just add enough water to avoid it entirely. I add about 3/4 liter to my baking trays, which hold about 5-7 lbs of dry malt. Some malting websites maintained by maltsters will instruct you to dry the malt as you kiln it. That is so wrong! Maybe that's how you do it with a commercial convection oven or whatever type of kiln they have in a malting house, but with your home radiant oven, the malt must be kept moist or it will quickly burn, even at 275F. However, after adding enough water and covering the dish, I don't need to turn the malt at all during the 3.5 hour baking. I just put it in and set a timer.
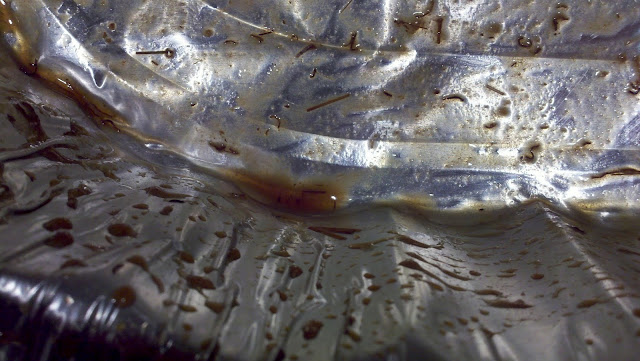
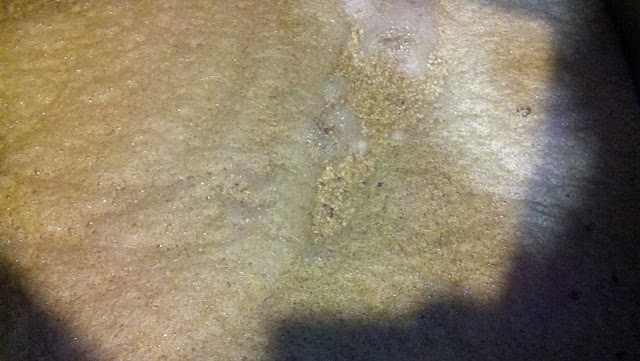
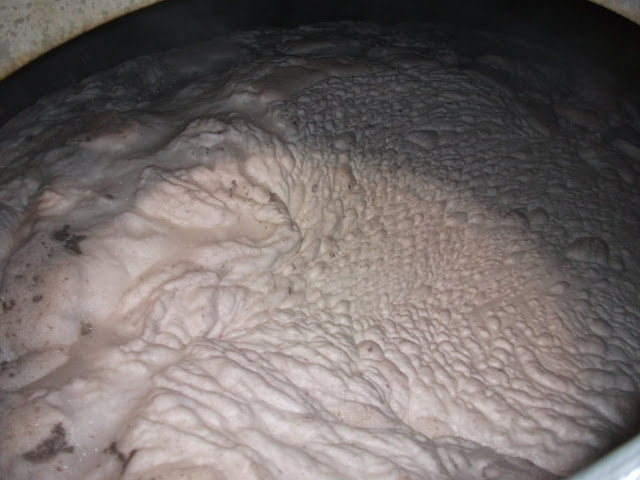
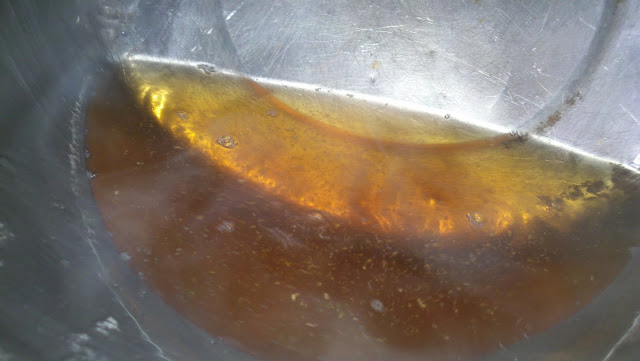
It's better to have a little too much water than not enough. You can end up with a little layer of caramel goodness at the bottom of your dish:
If it weren't for all the rootlets, you could put it on ice cream:
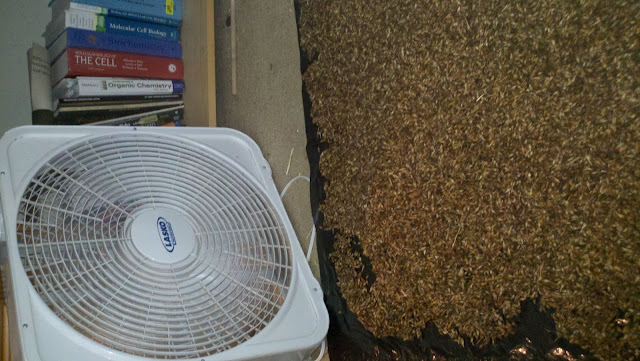
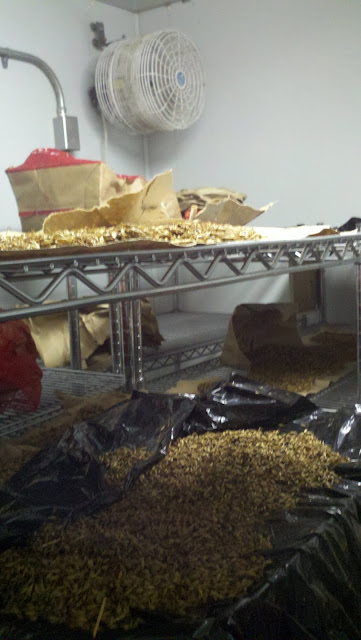
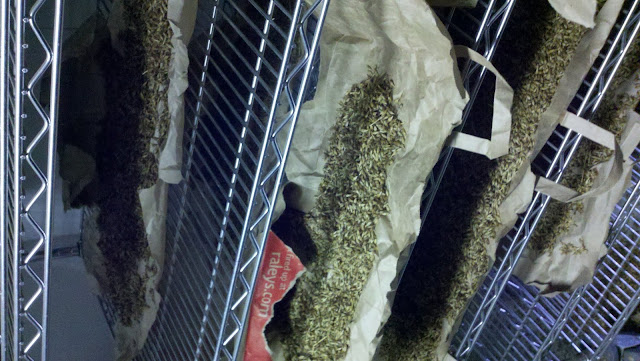
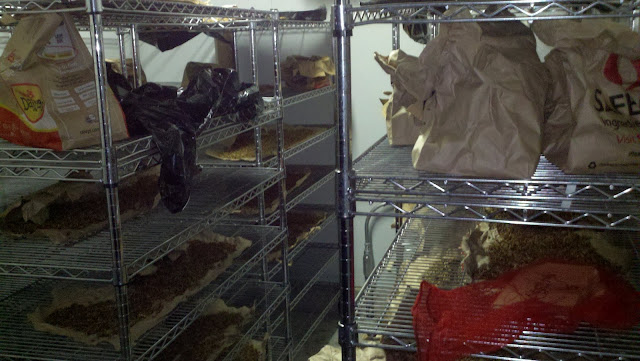
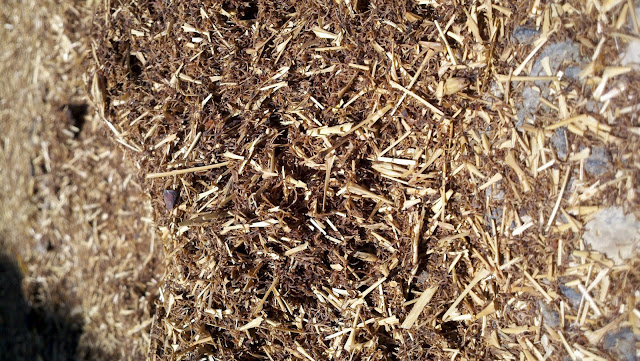
6) Now you can dry the malt. Go ahead and pour any liquid caramel that remains from the previous step onto the malt. As it dries, it will coat the grains in sugar, and that stuff will not be wasted. People love to build oasts for this step, but if you live outside of the humid East, you can get the grains dry enough to mill with a box fan and a few days of patience:
No matter how you do it, it's very important not to allow the grains to remain wet for long. They will mold quickly if moisture is allowed to remain on their surface. Spread the grains thin on a tarp or plastic garbage bag and turn the grains in the morning and evening for the first few days they are drying. This will prevent a solid outer shell forming around a liquid, moldy core. (Yes, it happened; sad. I had to throw out even more malt because of this!)
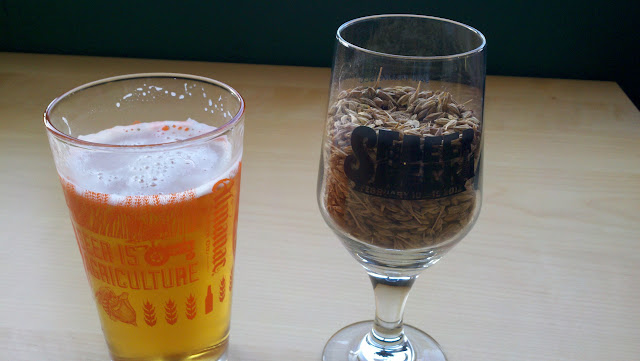
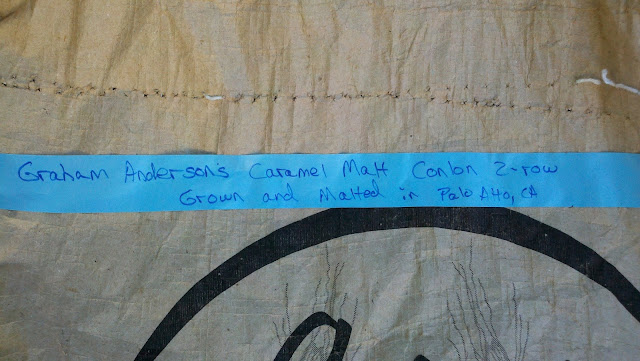
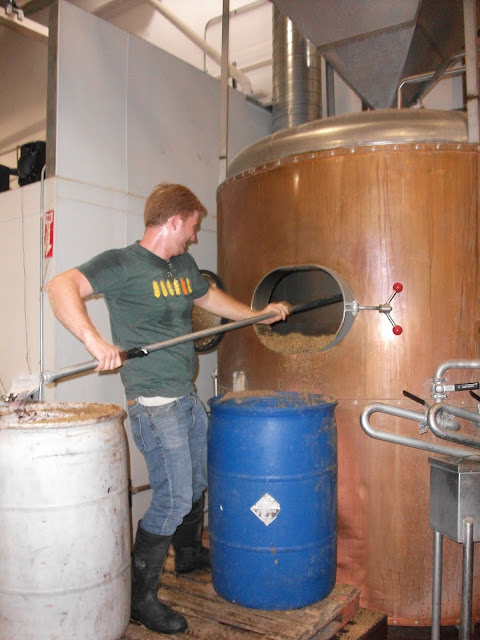
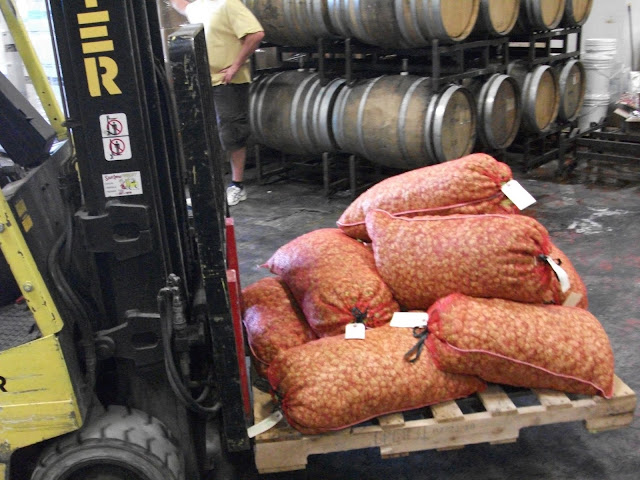
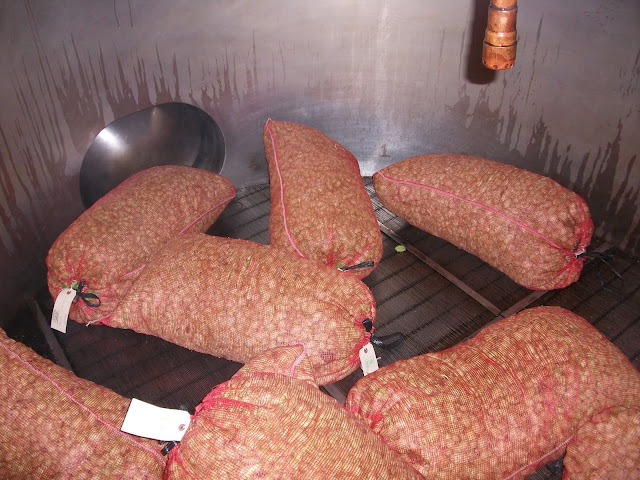
To accelerate the drying, I'm storing finished malt in a corn-drying room at the field. Let's hope I get enough finished and dried by Wednesday when the guys at Almanac need it! The goal is at least 50 lbs. of C60 malt. I started with 175 lbs, but malting at this scale has been a real challenge and I've had to toss out a lot of grains.
No matter what happens over the next few days, I've got enough grains still on plants at the field to go back and make at least one 5 gal batch of 100% homegrown!


![Craft A Brew - Safale S-04 Dry Yeast - Fermentis - English Ale Dry Yeast - For English and American Ales and Hard Apple Ciders - Ingredients for Home Brewing - Beer Making Supplies - [1 Pack]](https://m.media-amazon.com/images/I/41fVGNh6JfL._SL500_.jpg)


")