• Please visit and share your knowledge at our sister communities:
  • If you have not, please join our official Homebrewing Facebook Group!

    Homebrewing Facebook Group

How to add permanent volume markings to a kettle (illustrated)

Homebrew Talk

Help Support Homebrew Talk:

This site may earn a commission from merchant affiliate links, including eBay, Amazon, and others.
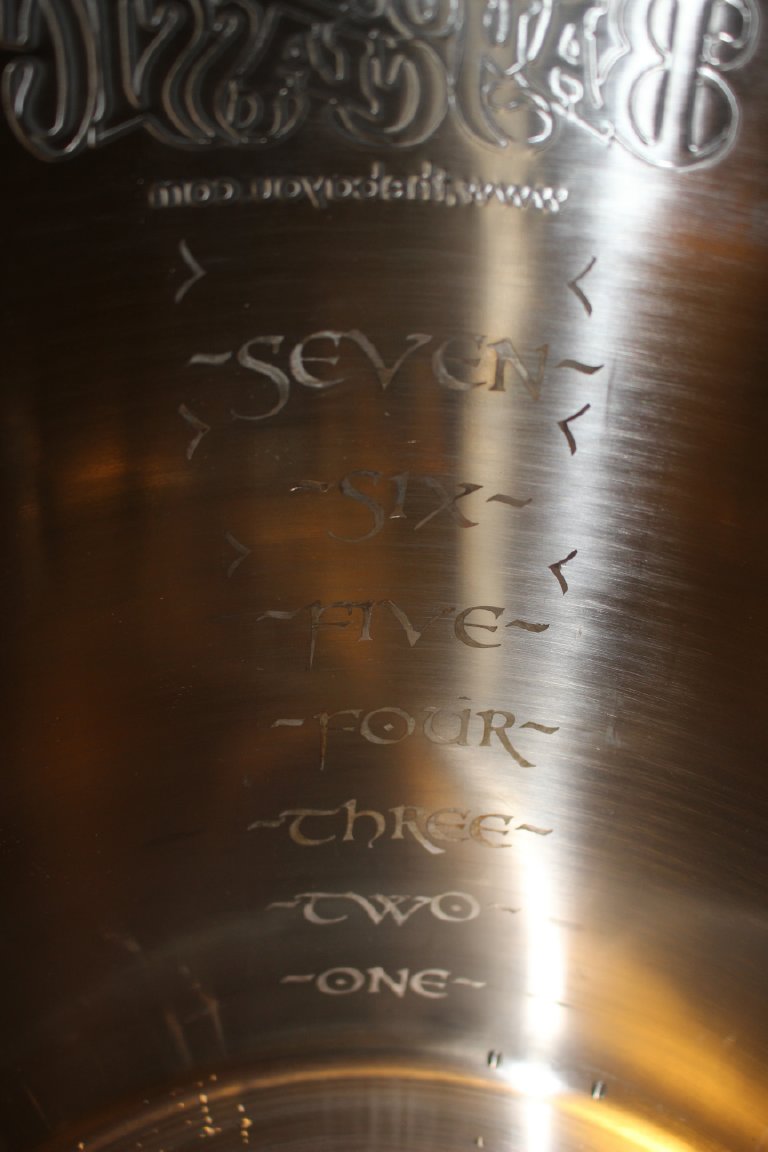
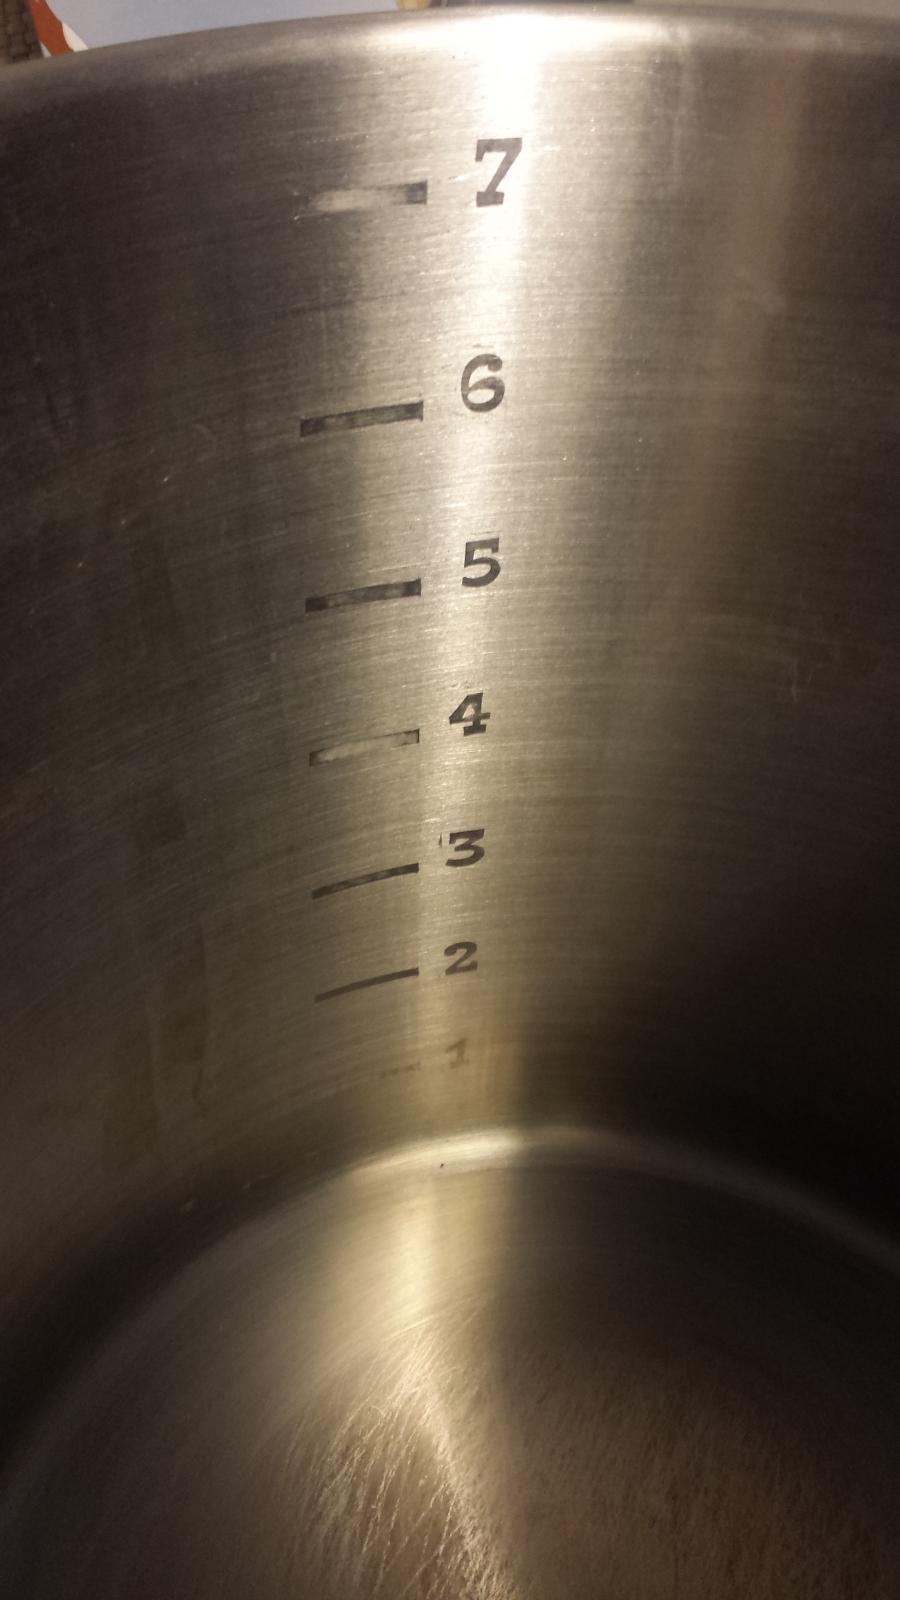
Here is my first kettle with just the gallon markings. My first inspiration from this thread.

That is absolutely awesome!

Thanks

How did you do this? Very cool.
Had a print shop print my logo on what they call bumper sticker paper.
It is plastic and sticks amazingly well.
I put it on the kettle and in an amazing, incredibly short time {read 2hrs} I was able to cut out the pattern. Well at least the letters.
The next day I talked a co-worker into cutting out the rest in trade for a bottle of wine I made (read great deal). She spent a modest 7 hours cutting out all the intricate details of the gears and the border.
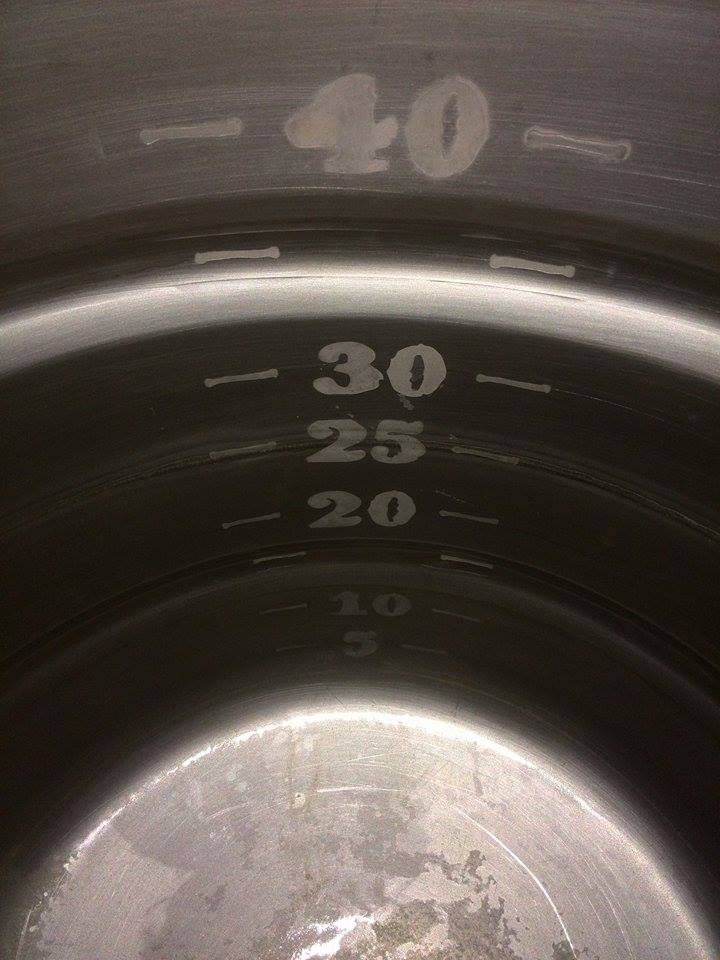
I was explaining the etching process to a different co-worker who owns a knife making/welding shop and he has a professional version of what the OP has made which he let me borrow.

First setting is ETCH and second setting is MARK which is what makes it black. Everything was coal black until I tried to clean off some left over glue residue from the stencil.

Some shiny where I didn't etch deep enough showed back up. I may attempt to go back and use some kind of small brush or something to deepen the etch in the shiny spots and try to re-blacken them again.

But I am pretty happy with the results as shown.

Awesome work.

Thank you
 
Do not do that! Worst case, you'll rupture the case and send strong acid all over yourself, and start a fire in the process.

Unlikely. Ever watch the 'normal' person jump a car? Usually they touch the poles a few times sending sparks everywhere... If the instructions are followed, there will not be any sparks.

I used a 19.5v 5A power supply from my work laptop for this. Really got the q-tip cooking, caused it to foam and etch the kettles in no time!
 
One time my brother was trying to unhook his car battery (side terminals) when the handle of the ratchet made contact with the other terminal. The sparks startled him and he let go, leaving the ratchet connected between the terminals. The ratchet almost immediately started glowing red, the battery caught fire and the terminals melted off of the battery within a few seconds. Very dangerous indeed. I wouldn't recommend using a car battery to etch anything.
 
Like I mentioned. If the instructions are followed, nothing should happen. The electrolyte solution begins to boil off and after a few seconds you will lose continuity.

However it really is a moot point, after all a 9v or two does the job pretty well, there really is no reason to think a car battery is needed.
 
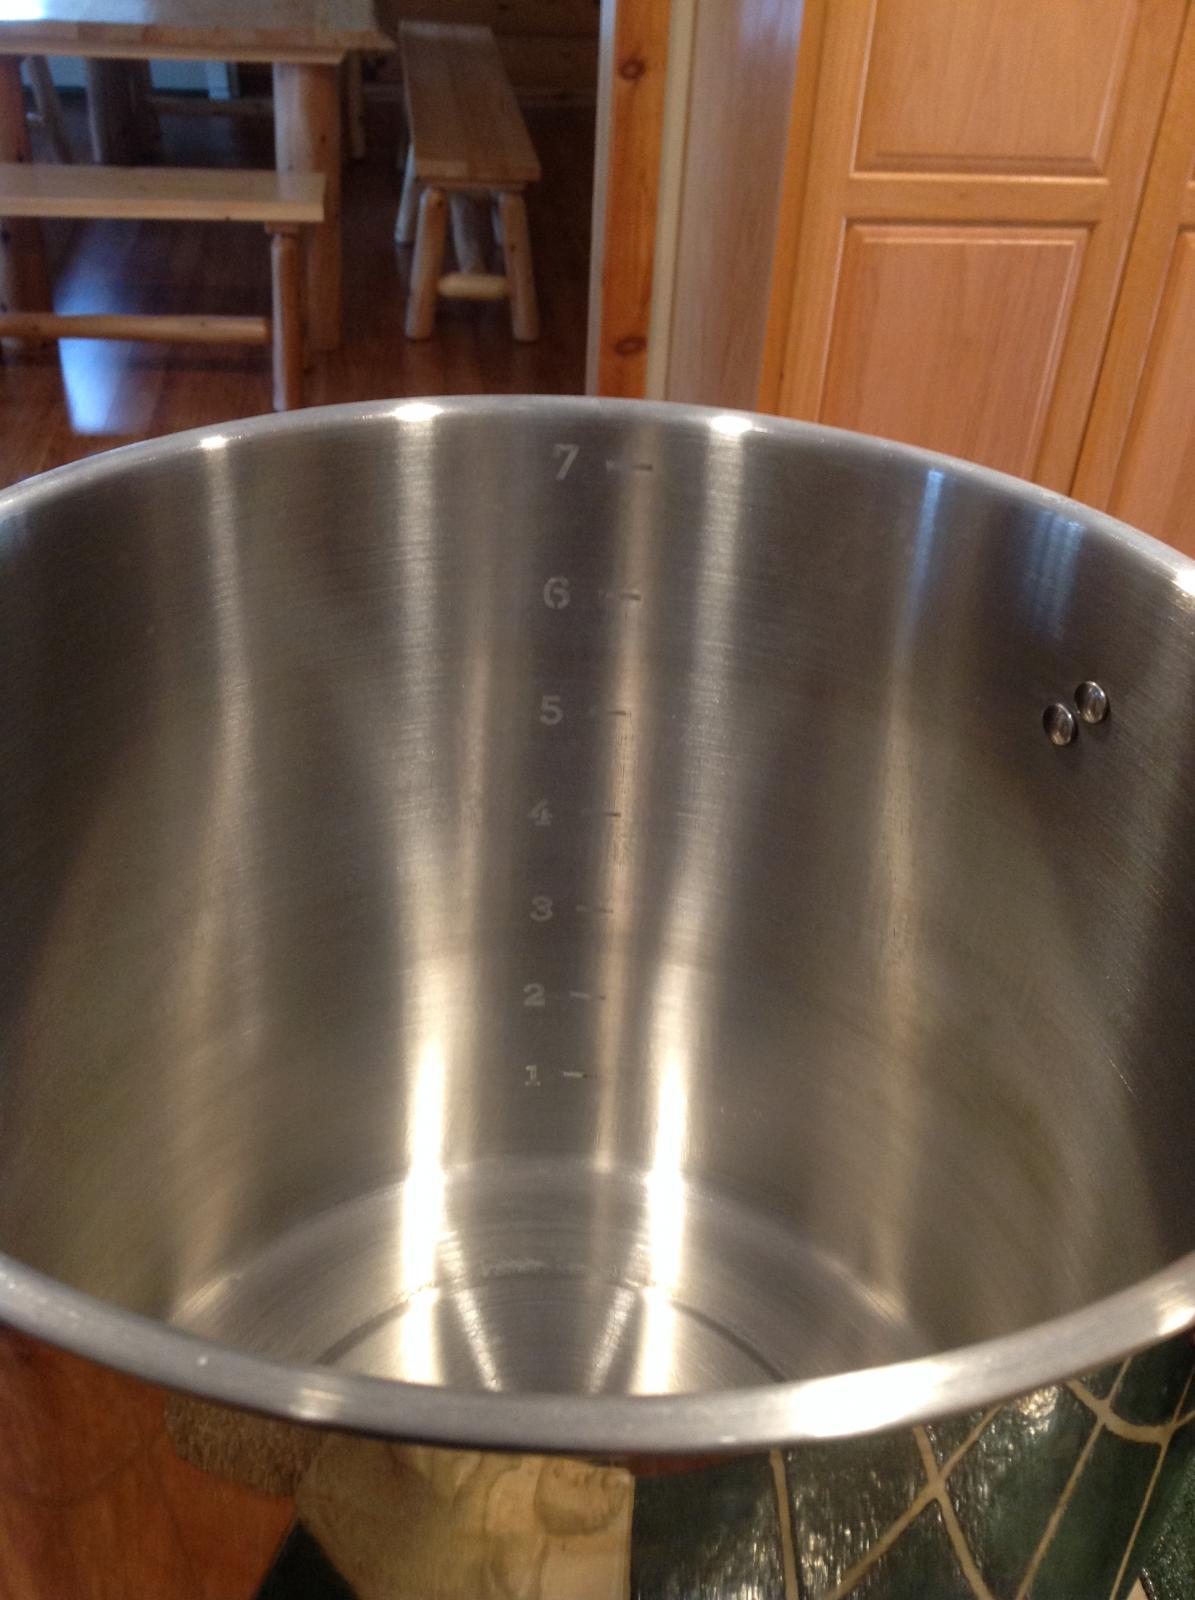
Had a practise on my aluminium HLT today before trying this out on my BK (also aluminium). Went very well, used a wall wart from an old router, calibrated the pot with hot water from the tap, marked with a normal pencil then a permanent marker. Done in 2L increments. Just need to find some stick on number stencils now!


View attachment ImageUploadedByHome Brew1425228090.933930.jpg
 
Inside markings done

Eight and Nine are to the right of the stamping.

Done with Q-tip and Salty/vinegar

IMG_0039.JPG
 
Will changing the acid to salt ratio or the voltage of the battery change the color/texture of the etching ???
 
Saw this thread and had to give it a try. Worked great and have bought two new 2.5 gallon kegs that will be used as my next project.

Did this on a scrap piece of aluminum.

IMG_20150307_155721.jpg
 
Hello home brewers! I love the idea of this but I can't get it to work. My aluminum pot is black on the inside from seasoning and brewing. I see sparks and smoke but not lines or marks. I also tried it on the lid of my pot and it just sparks with no marks. The cotton swap is very wet with the solution too. I am using a 12v AC dc stripped charger. Any ideas what I can be doing wrong?
 
Hello home brewers! I love the idea of this but I can't get it to work. My aluminum pot is black on the inside from seasoning and brewing. I see sparks and smoke but not lines or marks. I also tried it on the lid of my pot and it just sparks with no marks. The cotton swap is very wet with the solution too. I am using a 12v AC dc stripped charger. Any ideas what I can be doing wrong?

I read this somewhere back.

Try playing with the salt/vinegar ratio.
Or have you already tried this ?
 
Hey beeroniois! Thanks for the response. I tried all different mixtures. A lot of salt to vinegar and even salt water. Can't get any marks on! It's killing me! Haha.. I just put a ball valve and thermometer on and this was going to be the finishing touch!
 
Hello home brewers! I love the idea of this but I can't get it to work. My aluminum pot is black on the inside from seasoning and brewing. I see sparks and smoke but not lines or marks. I also tried it on the lid of my pot and it just sparks with no marks. The cotton swap is very wet with the solution too. I am using a 12v AC dc stripped charger. Any ideas what I can be doing wrong?

My experience:

You don't want the Negative Lead (attached to your Q-Tip) touching the pot. This will generate your sparks. As long as it is in contact with the liquid on the Q-Tip this is enough.

Make sure your leads at the right way round. Positive to Kettle (taped on nearby area you plan to etch) and negative to Q-Tip.

Dont stress too much on the ratio's of electrolyte. I took a cup, put about ½ a cup of vinegar in it and dumped some salt in.

It took a little while for me, using a 12v/1500ma charger. A battery was not strong enough for me. If the charger you are using has a particularly low output this may not be helping?

Hope this helps!
 
Oh and if your leads are the wrong way round, I found the Q-Tip went green.
 
Gave this a try today.

Used my portable jumper box as the battery and instead of a Qtip, I used a tobacco pipe cleaner which worked way better than the Qtip, I assume because of the metal wire in the center. Just had to make sure to fold the tip over or it actually arced and welded to the side. Going to do my HLT and boil and their sight gauge markings this week.

image.jpg
 
Here's my etched brew pot. It turned out pretty good.

I had a tough time marking the SS pot with water in it. I got the lines marked but then couldn't see the marks too well on the SS. What I ended up doing was putting a strip of blue painters tape on the pot and then marking on the blue tape where the gallons were. This worked great and I could see the marks clearly.

A really nice unexpected benefit was that I could take the blue tape on and off and move it around. So I used a utility knife to cut the dashes right on the gallon marks. Then I used that piece of tape, along with stencils for the numbers, and voila! Worked great!

Bill

IMG_0727.jpg
 
Lyonshead:

How long did it take to get that shine?
(What process did you use?)

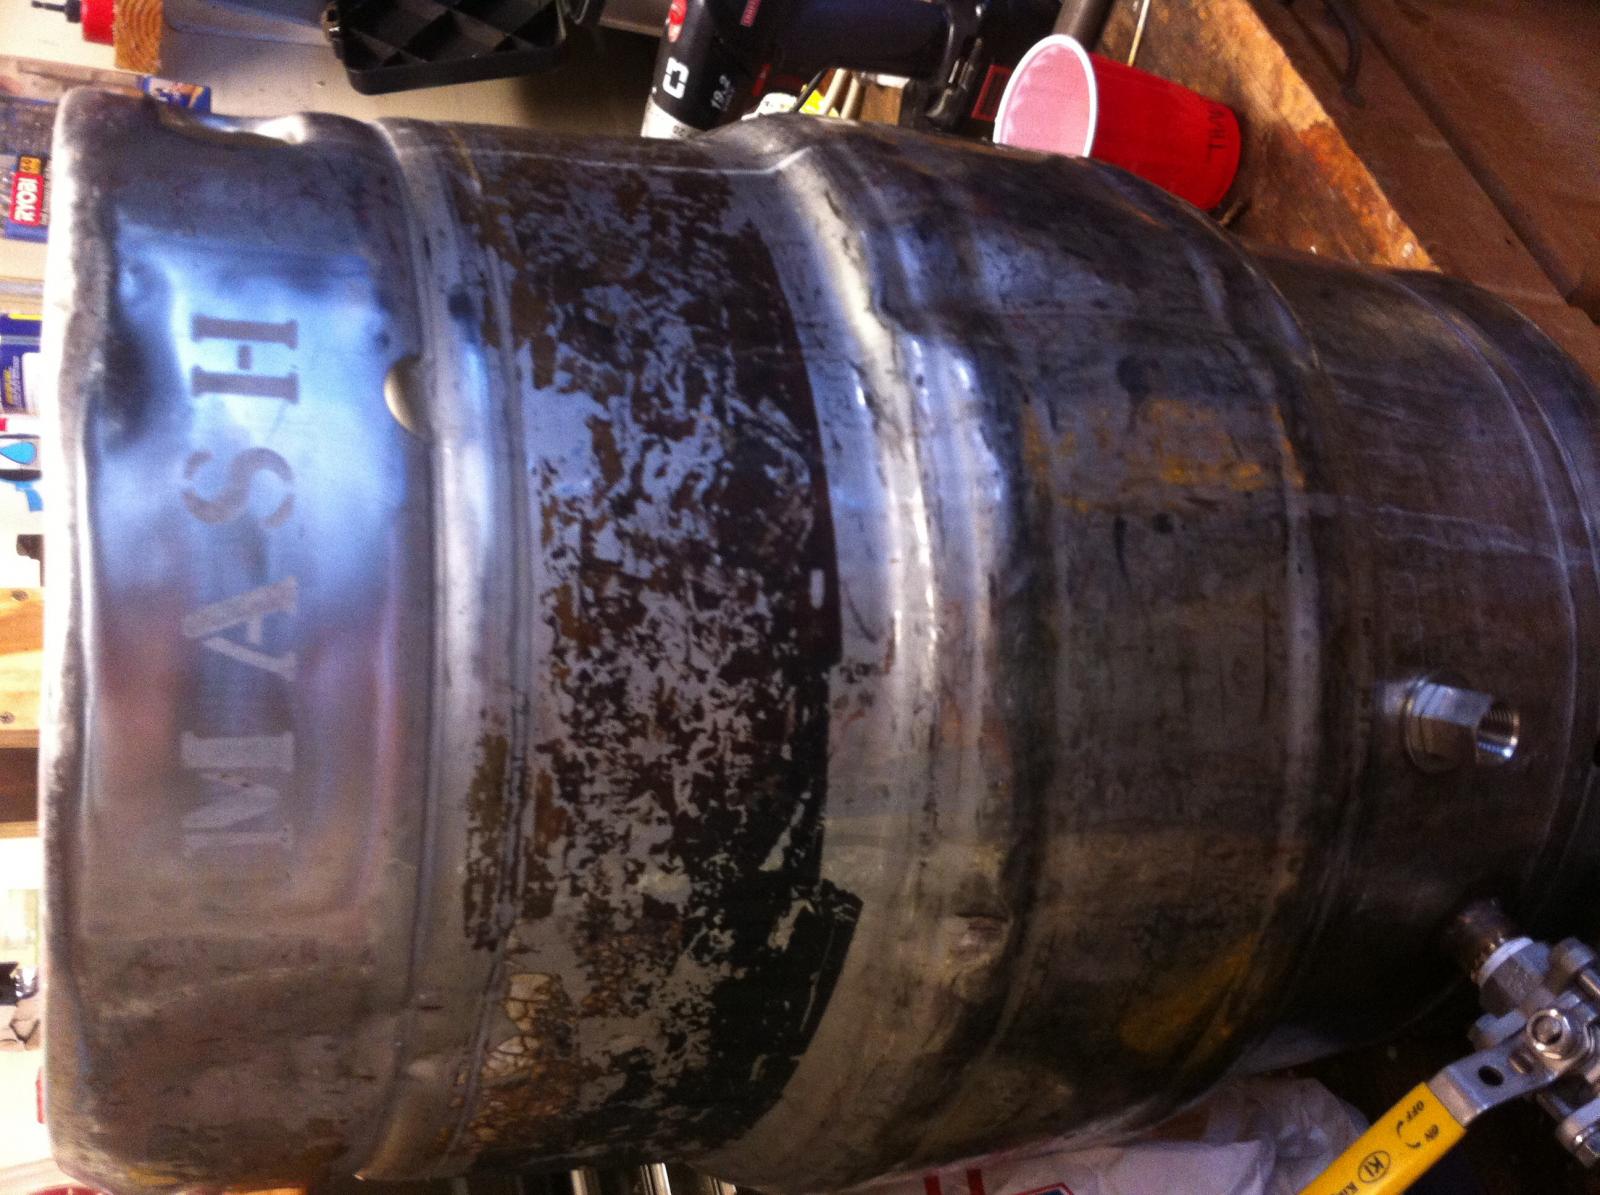
I found an almost brand new keg I would like to spiff up.

Tom
 
https://www.brewhardware.com/category_s/1887.htm
Here is an article that came out of a thread that originated on HBT. There are several methods you can use but I like this one, because I already owned an angle grinder. It takes a while though. Few hours, by the time it's all said and done. This keg isn't even done, but I was board and ready to etch so I skipped ahead
 
Thanks to the OP for this one. I finally got around to marking all four of my kettles using this technique. I have markings covered in paper towels soaked in water and citric acid solution, covered with plastic wrap, soaking overnight. My markings are accurate enough, but not nearly as nice looking as some of the ones folks have posted.
 
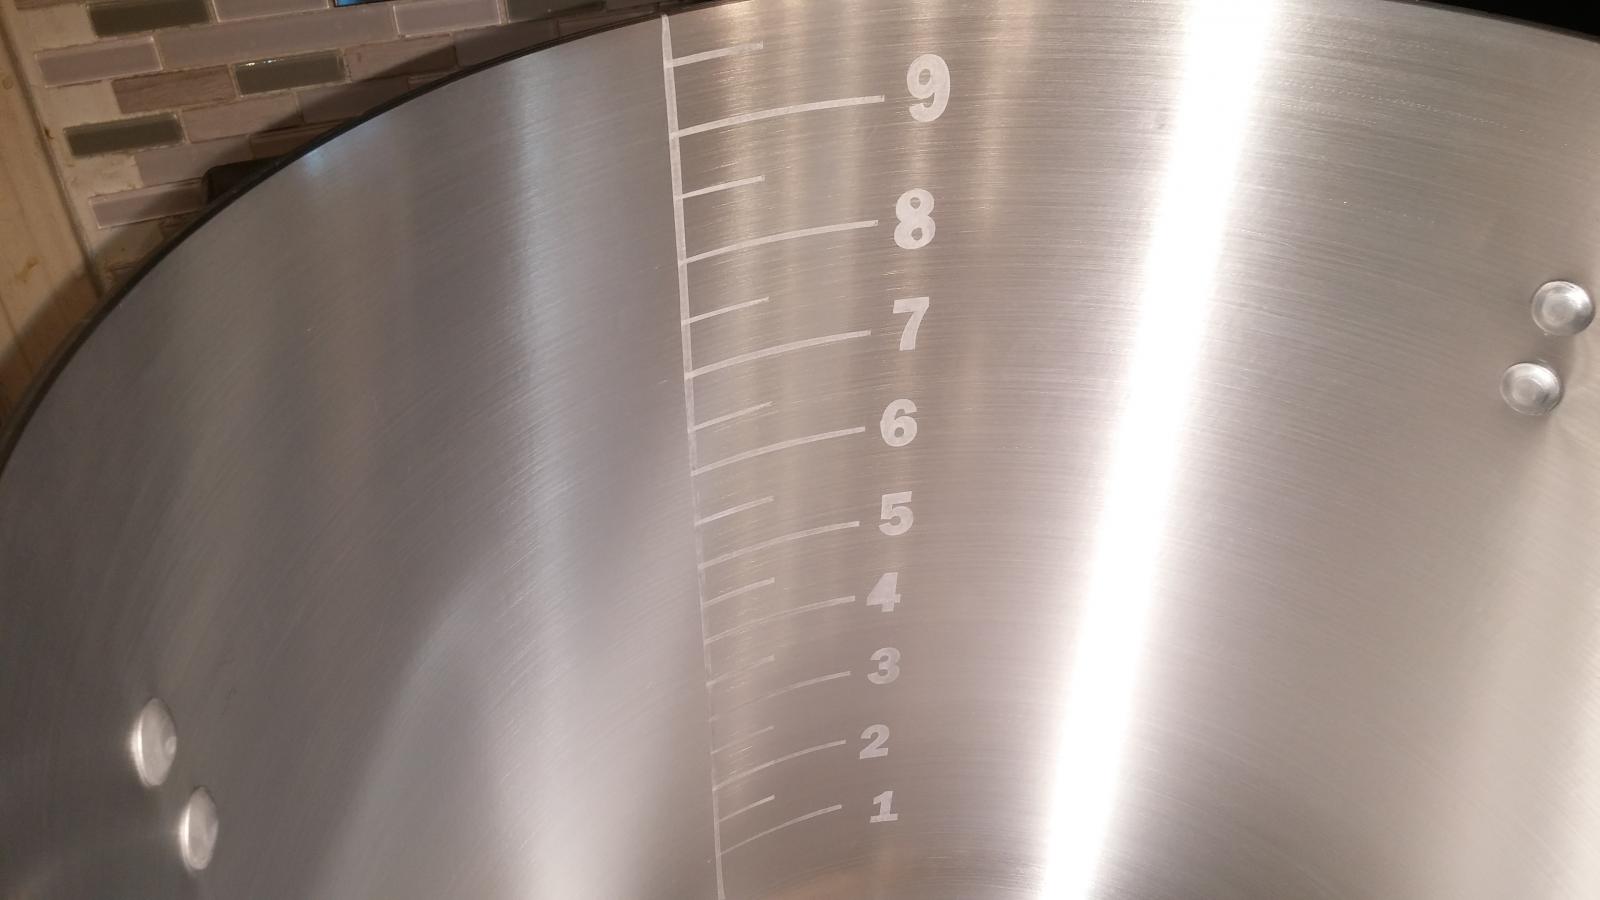
Just did a new thick-walled aluminum 10 gallon pot. The pot is obviously going to darken as it oxidizes, but hopefully the markings will still be clear.

I used electrical tape to make the vertical line, etched it, then removed one of the tape strips and added water, 1 gallon at a time. I used a screwdriver to scratch the tape at each gallon level after each addition. Then I made the horizontal lines with electrical tape at each gallon marking, and etched those. I removed all the tape except for the first vertical piece, and marked the half-gallon lines using a ruler and a sharpie, marking the half-way point between the gallon lines. I then marked those off with tape, and etched them.

For the numbers I couldn't find stick-on stencils that had numbers, so I just bought stickers, and punched out the actual number, and used the surrounding sticker sheet as a stencil. When I was all done, I used rubbing alcohol to clean the sharpie marks off, and washed well with hot water and dye/fragrance free dish soap.

Big thanks to the OP for the idea, and everyone else who contributed to this thread with additional information. A home-brewing friend who has been doing it quite a bit longer than I was blown away by how it turned out.

20150424_145106.jpg


20150424_145117.jpg
 

Latest posts

Back
Top