• Please visit and share your knowledge at our sister communities:
  • If you have not, please join our official Homebrewing Facebook Group!

    Homebrewing Facebook Group

Soldering Stainless steel

Homebrew Talk

Help Support Homebrew Talk:

This site may earn a commission from merchant affiliate links, including eBay, Amazon, and others.
Absolutely, I'm using them for my keggles. I also have the jam nut, so the solder joint will be reinforced with the nut on the inside.
 
Absolutely, I'm using them for my keggles. I also have the jam nut, so the solder joint will be reinforced with the nut on the inside.

Ok, nice strong joint then! The solder is really just shiny pipe dope at that point...no question of strength of the fitting at all when backnutted like that.:mug:
 
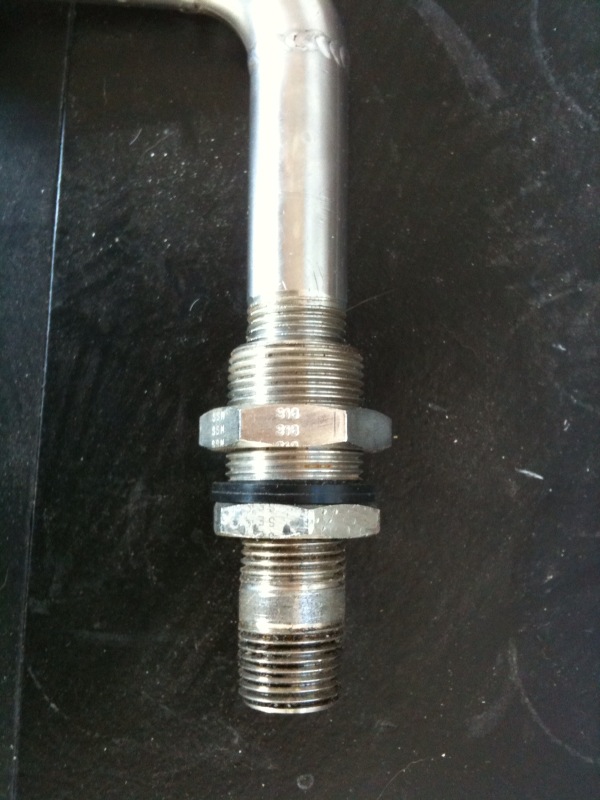
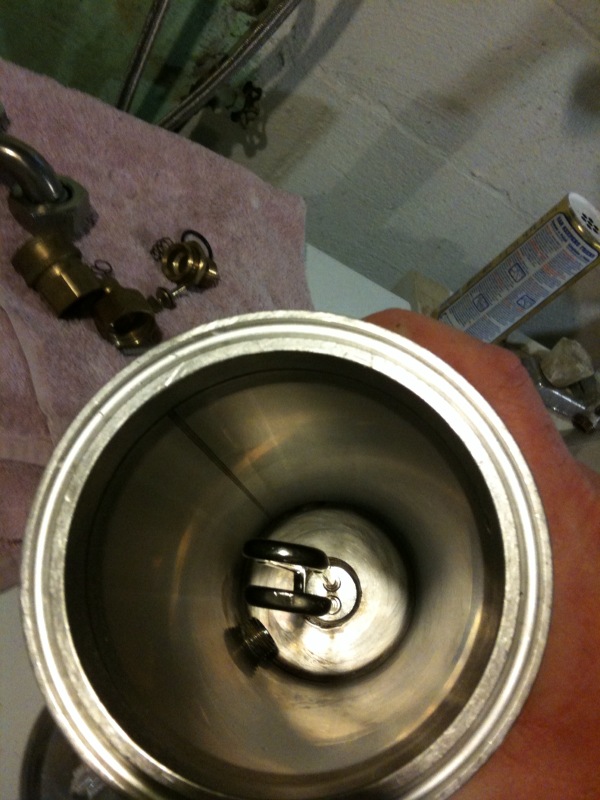
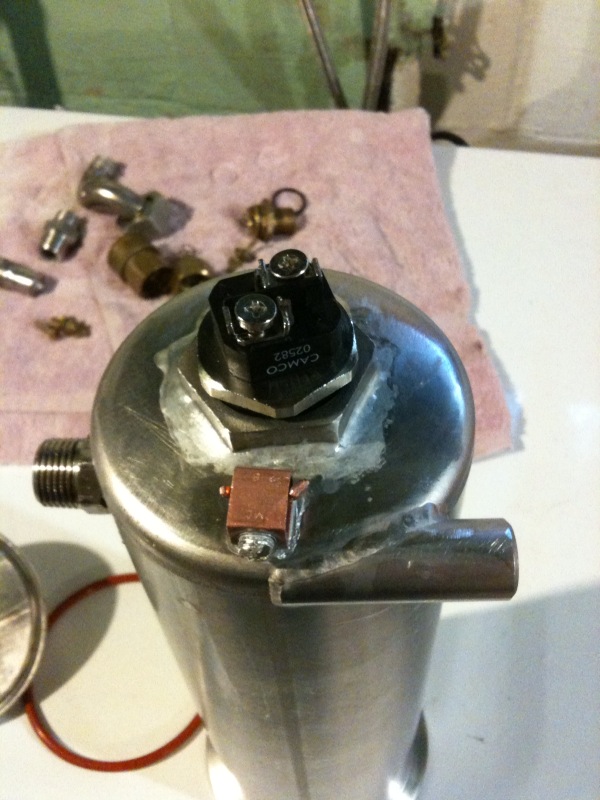
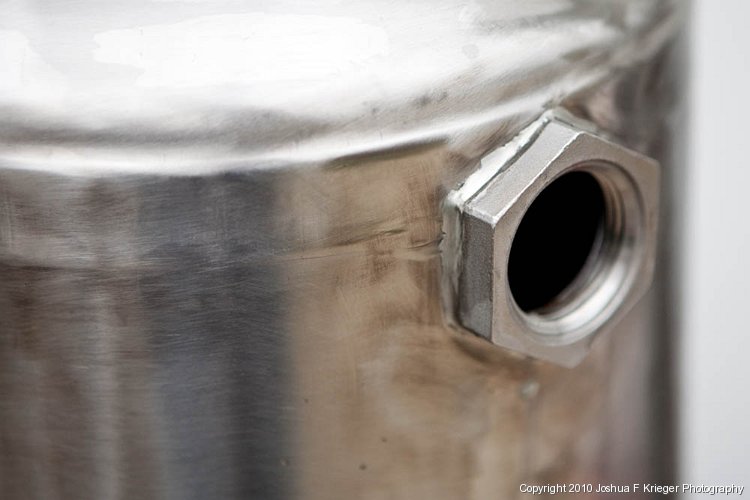
Would a bushing like this work soldered in a kettle....just an idea?
Keep in mind that this fitting:
1-2x3-4-bushing.jpg

will act like a 1/2 coupling. You can only thread a 1/2" pipe into it from the hex nut side. That being said, how will you use it and have a pickup tube inside your kettle?

I suppose you could use a 3/4 X 1/2 reducer inside.
 
Keep in mind that this fitting:
1-2x3-4-bushing.jpg

will act like a 1/2 coupling. You can only thread a 1/2" pipe into it from the hex nut side. That being said, how will you use it and have a pickup tube inside your kettle?

I suppose you could use a 3/4 X 1/2 reducer inside.

Hmmm some must be different mine is threaded all the way through. I'll post a pic in a bit.
 
Hmmm some must be different mine is threaded all the way through. I'll post a pic in a bit.
I have no doubt that it is threaded completely through. I think the issue really is that it is a tapered plumbing thread that is cut from the hex side only. I imagine that one would have to be really lucky to find a part that would thread into the small thread diameter side. Or - run a pipe tap part way through from that side?
 
Here is mine with the jam nut on it and nipples threaded into each side. I tried to show how its threaded from each end.
4445880164_7c94f68151_o.jpg

4445106043_f92bf690a1_o.jpg
 
P-J:

what would this fitting be called, and where would I be able to buy one? It looks like it would be perfect. A nice big stable shoulder, and a smooth mating surface.


Alternatively, could somebody post a picture of what fittings besides a coupling people have had success with? Are you guys basically just using weldless kits without the o-rings?

I just saw your post and I believe those are what I use. They are a bit pricey, but they work and look great. If you ever need to run up to 5200psi they are there for you :D

http://www.mcmaster.com/#48805k48/=6acdqb
 
I was inspired by the posts in this thread about pulling a tapered fitting through a small hole to make a lipped hole for increased solder surface area to try something slightly different (see page 8 or so). Instead of having the sides of the lip parallel and at right angles to the wall of the keg, I wanted to make the lip tapered at the same angle as a tapered pipe thread. Then I wanted to thread it inside so I could screw in a nipple or reducing fitting, then solder it. My reasoning was the added mechanical strength from threading would improve the overall strength of the joint.

So I chucked a 3/8" nipple in my friend's lathe, and with his help we cut the threads off leaving the taper, then turned a little more taper on the first 1/8" of the "tool". I drilled a 1/2" hole in an old keg head left from keggle making and pulled the tapered tool through the hole about 3/4 of the way down its tapered section. I got a nice 1/16th inch lip that I was able to thread easily and just as easily screw the other end of the nipple into. It works great. I got about 2 full threads cut in the lip. Next will be to solder it to seal it up.

I did have to fiddle around to find the right size backup die to fit onto the back of the hole; too large a diameter and the lip didn't form, I just got a big dimple in the keg top. Too small a diameter and the tapered tool jammed before forming the lip.

I'm going to use this technique for all my small keggle holes for thermocouples and sight glasses. Either fitting nipples or 3/8" to 1/4" reducing fittings. I'll let you know how it works out, but right now I expect it will be great.
 
Ok this is starting to get even more interesting. :) Can you post some pictures of your setup? That sounds like a pretty ideal combination.
 
Here is the soldered joints on my RIMs vessel. It's all 316 SS, two 1/2" MNPT nipples, 1" nut and 3/8" FNPT fitting (was welded on when I got it). The top is 4" tri-clover. I'll put a drain in the 3/8" fitting to drain system at end of brewday.

4446848010_d4accf6ffc_o.jpg

4445836275_19c3866e77_o.jpg

4445836375_bd2d54cc97_o.jpg

4445836333_fc193c55c1_o.jpg
 
MacB,

I will as soon as I take some, load onto the computer, and figure out how to upload to this site. I broke down and upgraded my membership today so I can start posting some photos.
 
Here is mine with the jam nut on it and nipples threaded into each side. I tried to show how its threaded from each end.
Neat. That fitting is truly taper threaded from both sides. As Bobby_M stated it is a bulkhead fitting. I had searched for them before but the price is out of this world.

Can I ask? Where did you get that part and how much?

Thanks.
 
My father knows the owner of a medical equipment recycler; I gave him a list of stuff I was looking for and these were in the lot. I see my dad every few months (1 1/2 hr drive) and he is usually able to get a few things on my list. I have 10 bulkheads (nut and fitting) and Dad said they have about 50 more. I don't know what he paid, I tried to give him money but wouldn't take it. Its just whatever they have at the time. The stuff he gets is amazing quality all 316 SS machined inside and out. It's, well, medical grade. The RIMs heater I posted is an unused filter housing from a dialysis machine.
 
Pickles, can you give me an outline on how you soldered the 1" nut to your housing (hole size, any technique worth noting, etc.)?

Thanks
 
I drilled 1 1/2" with a holesaw. I tried a Harbor Freight step bit with lube and it took forever so I eventually got my BluMol holesaw kit out and drilled the hole in less than a minute. Sand and clean with alcohol first. I found it easier to tin the surface of the vessel first then set the clean, fluxed nut onto the freshly tinned surface and apply heat (propane in my case). I've found that the solder wants to bead on the SS so I applied heat and squirted with flux and the soldered flowed nicely. I tried to wipe it with a wet rag immediately after (like I would with copper) and knocked the nut right off. I found it takes much longer to cool and subsequently harden so be careful when trying to clean the fresh joint.
 
I ended up getting some fittings in my system this weekend.

A coupler turned down to act as the lead element in a keg tool for 1/4" NPT fittings, right next to a practice run through a keg lid.
0008.jpg


1/4" NPT half coupler silver soldered in place after using the keg tool.
0015.jpg


1" NPT nut silver soldered onto the BK. This was a pain in the ass to do the first time, but it worked out well in the end and is totally leak free.
0017.jpg


1/2" NPT coupler after keg tool and silver soldering in place.
0016.jpg


It was a long day of fabricating, but it ended well with both tanks cleaned and checked out as watertight. I could also do it again in half the time and twice as well now that I have practiced some.

Between the keg tool thread, and this thread on soldering, it made this possible.

Joshua
 
What type of vessel is the fitting soldered to in the bottom pic? Maybe some pics of the whole thing? I know what you mean about the 1" nut. Mine slid around on me alot.
 
I dont have a pic of the whole thing with me, but it is a cleaned up corny keg for a 2.5 gallon compact system.

The problem with the 1" nut was not sliding (thought it did that too) as much as it was getting the silver solder to bridge a 3/16" gap on the two sides. It turned out the best way to do it was to tack one side, let it solidify, and then do the other side. After that was done, I came back to the first side and re-fluxed and gently finished up. the silver solder was pretty forgiving, and if I was gentle on the heat, clean up was a breeze.
 
Looking good! I would only advise that if you're mounting an electric element, use NPS fittings, not NPT.
 
The 1" nut for the electric element is whatever they sent me from BargianFittings. I think it is NPT. All I know is that it works and seals well. The element threads in and out well.

What is the difference between NPT and NPS? If I was going to use a 1" half coupler to hold the element, what would be the best to get?
 
The locknuts I sell are NPS - National pipe straight thread. NPT is National Pipe Tapered.

The difference is NPS is a mechanical joint and NPT is a sealing joint for pressure.

The NPS will seal up fine for our applications and tape thread along with an o-ring will give a nice seal.

Soldering them to the kettle will give a very strong mechanical connection.
 
That is really good to know and thanks for the explanation. Also, thanks for all of the great fittings. They are working great and soldered in well.

Just so you are aware your website says NPT for the lock nut, which is why I assumed NPT.
 
I use 1" NPT couplers on mine and they threaded and sealed just peachy. Even though the element is NPS.

Looking good JF
 
That is really good to know and thanks for the explanation. Also, thanks for all of the great fittings. They are working great and soldered in well.

Just so you are aware your website says NPT for the lock nut, which is why I assumed NPT.

Updated the site to NPS. Thank you.
 
Back
Top