
Brulosopher
Well-Known Member
- Joined
- Jun 1, 2011
- Messages
- 3,007
- Reaction score
- 447
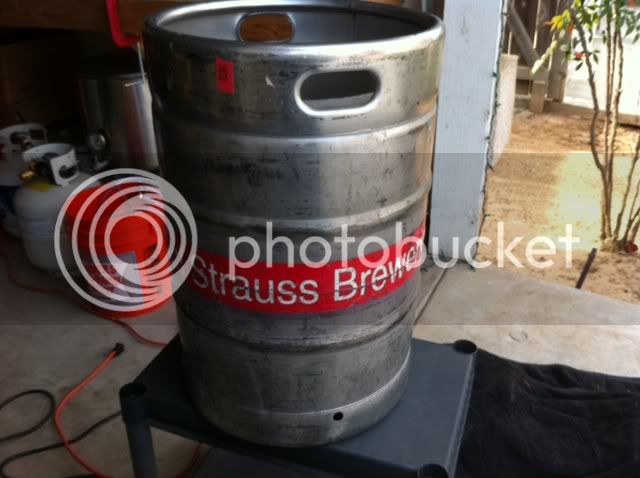
I was able to score a couple decent shaped kegs from Craigslist, $20 per, and figured I'd make one into a mash tun (even though I currently batch sparge using cooler) and the other into a brew kettle (even though I have 2 other kettles). Here are some pictures of my build (just 1 of the kegs)... it's not done yet, but I'll continue to update.
This keg was in OK shape. I bought it from a guy who picked up a few kegs of beer from Karl Strauss in San Diego, then brought them to a party in Fresno (where he lives), with no plans to return to San Diego. Ehh... whatever.
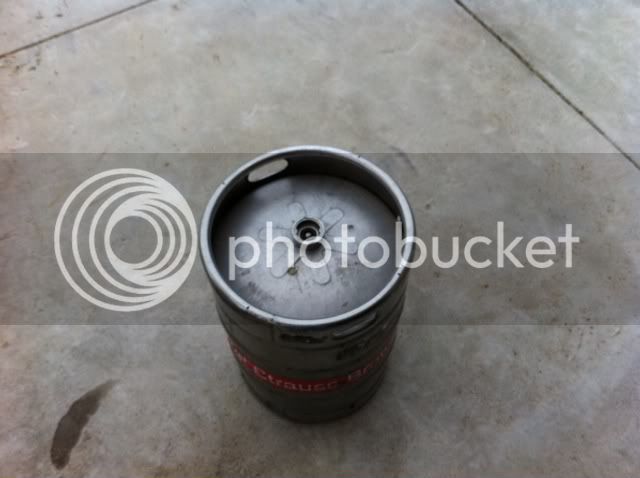
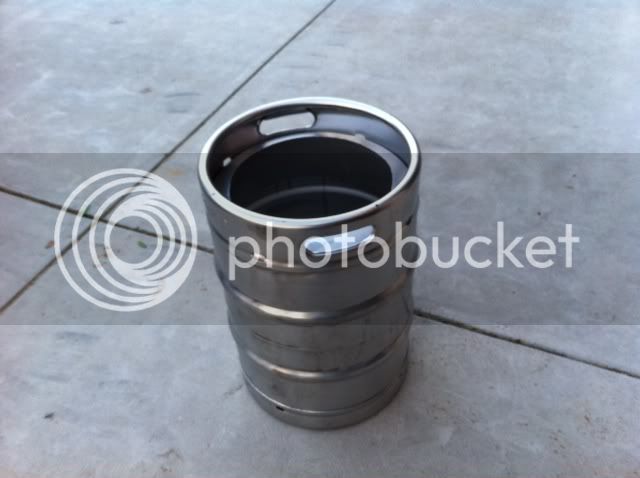
I measured 1.75" from the inside of the raised part of the top of the keg (that was confusing). I marked multiple points around the top of the keg to be cut, then used twine and a sharpie to connect the dots. Using a 4.5" angle grinder with a metal cut-off wheel, I traced the inside of my line- this only took about 15 minutes. I tossed the cut-off wheel afterwards, as it took a pretty good beating. To smooth out the rough, sharp edges, I used a grinding stone on the angle grinder, a smaller grinding stone on a Dremel, then an 80 grit attachment on the Dremel, in that order. It worked great and took only about 20 minutes.
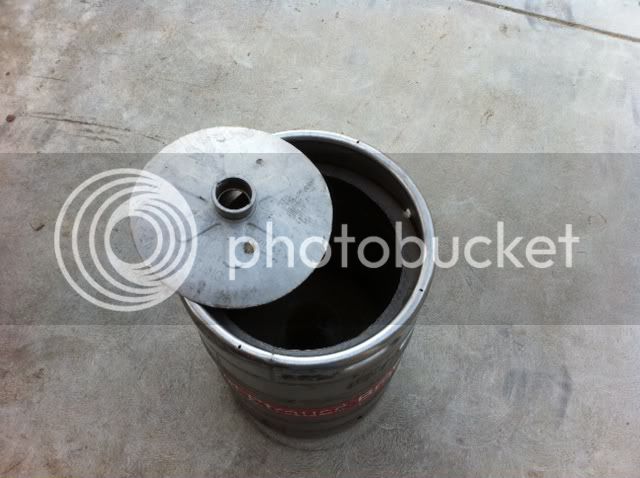
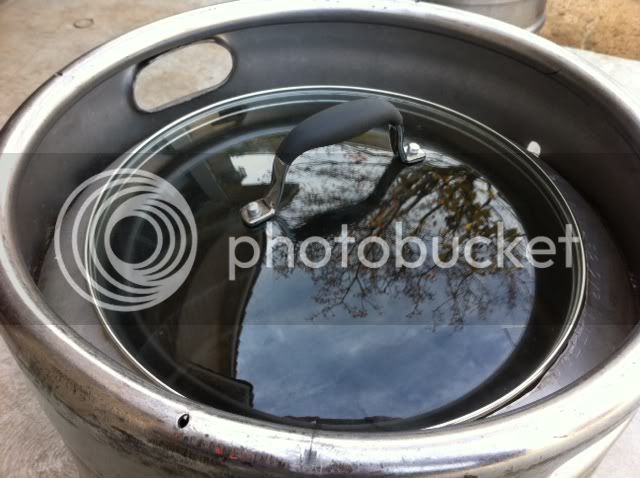
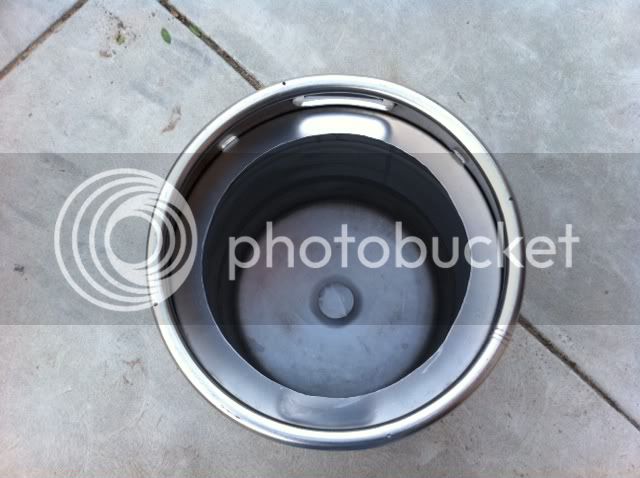
My measurements were good...
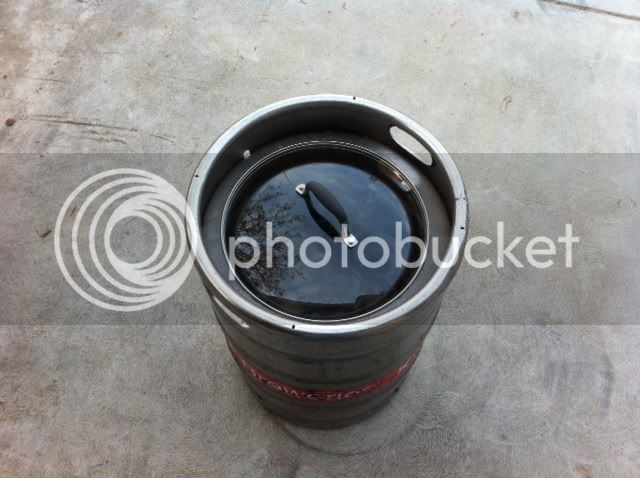
...the lid fit like a glove!
The next step was cleaning up the outside of the keg. A seemingly simple task, removing that damn sticker was much more difficult than I expected! I started by spraying it with WD40 and scraping it with a razor... that did not work very well. My neighbor brought over a SS wire brush attachment for the angle grinder. While this made things easier, it was still surprisingly tough. Underneath that sticker was layer of the most difficult-to-remove paint I've ever worked with!
After about an hour of arm-numbing grinding, the sticker and paint were gone. Thanks to a HBT recommendation, I lathered the keg in Bar Keepers Friend (BKF), scrubbed the hell out of it, and rinsed it off. I had decided earlier I was not going for the super shiny chrome look... way too much work for what I deemed unneccesary. So here's what I got:
I also scrubbed the inside out with the BKF. I must say, that is some amazing stuff.
My plan from this point is to drill two holes at the bottom, one for a ball valve (and potentially keggle conversion kit) and the other for a sight glass. I realized yesterday the step-bit I purchased was too small (3/4" max, I need 7/8"). I also still need to buy my hardware.
My question: if I'm only using this as a kettle, should I still use the false bottom to filter out trub from the boil? will it have any impact? I currently don't use one and just leave a half-gallon of wort in the kettle with the leftover trub... no big deal. All advice is much appreciated!
I'll post updates as I progress! Cheers
This keg was in OK shape. I bought it from a guy who picked up a few kegs of beer from Karl Strauss in San Diego, then brought them to a party in Fresno (where he lives), with no plans to return to San Diego. Ehh... whatever.
I measured 1.75" from the inside of the raised part of the top of the keg (that was confusing). I marked multiple points around the top of the keg to be cut, then used twine and a sharpie to connect the dots. Using a 4.5" angle grinder with a metal cut-off wheel, I traced the inside of my line- this only took about 15 minutes. I tossed the cut-off wheel afterwards, as it took a pretty good beating. To smooth out the rough, sharp edges, I used a grinding stone on the angle grinder, a smaller grinding stone on a Dremel, then an 80 grit attachment on the Dremel, in that order. It worked great and took only about 20 minutes.
My measurements were good...
...the lid fit like a glove!
The next step was cleaning up the outside of the keg. A seemingly simple task, removing that damn sticker was much more difficult than I expected! I started by spraying it with WD40 and scraping it with a razor... that did not work very well. My neighbor brought over a SS wire brush attachment for the angle grinder. While this made things easier, it was still surprisingly tough. Underneath that sticker was layer of the most difficult-to-remove paint I've ever worked with!
After about an hour of arm-numbing grinding, the sticker and paint were gone. Thanks to a HBT recommendation, I lathered the keg in Bar Keepers Friend (BKF), scrubbed the hell out of it, and rinsed it off. I had decided earlier I was not going for the super shiny chrome look... way too much work for what I deemed unneccesary. So here's what I got:
I also scrubbed the inside out with the BKF. I must say, that is some amazing stuff.
My plan from this point is to drill two holes at the bottom, one for a ball valve (and potentially keggle conversion kit) and the other for a sight glass. I realized yesterday the step-bit I purchased was too small (3/4" max, I need 7/8"). I also still need to buy my hardware.
My question: if I'm only using this as a kettle, should I still use the false bottom to filter out trub from the boil? will it have any impact? I currently don't use one and just leave a half-gallon of wort in the kettle with the leftover trub... no big deal. All advice is much appreciated!
I'll post updates as I progress! Cheers


