• Please visit and share your knowledge at our sister communities:
  • If you have not, please join our official Homebrewing Facebook Group!

    Homebrewing Facebook Group

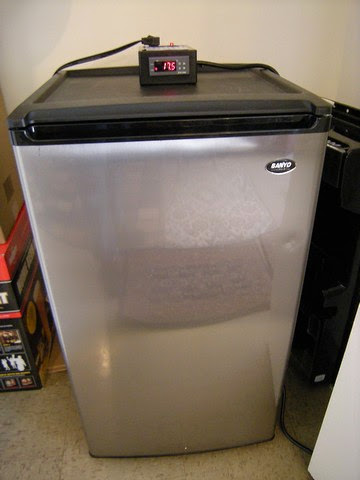
ebay aquarium temp controller build

Homebrew Talk

Help Support Homebrew Talk:

This site may earn a commission from merchant affiliate links, including eBay, Amazon, and others.
Yep, I have one that's nearly identical to that controlling my keezer, and it works great. The wiring is a bit different than the STC-1000.

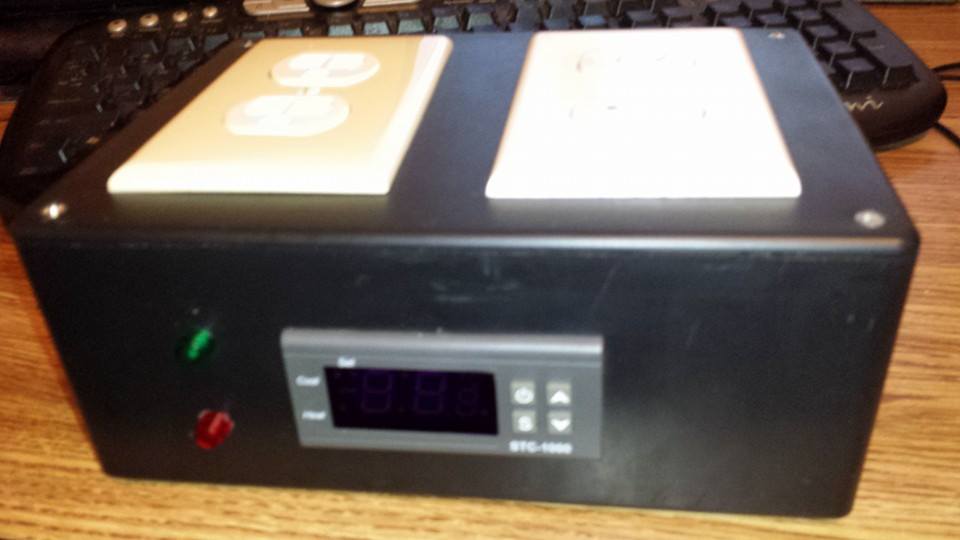
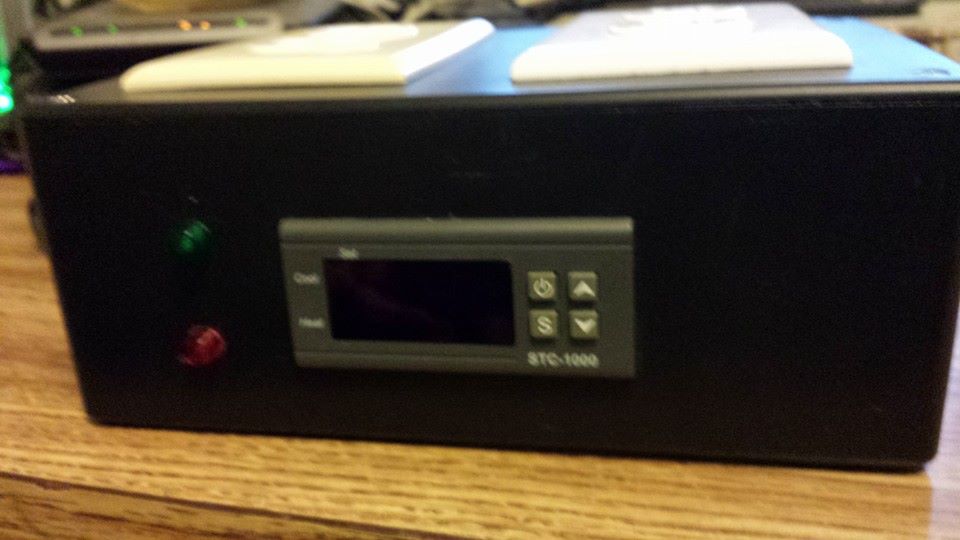
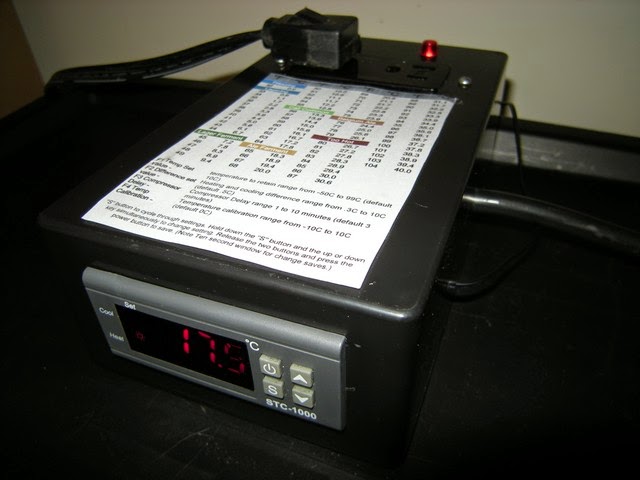
Thanks again for the chart. This thing was surprisingly easy to put together (I'm not much of a DIYer.) It came out pretty good I think:

temp%2Bcontrol%2B2.jpg
 
My finished build...Left socket is for Heat(bottom) and Cool(top), Right socket is always hot. Added a power switch with fuse and a plug-in socket, a jack for temp probe so I could disconnect both for easy storage and movement, LEDs as well.

Controller top.jpg


Controller front.jpg


controller back.jpg
 
My finished build...Left socket is for Heat(bottom) and Cool(top), Right socket is always hot. Added a power switch with fuse and a plug-in socket, a jack for temp probe so I could disconnect both for easy storage and movement, LEDs as well.

Nice build!! I'm going to redo mine in the near future. My first one works, but it looks pretty rough. I love the switch and jack for the temp probe. It all looks VERY clean. I like the idea for an always hot outlet as well. That could be quite handy. Nice job! I'll be redoing mine just like yours.

Edit: What power supply are you usin?
Thanks! It plugs into a wall socket... The A/C cord is not shown. Its a standard computer power cord that plugs into the unit. I wanted it to be fused and also be able to remove the power cord and temp. probe when needed. The power switch is fused. The small connector on the back is for the temp. probe.
 
Thanks! It plugs into a wall socket... The A/C cord is not shown. Its a standard computer power cord that plugs into the unit. I wanted it to be fused and also be able to remove the power cord and temp. probe when needed. The power switch is fused. The small connector on the back is for the temp. probe.

Wait a minute?!? You use a wall socket?!?!? That just sounds crazy!

It looks like it would fit the standard computer cord, but I wasn't sure. I love the clean look with everything able to unplug from the unit. Again, nice job!! I'll be doing something very similar.
 
Wait a minute?!? You use a wall socket?!?!? That just sounds crazy!

It looks like it would fit the standard computer cord, but I wasn't sure. I love the clean look with everything able to unplug from the unit. Again, nice job!! I'll be doing something very similar.

The temperature control unit is 110V so yes it plugs into the a socket just like a refrigerator does.

http://www.amazon.com/dp/B008KVCPH2/?tag=skimlinks_replacement-20

Specification and Size:
1.Front panel size75(L)×34.5(W)mm;
2.Mounting size:71(L)×29(W)mm;
3.Product size75(L)×34.5(W)×85(D)mm;
4.sensor length2minclude the probe.

Technical Parameters:
1. Temperature measuring range: -50~99oC;
2. Resolution: 0.1°C; 3. Accuracy: ±1°C (-50~70°C);
4. Sensor error delay: 1 minute
5. Power supply: 110VAC±10%, 50/60Hz;
6. Power consumption: ≤3W;
7. Sensor: NTC sensor (1PC);
8. Relay contact capacity: Cool 10A/250VAC;Heat 10A/250VAC;
9. Ambient temperature: 0~60°C;
10.Storage temperature: -30~75°C;
11.Relative humidity: 20%~85% (No condensate).

Package Content:
1PCS STC-1000 Temperature controller 110v
 
Last edited by a moderator:
The temperature control unit is 110V so yes it plugs into the a socket just like a refrigerator does.

http://www.amazon.com/dp/B008KVCPH2/?tag=skimlinks_replacement-20

Specification and Size:
1.Front panel size75(L)×34.5(W)mm;
2.Mounting size:71(L)×29(W)mm;
3.Product size75(L)×34.5(W)×85(D)mm;
4.sensor length2minclude the probe.

Technical Parameters:
1. Temperature measuring range: -50~99oC;
2. Resolution: 0.1°C; 3. Accuracy: ±1°C (-50~70°C);
4. Sensor error delay: 1 minute
5. Power supply: 110VAC±10%, 50/60Hz;
6. Power consumption: ≤3W;
7. Sensor: NTC sensor (1PC);
8. Relay contact capacity: Cool 10A/250VAC;Heat 10A/250VAC;
9. Ambient temperature: 0~60°C;
10.Storage temperature: -30~75°C;
11.Relative humidity: 20%~85% (No condensate).

Package Content:
1PCS STC-1000 Temperature controller 110v

Sorry...I assumed you were being sarcastic in your previous comment, because how else would you plug the controller in? I'm well aware of what an stc-1000 is capable of as I already own one and have used it for a few years now with both my fermentation chamber and keezer. I just wasn't sure what kind of cord you used to plug into the male power socket on your enclosure.
 
Last edited by a moderator:
Oh... sorry...when I saw this on your post "Edit: What power supply are you usin?" I thought maybe you were thinking it was powered by 12V or other supply..my bad...

Post pictures when you build a new one...
 
Oh... sorry...when I saw this on your post "Edit: What power supply are you usin?" I thought maybe you were thinking it was powered by 12V or other supply..my bad...

Post pictures when you build a new one...

O no problems here! I misread you completely. Will do. It may be some time as I have to prioritize my brewing projects. Otherwise we would be broke and SWMBO would kill me!! She already thinks I have way too much brewing stuff.
 
Since this thread helped immensely, and since I do brew on the side and love HBT, I thought I'd add my project to this thread, even though it isn't brew related. Others might find it useful for making a fermentation chamber.

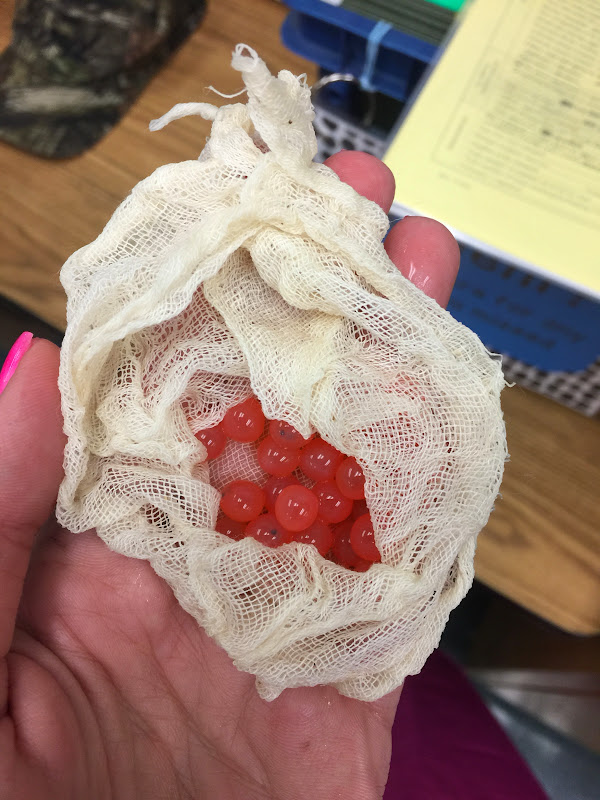
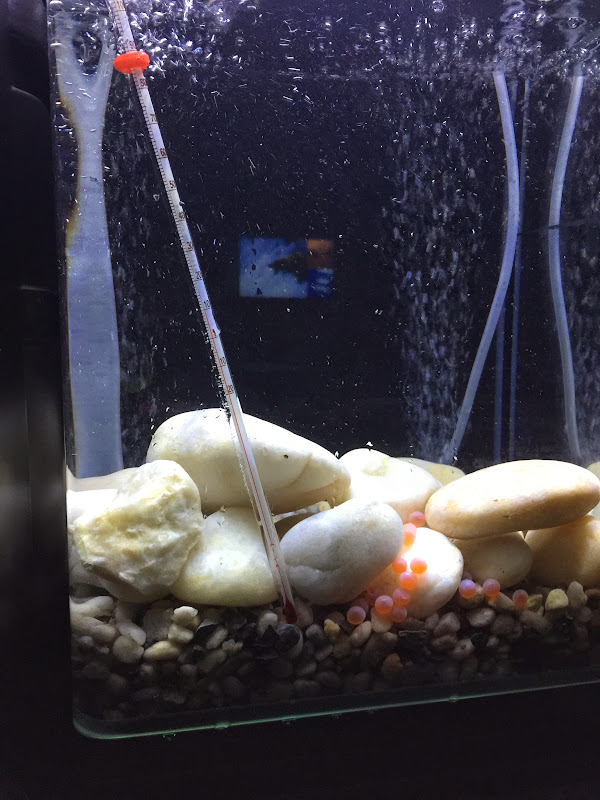
My wife is a public school teacher in California and has gone through the training in order to participate in the "Salmonids in the Classroom" program put on by the California Department of Fish and Wildlife. This program provides salmon or trout eggs to be raised in the classroom then released in a local river. It is a good experience for the kids: very memorable and instills a sense of stewardship of their natural environment.

https://www.wildlife.ca.gov/CAEP/R4

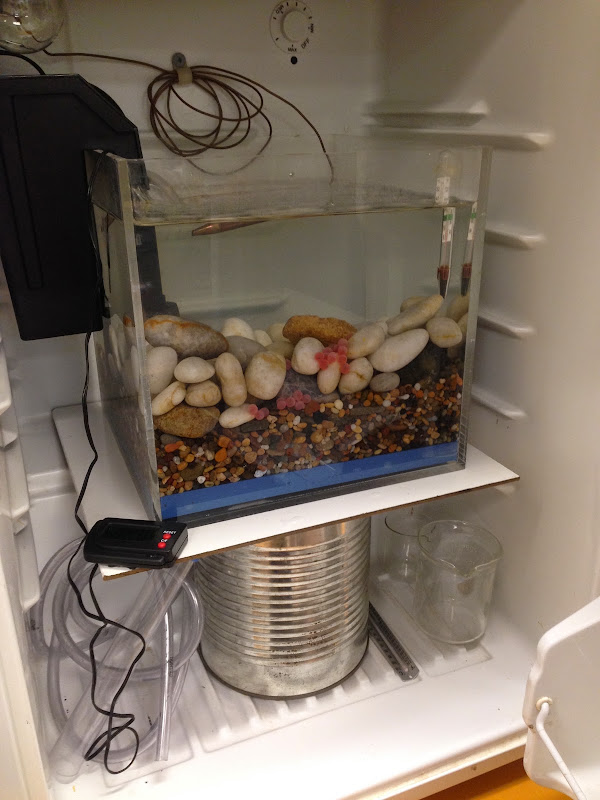
In order to not kill them as eggs or babies, they need to be in highly oxygenated water kept at a constant temperature around 10°C/50°F. It is very important that temperature fluctuation remain extremely minimal.

So I need a precise temperature regulation of a small refrigerator based on the temp of the tank's water, not on the airspace: which brings me to this thread.

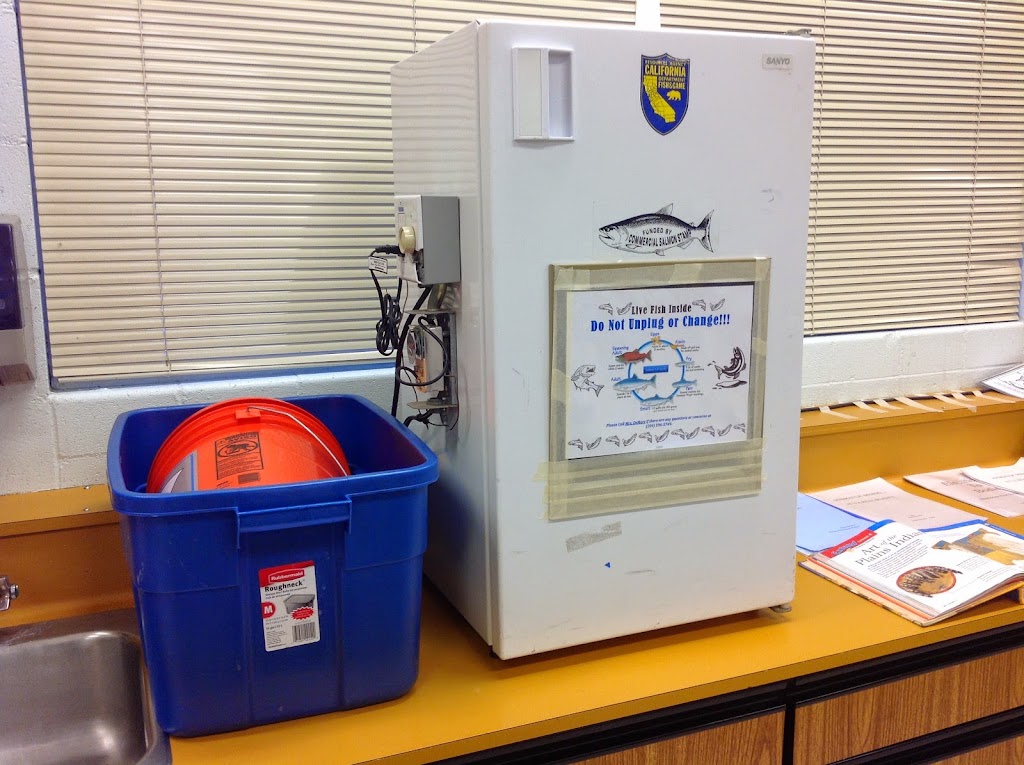
Last year CDFW provided my wife with a loaner fridge:

IMG_0097.JPG


IMG_0098.JPG


Things wrong with this fridge:

* analog thermostat with the copper bulb in the tank couldn't hold a consistent temp: my wife had to constantly fiddle with it.

* the setup on the side with the power and thermostat was badly constructed: my wife got shocked several times while fiddling with the temp. Electricity + water + shocking + kids = not good.

* the compressor hump in the back made fitting a tank hard: we had to balance it on a lap whiteboard on a large coffee can.

* they cut a hole in the door for a window so you could see the fish when they stop being light sensitive, but it is a small piece of plexiglass, so hard for lots of kids to see at once.

* between the plexiglass window and holes in the side for electrical cords to pass, it leaked heat like a sieve, probably adding to the temp control problem.

* the freezer portion would shed ice onto the tank which sucks for temp regulation and keeping contamination out.

* it is hella ugly


This year I decided to do better.

The most important thing is to get the right fridge from the start. Sure you could get a dorm fridge for $0-$50 on craigslist, but you'd have many of the problems that came with the old setup: crappy window, heat leakage, ugliness...

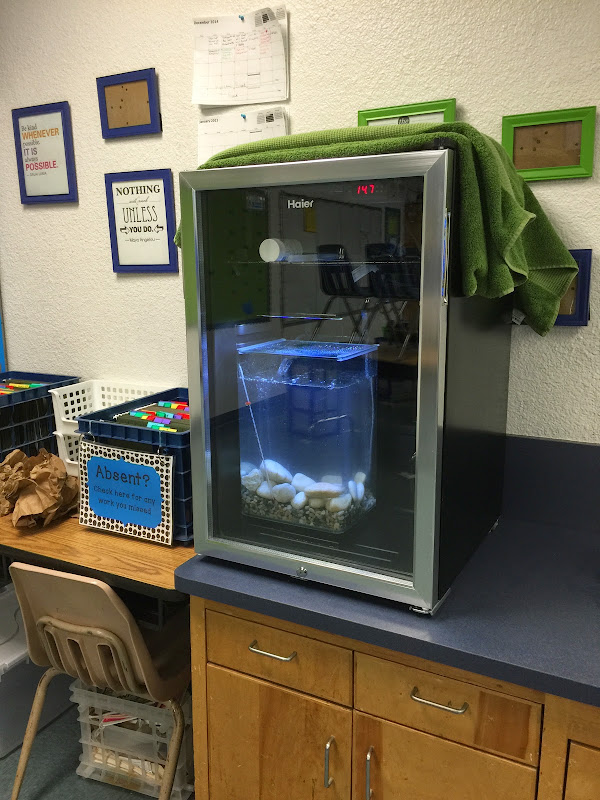
The solution is a beverage fridge with a glass door. I got a Haier 150-Can Beverage Entertainment Cooler because it was the cheapest glass door fridge I could buy with credit card points. Price ranges from $170 at Sam's Club to $300 at amazon. In addition to the glass door, this fridge has a big enough floor to fit a tank, black interior to look snazzy, and a lock to keep people from opening the door.

The best thing though is that the ebay temp controller this thread is dedicated to, and a power outlet, fit in the stock thermostat housing (with minor modification).

Housing with original thermostat (the switch and circuit board are for the interior blue LED light that I didn't use):
IMG_0047.JPG


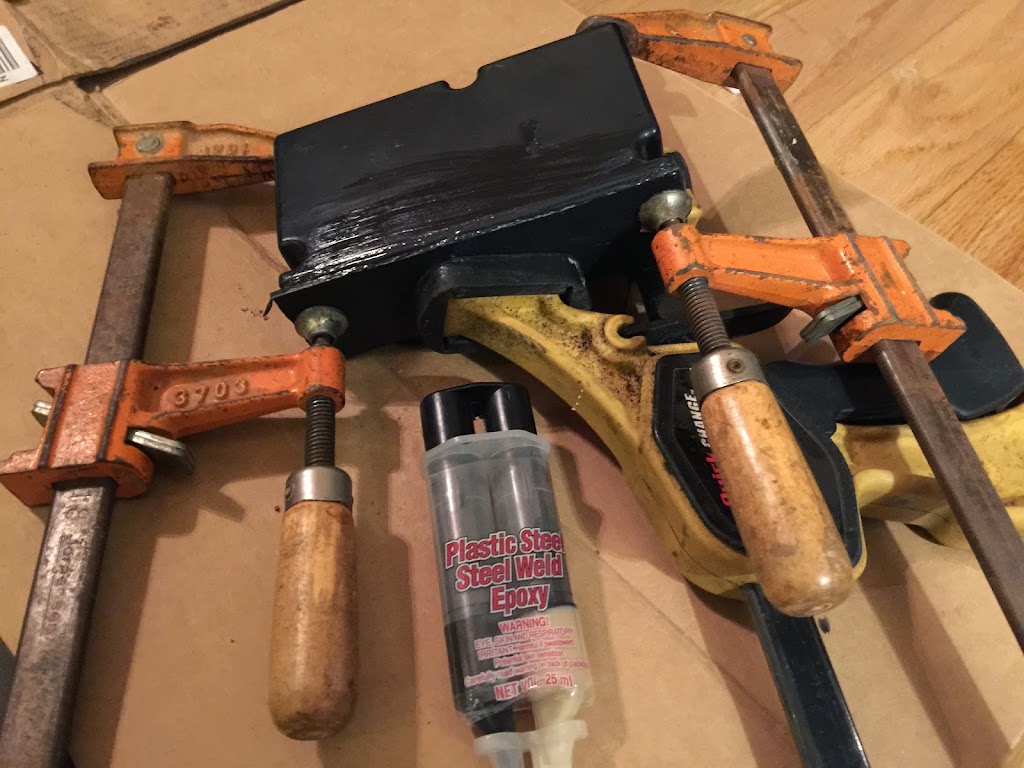
The ebay temp controller only fits if you add a faceplate to the box, which is just as well since you need to cover the holes for the switch and thermostat. I used a bit of kydex and some plastic steel epoxy mainly because that is what I had in my junkpile:

IMG_0049_2.JPG


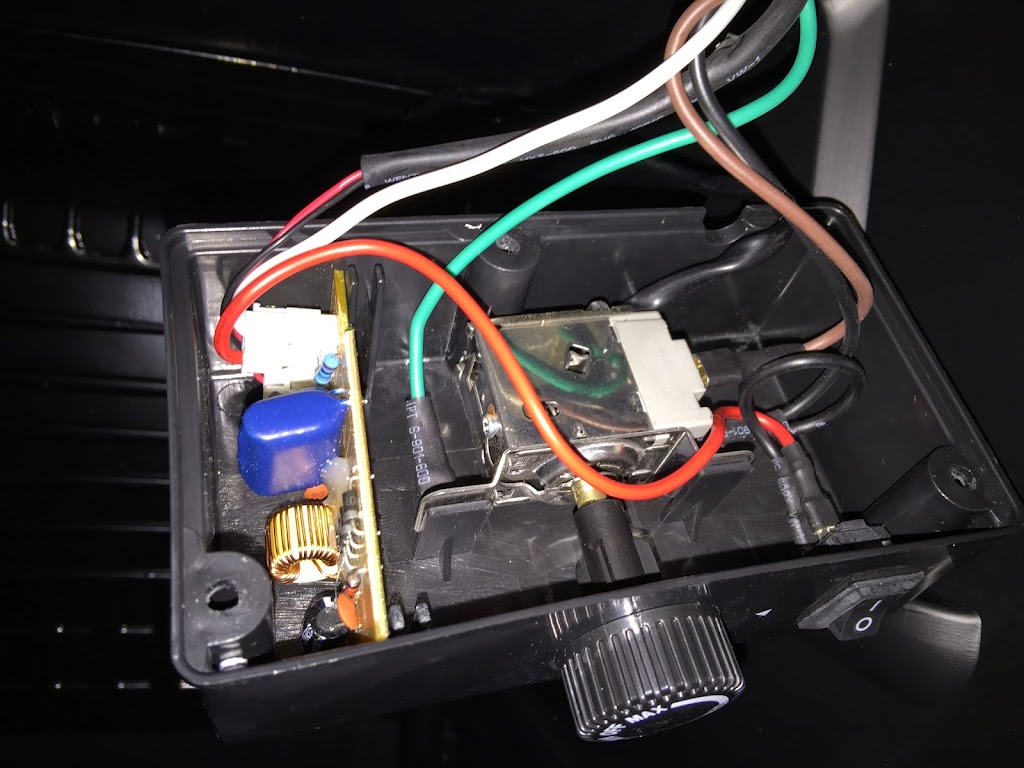
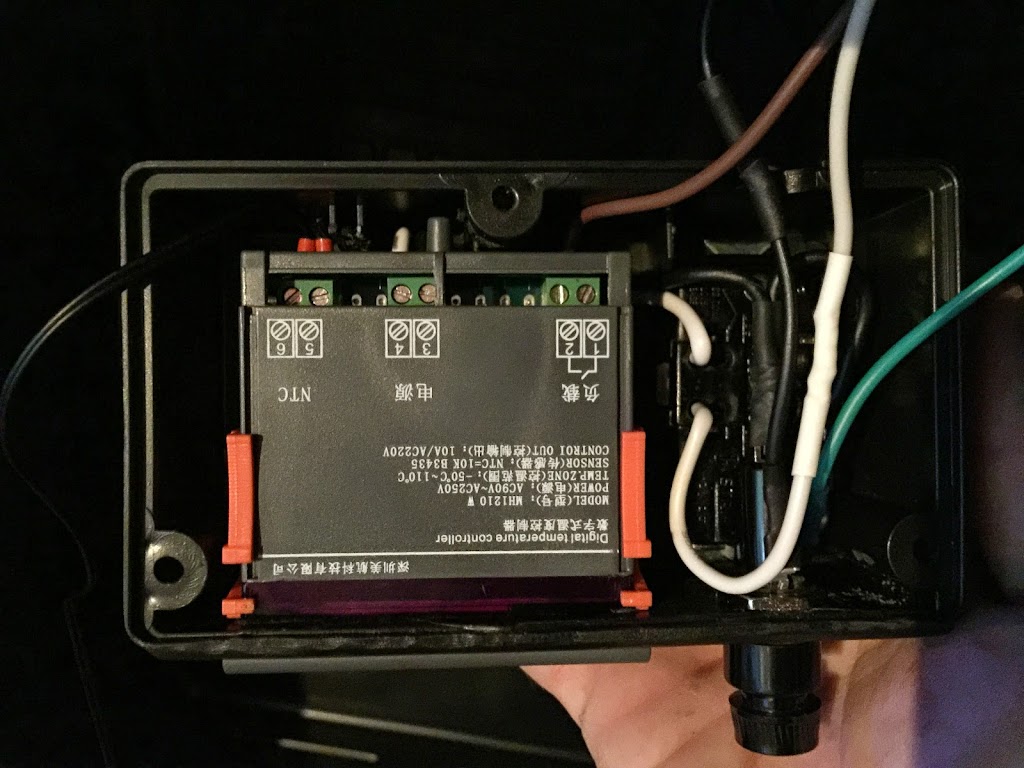
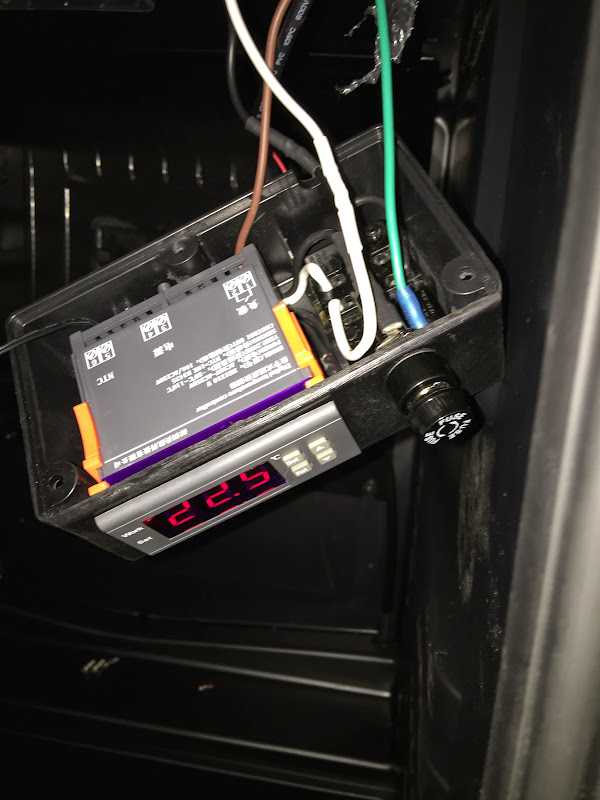
With a little dremel cleaning and hole cutting, I was able to fit the temp controller, an outlet to power the fishtank pumps and lights, and a fuse for extra safety. The outlet is from an old UPS and was designed for panel mounting, but a standard outlet with the mounting tabs cut off would work fine. A GFI plug may fit, but it would be even tighter. The fridge is plugged into a GFI plug in her classroom, so for our purposes, it is fine with a standard plug.

ETA: wiring is pretty simple. Green is ground and goes to the ground stud on the plug outlet. Black is the hot side AC input, it goes to the fuse then splits to the plug, controller input, and controller switched input. Brown is the return to the compressor as goes to the output side of the controller switch. White is AC return that is hooked up to the other side of the plug and controller AC input. It wouldn't be hard to make one or more of the plug outlets trigger on the heater switch of a two channel controller so that you could have control of both heat and cooling. For this project we only needed cooling so a single channel controller was fine.

IMG_0050_2.jpg


IMG_0051_2.JPG


The end result looks like it came that way from the factory. With the temp probe dropped into the back of the tank with the pump, it can keep the water within 0.1°C of the setpoint. With the plugs inside, no holes need to be cut in the fridge: all alterations to the fridge were limited to the control box. The end result looks nice:

IMG_0093.jpg


The babies seem at home:

IMG_0095_2.jpg


IMG_0094_2.jpg
 
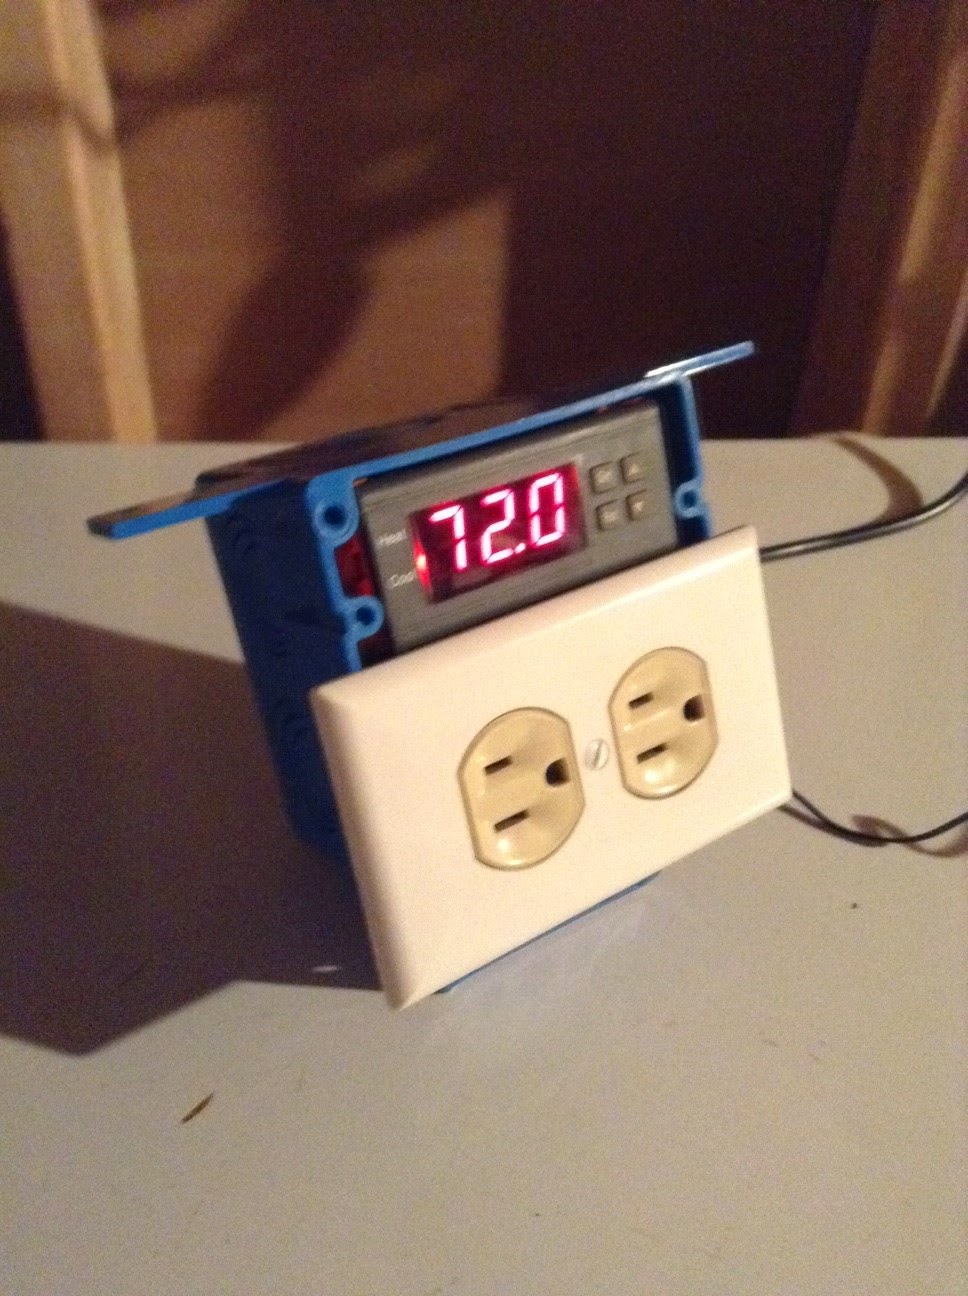
So, I have built one of these before, just a simple build with the controller and outlet. However, I want to try one with a fan. I have two questions:

1. What is a good 120v AC computer case fan to use? I'd like a larger one (120mm) to keep noise down
2. Is there any advantage to having the fan run constantly to keep air circulating instead of just having it run when the heat/cool circuits are activated? I was thinking about wiring the fan in with a rheostat and just keeping it at a set RPM 24/7.

I tried doing a search but the results were a bit overwhelming.
 
I have a STC 1000 that Ive used for a couple of years, and it has always worked fine, but this last few weeks it would just shut itself off. You could turn it back on and it would function properly for a few days, and then I would find it off, for no explainable reason. At first I suspected the kids, but found out otherwise. Ok.. Nothing lasts forever, right? So I ordered another, and when I went to change them out, I found that the power in wires had black, soot like corrosion on them. On the tips of the bare copper, where it is clamped in the connector. The screw that tightens the connection was tight. Also the two switched wires (post relay) were also corroded. The two sensor wires were fine, but I dont believe there is much current in them.

Question: Has anyone else seen this? Is this normal, and just a result of being exposed to a humid environment? Could this have caused the untimely shut off due to low voltage perhaps, and my STC 1000 is not to blame?

I appreciate any feedback.
 
So, I have built one of these before, just a simple build with the controller and outlet. However, I want to try one with a fan. I have two questions:

1. What is a good 120v AC computer case fan to use? I'd like a larger one (120mm) to keep noise down
2. Is there any advantage to having the fan run constantly to keep air circulating instead of just having it run when the heat/cool circuits are activated? I was thinking about wiring the fan in with a rheostat and just keeping it at a set RPM 24/7.

I tried doing a search but the results were a bit overwhelming.


Just to clarify, Are you planning to put the fan in the refrigerator to circulate the cold air evenly? Or, a fan in the housing box to keep the controller cool?
 
I used a container that had previously held a pound of gummy bears from WalMart. It's a little flimsy but does the trick, and best of all, it was free! Check your recycle bin and you may find something suitable... :mug:
 
Back
Top