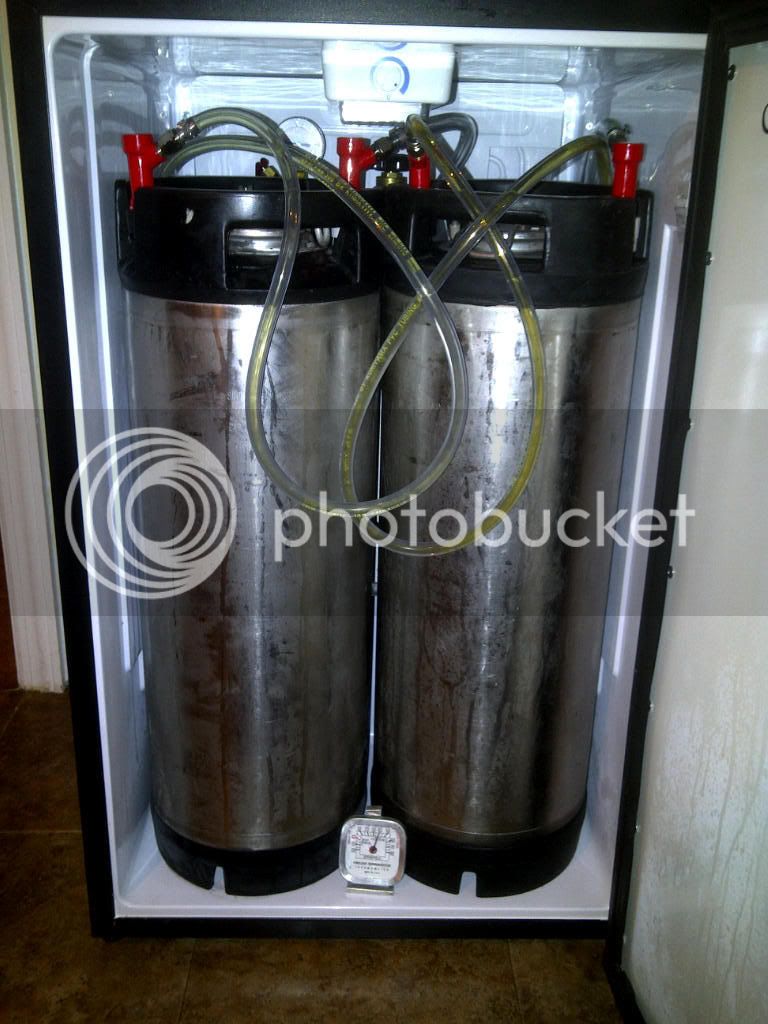
I just picked up one of these from Costco and noticed mine is slightly different from the other pics other people have posted. Specifically, mine has the shelf supports built in on both sides rather than in the back. As a result, the space inside is about an inch or two too narrow to fit two ball locks flush with the back hump. One has to sit slightly in front of the other (see bottom pic).
Initially, I'm just going to use picnic taps with this setup so my goal right now is to do the least amount of work to get the door to shut with two ball locks inside. Aesthetics don't matter at this point so I'm not interested in cutting out the door panel and putting in plexi glass, whiteboard, etc.
Does anyone have experience with making modifications to get the door to shut without cutting out the shelf supports? If it was only the bottom shelf supports like the back-mount units I probably would not hesitate but this one has them going all the way up on both sides.

")


![Craft A Brew - Safale BE-256 Yeast - Fermentis - Belgian Ale Dry Yeast - For Belgian & Strong Ales - Ingredients for Home Brewing - Beer Making Supplies - [3 Pack]](https://m.media-amazon.com/images/I/51bcKEwQmWL._SL500_.jpg)