I'm getting ready to make the plunge, but I have one question for you guys.
My plan is to ferment in a normal sanke keg using a modified sanke coupler.
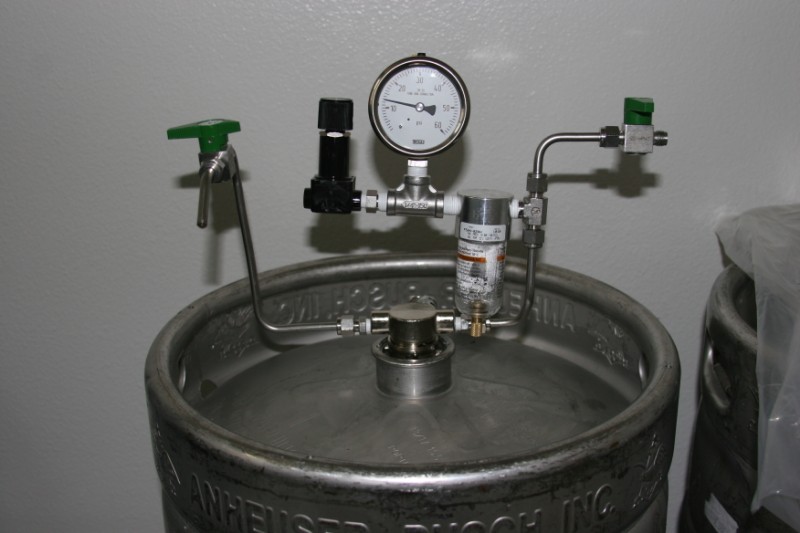
I would like to mount a cross off of the air side of the coupler with a gauge, pressure relief valve and a gas line to a grey (gas) corny disconnect.
The beer side I would split with a t to a picnic tap and a black (beer) corny disconnect.
My apologies for the crappy edited picture.
I would then ferment under pressure, and use the picnic tap to remove the yeast.
Since my CO2 tank is in my kegerator (not in my garage where I ferment) Here is my question.
For transferring to a corny, since the sanke keg is at pressure, could I (without connecting to a CO2 tank) connect then disconnect the corny with the grey (gas) disconnect (off of the sanke coupler gas side) to equalize the pressure, then connect the black (beer) disconnect to transfer by placing the receiving keg lower than the filling keg venting pressure using the corny relief valve?
My thoughts are the initial pressure differential would get the transfer started, and then the siphon effect (from having the receiving keg lower than the fermenting keg) would finish the transfer without losing the carbonation in the beer.
Would this work? Or is my reasoning flawed?

")


![Craft A Brew - Safale BE-256 Yeast - Fermentis - Belgian Ale Dry Yeast - For Belgian & Strong Ales - Ingredients for Home Brewing - Beer Making Supplies - [3 Pack]](https://m.media-amazon.com/images/I/51bcKEwQmWL._SL500_.jpg)


