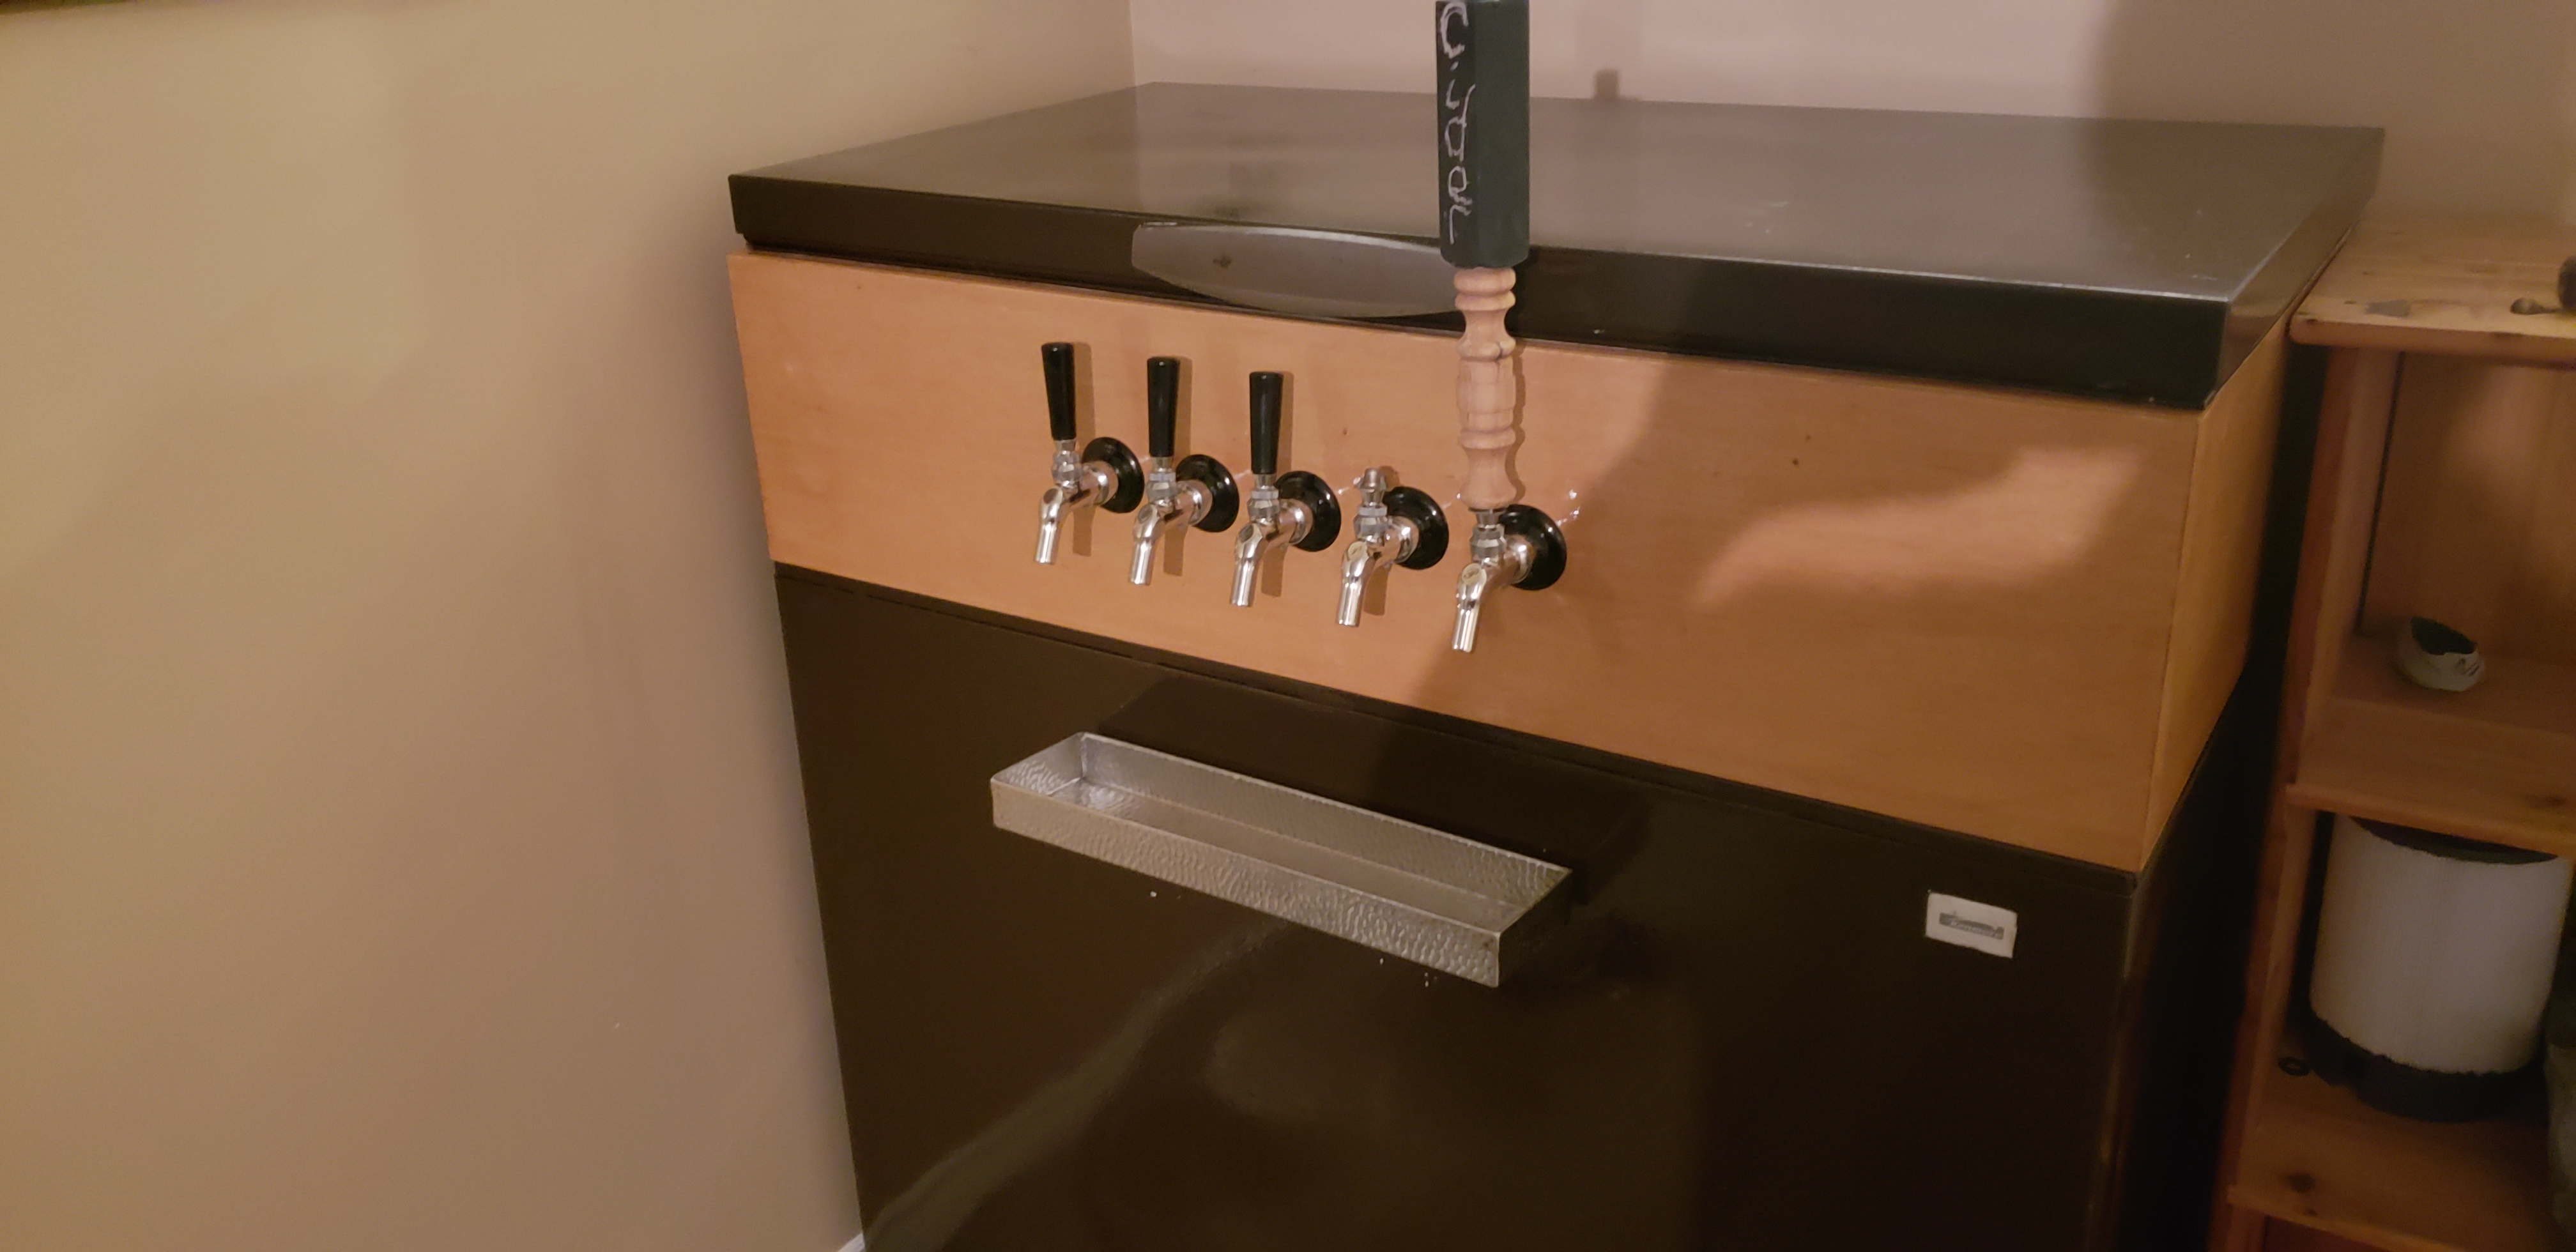
ChrisfromAbby
Well-Known Member
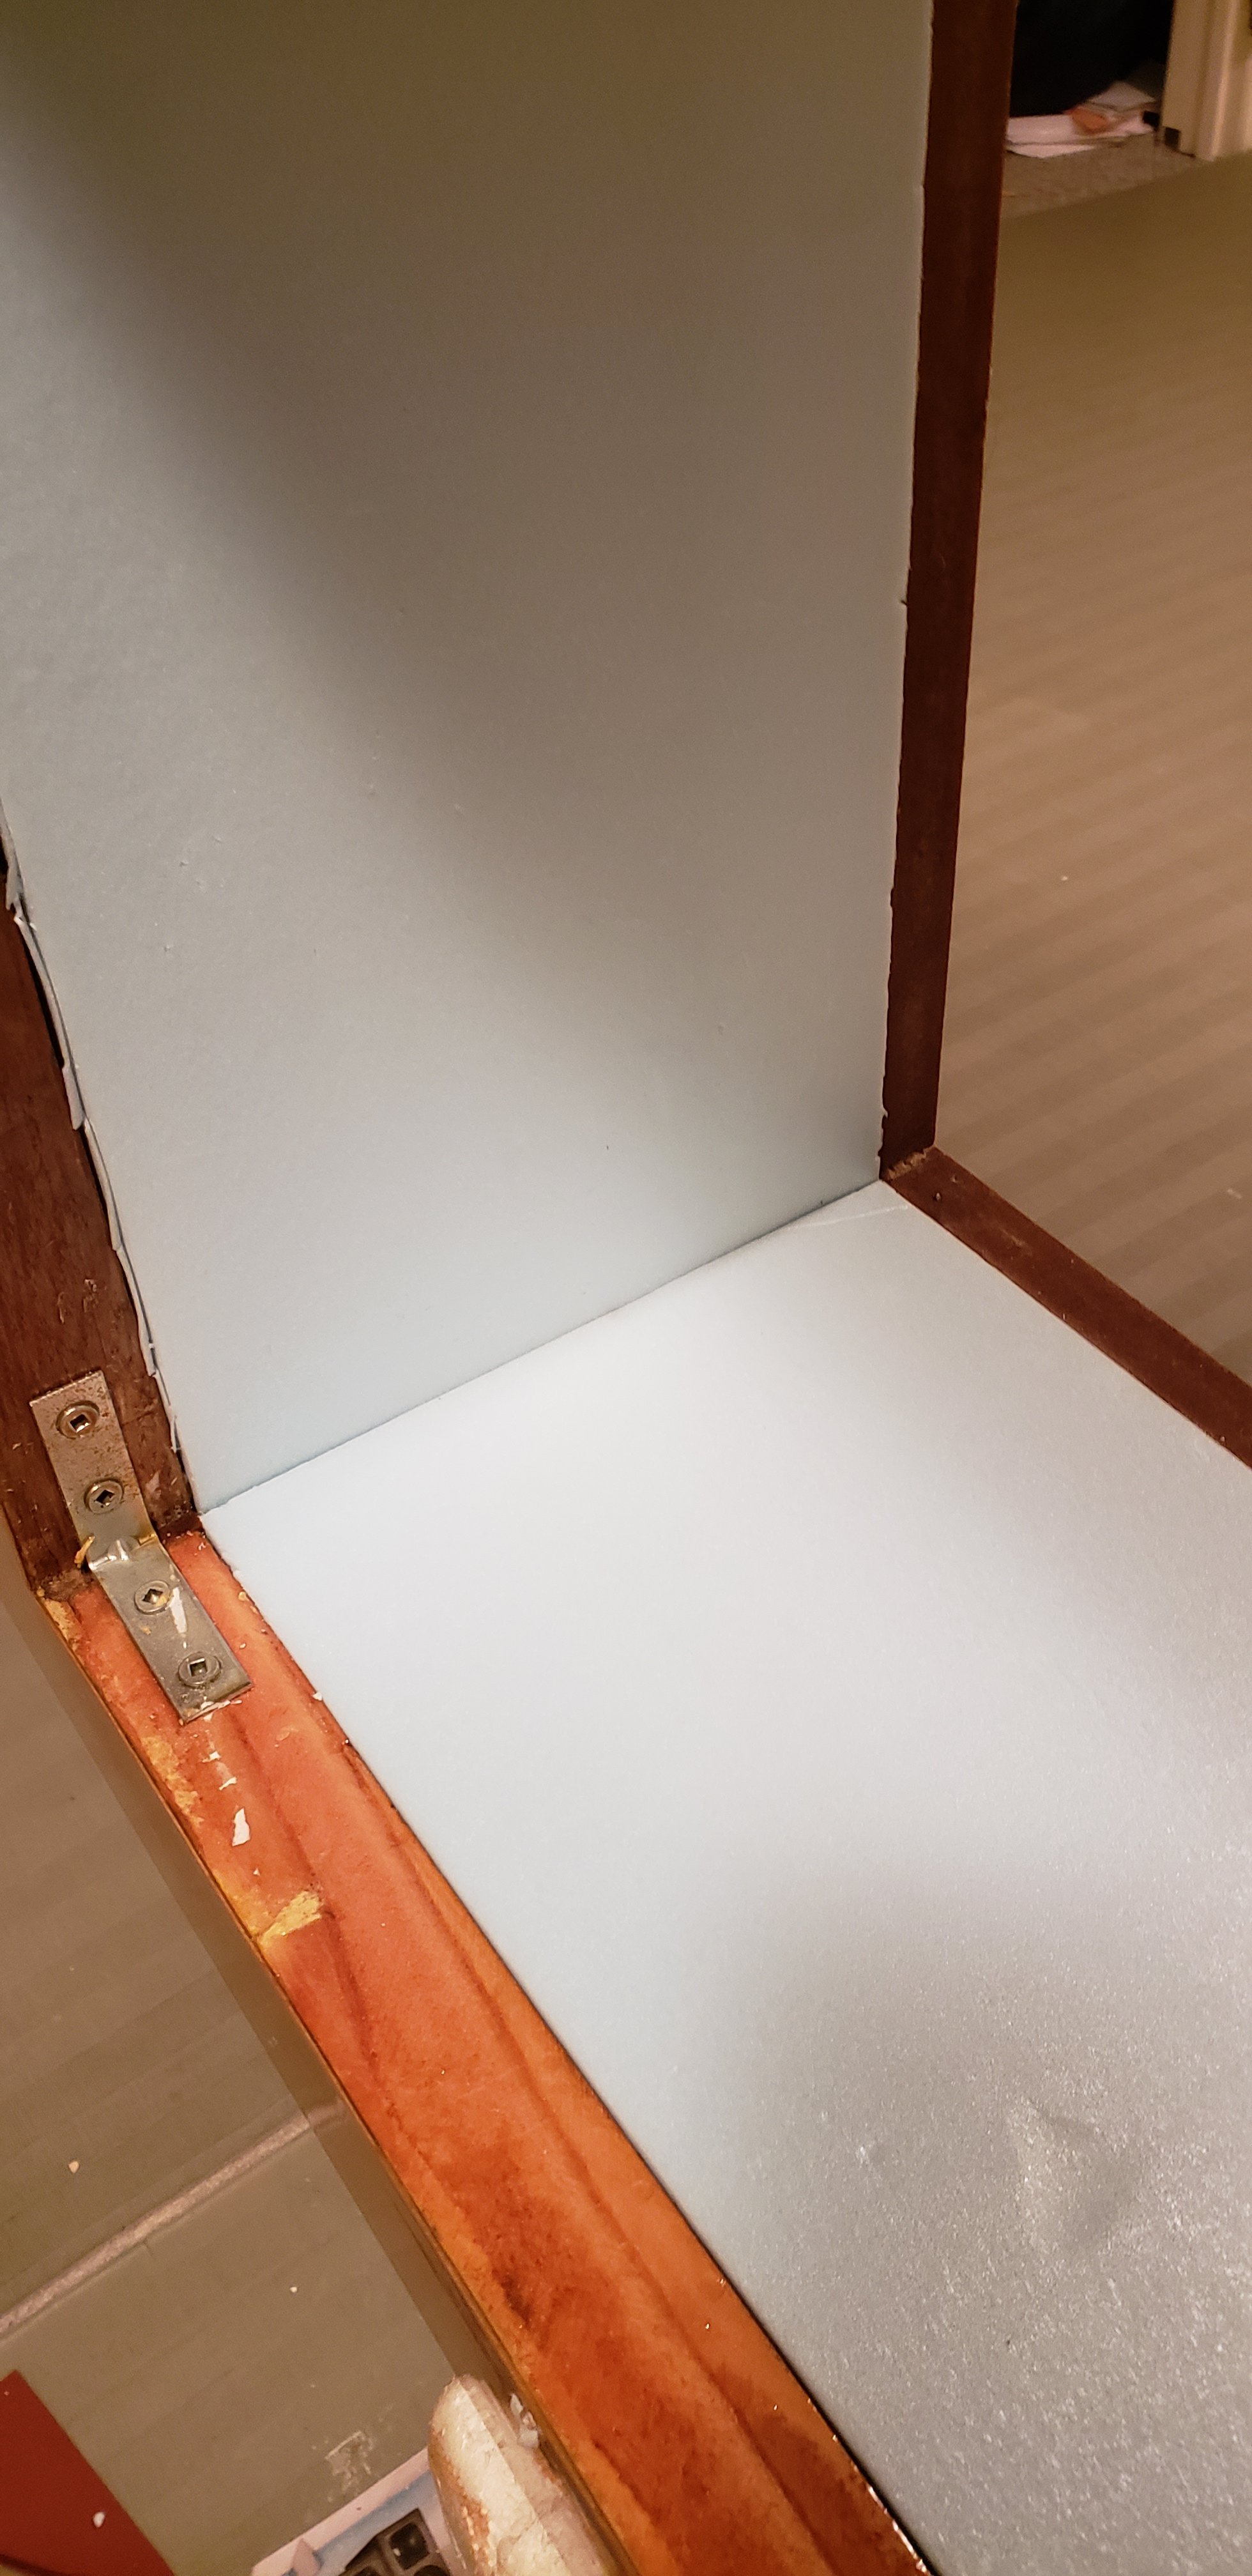
Sadly, the freezer of my keezer died. I tried some necromancy with a refrigerant recharge, but alas, the resurrection was temporary. So I gave away my collar to a brewclub member who was able to fit it to his freezer while I tackled a re-build. I found the perfect freezer candidate on good old Craigslist.
Now, I do have some basic woodbuilding and carpentry skills but I'm no cabinet maker. So I'm sure many of you could do this too, but I thought I'd diarize this a little. I've taken an approach that is a bit of a small rage in woodworking circles that I think is really applicable for homebrewers.
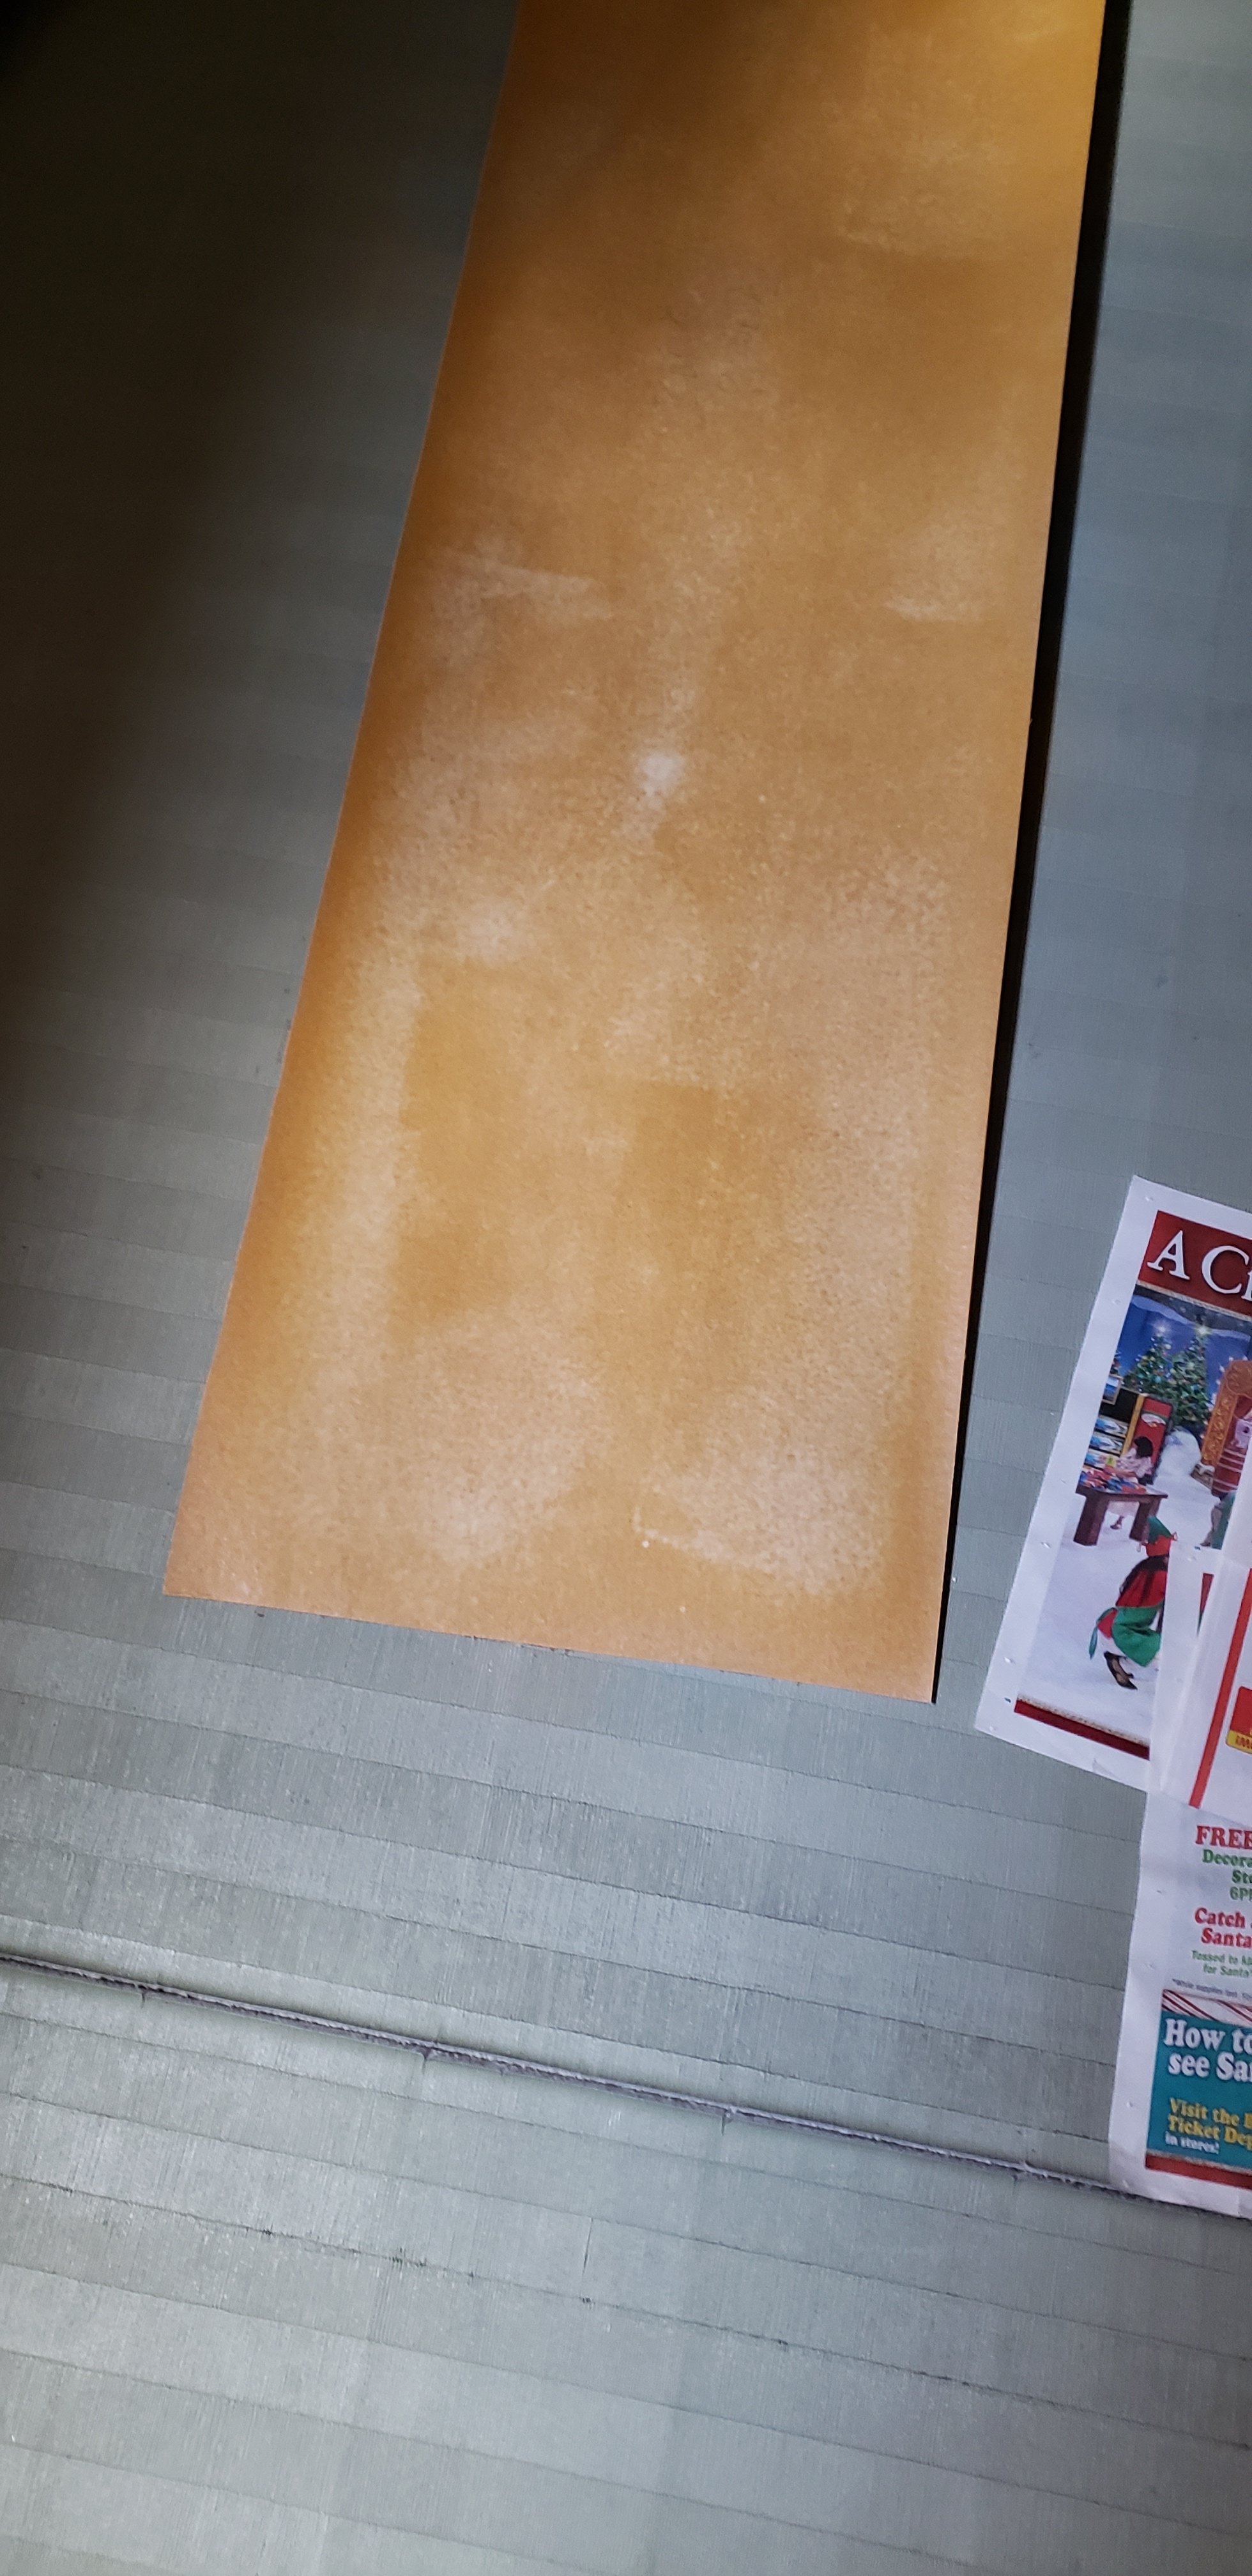
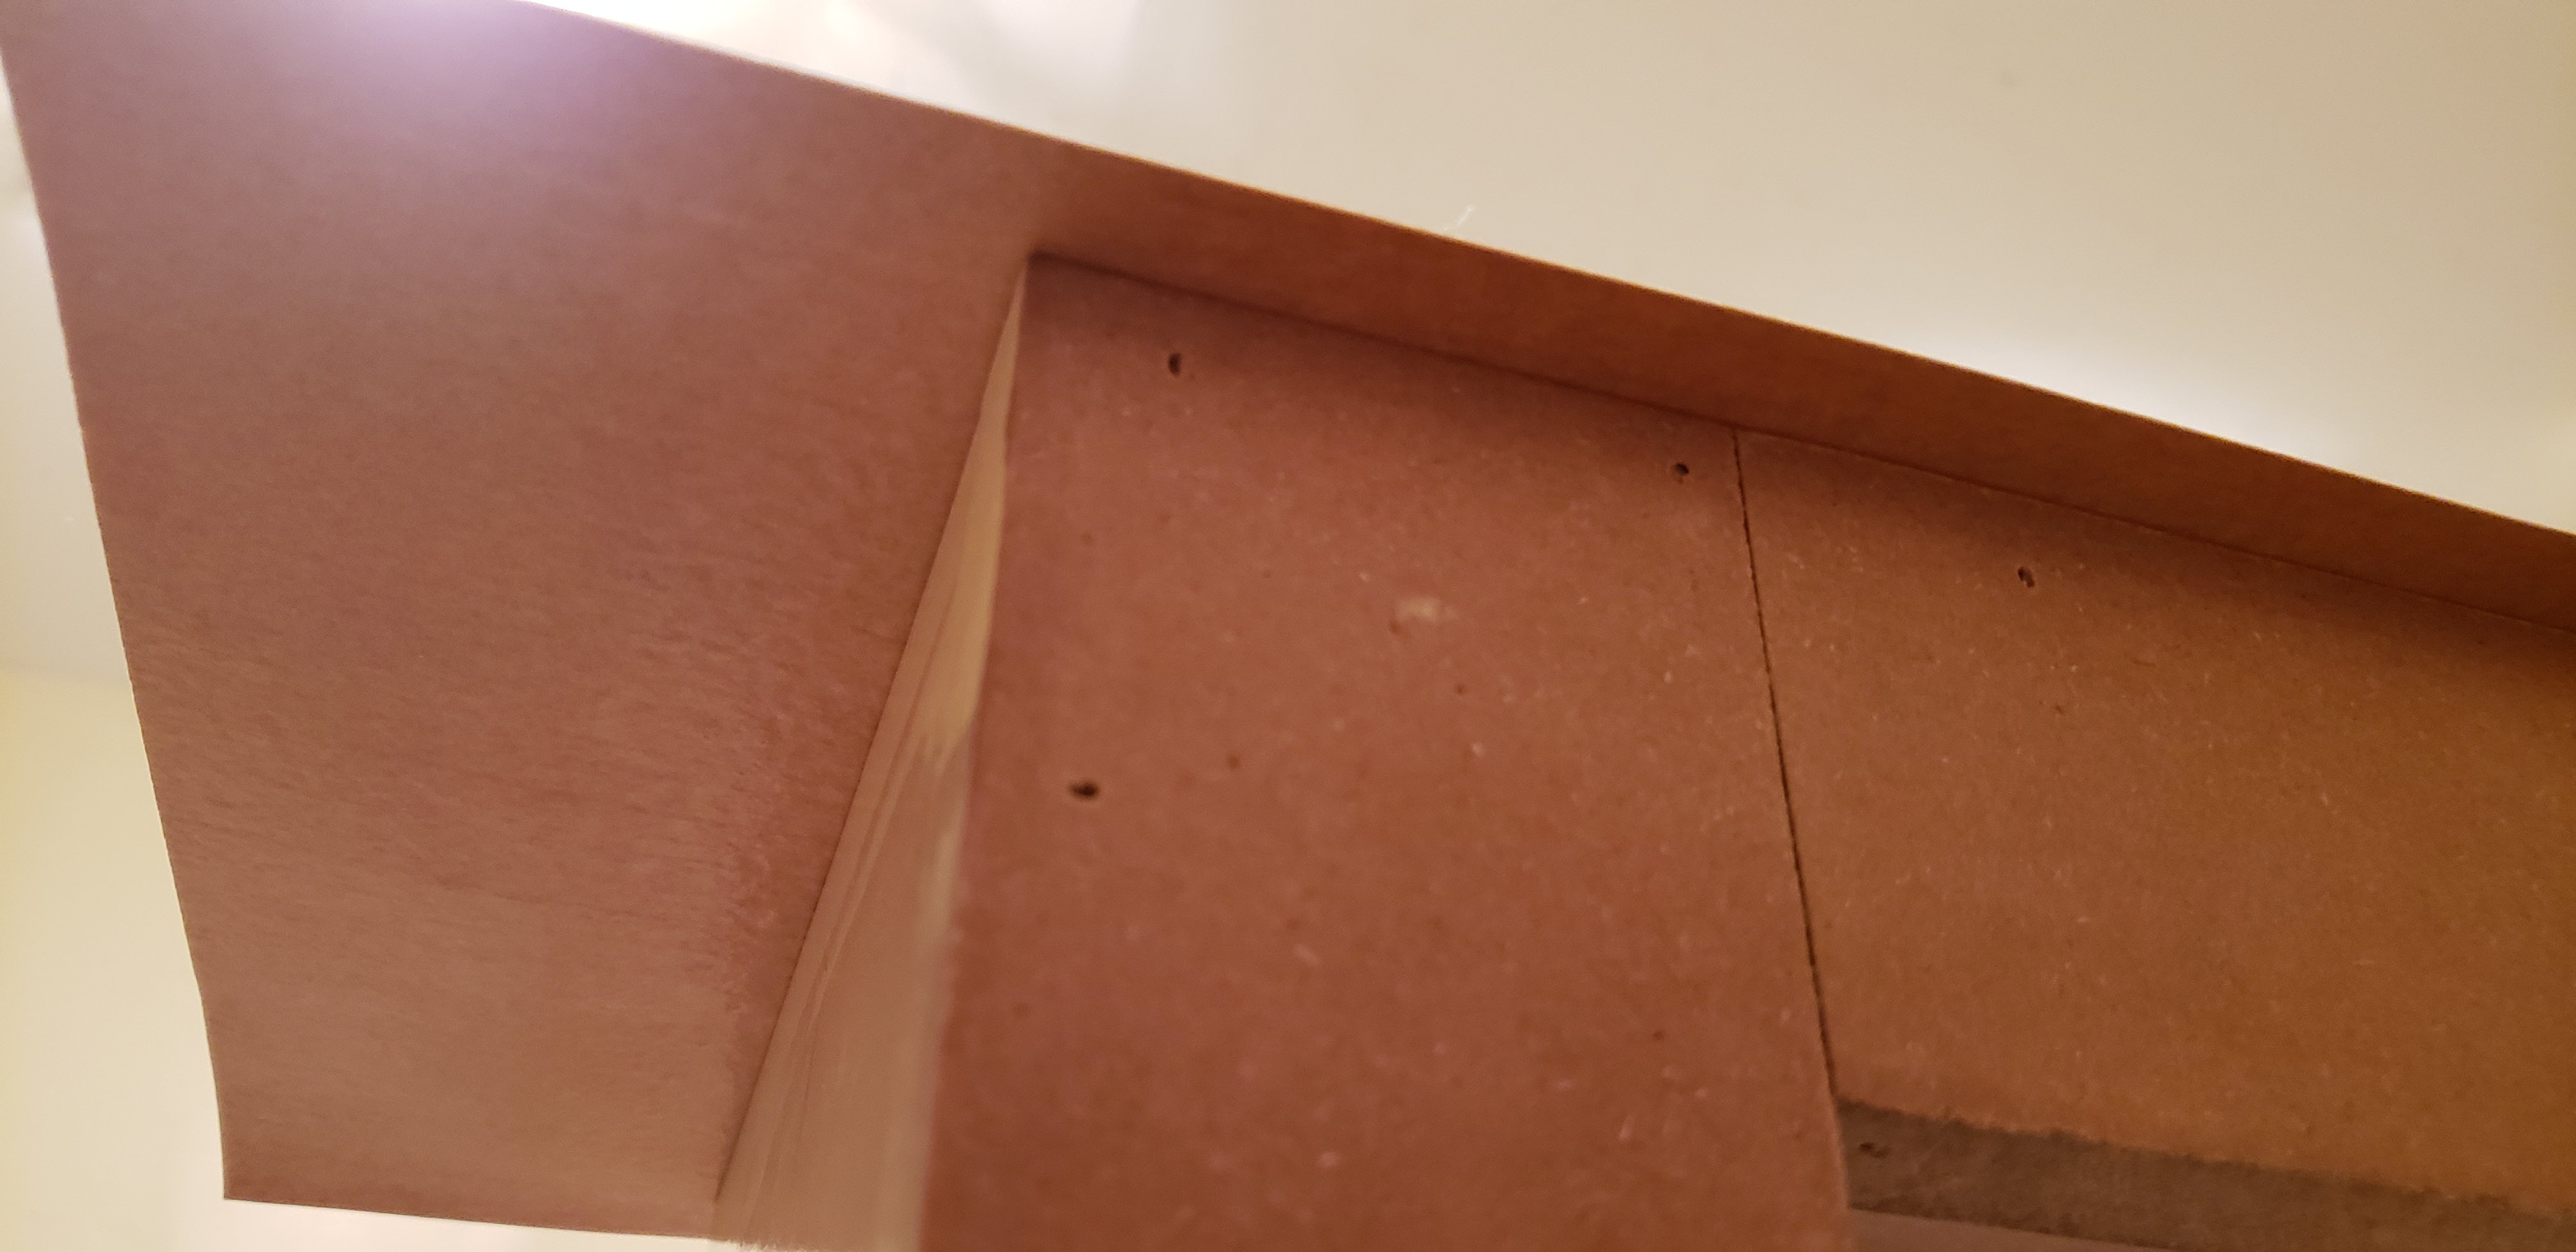
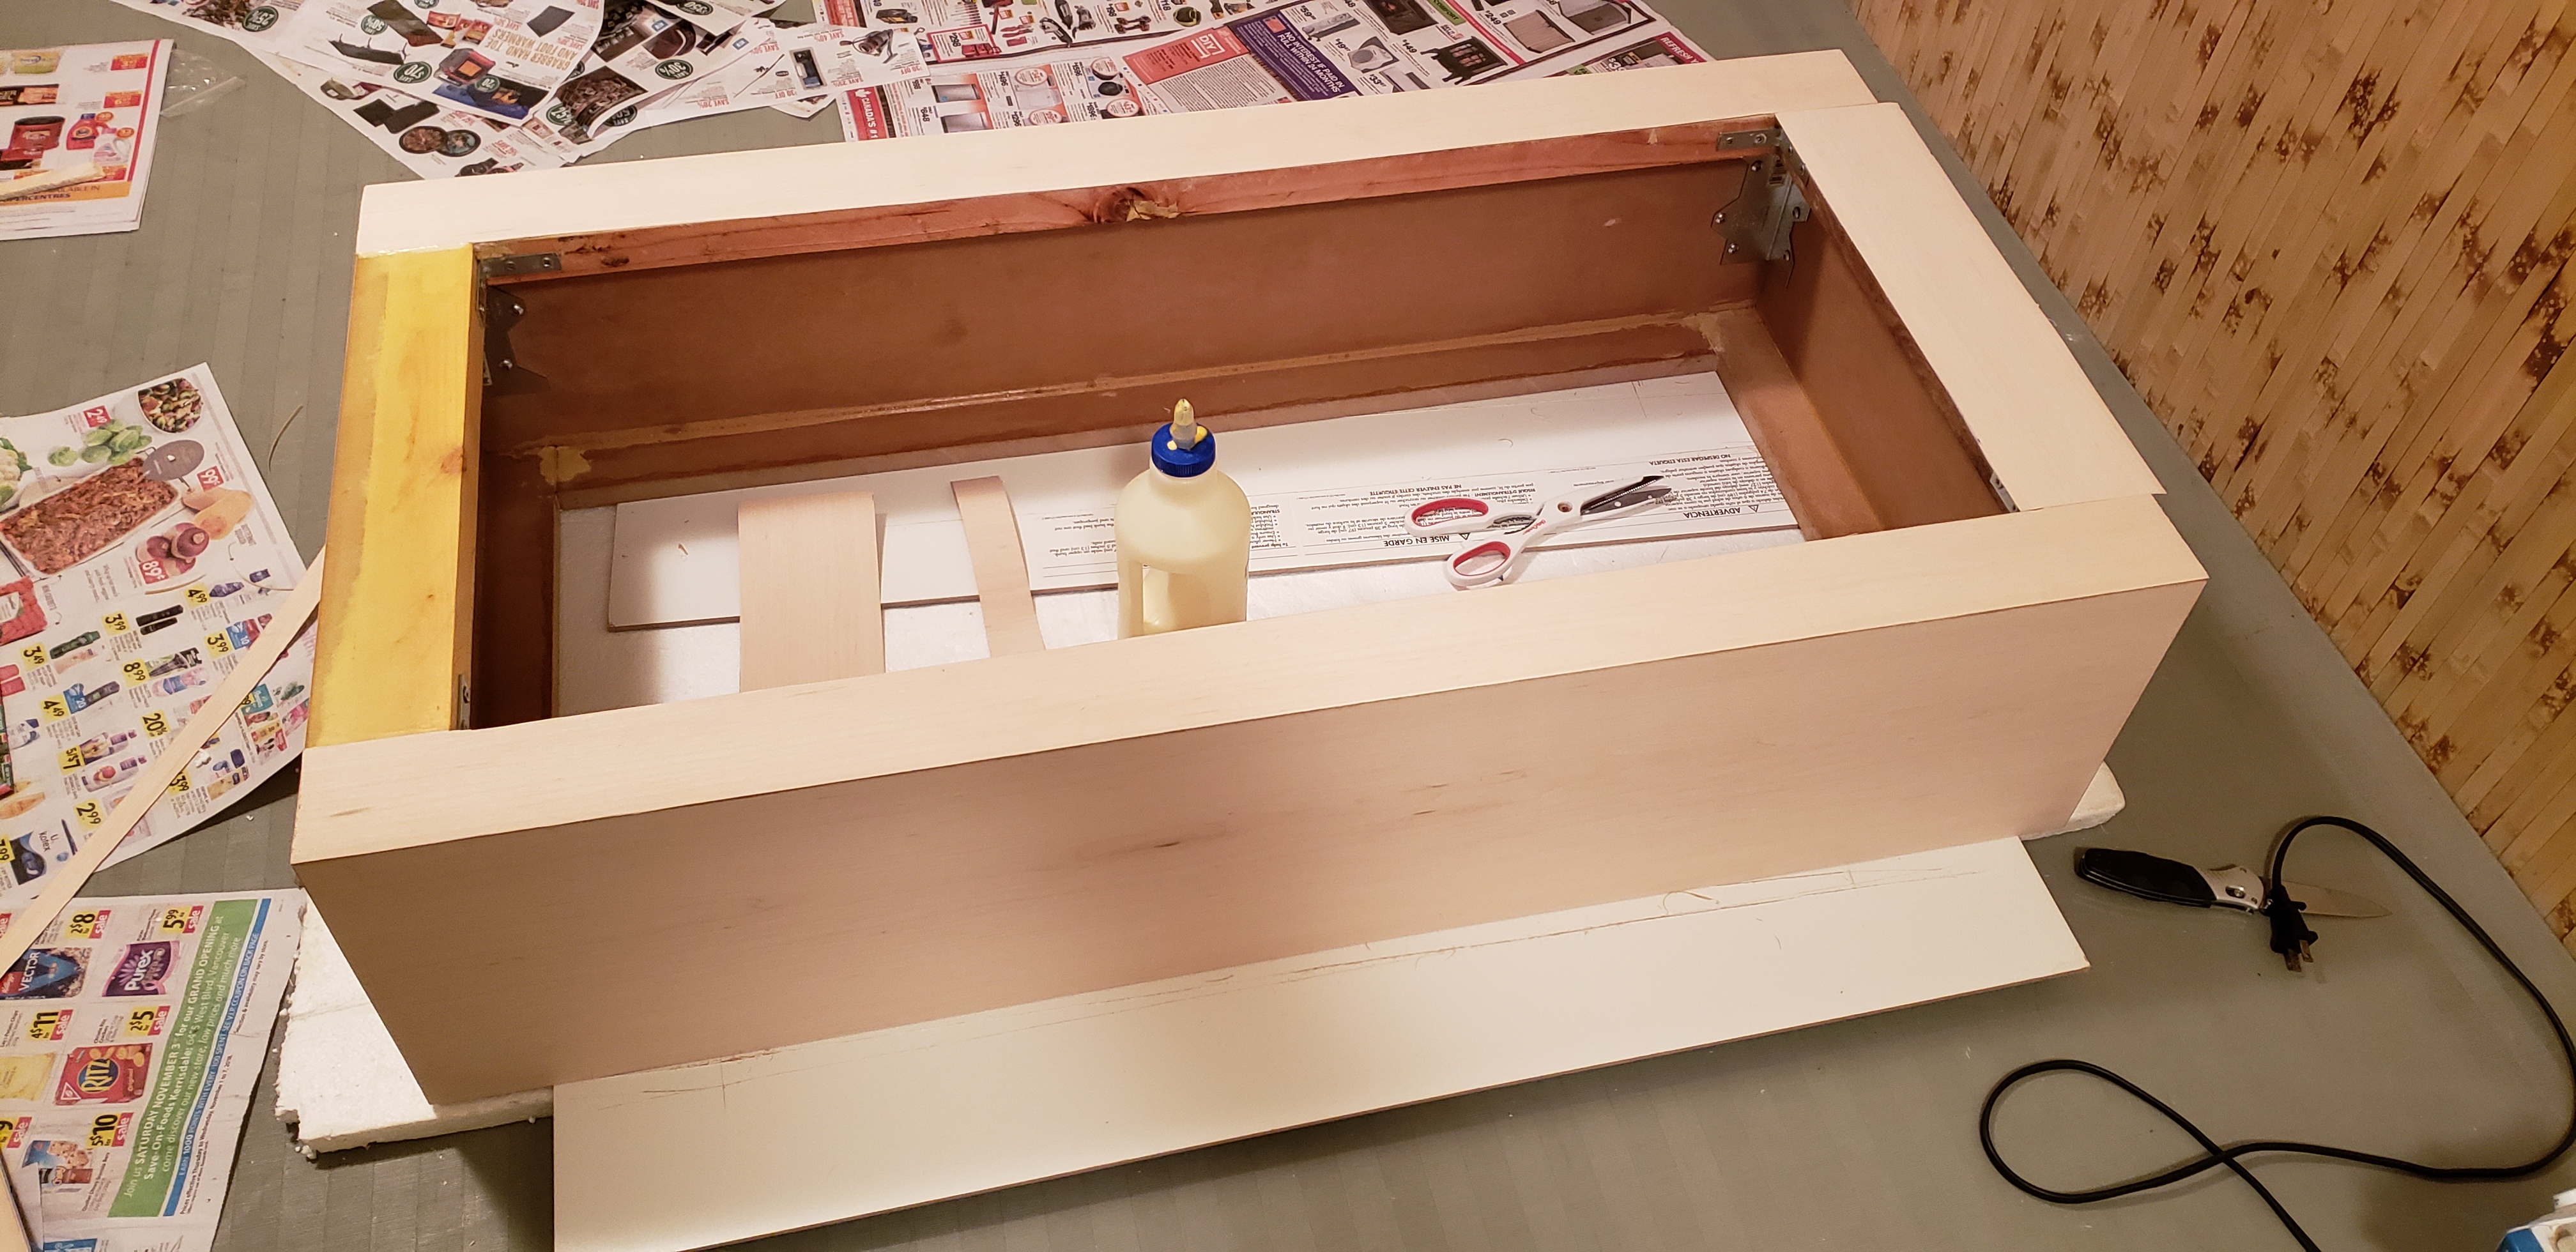
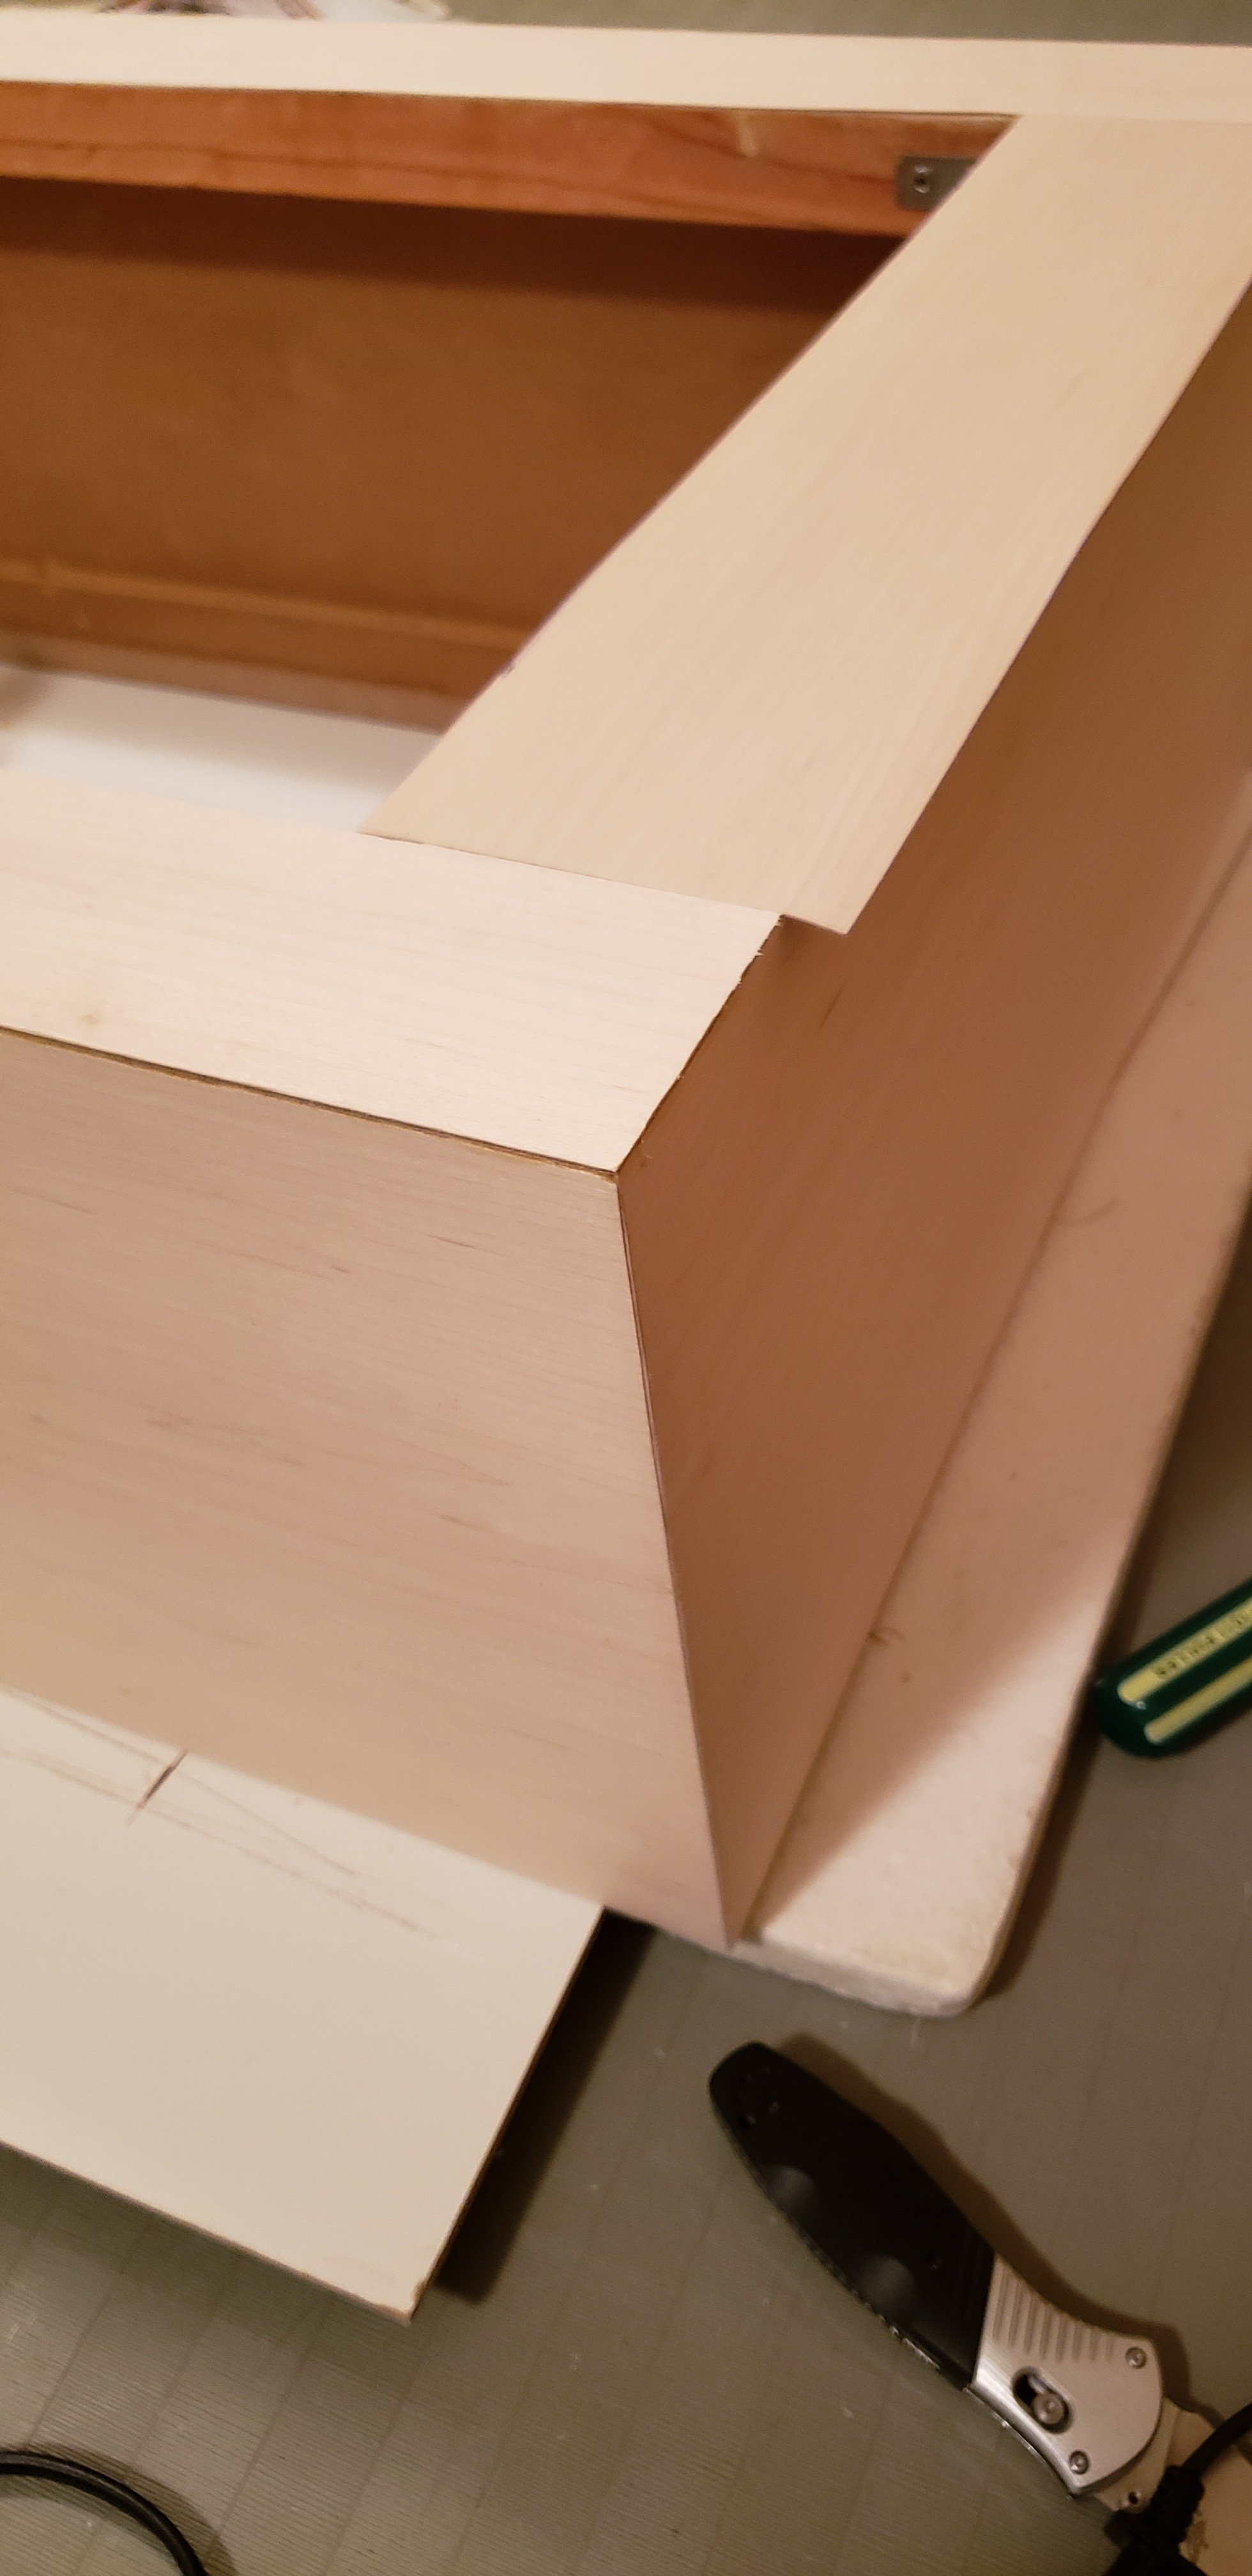
The crux of it is this - build the basic collar out of MDF and skin it with paper-backed wood veneer. Apply the veneer using the wood glue and ironing technique.
I've read about and watched videos about the ironing technique but mostly I saw reference that it was to be used for only small pieces. Less than 1ft sq. No so!
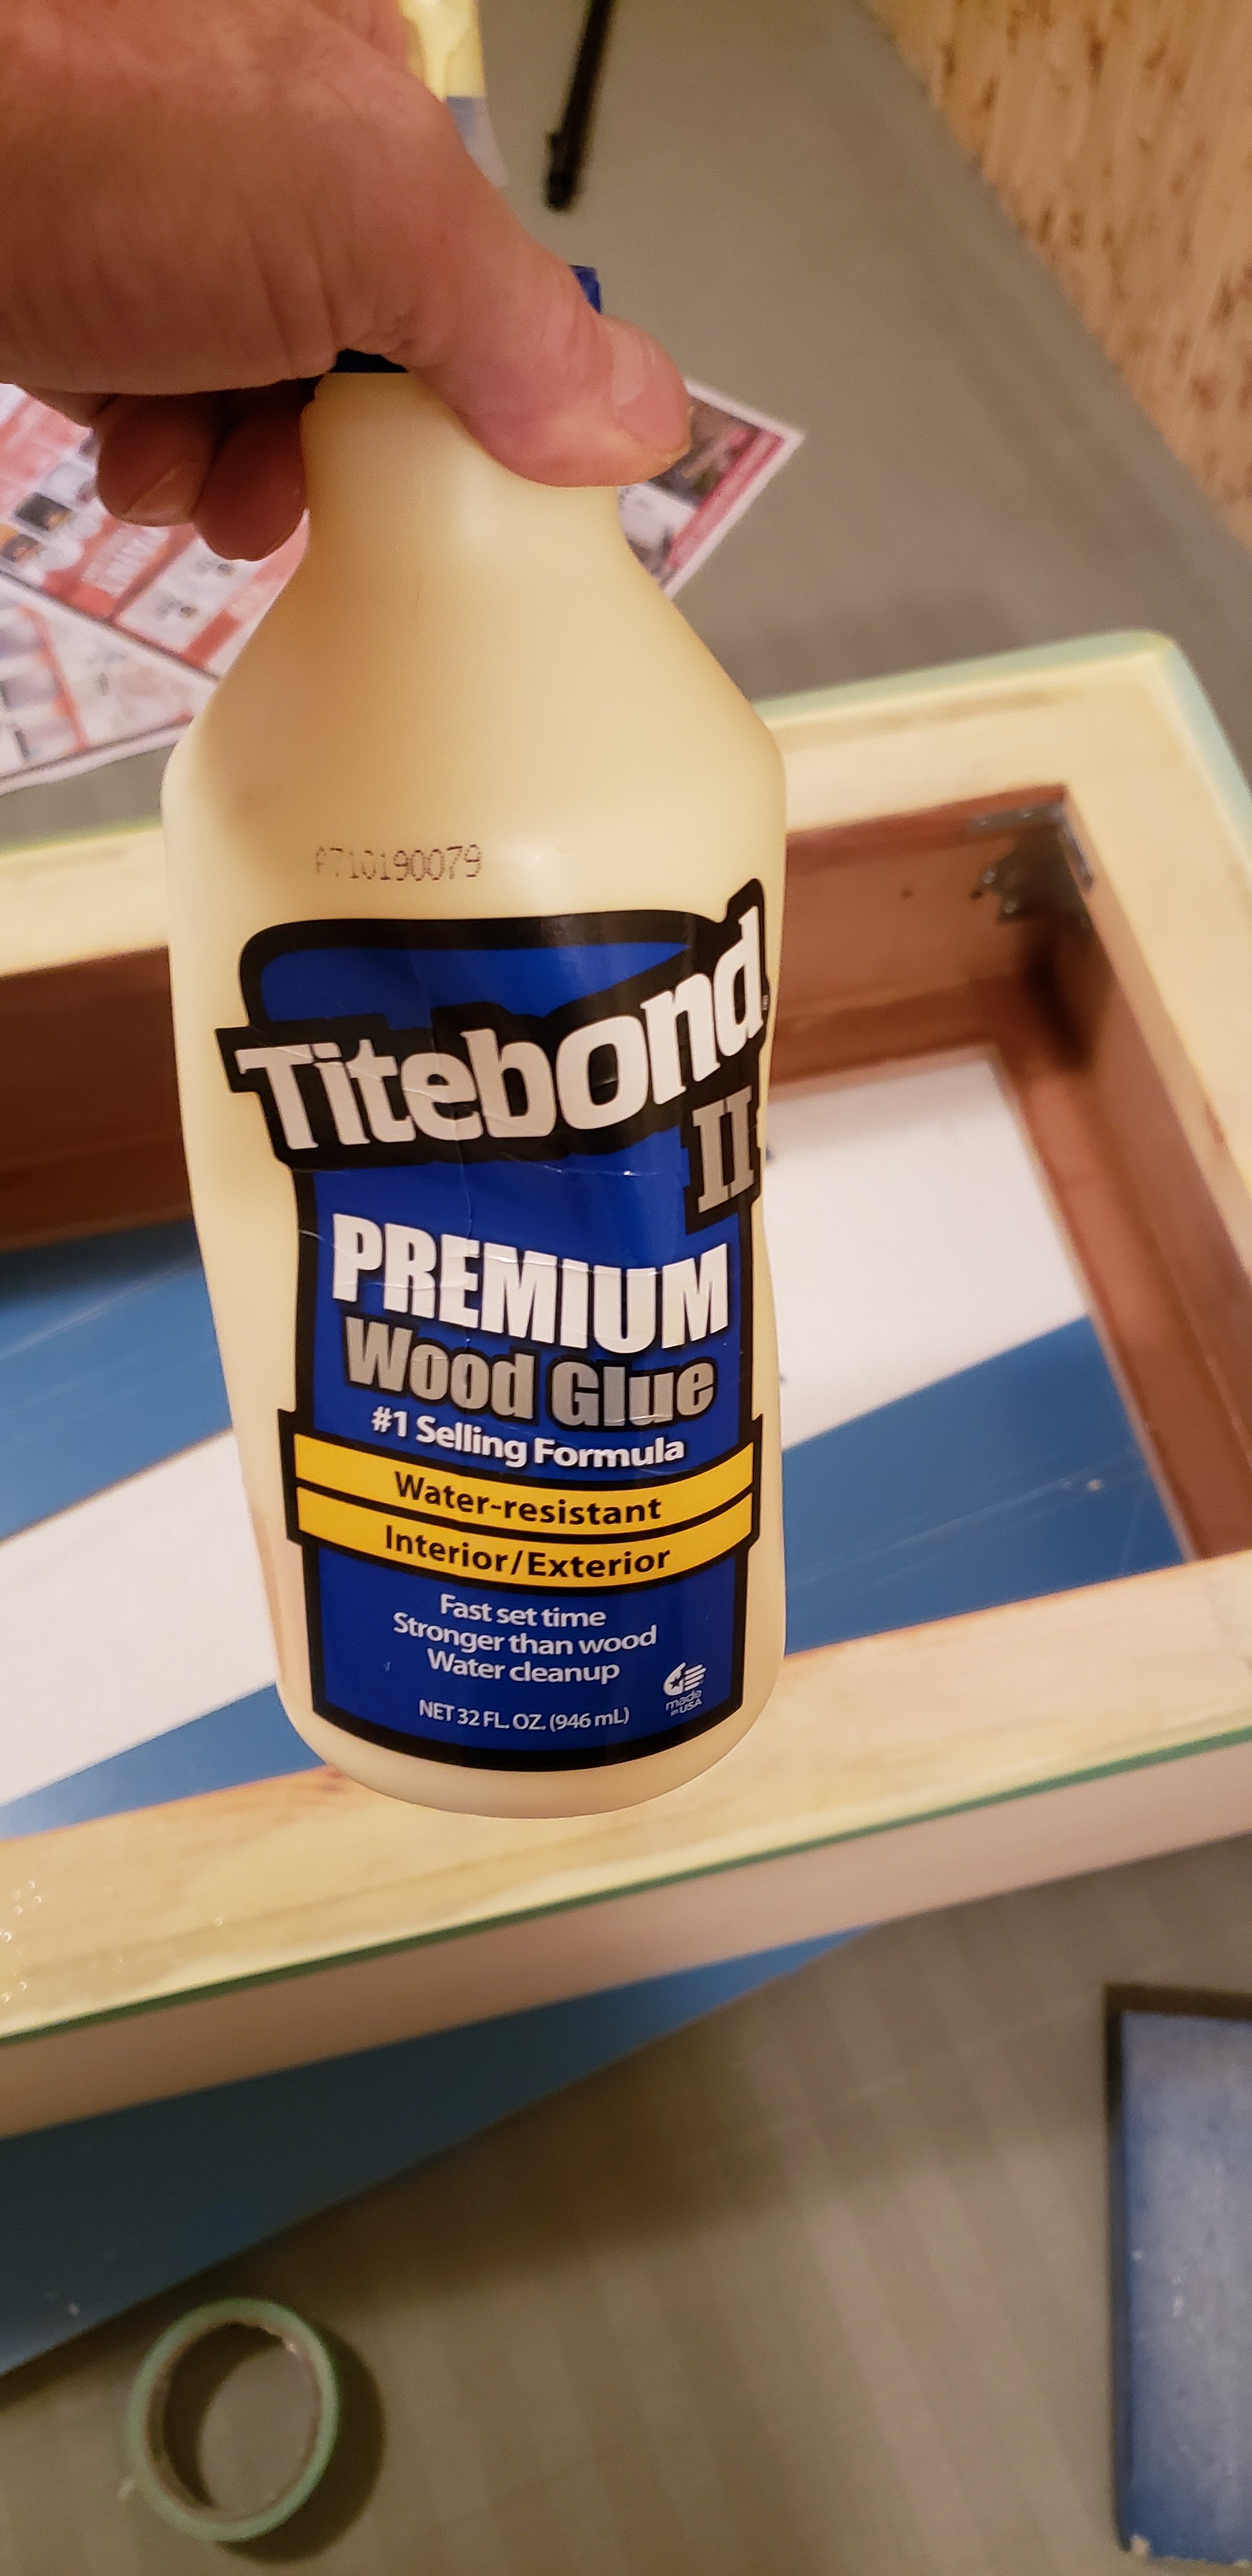
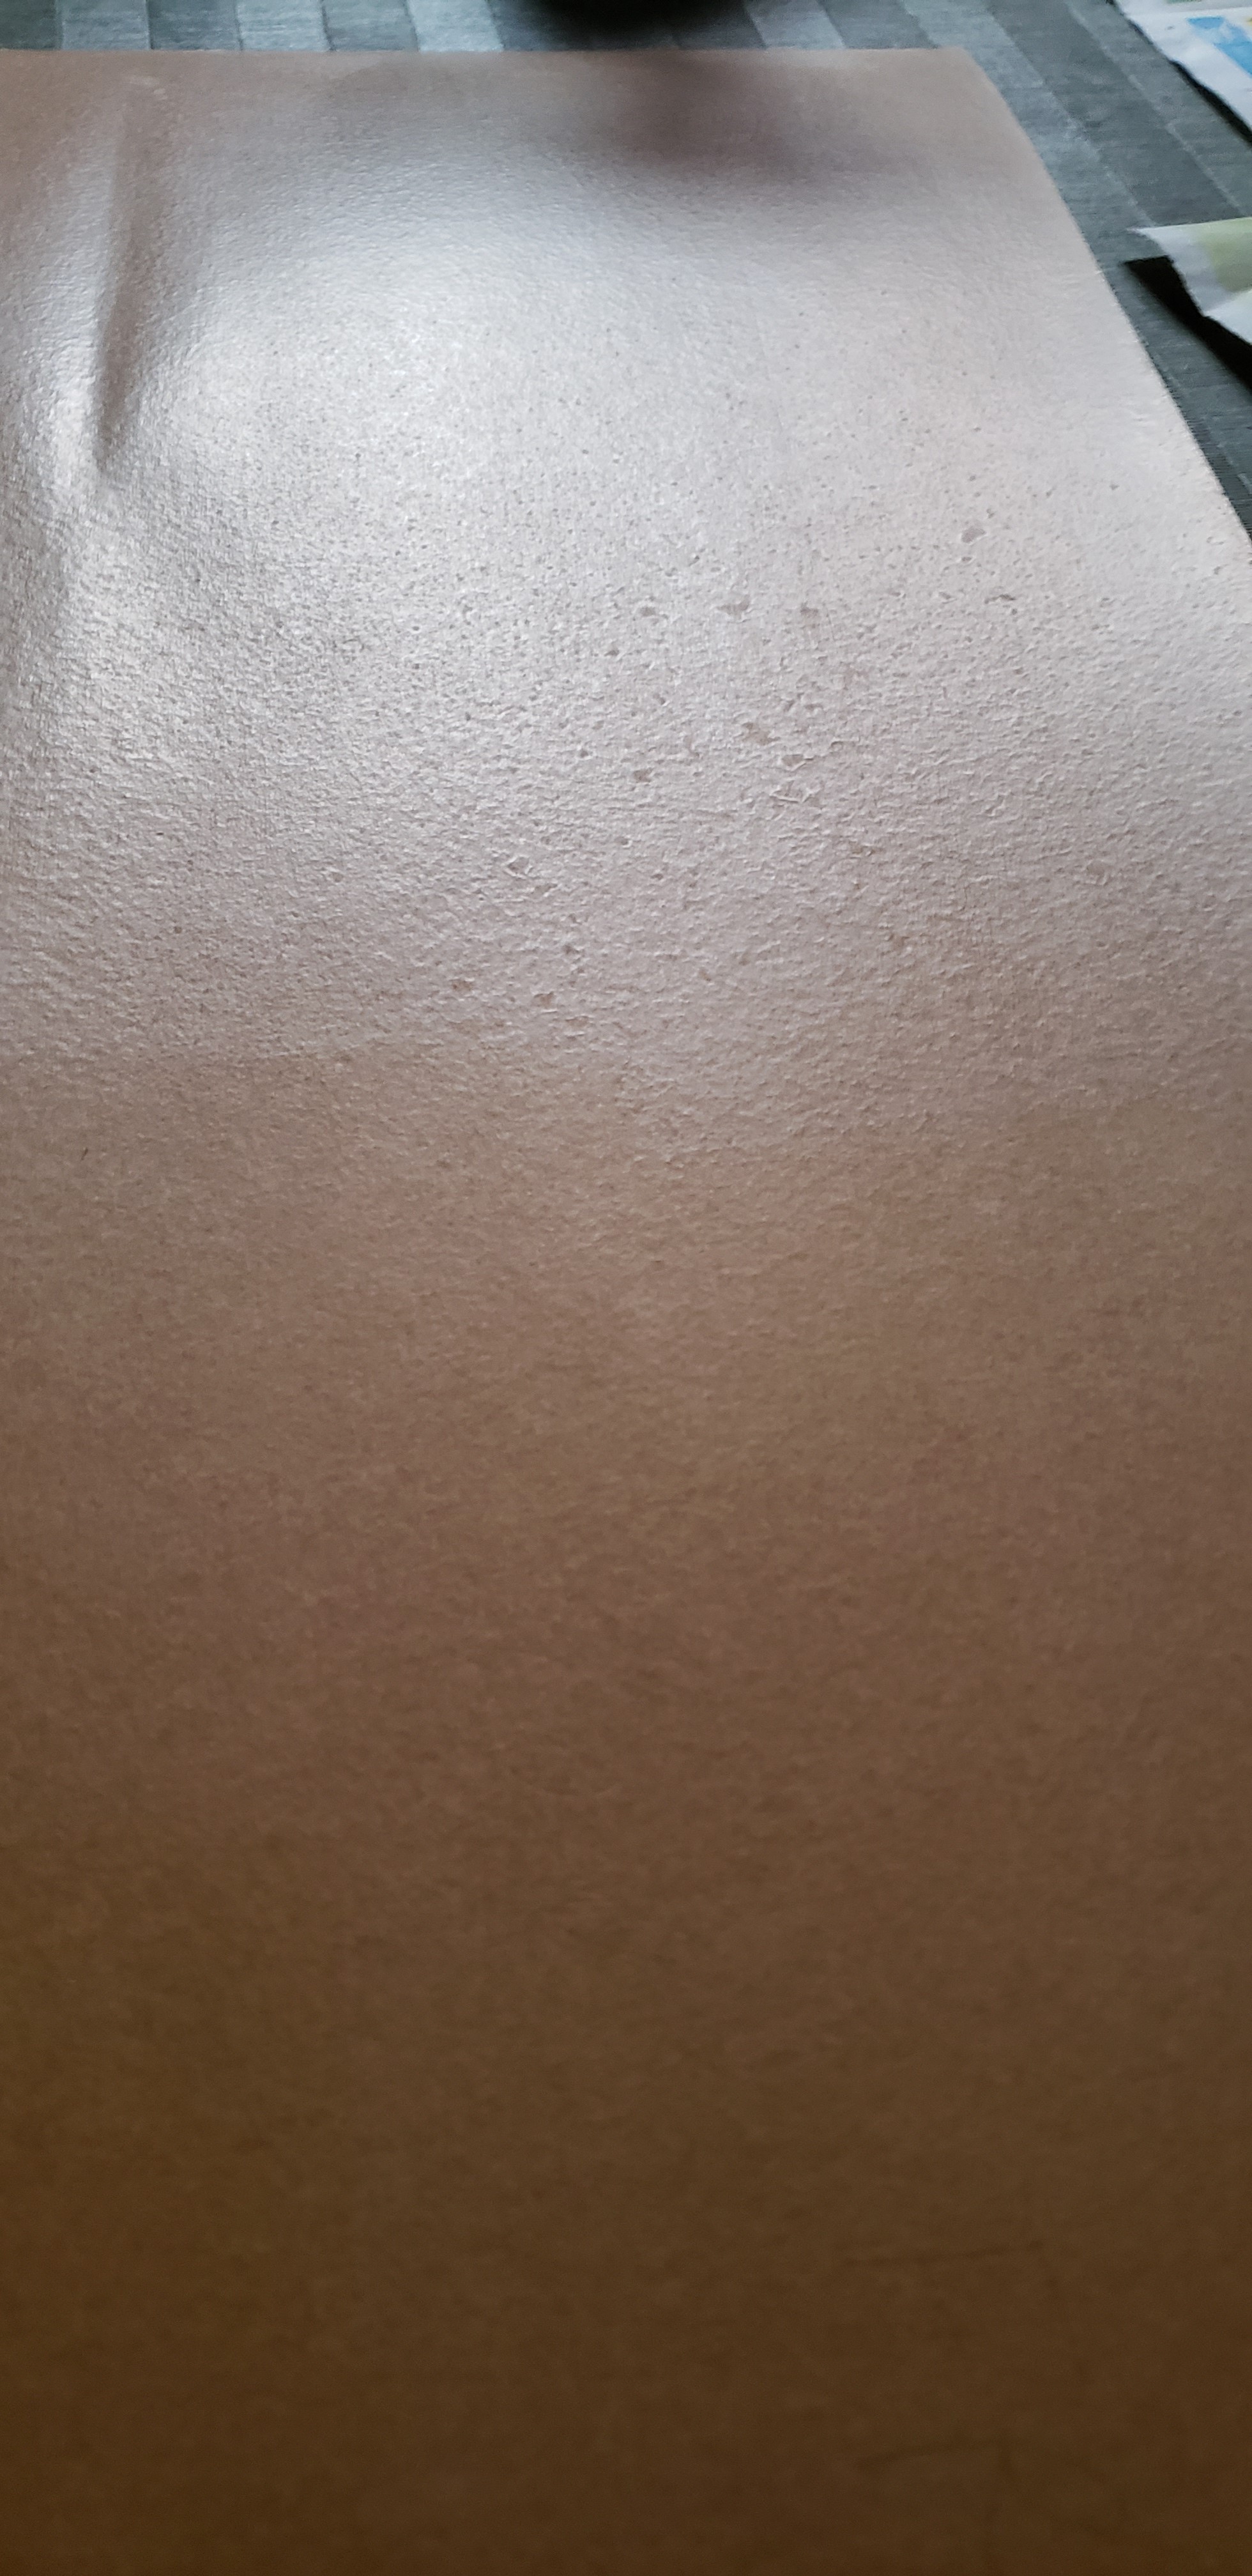
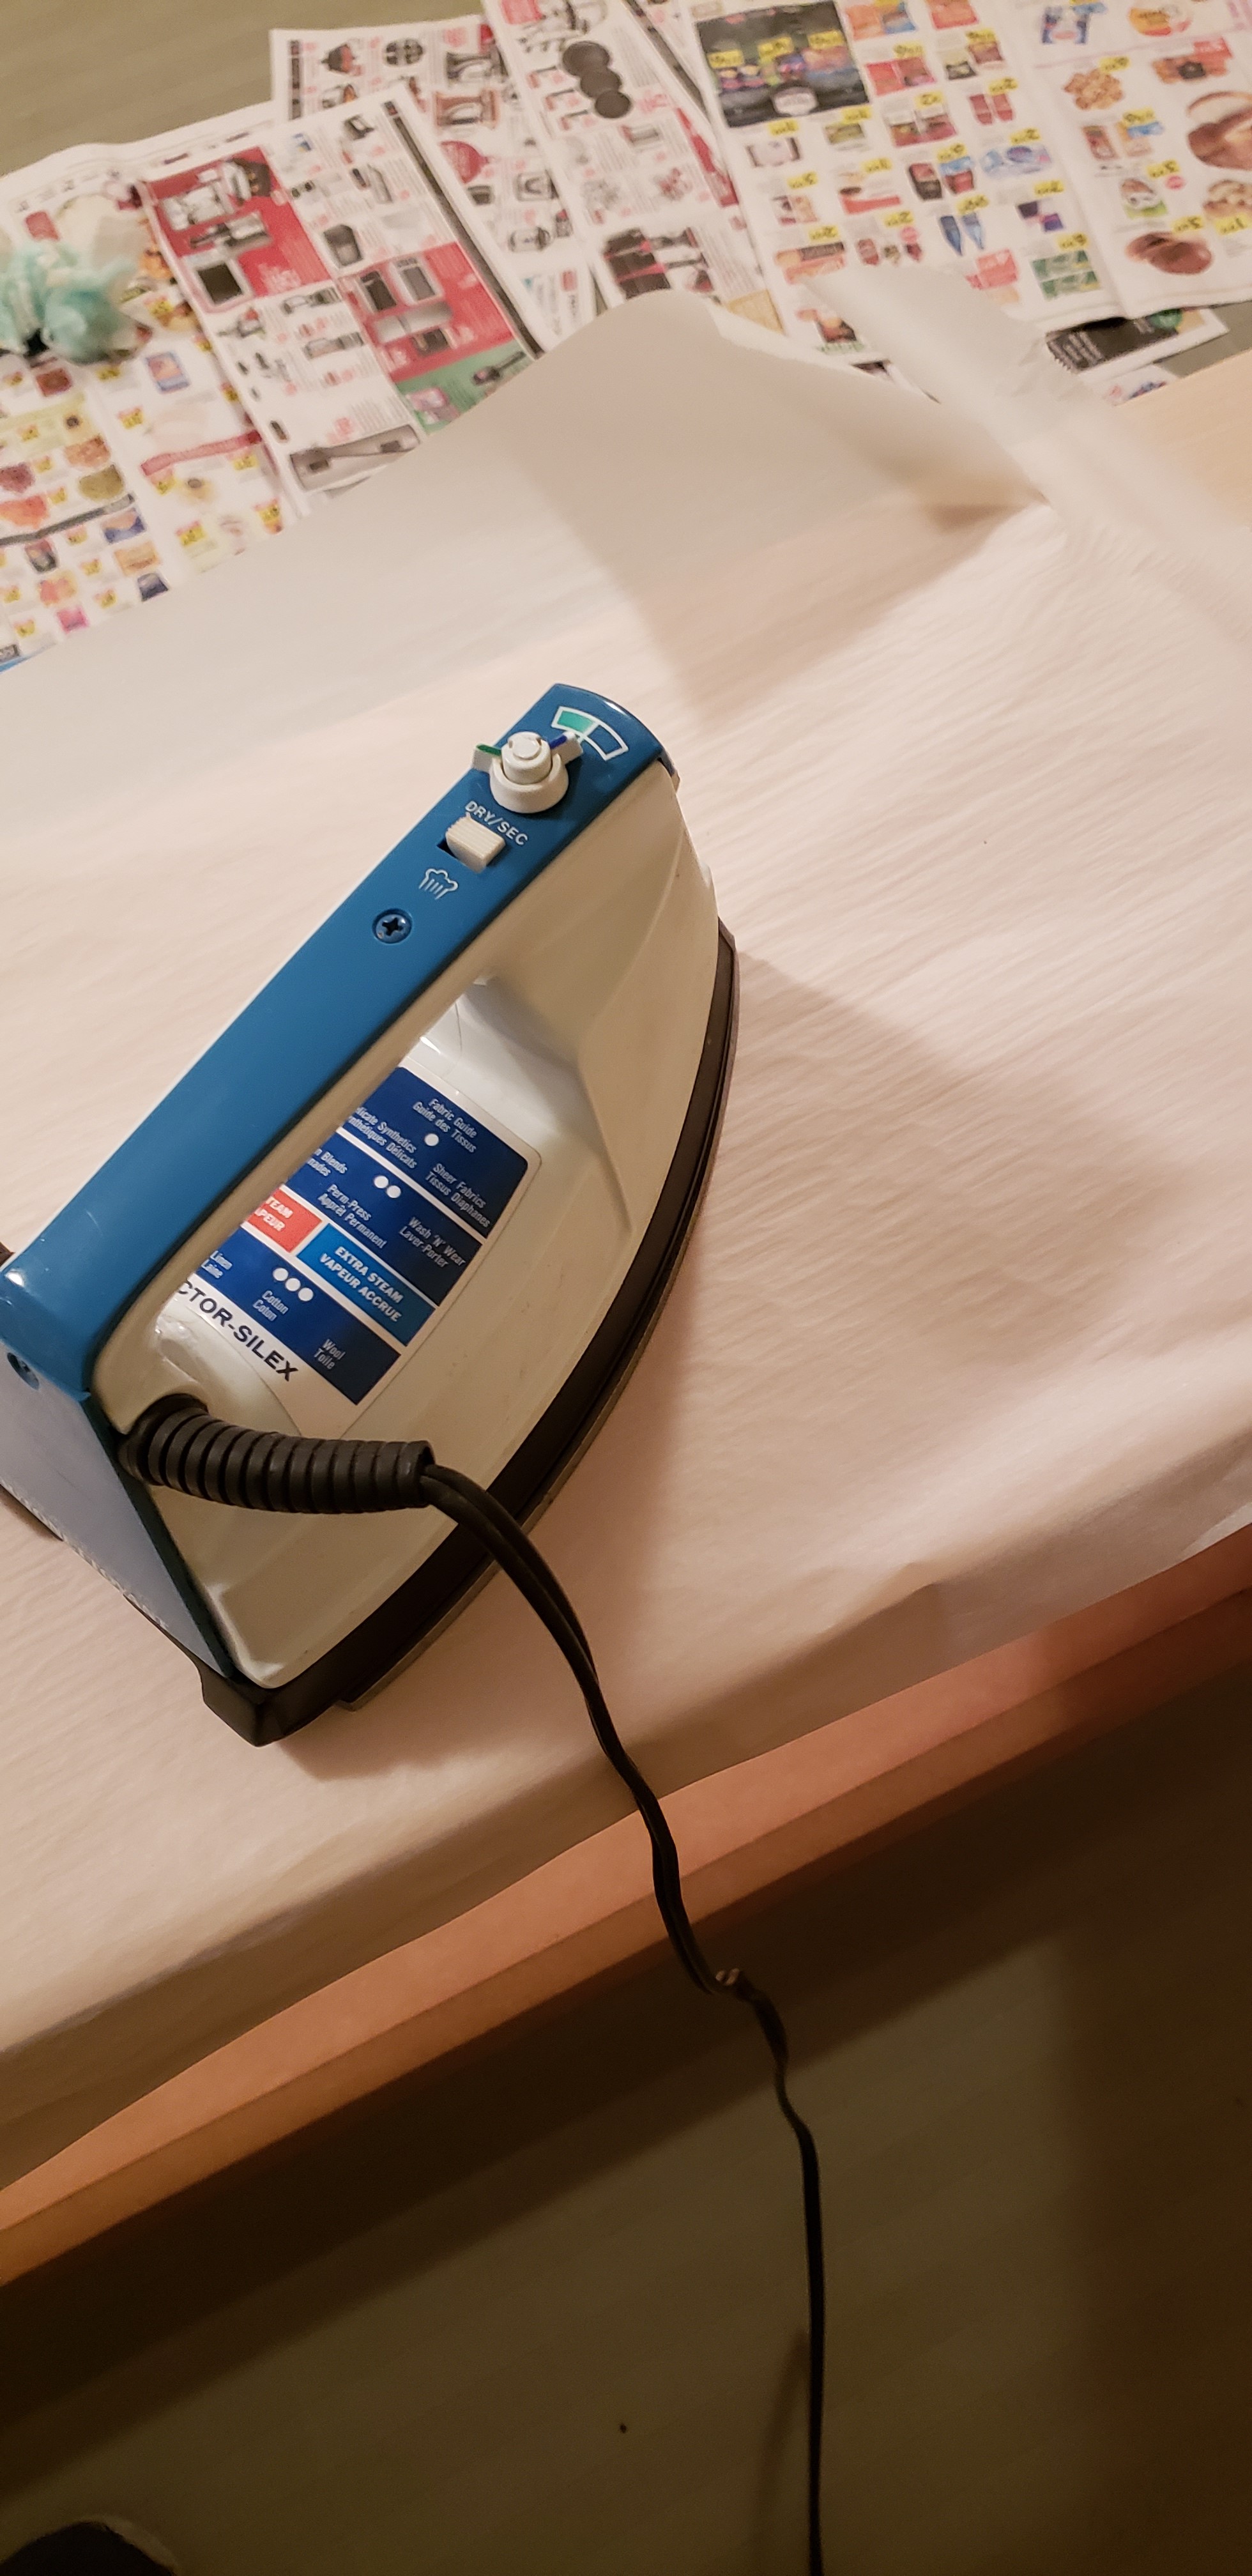
This is an awesome and easy way to apply veneer. You simply apply the right kind of PVA wood glue (Titebond II) with a roller to each surface to be bonded, then let it dry. Once dry the pieces can be positioned and manipulated because unlike contact cement, dry wood glue does not stick to itself. A clothes iron is used to apply heat and pressure causing the two layers to bond.
Why do it this way?
- contact cement stinks. A lot!
- contact cement is unforgiving. The moment it touches it is permanently bonded.
- contact cement is famous for delaminating
- ironing allows really good point pressure application and eliminates air bubbles beautifully.
Granted the odor free contact cement is a little easier to work with, but the bond is less secure. And it's still unforgiving.
- Using veneer allows one to use all kinds of beautiful and fancy woods that would otherwise be too expensive and difficult to work with.
- MDF is incredibly easy to work with and inexpensive. It has no grain or knots to affect machining and has a perfectly smooth surface for veneer application.


