rcm_rx7
Well-Known Member
my current plan for a hopper is a fiberglass build, just starting some mock ups for it


For you guys spinning one of these w/ a drill, can they take the punishment of higher revs and more tourque? Anybody bust one of these things yet? i'm interested in the long term viability of these units. How much grain have you put through and what if any troubles have you had??


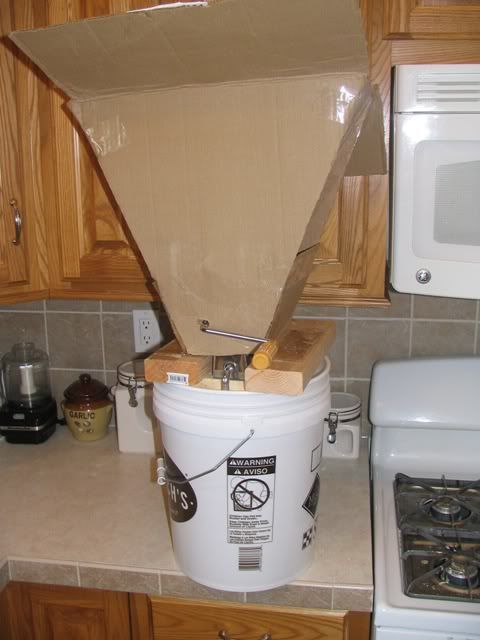
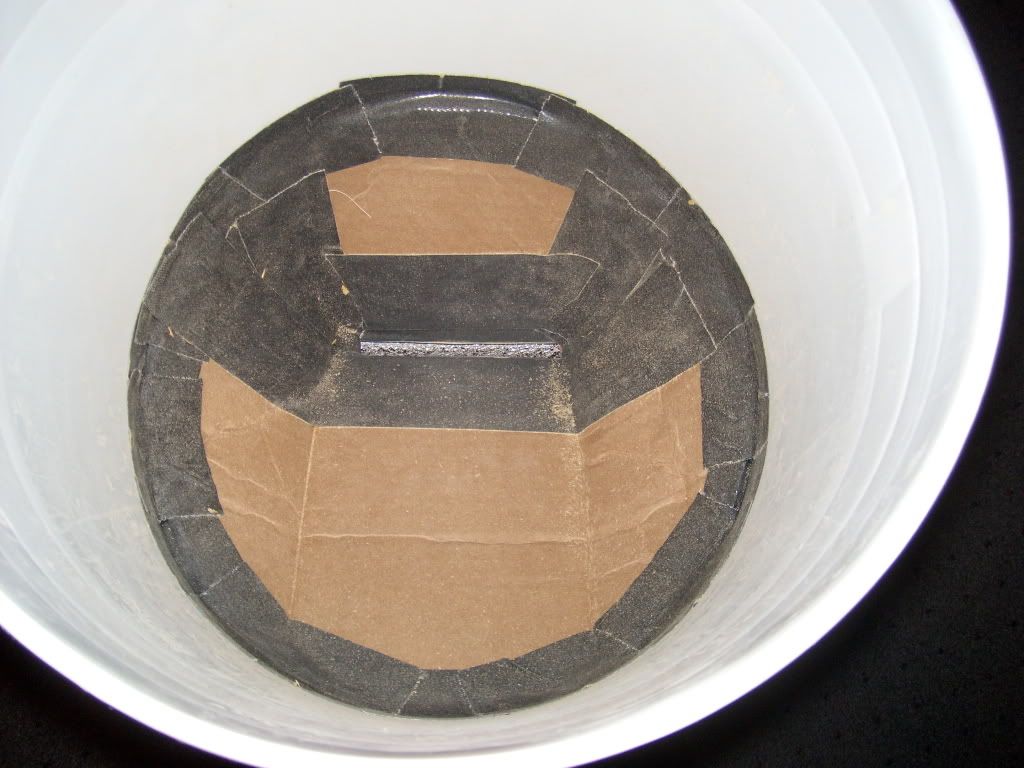
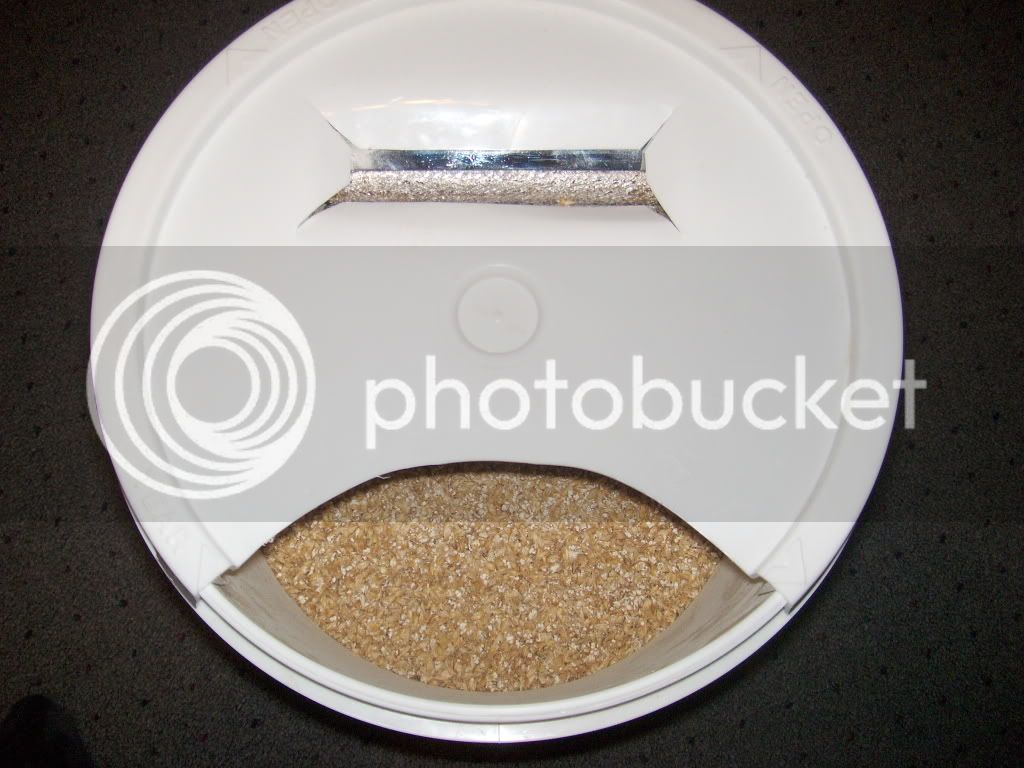
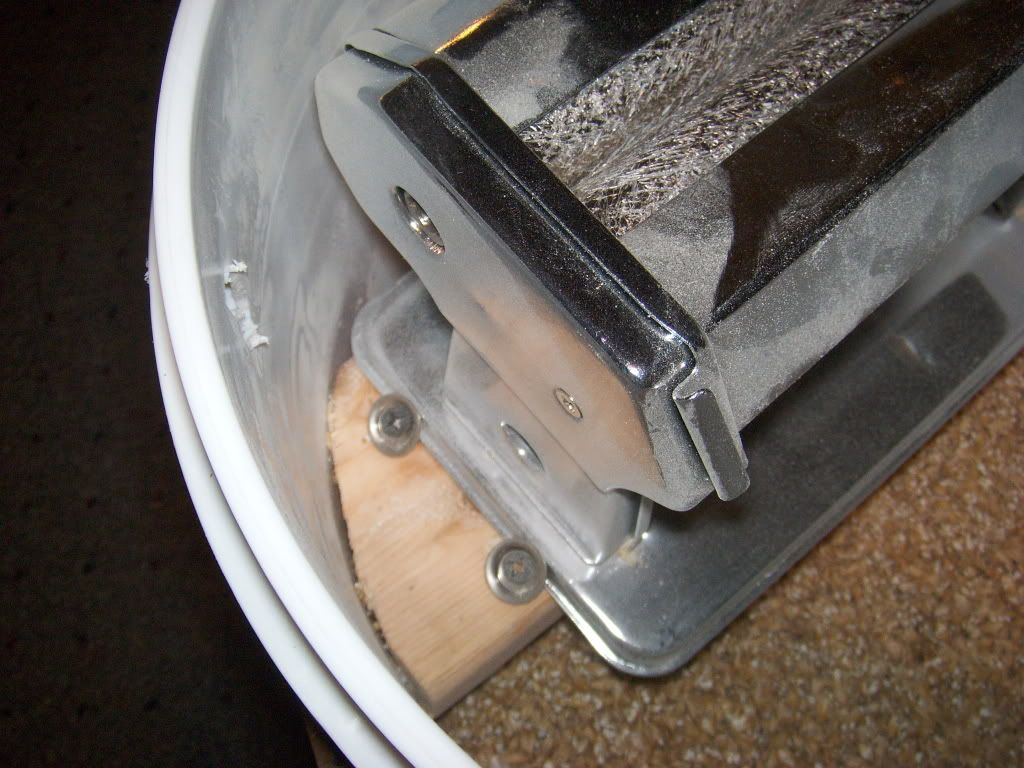
As promised pics of the pasta roller mount and hopper. I already ahve and use a corona type mill that I am very satisfied with, but for 16 bucks i could not resist the temptation to play around.


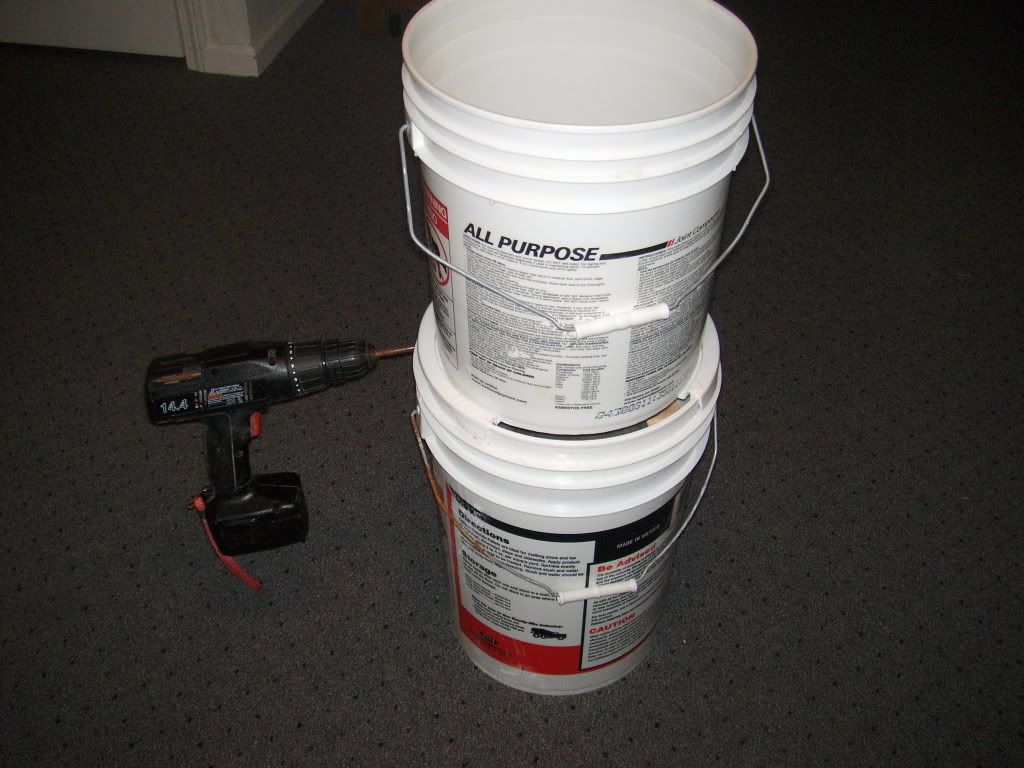

Now what do I do? Run my drill over the rollers at their narrowest setting? Sounds crazy, but I'll try anything.
Your helping many folks on here including me :rockin:
A brand new Micheal's opened down the street and I got a Grand Opening coupon for 50% off any item in the store. So I just picked up one of these pasta/polymer-clay machine for $12. Now what do I do? Run my drill over the rollers at their narrowest setting? Sounds crazy, but I'll try anything.
Nice idea with the buckets.
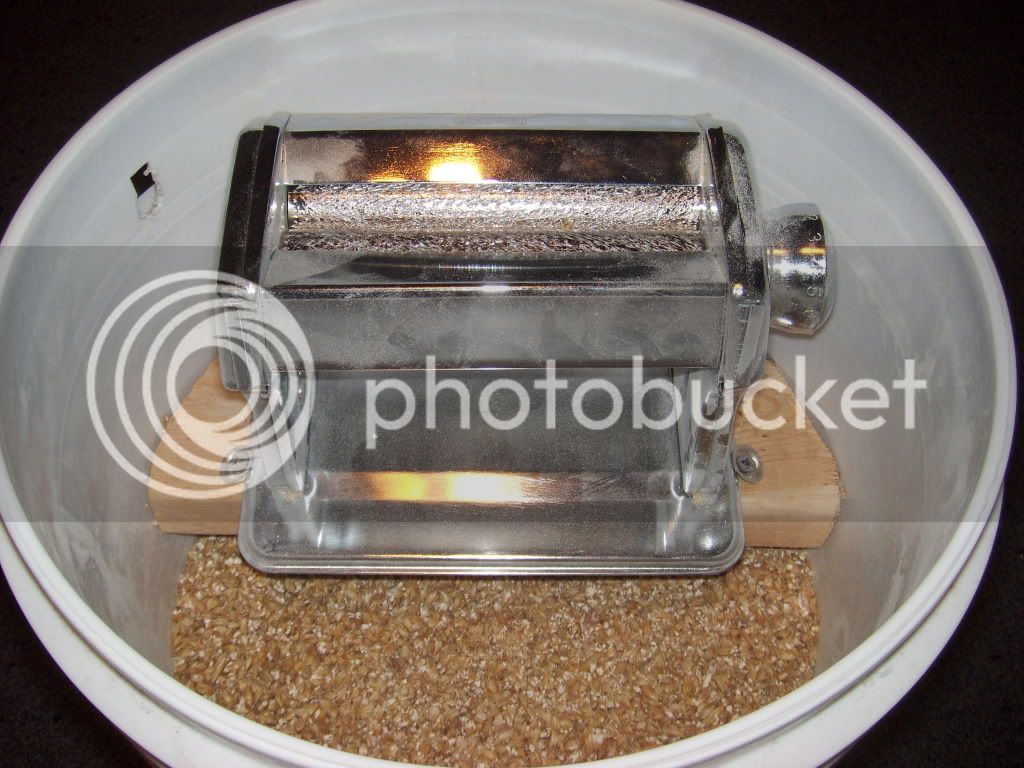
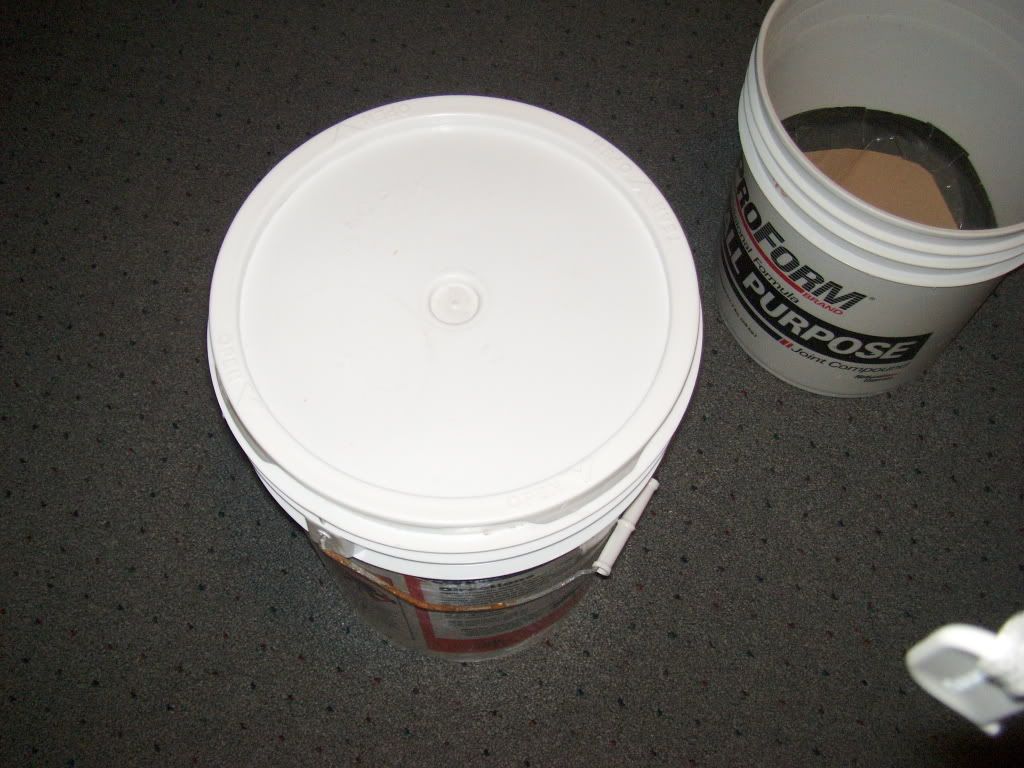
How about just cut the bottom out of one bucket. Mount the mill all the way on the bottom and insert your round guide to create the hopper out of the bucket.
A couple long screws in the bucket as a support on the edge of a catch bucket lip and you are good to go.
How about this?
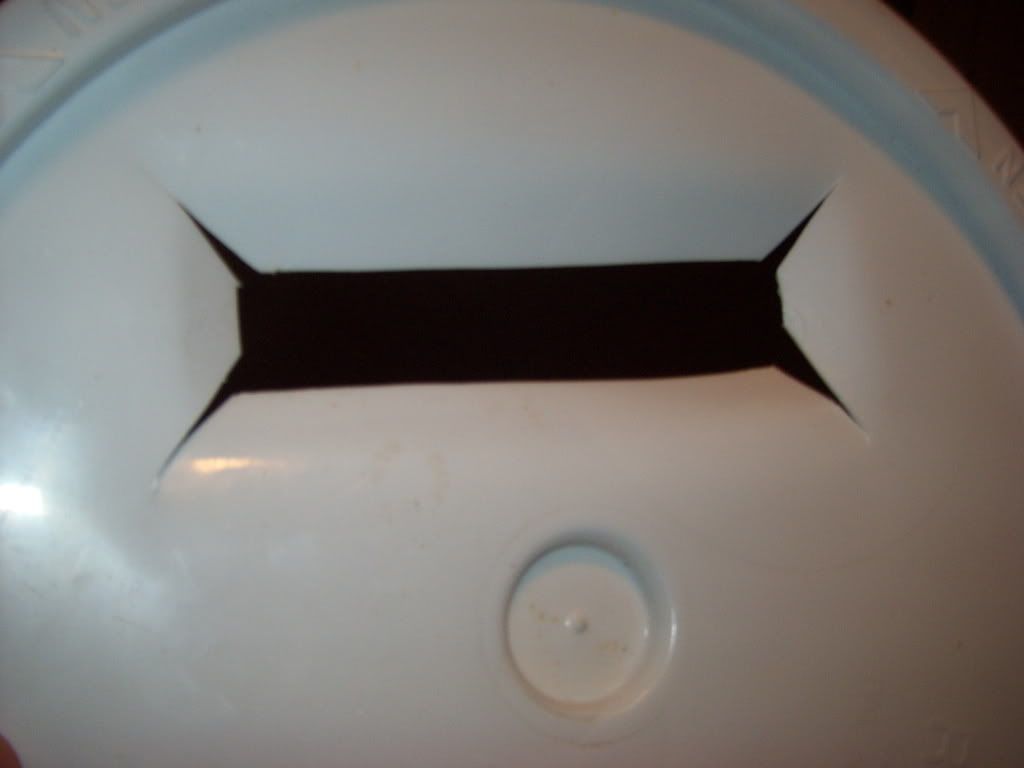
Plain and simple: the Homer lids do not like to be cut. Once you cut them, they tear apart VERY easily. Mine literally disintegrated in my hands when I tried. Luckily the lids are dirt cheap and easily available, so it's not a huge loss or anything.Homer bucket lids are soft as butter compared to the brew bucket lids I've gotten.
Some day... I want to pick up a second hand grain mill, smooth out the rollers with a drill and turn it into a pasta maker!

Enter your email address to join:
