The way I brew beer - All Grain

Homebrew Talk - Beer, Wine, Mead, & Cider Brewing Discussion Forum

Help Support Homebrew Talk - Beer, Wine, Mead, & Cider Brewing Discussion Forum:

This site may earn a commission from merchant affiliate links, including eBay, Amazon, and others.

smccarter

Well-Known Member
Joined
Feb 22, 2013
Messages
1,033
Reaction score
176
Location
Milton
I'm not sure if this has been done before. Please excuse me if it has.

I created a document for a friend who wants to start home brewing. He's brewed with me a few times, but I wanted to give him something that he could use as a guideline when he starts brewing on his own. It turned out okay, so I thought I'd post it here. It might help a few people make the switch to all grain.

The document is not meant to be technical. It's a very simple look at the process that one brewer takes. It certainly isn't the only way to brew beer, and it definitely won't be the most correct way to brew beer. It's just a look at the processes, and the equipment that I use to brew beer at home.
 
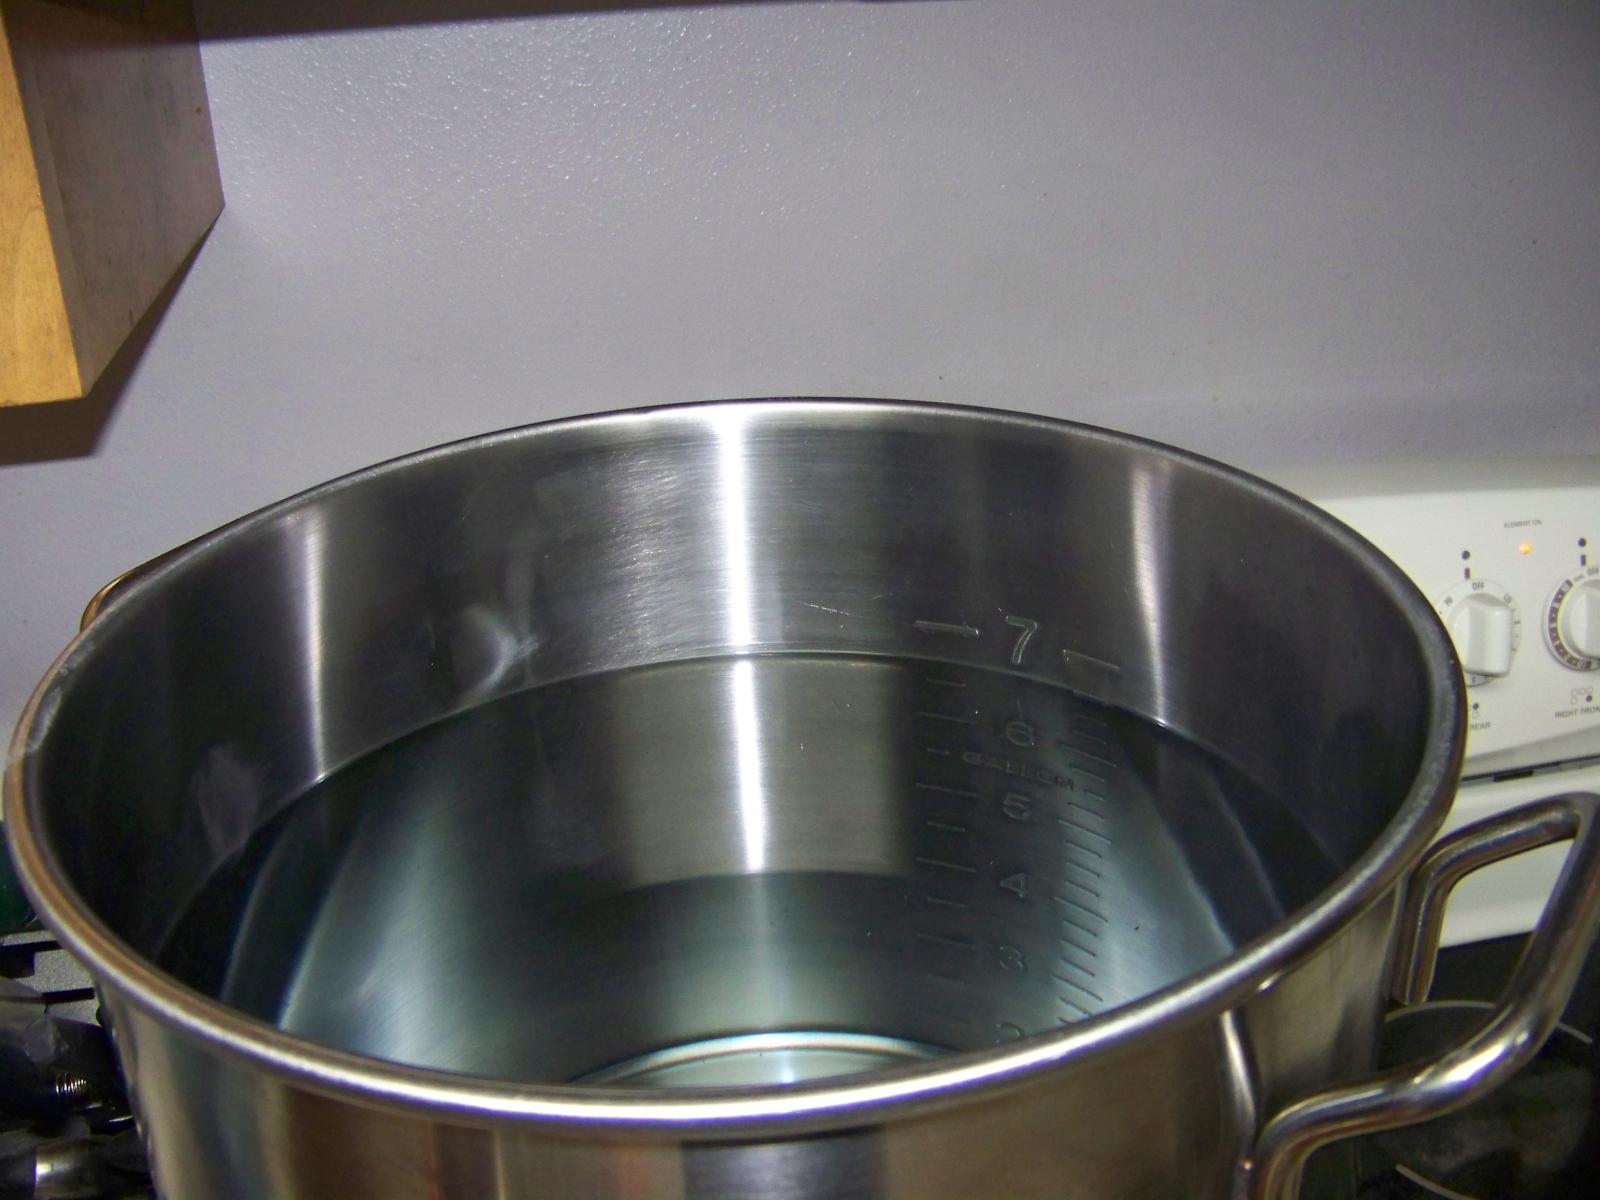
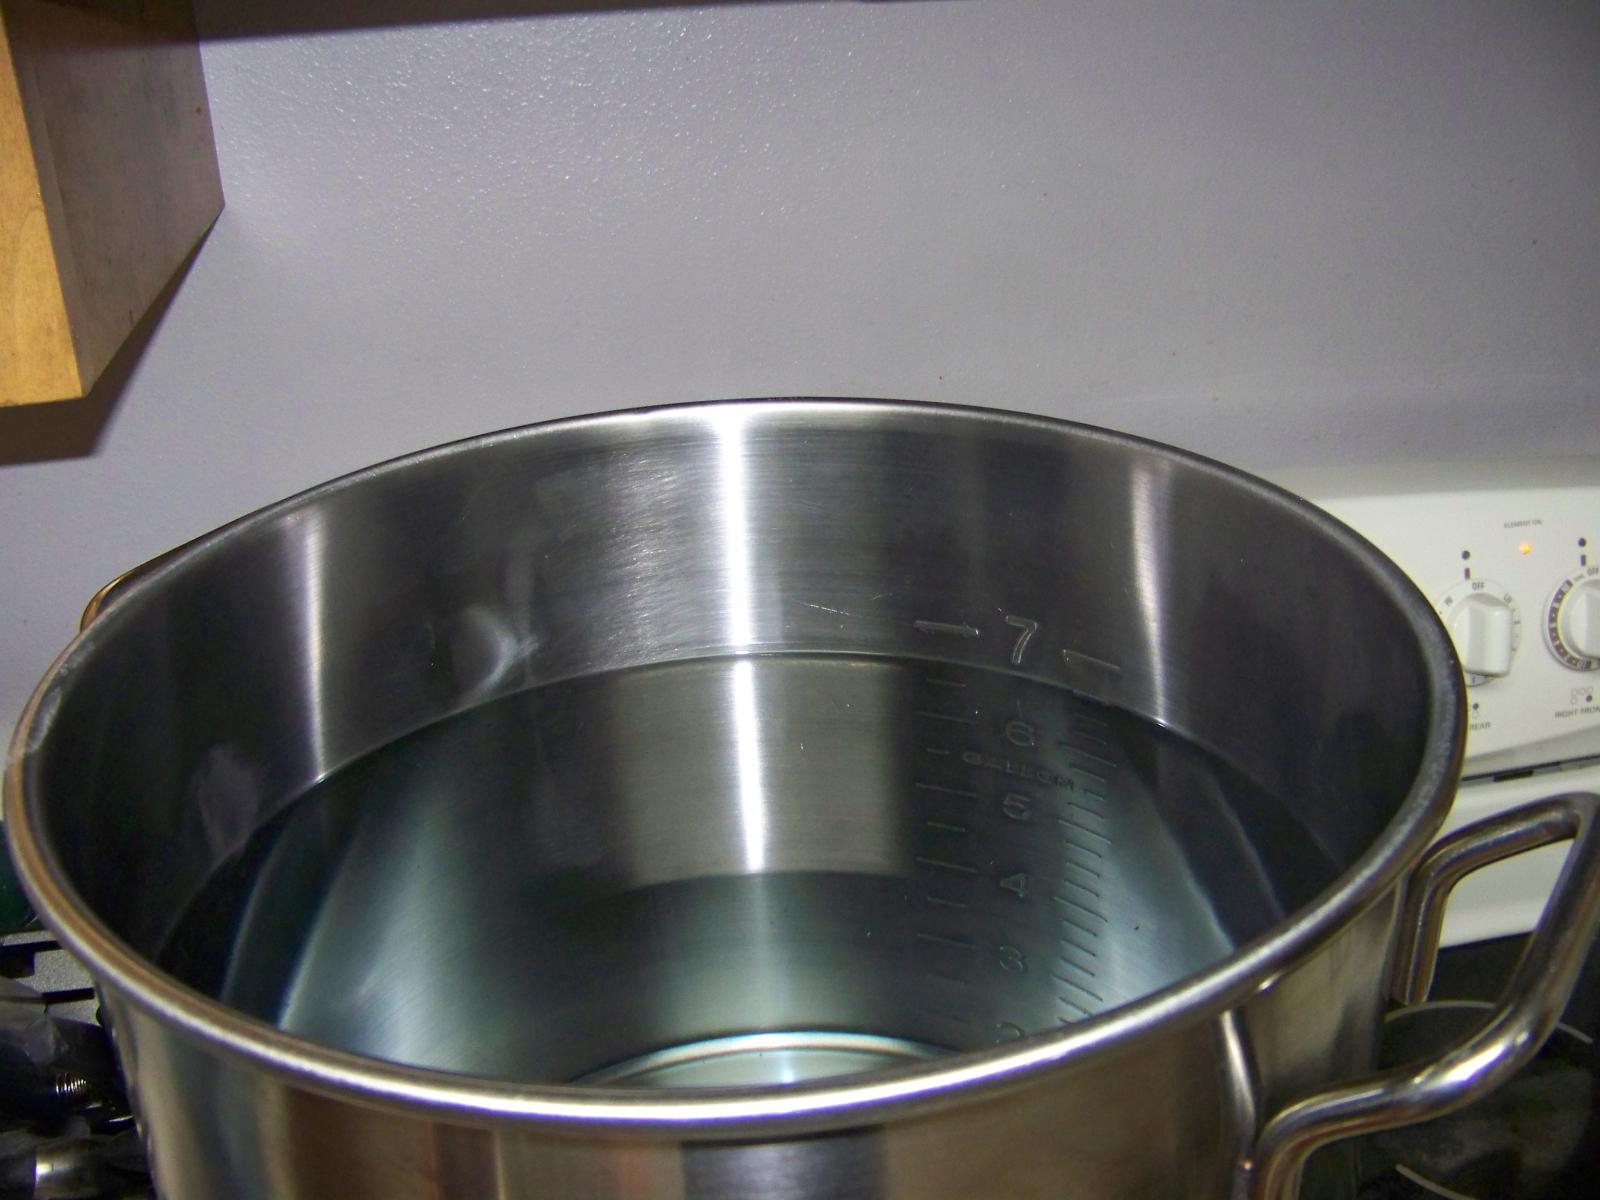
Brew Day begins by filling your hot liquor tank with water and getting it on some heat.
While your strike water is heating up, you'll want to get your mash tun ready and you'll want to mill your grist if you haven't already done so.

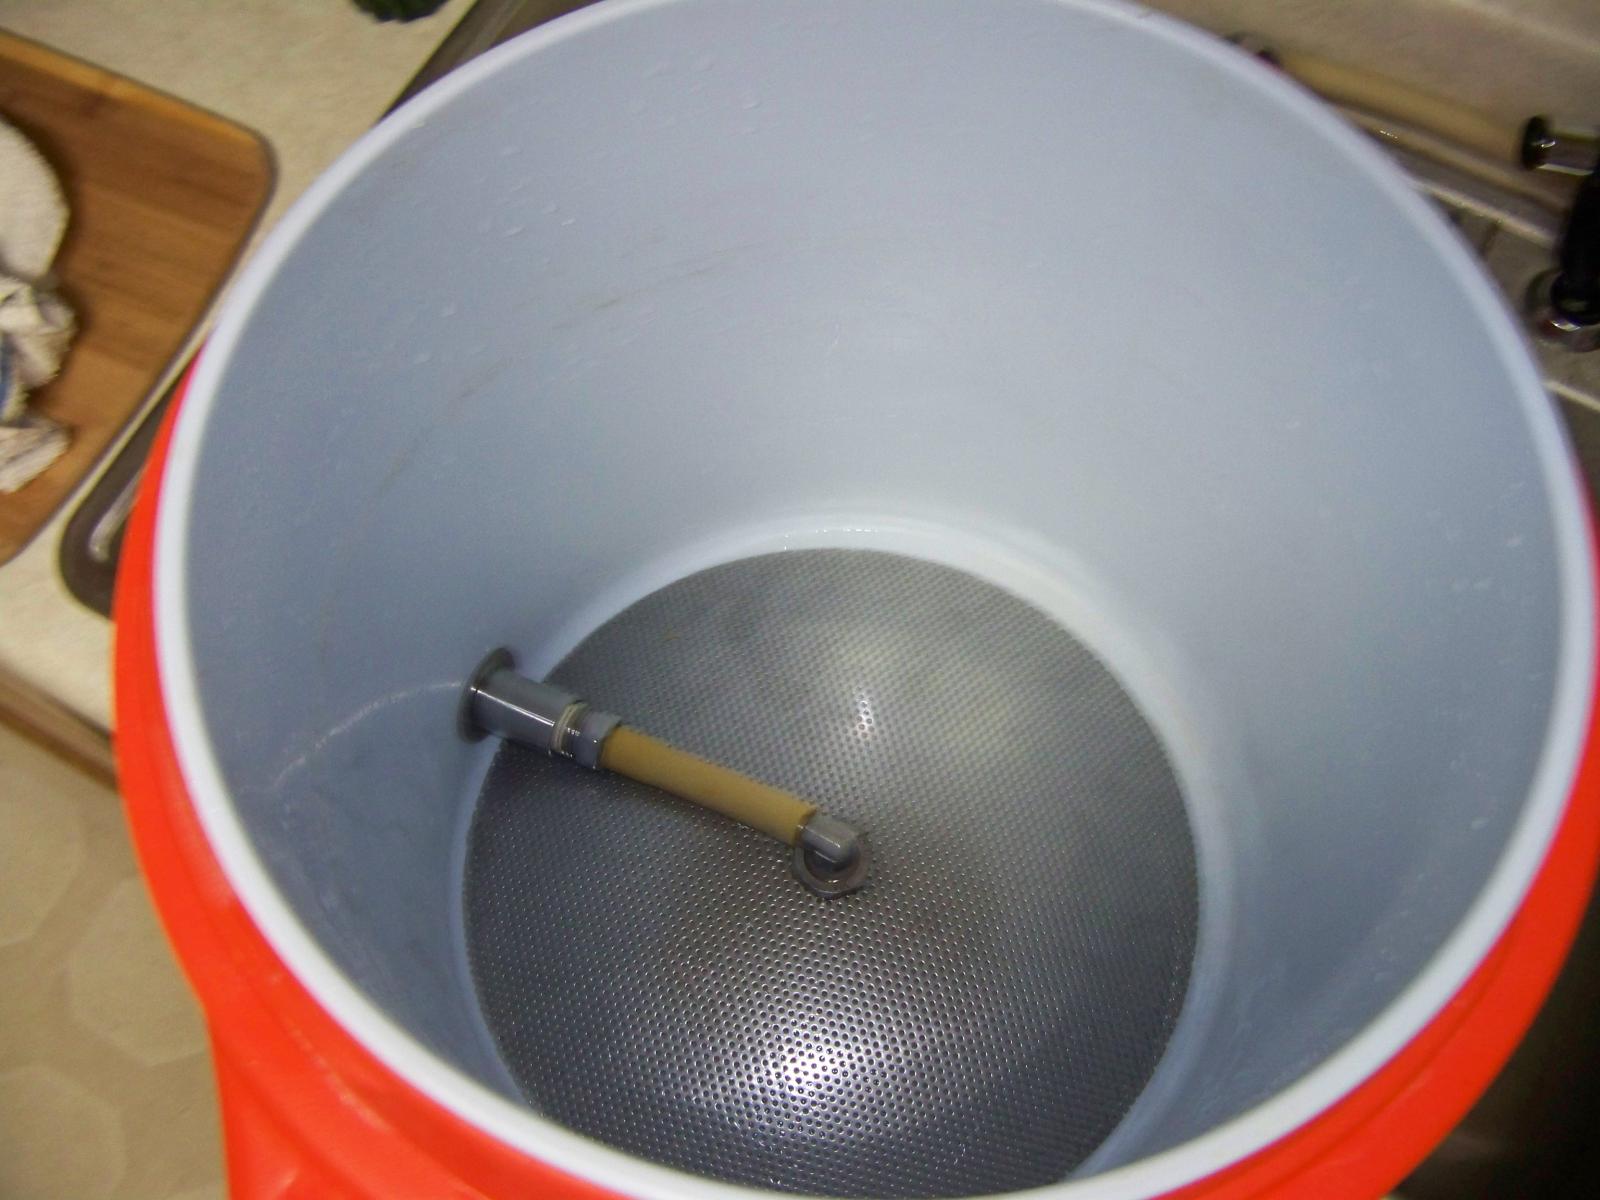
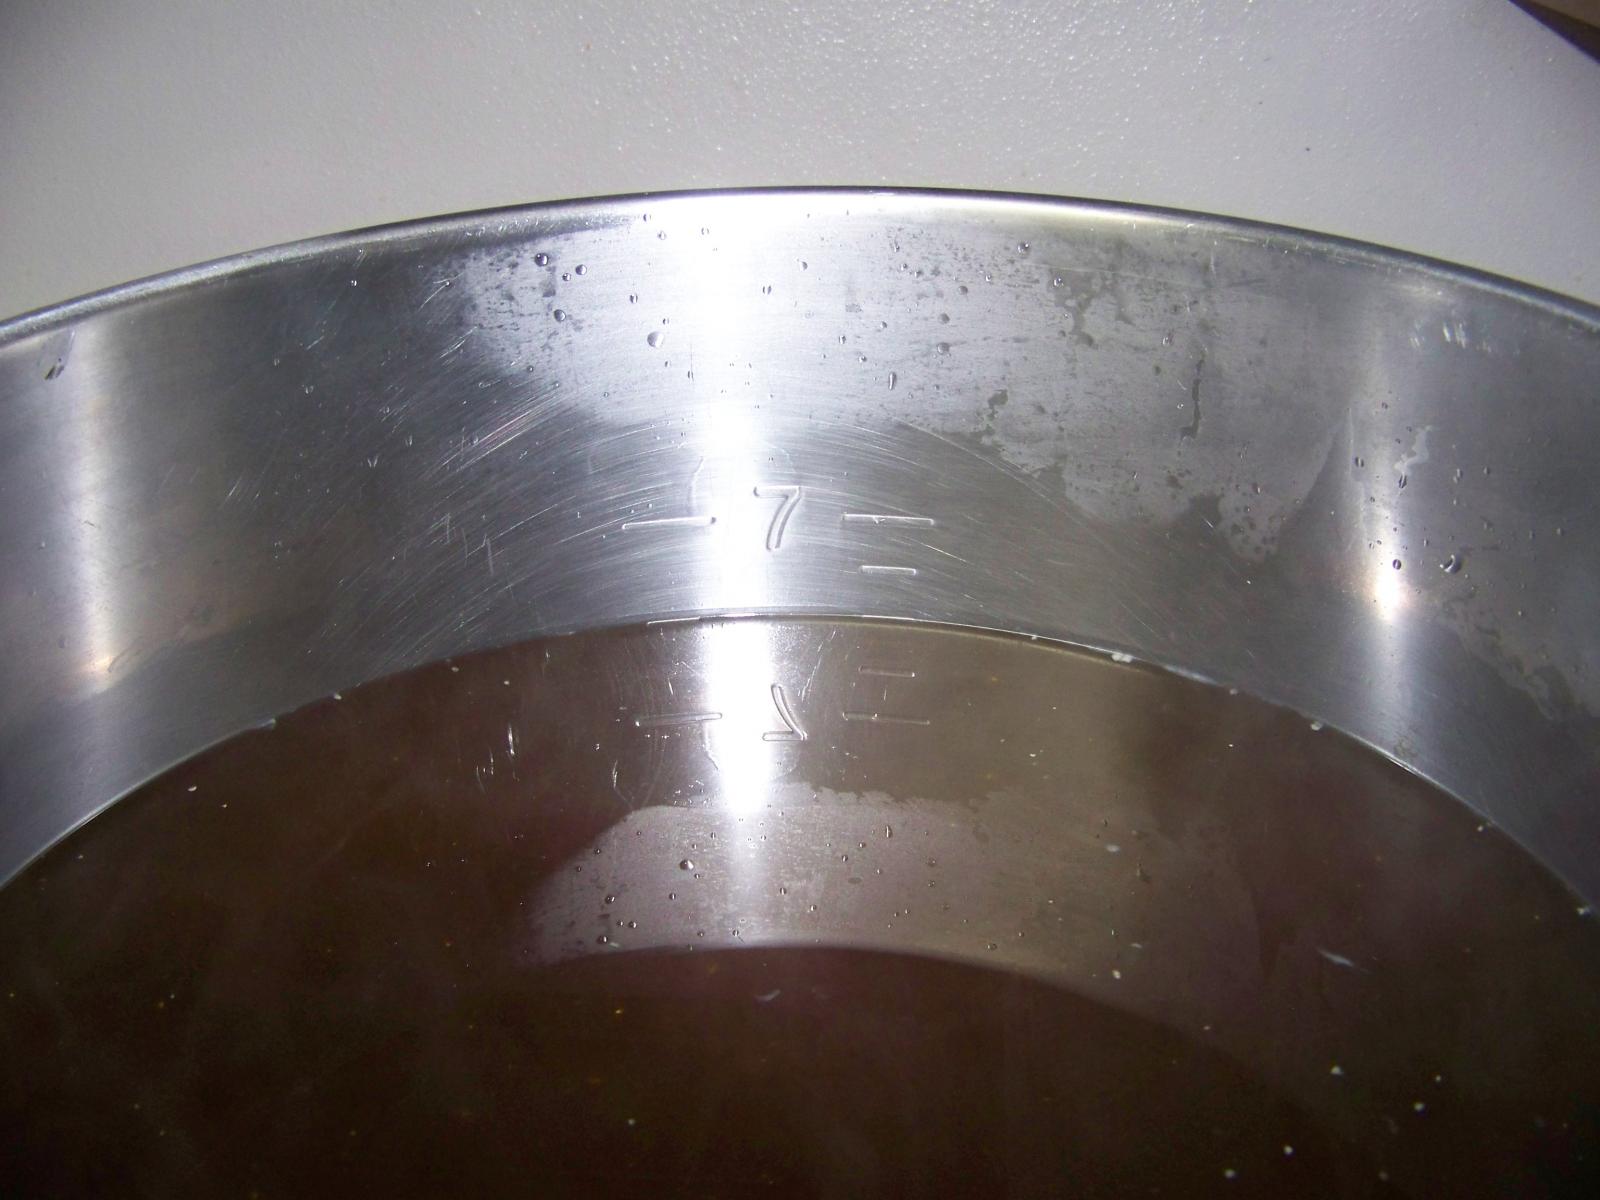
This is a picture of my mash/lauter tun. It's a 7 gallon Igloo cooler. I've added a false bottom, and a spigot.

Some people mash in a kettle, others in coolers. This is just the way that I do it. There are several ways, and there are any number of coolers to chose from. You just need to make sure that the cooler is food grade.

One thing that I've learned is that I would really like to have a larger cooler. A 10 gallon cooler would be better for brewing bigger beers. I find that with some of the beers that I brew I'm filling the cooler to the very top.

01.jpg
 
Milling the grist

I usually weigh out the grain that I'm going to be using, and package it all together in a plastic bag some time before brew day. The combined contents – all of the grain together – is called the grist.

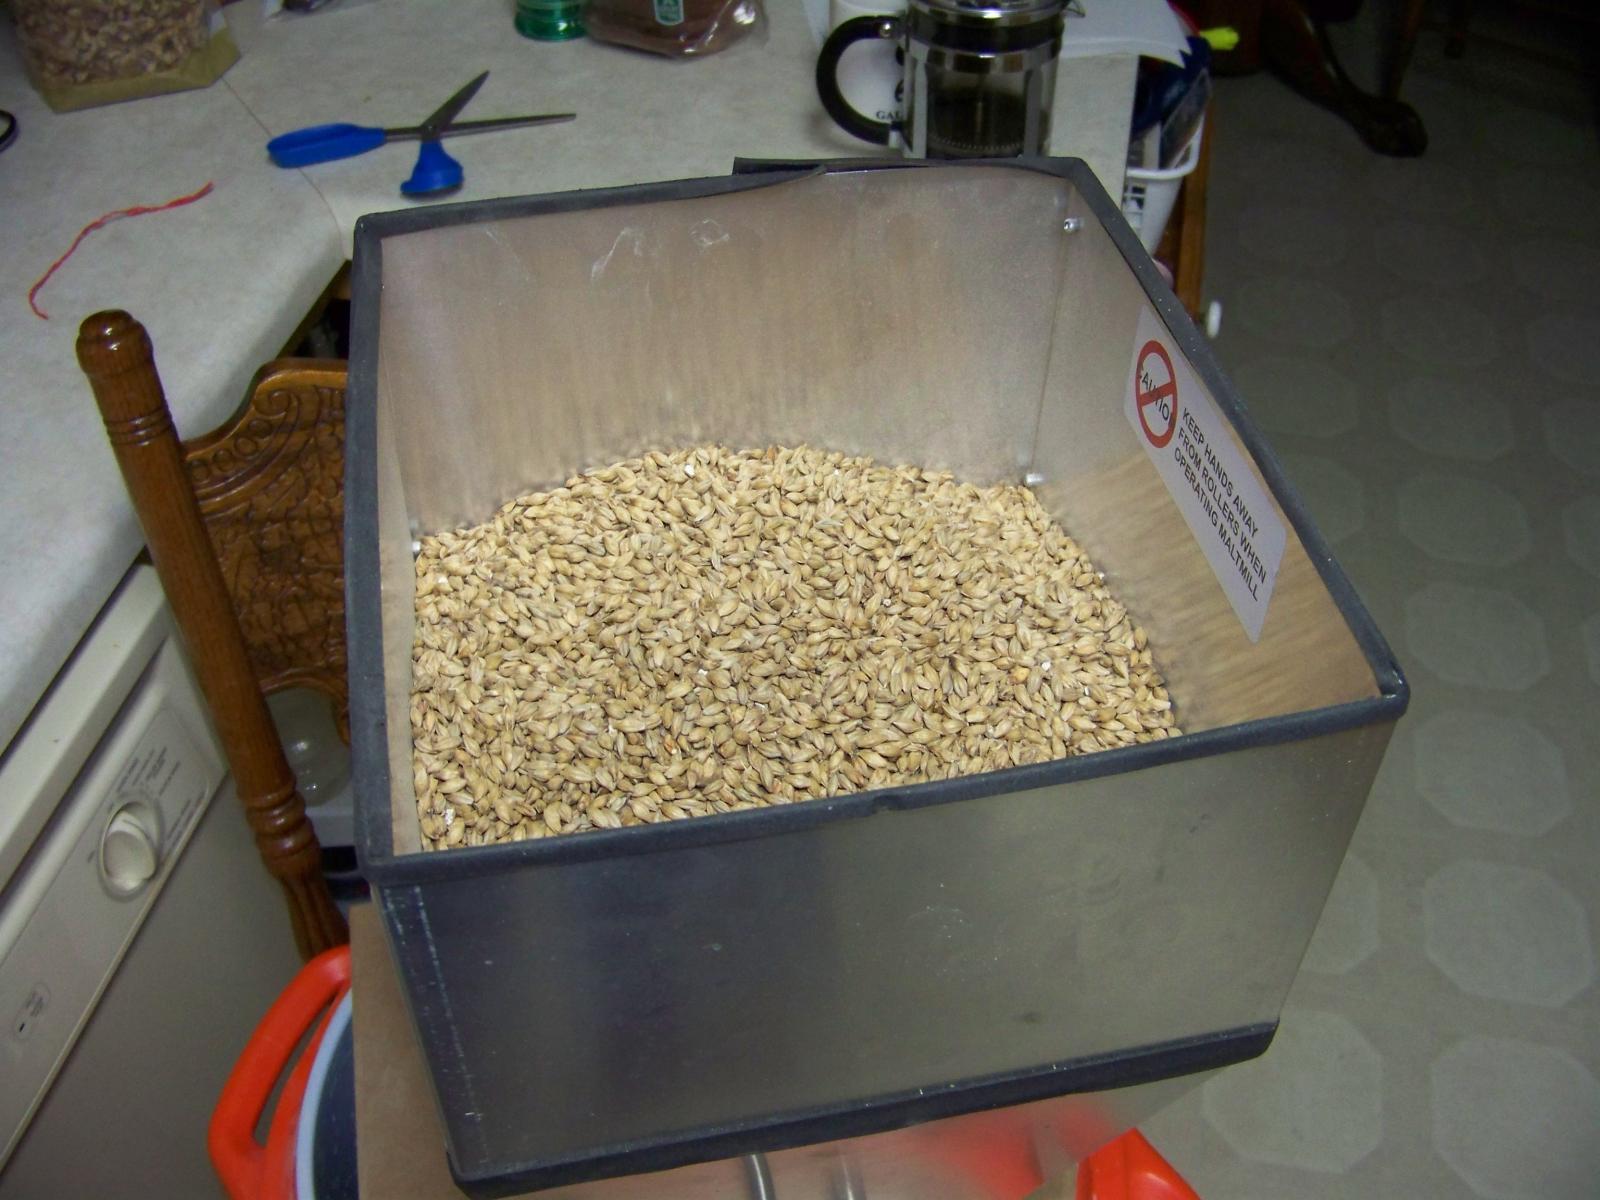
My grain mill is a Barley Crusher. I did quite a bit of research on which one to buy and this one was the one that I chose. Several people on the Home Brew Talk message board use this one. It's not the most expensive, but it seemed to be a solid choice where cost and performance were concerned.

It's worked perfectly for me. The mill was preset when it got here. I haven't had to do anything but discard the manual crank handle, and mill my grain.

02.jpg
 
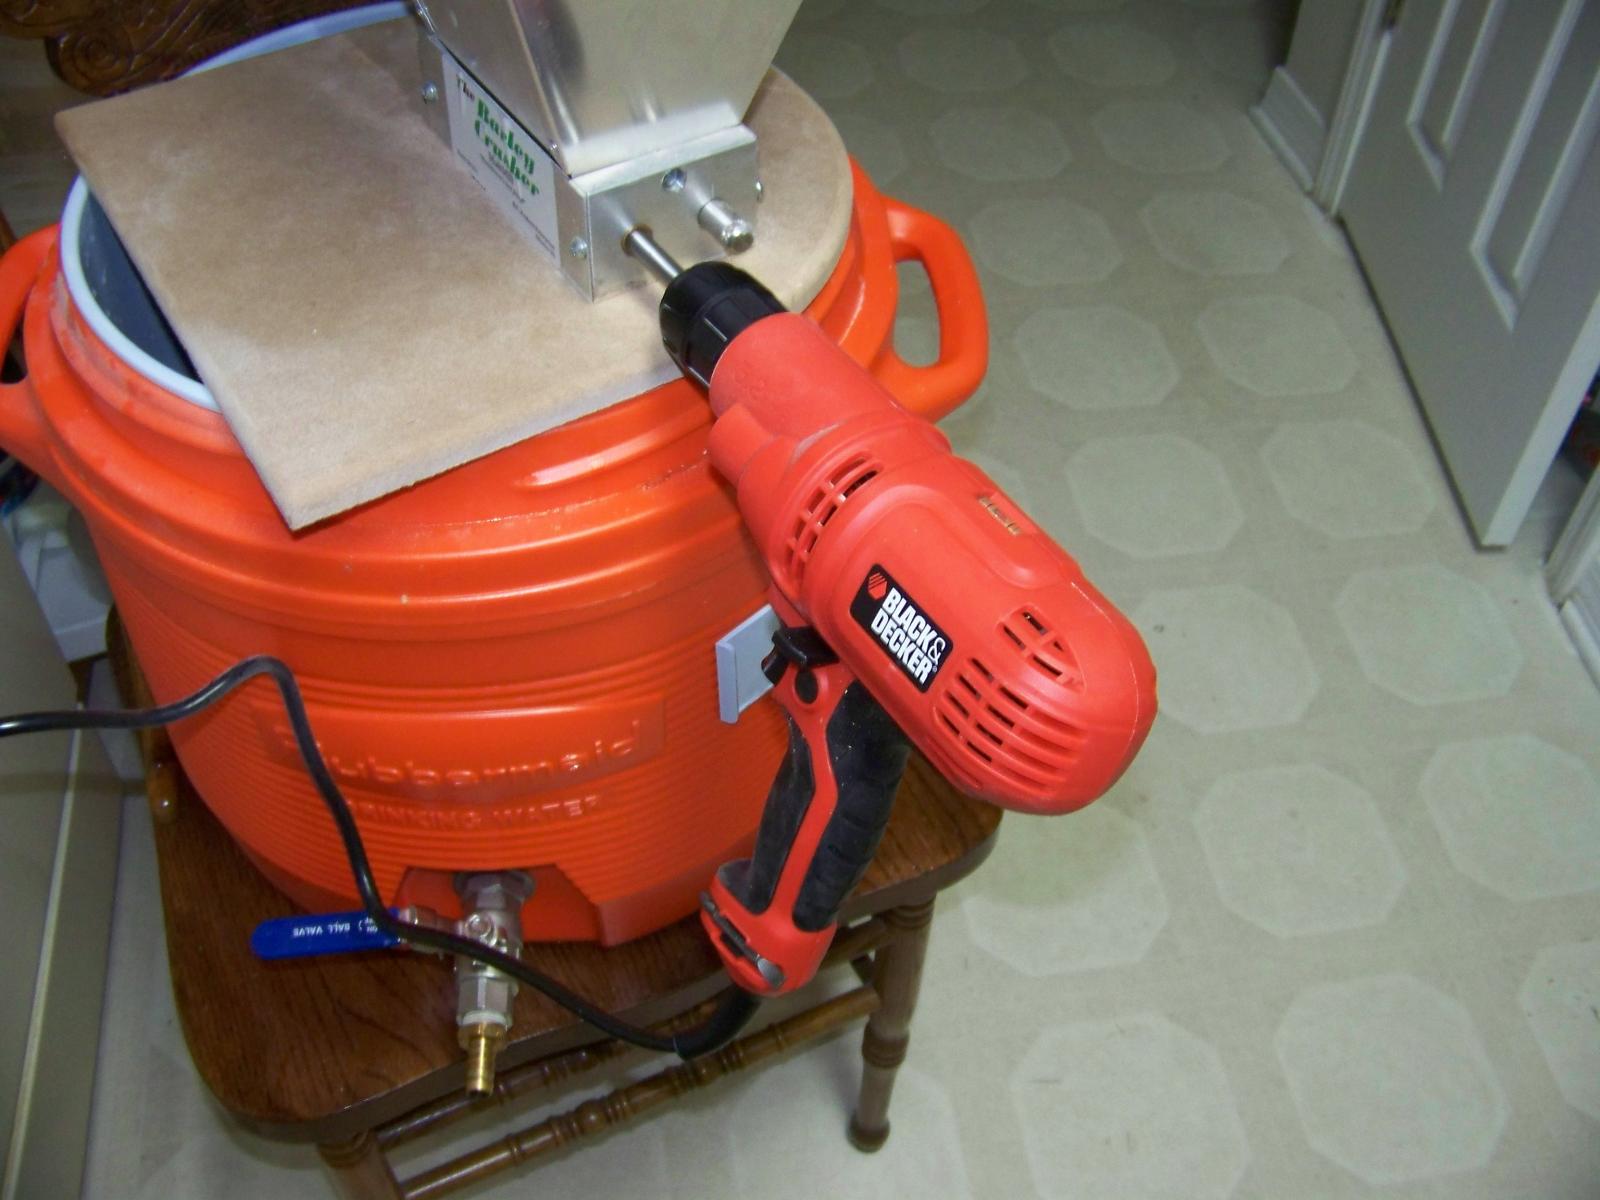
An additional purchase after buying the grain mill was this corded drill. It really makes milling grain a very easy process. I have never used the hand crank and never intend to.

03.jpg
 
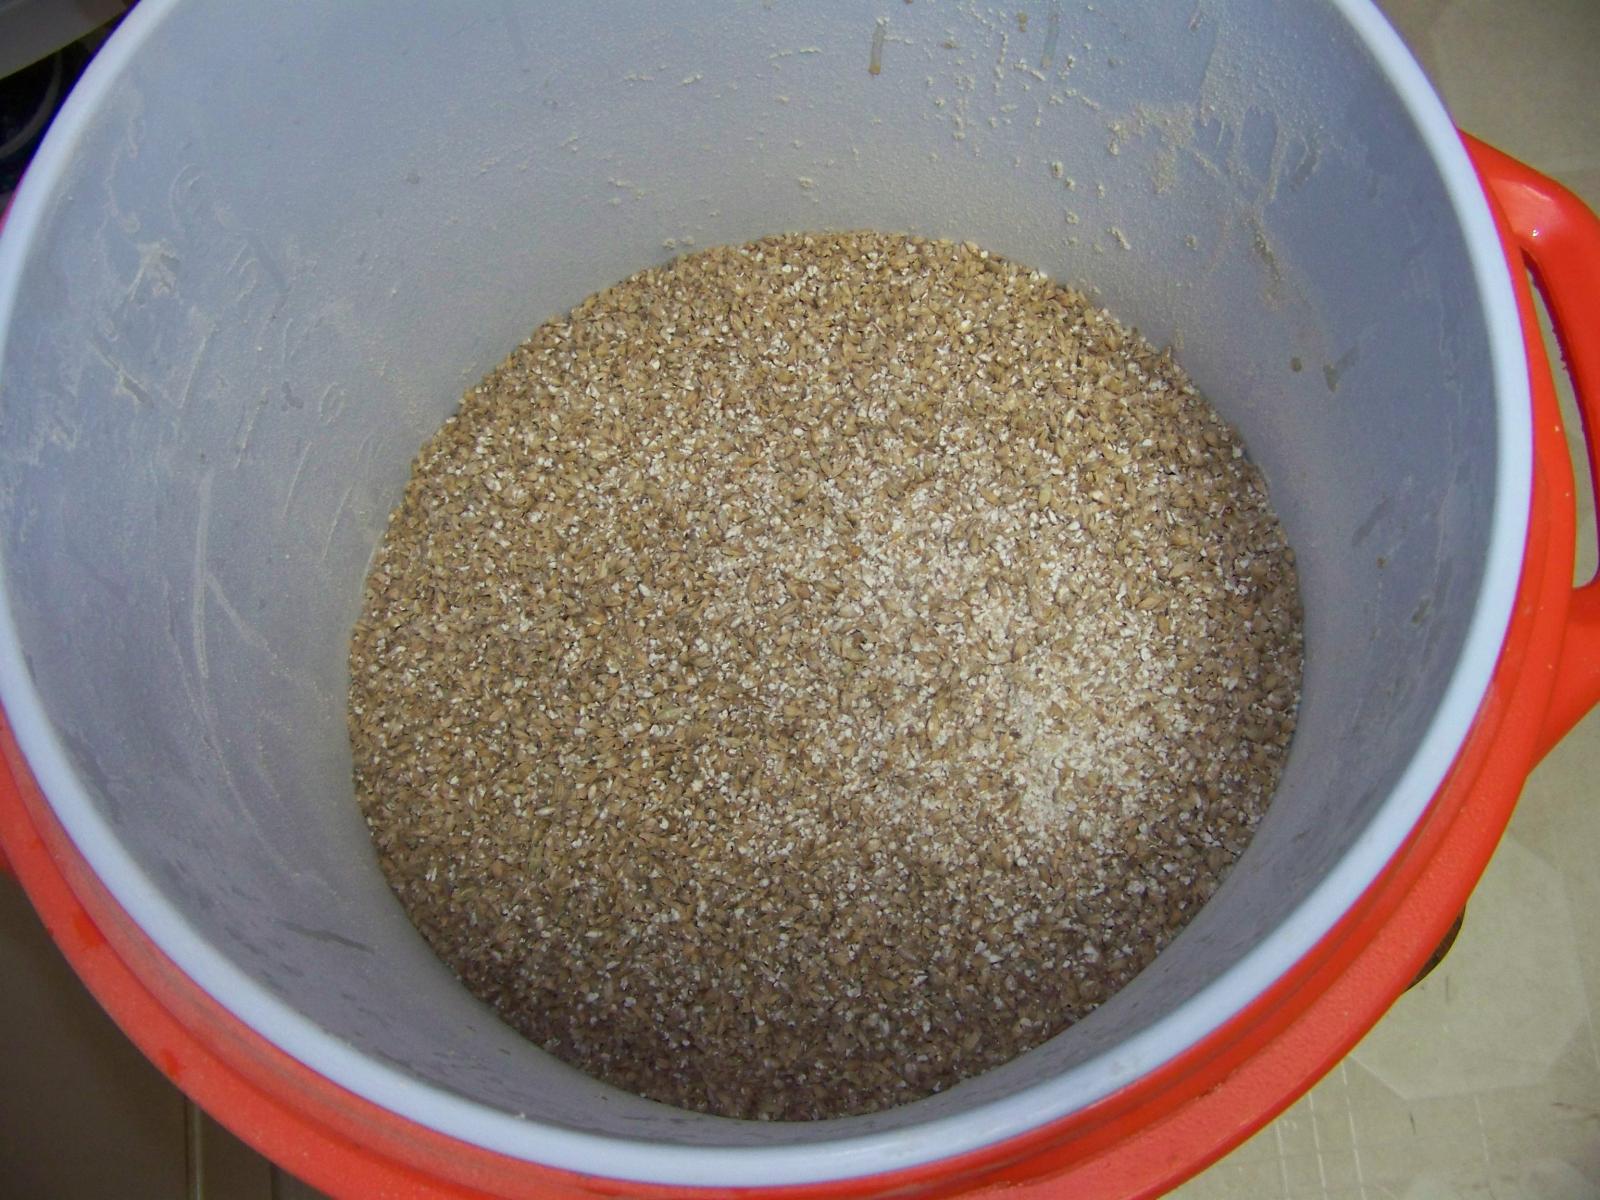
You can mill your grain into a bag or 5 gallon bucket, or some other container. I just mill it right into the mash tun while my strike water is heating up. I've never had a problem doing this.

04.jpg
 
Mashing in – beginning the mash process.

There are various ways to mash grain. I use the single-infusion method.

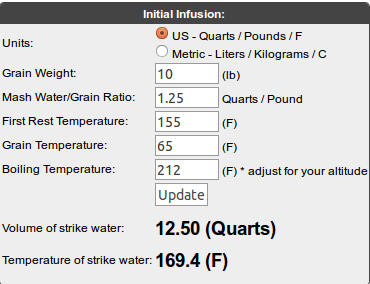
At this point, you've milled your grain and you've brought the water in your hot liquor tank up to temp. The next step is to mash in by adding a specific volume of water to the amount of grain that is in your mash tun. I use The Brewers Friend mash calculator to get that information.

http://www.brewersfriend.com/mash/

05.jpg
 
Simply enter the weight of the grain in your mash tun, enter the water to grain ratio that you desire – less water, thicker mash... more water, thinner mash. You'll want to read about this. I've always used the 1.25 quarts of water to 1 pound of grain ratio and it works well for me. Another advantage to a thick mash is that if you undershoot your desired temperature, you have plenty of room to add more water to reach the desired mash temperature.

Enter the rest temp, the current temp of the grain in the tun, and click the Update button.

In this example I'll need to add 12.5 quarts of water at 169.4 degrees to my mash tun to reach the desired mash temperature of 155 degrees.

After adding water to the mash tun, your hot liquor tank will need to be refilled and heated back up. You're going to need water for the lautering and sparging process.

08.png
 
Once you've mashed in, and verify that the mash will rest at the desired temperature, close up the cooler an let it rest for the desired amount of time – usually 1 hour.

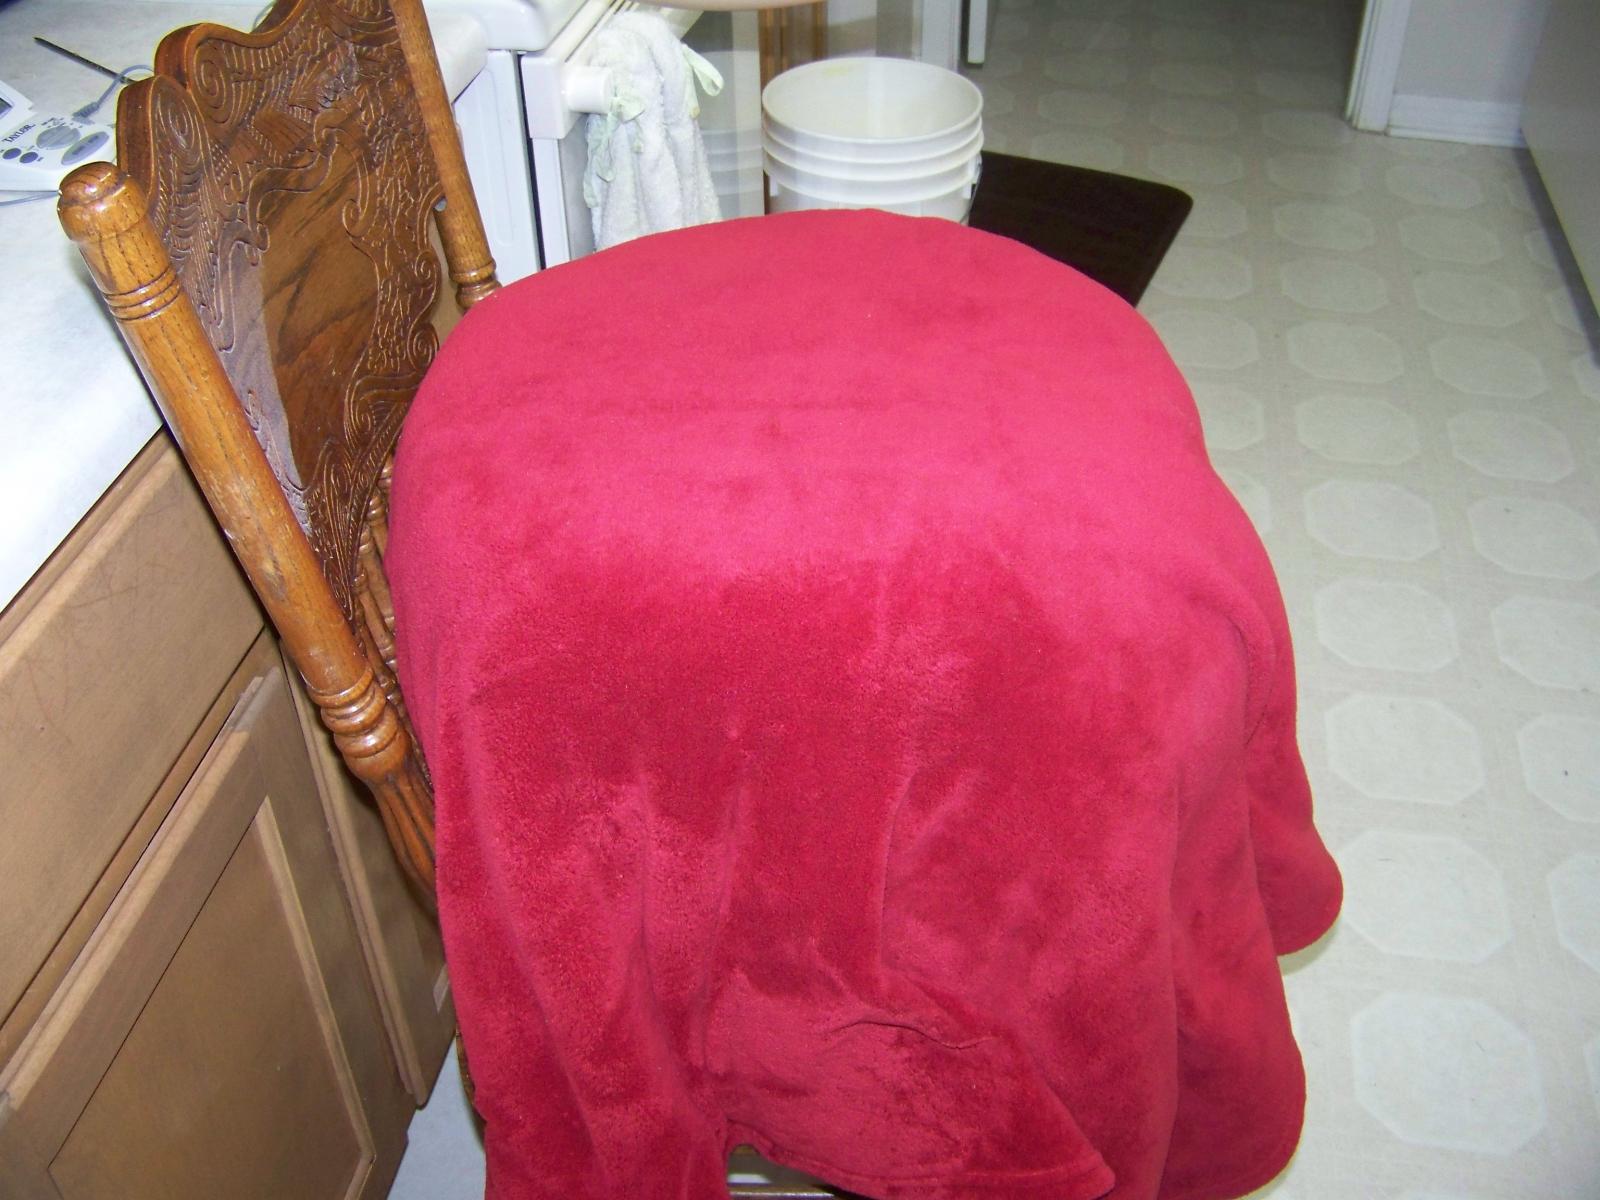
For additional insulation, so as not to lose any heat, I cover the cooler with an insolated blanket.

You can check the gravity after 60 minutes and if enough sugar has not been converted, you can close it back up and let it rest for a bit longer.

You're really going to want to read about the mash. Specific mash information is out of the scope of this document.

09.jpg
 
Vorlauf (pronounced vor-loff)

Once your mash has finished, the next step in the beer making process is the lauter. Lauter simply means to separate the sweet wort from the grain. It's a pretty simple process with the false bottom and spigot in the cooler, but what happens during the process of adding grain to the tun, adding water, stirring, settling, etc... some of the grain husks and pieces make there way through the holes in the false bottom to the reservoir beneath. The vorlauf process is a way to capture those particles before lautering, and a way to settle the grain bed before the lautering process begins.

10.jpg
 
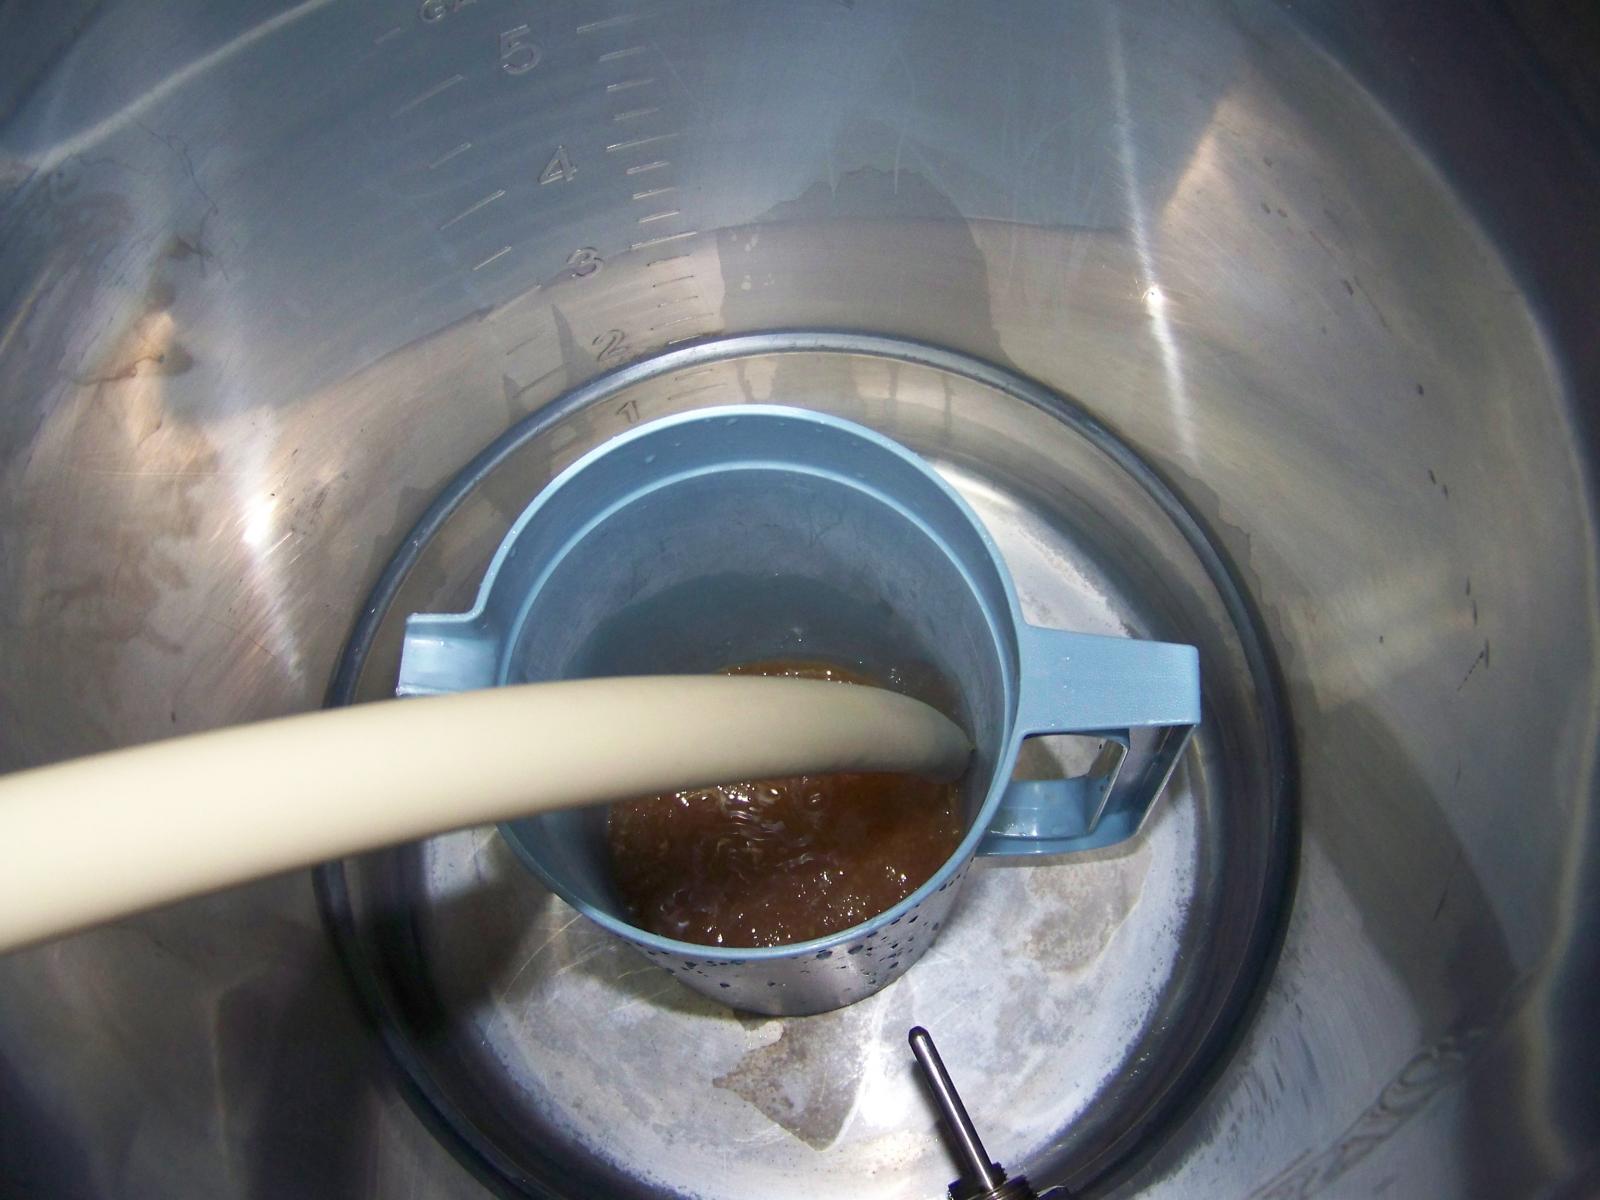
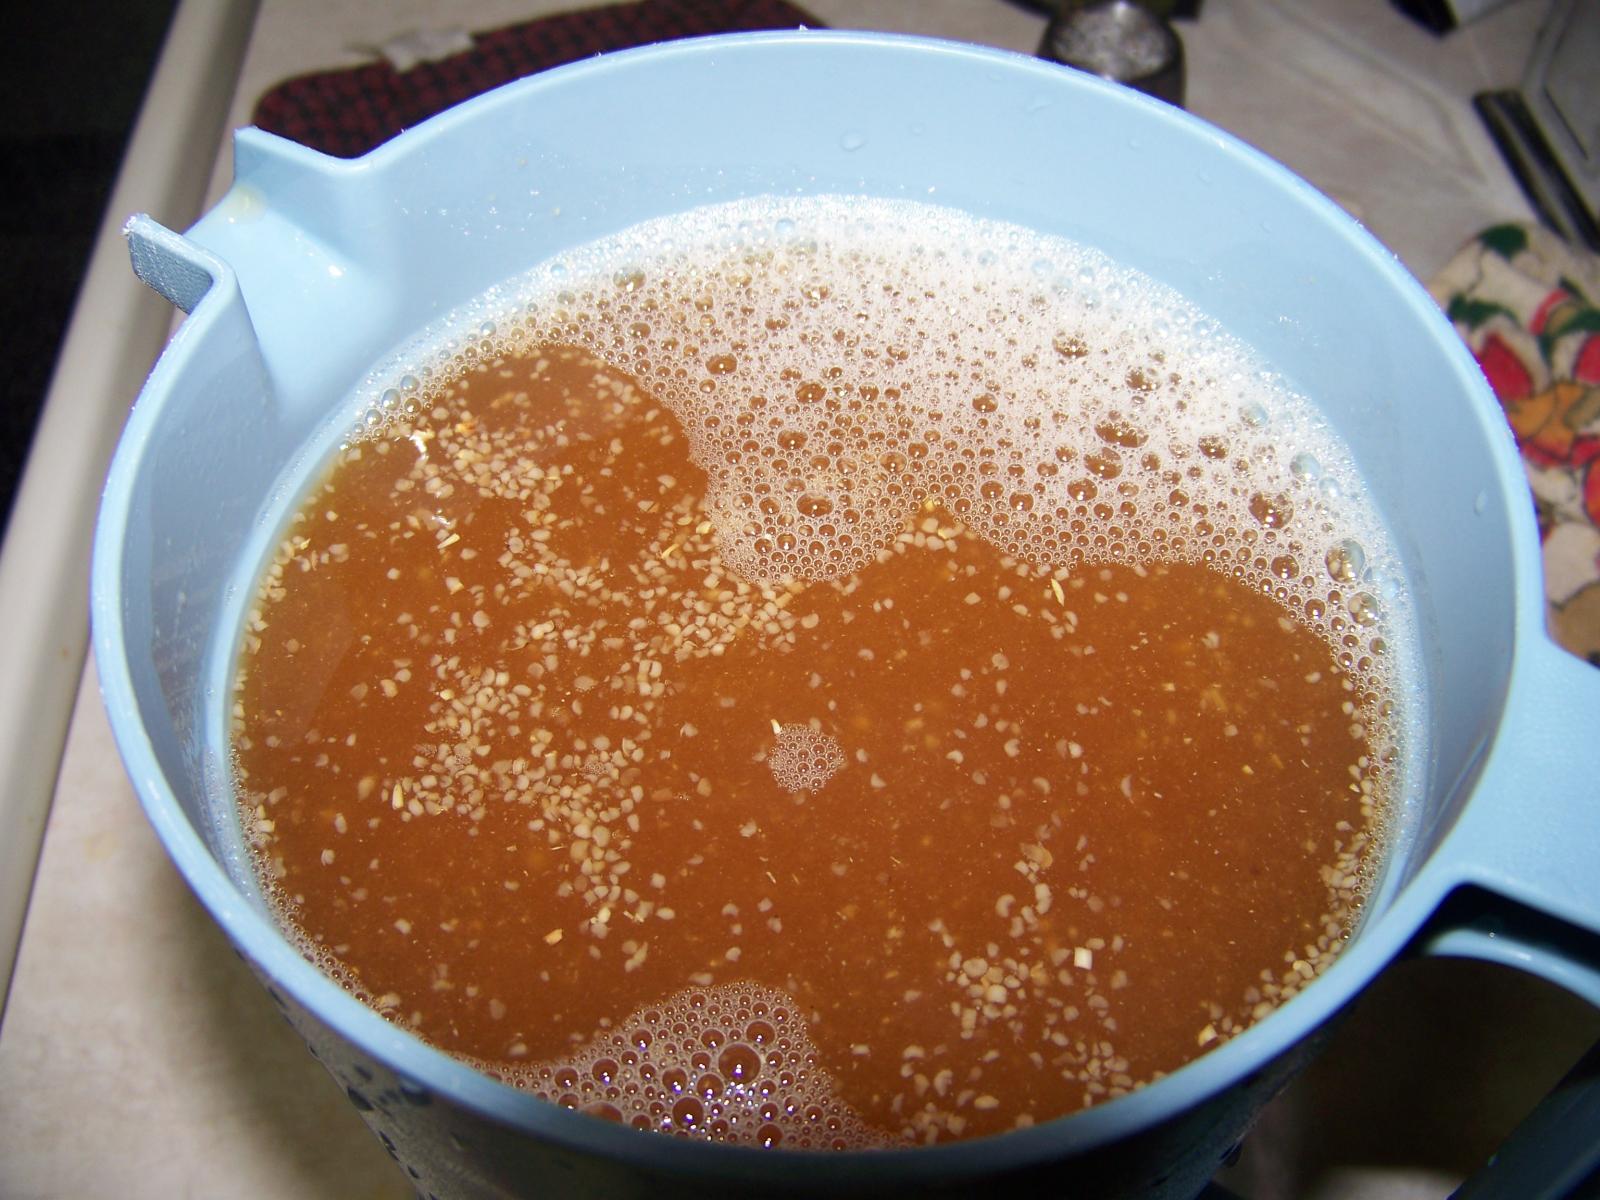
It sounds like a very technical process, but all your doing is collecting a portion of the wort in a container, then pouring it back into the tun over the top.

I use a 2 quart pitcher. I'll collect that amount, shut off the spiggot and pour it back into the tun. I do that 3-4 times until the wort that I'm collecting is running out of the mash tun without any grain particles. When it's "running clear" - so to speak.

11.jpg
 
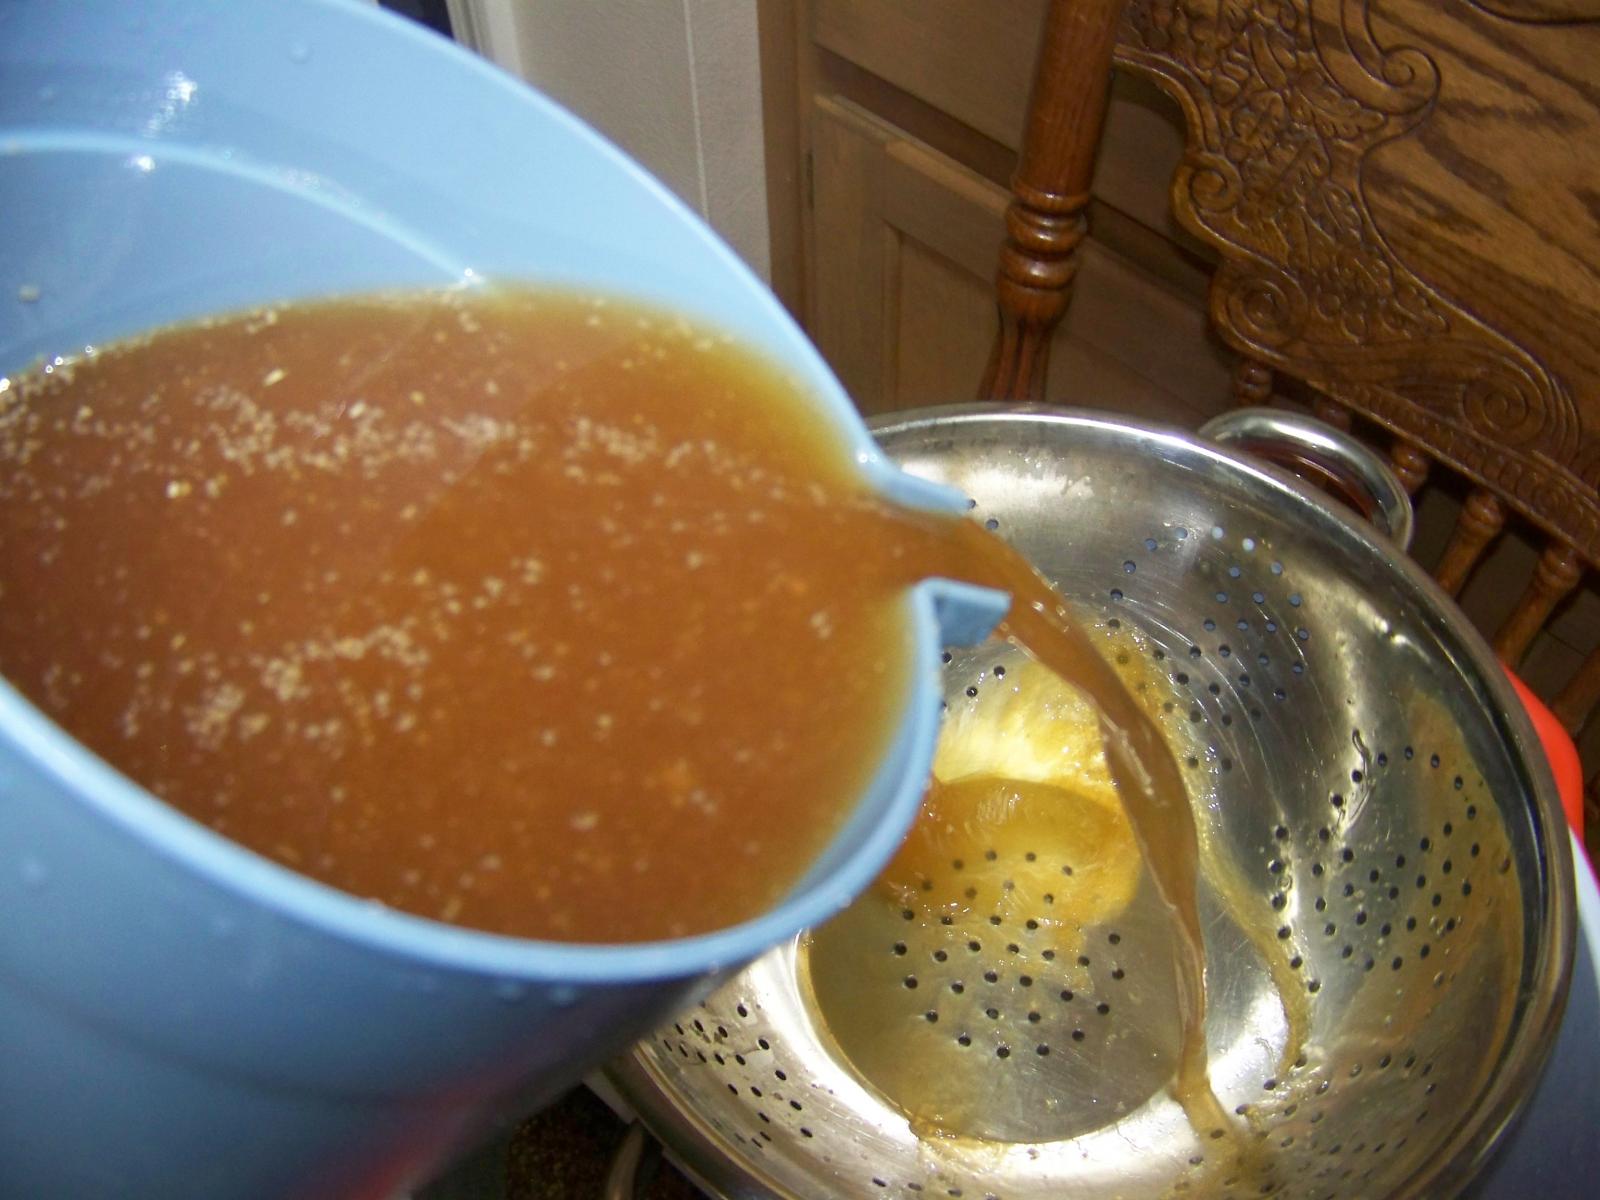
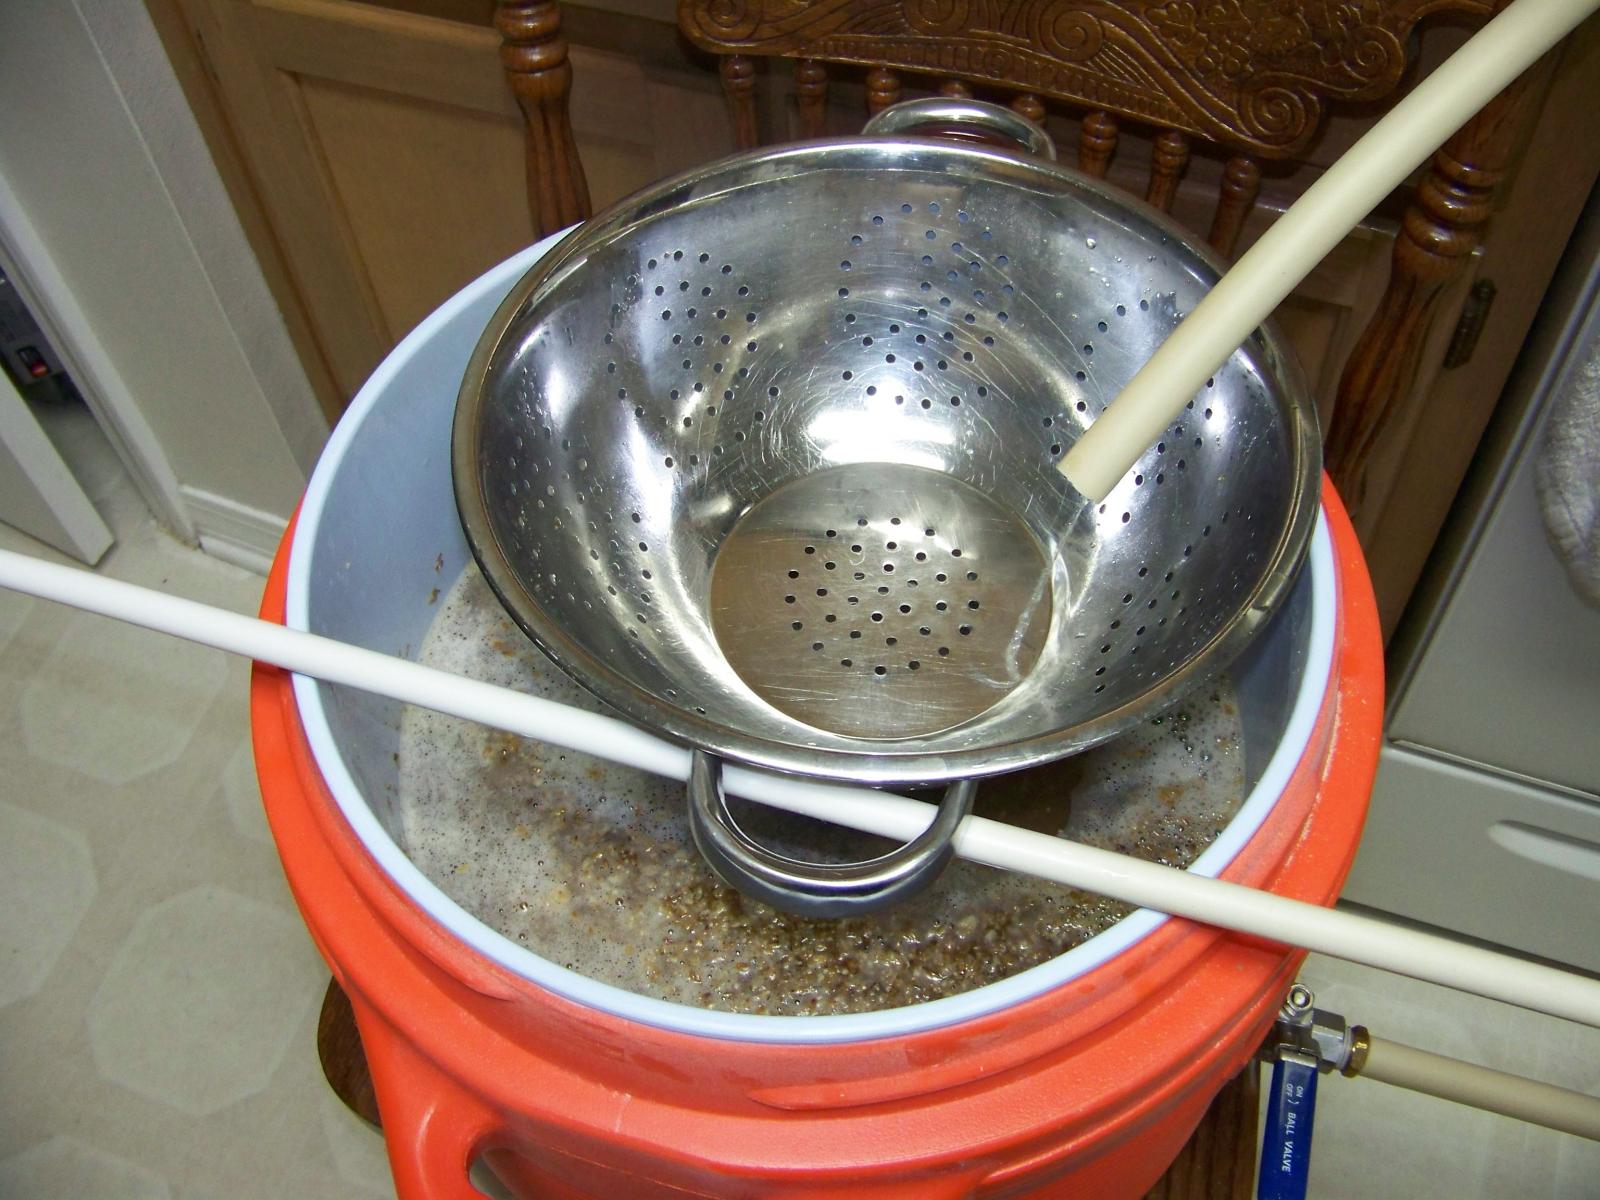
During the lautering process, you want to keep from disturbing the grain bed as much as possible. Notice that I use a colander during both the vorlauf and during the lauter. That makes for a gentle flow of liquid to the top of the mash. The idea is that you keep the grain particles in the lauter tun... you want to keep the particles from getting into the brew kettle.

12.jpg
 
Lautering

Once the sweet wort is coming out clear of grain particles, you begin the lauter process.

Again, that simply means that you separate the sweet wort from the grain.

Sparge

To sparge just means to rinse the grain. You're going to slowly add water to the lauter tun as you slowly remove water from it. You sparge the grain by adding clear hot water to the tun which rinses the grain, removing as much of the malted sugar from the tun as possible... or until you've reached your desired gravity.

13.jpg
 
You will have re-filled your hot liquor tank after depleting it when you mashed in, and turned the burner back on to bring it up to sparge temperature.

I always raise the temperature to 180 degrees, which has worked well for me.

My process is very simple, but it works very well... it's tried and true, and has been used by many home brewers for a very long time.

There are several ways to mash, this is just the way that I do it.

14.jpg
 
Notice the very light flow of water coming from the tube onto the colander. The sparging process will take about an hour.

I use a continuous sparge method. Many brewers use a batch sparge process, which I've used a few times. I prefer the continuous sparge. I get a much clearer wort, and it's simply easier. Start the sparge process and walk away. Check on it from time to time to make sure your water level is right... and check your gravity level, but other than that, it's a pretty simple process.

You'll want to keep the water level just above the top of the grain bed. Maybe a centimeter or two above.

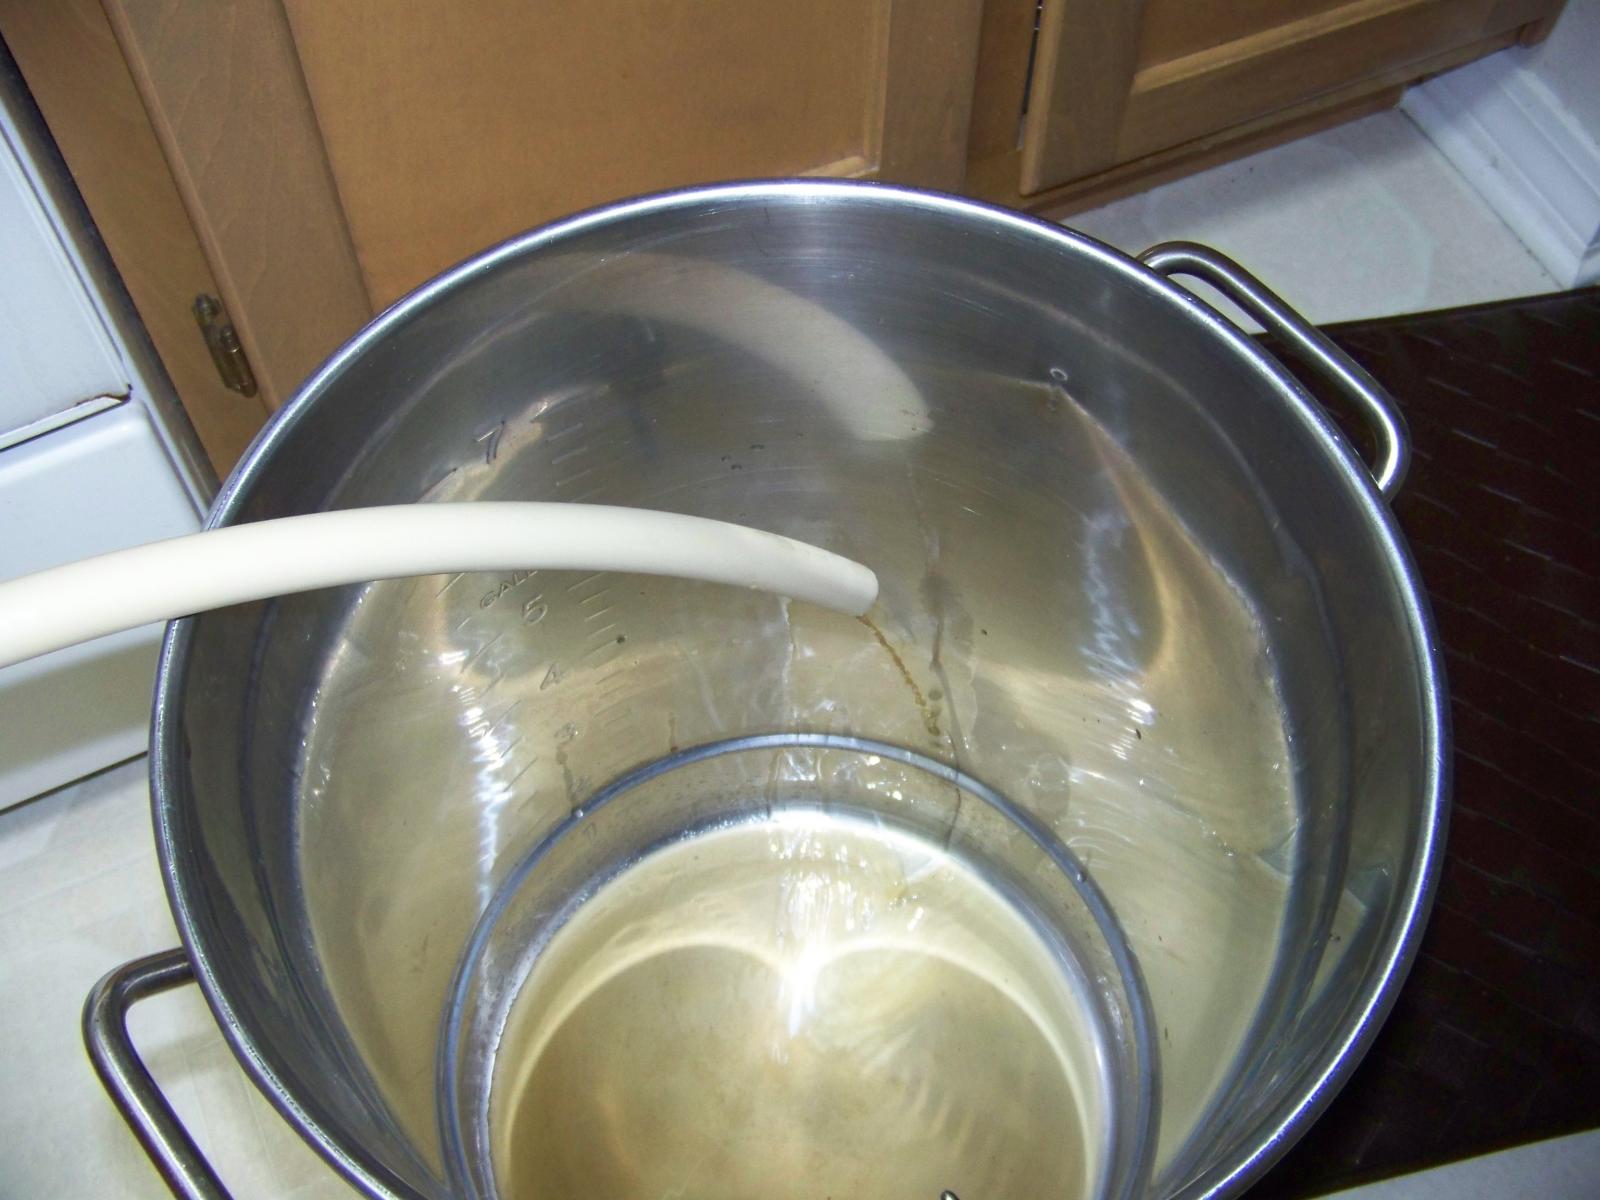
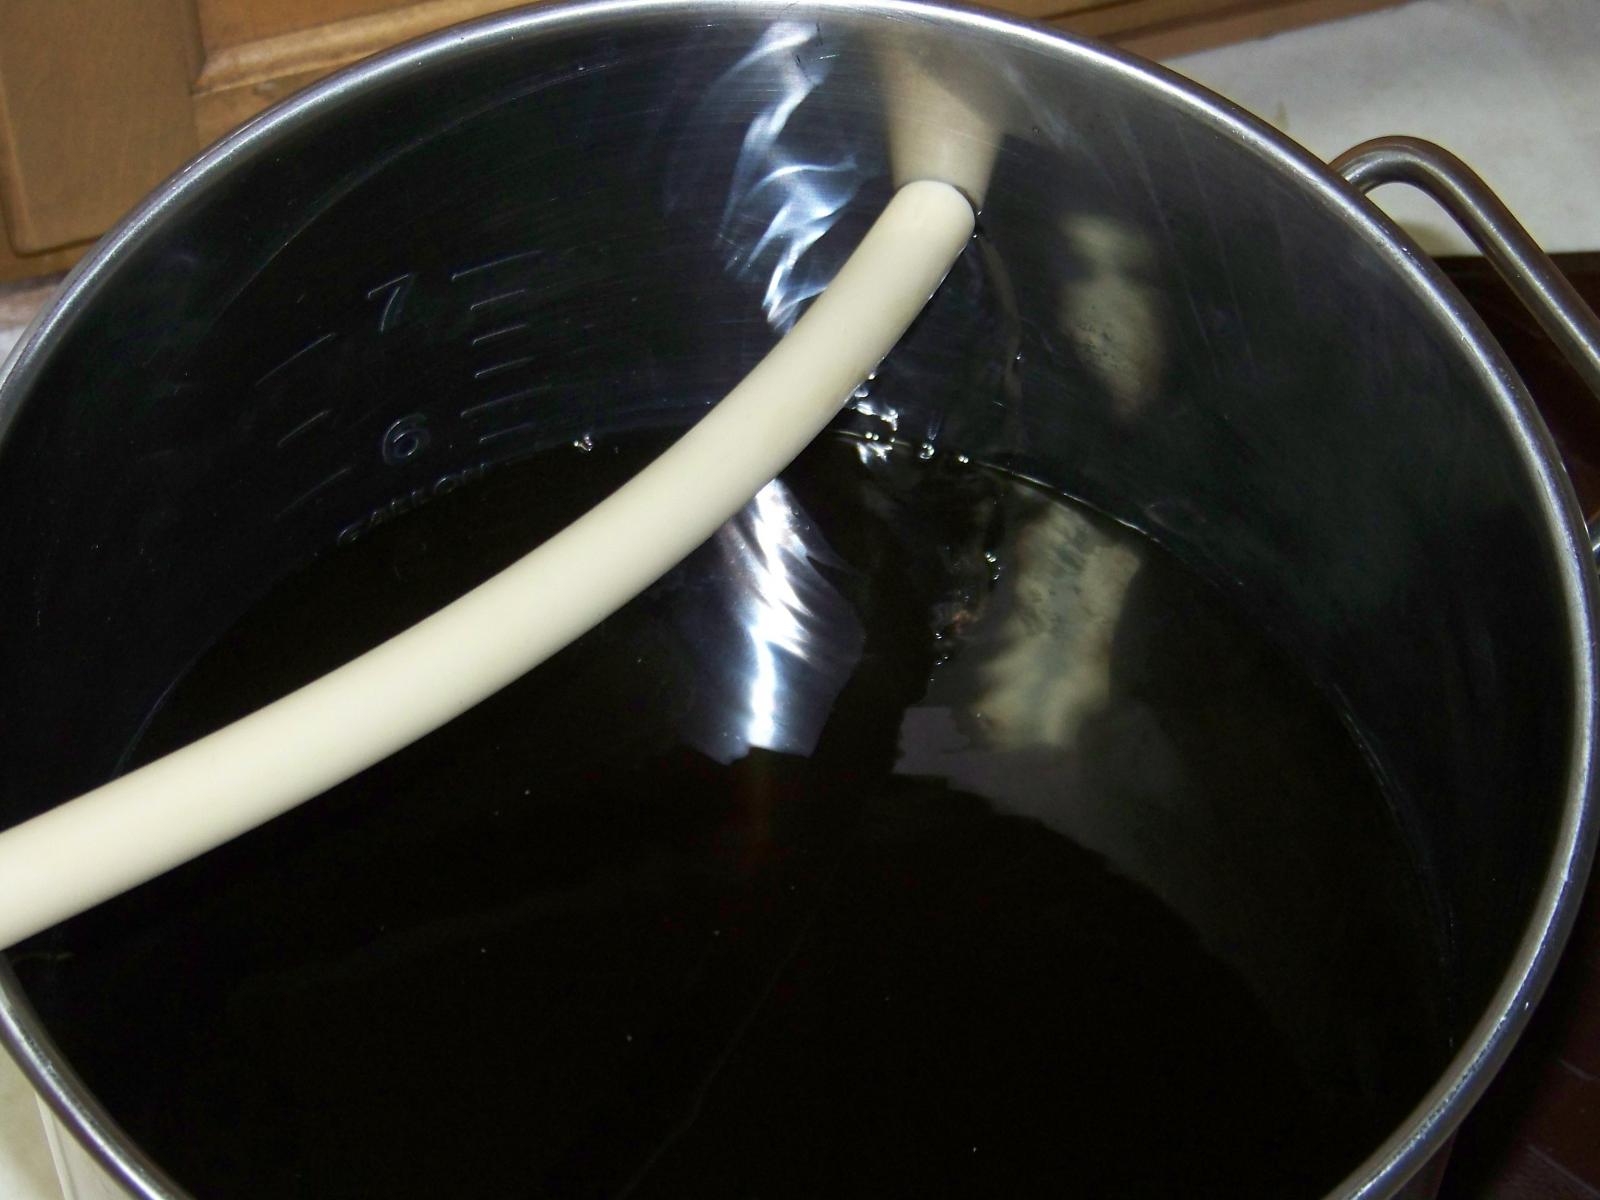
Continue collecting wort until you've reached your desired pre-boil volume, reached your desired pre-boil gravity, or the gravity of the wort coming out of the tun gets down to 1.010. You'll want to read about this as well.

15.jpg
 
The amount of wort you collect in your brew kettle, the pre-boil gravity of the wort you've collected, the amount of time you boil the wort, etc... will all play a part in the beer that you're brewing.

There are specific measurements, times, etc for different types of recipes. You can really make the process as complex or as simple as you want. I generally opt for simplicity.

The reason you might want to stick to specifics is for consistency. I find that as long as I stick to the same grist, to the same mash temp, boil times, hop schedule, etc... the beers that I brew are fairly consistent.

16.jpg
 
Looks like a good set of instructions for a new brewer. Couple questions...

Once you've mashed in, and verify that the mash will rest at the desired temperature, close up the cooler an let it rest for the desired amount of time – usually 1 hour.

For additional insulation, so as not to lose any heat, I cover the cooler with an insolated blanket.

You can check the gravity after 60 minutes and if enough sugar has not been converted, you can close it back up and let it rest for a bit longer.

You're really going to want to read about the mash. Specific mash information is out of the scope of this document.

How do you check the gravity of the mash? In order to do that, you would need to drain it, sparge to pre-boil volume, and mix well to get a representative sample for a gravity reading. Did you mean to state that you can check for starch conversion using the iodine test?


Other than that, the only thing I really do differently is add my grist to the strike water as opposed to adding water to grain. This allows me to pre-heat the mash tun first.

Nice write up.:mug:
 
I use an application called Brew Target to build my recipes, and to help gather information I'll need on brew day. You're going to want to get some type of app to help you with the brewing process. There are tons of equations involved in the whole process. The applications handle the calculations for you, and they'll ley things out in an organized manner for you.

I use Brew Target to develop recipes, store recipes, calculate several things including the amount of sparge water that I'll need to reach my desired pre-boil volume which is almost always 6.5 gallons.

You sparge at a specific temperature (180 degrees for me), using a specific volume. In my case, I let Brew Target calculate the volume for me. It's usually pretty close.
 
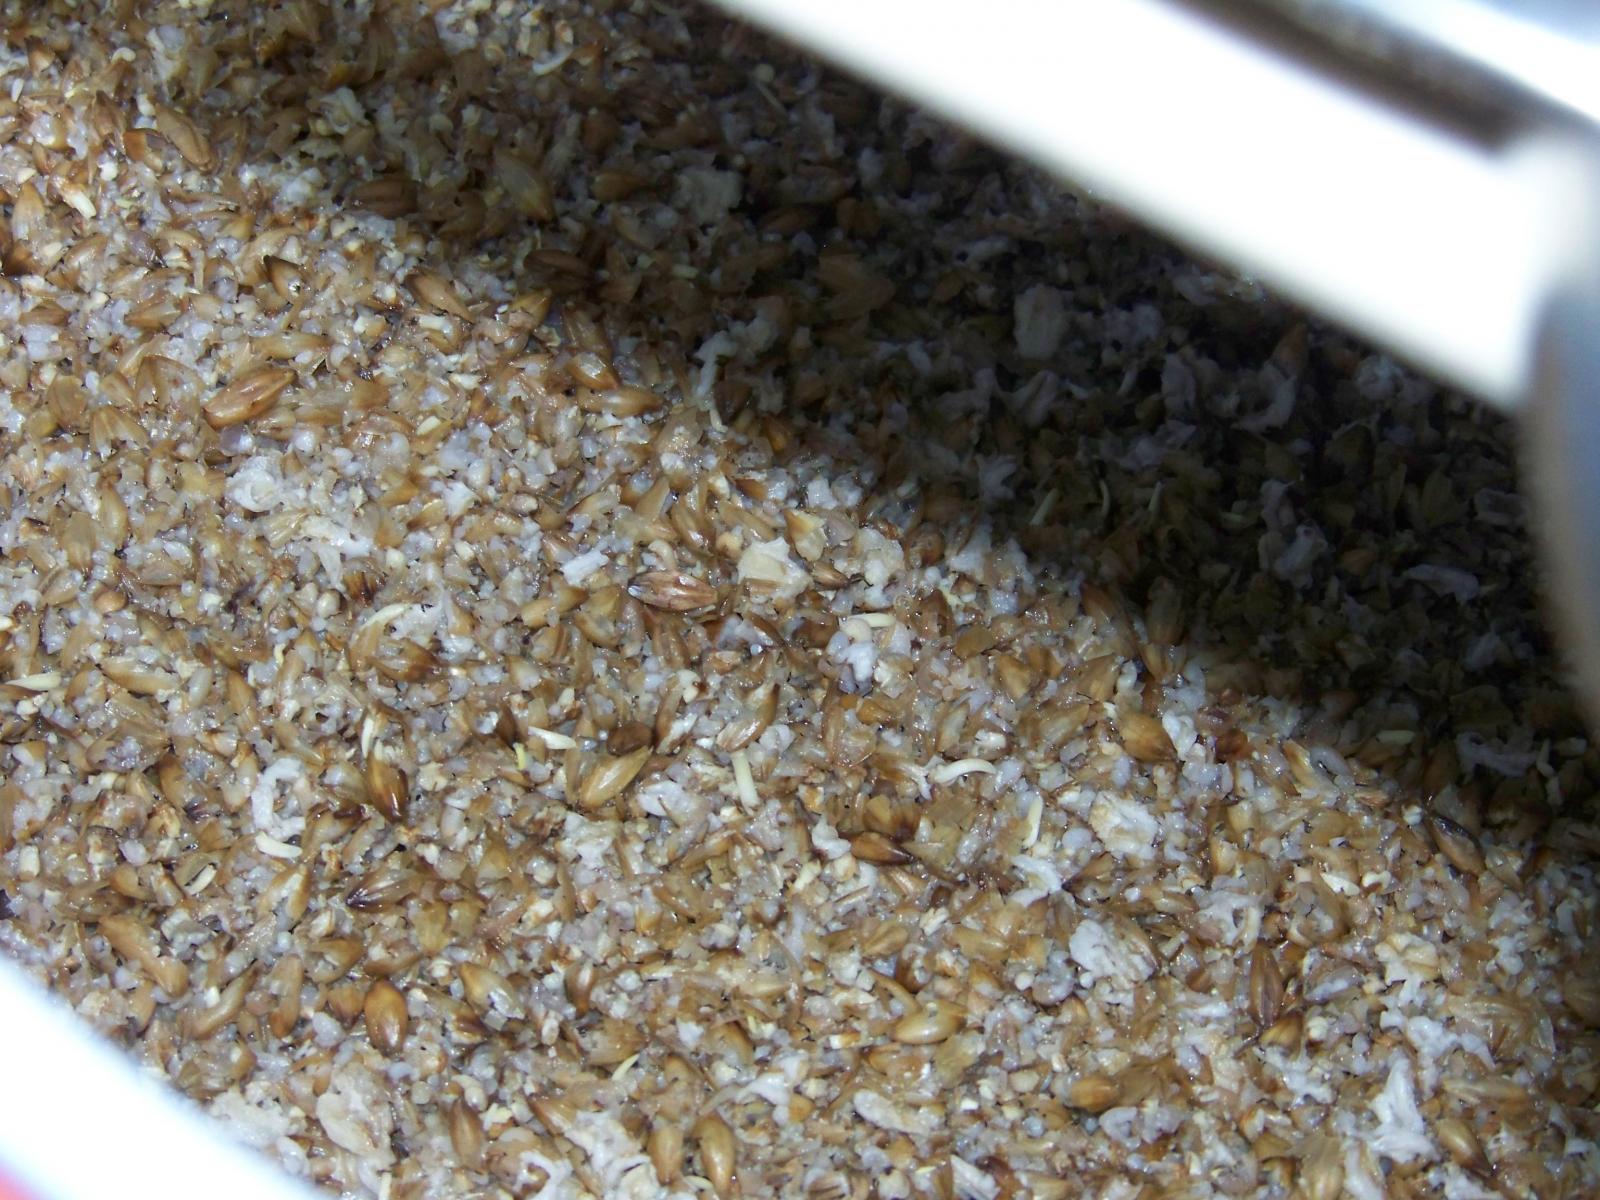
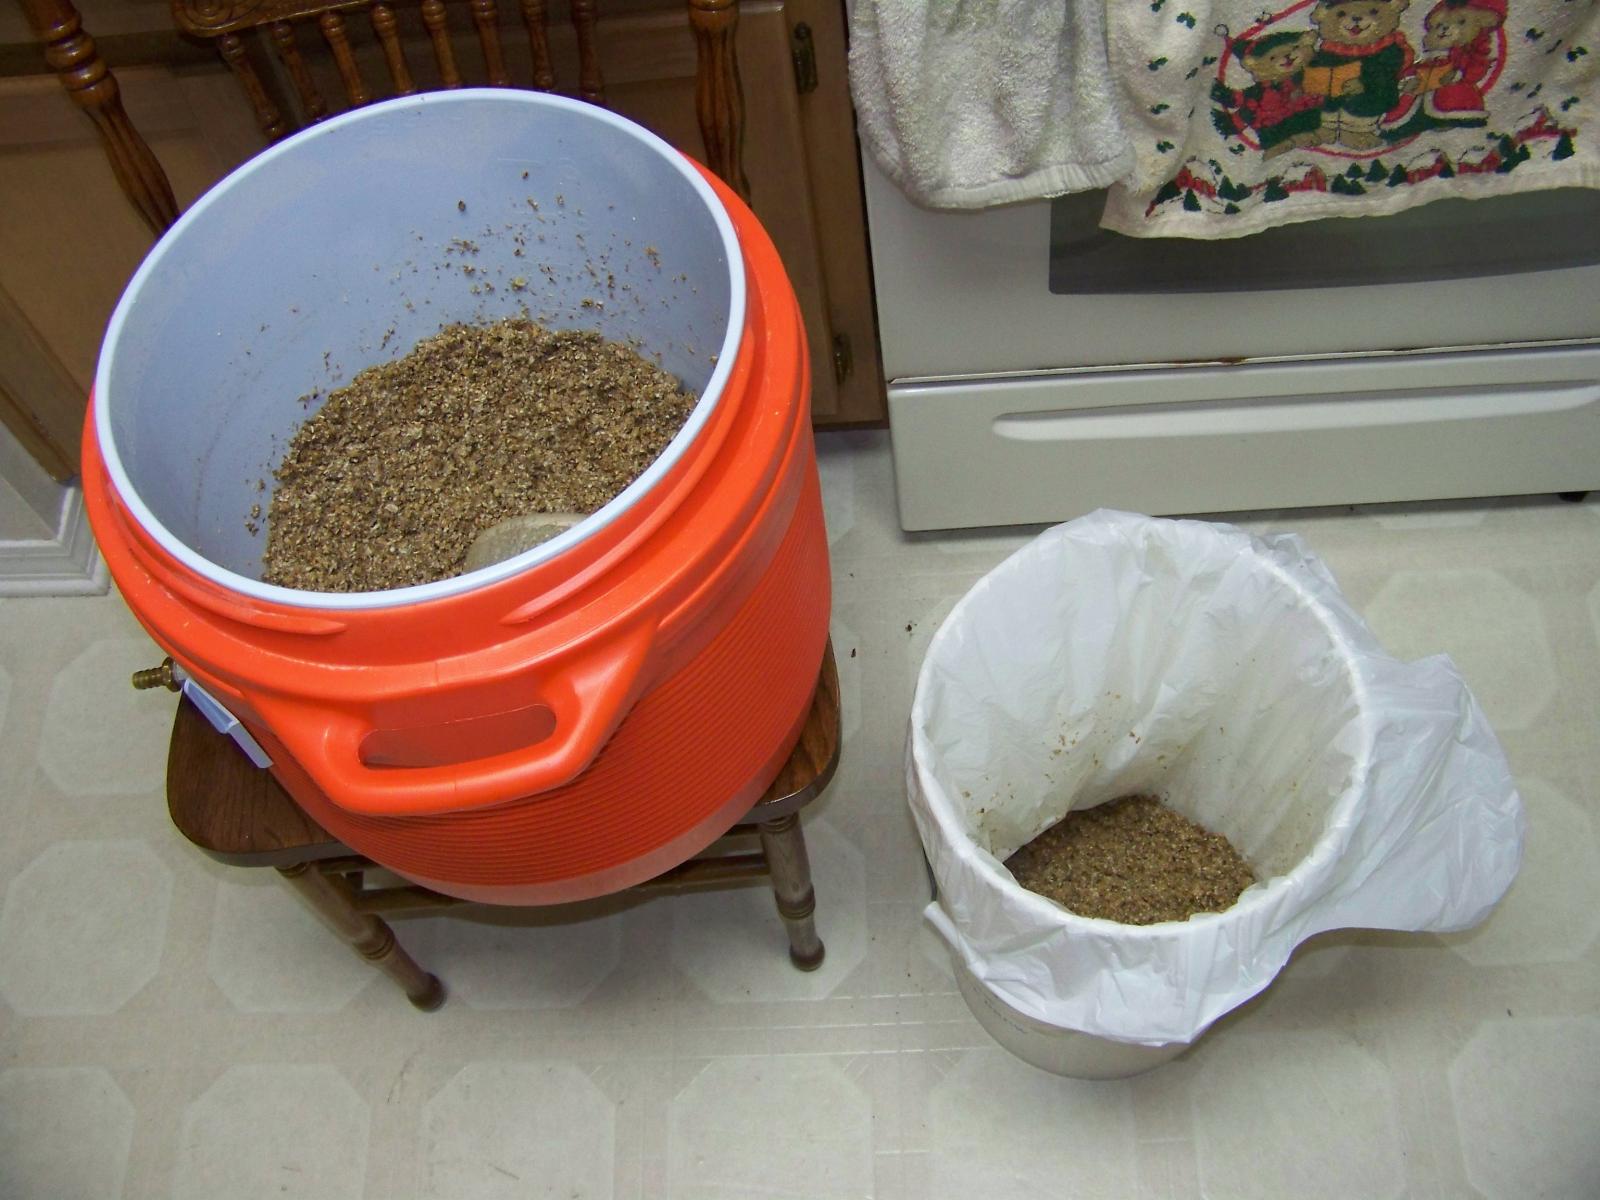
After the sparge/lauter process is complete, you're left with a cooler full of spent grain.

18.jpg
 
I used to carry my cooler out to the side yard and dump it all onto a compost pile. The neighbor dog started eating from the pile... maggots and all, getting sick all over her yard. After a couple of complaints I had to change my process.

20.jpg
 
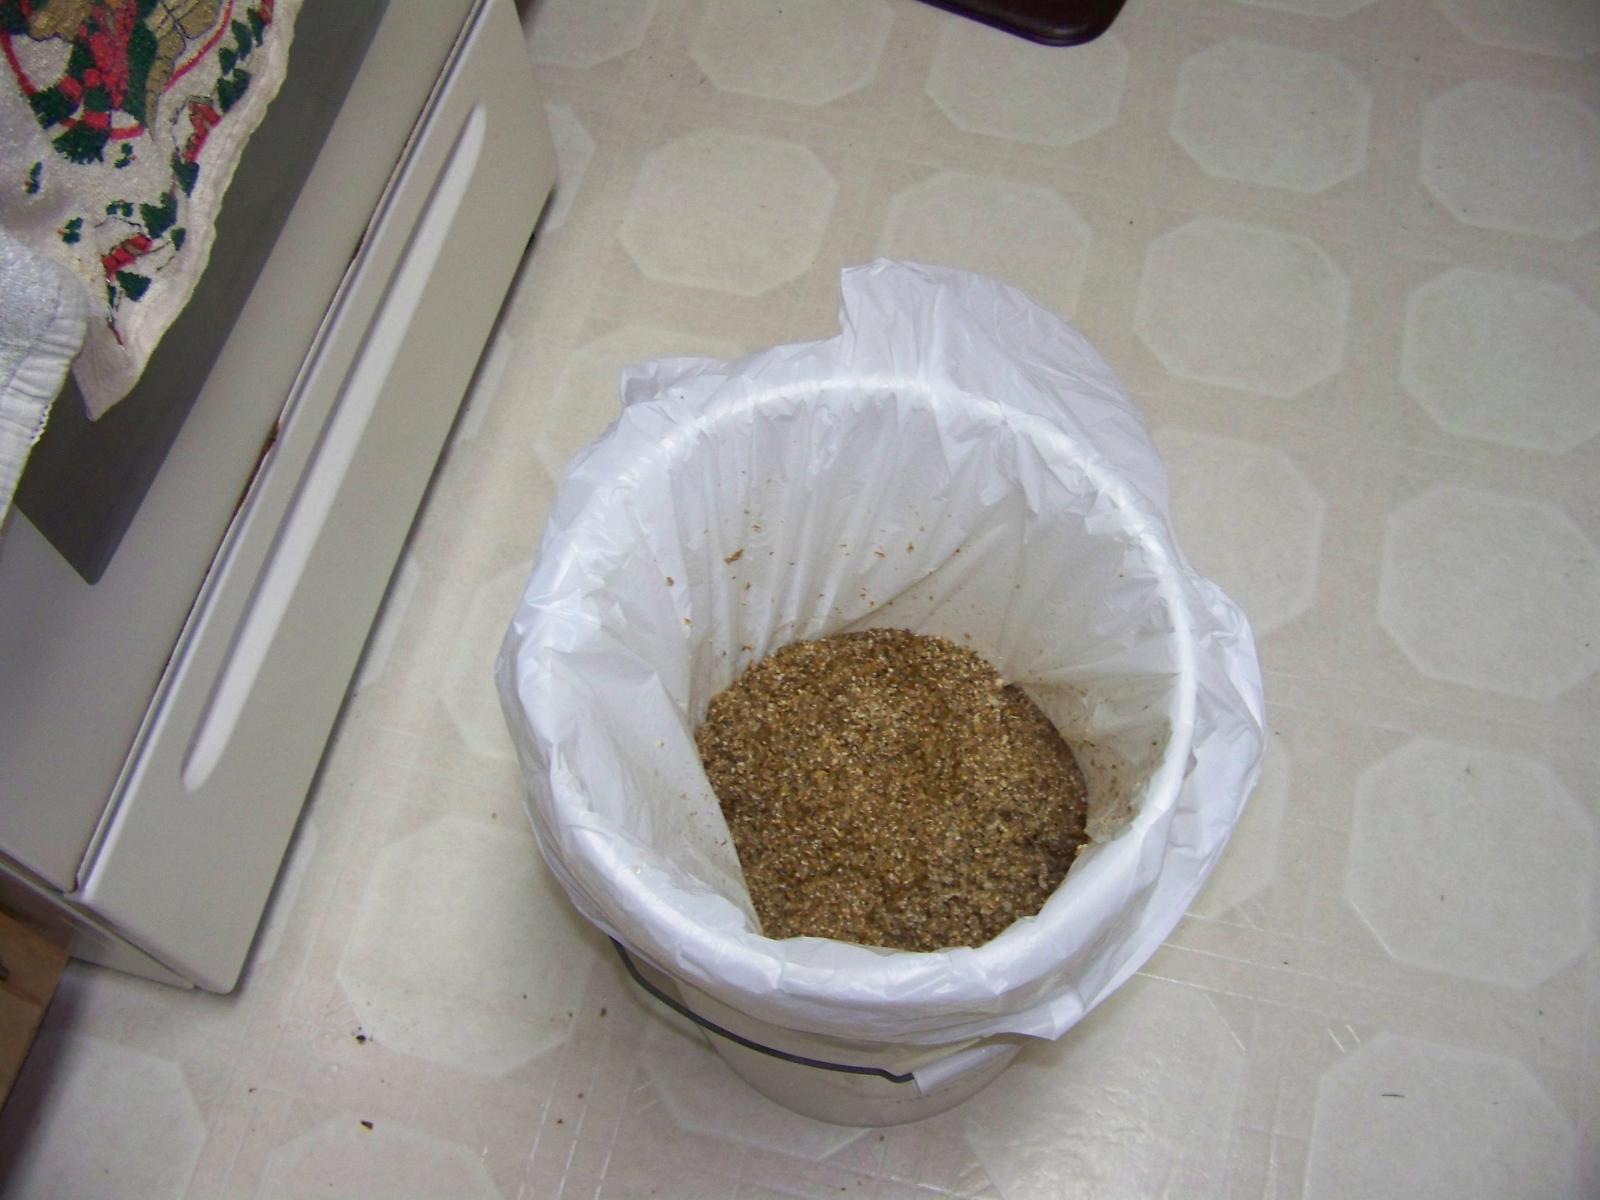
I line a 5 gallon bucket with a trash bag and collect the spent grain in the bag. Tie the bag and put it in my garbage can outside.

21.jpg
 
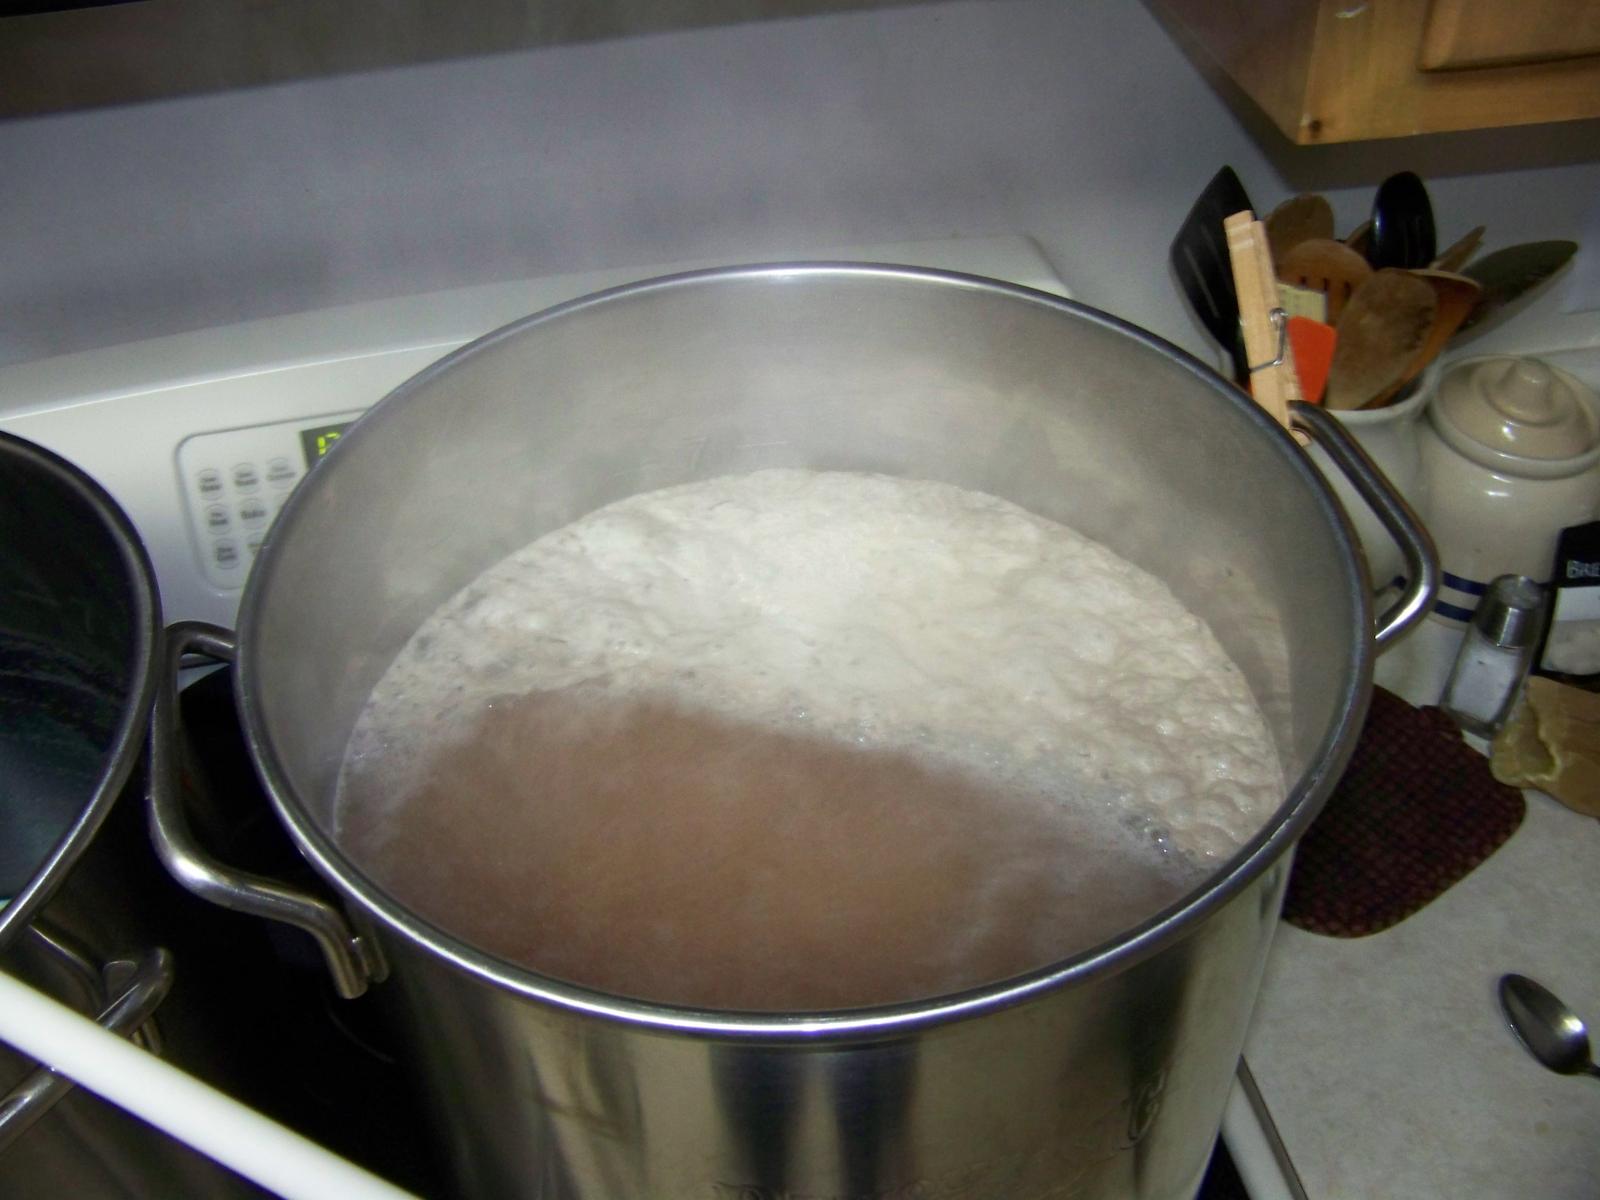
Place the brew kettle on your heat source. Mine is an electric stove. It's the way I've always brewed, and I like brewing in-doors with the A/C on.

Before the kettle reaches a boil, always add about 10 drops of fermcap to the wort.

22.jpg
 
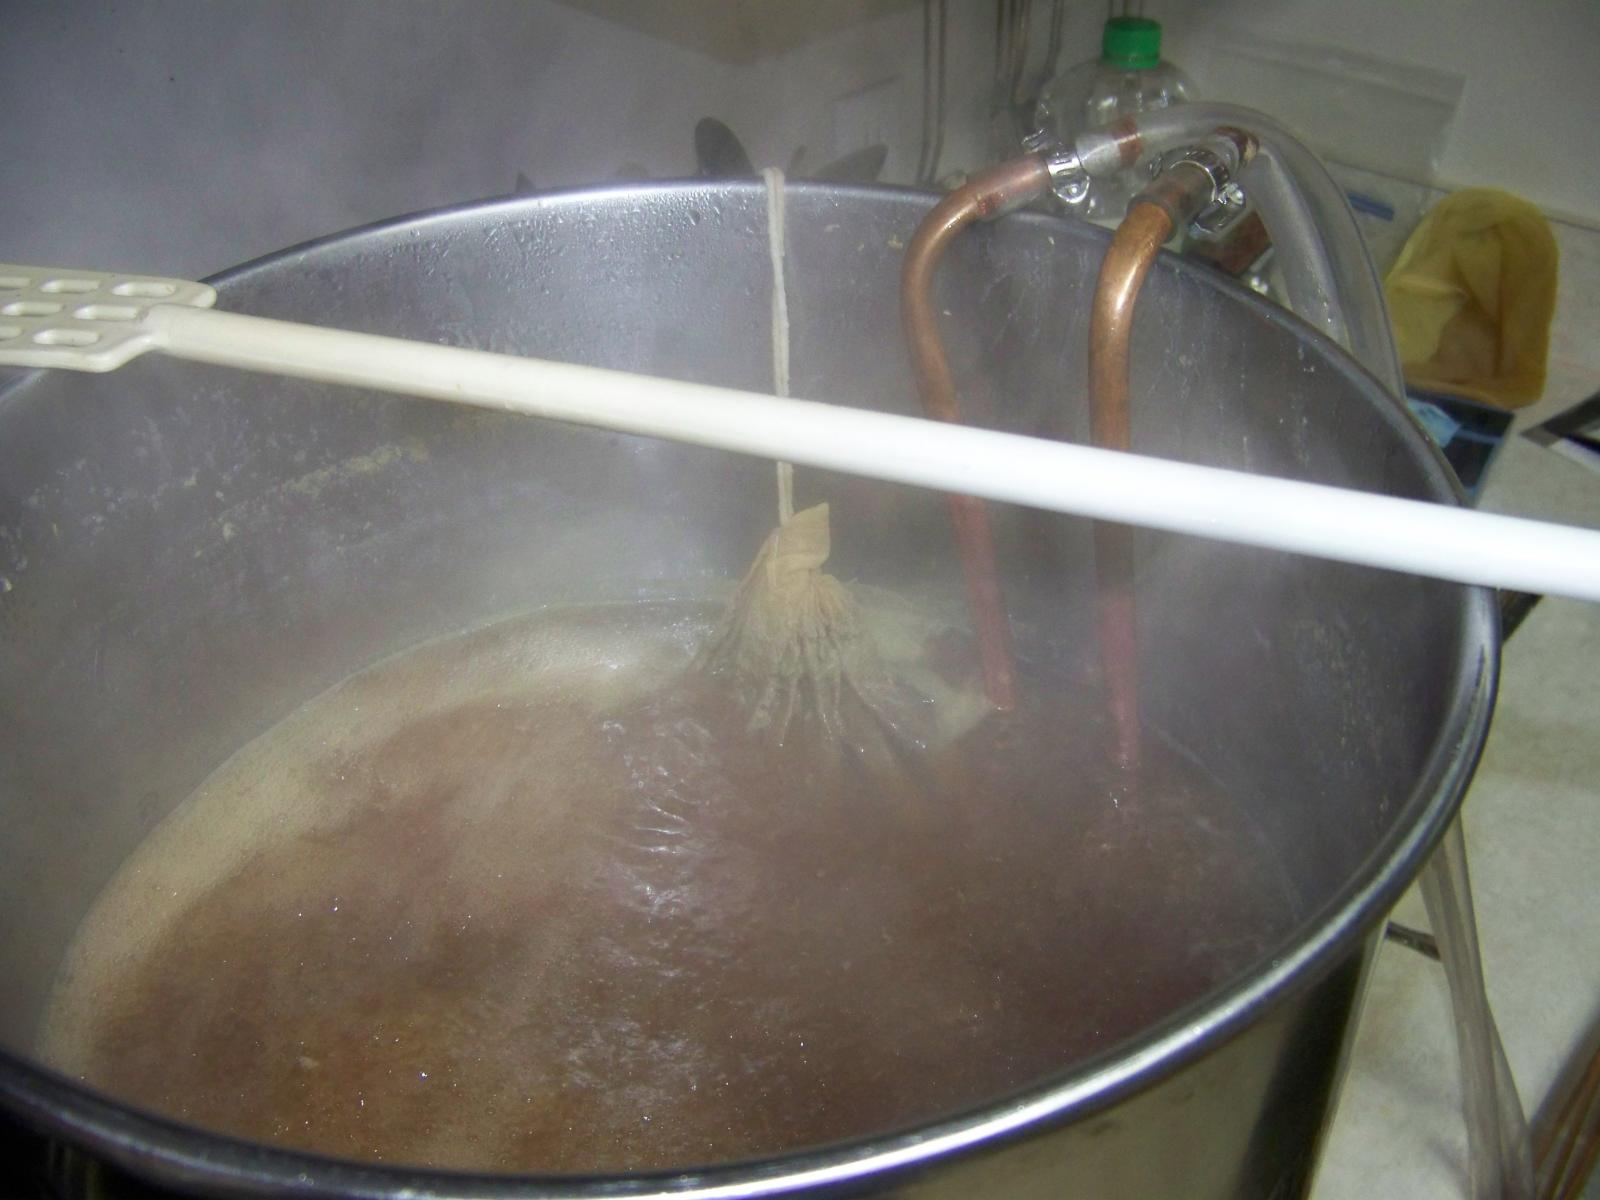
During the boil you're going to be doing a few things.

Adding hops at specific measurements on a specific schedule.

At the 10 minute mark (time left), you'll be adding a whirlfloc tablet or spanish moss. Whirlfloc is used to help clarify the beer.

You'll also place your wort chiller in the brew kettle at the 10 minute mark to sanitize it.

23.jpg
 
The hop schedule will be very specific for the recipe that you're brewing. Some folks weigh and separate hops placing them in individual vessels and add at the appropriate times.

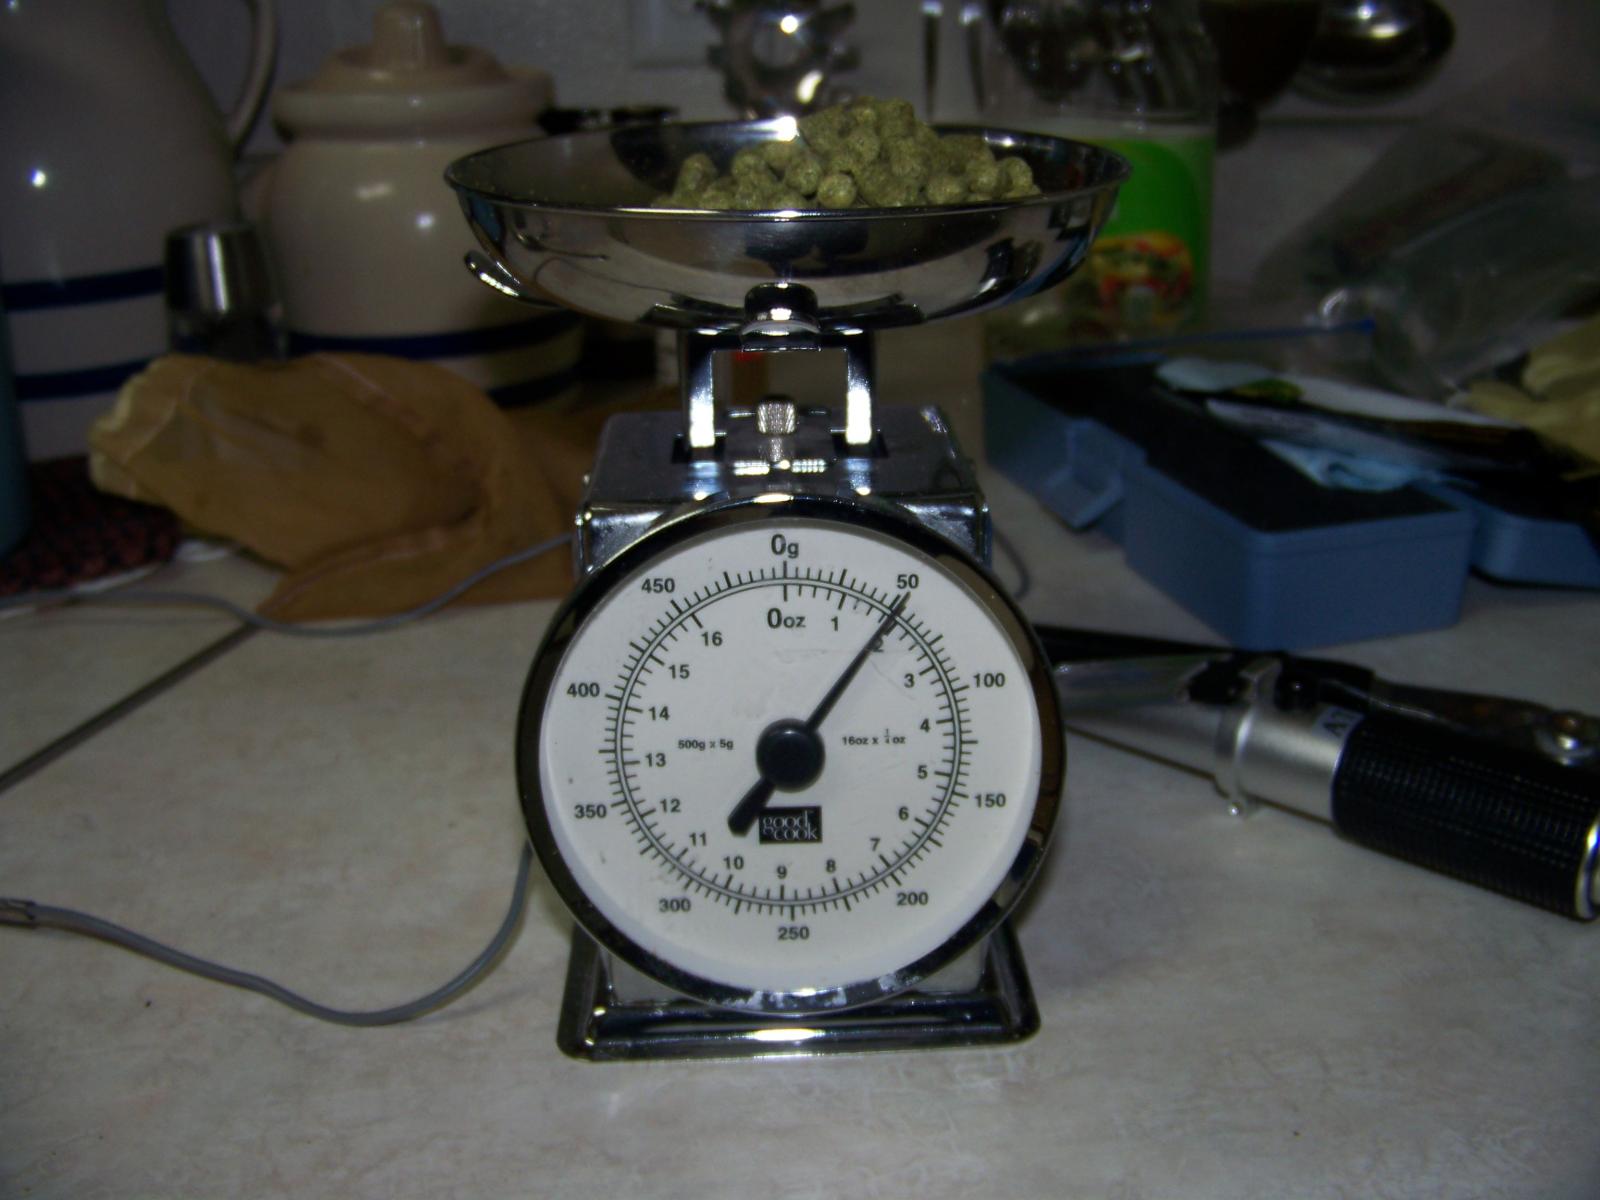
I simply weigh the next amount needed and add as I go.

24.jpg
 
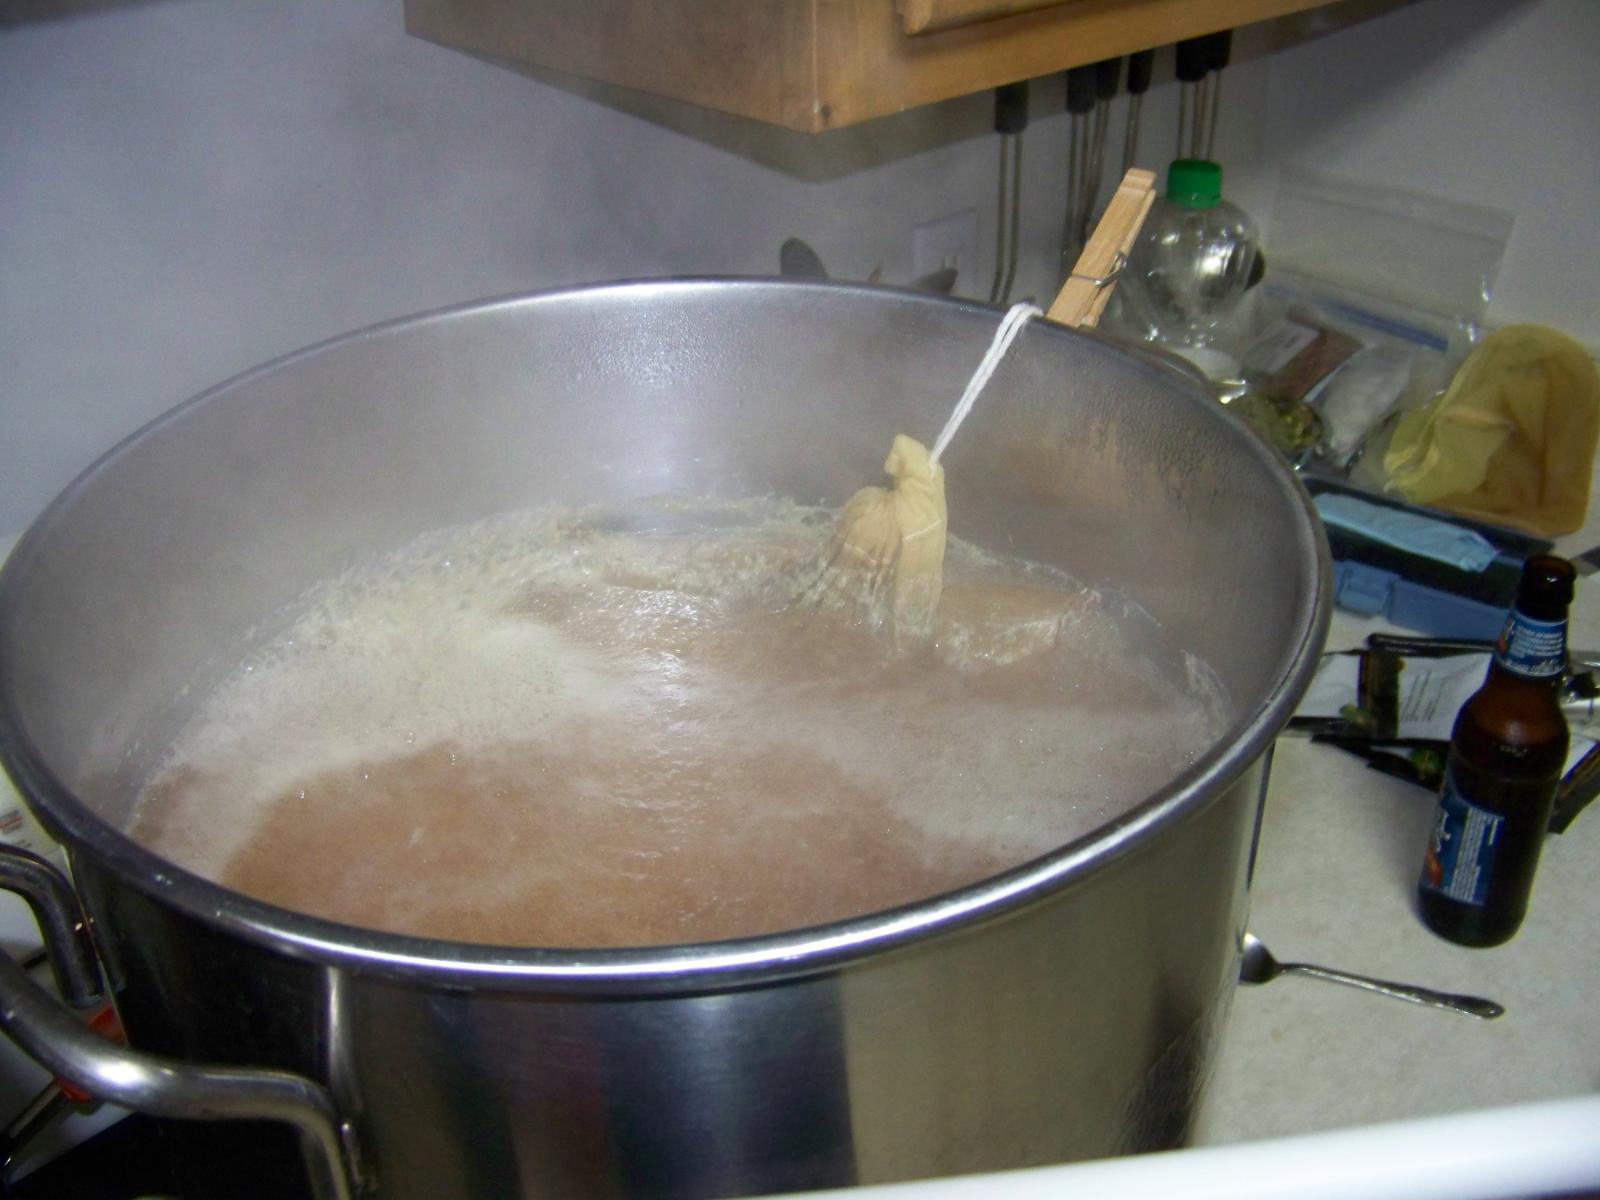
You have options where adding hops to the brew kettle are concerned. I've always used a hop sack. It keeps things much cleaner in the brew kettle. Some folks use a false bottom in the brew kettle, but I find this technique to be simple and it works really well. You're left with a mesh bag full of hop particles that you need to clean up instead of a bunch of hops gumming up the kettle.

Just a personal preference.

25.jpg
 
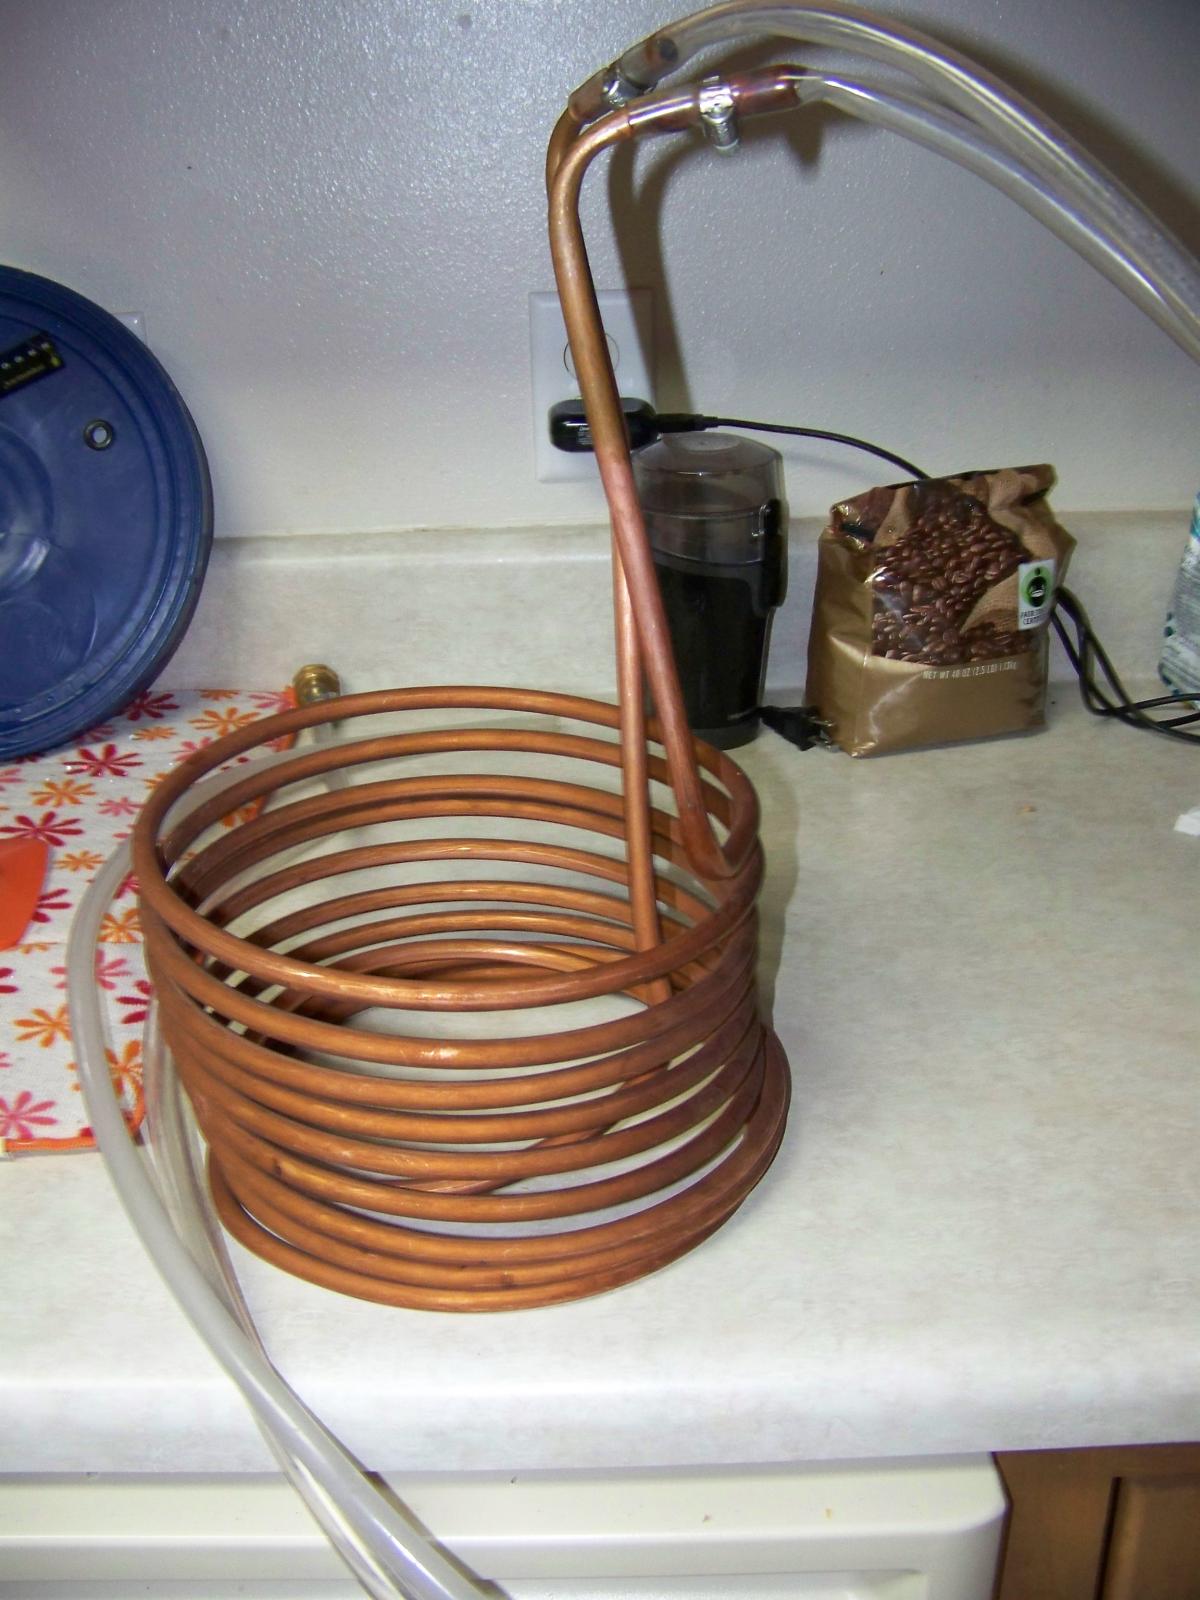
This is my wort chiller. I bought the cheapest one that Northern Brewer sells. Nothing fancy, but cheap and affective.

26.jpg
 
At this stage, the wort has been boiling for 50 minutes. Hops have been added on schedule, the whirlfloc tablet and wort chiller have been placed in the brew kettle.

27.jpg
 
Up to this point, sanitation hasn't been an issue since everything that you've been using has been boiled for at least 10 minutes.

Once the brew kettle has been removed from the heat, or the burner has been turned off, you're going to need to worry about sanitation.

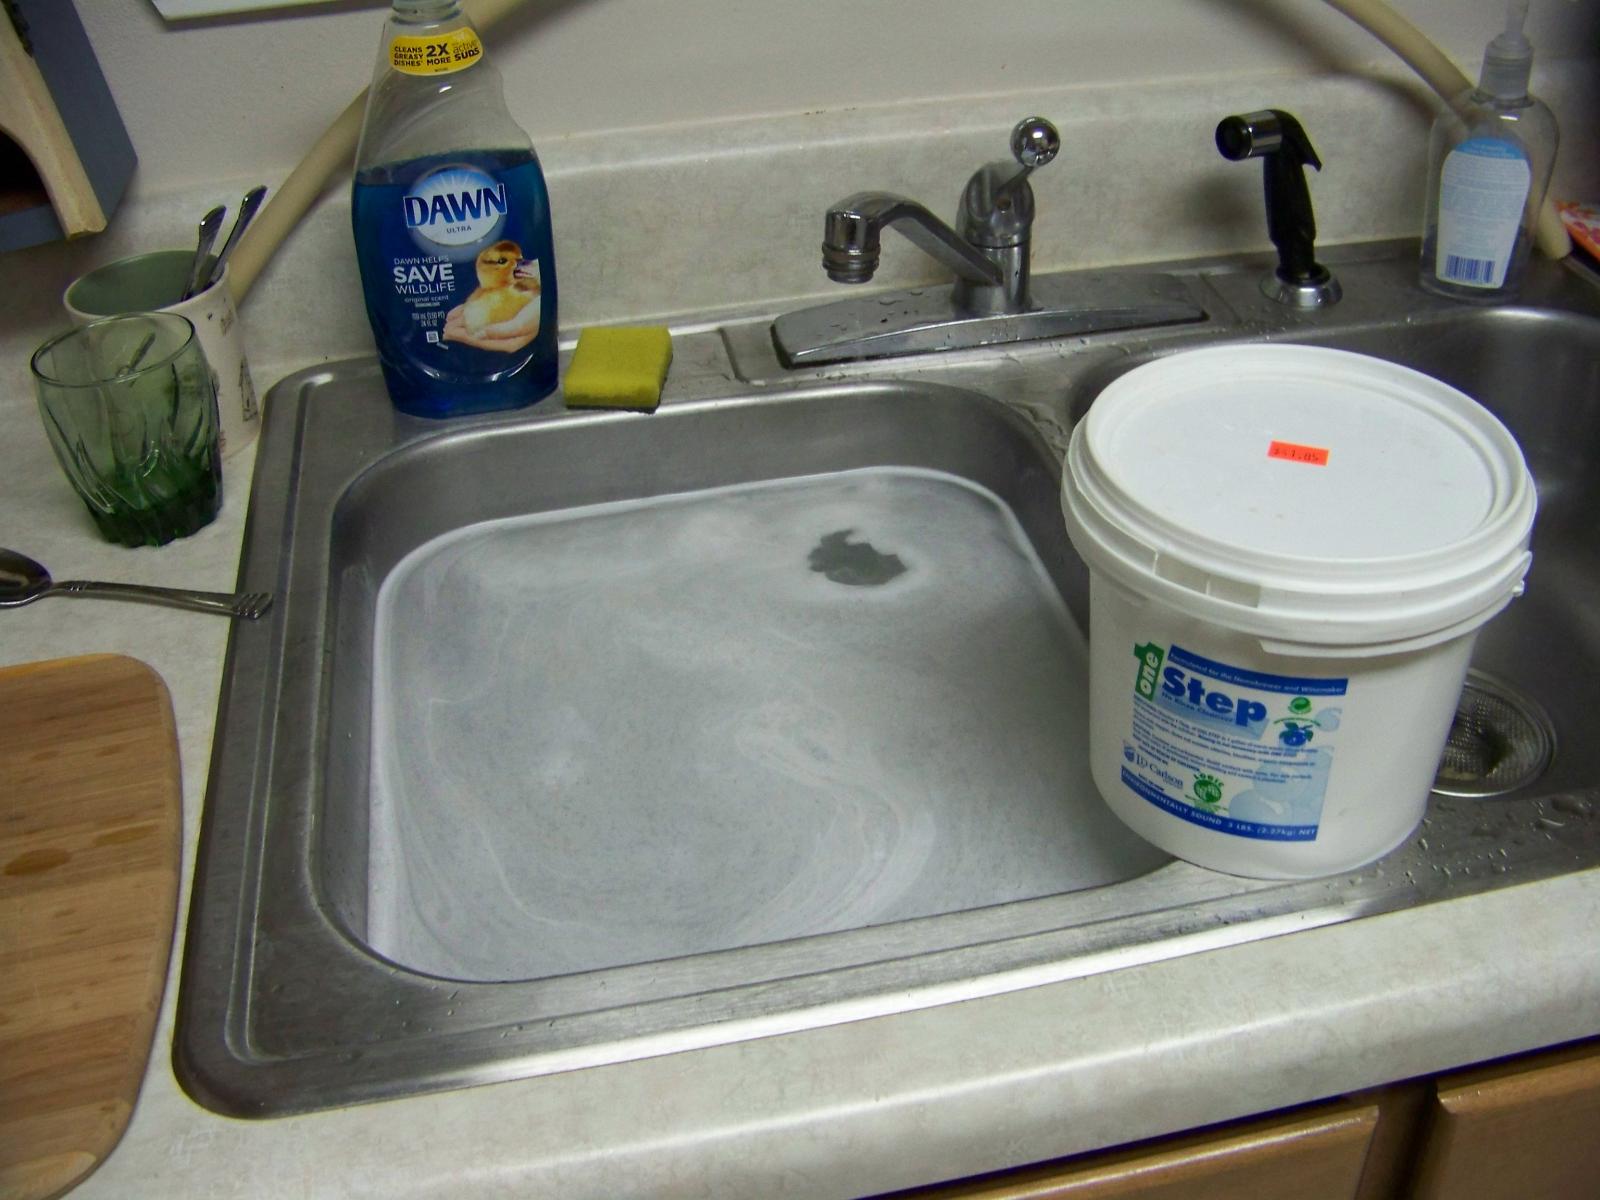
I generally fill one side of the sink with hot water and add 1 Step to the water to create enough sanitation solution to finish up the brew process. You can do the same thing with Starsan and a 5 gallon bucket. Onestep is what I've always used for this and it's worked very well for me, and since I brew in the kitchen, the sink is available to me. Makes it very convenient for me.

28.jpg
 
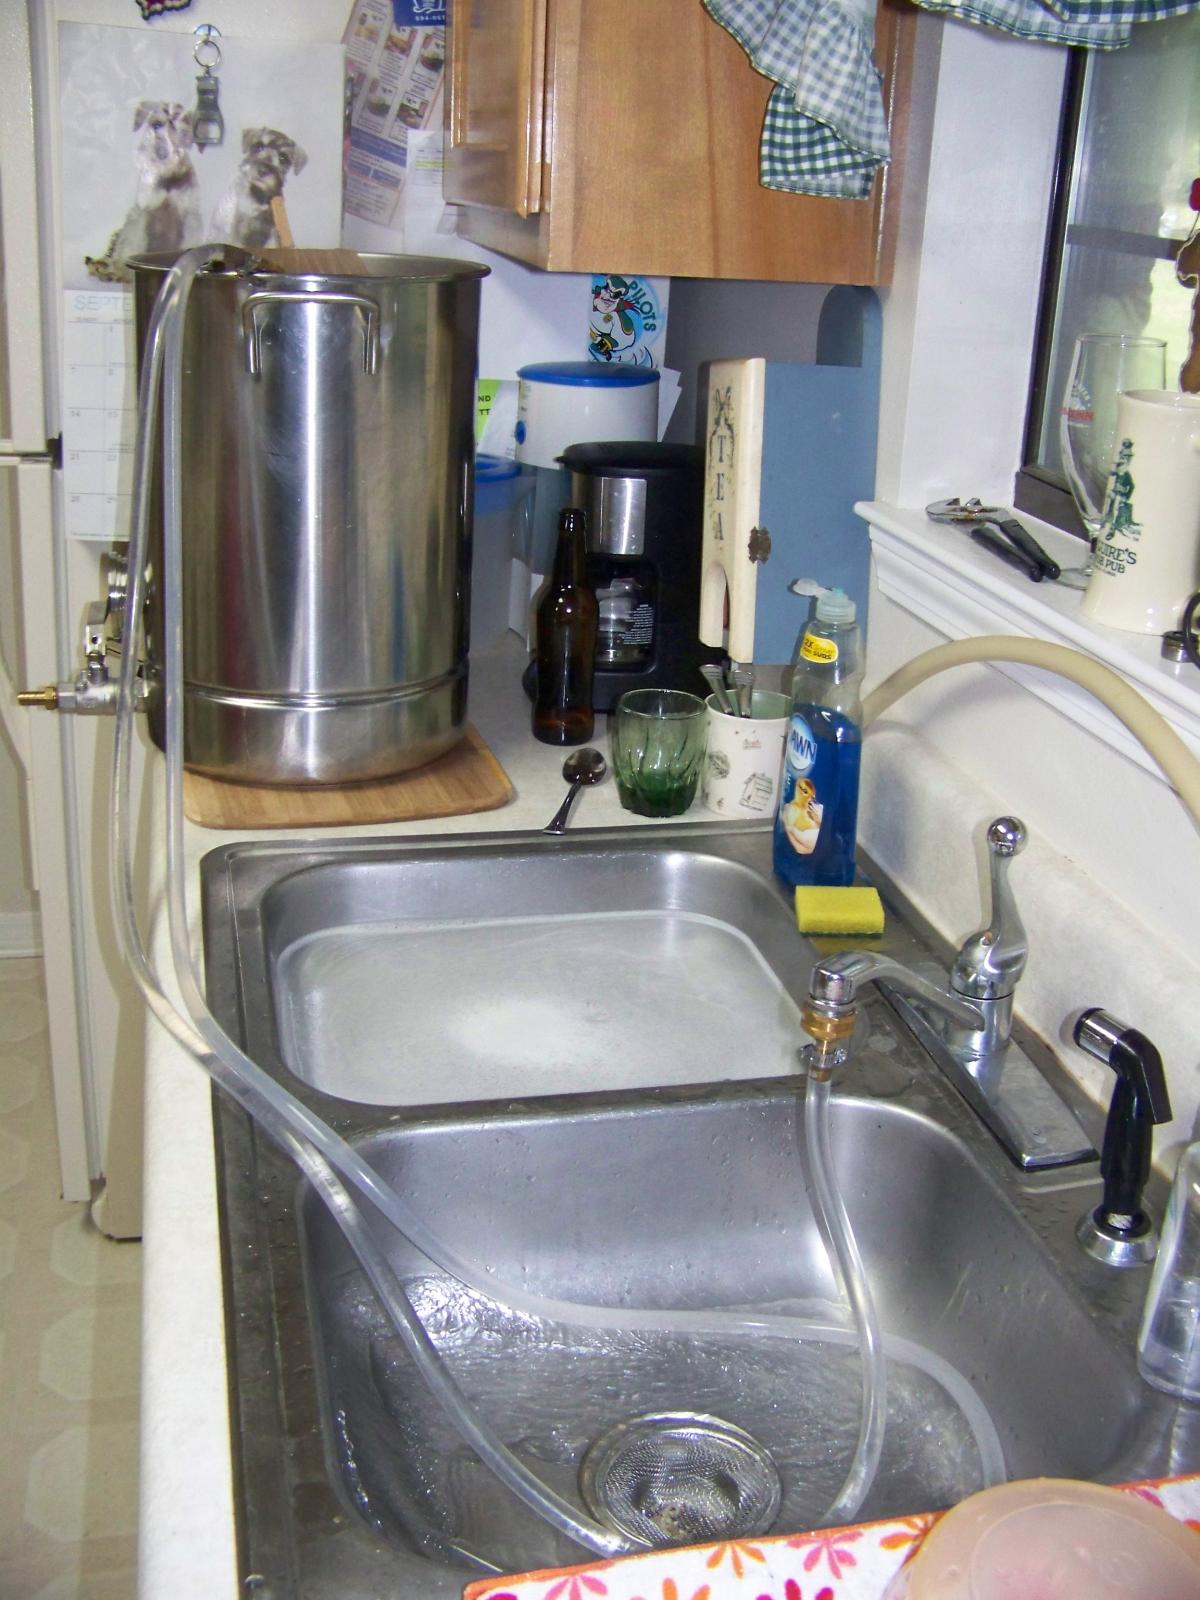
In my kitchen, I need to move the brew kettle off of the stove and carry it over to the counter beside the sink so that I'm close enough to my water source to start the chilling process.

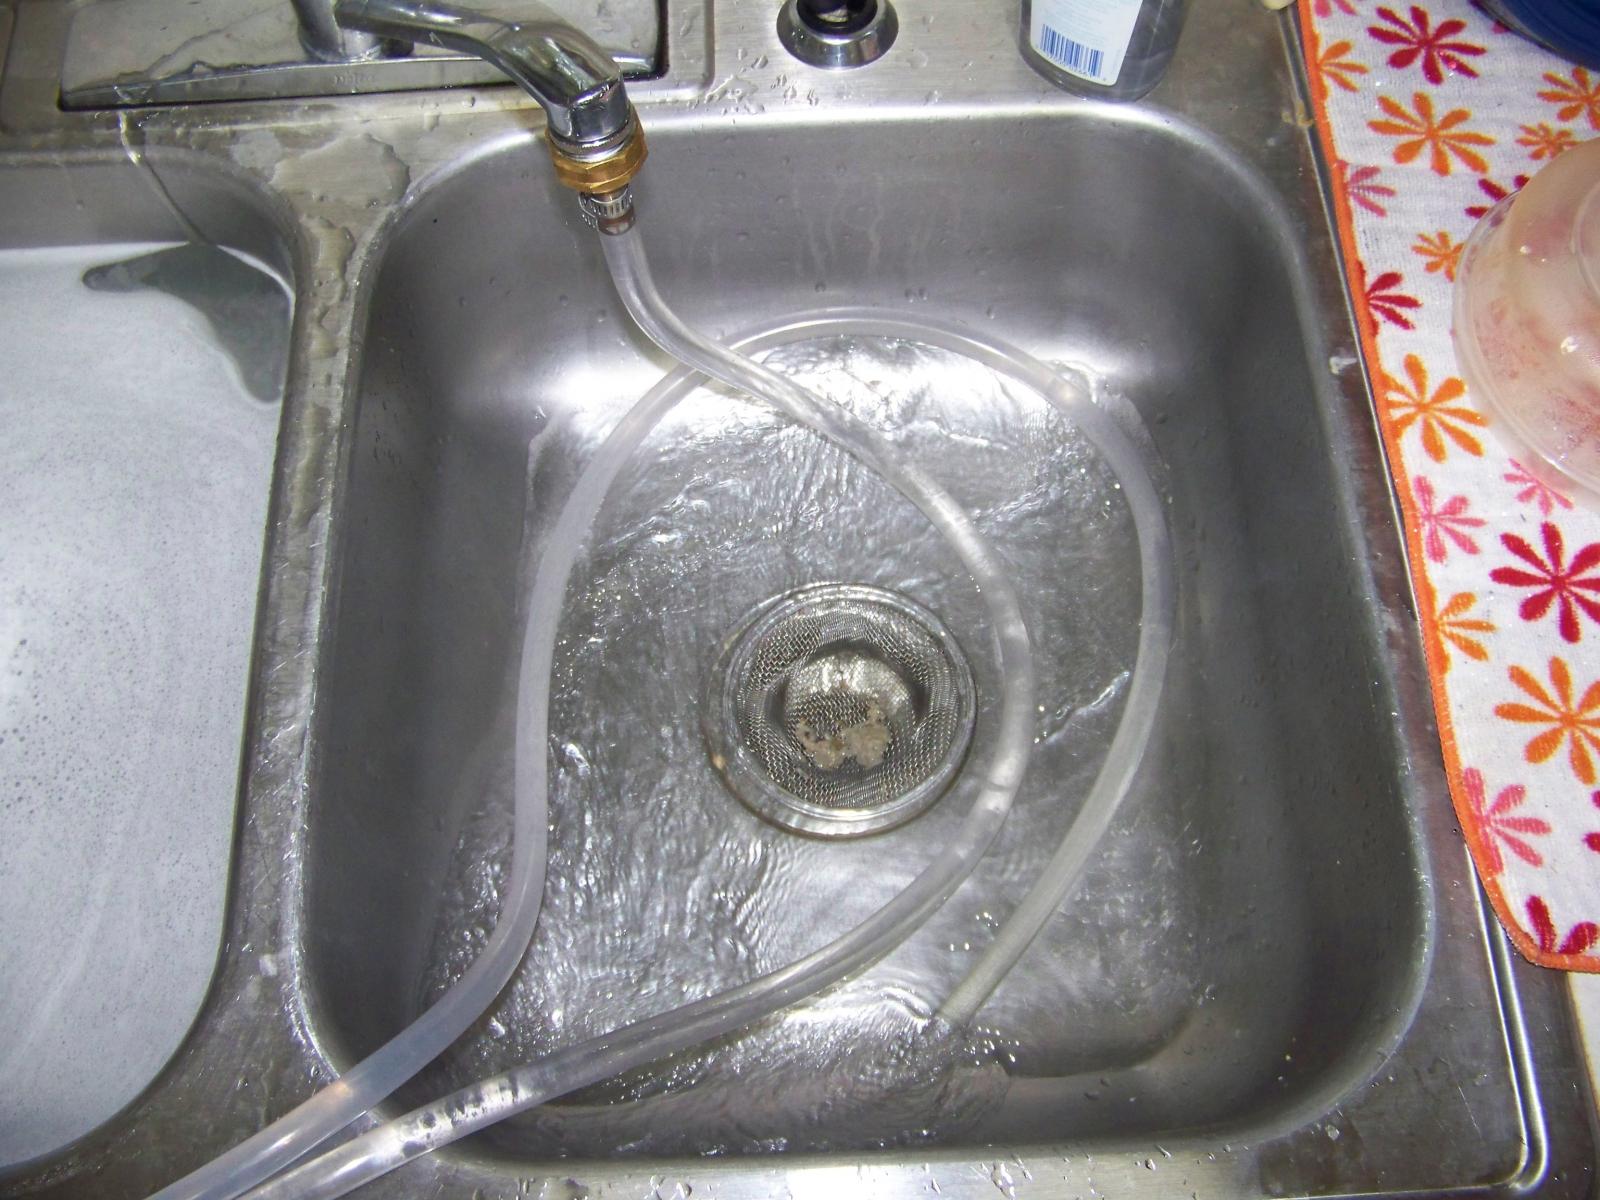
I attach a hose to the faucet and drain the hot water in the other side of my sink.

If you're going to brew outside, you'll be able to get the necessary fittings and length of hose that you'd need to connect to your outside faucet.

29.jpg
 
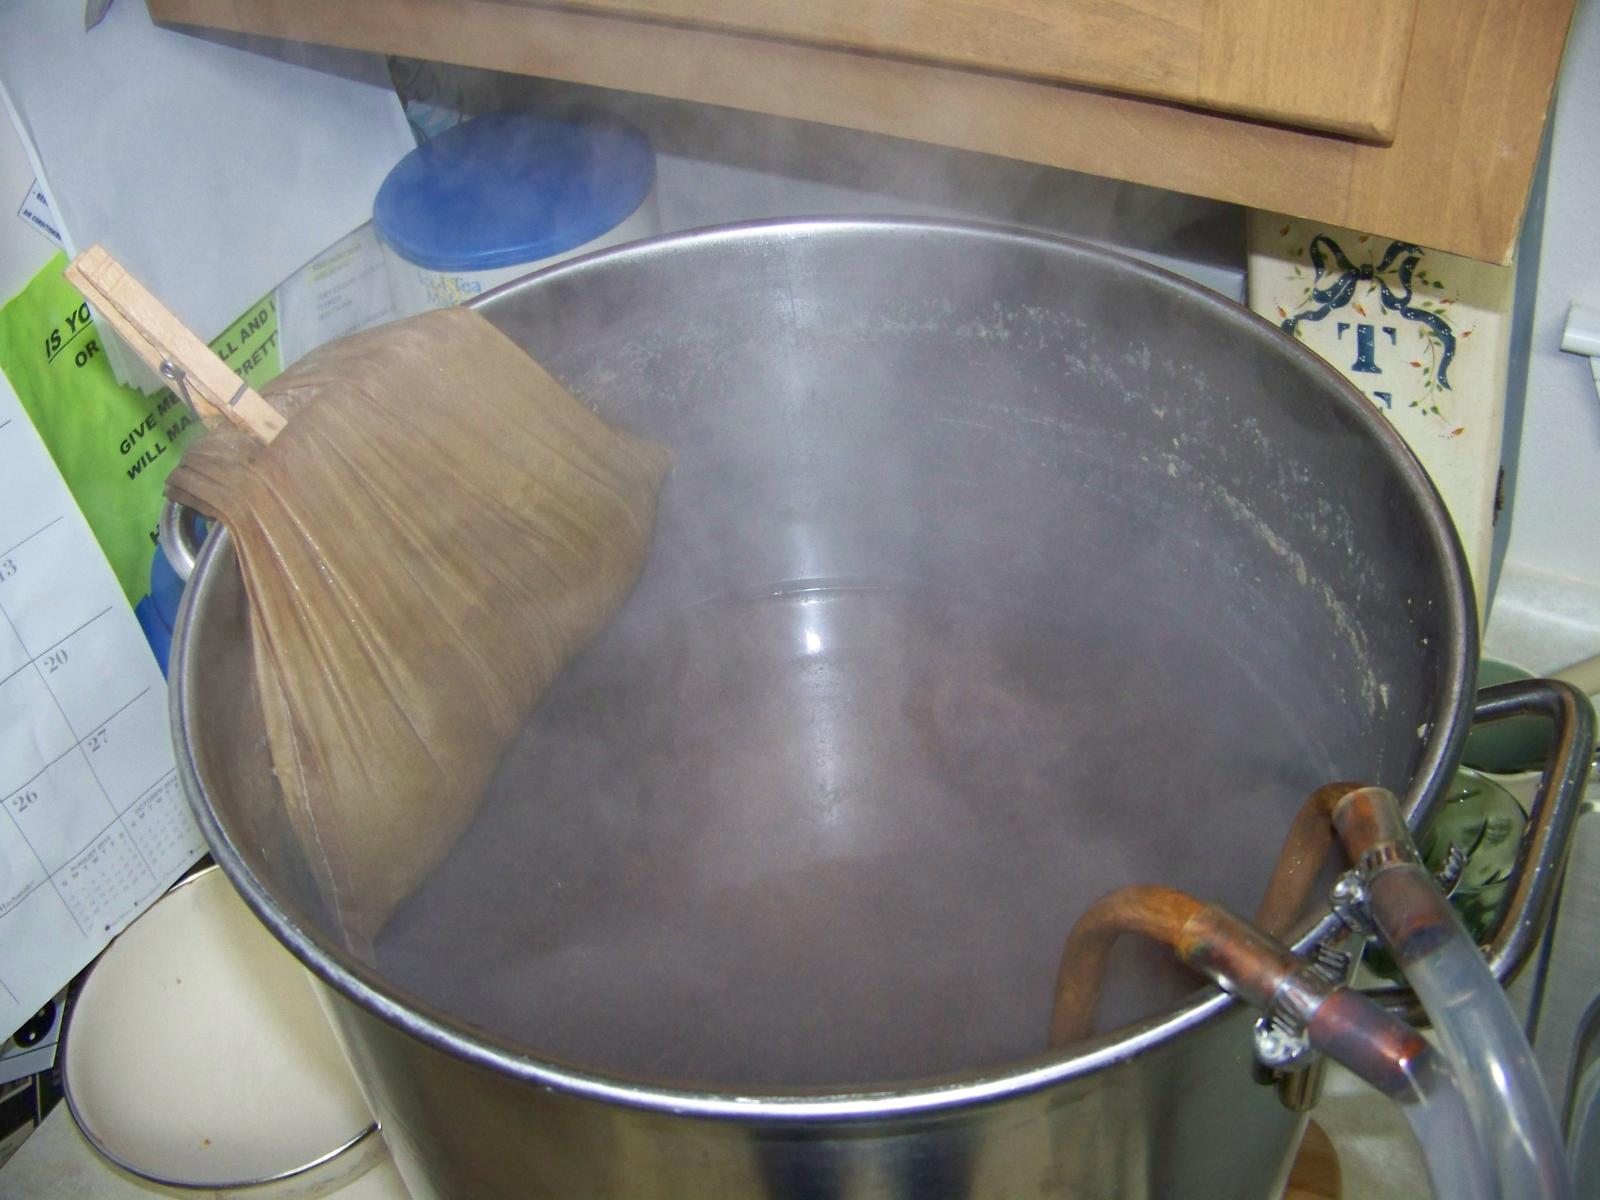
During the cooling process, I pull the hop sack out of the wort and pin it so that any remaining liquid will drain back into the kettle. Once it's finished draining I move the bag to a bowl.

I usually stir the kettle several times during this period. It speeds up the cooling process quite a bit.

30.jpg
 
You're going to read terms like hot break and cold break. You'll want to read about them. I'm not going to discuss either term here.

The whole idea of chilling the wort is to cool it as rapidly as possible so as not to unnecessarily expose the wort to possible infection.

You want to cool the wort to pitch temperature. Most brewers want the wort to be in the 70 degree range, but as long as it's cool enough not to kill the yeast cells you'll be okay.

If you pitch yeast into your fermentation vessel at a temperature higher than 90 degrees, there is a good chance that you could kill yeast cells.

31.jpg
 
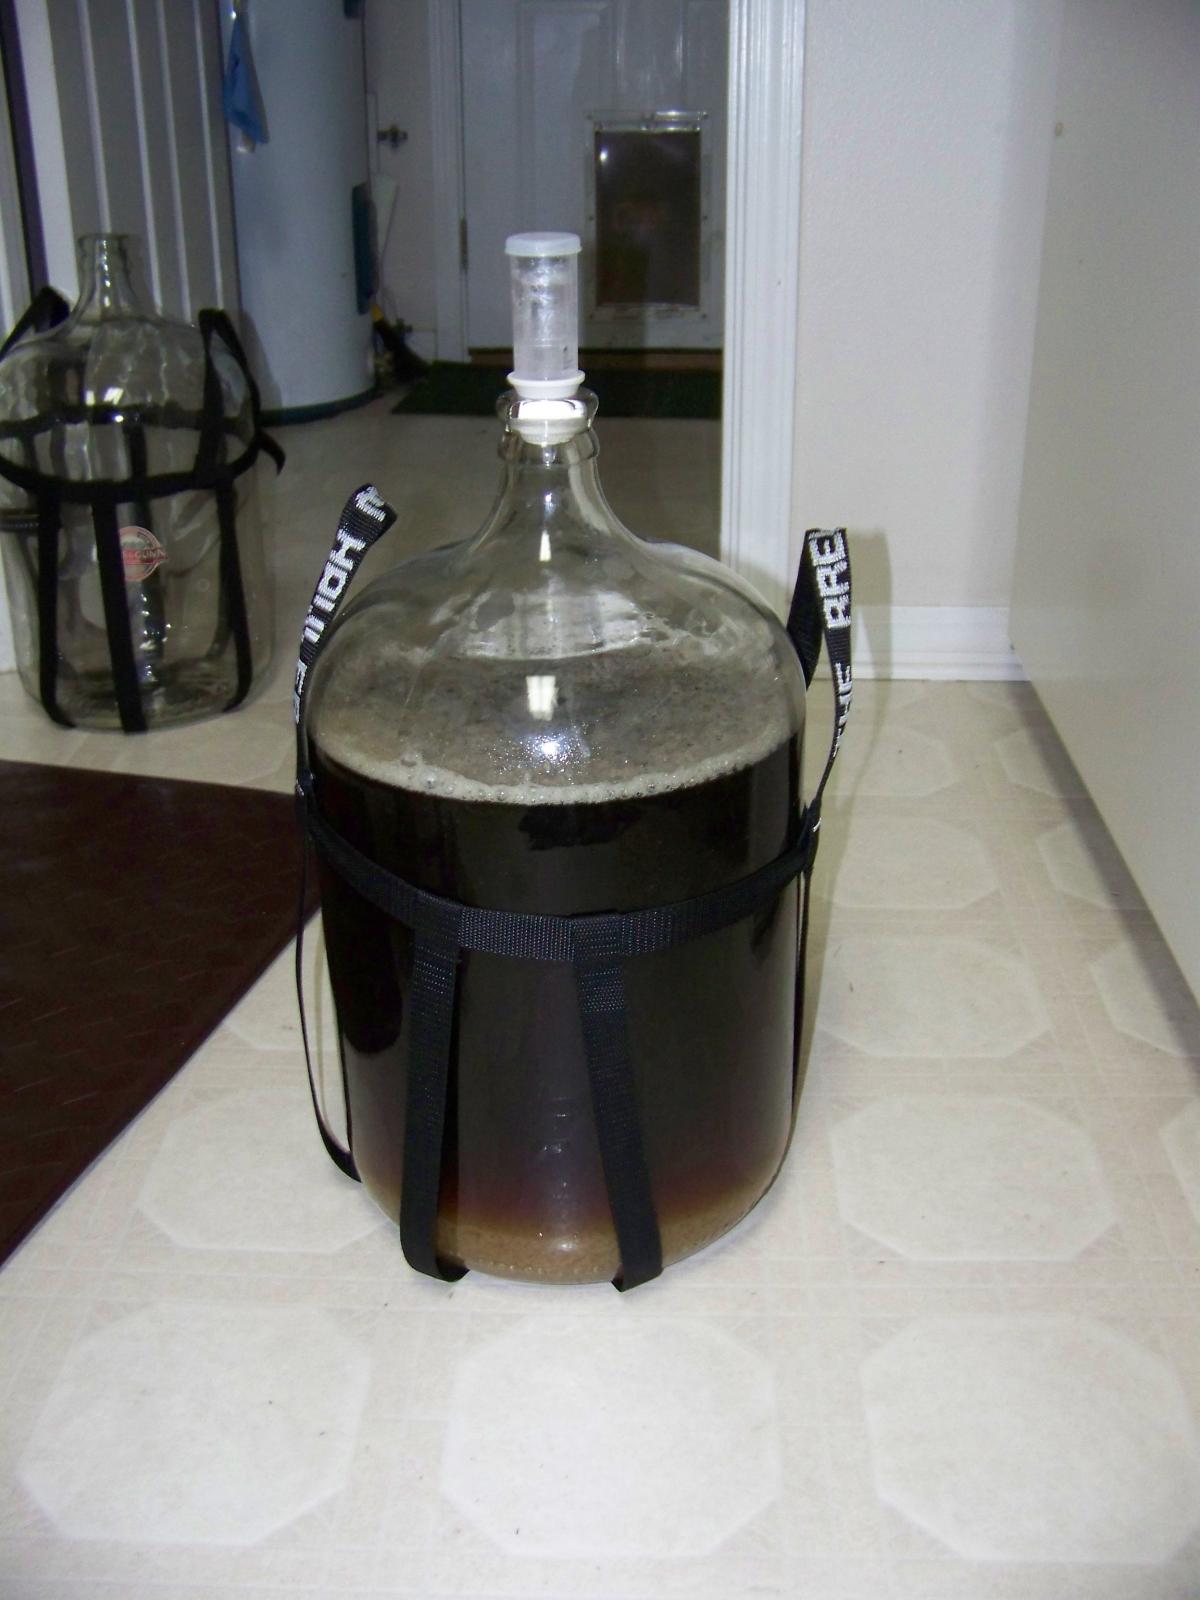
Once the wort has cooled to pitch temperature, pitch your yeast and seal the fermentation vessel.

My fermentation vessel of choice is a glass carboy. I use a rubber bung with a 3 piece airlock to seal it up.

32.jpg
 
That's a look at my brew day.

My disclaimers:

I'm not a brewmaster, and don't aspire to be one. I'm just a person that brews the type of beer that I like to drink.

This document wasn't meant to be an "everything you need to know about brewing beer", or anything even close to it. It was meant to be used as a guide for a beginning home brewer. Nothing more.
 
Add 46 more steps and you'll hit a 1000 post count :p

Nice write-up though. Very easy terms to understand and method to follow. Nice with the pictures also. Would like to see this is a document format (pdf, doc, etc) or blog/webpage format too.

Cheers!
 
Good simple guide!!!! I get nervous recommending Brewing books for new homebrewers because honestly they intimidate and terrify alot of new brewers. Guides like this and Youtube videos are great to get their feet wet. And yes, U must drink a good beer while brewing. Moderate though because I can speak from experience. Mistakes will be made if you are too tipsy. I LOVE a good (even though I hate the moniker) Session IPA for brewday.
 
Nice guide. Seems pretty well laid out and everything. Pretty impressed your stove handles brew day as well.
 
Nice write-up, comprehensive yet not daunting for a new brewer. Always interesting to see the slight variations folks employ on brewday as well.
 
Back
Top