OP
OP
nostalgia
Well-Known Member
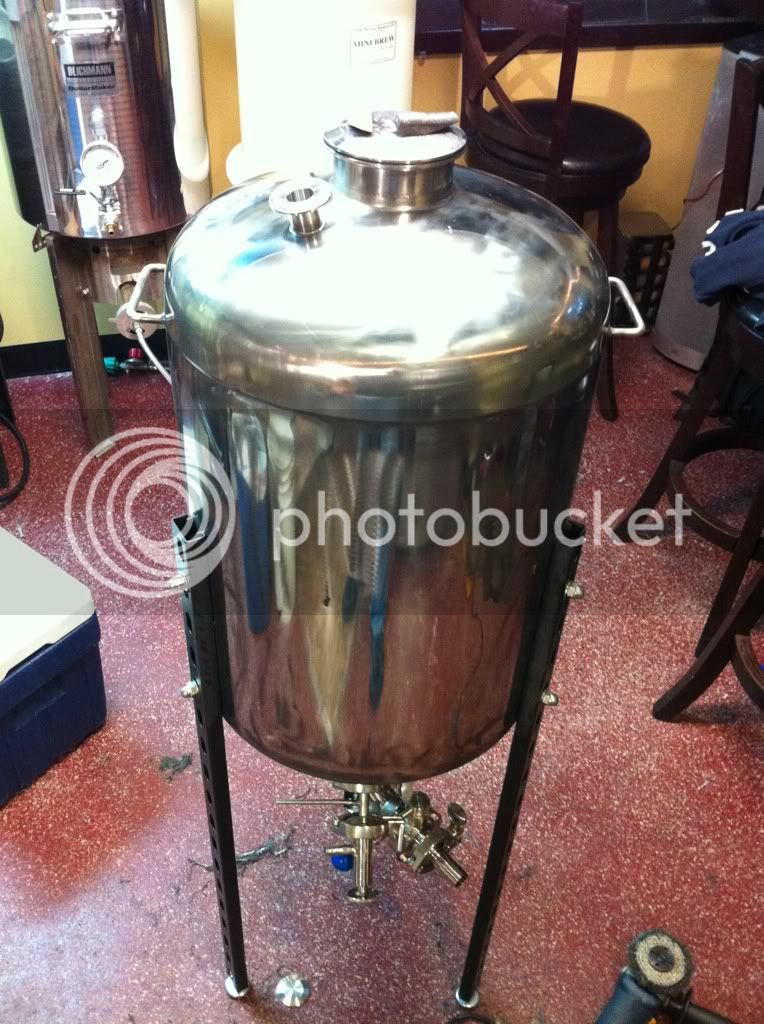
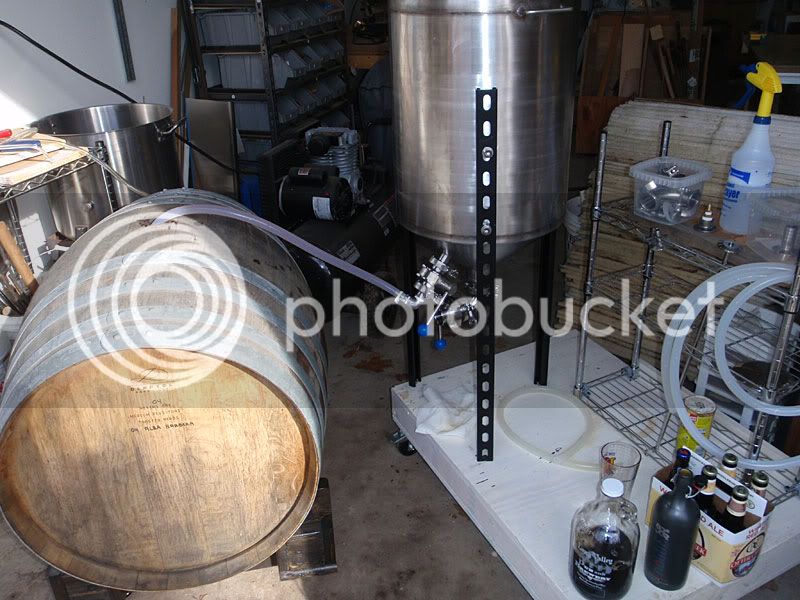
My Brewhemoth takes a dump.
-Joe
-Joe
Last edited by a moderator:


Are they gone for you guys too?
Yes.
")
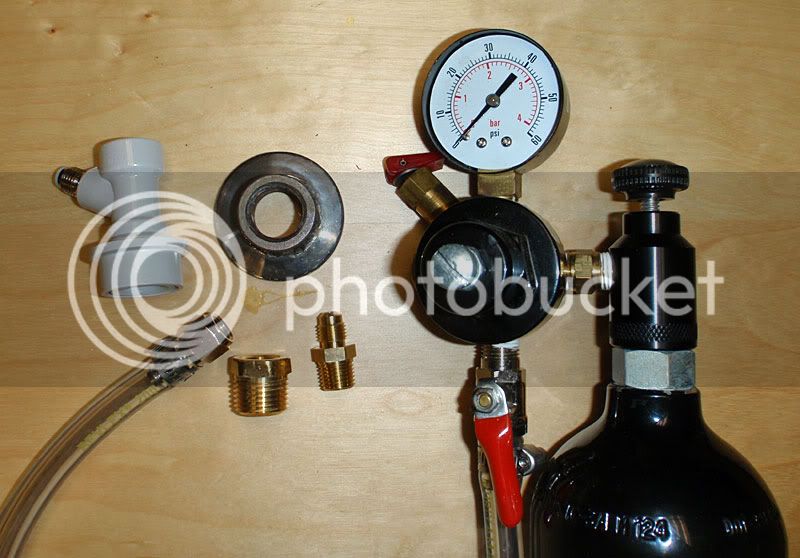
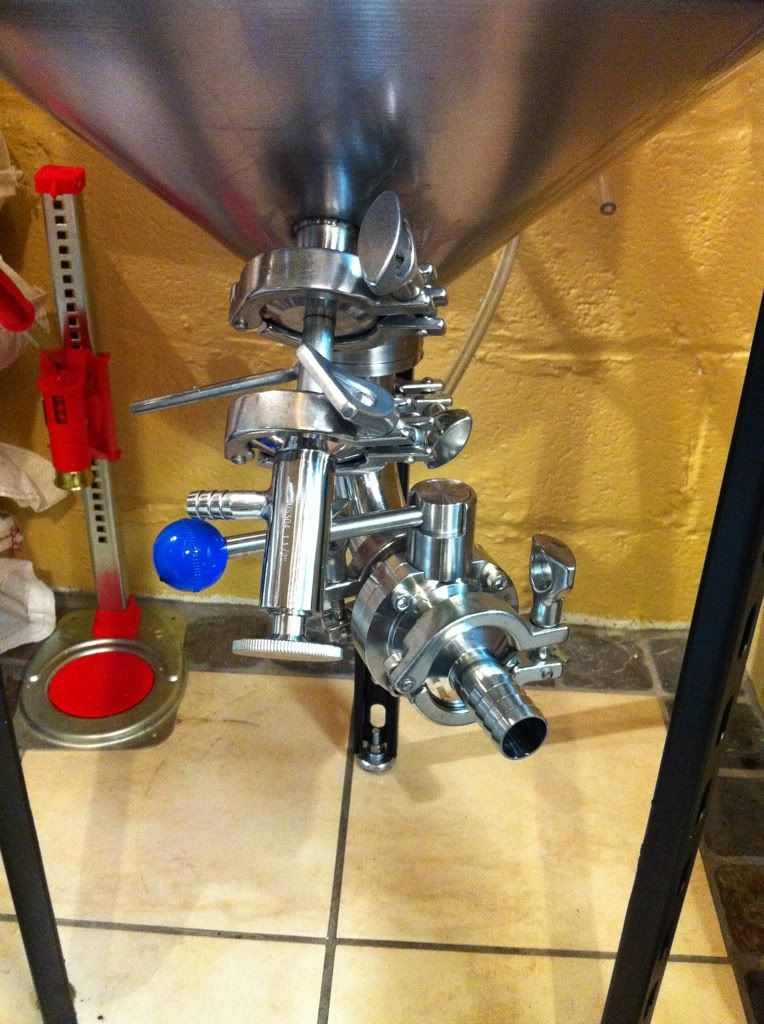
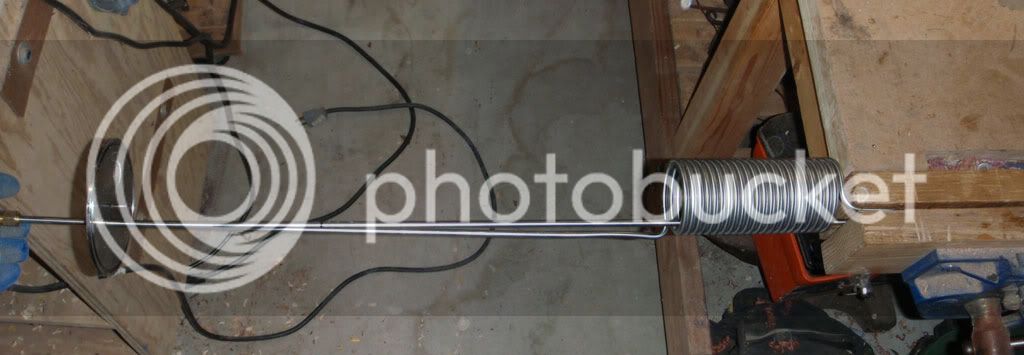
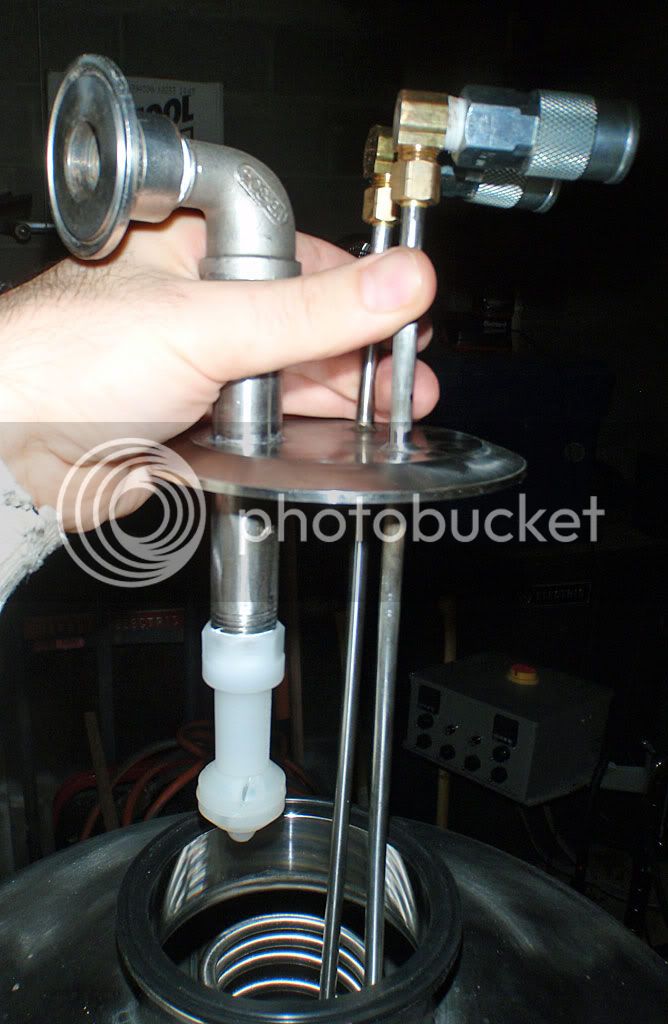
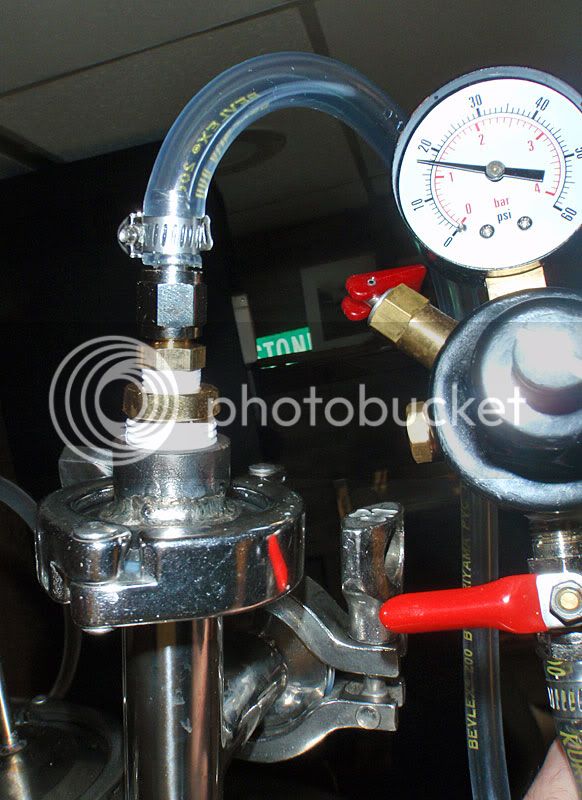 I wanted to use 1/2" all the way up to the chiller to have as little backpressure in the lines as possible.
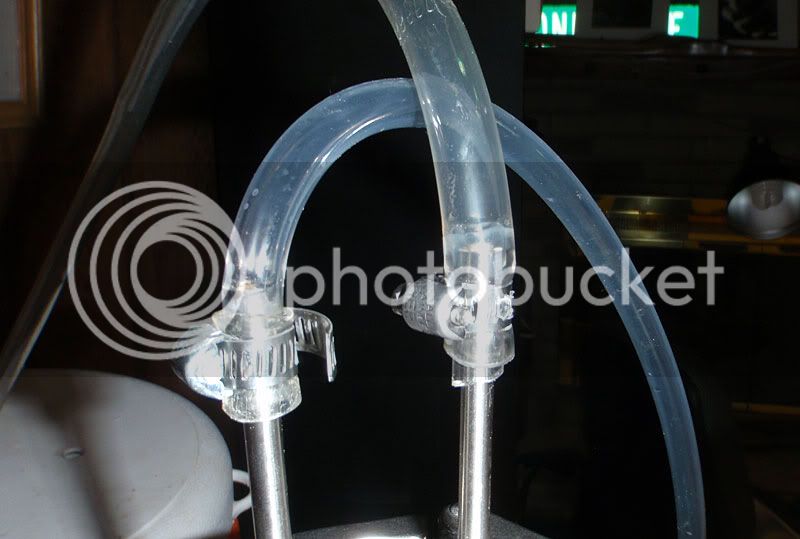

Glad to help! Be sure to let us know your impressions.
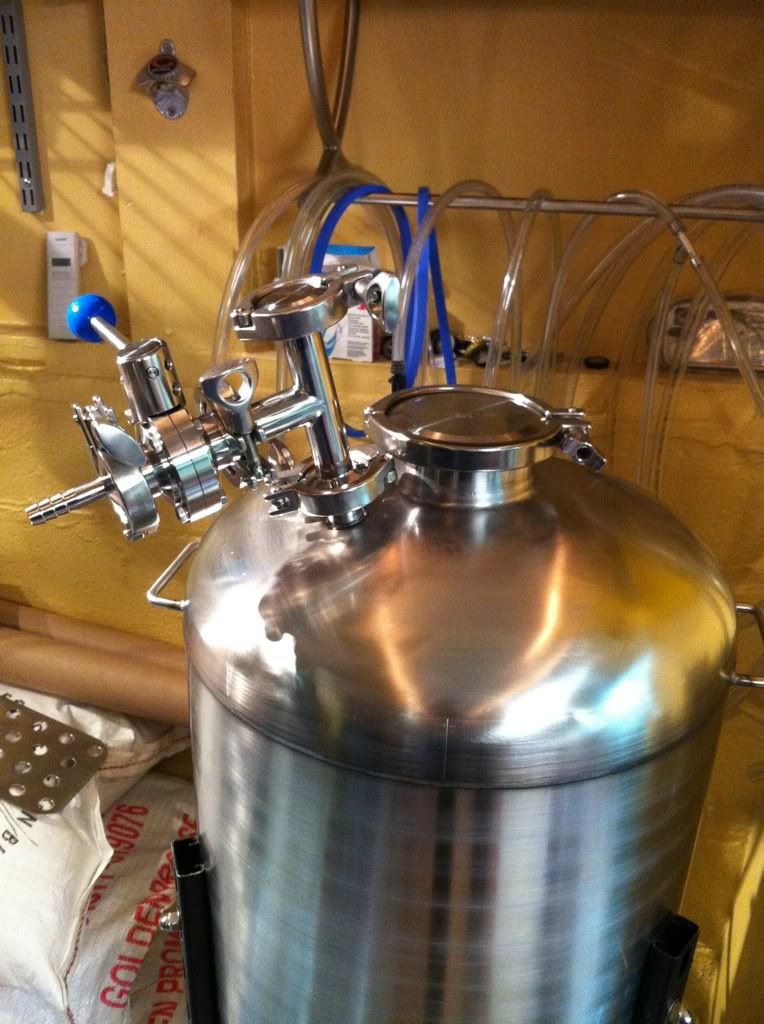
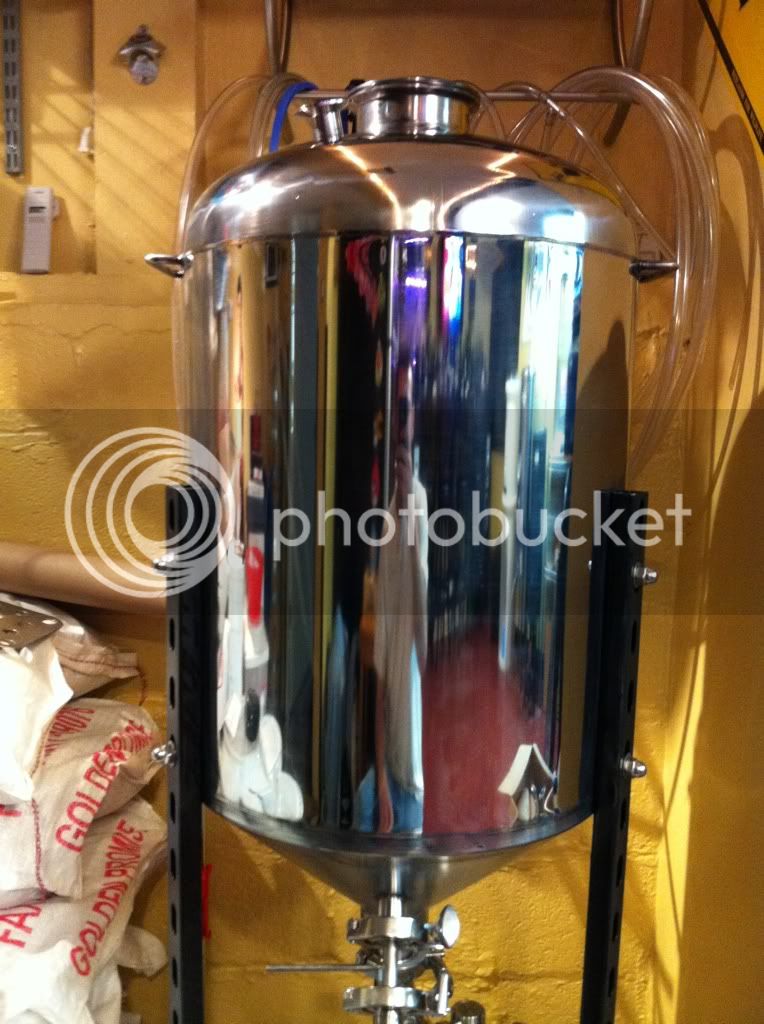
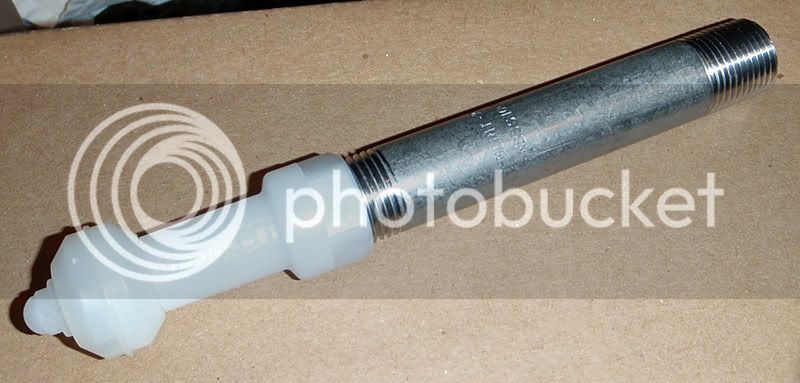
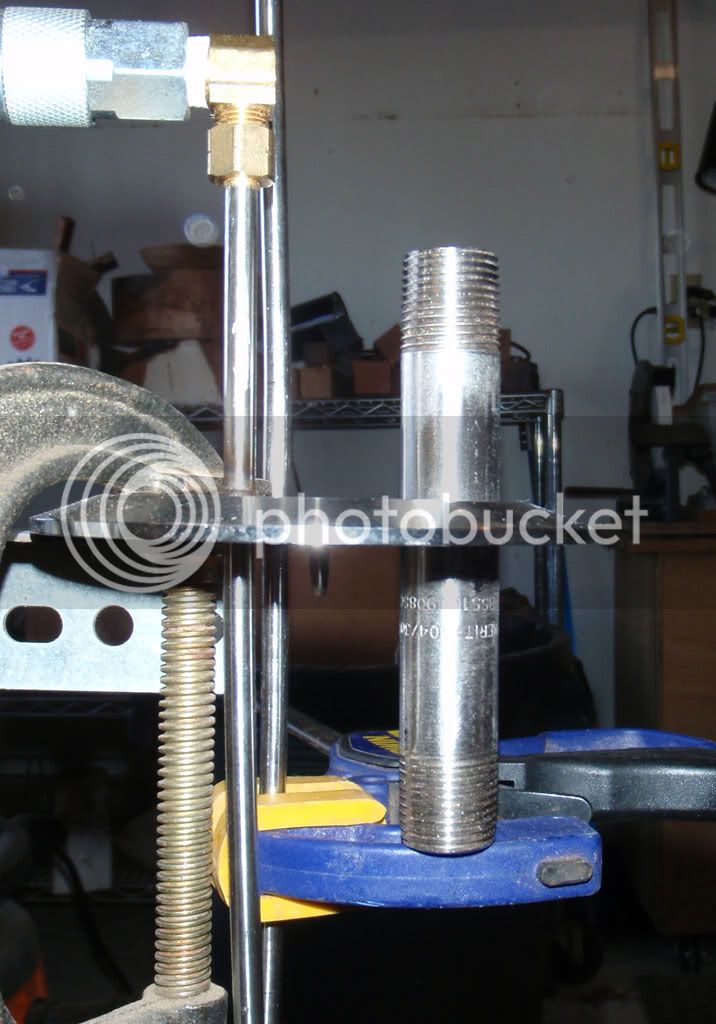
I really wish they'd make the thermowell port standard. The 24" TC works, but is no good for 5 gallon batches, and the tip sits right in the middle of the cooling coils, which can't be good for accuracy.
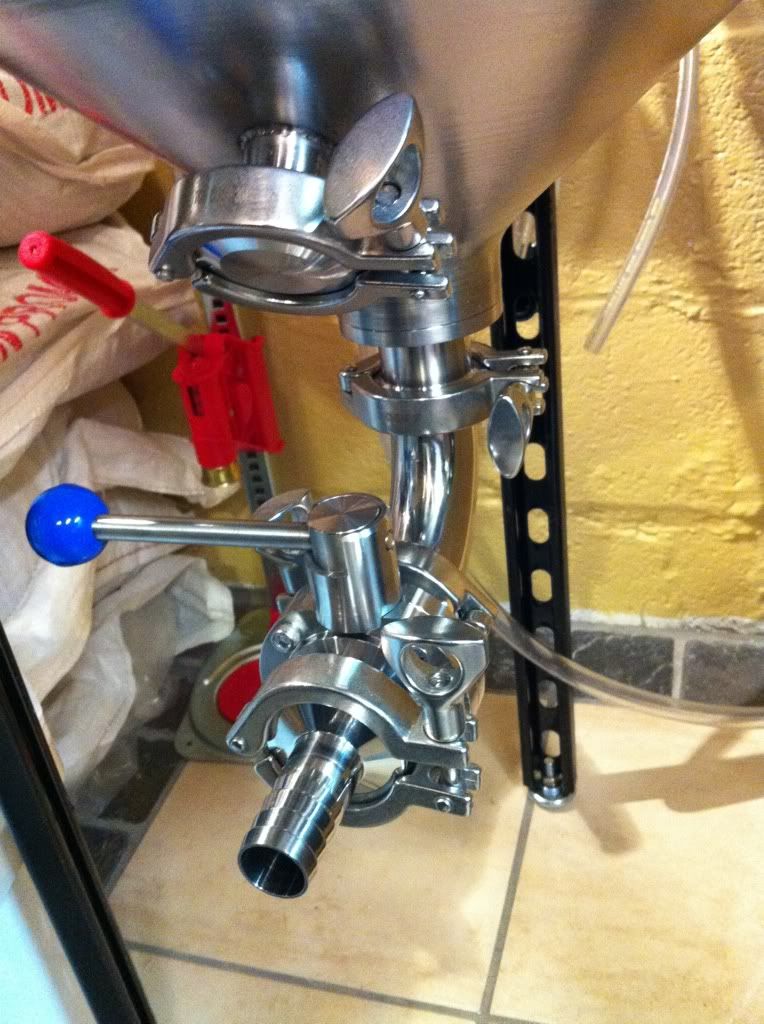
I'm considering teeing off the sampling port with a shorter thermowell instead of the top.
I'm not sure there is a perfect placement for the thermowell. I've got my first batch in mine even though I've had it for almost a year now.
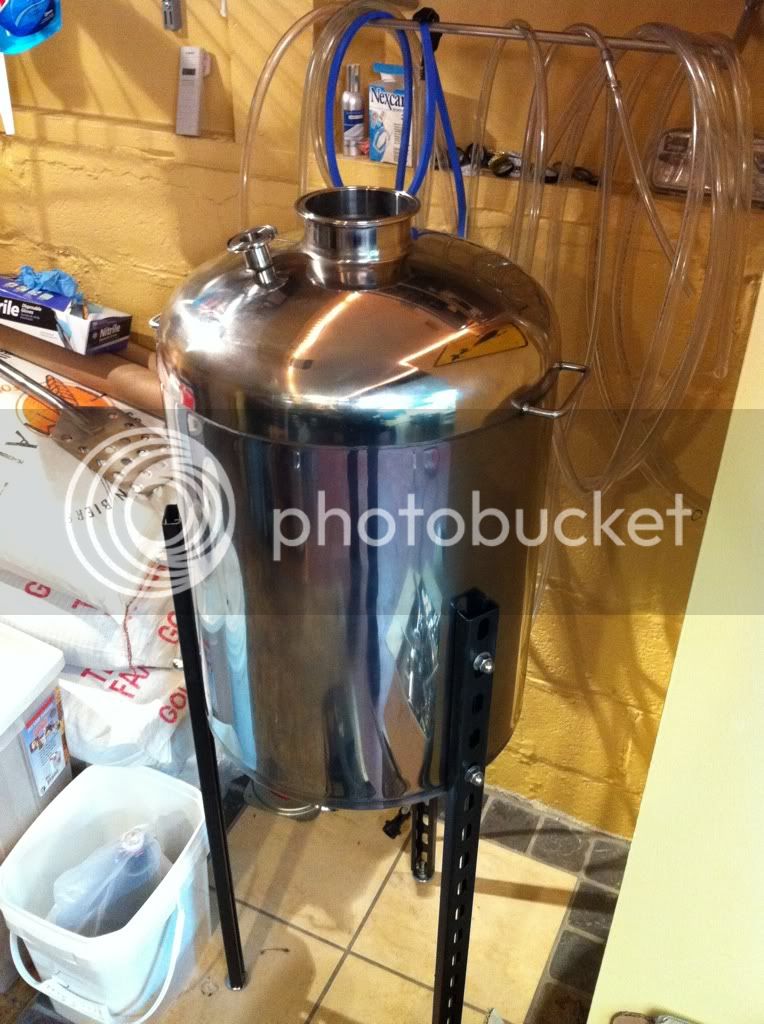
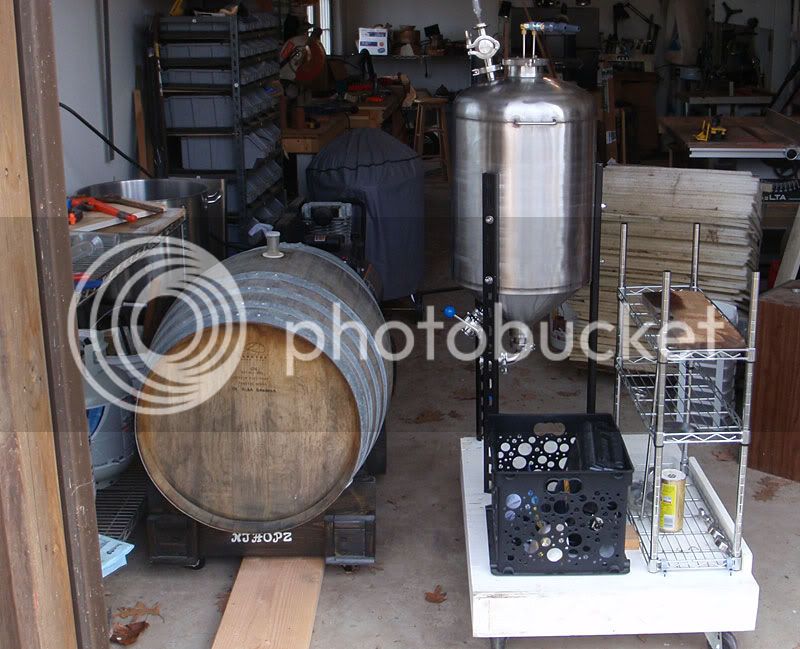
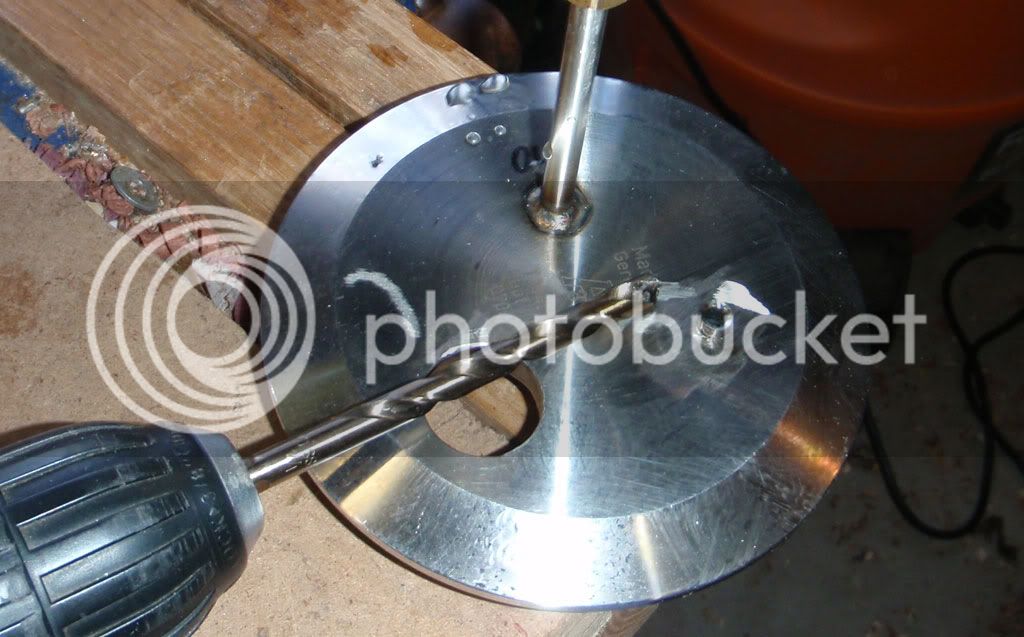
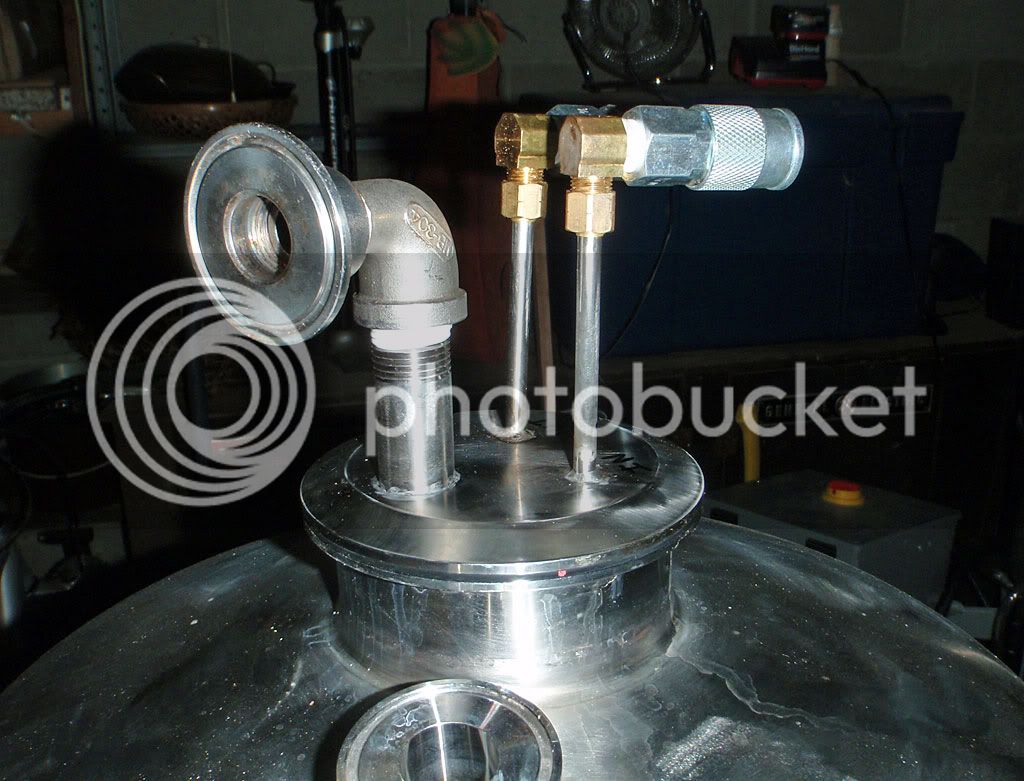
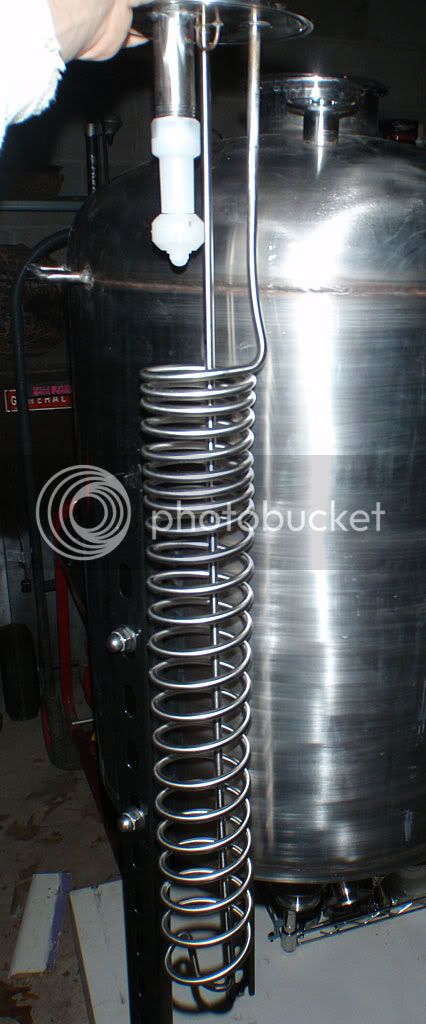
Mine are in my uninsulated garage and its been really cold so I'm just keeping it warm now. Before fermentation (and during my water tests) I'd have 20 degrees difference between the middle (thermowell welded into the 4" cap) and at the bottom (thermowell through a Tee in the sample port). I'd shake the whole thing and it would mix up the liquid and the temps would come closer together.
Once fermentation kicked off I'm seeing a 2 degree difference between the top and the bottom. It will be interesting to see how different things are when it's warm outside and I'm cooling and not heating.
What are you using to heat it? A brew belt or similar?
This is actually my next project. But I was able to easily maintain ale temps with a cooler + ice water, so I think you'll be ok.Getting ready for my first ferment in it. I'm hoping to get down to lagering temps using a tub with about 4 gallons of glycol/water in a freezer though the chiller. Has anyone achieved this? Probably to insulate it.
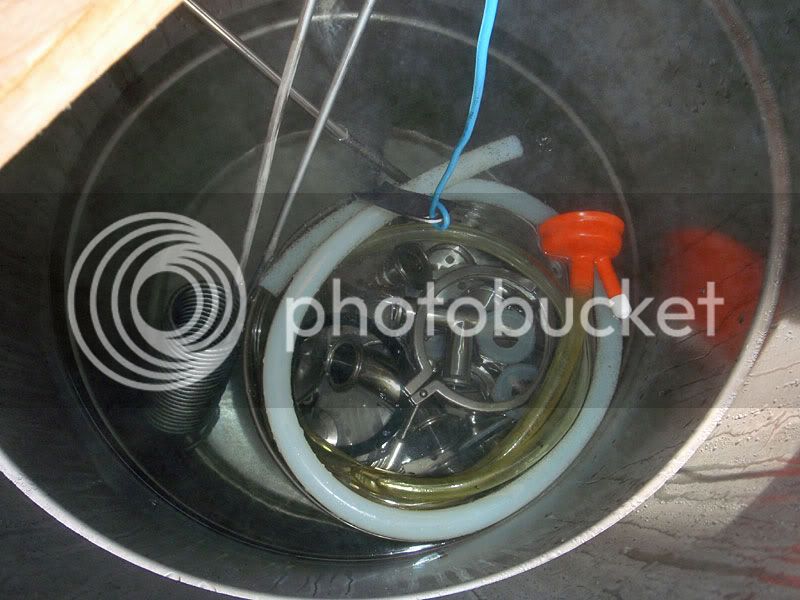
I just got my arm in there with a scrubby as best I could for cleaning. For sanitizing, I used my March pump and a loose hose to hose the interior down.Also without a CIP yet, how are you guys cleaning/sanitizing yours?
At least at my salary.Nanitebrewing said:Also without a CIP yet, how are you guys cleaning/sanitizing yours?
Enter your email address to join:
