
johnwpowell
Well-Known Member
- Joined
- Dec 27, 2016
- Messages
- 258
- Reaction score
- 70
I wanted to add temperature control to my standard chronical but was invested in the dome lid, having purchased a blow off cane and pressure transfer fitting. If you didn't know, the FTSS for the standard chronical comes with a flat lid with the coil attached. I understand why they chose to do it this way because you can't expect the average person to be drilling holes.
I contacted SS Brewtech to see if I could get the FTSS parts without the lid, but it wasn't an option. I found this article on how to make the standard like the BME by putting the chiller coil inside: https://ssbrewtech.zendesk.com/hc/en-us/articles/206476993-How-to-mount-FTSs-coils-INSIDE-the-fermenter-and-retain-your-domed-lid.
Before getting started, watch this video see what you're getting into except you have to drill the holes for the chiller:
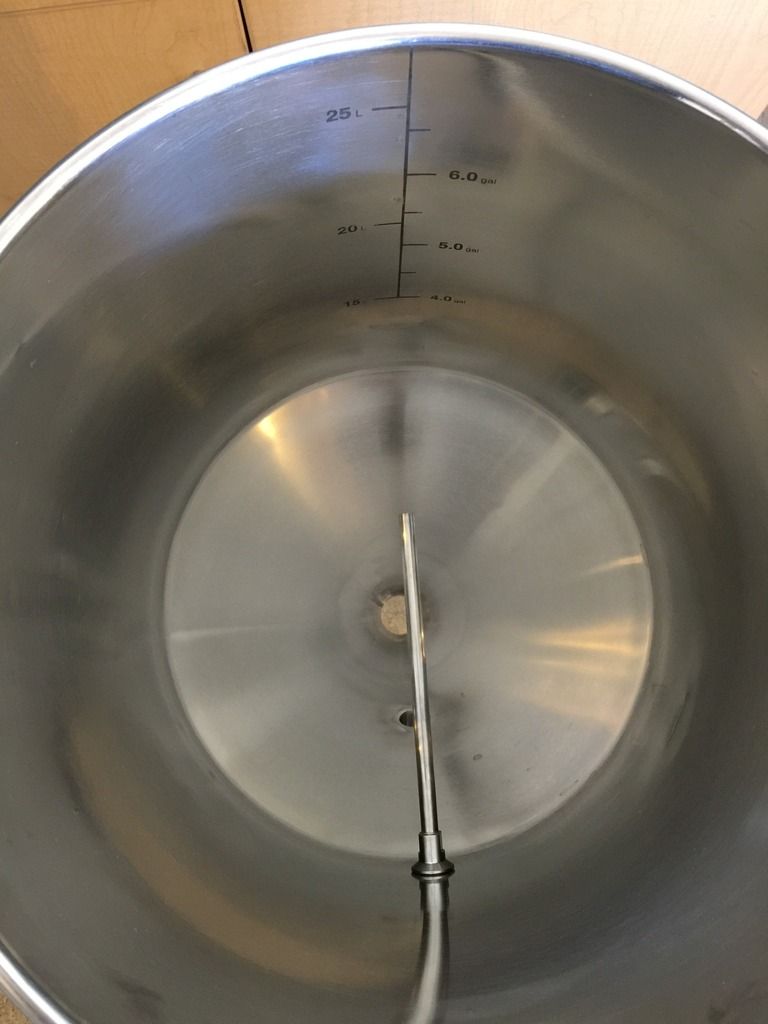
First, the easiest part: install the longer thermowell. Use a 7/8" wrench to remove the old thermowell. If you have another fermenter like me, you can use it on that. Optional: carefully remove the oring (don't roll it) and put some keg lube on it before putting it back on (note the oring goes on the inside). When you are done, it should look something like this:
Determine where you want the coil installed. Here's a picture of a BME with the coil installed. You can see it is to the right of the marking and centered on the 6.5 gallon mark:
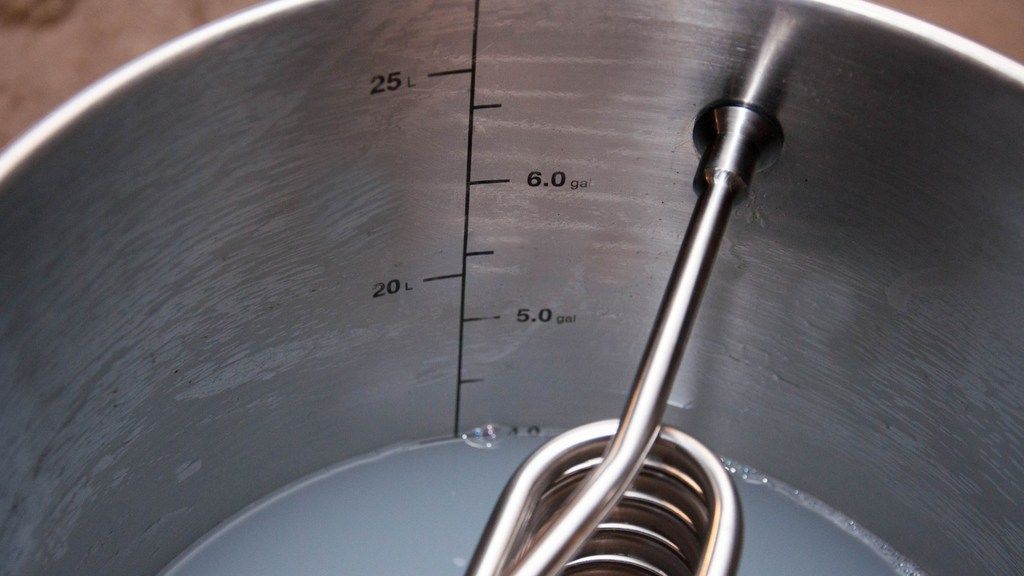
I plan to purchase a second Chronical (BME this time), and they will share a glycol chiller, so I decided to install mine to the left of the markings so the inlets of the 2 chronicals will face towards each other.
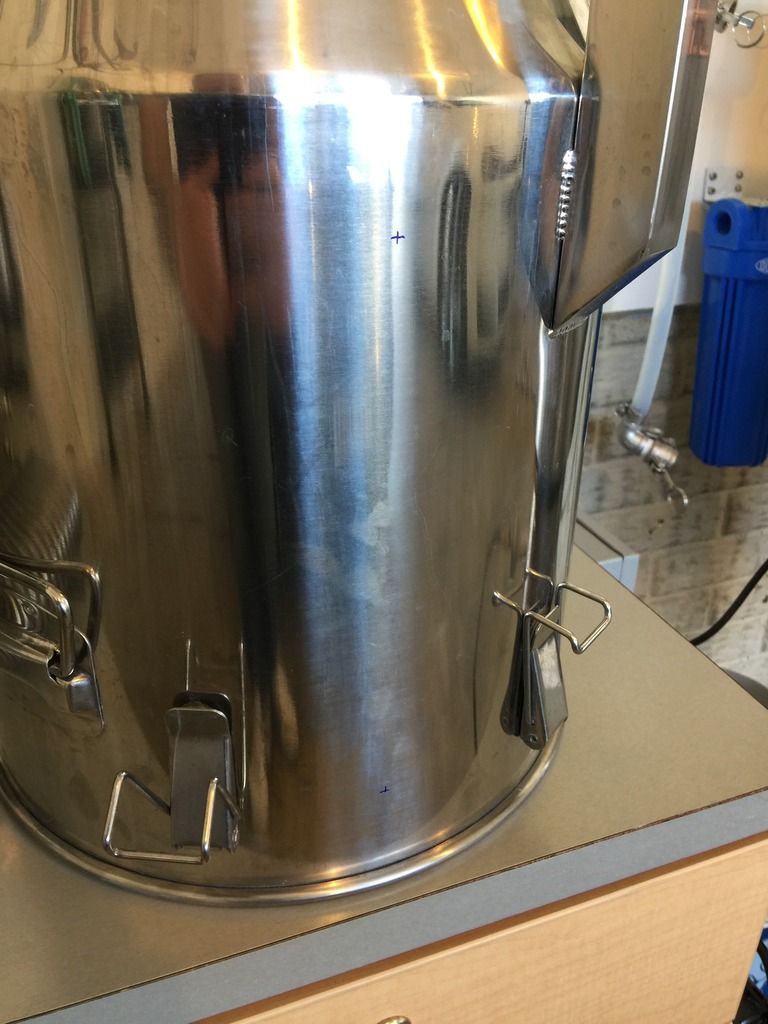
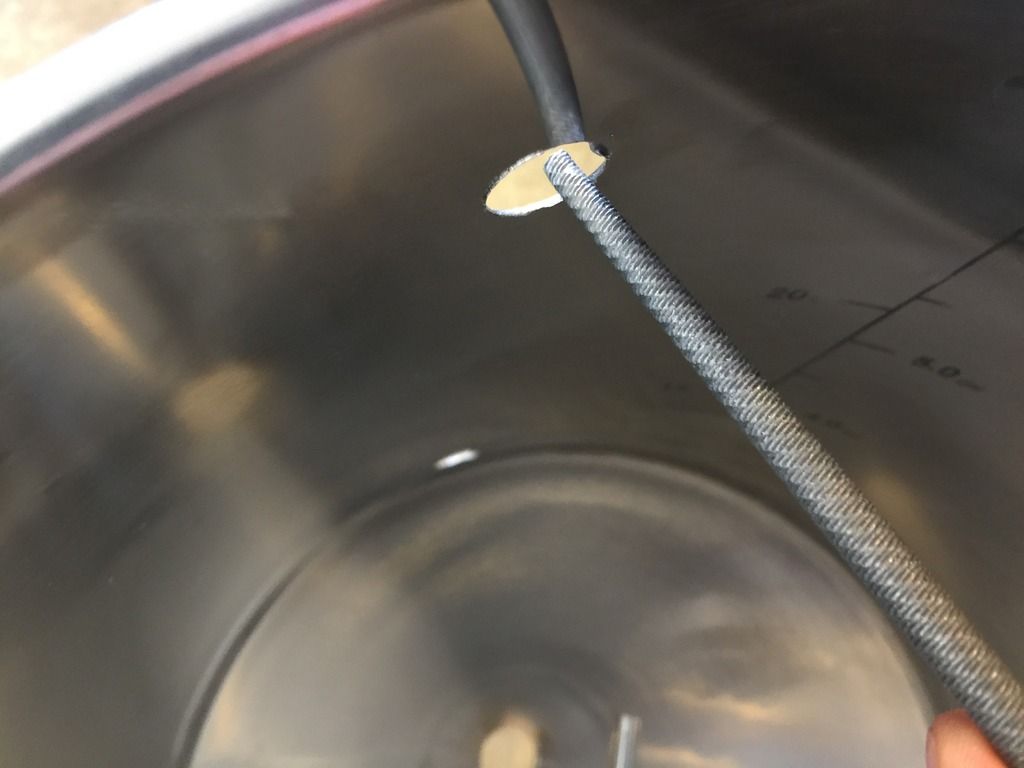
Put the chill coil on a straight edge and mark the centers on it. You will then transfer the markings from the straight edge to the chronical. You can see in this pic I am centered between the handles and have used a Sharpie to transfer the marks:
Don't drill the holes too low, as the coil will end up sitting on the thermowell. I would recommend an inch or so down from the top.
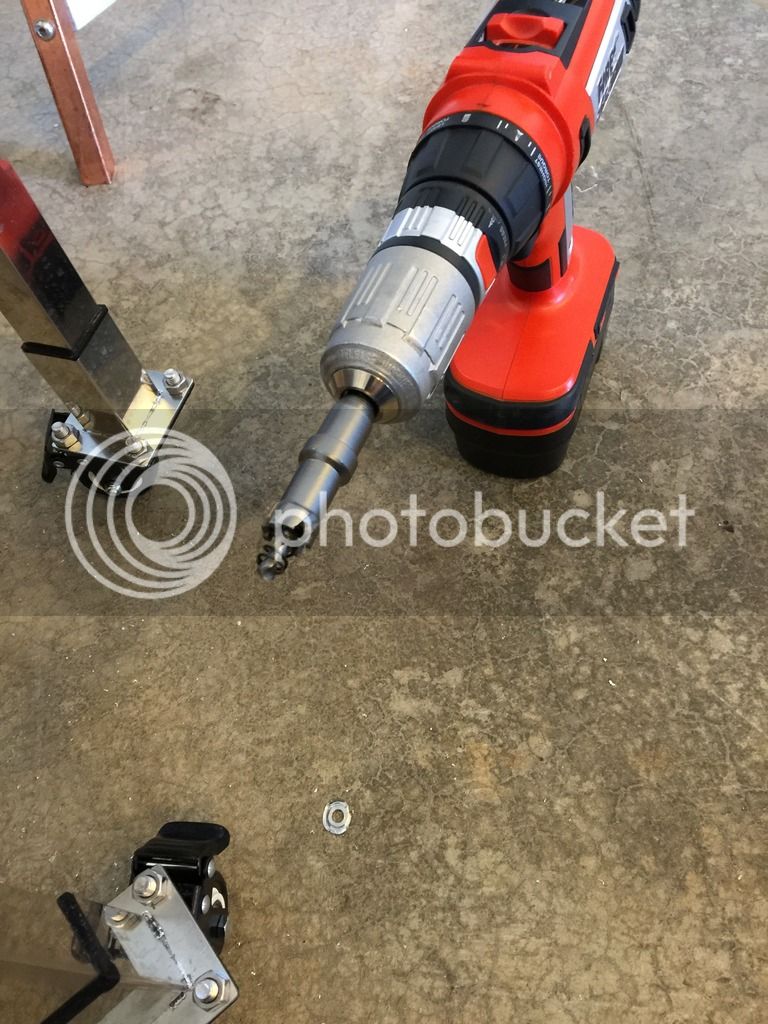
Next I would recommend using a center punch or if you don't have done, carefully use a small drill bit to get the hole started. This will prevent the big drill bit from wandering and keep it centered. You are going to want the get the 17MM drill bit from SS Brewtech. It looks like this:
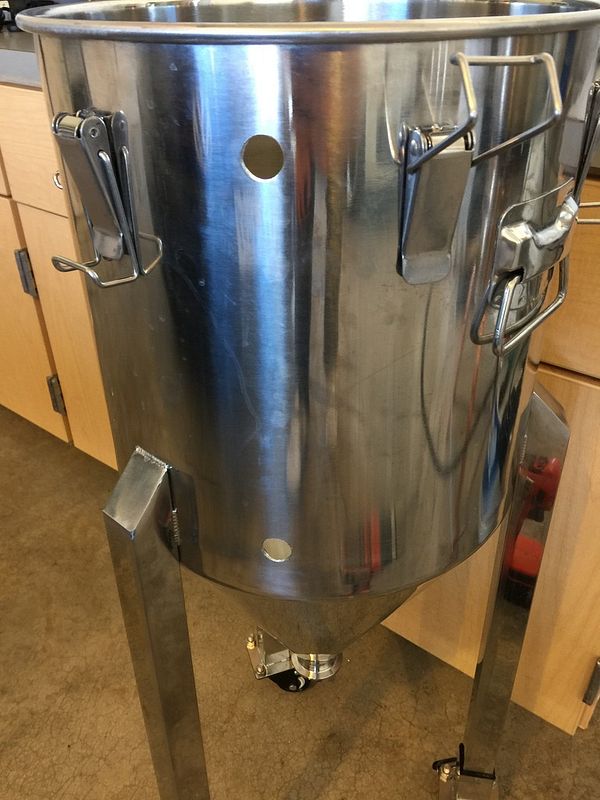
Make sure you have a firm grasp on the fermenter as well as on the drill. As it goes through, it may grab and you could hurt yourself. It's hard metal and it takes awhile. Here's the holes drilled.
Now you need to de-bur those holes because they are dangerously sharp and they could also damage the orings. Some of the SS Brewtech articles mention using a razor blade to cut off the metal, but don't even try it. I would recommend a rattail file and/or some emery cloth to finish it off. You can run a paper towel across the hole and if it catches any thing, you need to work on the hole some more. Don't cut yourself!!!
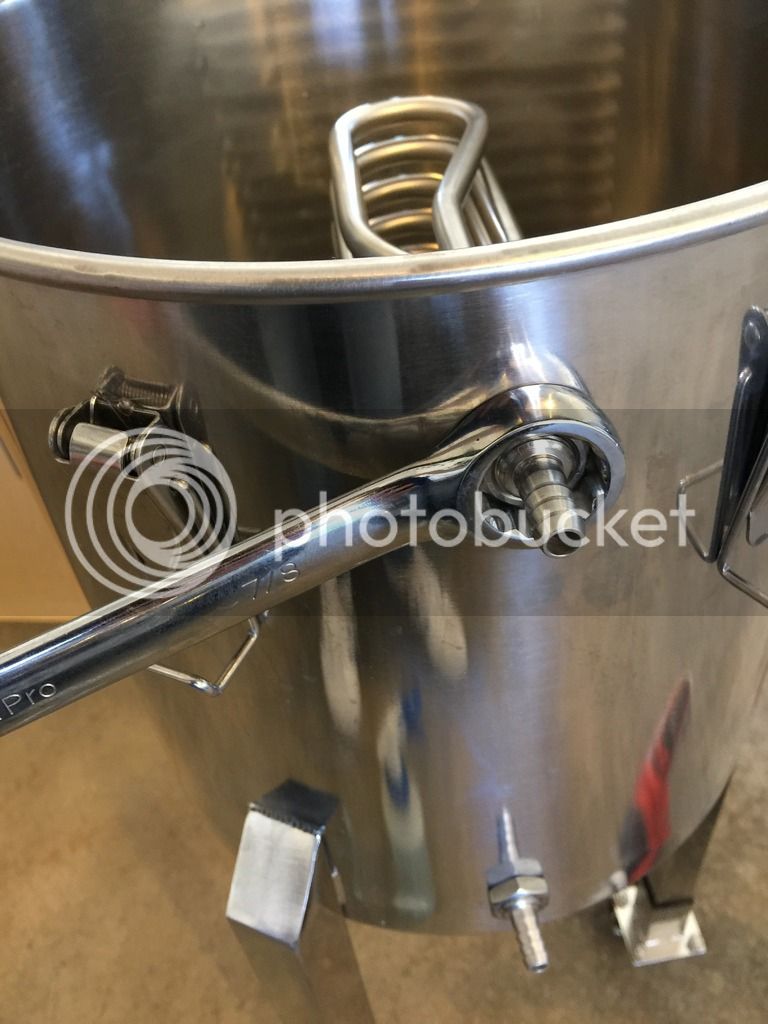
Once your holes are cleaned up, you can optionally put some keg lube on your orings and install the chiller using a 7/8" wrench (note: oring goes on the inside):
Now you have successfully and fully voided the warranty and it should look something like this:
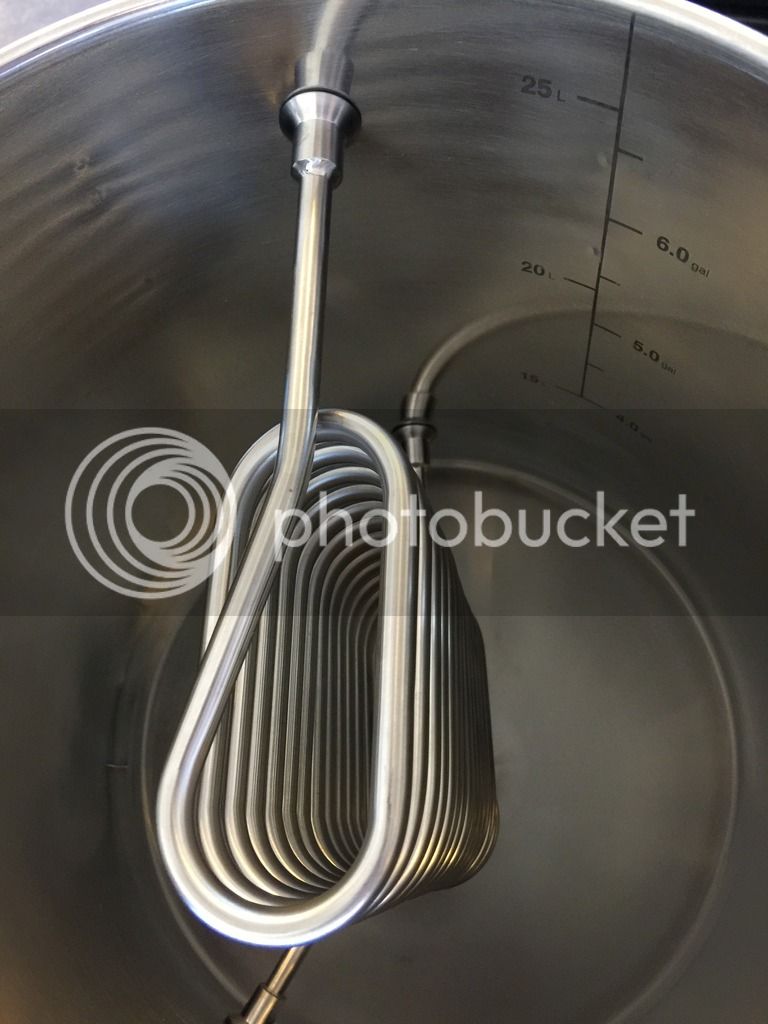
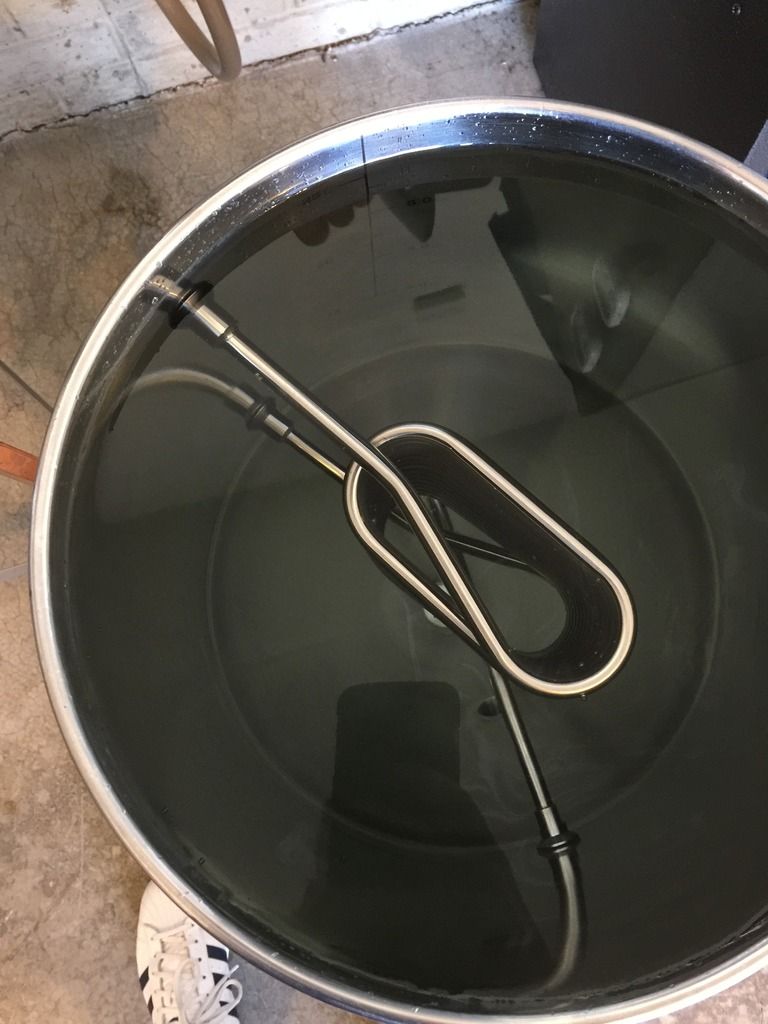
Next, water test it. Note in mine you can see some oil film on the top. This is why you should use TSP on your SS equipment before use. You don't want that crap in your brew!
Dump the water and flip that chronical upside down so you can install the heater pad. There's a good video here:
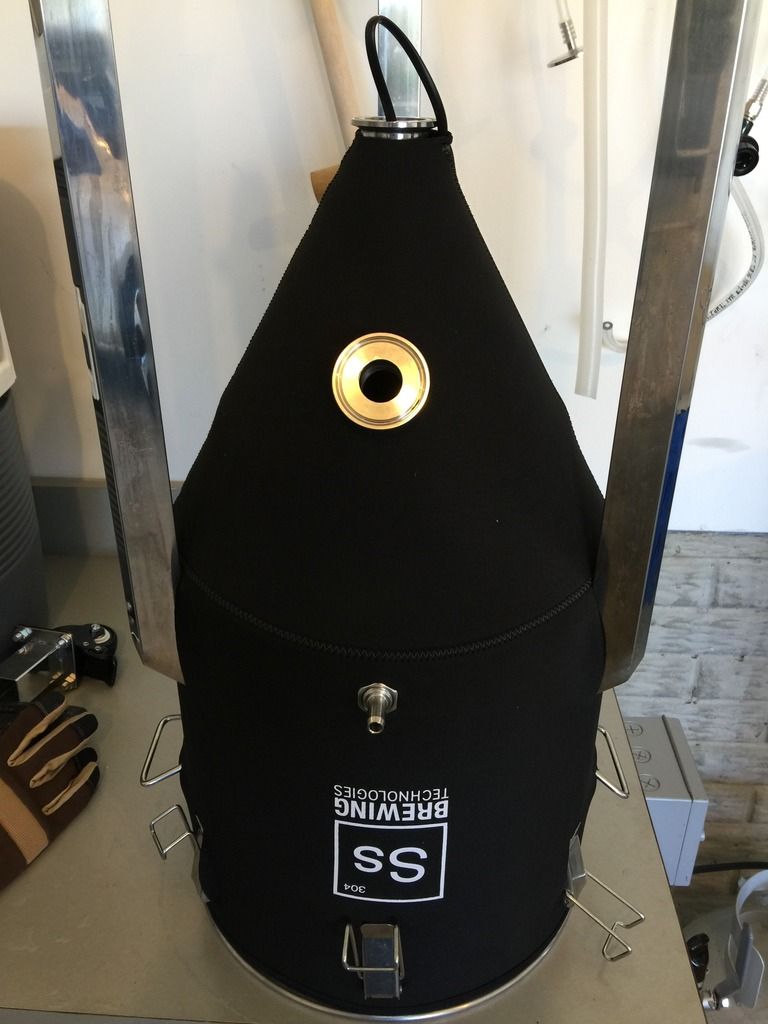
Be careful when putting the neoprene jacket over the fermenter as there are no holes yet for the chiller coil. If you have casters installed, you should remove them to make it easier. Once you work the jacket on, it will look like this:
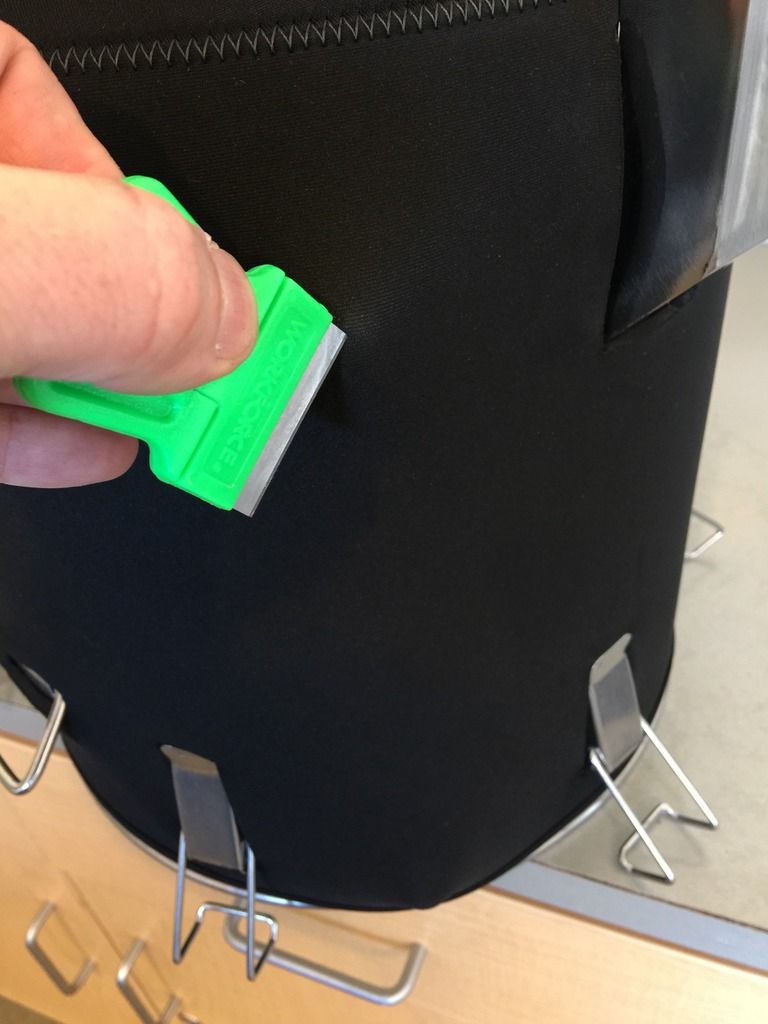
Make sure you have the hole right where you want it and just barely nick the neoprene with a razor:
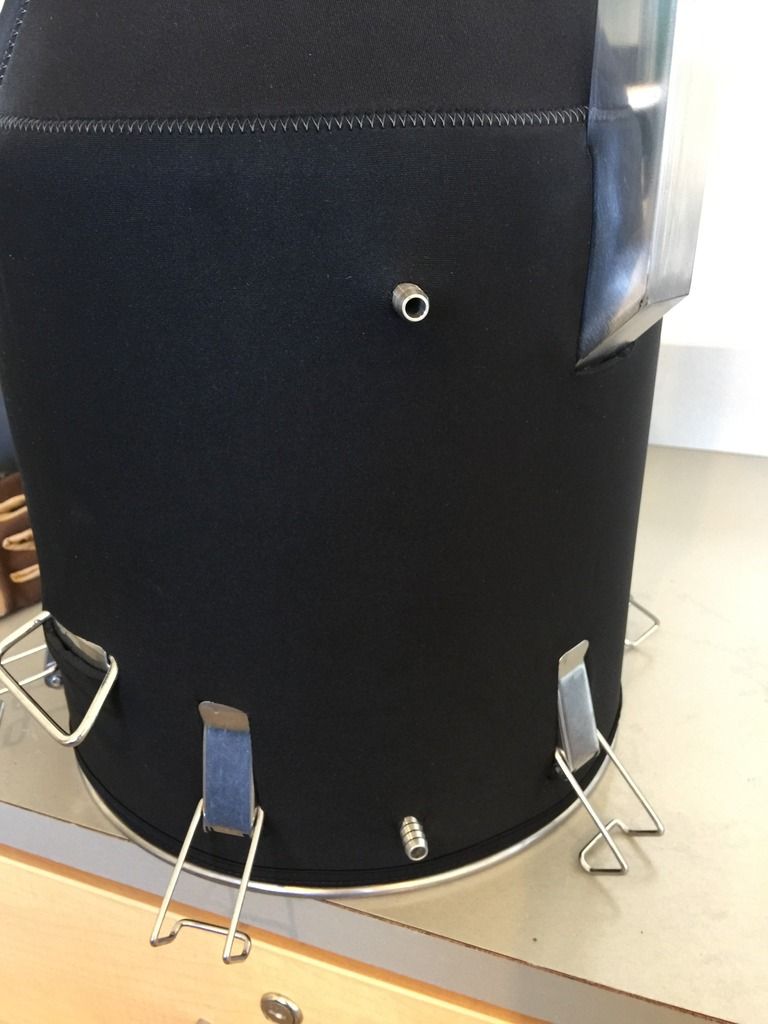
Repeat. It should end up looking like this:
That's it! Now you can keep your domed lid and have the coil inside!
Cheers!
I contacted SS Brewtech to see if I could get the FTSS parts without the lid, but it wasn't an option. I found this article on how to make the standard like the BME by putting the chiller coil inside: https://ssbrewtech.zendesk.com/hc/en-us/articles/206476993-How-to-mount-FTSs-coils-INSIDE-the-fermenter-and-retain-your-domed-lid.
Before getting started, watch this video see what you're getting into except you have to drill the holes for the chiller:
First, the easiest part: install the longer thermowell. Use a 7/8" wrench to remove the old thermowell. If you have another fermenter like me, you can use it on that. Optional: carefully remove the oring (don't roll it) and put some keg lube on it before putting it back on (note the oring goes on the inside). When you are done, it should look something like this:
Determine where you want the coil installed. Here's a picture of a BME with the coil installed. You can see it is to the right of the marking and centered on the 6.5 gallon mark:
I plan to purchase a second Chronical (BME this time), and they will share a glycol chiller, so I decided to install mine to the left of the markings so the inlets of the 2 chronicals will face towards each other.
Put the chill coil on a straight edge and mark the centers on it. You will then transfer the markings from the straight edge to the chronical. You can see in this pic I am centered between the handles and have used a Sharpie to transfer the marks:
Don't drill the holes too low, as the coil will end up sitting on the thermowell. I would recommend an inch or so down from the top.
Next I would recommend using a center punch or if you don't have done, carefully use a small drill bit to get the hole started. This will prevent the big drill bit from wandering and keep it centered. You are going to want the get the 17MM drill bit from SS Brewtech. It looks like this:
Make sure you have a firm grasp on the fermenter as well as on the drill. As it goes through, it may grab and you could hurt yourself. It's hard metal and it takes awhile. Here's the holes drilled.
Now you need to de-bur those holes because they are dangerously sharp and they could also damage the orings. Some of the SS Brewtech articles mention using a razor blade to cut off the metal, but don't even try it. I would recommend a rattail file and/or some emery cloth to finish it off. You can run a paper towel across the hole and if it catches any thing, you need to work on the hole some more. Don't cut yourself!!!
Once your holes are cleaned up, you can optionally put some keg lube on your orings and install the chiller using a 7/8" wrench (note: oring goes on the inside):
Now you have successfully and fully voided the warranty and it should look something like this:
Next, water test it. Note in mine you can see some oil film on the top. This is why you should use TSP on your SS equipment before use. You don't want that crap in your brew!
Dump the water and flip that chronical upside down so you can install the heater pad. There's a good video here:
Be careful when putting the neoprene jacket over the fermenter as there are no holes yet for the chiller coil. If you have casters installed, you should remove them to make it easier. Once you work the jacket on, it will look like this:
Make sure you have the hole right where you want it and just barely nick the neoprene with a razor:
Repeat. It should end up looking like this:
That's it! Now you can keep your domed lid and have the coil inside!
Cheers!
Last edited by a moderator: