Soldering Stainless steel

Homebrew Talk - Beer, Wine, Mead, & Cider Brewing Discussion Forum

Help Support Homebrew Talk - Beer, Wine, Mead, & Cider Brewing Discussion Forum:

This site may earn a commission from merchant affiliate links, including eBay, Amazon, and others.
Many, many thanks for starting this thread.

I have silver soldered more TC fittings on more kegs, kettles, and fermentors than I can remember.

My most recent is a 30 Gal. bottom-drain mashtun:

30GallonMashTun1.png


30GallonMashTun2.png


30GallonMashTun3.png


Keep up the good work.:rockin:
 
Very nice job on the soldering. Glad I started this thread!

Many, many thanks for starting this thread.

I have silver soldered more TC fittings on more kegs, kettles, and fermentors than I can remember.
Very nice job!


My most recent is a 30 Gal. bottom-drain mashtun:

30GallonMashTun1.png


30GallonMashTun2.png


30GallonMashTun3.png


Keep up the good work.:rockin:
 
Anyone know what part I need if I want to solder a pin lock gas post to a sanke keg? I can't find the male threaded base part.
 
Ok, here's my latest project...

I've wanted to put a thermowell into a Corney keg to allow me to use my wireless temp controller to control the temps in my kegerator. So I picked up a couple of keg post adapters from Bobby. I had a spare liquid-out post and a 16" thermowell.

kegPostAdapter.png


I took the liquid-out post, and drilled it out to accommodate my digital thermometer probe...

modifiedPost.png


I took one of my corney keg lids, drilled a 1/2" hole,

drilledCorneyLid.png


and carefully ground the opening until the post just fit,

fittedCorneyLid.png


and silver-soldered the post...

finished.png


another view...

finished2.png


I just put a standard o-ring on the thermowell, insert it into the modified post, and insert my digital thermometer probe.
 
ok, so my first experiment into soldering was due to me making an incorrect sized hole in my brew kettle...I used a 3/4" knockout tool thinking it would make a 3/4" hole...nope..1". No big deal. I bought one of these and prepped the area for soldering by sanding and cleaning with alcohol. I cleaned the fitting as well and wrapped some solder on the underside, dripped some flux on it and the kettle. I have an acetylene torch at home, so I heated the surrounding area, not red heat, just enough to be hot to the touch, then I heated the fitting evenly until it dropped down into the hole and sat flush with the pot and I could see solder flowed to some of the edges. I let it naturally cool, then checked and found that solder was great on the inside and is completely covering the internal seam...but on the outside, there are spots where the solder didn't flow to the edge. I did a leak test by filling up to 14 gallons, then twisting and pulling on the fitting with no leaks! Next test is to boil some water and whirlpool to simulate a brew day. Do I need to worry about those gaps or should I leave it alone if it passes the test?

edit: the photos are ****, but those gaps are where the pot curves, but the fitting obviously doesn't.

Thanks!!!

FpjFZRv.jpg

uKVLt9m.jpg

7HHXH2R.jpg
 
Last edited by a moderator:
My concern would be places for gunk/bacterium to accumulate.


The side with gaps is on the outside, I'd think that would get flushed when I clean up after brew day, but good point.

Here's a zoomed out look. The soldered fitting is on the top where I would connect wort in for whirlpooling.

njYHH2D.jpg
 
Last edited:
hi guys, i learnt how to do this from this excellent thread and it's revolutionised my brewery! seems everything is now possible. been using the stayclean and staybrite8 to do this.

just got one slight concern with some of my soldering that is on a fermenter. it looks like the solder on the inside has become slightly corroded, and flaked off while cleaning (i can tell because i sanded it to 220 grit for sanitary reasons, and now there's tiny crevaces appeared). it still holds liquid fine, but is obviously a little concern for sanitary reasons. if needed i'll try to grab some pictures sometime (i've ended up using it to store grain at the minute!), but i was wondering if anyone experienced could pass some thoughts on these ideas..

is it a bad idea to use the solder in contact with acidic beer? the top unsubmerged ferrule is fine.
is that only a problem when it has been exposed to oxygen? (maybe by not cleaning immediately after emptying FV)
could it be bad soldering (too much heat? burnt flux?) making it worse?

thanks in advance for any thoughts
 
Sooo... It's clear by now silver soldering stainless fittings is easy, cheap, and clean. But that's not all you can silver solder. I've found that by using 22 mm or 3/4" stainless tubing and Ridgid 1/2" hand pipe threader, I can cut some crappy threads into the tubing. Crappy threads are all you need if you're going to silver solder the joint. This technique, along with a 1/2" electrical pipe bender, is a very cheap way to hard pipe your home brew stand. Trust me, it works.
 
Sooo... It's clear by now silver soldering stainless fittings is easy, cheap, and clean. But that's not all you can silver solder. I've found that by using 22 mm or 3/4" stainless tubing and Ridgid 1/2" hand pipe threader, I can cut some crappy threads into the tubing. Crappy threads are all you need if you're going to silver solder the joint. This technique, along with a 1/2" electrical pipe bender, is a very cheap way to hard pipe your home brew stand. Trust me, it works.

Nice! Do you have any photos of this you could share?
 
Nice! Do you have any photos of this you could share?

I'll take one tonight. I did find a pic here at the shop of the very first fitting I tried this on. I was testing breaking strength in this pic. Subsequent joints were much much cleaner. {Edit: look closely at those threads, and notice how flat they are. This is because 1/2" rigid electrical conduit has an OD around 7/8", an 1/8" larger than the 3/4" tubing. I recall having to wrap tape around the tubing so the threader would properly center the tube.
Who Needs Swagelok.jpg
 
Last edited:
SILVER SOLDER.jpg
While on the subject of other cool things that can be silver soldered... Just yesterday I was modifying my kegerator to support my bottling equipment, and needed to get high and low pressure cO2 out of the kegerator. I also needed something to support valves and gauges.

So... cut a stainless plate, drill a couple 1/2 holes in it, silver solder BRASS nipples to the stainless plate, rivet plate to kegerator. Clean and strong. Very strong.
 
Last edited:
As a matter of fact, lol, I just found another pic here at the shop of an interesting silver solder. I was exbeerimenting with whirlpool paddles... I bought a 5/8" stainless rod from ebay, and some scrap stainless stock from my local metal supply. Cut a cross in the bottom of the rod, a notch in each of the scrap plates, and silver soldered up this stir paddle. I still use this today, but without the boat propeller.

Point being, there may be many things you thought of building but thought you couldn't like I did because I can't weld stainless. Well you can, with silver solder. Like Bobby says, the right flux and right solder and cleanliness are all you need.
BoilKettleProp1.JPG
 
Last edited:
Here's a better pic of that stainless plate I used to bulkhead the kegerator.
keger2.jpg
 
ha ha, another recent silver solder solution. In this pic I'd built a frame for my bottle capper without much regard to what would support the pneumatic valve or the regulator. Again, brass nipples, this time soldered to a vee that was formed between the back of the stand and the diagonal braces in the back. Kinda hard to see, but one short nipple easily supports the valve, and another the regulator. But this is 3/4" STEEL tubing, silver soldered
capper2.jpg
to brass. Again, clean and strong.
 
just got one slight concern with some of my soldering that is on a fermenter. it looks like the solder on the inside has become slightly corroded, and flaked off while cleaning (i can tell because i sanded it to 220 grit for sanitary reasons, and now there's tiny crevaces appeared). it still holds liquid fine, but is obviously a little concern for sanitary reasons. if needed i'll try to grab some pictures sometime (i've ended up using it to store grain at the minute!), but i was wondering if anyone experienced could pass some thoughts on these ideas..
I have found that prolonged soaking in PBW (24 hrs or more) caused some oxidation to form on silver solder joints.
 
Another example of just how versatile this technique is for joining stainless steel. I'm making some fairly intricate linkage parts for a capper project, and have an instance where a 3/16 stainless rod has to be attached to a stainless linkage part. It's fairly easy to thread 12-24 threads on the rod and tap the hole, but a superior, cleaner, and easier bond is made with silver solder.
silver solder2.jpg
 
Here's an example of how I hope silver solder covers my butt in a screw up on this build. I got carried away removing material from this arm, and need to add material to stiffen it and provide a bushing for an axle. So hopefully tonight I'll have time to see how effective silver solder is with aluminum to aluminum joints. No reason to doubt it won't be a permanent fast fix. Will post pics when done.
IMG_20180116_091516652.jpg


Edit: Well that didn't go well. Don't try it on aluminum.
 
Last edited:
I gave up on the idea of having my new E-HERMS brew vessels entirely fitted with welded 1/2” tri-clover fittings due to the extreme expense in having the TIG welding done. I had already purchased dozens of tri-clover ferrules and was forced to figure out what to do with them. Since then, I discovered dimpling and silver soldering. I’ve already installed a couple of Bobby M’s pull through bulkheads on my keggle MLT.

I decided to try to put some of my 1/2” tri-clover long weld ferrules to use and made a couple 1/2” NPT to 1/2” TC adapters. I just took a 1/2” NPT hose barb and removed the barb with a cutoff wheel. After grinding it flush, I bored a 1/2” diameter hole to create a socket for the ferrule to rest. Similar one-piece machined fittings cost $18 apiece on various retail websites. Here is the finished product.
IMG_0664.jpg


I also created a mini dimpling tool that will allow me to directly install these 1/2” ferrules into vessel walls, if I wish.
 
I'm getting ready to install my herms coil and the top hole for my pull through compression fitting lands directly on a hump in the sanke keg. has anyone successfully installed a pull through fitting and soldered it on a hump?
 
I'm getting ready to install my herms coil and the top hole for my pull through compression fitting lands directly on a hump in the sanke keg. has anyone successfully installed a pull through fitting and soldered it on a hump?

Yup, I did it on an 8gal milk can lid. Took a little finagling, but works fine...
 
I'm getting ready to install my herms coil and the top hole for my pull through compression fitting lands directly on a hump in the sanke keg. has anyone successfully installed a pull through fitting and soldered it on a hump?

A good alternative is to buy an inexpensive 12” stainless stockpot lid from a restaurant supply store.
Here’s how mine turned out:
IMG_0756.jpg


The view on the underside of the lid:
IMG_0760.jpg


Upon reading your post more closely, it seems you already have the herms coil configured to install in the keg wall. So, my setup isn’t really a viable option.
 
Last edited:
Yup it's gotta go through the wall. I'd like To keep it as low as possible since I usually aim for 5.5gallons into the fermenter. I can easily move the top up to a flat wall if needed.
 
After literally dozens of silver soldered tri-camp ferrules and assorted other fittings, I finally had one fail.
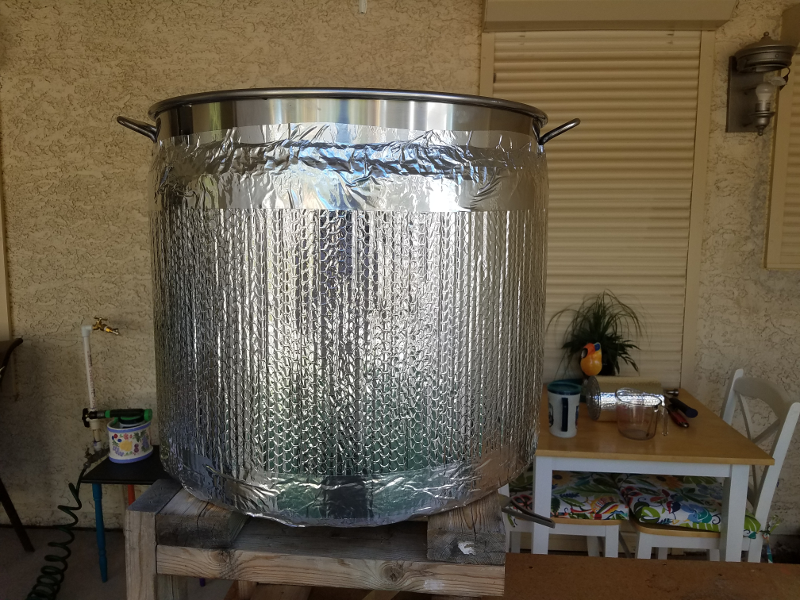
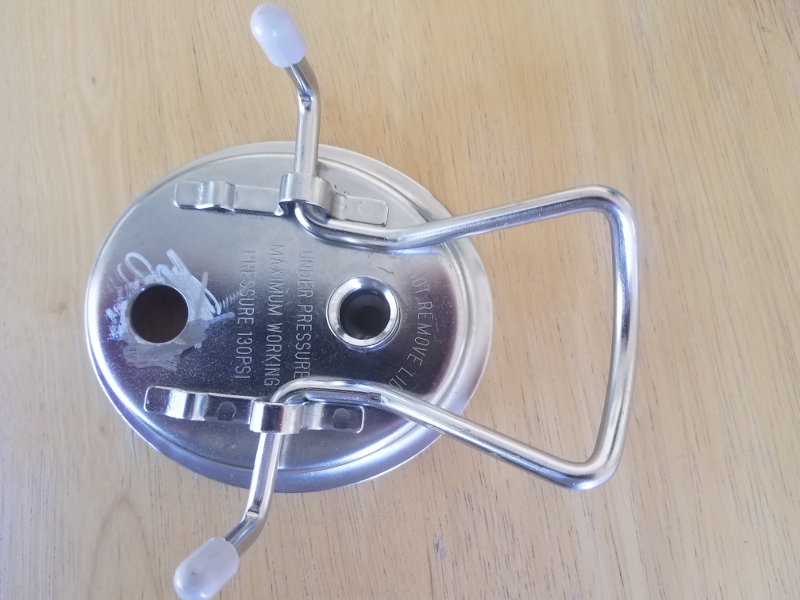
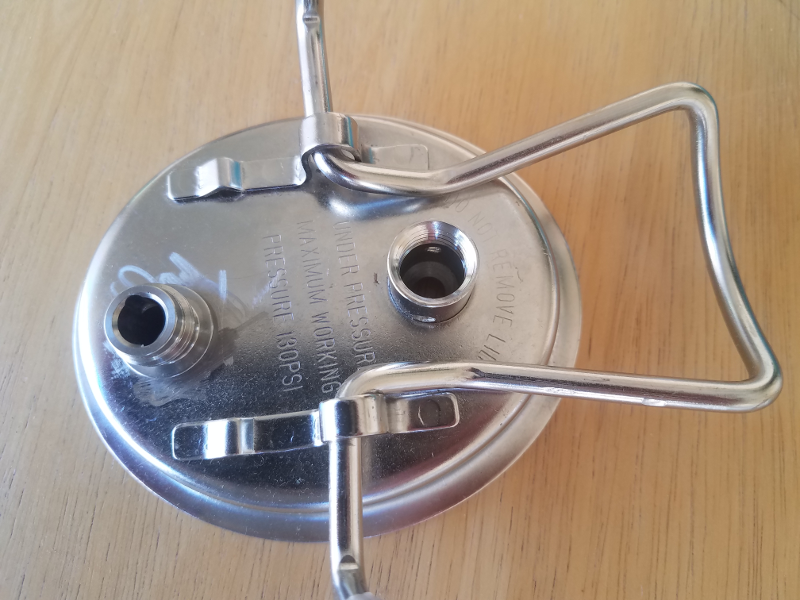
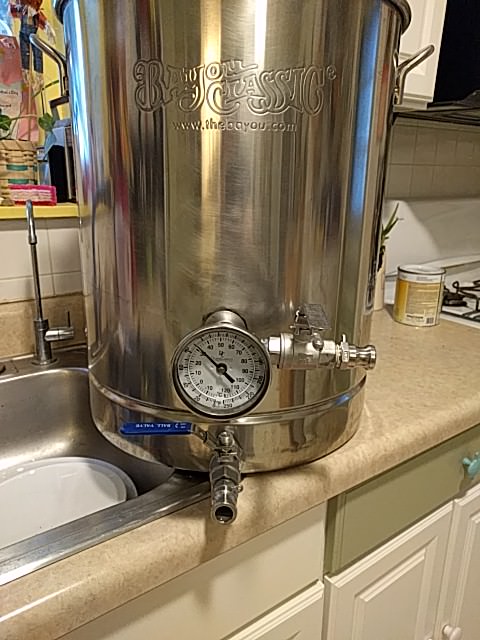
I have a 20gal Kegco kettle on which I silver soldered two 1.5"/1" tri-clamp ferrules.
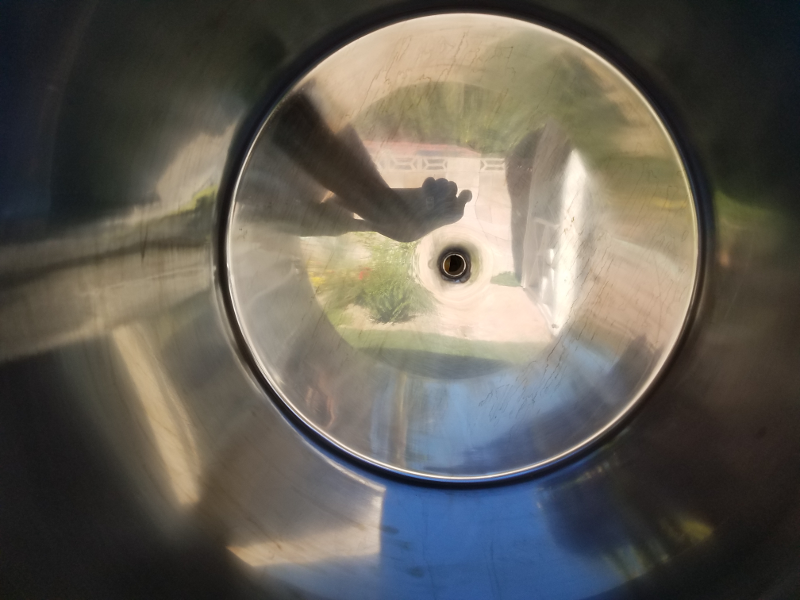
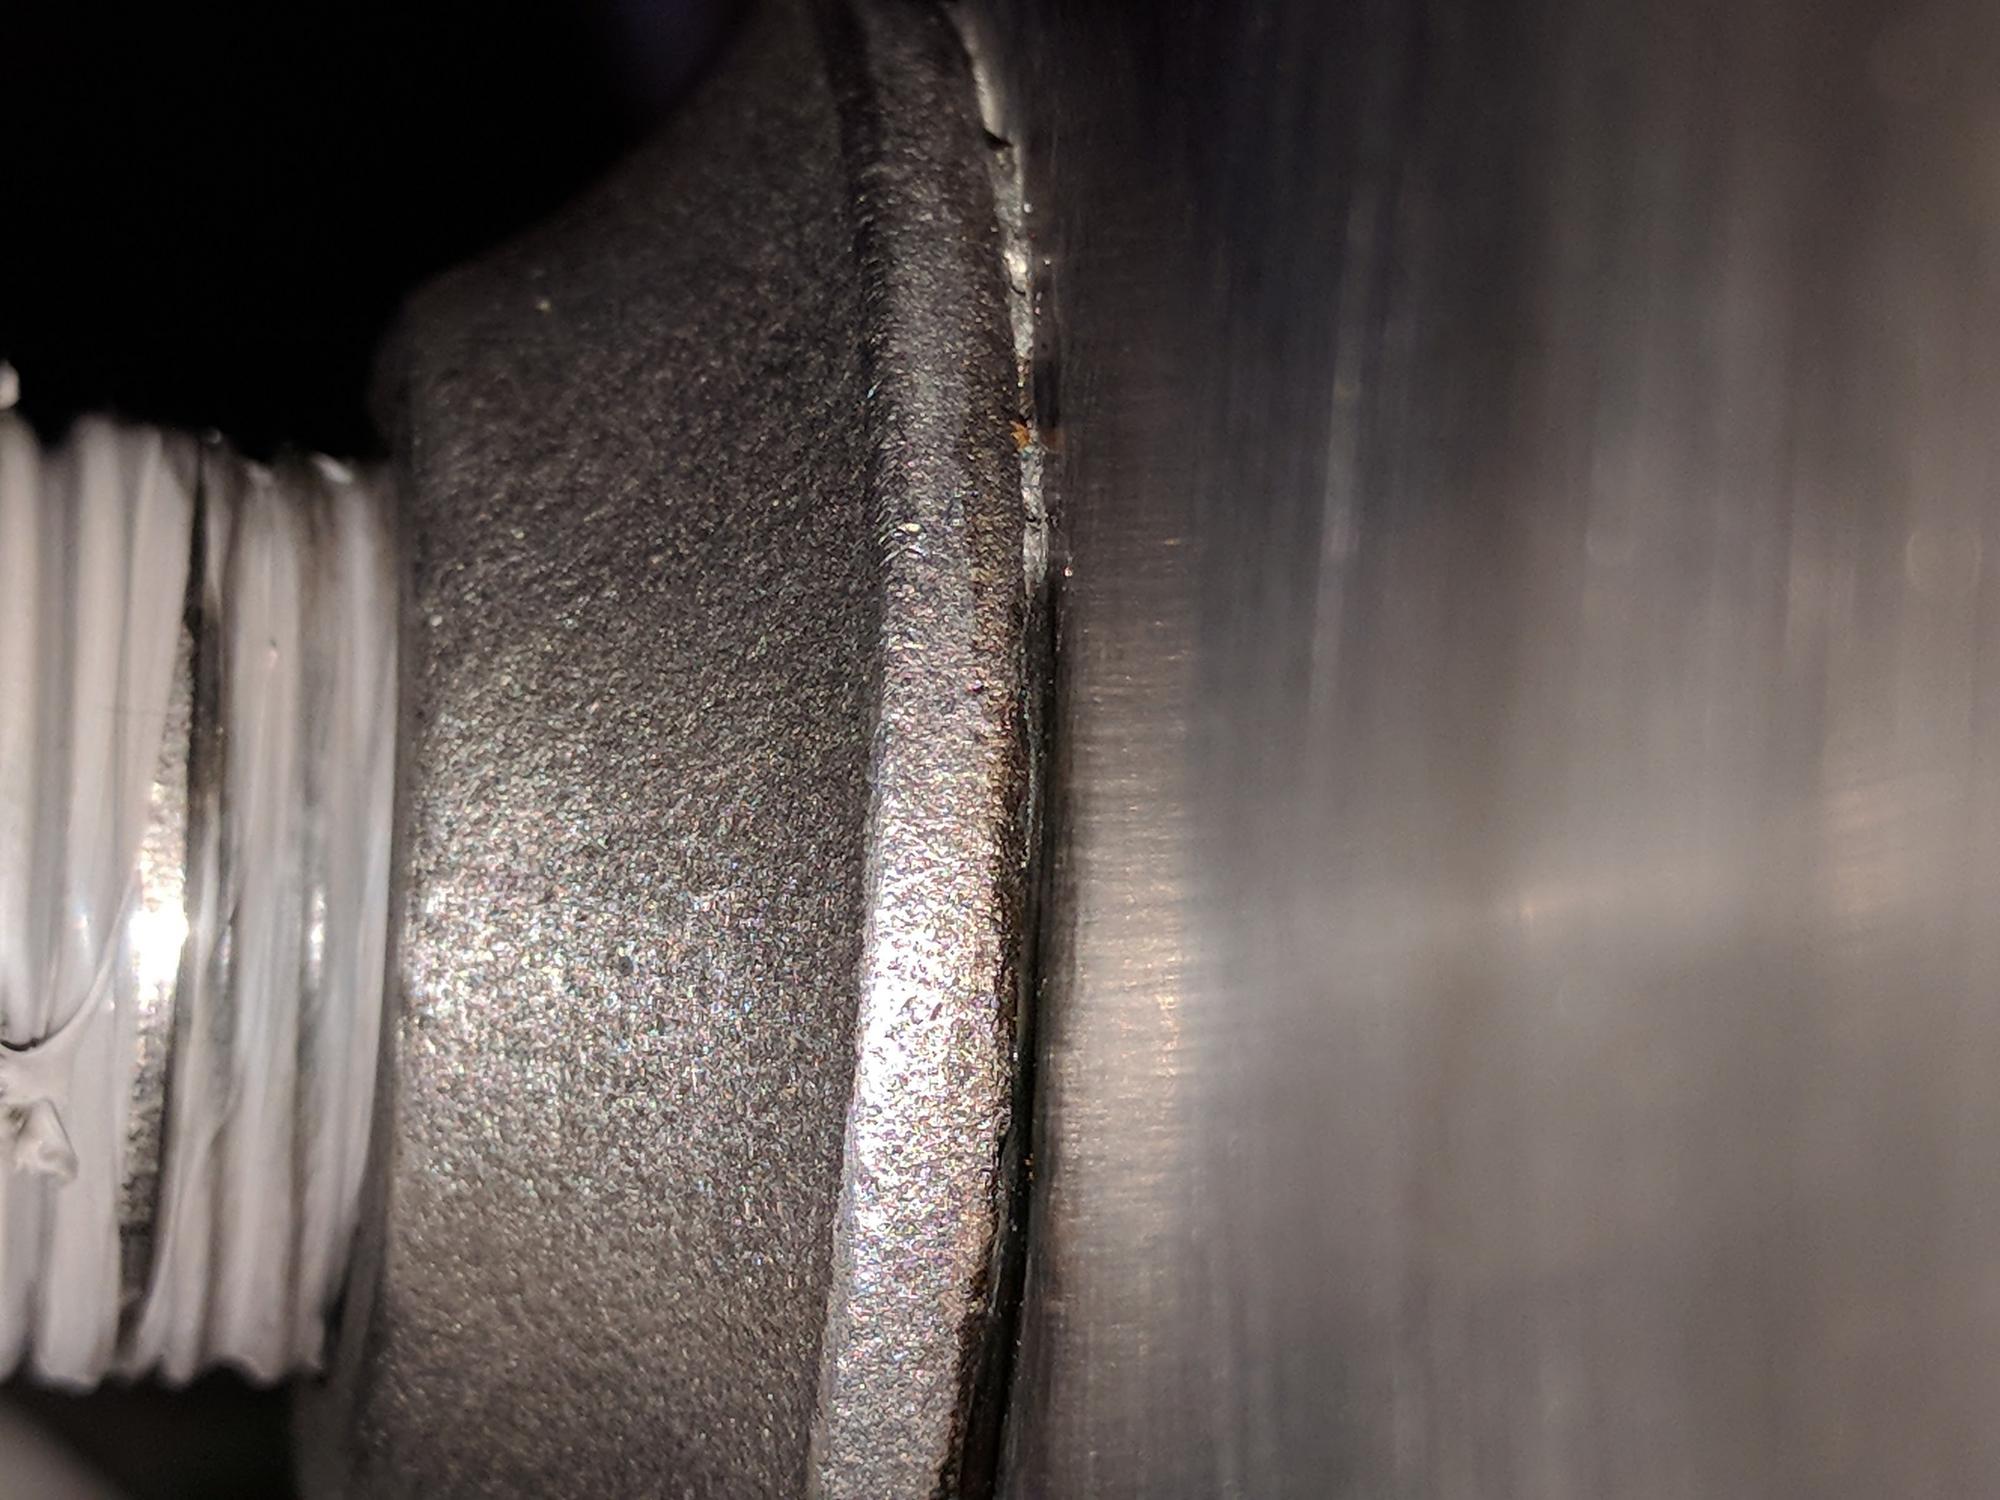
While cleaning the kettle, the ferrule holding my tri-clamp ball valve separated from the kettle.

On inspection, I realized that when I made the opening with my home-made swaging tool, it didn't dimple evenly, and the area that failed had a very small amount of solder.

Trying to even out the dimple was not an option, as the resulting opening was now slightly oversized.

I decided instead to use one of 
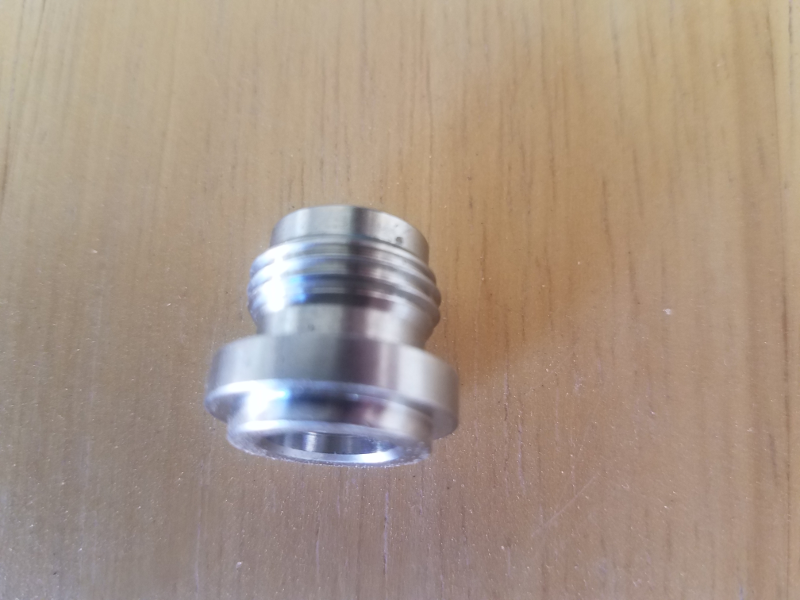
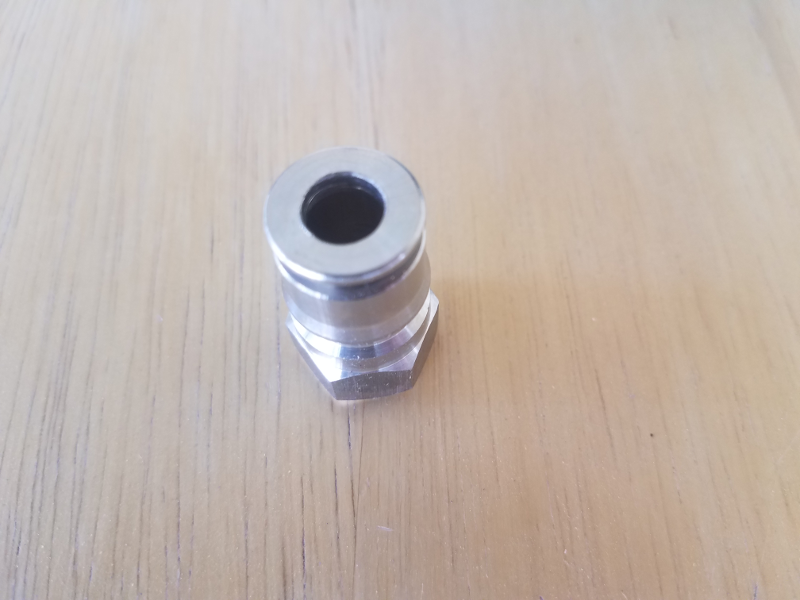
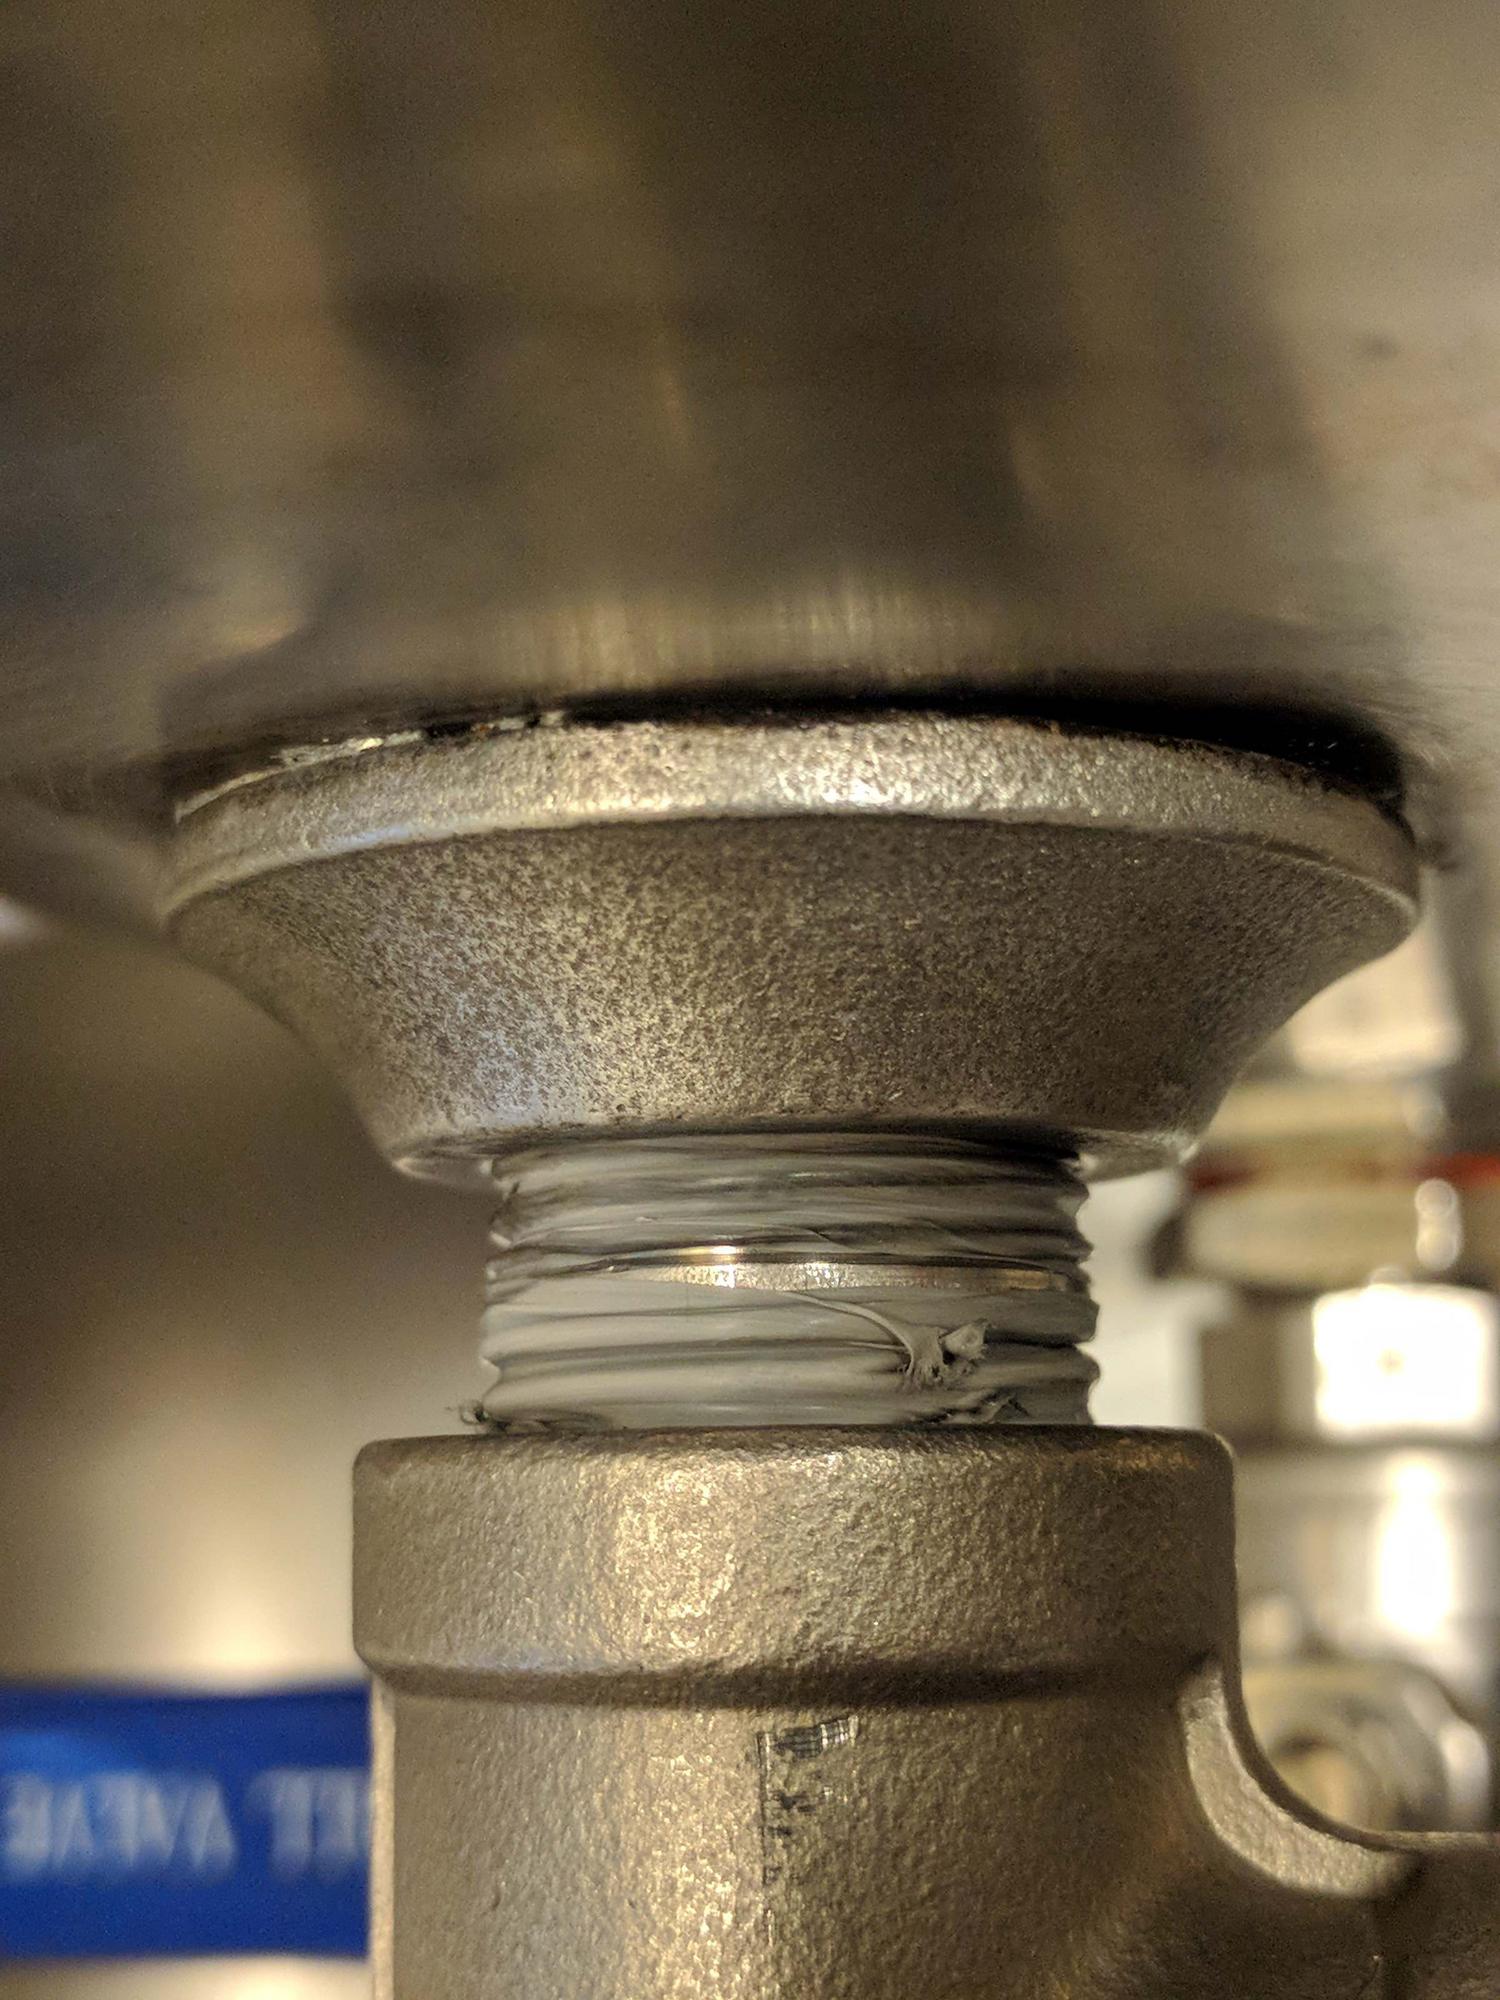
Bobby's 1.5 TC RADIUS FACE SOLDER FLANGE, of which I had several on-hand (I normally use them on unmodified Sanke Kegs that retain the standard 2" opening).

I used a step bit to open the hole up to 1-3/8", cleaned up and sanded the flange and keg.

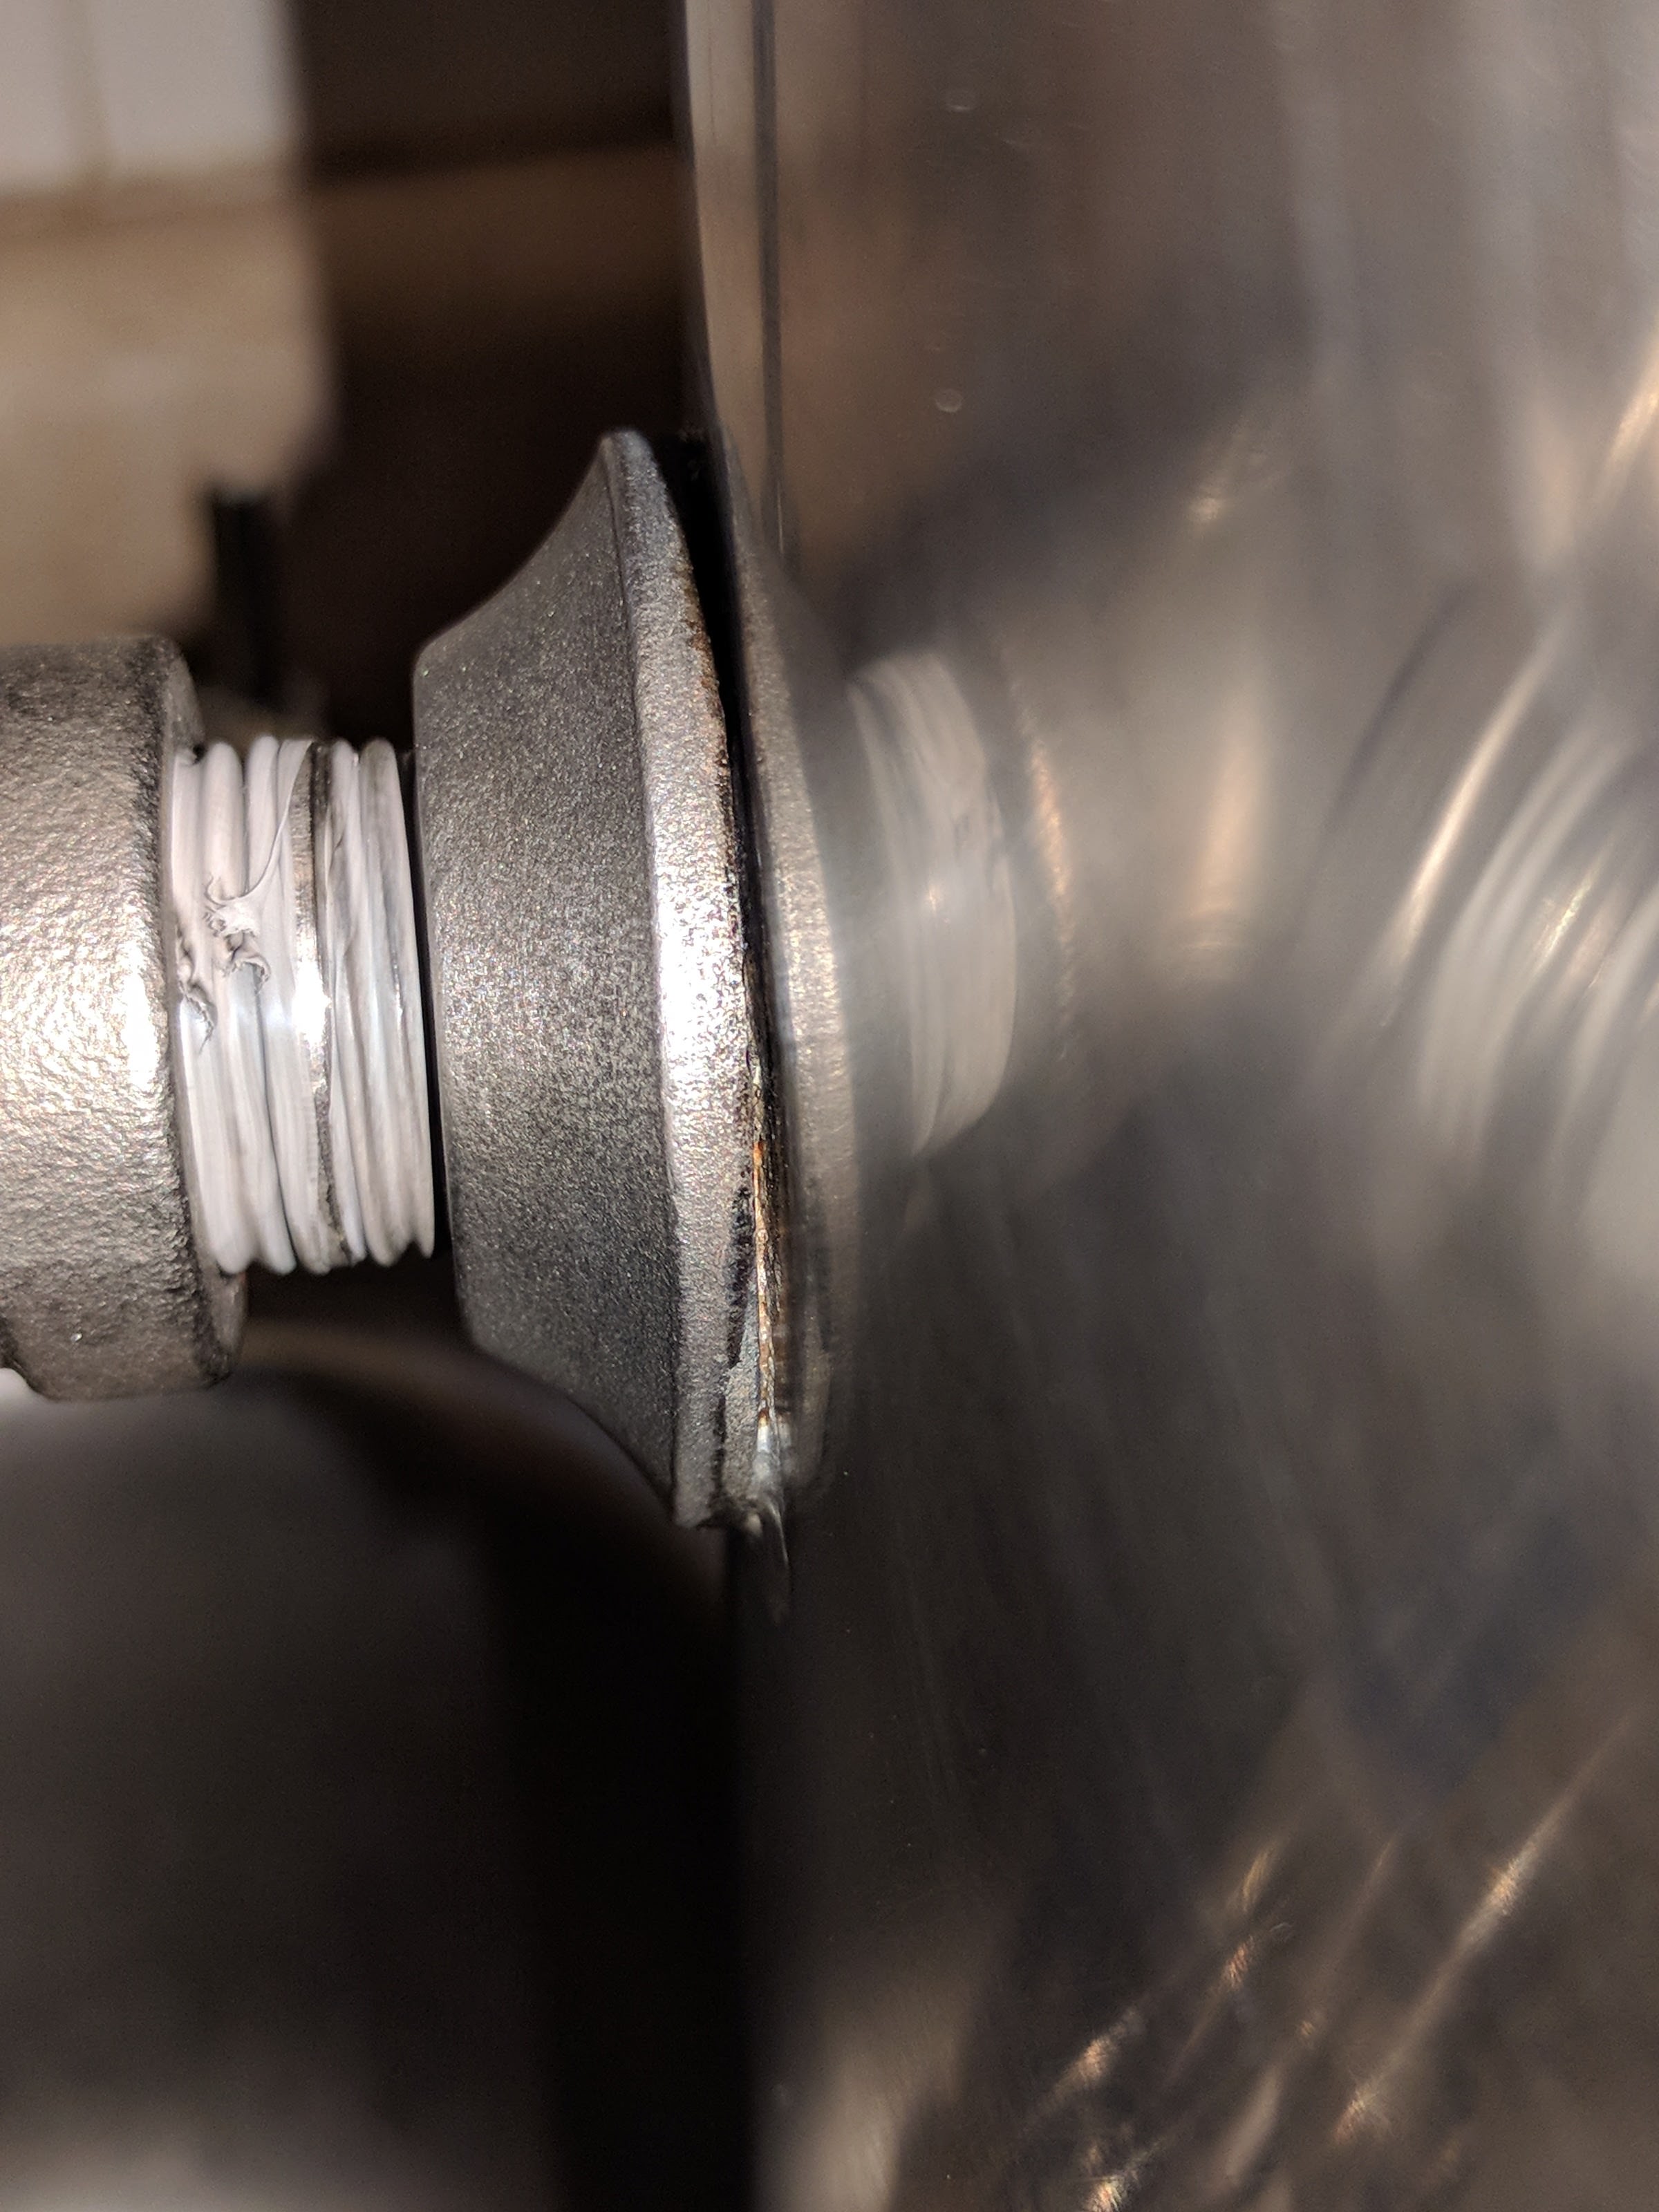
Here's where I depart slightly from Bobby's video.

I find that I have less of a problem if I "tin" both of the components prior to final assembly. I sand and clean the kettle surface and the flange (both the radiused face and the edges, which allows the solder to adhere to the edges as well as the radius), apply a thin layer of flux to one surface, apply enough heat to get a thin layer of solder evenly on the surface and then do the same with the other surface. This "tinning" process helps ensure that both surfaces are evenly "wetted", and helps ensure that when the two parts are mated, fluxed and soldered, that there are no gaps in the soldering.

I've used this process several times, and have always had a good, solid, leak-free attachment.

YMMV
 
Has anyone successfully soldered a 1.5 TC in a Spike kettle with the 1.2 mm thick walls? I have my hot rod heat stick which will work once I mod it for the 5500W element, but I am still contemplating adding a ferrule on the back for the element. I just really cringe while thinking about popping a hole in my new, pretty, expensive kettle.
 
Stainless to stainless = TIG welder
Aluminum to aluminum = TIG welder
Copper to copper = TIG welder (are you thinking a still?)
 
Stainless to stainless = TIG welder
Aluminum to aluminum = TIG welder
Copper to copper = TIG welder (are you thinking a still?)

40 pages of successful soldering and this is all you have to add?! :bravo:

Since you bring it up, there's something your expensive TIG can't simply achieve: stainless to copper. Hah!
 
Has anyone successfully soldered a 1.5 TC in a Spike kettle with the 1.2 mm thick walls? I have my hot rod heat stick which will work once I mod it for the 5500W element, but I am still contemplating adding a ferrule on the back for the element. I just really cringe while thinking about popping a hole in my new, pretty, expensive kettle.

Yes, I've put TC ferrules in two dozen Spike kettles at least. I no longer surface solder the special TC fittings but rather dimple the opening and pull the weld ferrules into position for good surface contact.
pulltc.jpg

PullCOMBO.jpg
 
Yes, I've put TC ferrules in two dozen Spike kettles at least. I no longer surface solder the special TC fittings but rather dimple the opening and pull the weld ferrules into position for good surface contact.

Perfect, thanks! It looks like you pulled that one in, instead of level 9 :D . I have the parts in my cart, I was just scared to order until I was sure it could be done. I bought a nice baking pan for $8 to practice on.
 
Back
Top