RIMs upgrade either slow or SCORCHED!! Please help

Homebrew Talk - Beer, Wine, Mead, & Cider Brewing Discussion Forum

Help Support Homebrew Talk - Beer, Wine, Mead, & Cider Brewing Discussion Forum:

This site may earn a commission from merchant affiliate links, including eBay, Amazon, and others.

cod3ck

Well-Known Member
Joined
Oct 17, 2015
Messages
419
Reaction score
48
Location
Denver
So I’ve been using a Thrifty RIMS for about a year or so now. It works well with my EZBoil output set to 35%. The only catch was when going for mashout temps it could take over 20 minutes...

So after doing some research I got my hands on a 36” 1500 watt cartridge heater and cased it in 1.5” SS tri-clamp tubing.

The first time I used the new RIMS, I set the EZBoil output to 100% @ .75-1 GPM flow rate thinking the lower watt density would prevent any scorching... NOPE. It was bad... so after some hard scrubbing, cleaned the heater back up and tried again last night.

This time I set the EZBoil back down to 35%... I usually like to mash in 5-10 degrees below target so I don’t overshoot. I could never hit the target @ 35%— so I bumped it up to 60% after multiple increase-and-check-for-scorching checks.

This did okay for the mash... but couldn’t even get to 160F for ramping to mashout. So I bumped the EZBoil output to 80%... after 30 minutes of trying to hit 168F I gave up.

When I checked the element after all of this, I noticed some caramelizing; more than just the usual protein gunk, not enough to ruin the beer, but I wouldn’t try 80% output again I don’t think...

Anyone have any tips? I feel like this new RIMs should be dominating my setup, and so far, not so much...
 
Here are a few ideas:

1. Are you use the tube is full of wort? No bubbles, voids or anything where the wort isn't in contact?

2. Where is your temp probe?

3. Are you turning on the pump and ensuring the tube is full of moving wort before you turn on the heat?
 
Yes— I make sure flow is coming out of the end, plus the RIMS is downstream of a flow switch.

The temp probe is upstream of the RIMs element.

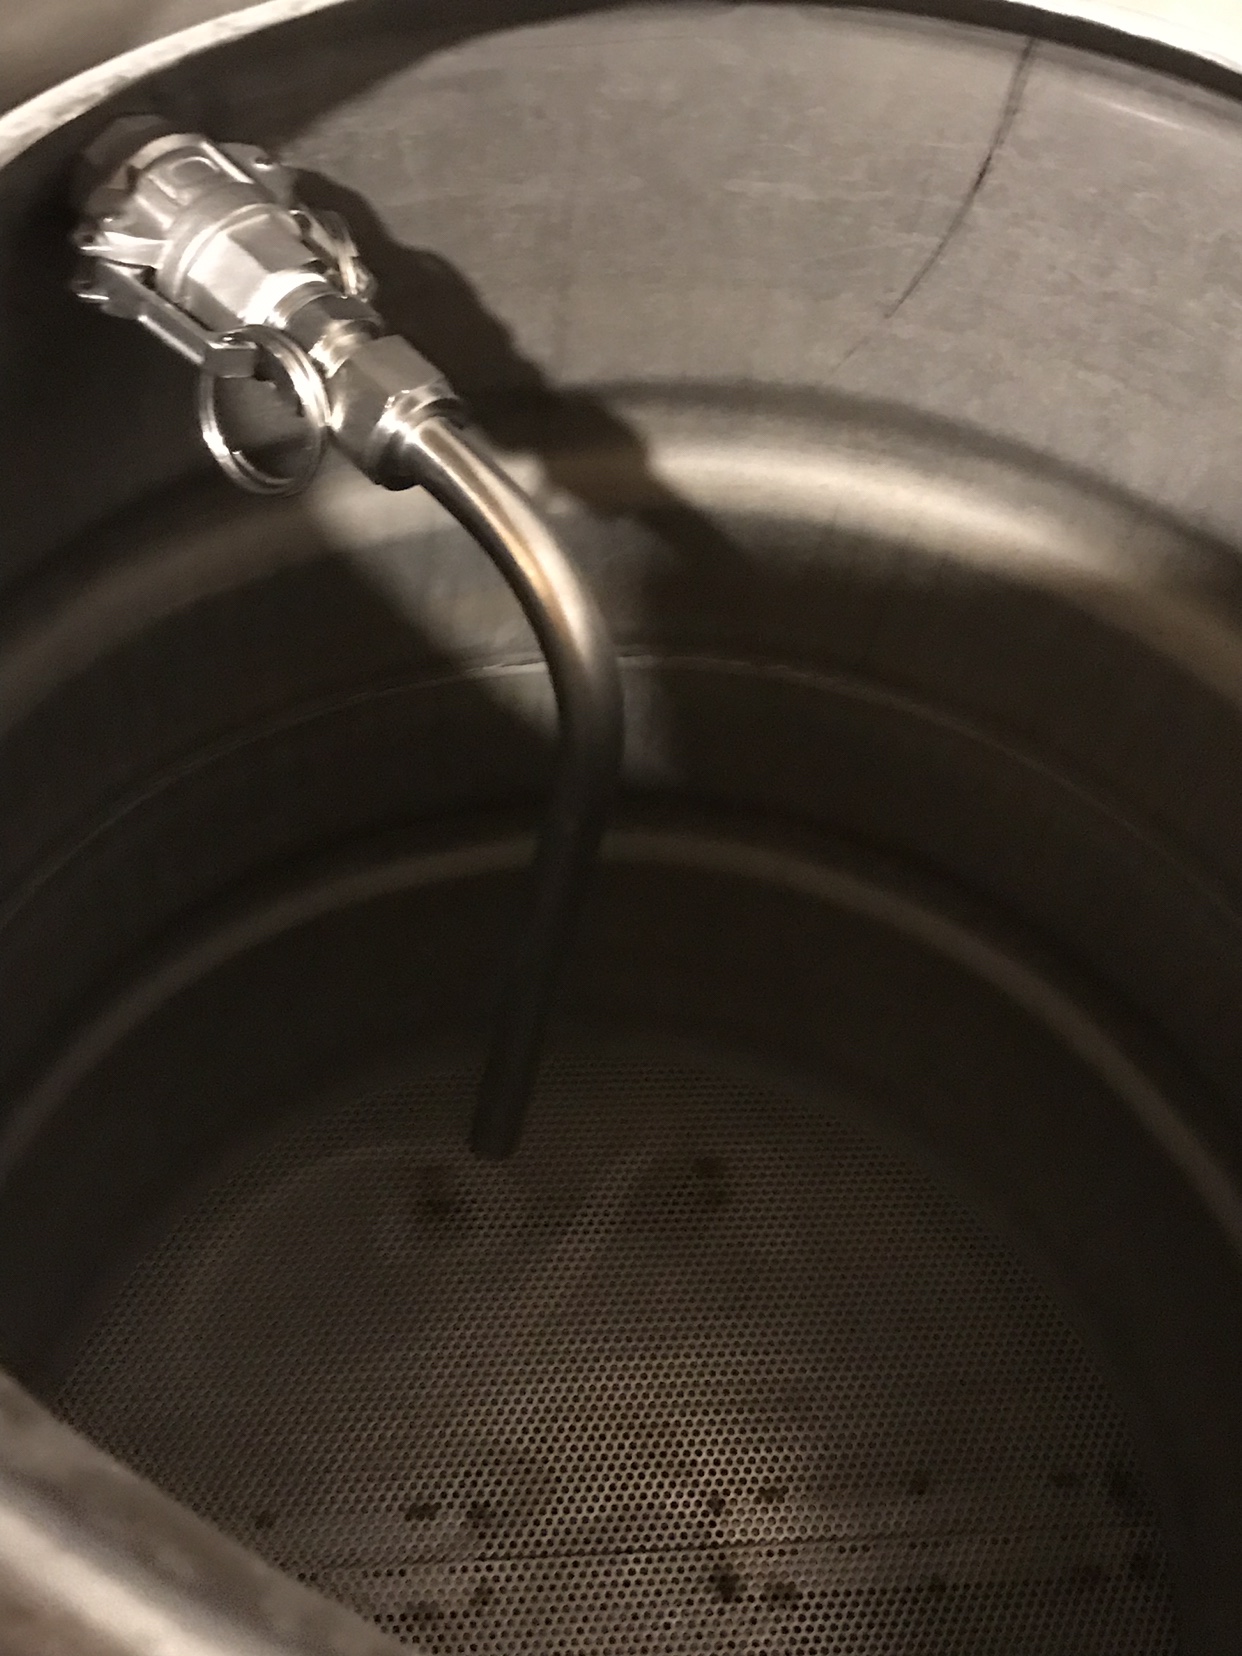
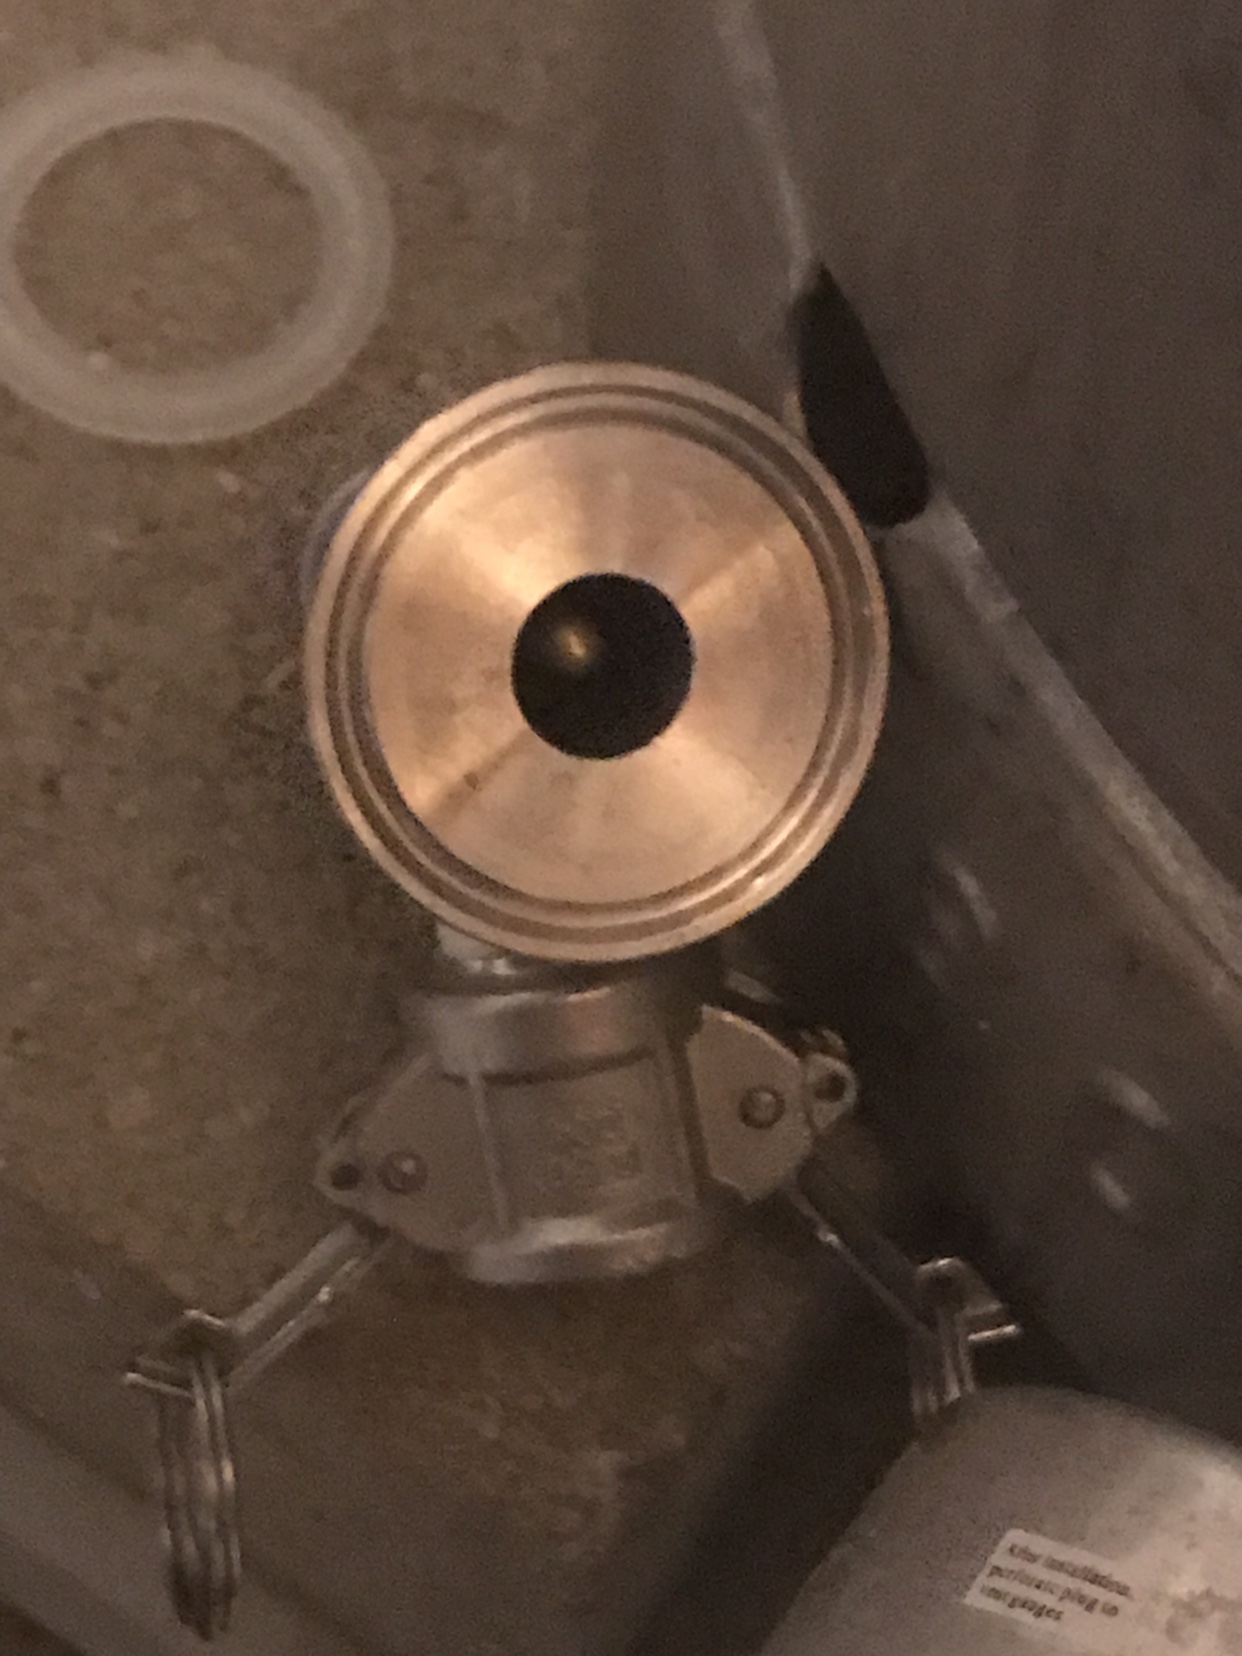
Here’s a couple photos for better reference:

IMG_7760.JPG


IMG_7761.JPG


By the way— this system runs on 240v
 
If you're having trouble getting the heat up to mash-out, I'd guess you need more insulation to reduce heat loss throughout the system.
 
Last edited:
Struggling a bit to figure out the pics. Are you feeding wort into the bottom or the top of the rims tube? Where is the temp probe?

I'm not sure what the second pic signifies--is that the return of wort to the mash tun or the pickup tube bringing it to the RIMS tube?
 
Sorry, yes— wort flows in from the bottom. The temp probe is as the top outlet.

The second pic is the outlet of the wort back onto the top of the mash. The mash tun itself is a bottom drain.
 
In the photo at the bottom before the RIMS tube, you can see the flow meter and flow switch (directly above the meter but before the RIMS).

Note I did not have any cables connected for the photo (which I could see also being confusing... I apologize)
 
Well, you're eliminating my ideas one by one. :)

Here are a couple more possibilities:

1. The EZ Boil is not functioning correctly, or you're programming it incorrectly. Seems less likely but it's one place were things could be going wrong.

2. I agree with @RPh_Guy in that it would help to do some insulation. You have a long stretch of a RIMS tube that acts as a radiator, giving up heat. Same with the keggle. If it were me, I'd wrap a couple wraps of reflectix insulation around the RIMS tube, and one or two wraps around the keggle. Pic below showing mine.

newsetup9.jpg
 
Last edited:
First let me say you have longest tube I've ever seen!

From what I can see in the pictures you have the element at the bottom of the RIMS tube with the inlet from a 90* elbow right above the element housing. I my opinion that is not a scorch proof RIMS setup.

The void between the 90 and the element is allowing protein/husk matter to settle on the hottest part of the heating element. You have both gravity and fluid dynamics working against you with how you have your RIMS setup. Think of a creek and how any little off shoot in the bank will collect trash and sticks. The water in that area just stalls and becomes stagnant almost still. That's just fluid dynamics. Now imagine the creek is vertical and that off shoot is at the lowest point. How much more matter will get pulled into that void when gravity is added.

How, I would fix this is first shorten the RIMS tube to something more manageable. The tube only has to be large enough to house the element. Second, flip it over to have the heating element pointing down. Then gravity is helping you keep solid matter off of the element. You may have to use hose instead of pipe. You can also improve your flow by eliminating some of those 90 degree turns. Which could also be part of the problem of scorching (not enough flow).

Haha! That’s a great explanation—

Unfortunately the tube can’t go any shorter as the element inside is 36”. I suppose an inch or two could be knocked off the tube, but nothing considerable.

The reason I have the element vertical the way it is, is to prevent local boiling inside the tube. Maybe a horizontal setup is better for this length though?

Also, I probably should have mentioned it sooner, but interestingly enough the “scorching” seems to occur towards the middle-end of the tube, not at the base. I’ve also read flipping the element upside down as you’ve mentioned can cause air bubbles at the “base” due to heat rising? Haven’t done this myself, so that could just be someone else’s bad experience [emoji38]

These are all really great ideas (please keep them coming!)... it sounds like confirming my EZBoil is configured correctly may be the next step. I’ll report back on numbers here in a couple hours
 
My bad, I missed where you said "36" 1500 watt cartridge heater".

So, I ran a few google searches and I can not find any 36" elements that are LWD or ULWD. The ones I looked are all HWD. Tell me more about the element. Where did you get it? What is the brand and specs on it?
 
My bad, I missed where you said "36" 1500 watt cartridge heater".

So, I ran a few google searches and I can not find any 36" elements that are LWD or ULWD. The ones I looked are all HWD. Tell me more about the element. Where did you get it? What is the brand and specs on it?

Ebay - here's a similar listing for the exact same element:
http://rover.ebay.com/rover/1/711-5...0001&campid=5338413729&icep_item=350488993964

Venango SC75-36
1500W
240V

You're right though... it's doesn't explicitly say ULWD. I guess I assumed (ass-u-me-d ) because of the diameter and length that ULWD is implied... maybe not?
 
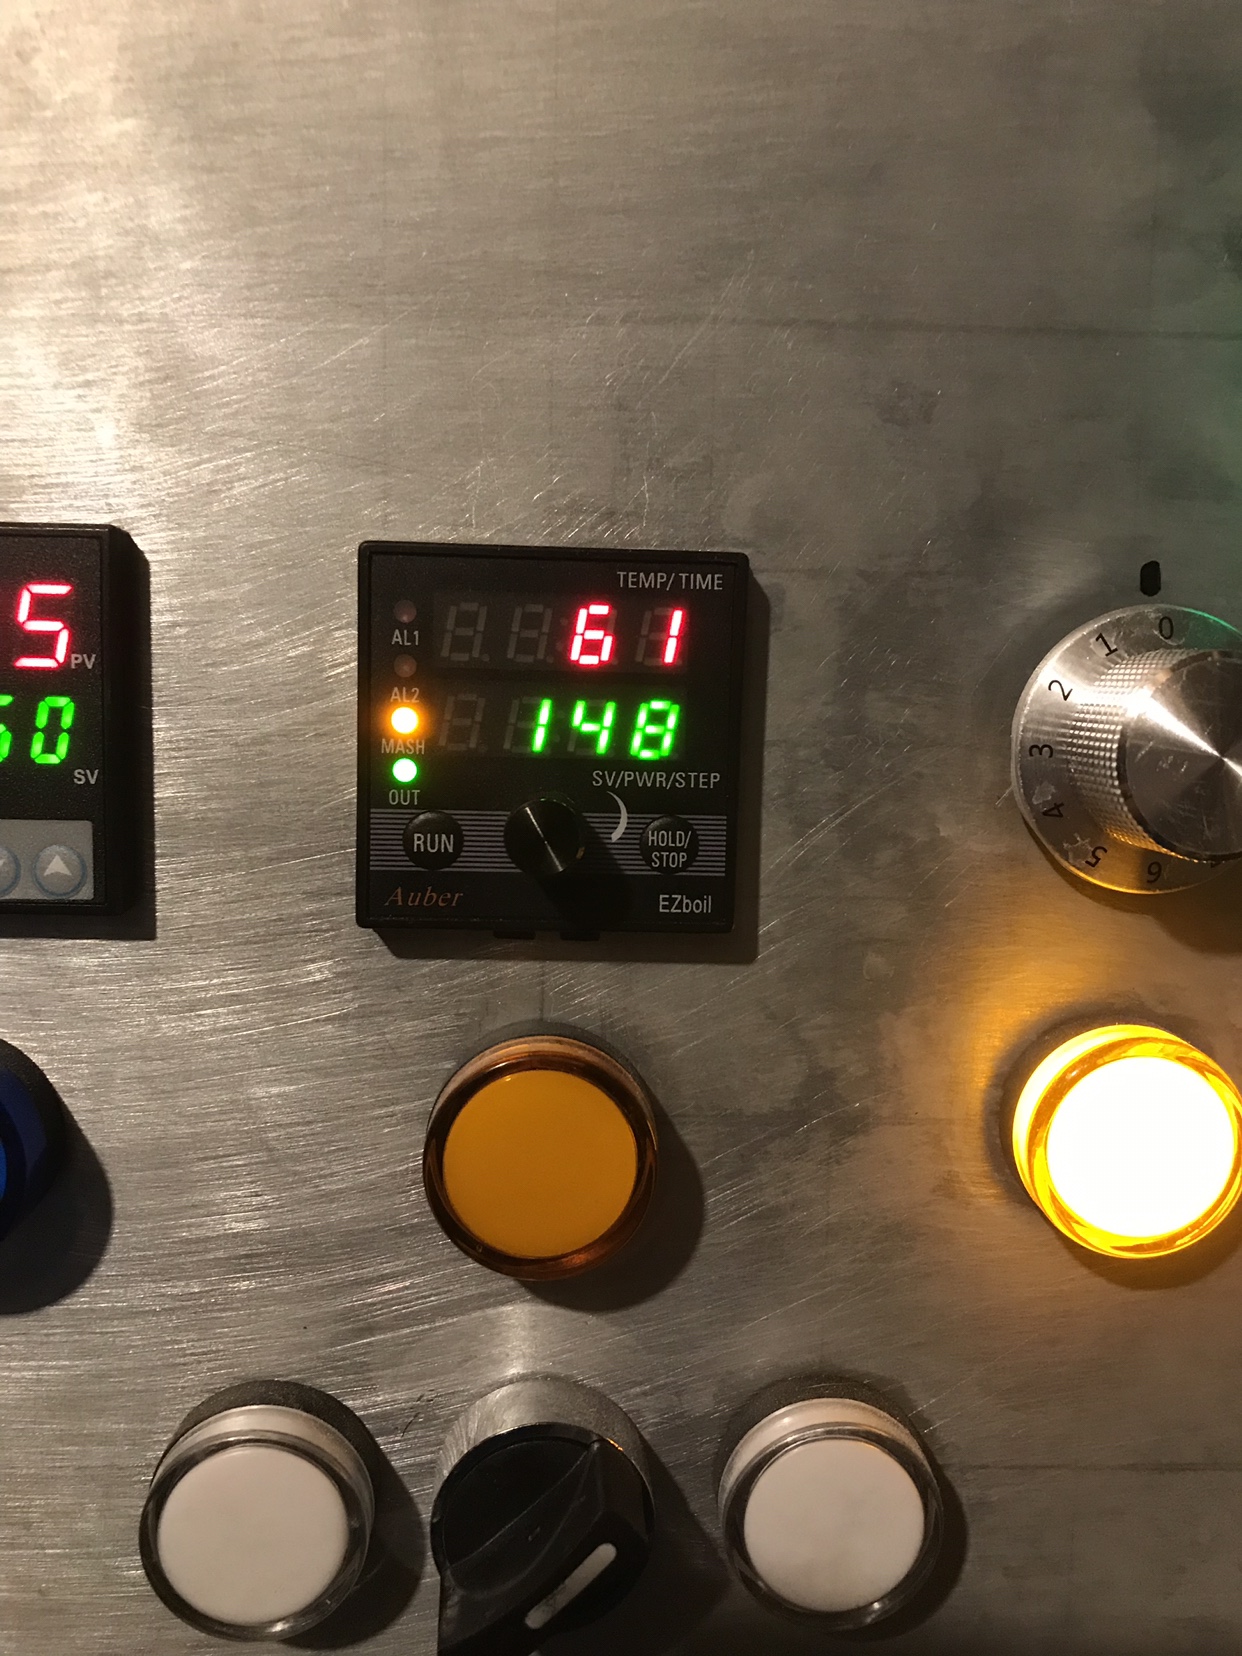
Here's how I have the EZBoil (Model DSPR-310) configured:

Goto MASH:
tSP - 148
Eo - oFF
oSCr - 0
Mout - 80
AttE - 0


Goto Syst:
Pb - 0.0
PuS - InSt


Manual for quick reference:
https://www.auberins.com/images/Manual/DSPR310C_manual.pdf

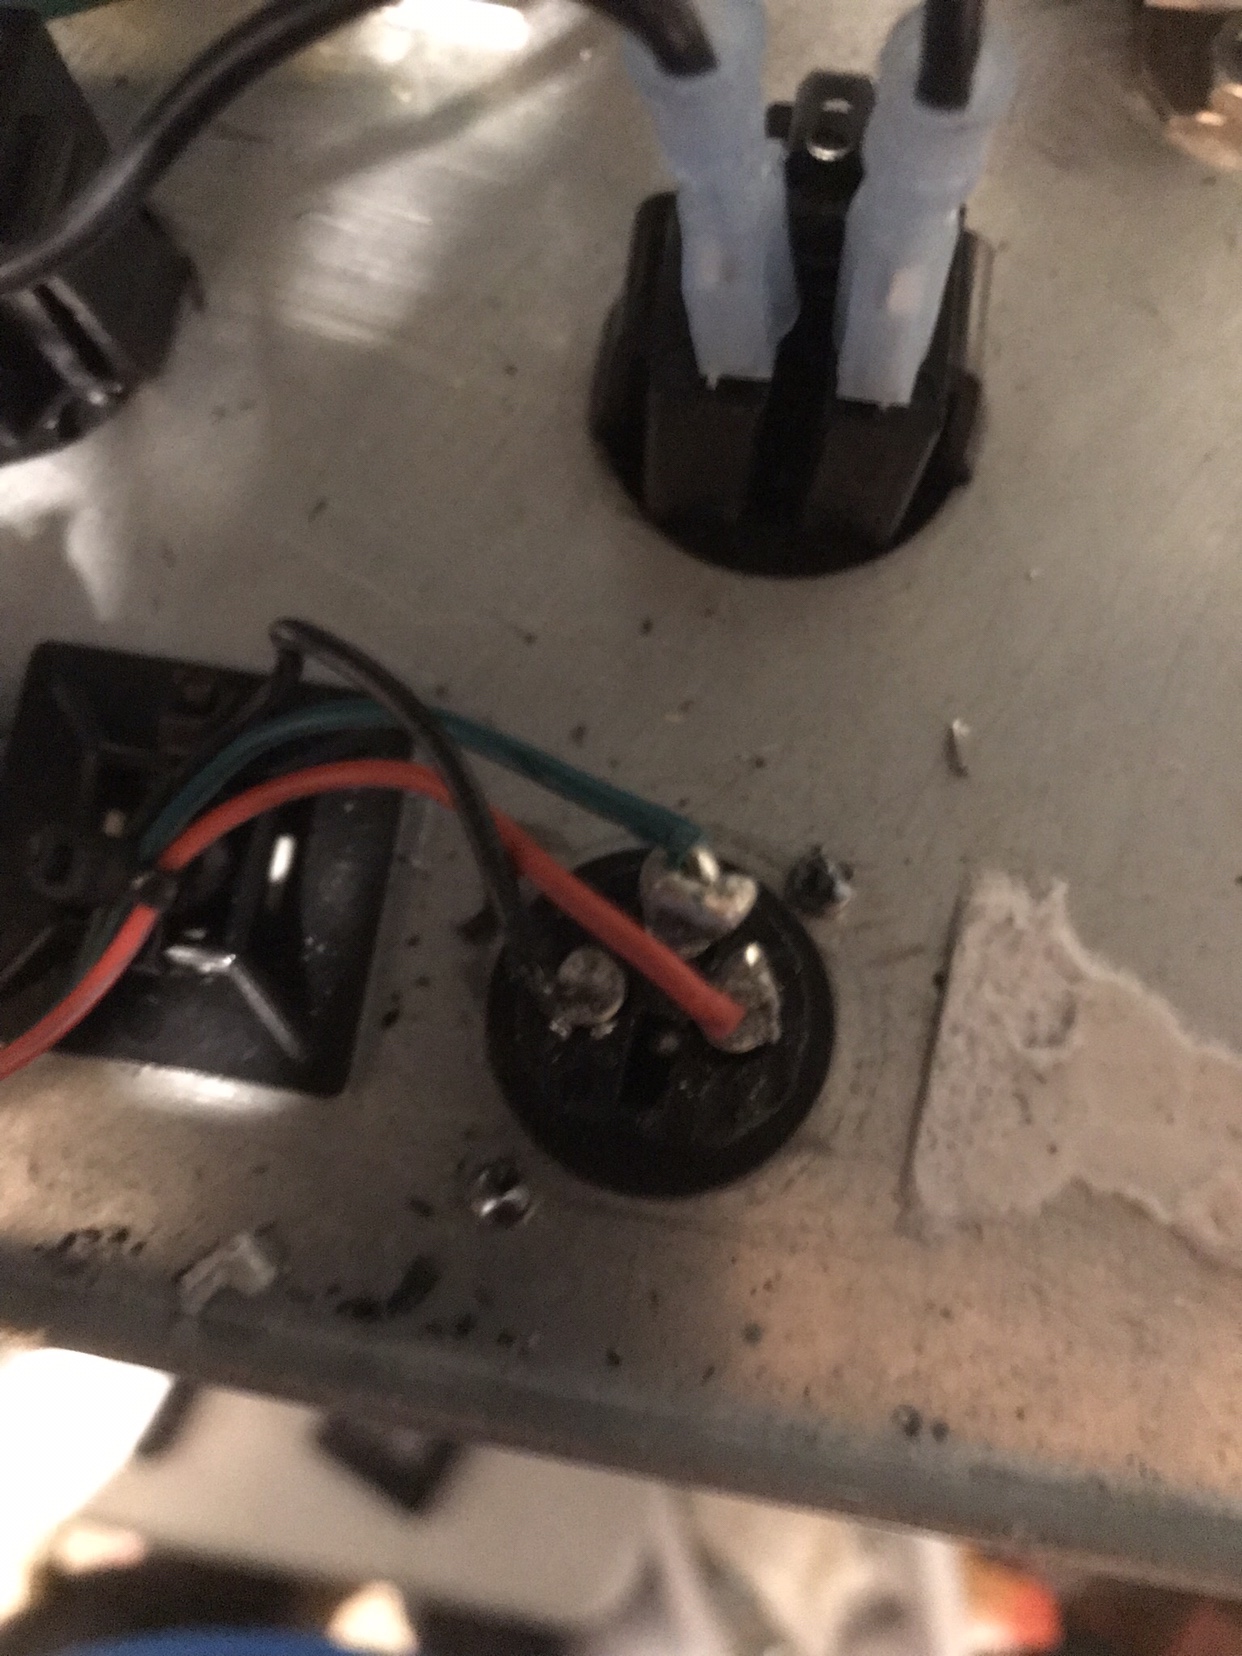
Note these are what I've considered to be the key configurations. So far I have not used the Boil or Relay options. Let me know if there's any other configurations I should report on. Also, I'll follow up with a couple photos of wiring next just in case.

Edit: Updated manual to correct reference.
 
Last edited:
IMG_7775.JPG


IMG_7828.JPG


IMG_7829.JPG


IMG_7827.JPG


By the way— please ignore my beautiful soldering skills... it’s not pretty, but I promise you it works! [emoji28]

That said... if something looks goofy in the wiring, please let me know.
 
Not certain this is part of what's going on, but see what this says about Mout in Note 5.2:

note52a.JPG
note52b.JPG


I'm not sure this is what is going on, but note that it runs at full power until it gets close to the set temp. If you're rather low to start, it would run that element at full power for a while.

Think that might have anything to do with this? I don't have time to think this through right now--I'll be back in a while--but I read this and had a "Hmmmmm" moment.
 
Not certain this is part of what's going on, but see what this says about Mout in Note 5.2:

View attachment 614599 View attachment 614600

I'm not sure this is what is going on, but note that it runs at full power until it gets close to the set temp. If you're rather low to start, it would run that element at full power for a while.

Think that might have anything to do with this? I don't have time to think this through right now--I'll be back in a while--but I read this and had a "Hmmmmm" moment.

Yes! This is why I reduced the output to 35% w/ my original element in the thrifty RIMS tube. If I allowed the element to run at 100% it would scorch no matter what. Seems to be a similar scenario with this element as well...

The more I think about it, either the math doesn't add up as I originally suspected w/ the longer element and lower wattage, or there's some configuration on the controller I'm missing. Unfortunately these key controller configurations seems to be where I'm reaching the edge of my depth...

By the way- I updated my previous post, but originally I accidentally provided the incorrect manual. The model I have is the 310C, not the 310... Near as I can tell, the only key difference is no Auto setting for the mOUT configuration.
 
Last edited:
Ebay - here's a similar listing for the exact same element:
http://rover.ebay.com/rover/1/711-5...0001&campid=5338413729&icep_item=350488993964

Venango SC75-36
1500W
240V

You're right though... it's doesn't explicitly say ULWD. I guess I assumed (ass-u-me-d ) because of the diameter and length that ULWD is implied... maybe not?
The element is 3/4" diameter by 36" long, so surface area is 3.14 * 0.75 * 36 = 84.8 in^2, and power density is 1500 / 84.8 = 17.7 W/in^2. This is ultra ultra low watt density.

Brew on :mug:
 
Not certain this is part of what's going on, but see what this says about Mout in Note 5.2:

View attachment 614599 View attachment 614600

I'm not sure this is what is going on, but note that it runs at full power until it gets close to the set temp. If you're rather low to start, it would run that element at full power for a while.

Think that might have anything to do with this? I don't have time to think this through right now--I'll be back in a while--but I read this and had a "Hmmmmm" moment.
OP stated Mout set to 80%, so max power density is 0.8 * 17.7 W/in^2 = 14.2 W/in^2. This shouldn't be a problem as the 5500W ULWD elements run at about 70 W/in^2 (IIRC.)

Brew on :mug:
 
How far is the tip of the temp probe from the tip of the heating element? And, are both in the flow stream, not a dead spot?

Brew on :mug:
 
I believe the flow of wort thru the actual RIMS tube is slower than the flow of wort thru the transfer tubing because of the larger diameter of the tube, this will increase your contact time with the element.

The way your tubes connects to your kettle it seems like if might be possible to trap air in the tube by your probe which could throw off the measurement.

I use silicon tubing for interconnects and tilt and move my RIMS tube with the pump running to get rid of air in the tube.

With the ez-boil you should start in mash mode where you only set the temp and the controller regulated the power to hold the temp.

I have tried do a couple protein rests with my RIMS and have had some degree of scorching and not sure why it happens, if you are mashing in at 10 degrees below target temp you might be having the same issue.

edit: never mind the comment about mash mode, was thinking about the original ezboil unit without the step mashing options.
 
Last edited:
Yes! This is why I reduced the output to 35% w/ my original element in the thrifty RIMS tube. If I allowed the element to run at 100% it would scorch no matter what. Seems to be a similar scenario with this element as well...

The more I think about it, either the math doesn't add up as I originally suspected w/ the longer element and lower wattage, or there's some configuration on the controller I'm missing. Unfortunately these key controller configurations seems to be where I'm reaching the edge of my depth...

By the way- I updated my previous post, but originally I accidentally provided the incorrect manual. The model I have is the 310C, not the 310... Near as I can tell, the only key difference is no Auto setting for the mOUT configuration.

But if I read that manual correctly, it's not going to give you 35 percent power until it's close to set temp...it's going to give you 100 percent. Am I reading that right, or misinterpreting it?

I'm more than a casual observer here--I have an EZ boil in my controller panel. Haven't used it to control the RIMS, just the boil.

The way I understand it and seem to observe is the power will run at the max this configuration is set to. By default I believe it’s 100, but since I set it down to 80 or 35 for example, that new configuration is the max power output the element should experience (even when ramping up and likely much less as the temperature gets closer)...

Either way, it sounds like the instructions could definitely be clarified here lol
 
How far is the tip of the temp probe from the tip of the heating element? And, are both in the flow stream, not a dead spot?

Brew on :mug:

Let me measure again and get back to you...

Now that you mention it, I do remember this being more than I would have liked (since I used my original temp probe), but I think I wrote it off from being a factor since the watt density on the element was so low... maybe not? I’ll let you know!
 
My RIMS is controlled by a PID. As the controller sends power to the element to reduce the error between the PV and SV it rarely hits 100%. I can see what power it is using by toggling between viewing the SV and power output. When it does hit 100% it does so with very quick pulses as indicated by the out put light. I think your scorching problems are centered around the element firing at 100% for long periods.
 
The way I understand it and seem to observe is the power will run at the max this configuration is set to. By default I believe it’s 100, but since I set it down to 80 or 35 for example, that new configuration is the max power output the element should experience (even when ramping up and likely much less as the temperature gets closer)...

Either way, it sounds like the instructions could definitely be clarified here lol

OK, I re-read that and somehow I saw that as accelerating at 100 percent, whereas the parameter is, as you say, the acceleration power (in your case, 80 percent). I think your reading of it is correct.
 
Let me measure again and get back to you...

Now that you mention it, I do remember this being more than I would have liked (since I used my original temp probe), but I think I wrote it off from being a factor since the watt density on the element was so low... maybe not? I’ll let you know!

So it turns out the gap between the end of the element and the end of the temp probe is ~5.25”...

Again, taking the ULWD into consideration I figured I was good. But if this were a shorter element, that quickly becomes a considerable gap... I wonder if a longer probe would make all my problems go away..! [emoji848]

Ok, so say a longer probe is the fix. It sounds like I *should* be able to run the mOUT value at 100% given the watt density?
 
Last edited:
So it turns out the gap between the end of the element and the end of the temp probe is ~5.25”...

Again, taking the ULWD into consideration I figured I was good. But if this were a shorter element, that quickly becomes a considerable gap... I wonder if a longer probe would make all my problems go away..! [emoji848]

Ok, so say a longer probe is the fix. It sounds like I *should* be able to run the mOUT value at 100% given the watt density?

Not sure how much that would matter unless the probe isn't extending into the wort flow.
 
I am not sure how much the distance matters as long as you have positive flow but as a reference my temp probe is ~ 2” from the end of the element.
 
Not sure how much that would matter unless the probe isn't extending into the wort flow.

It’s kind of hard to see, but you’ll notice the temp probe tip inside the T:

IMG_7837.JPG


The wort flows through there, but now that I think about it, the diameter difference in the flow between the T and the triclamp casing alone could be enough to cause a significant temp difference..? If that’s true, a longer temp probe would definitely help
 
@augiedoggy uses a rims tube like this. Maybe he can chime and support?

Yes... augiedoggy was definitely a key source of inspiration for this build. Until I can actually implement it correctly like he does though I was going to leave the name out of it

Well... what’s done is done. Any thoughts you have @augiedoggy would definitely help! [emoji482]

As for everyone else that’s jumped in so far— thank you!
 
It’s kind of hard to see, but you’ll notice the temp probe tip inside the T:

View attachment 614678

The wort flows through there, but now that I think about it, the diameter difference in the flow between the T and the triclamp casing alone could be enough to cause a significant temp difference..? If that’s true, a longer temp probe would definitely help

It looks to me like it's fine. Not sure what difference the diameters make--if somehow the wort in the tube were being heated too much, that wort would eventually make its way past the temp probe and you'd know.

I use a RIMS tube I bought from BobbyM. The diameter is 1.5" (using 1.5" TC on each end) but it has two camlock fittings on it through which wort flows. Doesn't seem to be an issue on mine. Yeah, it's a lot shorter, but still.

Here's a pic of an early setup, before insulating the mash tun and shortening the hoses and adding a sight glass. No issues with temp there--I'm running a 1650-watt element (folded over) in my RIMS. Same heat as you basically. That wort is heated in a wide tube and then exits through small camlock fittings.

rimssetup.jpg
 
I have the same RIMS tube as mongoose, but oriented vertical. It is controlled by an earlier version of the ezboil and it runs at 100% power initially in mash mode. If I mash in at close to 150F I have not had an issue, just when I have mashed in at temps in the mid to upper 130s did I have trouble with scorching. Maybe try mashing in at your desired temp instead of lower.

I don't have a flowmeter I just increase the pump to get a good flow, as the mash progresses flow normally increases and I back off on the pump some. I recall someone saying higher flow is better, you just don't want to go too fast that it compacts the grain bed. The moving wort pull heat from the element, as long as you keep circulating it will all heat up.
 
Hello, I can only offer some possible theory's here couple variables that may have an impact of the drastically different results your getting from my setup,
First off lets get the whole ULWD thing out of the way... watt density is simply the surface area of the element heated surface vs wattage and yes these are very ulwd elements.

your rims seems longer than it needs to be. you want the temp probe to be very close to the end of the element.
Also I use a regular pid to control mine without any variable power output. (first a mypin td4 then a brucontrol software pid.

my flowrate is always between 1 and 1.8gpm (usually 1.5-1.8gpm) much slower than that may contribute to localized boiling on element surface.

Also trying to raise the rims in large amounts does create more cooked on proteins to the element surface since the rims is on 100% consistently. I run into this on my 3bbl systems rims when stepping mash temps but I dont get scortching due to higher flow rate on that system (5gpm) just a lot of slimy tan buildup. If you mash in to your actual desired mash temp you will have better results (much conversion is done in the first 10 mins btw so if its taking you 15 mins or more to reach desired mash temps your mashing much lower than you think.

I also would try turning the rims sideways just for one use and see if you are infact gettting an airpocket up there or swap the output with the temp probe and most who run vertically do to prevent the pocket.

Good luck, I hope you get it sorted out soon.
 
Yes— I make sure flow is coming out of the end, plus the RIMS is downstream of a flow switch.

The temp probe is upstream of the RIMs element.

Here’s a couple photos for better reference:

View attachment 614565

View attachment 614566

By the way— this system runs on 240v
looks like you can just turn the tee so the temp probe end points towards the kettle instead of coming in from the top.
 
Not trying to be a smart alek, but I don't bother trying to bring my mash to 168. I'm just going to boil it anyhow, and that will denature most everything in it. I've don't it bother ways and haven't noticed a difference.
 
Not trying to be a smart alek, but I don't bother trying to bring my mash to 168. I'm just going to boil it anyhow, and that will denature most everything in it. I've don't it bother ways and haven't noticed a difference.
I didnt bother for like 4 years and when I started doing it I noticed a jump in efficiency from averaging 88% to 91% so it definitely did something in my home setup.
 
So... I upgraded the temp probe which now sits ~1/2 an inch end-to-end from the heating element.

Ran a couple batches over the past couple days at 100% output from the EZBoil... and NO SCORCHING [emoji1]

I’m finally off to the races with mash-out, step mashing, and probably any other madness I can throw at this thing.

Thanks everyone for the ideas! [emoji482]
 
Back
Top