bajabrewer
Member
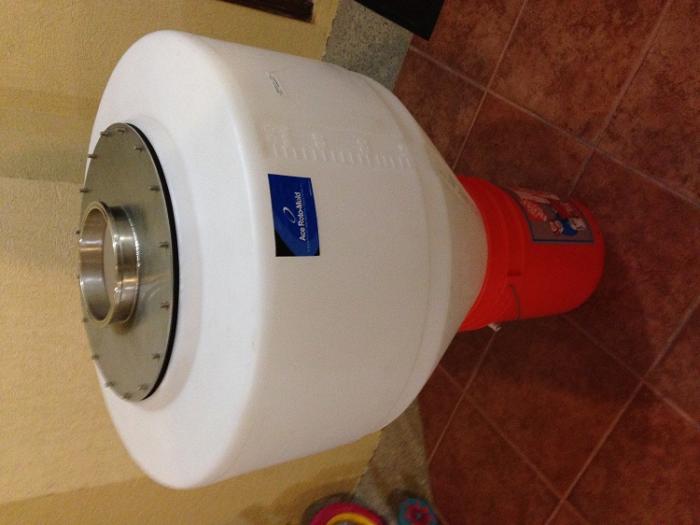
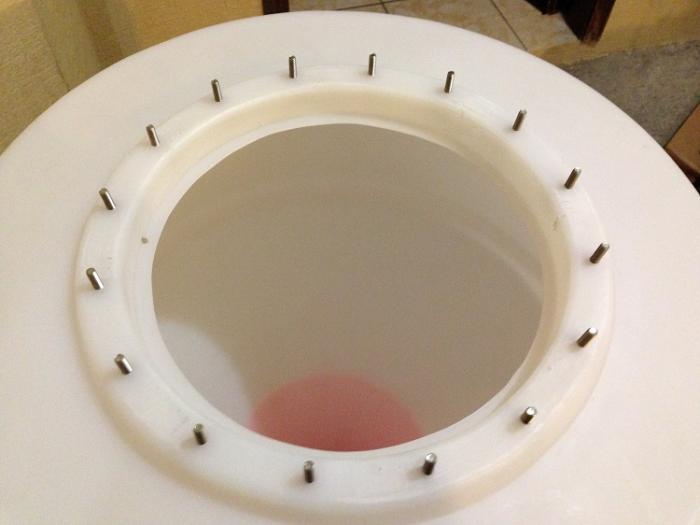
Hi... wanted to post a thread on how I managed to get a conical fermenter to fully seal without having to use silicone. This might be a bit of a cost challenge, but I am now fully steering to HDPE Inductor Tanks by Den Hartog and doing this modification.
It all started with lot's of homework and figuring out how people are getting their plastic fermenters to seal. While some might think it's not that critical, I will think the opposite! I tried a few different methods will lots of failures... silicone is the cheapest and fastest way to go, but even with the FDA approved silicone, I was not convinced because of the chemical smell I got after a few days in the sun to dry. This just didn't cut it for me.
So, I opted to design a similar lid used in other pressure tanks, but purposely built to fit most Den Hartog tanks.
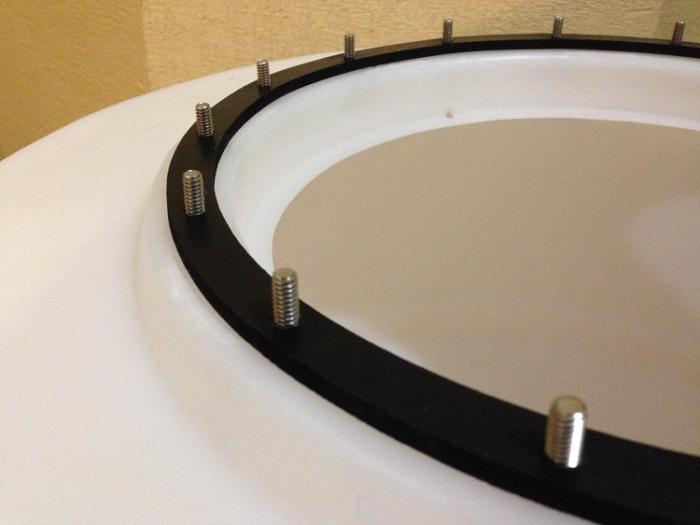
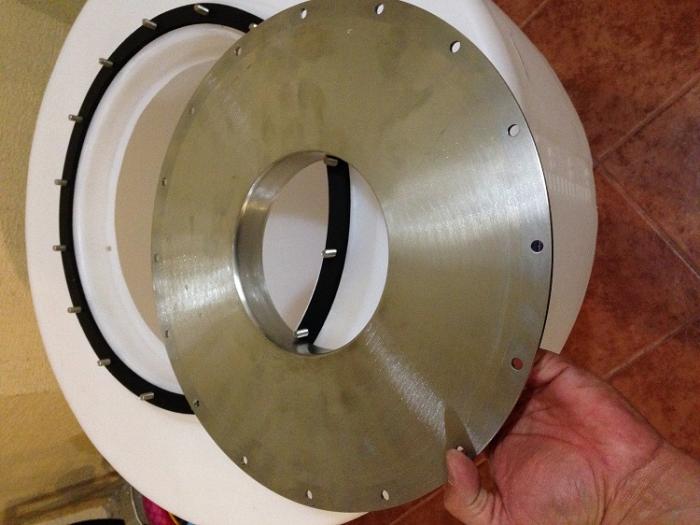
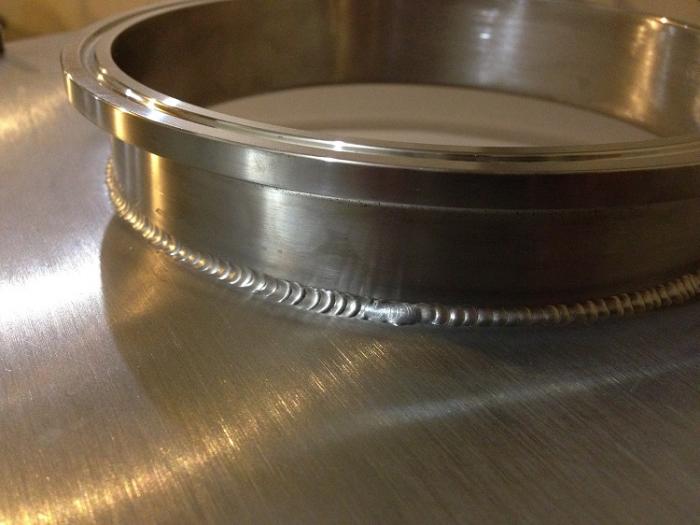
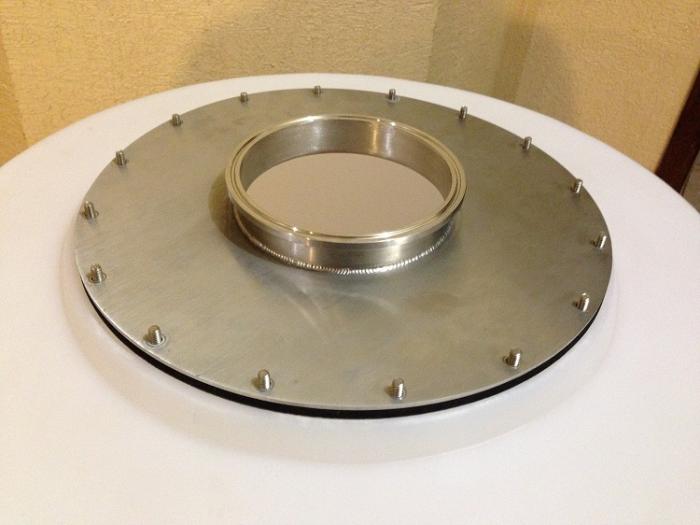
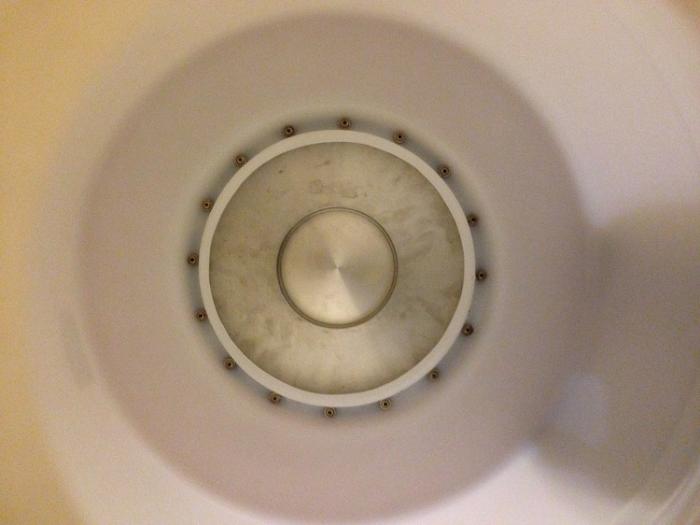
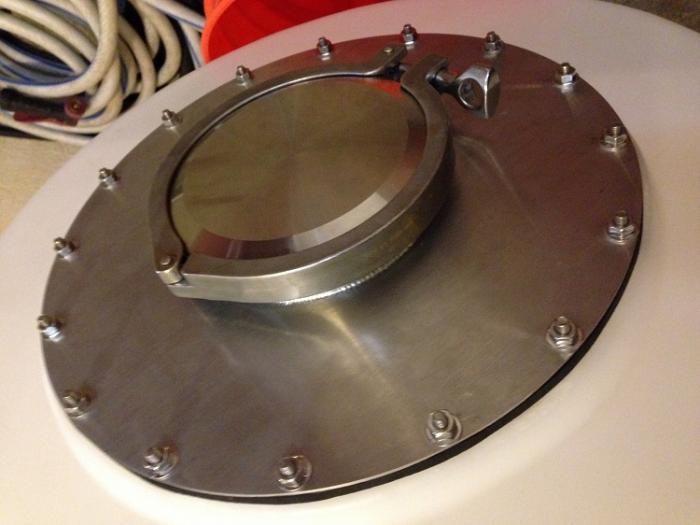
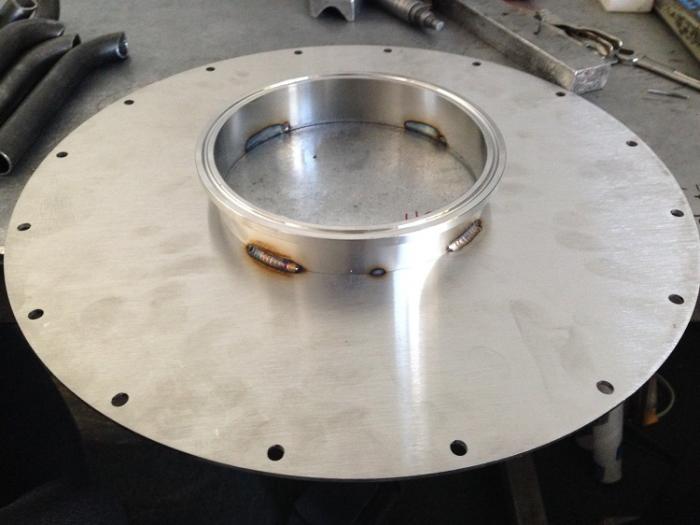
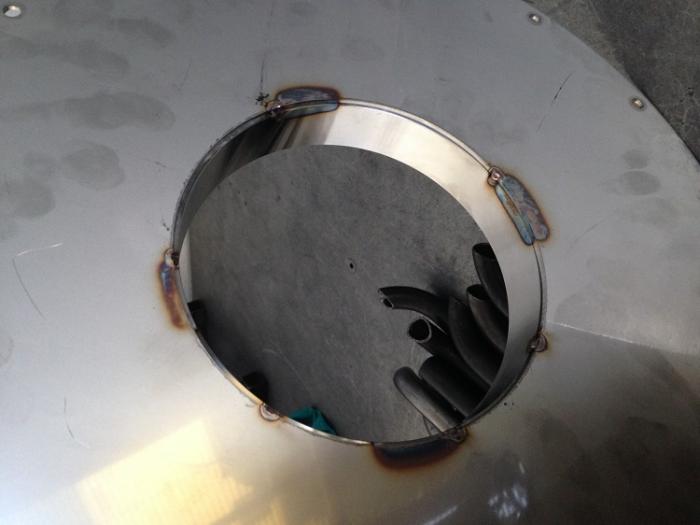
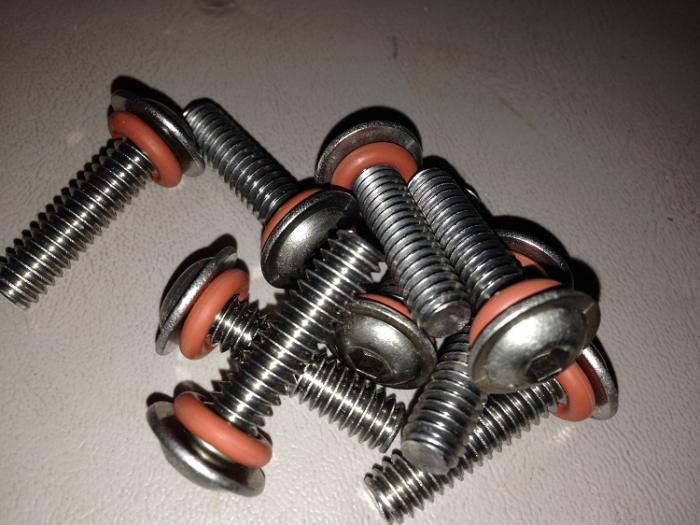
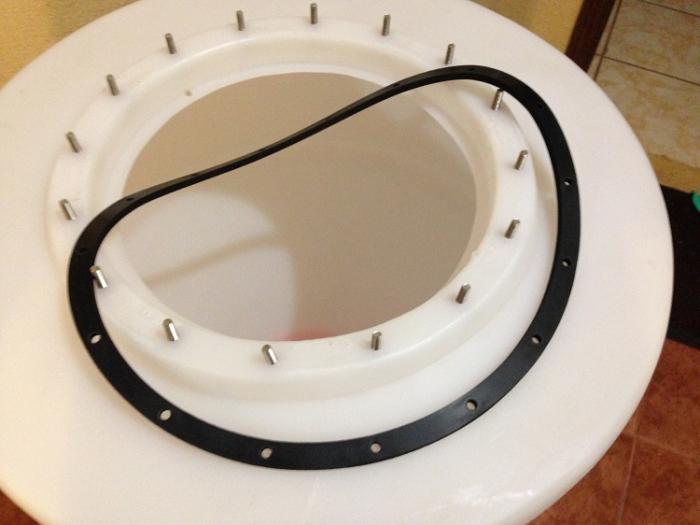
Lid is a combination of a 304 SS laser cut 1/8" sheet with a TIG welded 6" Tri-Clamp ferrule. Gasket is 1/4" water-jet cut nitrile rubber. Flange bolts, washers and nuts are all 316 stainless steel, with a silicone O-ring to seal bolt. Lid is air tight!! Large opening allows for easy access and I am planning to add a cooling coil for temperature controlling and outlet for air-lock, and adapter for CIP cleaning.
Feel free to ask questions or comment. I know there's a lot of people using these, and hopefully my experience will help others away from the expensive stainless steel conical fermenters until we can afford them!! (someday...)
I am now ready to buy a few 110 gallon tanks for my 3 BBL system that's getting built in Tijuana, Mexico. I'll share some pics later on!! Much better than the cheap China tanks.
Good Luck to all!! and Happy Brewing!!!


