PC Case Control Panel Build

Homebrew Talk - Beer, Wine, Mead, & Cider Brewing Discussion Forum

Help Support Homebrew Talk - Beer, Wine, Mead, & Cider Brewing Discussion Forum:

This site may earn a commission from merchant affiliate links, including eBay, Amazon, and others.

DrPhilGood

Well-Known Member
Joined
Feb 13, 2012
Messages
138
Reaction score
2
Location
Staten island
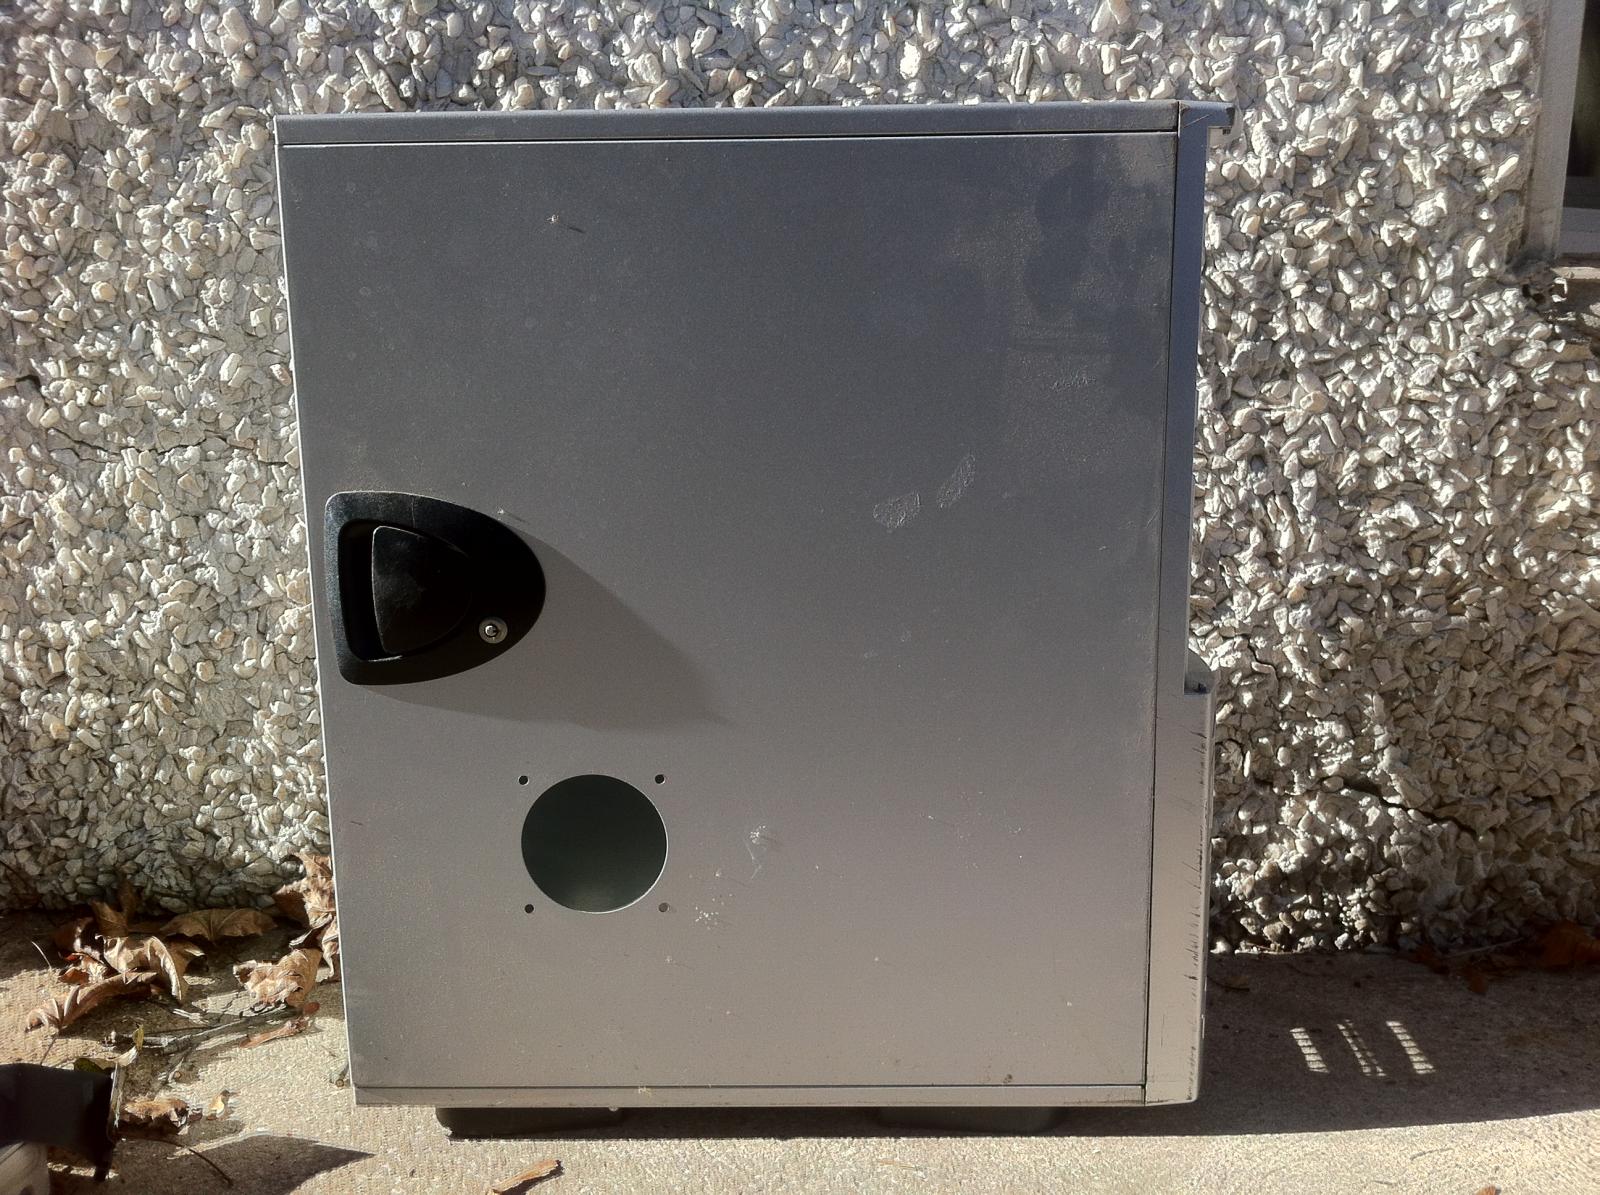
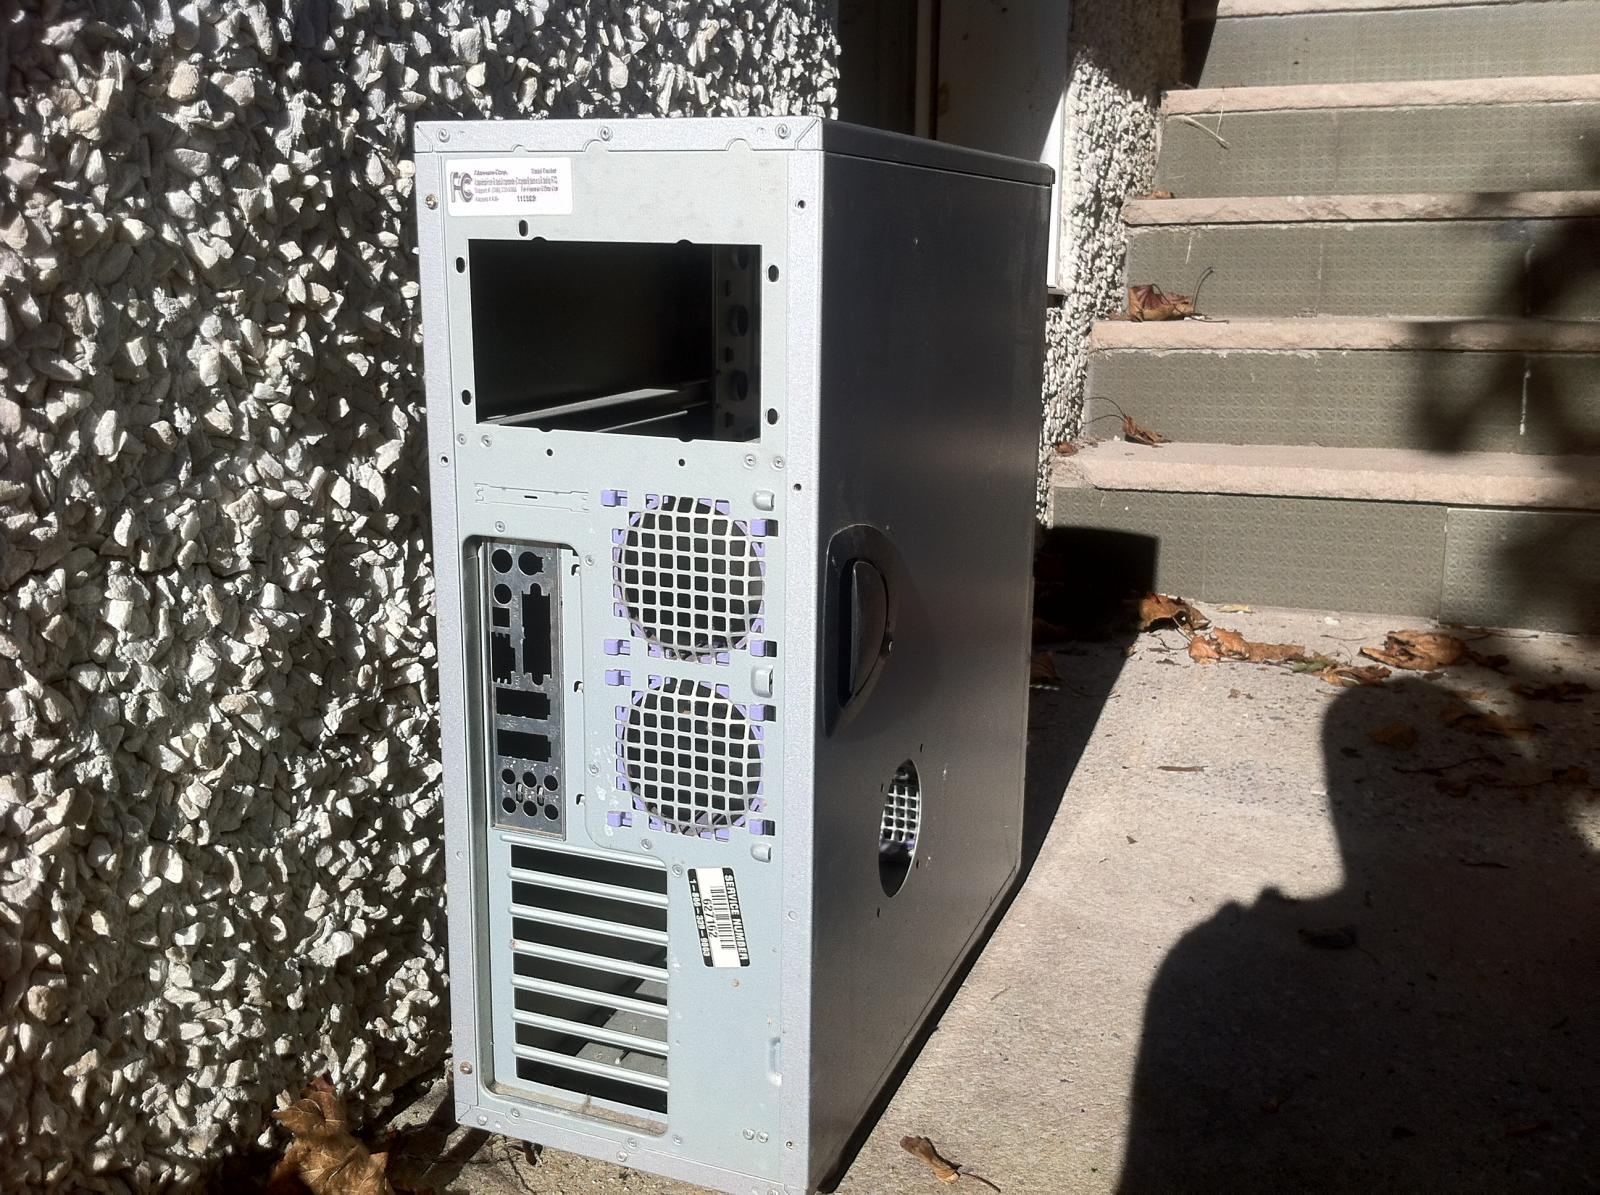
So I was cleaning out my garage and I found an old Alienware PC case. It's about time we upgraded our existing control panel, so I figured this might work for the new box. Anyone have built something similar?

The dimensions are 20x17x8 which is pretty similar to most standard panel sizes. The only thing different with this is I am going to have to add hinges to the front door, and possibly cover up the holes. Also I would love if I could wire the pre existing case power button to power on the panel.

image-1.jpg


image-2.jpg


image-4.jpg


image-6.jpg
 
I though about this at one time too since I have so many of these ... There is a build here on this forum like this already from a couple years ago... a lot of work needs to go into redesigning the front and back of the pc case... in the end I got lazy an bought my plastic box from the homedepot. the metal of the pc case is pretty thin..may not be very sturdy full of holes.
 
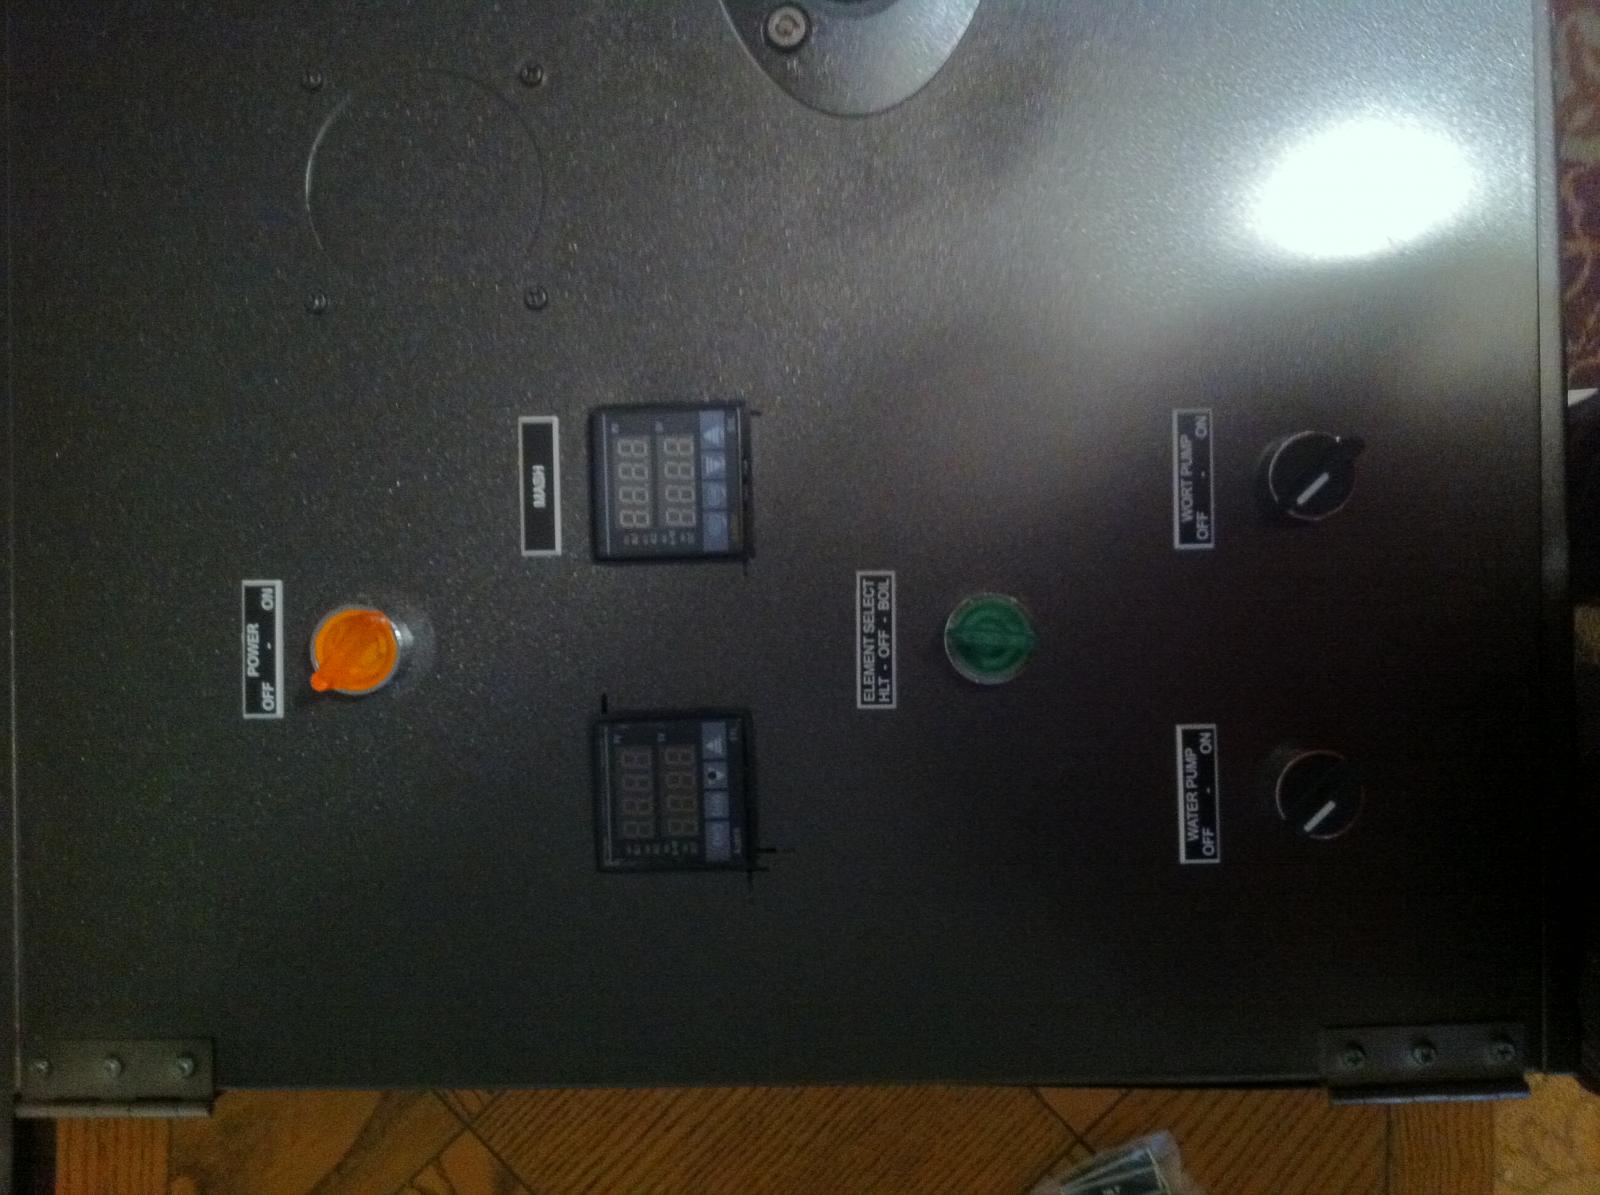
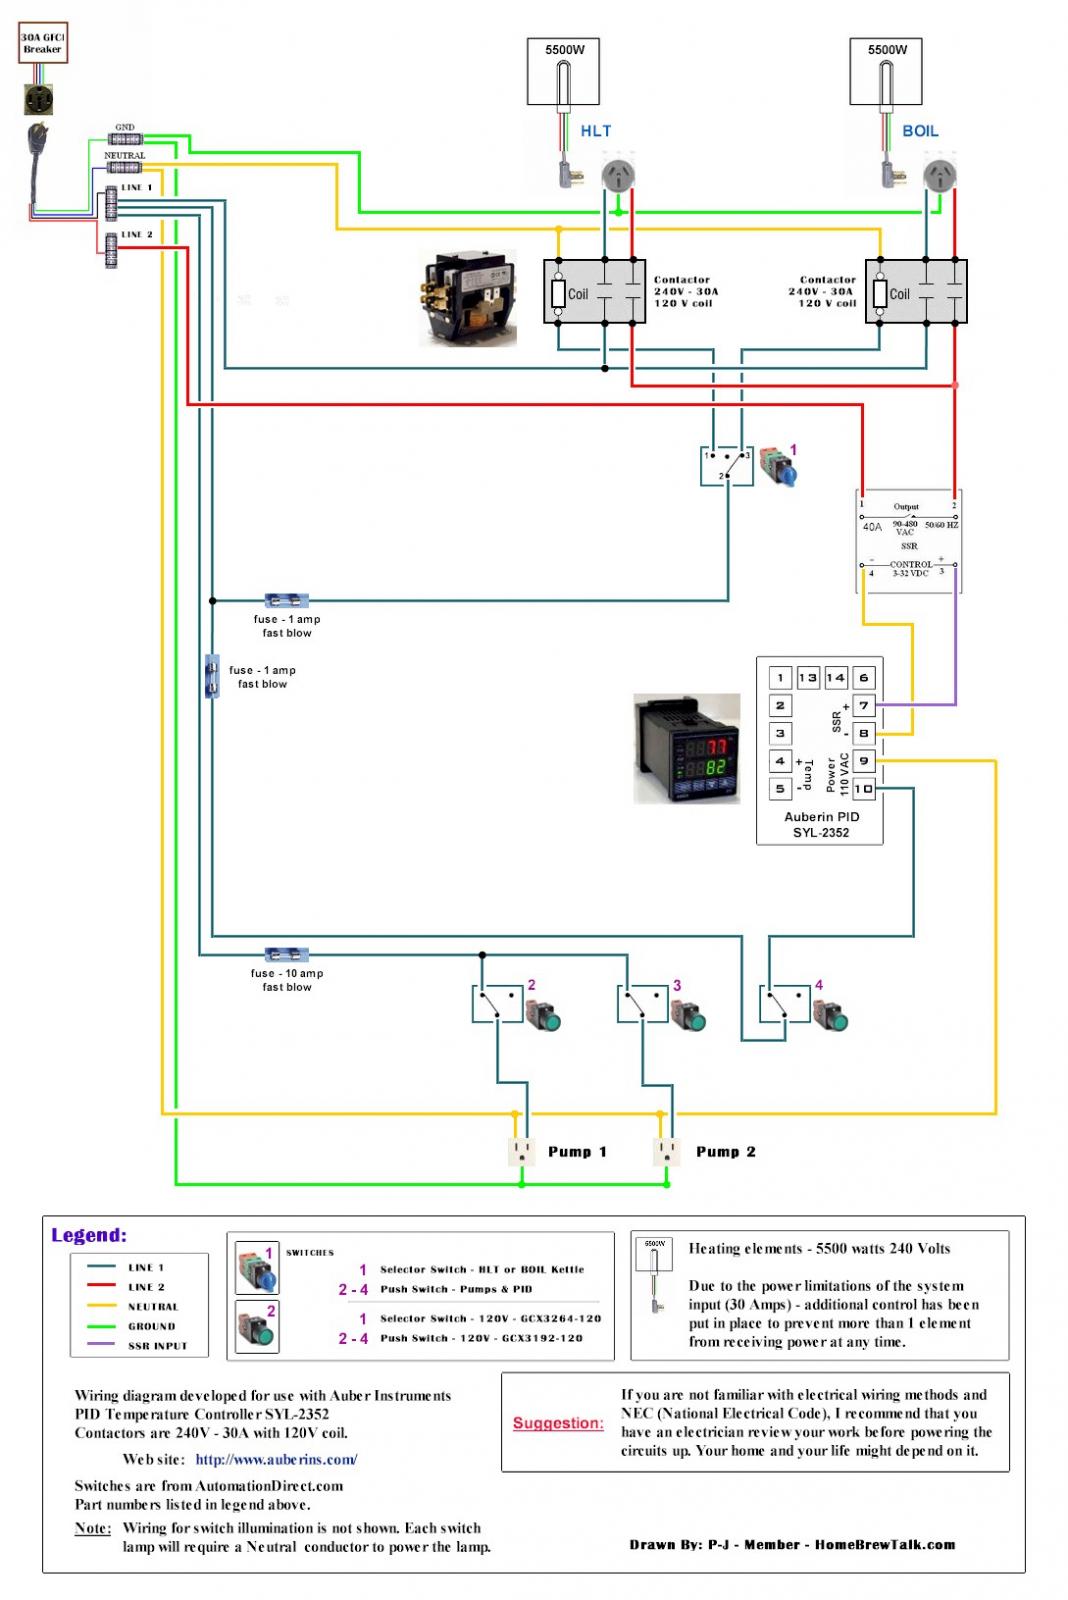
So I found the wiring diagram that was made by P-J. We used this for our original control panel build. I want to make some slight alterations to it now. The switches for the 2 pumps, element select, and PID power will be 2-way LED, and 3-way LED respectfully. I am also adding a third temp probe along with a second PID to monitor MASH temps. The probe will be on the output of the herms coil to the return of the mash tun. The second PID will just be monitoring temps and not controlling anything. The PID shouldnt be too difficult, it's more the LED switches that I am not comfortable with. I am also considering adding a timer/alarm. Any advice is welcomed.

This is the PID power switch
http://www.ebrewsupply.com/shop/indicators-switches/2-3-way-switches/yellow-led-2way-switch.html

This is the element select switch
http://www.ebrewsupply.com/shop/indicators-switches/2-3-way-switches/blue-led-3way-switch-729.html
 
Added the hinges today and cut the sheet metal to cover the openings. The door doesnt swing open that smoothly, but it wasn't designed to be hinged.

IMG_9320.jpg


IMG_9007.jpg
 
If you have room to put your PID/switches and waht not on the top of the case, I'd do that. Then you can make neat clean runs to the backplate and not worry about the swinging door. It makes it so much easier.
 
It swings open ok. The hinged end is grooved so when the case was closed it fit snug in there. The only time its tough is when you go to close the door. It has a little hiccup when the groove locks in. If i really wanted to I could probably take an angle grinder to the groove and take it out completely but I don't think it'll be a problem.

If i mounted the PID and switches to the top/bottom of the case it wouldn't be bad if it were laying horizontally but I hope to wall mount this thing.

The real PITA is mounting the sheet metal flush on both ends. The fan ports stick out from the front and back about 1/4" so the sheet metal is beveled. I am considering mounting the sheet metal from the inside of the case so its easier.
 
Did some work on the panel last week. I was impatient waiting for the paint to dry so I need to scrape off some newspaper on the bottom. I am going to wire in the inside tomorrow.

IMG_0877.jpg


IMG_3808.jpg


IMG_5842.jpg


IMG_7407.jpg


IMG_3455.jpg
 
I am using this old schematic by P-J. I want to add a second PID for monitoring mash temps. Also the element select switch is LED, and the main PID power switch is LED as well so I need to wire them accordingly. I cannot remember how to wire the 3 position switch to have the switch select between HLT/BOIL temp probes for the same PID. If anyone could give some advice that would be great.

current_wiring_diagram_30a.jpg
 
Back
Top