rpolzin25
Well-Known Member
So I have been bitten by the electric brewing bug and now I am on a mission to build my own system over buying a pre-built put together system. I pretty much plan on making a system very similar to Brau supply's unibrau. Currently I use a 10 gallon cooler mash tun and my trusty 11 gallon Bayou Classic kettle which works great but automation would be so nice. Plus, this spring we are going to be breaking ground on a new house so the plan is to having a brewing room in the basement.
So I started by making a spreadsheet of all the parts I needed to buy before deciding if I wanted to buy a kit to put together like that from ebrew supply or just search ebay, amazon, and such to put together what I want. Probably the biggest reason I decided to go not go w/ ebrewsupply's kit is the fact that I really wanted to use the EZboil from auberins which doesn't come w/ ebrewsupply's kit. So off to building my own and sourcing all the parts myself!!!
So the cost of the build of my will be about $250 (not including the internal wiring and paint as my father actually had all the supplies for me...can't beat free!!!). I ended up getting all my controller supplies through Ebay, Amazon, and Auberins. Probably my biggest regret to this point is not buying a larger enclosure as I actually bought Auberins scratch/dent single controller panel and was really struggling to figure out fitting my plan into the panel and ended up having to go to DIN rail contactors to get everything to fit. Unfortunately I did not have a good experience w/ Auberins customer service as I actually asked prior to buying the box whether it would be big enough to do what I wanted to do, I got an answer of yes only to suddenly be told I probably wouldn't be able to fit everything I wanted after received the panel. Lets just say I made a concerted effort to make sure I didn't buy any more supplies through them after that interaction and leave it at that.
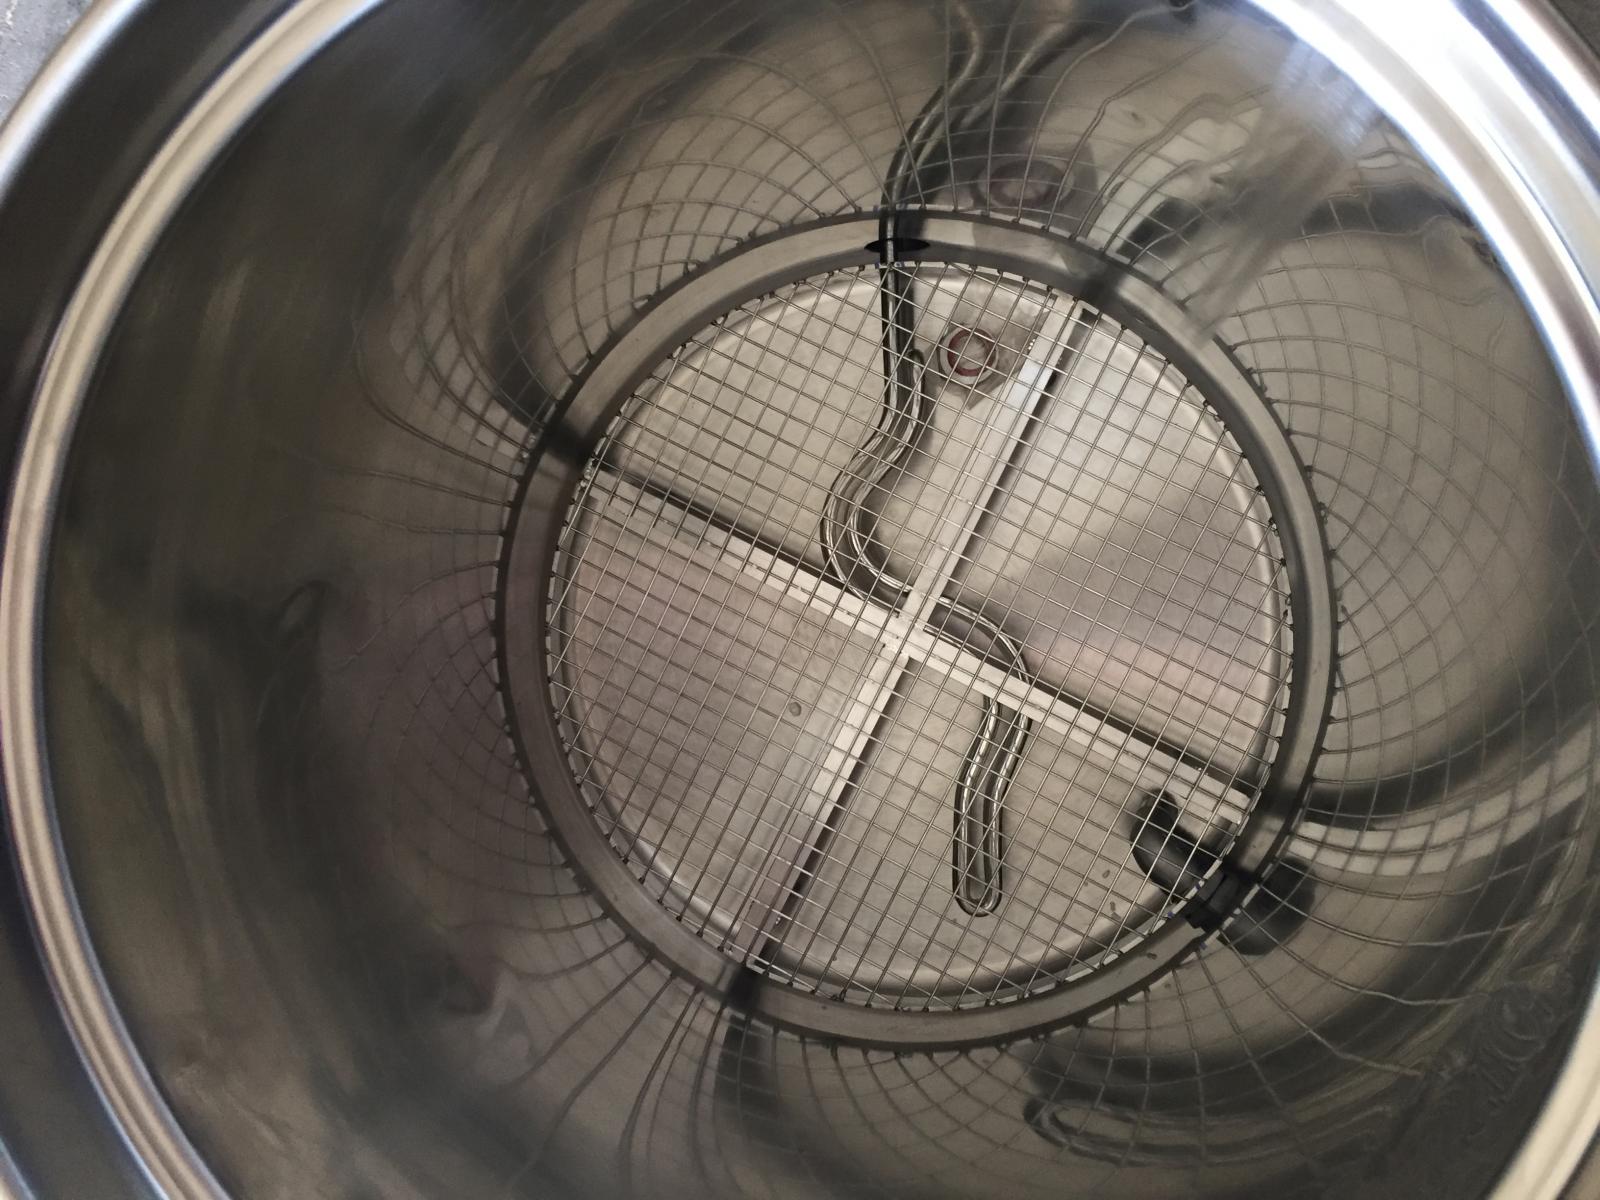
So my system will be 240v system w/ 1 pump for recirculation and a 5500 watt element.
So the parts list for my control panel:
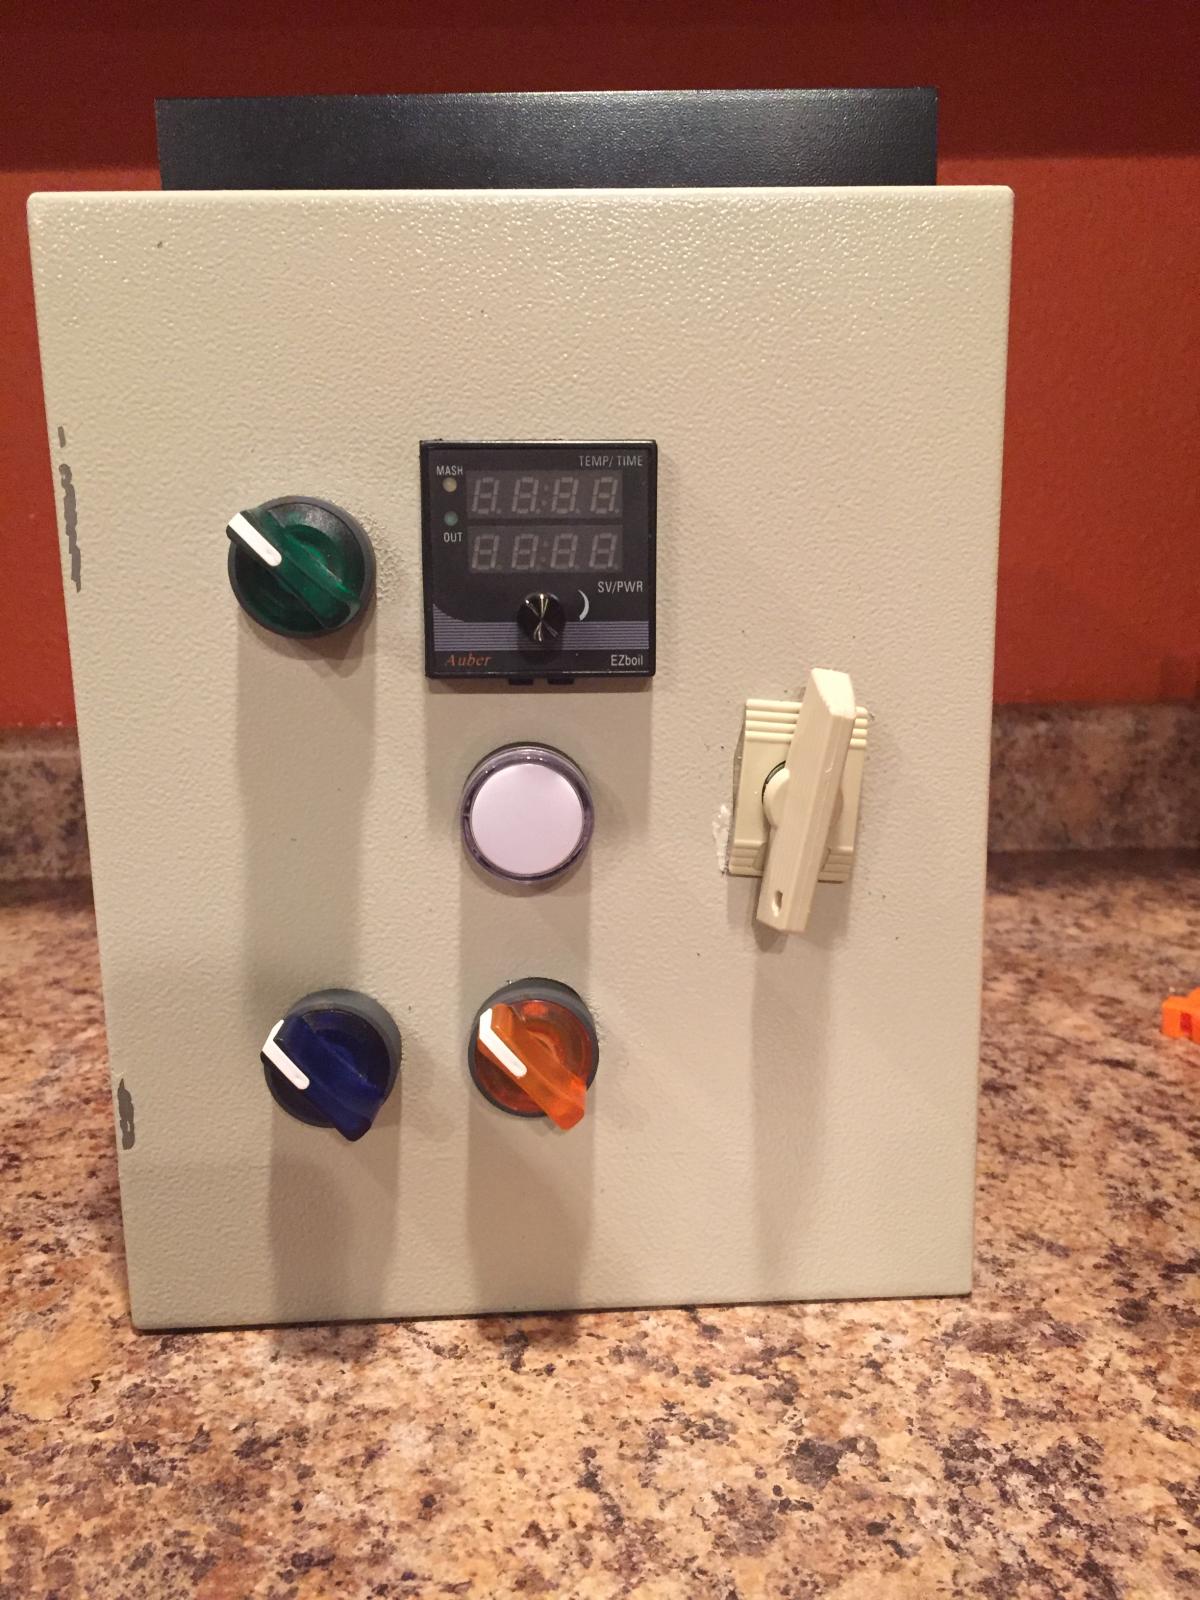
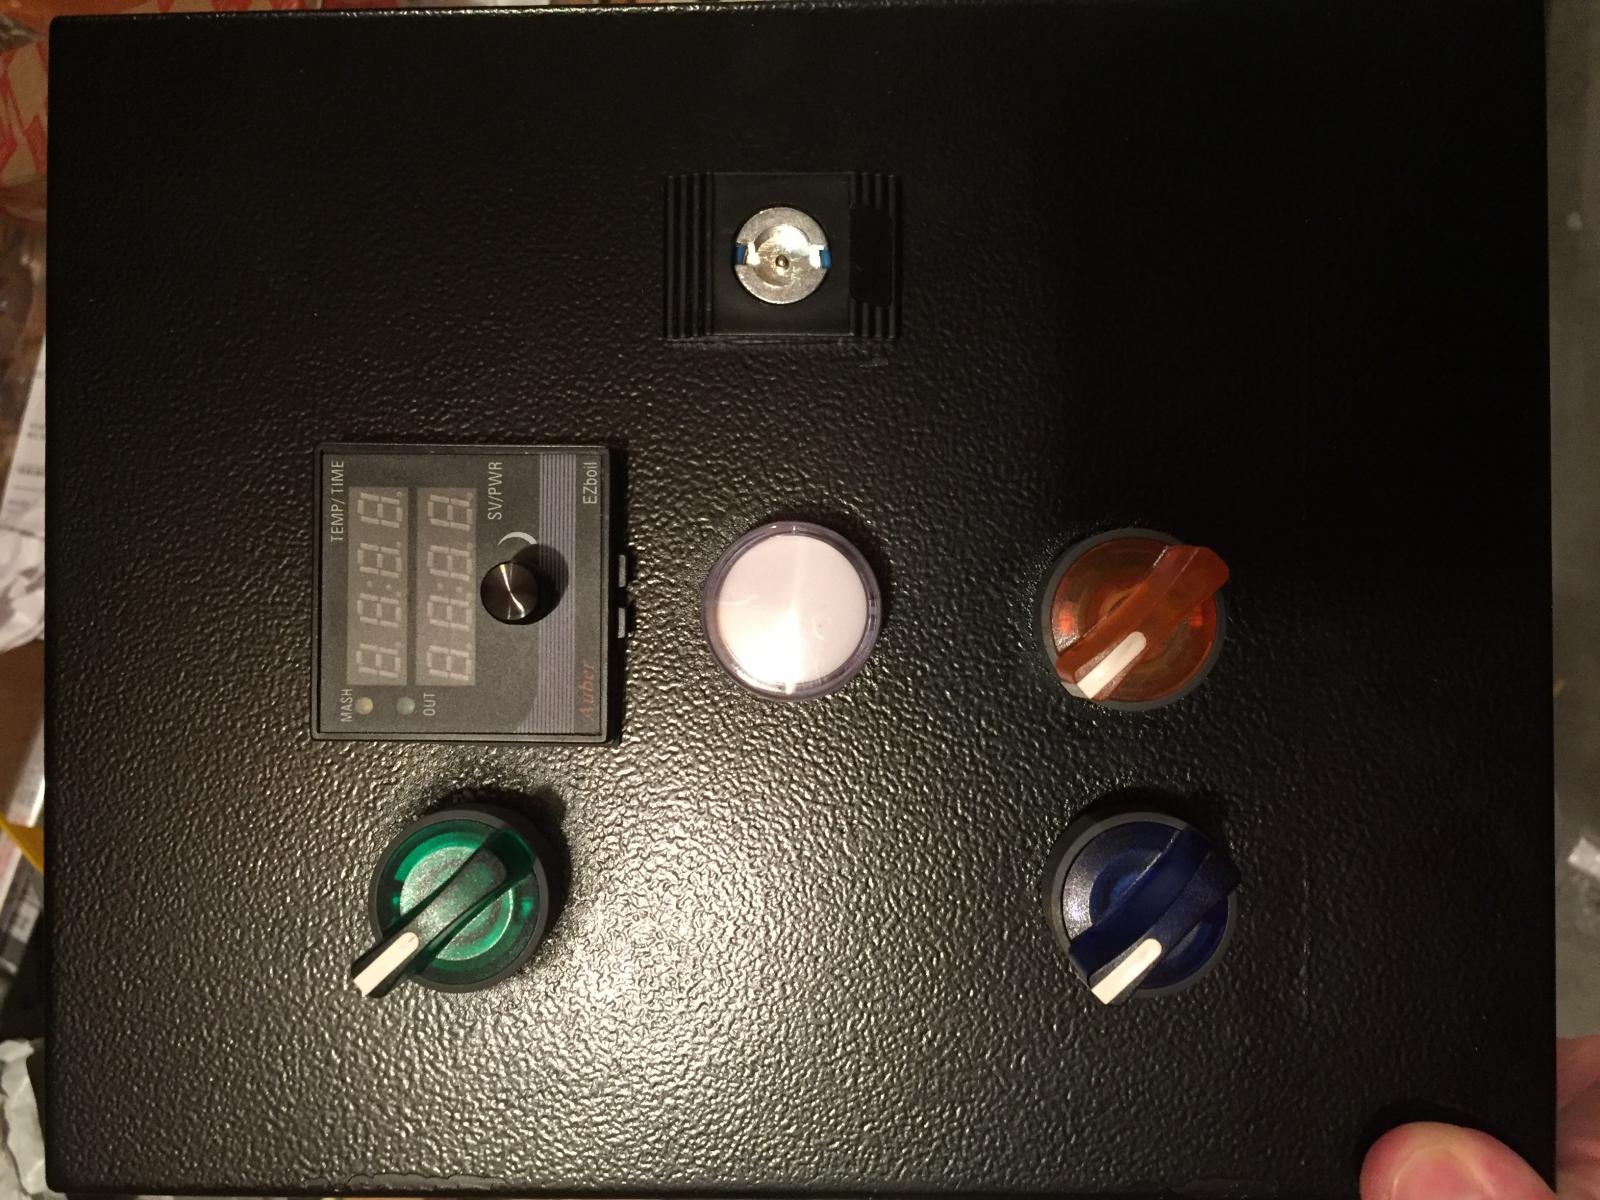
1 Green illuminated 2 position switch - system power - $5.88
1 blue illuminated 2 position switch - pump power - $6.68
1 yellow illuminated 2 position switch - element power - $6.68
1 white 240v indicator light - element power status - $0.78
EZboil DSPR120 - $46.95
Scratch/dent single controller w/ cutout for controller and 40 amp heatsink - $46
40 amp SSR - $6.35
temp sensor - $12.98
XLR male panel mount - $4.85
XLR female plug - $4.70
Outlet for pump - $2
Element Outlet - $10.96
2 63 amp DIN rail mount 2 pole contactors w/ 110v coil - $37.24
4 wire dryer cord - $12.98 (haven't ordered yet, might go w/ 10 ft cable)
3/4" strain relief connector for power cable - $3.19
6 amp single pole DIN breaker - $4.99
DIN rail block kit - $16.88 (this seller was great and actually customized this to fit what I was going to do)
Auberins Shipping - $19.45
Now I say "sort of" budget build since I know I could save more if I hadn't gone the DIN stuff on the inside but I figure it will just make it a little easier for me and make things look just a little cleaner on the inside.
Last edited by a moderator:


