My New Single Tier Strut Brew Rig

Homebrew Talk - Beer, Wine, Mead, & Cider Brewing Discussion Forum

Help Support Homebrew Talk - Beer, Wine, Mead, & Cider Brewing Discussion Forum:

This site may earn a commission from merchant affiliate links, including eBay, Amazon, and others.

BigTuna

Well-Known Member
Joined
Feb 25, 2011
Messages
132
Reaction score
15
Location
Madison
First off I have to give it up to 2 threads in which I got a lot of inspiration from.
https://www.homebrewtalk.com/f51/solid-strut-single-tier-build-400624/
and
https://www.homebrewtalk.com/f51/my-single-tier-strut-brewstand-440287/
Both of these guys were very helpful and had great ideas.

I ordered all of the strut from www.strutchannelfittings.com They were awesome to deal with, especially since I had to return something and they gave me no hassle.

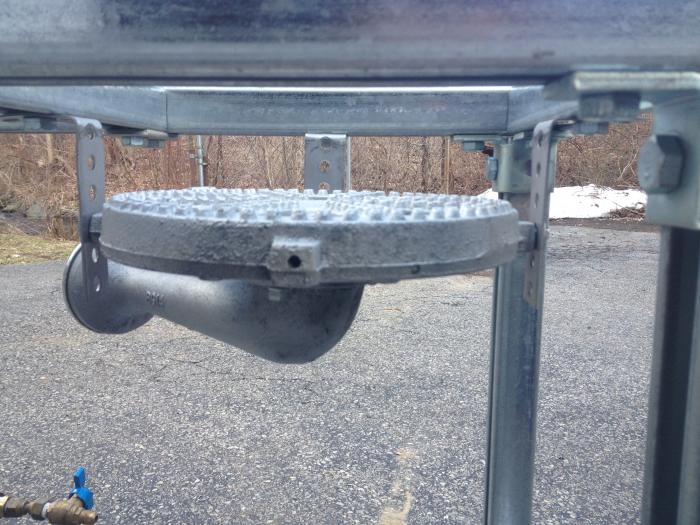
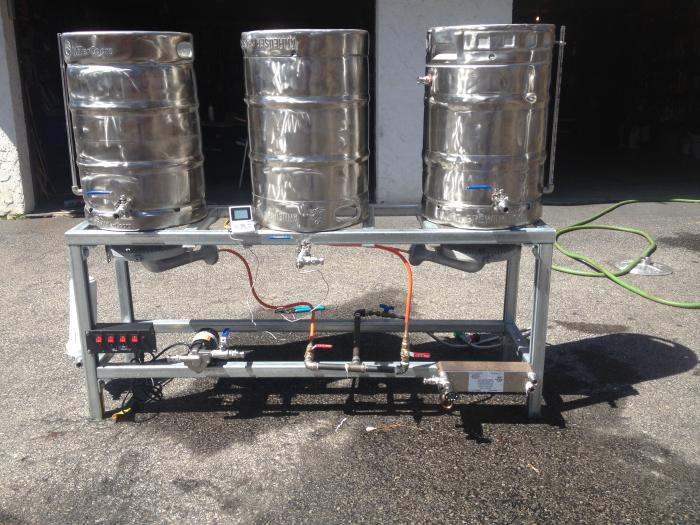
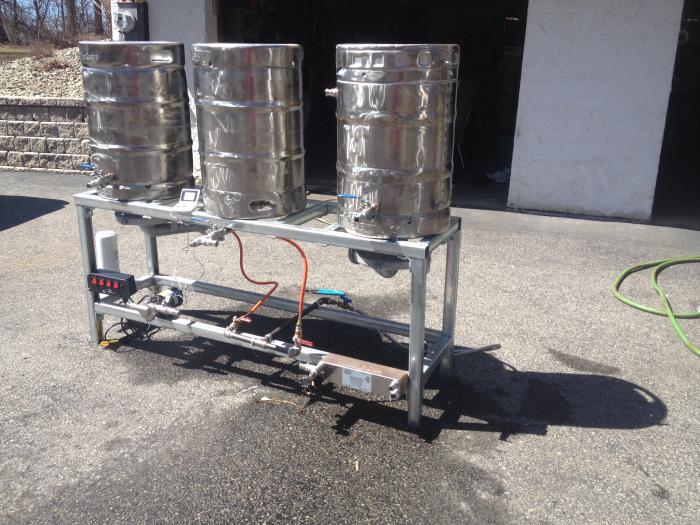
As for the build.. It's just the frame right now but soon I will be getting 3 1/2 bbl kegs and almost all of my equipment from www.brewhardware.com

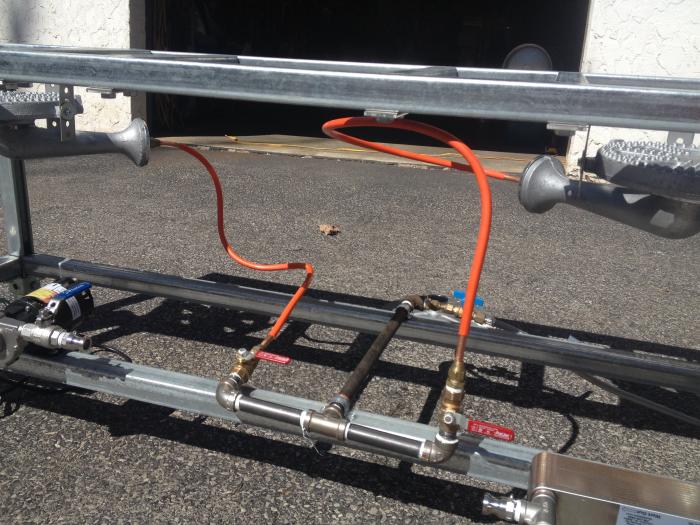
When its finished it will have a chugger pump, cam and groove fittings, digital temp readouts, weld less bulkheads, a bottom drain mash tun plus some other nice stuff. I will post pic's of the build in progress, I'll just need the $$$ before I order everything. Waiting for my mustang to sell in order to fund the rest. Anyway, I'm pretty proud of the stand and can't wait for it's maiden voyage.
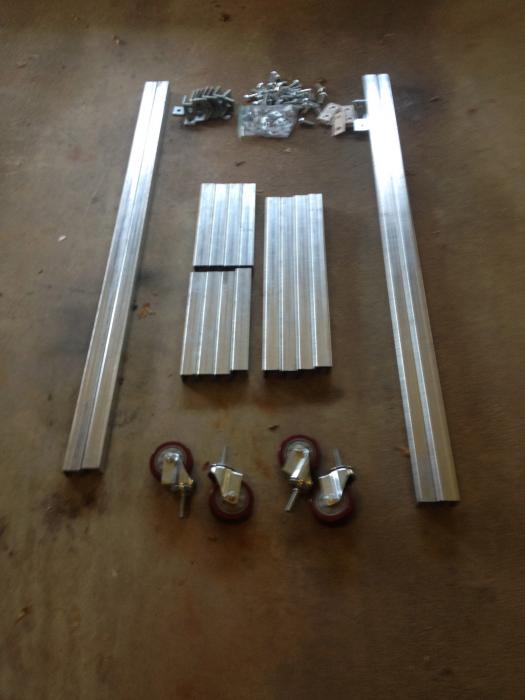
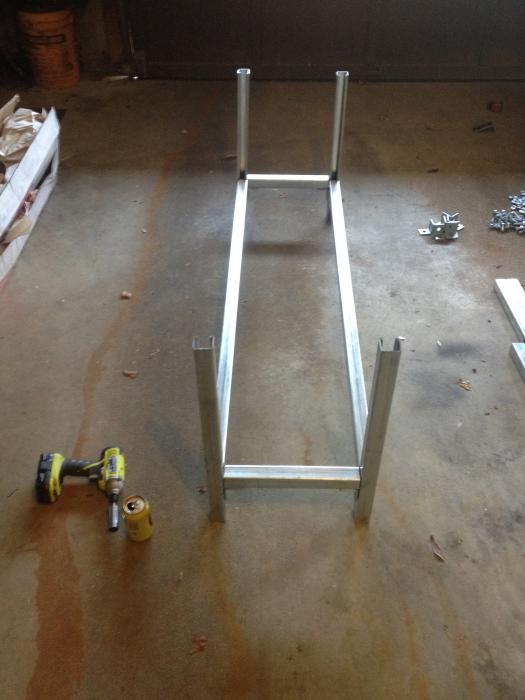
IMG_0020.jpg


IMG_0021.jpg


IMG_0022.jpg


IMG_0026.jpg
 
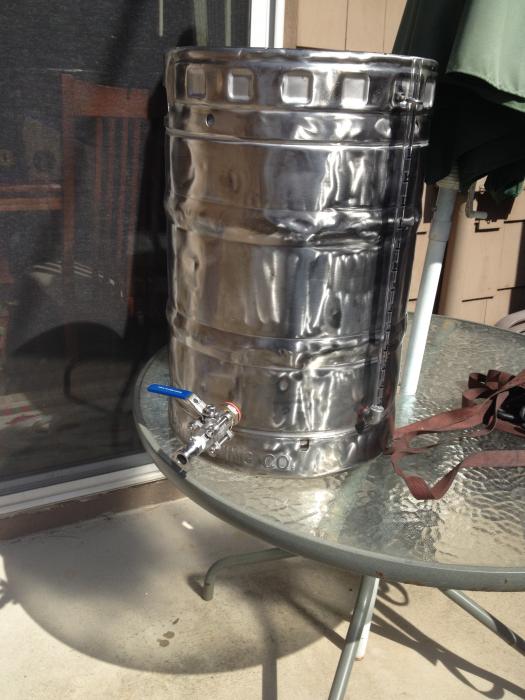
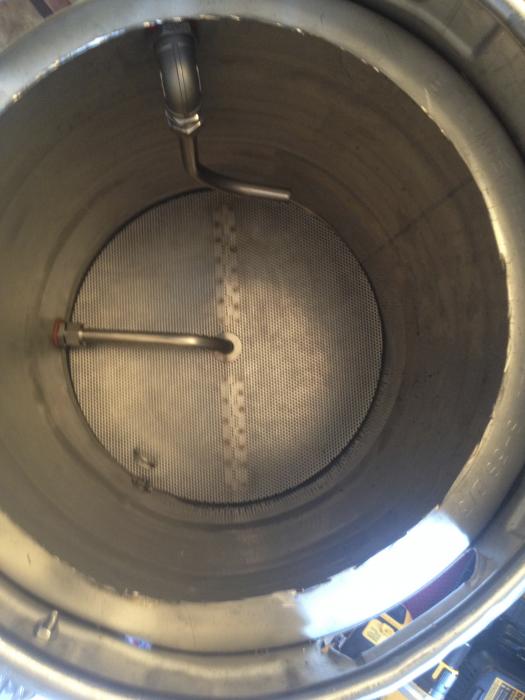
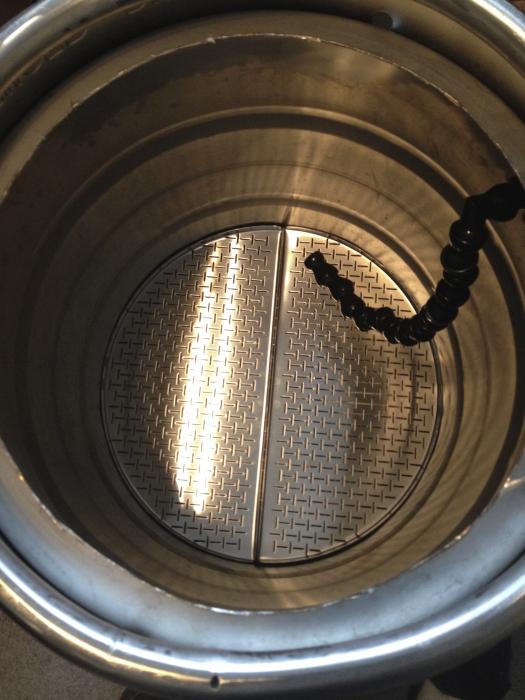
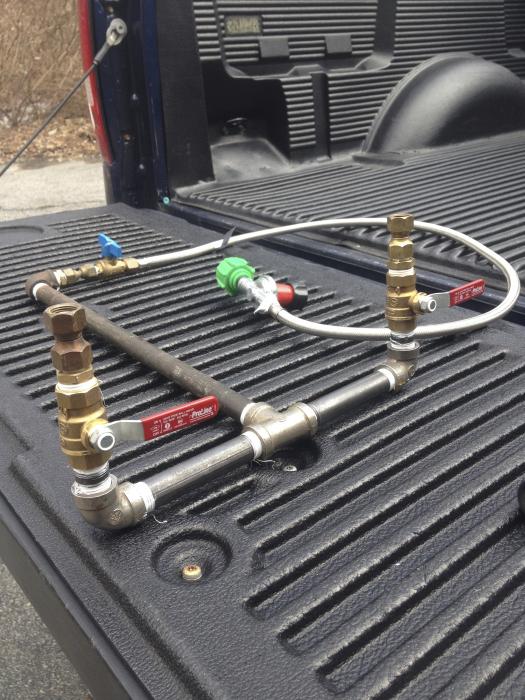
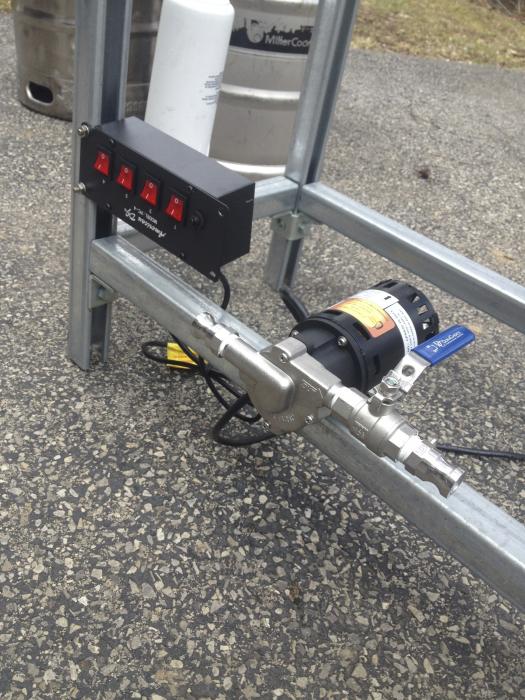
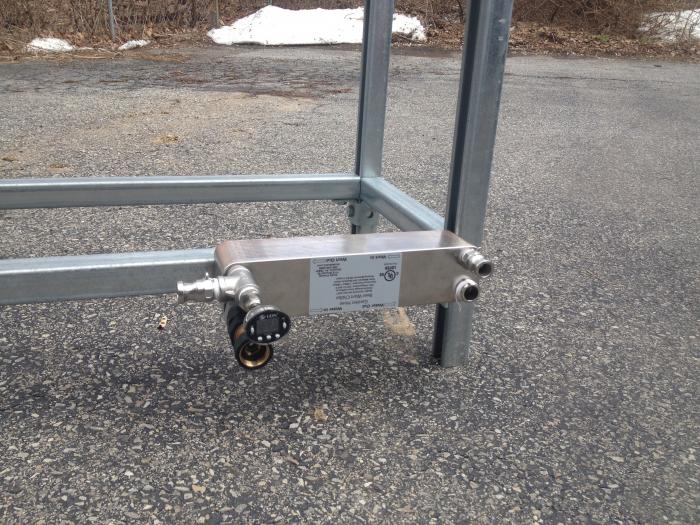
Ok So.. It's been a while since I first posted this thread. I finally sold my car and funded this project. I had a great time building it and definitely scoured the forums for ideas and help. The finished rig is a 10gal single tier keggle Herms System. I am still waiting to purchase about 50ft of 1/2 copper tubing to make the Herms coil. Once that's done I'll drill the holes in the HLT for the weld less compression fittings. Here's a look at the build...

IMG_0314.jpg


IMG_0318.jpg


IMG_0328.jpg


IMG_0340.jpg


IMG_0369.jpg
 
That is so... freakin'... awesome! I'm jealous! 1, at your handimannedness, and 2, your new toy :) Congrats, and great job!
 
Looking good! I like the addition of the water filter! I was thinking about something like that but I was going to plumb it with copper so that it hung off the HLT, this way I could remove it but at the same time the burners would not harm it .


Sent from my iPhone using Home Brew
 
Looking good! I like the addition of the water filter! I was thinking about something like that but I was going to plumb it with copper so that it hung off the HLT, this way I could remove it but at the same time the burners would not harm it .


Sent from my iPhone using Home Brew

I had the same idea but I tested the heat given off by the burner and I don't think it will affect the filter. Also, there will be cold water flowing through it most of the time so I think it will counteract any heat issues.
 
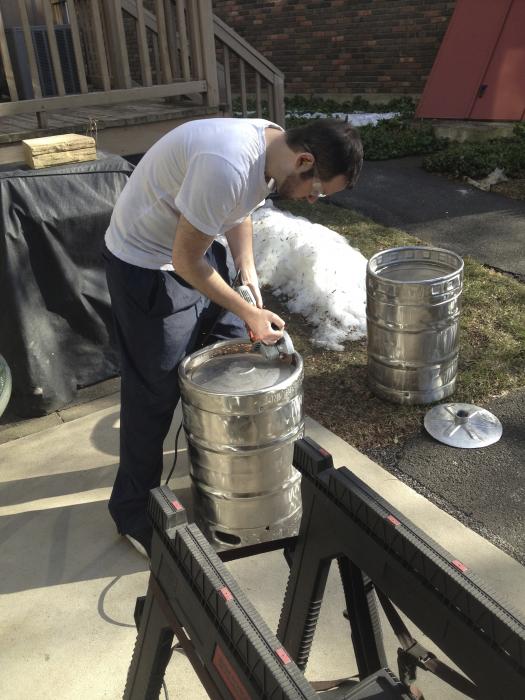
How did you go about polishing the keggles?

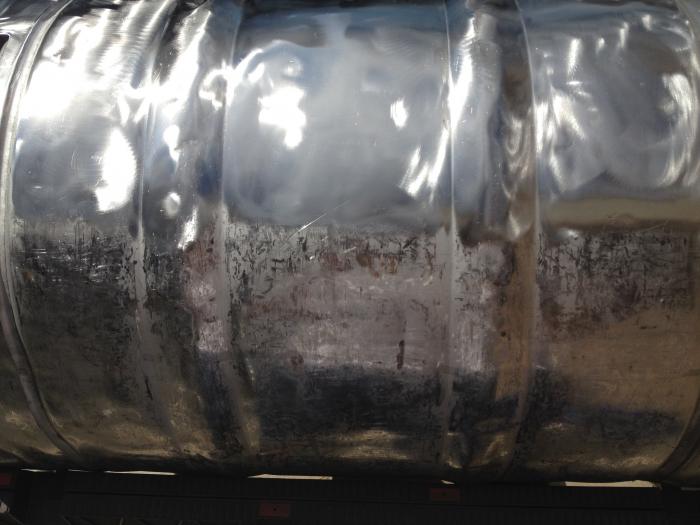
Yeah, I didn't do the last step in his method of "polishing" However, I did use medium and fine coarse disks to make them a bit shinier. I bought a stick of polishing compound and whenever I would try to apply it to the polishing pad it simply turned to dust. That's about when I decided to give up and continue building the rig instead of beautifying the kettles. Do anyone know of a good polishing compound?

-Kevin
 
Also, I used a 4 1/2 angle grinder with Gator sanding disks. Started at Medium and then finished at fine.
 
Yeah, I didn't do the last step in his method of "polishing" However, I did use medium and fine coarse disks to make them a bit shinier. I bought a stick of polishing compound and whenever I would try to apply it to the polishing pad it simply turned to dust. That's about when I decided to give up and continue building the rig instead of beautifying the kettles. Do anyone know of a good polishing compound?

-Kevin

It will turn to powder a bit but it should stick to your polishing wheel quite a bit too..

I just used the #2 and #5 polishing compound made by Porter Cable..its what my Lowes sells

They have versions 1-5 of this

http://www.lowes.com/pd_329452-70-P...currentURL=?Ntt=polishing+compound&facetInfo=

Its opposite i believe of what Bobby_M's instructions are though...i think the #2 is the rough Compound and #5 is the final polish...you'd have to look at the package...

The key is to really push down on the grinder, if you just do a small bit and push down quite a bit until it starts to slow down the grinder you'll see that area turn to a mirror finish almost instantly...keep going a bit apply more polish and continue ;)
 
You did sand down the lip where you cut the top out right? In your pics it still looks pretty rough, I figured they were just old images?
 
You did sand down the lip where you cut the top out right? In your pics it still looks pretty rough, I figured they were just old images?

Haha, haven't done that yet. I just got a thick sanding disk so I'm going to tackle that this weekend.
 
It will turn to powder a bit but it should stick to your polishing wheel quite a bit too..

I just used the #2 and #5 polishing compound made by Porter Cable..its what my Lowes sells

They have versions 1-5 of this

http://www.lowes.com/pd_329452-70-P...currentURL=?Ntt=polishing+compound&facetInfo=

Its opposite i believe of what Bobby_M's instructions are though...i think the #2 is the rough Compound and #5 is the final polish...you'd have to look at the package...

The key is to really push down on the grinder, if you just do a small bit and push down quite a bit until it starts to slow down the grinder you'll see that area turn to a mirror finish almost instantly...keep going a bit apply more polish and continue ;)


This is the stuff that I got. http://www.amazon.com/gp/product/B0009SW592/?tag=skimlinks_replacement-20

Perhaps I'll try the porter cable one...
 
Last edited by a moderator:
So, I've brewed on the new rig twice. First batch was a 5gal american wheat - nice and cheap. Next two were 10gal Pale Ale recipes. I brewed the same pale ale twice on different occasions because I miscalculated my efficiency the first time around. I used to get between 70% and 75% on the old rig. I am now getting around 87%! So this rig, after initial purchase, is actually saving me money! I recirculate my mash and double batch sparge. The addition of the sight glasses are extremely helpful. I can't believe I used to brew without them.

Here's a shot of it in action. Not really a great shot though, it was darker in the garage than the backlight from outside.

IMG_0549.jpg
 
Jealous! I wishing it was not 100 degrees in FL. I don't brew during the spring/summer months :-( to hot!!

Looking good though!!
 
Jealous! I wishing it was not 100 degrees in FL. I don't brew during the spring/summer months :-( to hot!!

Looking good though!!

The only issue I have with the summer in New England is fermentation control. I have no room to build a ferm chamber so I let the fermenters chill out on my tile kitchen floor. It's about 67deg in here right now. That's a bit warmer than i'd like but whatever, this beer has fermented at higher temps and hasn't affected the flavor.
 
That web site is actually www.stRutchannelfittings.com
They are somewhat pricey. Home depot sells the same stuff for <$21 per 10 ft length and you can typically pick it up in store

Why didn't you fit the casters? Will they not attach to the strut? I have a set of 4" industrial caster 1/2" screw fitting attached to my 17.5 gallon fermenter, makes it easy to move (carefully). Was thinking of building of building a stand somewhat like yours using strut and intended to use another set of those casters to be able to move it easily when not in use - They are $20 for 4 in Lowes - strangely in the shelving section!
 
Why didn't you fit the casters? Will they not attach to the strut? I have a set of 4" industrial caster 1/2" screw fitting attached to my 17.5 gallon fermenter, makes it easy to move (carefully). Was thinking of building of building a stand somewhat like yours using strut and intended to use another set of those casters to be able to move it easily when not in use - They are $20 for 4 in Lowes - strangely in the shelving section!

I ran out of the nuts and haven't ordered more. I guess I didn't count correctly :drunk:

I also bought non-locking casters so that was my second mistake. I sent them back and got them replaced but then realized I didn't have the nuts to mount the brackets. I went to HD and asked for the nuts and they looked at me like I had 8 heads. That's about when I gave up.

I almost never brew alone so it's usually not a problem. I don't have to move it far to brew so I haven't made this a priority.

*** Also, thanks for noticing the mistake in the URL that I provided. Must have fat fingered that one!
 
Back
Top