chaserchap
Well-Known Member
Tax returns are a wonderful thing, especially when you're getting a whole lot more than expected. So what better way to blow through some of that money than by setting up an electrical brewing set up? That being said I don't want to spend too much, and I'm running with a few limitations, namely, I will only be using 120VAC connections, I want my build to be fairly portable, and entirely upgradeable.
I plan on updating this thread as things progress, so if you're interested, great, if not, my feelings won't be hurt.
To give some background I'm currently only running extract/specialty grain brews on the stove. I recently bought a turkey fryer, but I'd rather go all electric. I have two boiling kettles, one a 4 gallon for partial brews, and the turkey fryer came with an 8.34 gallon kettle.
So here's my plan, a 2.5 tier 2.5 pot system (you'll see what I mean):
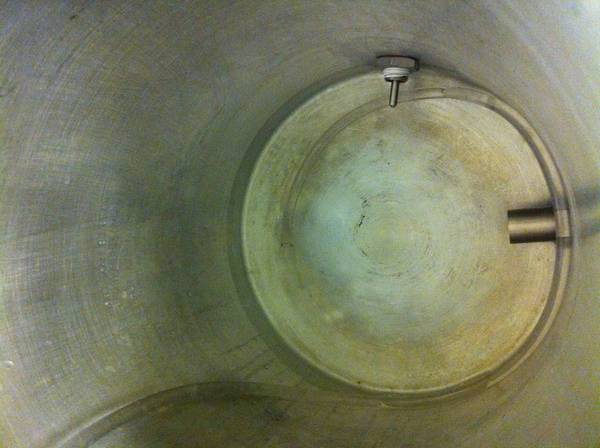
The HLT/BK will have two 120v 2000W heating elements and an installed immersion chiller as well as a temperature probe and ball valve. The heating elements will be controlled using a PID in a control box. I hope to use the 8.34 gallon kettle I have, but I don't want to have to worry too much about boil overs. I only plan on doing 5 gallon batches, so I don't need a huge setup.
The MT will be a 10 gallon DIY Cooler build with a fly sparge system, rate controlled by ball valves. Since I'm going with a cooler build I'm not going to worry about HERMS/RIMS as it should hold temps pretty well.
As I said it's a 2.5 tier 2.5 pot system, the stand itself will only have two levels, one for the HLT/BK and one for the MT. Gravity will supply the pressure differential to push flow into the MT, I'll then use a 7 gallon bucket to collect the wort, once I've got my full boil amount I'll dump it back in the HLT/BK to begin the boil. Once the boil is done, IC chiller, gravity into fermenter (you know the drill).
Control panel will feature one PID to control the two SSRs to the HE's, a timer, alarm, I'll also be able to turn both heating elements on or off manually, as needed. The two HE's will be ran entirely separately off two separate 120V wall outlets, one of the plugs will also supply power to the control panel components. I'd like to have the PID only control one of the heating elements, and leave the other on all the time (unless manually shut off) but I'd have to figure out what wattage is going to hold the temperature around 170 fairly constantly. My wiring plan for the control panel is here however I'm not dead set on it as I want to make sure it's safe and will work how I envision it (I'm no EE).
As part of the build I'll also be implementing a temperature controlled ferm chamber, ie a modified chest freezer or mini fridge. I like the idea of the mini fridge if I can find one big enough so I can store it under the brew table, but I'm not picky.
The only work I've made toward this build is modifying a thermostat I had lying around to run the minifridge/freezer whenever I find one. But I'm pretty happy with how it turned out, considering it was the first time I've soldered anything.
I can't think of any other details right now, if I do I'll put them up.
Feel free to ask questions or make suggestions.
I plan on updating this thread as things progress, so if you're interested, great, if not, my feelings won't be hurt.
To give some background I'm currently only running extract/specialty grain brews on the stove. I recently bought a turkey fryer, but I'd rather go all electric. I have two boiling kettles, one a 4 gallon for partial brews, and the turkey fryer came with an 8.34 gallon kettle.
So here's my plan, a 2.5 tier 2.5 pot system (you'll see what I mean):
The HLT/BK will have two 120v 2000W heating elements and an installed immersion chiller as well as a temperature probe and ball valve. The heating elements will be controlled using a PID in a control box. I hope to use the 8.34 gallon kettle I have, but I don't want to have to worry too much about boil overs. I only plan on doing 5 gallon batches, so I don't need a huge setup.
The MT will be a 10 gallon DIY Cooler build with a fly sparge system, rate controlled by ball valves. Since I'm going with a cooler build I'm not going to worry about HERMS/RIMS as it should hold temps pretty well.
As I said it's a 2.5 tier 2.5 pot system, the stand itself will only have two levels, one for the HLT/BK and one for the MT. Gravity will supply the pressure differential to push flow into the MT, I'll then use a 7 gallon bucket to collect the wort, once I've got my full boil amount I'll dump it back in the HLT/BK to begin the boil. Once the boil is done, IC chiller, gravity into fermenter (you know the drill).
Control panel will feature one PID to control the two SSRs to the HE's, a timer, alarm, I'll also be able to turn both heating elements on or off manually, as needed. The two HE's will be ran entirely separately off two separate 120V wall outlets, one of the plugs will also supply power to the control panel components. I'd like to have the PID only control one of the heating elements, and leave the other on all the time (unless manually shut off) but I'd have to figure out what wattage is going to hold the temperature around 170 fairly constantly. My wiring plan for the control panel is here however I'm not dead set on it as I want to make sure it's safe and will work how I envision it (I'm no EE).
As part of the build I'll also be implementing a temperature controlled ferm chamber, ie a modified chest freezer or mini fridge. I like the idea of the mini fridge if I can find one big enough so I can store it under the brew table, but I'm not picky.
The only work I've made toward this build is modifying a thermostat I had lying around to run the minifridge/freezer whenever I find one. But I'm pretty happy with how it turned out, considering it was the first time I've soldered anything.
I can't think of any other details right now, if I do I'll put them up.
Feel free to ask questions or make suggestions.