You are using an out of date browser. It may not display this or other websites correctly.
You should upgrade or use an alternative browser.
You should upgrade or use an alternative browser.
My Keezer - The Documentary
- Thread starter t3e871
- Start date

Help Support Homebrew Talk - Beer, Wine, Mead, & Cider Brewing Discussion Forum:
This site may earn a commission from merchant affiliate
links, including eBay, Amazon, and others.
Monster Mash
Well-Known Member
Is the wood against the sheet metal? If it is it won't allow the coils to cool properly and it will over heat and shorten the life of the freezer. If you put your hand on the skin of a working freezer you will feel that it is warm, this is what cools the refrigerant before it goes back into the compressor.
purplehaze
Well-Known Member
- Joined
- Mar 2, 2011
- Messages
- 398
- Reaction score
- 27
I am guessing here because my set up is different but I don't think you need a hose to pull up the lower colder air into the coffin. Just the air being sent back into the freezer from the coffin should be enough to stir up the air.
I cant tell from the pics but do you have a lot of dead space in the coffin or did you fill most of it up with insulation?
If you have a lot of dead space I would insulate the middle of the coffin below the shanks creating a lower case "n" shaped channel. With a fan mounted to the channel, it will pull the cold air up into the coffin, over the shanks and back down to the freezer. The channel diameter will also dictate the air flow rate.
I would not be too concerned with the temp at the shanks. Look more at the temp of the beer coming out of them and whether you are getting a lot of foam.
TheBusterBrew
Member
Amazing build! Thanks for sharing the details on the entire build. Truly inspirational. I can't wait to build my next keezer. If only I could make a living out of keezer builds...
You may want to hook up a tube so that the out intake is located at the top (heat rises). You may get a more uniform temp in the coffin that way.
I'm not following you...you mean put the fan inside the coffin?
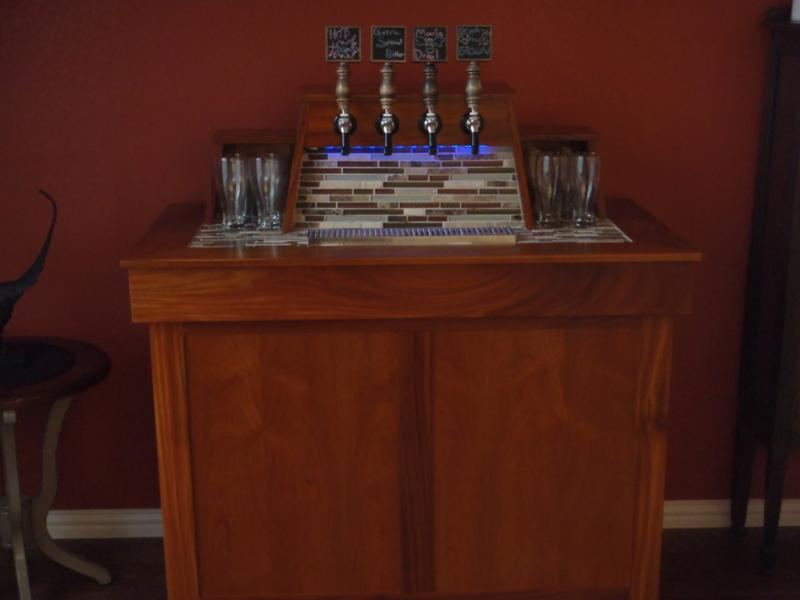
those LED lights......information on them?
Looks good
A lot of the keezers on this forum have these LEDs from Amazon, $36 for the package that includes 16' of lights, the power supply, remote.
Amazon http://www.amazon.com/Changing-LED-Strip-Controller-Ledwholesalers/dp/B0040FJ27S/ref=acc_glance_hi_ai_ps_t_4
Last edited by a moderator:
Is the wood against the sheet metal? If it is it won't allow the coils to cool properly and it will over heat and shorten the life of the freezer. If you put your hand on the skin of a working freezer you will feel that it is warm, this is what cools the refrigerant before it goes back into the compressor.
No the wood skirt is 2" from the sides of the freezer and I believe the manual called for a 3" clearance. I put some small fans on each side of the base to help remove some of the heat from the gap. Currently it's running in my garage that is around 50-60F and it doesn't seem to get too hot. When I bring it inside we'll have to see how it goes.
I am guessing here because my set up is different but I don't think you need a hose to pull up the lower colder air into the coffin. Just the air being sent back into the freezer from the coffin should be enough to stir up the air.
I cant tell from the pics but do you have a lot of dead space in the coffin or did you fill most of it up with insulation?
If you have a lot of dead space I would insulate the middle of the coffin below the shanks creating a lower case "n" shaped channel. With a fan mounted to the channel, it will pull the cold air up into the coffin, over the shanks and back down to the freezer. The channel diameter will also dictate the air flow rate.
I would not be too concerned with the temp at the shanks. Look more at the temp of the beer coming out of them and whether you are getting a lot of foam.
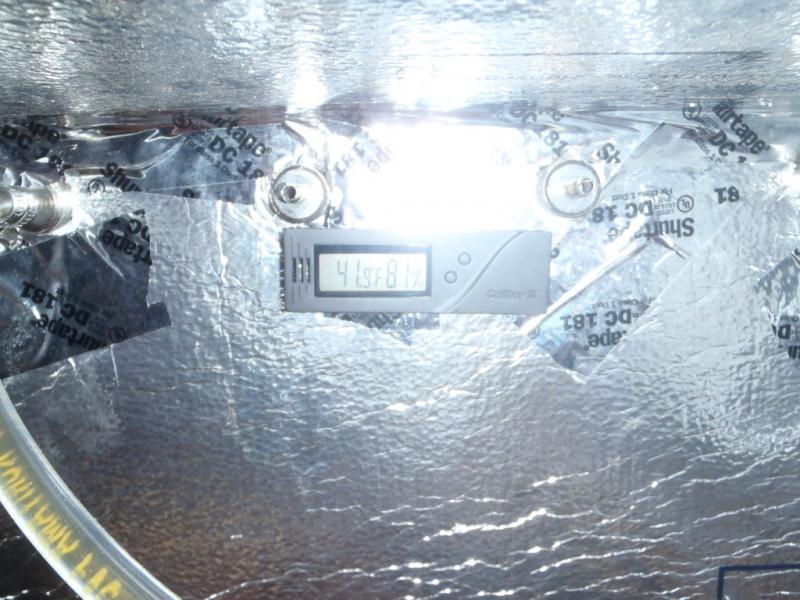
I insulated each interior wall of the coffin with 3/4" sheet foam and a double sheet on the shanks, so I do have a lot of dead space. Tonight I filled the small gaps with that spray foam and was getting 37F in the freezer and 43F in the coffin....I think I will make that N shape and direct the air around the shanks and maybe double up on the rest of the insulation as well.
I tested a few lengths of 3/16" beer line starting with 15' at 12PSI. That was too long and I only got a trickle at the tap. The I removed a pic nic tap from a 4' length of 3/16" beer line and tried that at 10PSI...way too strong and all foam.
By the time I tested the 8' and 10' lengths I was almost drunk and still getting too much foam on all but the 8' at 10PSI.
I'm trying to figure out how much 3/16" beer line to use to eliminate foam and I'm remembering why I dismantled my lest beer fridge and sold all of my kegs a few years ago...I was always dicking with the pressures and was never happy with the results.
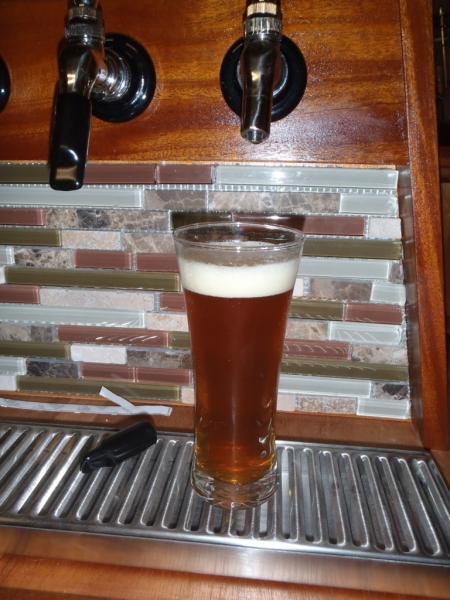
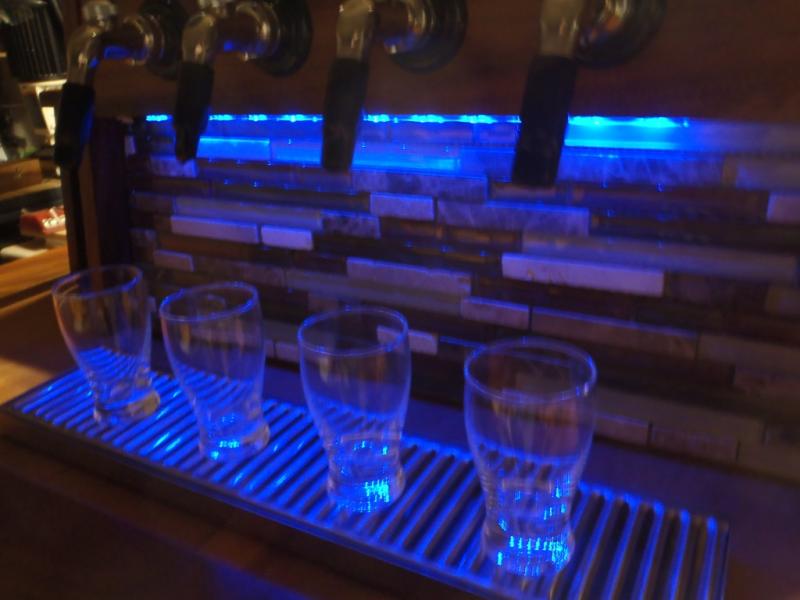
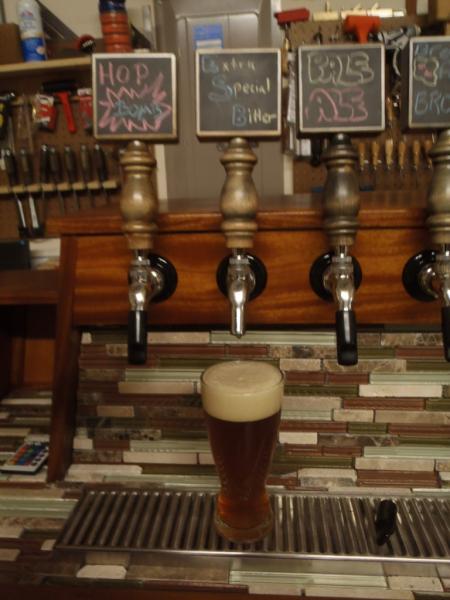
This is the result of a few different lengths of beer line; 8' seems to be the best at around 10PSI (on the left).
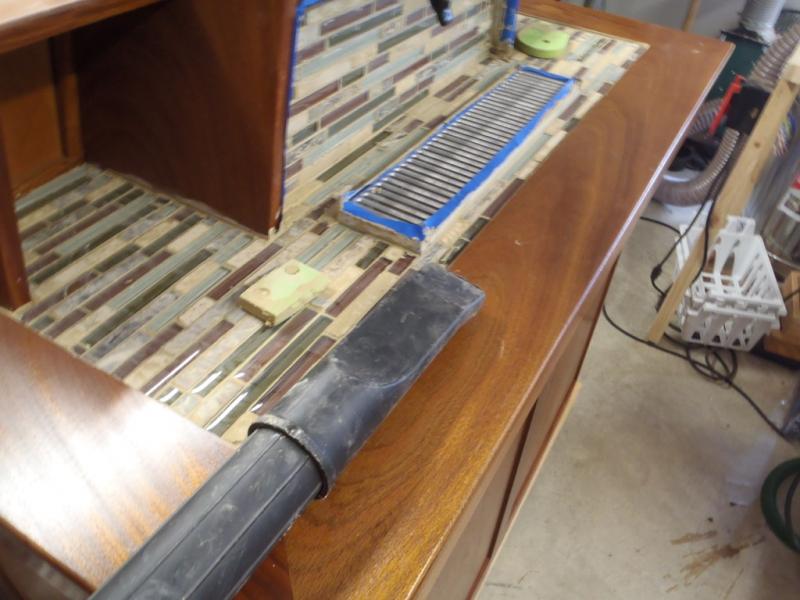
I cut and laid the tile "sticky stuff" a word of caution - Do Not get this stuff on your hands...it will not come off!. I've had my hands in some bad stuff and everything I have seen usually wears off in a day or two if a good washing wont take it off. Not this stuff!


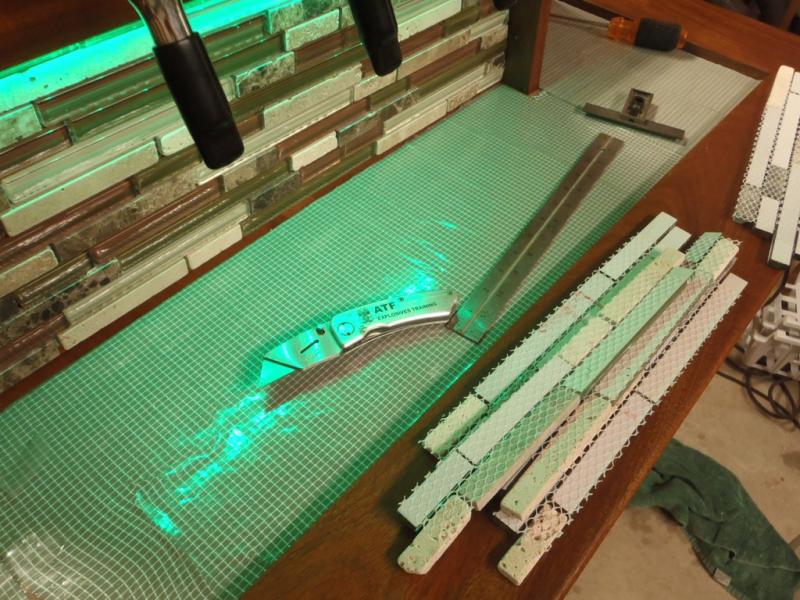

I cut and laid the tile "sticky stuff" a word of caution - Do Not get this stuff on your hands...it will not come off!. I've had my hands in some bad stuff and everything I have seen usually wears off in a day or two if a good washing wont take it off. Not this stuff!


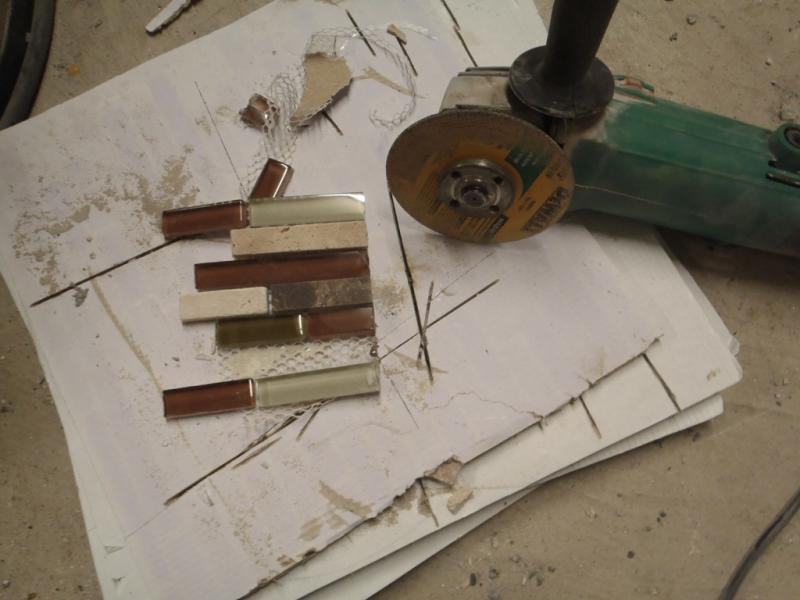
This is my third tile job using the Harbor Freight angle grinder. It is on the last leg and almost died before cutting the last few tiles to size. I think I may have paid $10 for this thing about 10 years ago...
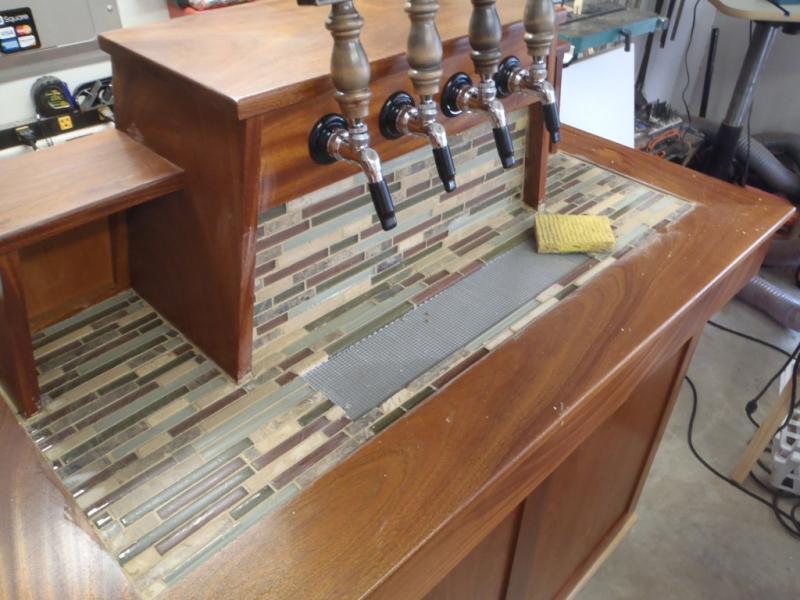
Tile is set, next thing will be to grout.

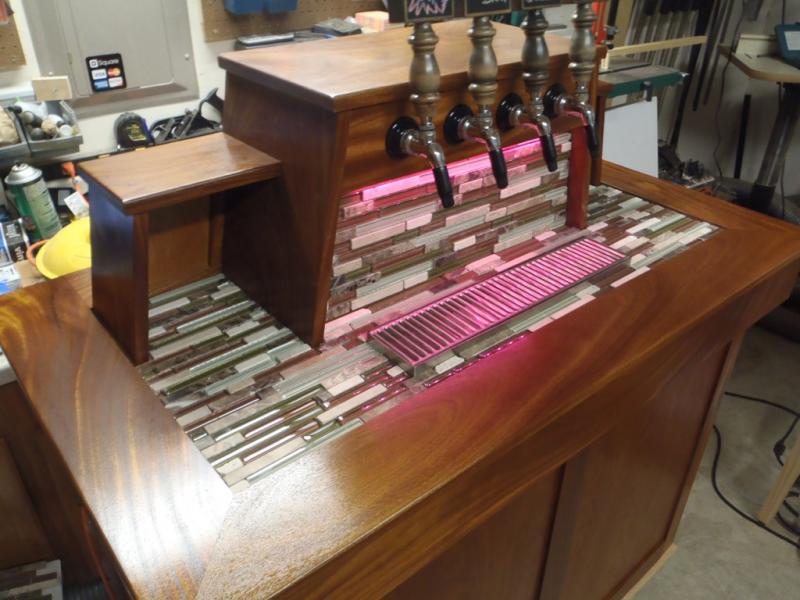
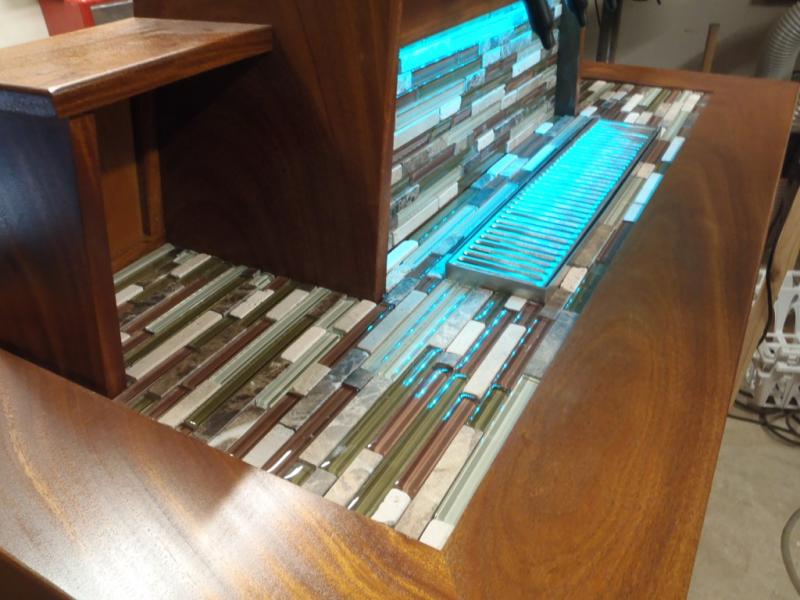

Tile is set, next thing will be to grout.


My beers are pulling nicely...I settled on about 8' of 3/16" beer line to each shank. The beer in the 4 kegs is between 37-38F and I have 2 kegs at 10PSI and 2 at 12PSI. A little more tweaking and I'll be happy.


SuburbanBrewer
Well-Known Member
- Joined
- Dec 11, 2011
- Messages
- 79
- Reaction score
- 17
You used an angle grinder to cut those glass tiles? Any special technique? I only ask because I'm about to do a back splash in my kitchen with, i think, those identical tiles.
AMAZING keezer by the way. Truly a piece of art.
AMAZING keezer by the way. Truly a piece of art.
You used an angle grinder to cut those glass tiles? Any special technique? I only ask because I'm about to do a back splash in my kitchen with, i think, those identical tiles.
AMAZING keezer by the way. Truly a piece of art.
Yes I cut them with a mason cutting disc, but I wouldn't recommend it for a larger job like a kitchen. I used this angle grinder to tile a complete kitchen and bathroom at my old house, but I used normal tile...The glass doesn't cut cleanly and I'm not sure if it's even glass. They seem to melt a little and the crack, but not always at the cut line. I made it work, but I'm sure there is a better way to cut those tiles.
Brickout
Well-Known Member
Looks fantastic!
Do the entire tile job and save the cut pieces for last. Then rent a wet saw for a day / half day. Or you can buy a wet saw if you think you'll be doing more tile work in the future. It's a worthwhile tool investment.
You used an angle grinder to cut those glass tiles? Any special technique? I only ask because I'm about to do a back splash in my kitchen with, i think, those identical tiles.
AMAZING keezer by the way. Truly a piece of art.
Do the entire tile job and save the cut pieces for last. Then rent a wet saw for a day / half day. Or you can buy a wet saw if you think you'll be doing more tile work in the future. It's a worthwhile tool investment.
Nanitebrewing
Active Member
Looks great! I'm also in the middle of my own build which I'll post pictures of. Mine has a lot of curves and faux legs for the side which I'm working on now.
My major concern now is the weight of the lid. I've got 6 granite tiles and 3 travertine backsplash tiles as well. I think the lid will weigh over 100 pounds. What are people doing beyond a stick to prop it up? I'd hate for it to decapitate me.
My major concern now is the weight of the lid. I've got 6 granite tiles and 3 travertine backsplash tiles as well. I think the lid will weigh over 100 pounds. What are people doing beyond a stick to prop it up? I'd hate for it to decapitate me.
greenbirds
Well-Known Member
- Joined
- May 15, 2008
- Messages
- 441
- Reaction score
- 9
Great job on the keezer. That wood is gorgeous, and I love the coffin design.
Keano41
Active Member
This is one of the best keezer builds I've seen. So much attention to detail! Good work!
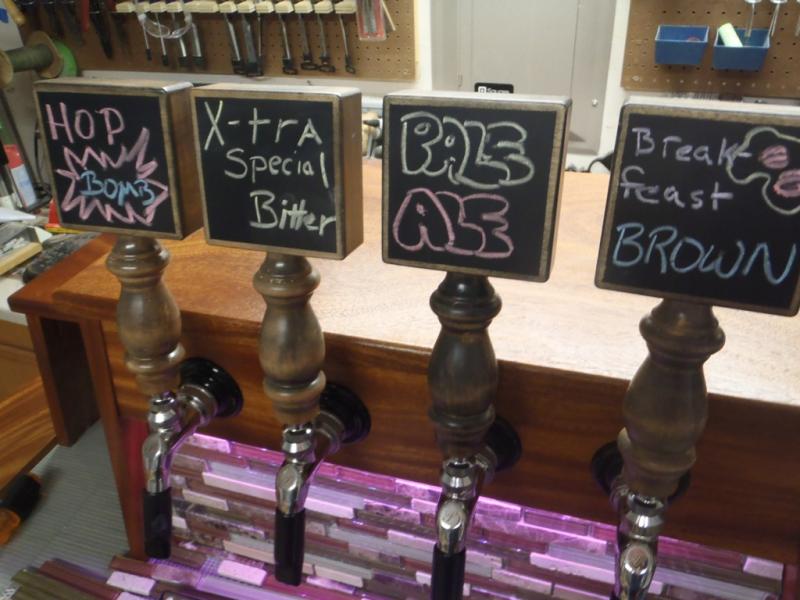
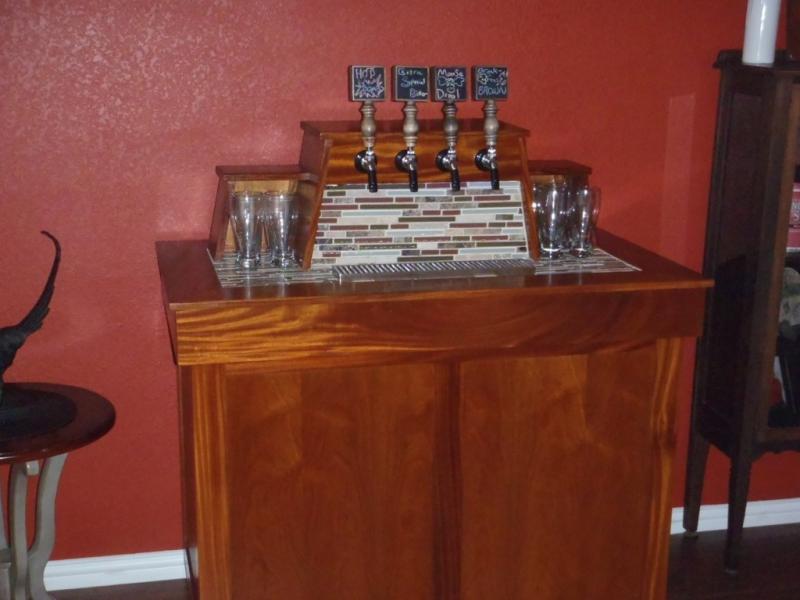
I'm not hatting on it one bit, but IMO I would replace the chalk board tap handles with something different. I've seen them before in my LHBS and they are nice, but it doesn't flow with the rest of your design. The mahogany is rich and warm and then your tap handles have a mottled stain making them look faded and dull compared to the rest of the wood. I could see dark stained mahogany, deep walnut or even ebony tap handles working well.
I'm not hatting on it one bit, but IMO I would replace the chalk board tap handles with something different. I've seen them before in my LHBS and they are nice, but it doesn't flow with the rest of your design. The mahogany is rich and warm and then your tap handles have a mottled stain making them look faded and dull compared to the rest of the wood. I could see dark stained mahogany, deep walnut or even ebony tap handles working well.
This is one of the best keezer builds I've seen. So much attention to detail! Good work!
I'm not hatting on it one bit, but IMO I would replace the chalk board tap handles with something different. I've seen them before in my LHBS and they are nice, but it doesn't flow with the rest of your design. The mahogany is rich and warm and then your tap handles have a mottled stain making them look faded and dull compared to the rest of the wood. I could see dark stained mahogany, deep walnut or even ebony tap handles working well.
Thanks for the nice words..and I agree with you about the taps. I didn't like them from the second I pulled them out of the box. Having never seen them in person before I ordered online, didn't help...and the price! $39.95 EACH. I still can't get over this, but I guess there are many others like me that pay it.
I could make better taps that match for 1/3 that price...and that's what I will do eventually. I will use them as an excuse to buy a wood lathe!
Looks great! I'm also in the middle of my own build which I'll post pictures of. Mine has a lot of curves and faux legs for the side which I'm working on now.
My major concern now is the weight of the lid. I've got 6 granite tiles and 3 travertine backsplash tiles as well. I think the lid will weigh over 100 pounds. What are people doing beyond a stick to prop it up? I'd hate for it to decapitate me.
One of the guys on here had gas shocks custom made to assist the lift of the lid. He said they were $150 delivered. They attach to the rolling base and the lid and he said when the freezer was empty they picked up the freezer in the rear so he had to attach chains in the back to hold it down. I'm thinking about trying to find something that will work at autozone...without having to explain to the store clerk what I'm using it for. I think a large SUV rear gate gas shock or something similar.
I found it: https://www.homebrewtalk.com/f51/my-kegerator-255232/
Hoppopotomus
Cedar Hollow Brewing
Jester had a fantastic idea a while back before he sold "The Original Keezer" volume 1. He suggested linear actuators to lift the lid. I looked into them and they are not ridiculously expensive and can easily lift the kind of weight that is on our keezer lids. I had to put my keezer project to rest for a while, because if I spent any more money on mine, my wife was going to kill me! I have seen the hydraulic lifts used in the past, but linear actuators would be absolutely kick a$$. Just step on a foot pedal and up goes the lid without any effort. My concern was torsional stress on the hinges with just using one actuator on a single side, but others didn't think it would be a big concern. If you could put the exact same linear actuators on either side that have the same load lifting capacity, travel distance, and travel speed....and somehow get them on the same controller, it would be awesome! 
In the meantime, I just use safety straps that I made out of ratchet straps that I had laying around. I lifted the lid up and took it just past it's balancing point and secured the two straps with oversized washers and wood screws to the cabinet frame and put to the lid. That way when I lift the lid and take it just beyond the balance point, the straps hold that position and there is very little strain on the hinges. Works like a charm. Something tells me that it's on page 16 of my keezer thread in my signature line, but I could be wrong. Good luck gentleman!
.....and awesome job t3e871!

In the meantime, I just use safety straps that I made out of ratchet straps that I had laying around. I lifted the lid up and took it just past it's balancing point and secured the two straps with oversized washers and wood screws to the cabinet frame and put to the lid. That way when I lift the lid and take it just beyond the balance point, the straps hold that position and there is very little strain on the hinges. Works like a charm. Something tells me that it's on page 16 of my keezer thread in my signature line, but I could be wrong. Good luck gentleman!

.....and awesome job t3e871!
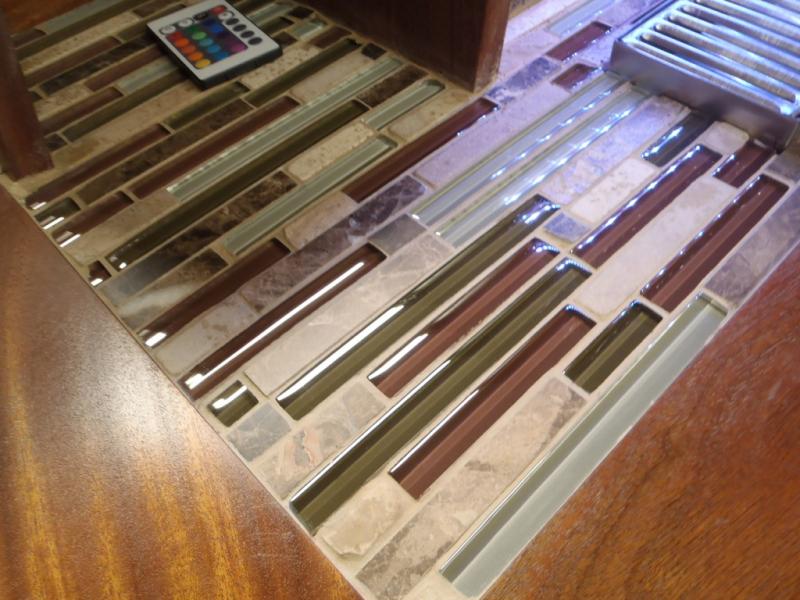
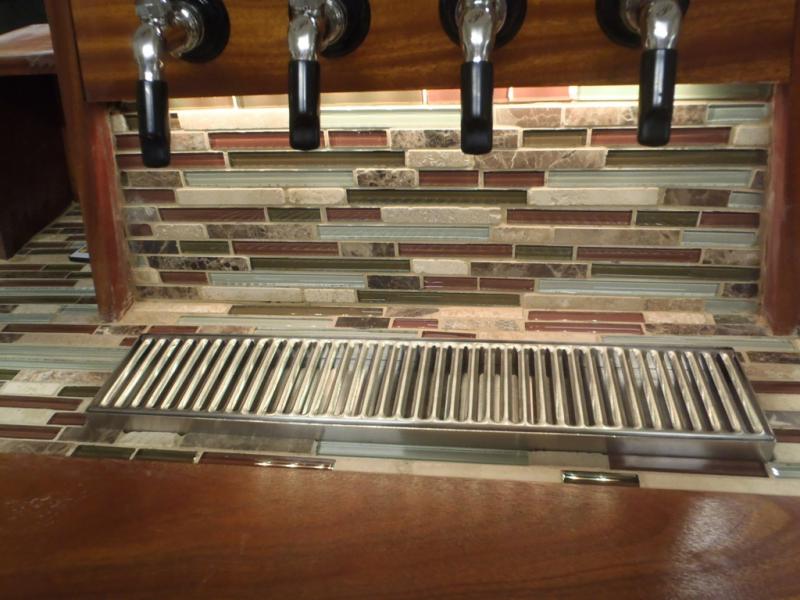
After I wasted most of my saturday attending a wedding, I was still able to get some work done on the keezer AND make a batch of Ed's apfel wein. I thoroughly tested the pour on each tap last week and am happy with the carbonation of each. With the testing out of the way I started on the grout.
I didn't have a float and didn't want to buy one so I found some of my daughter's flops to cut them to custom sizes - this worked great to get the grout in the tight corners.

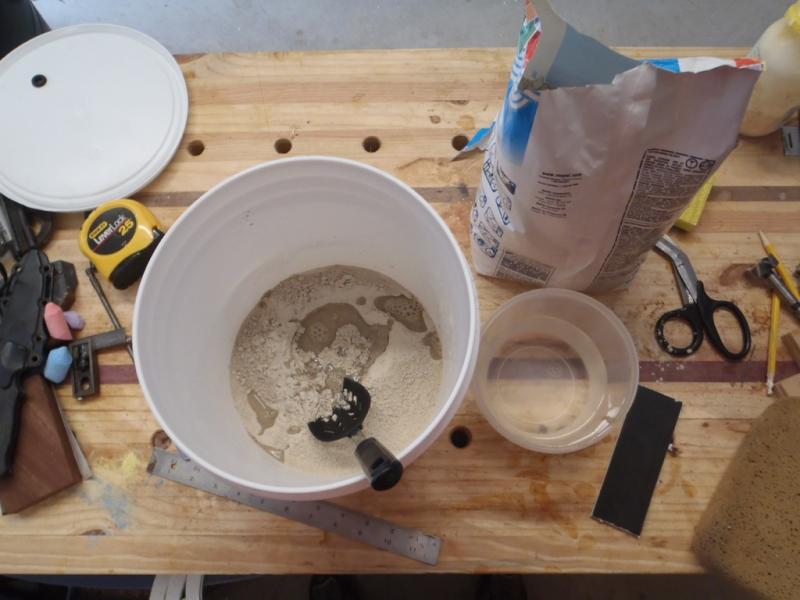
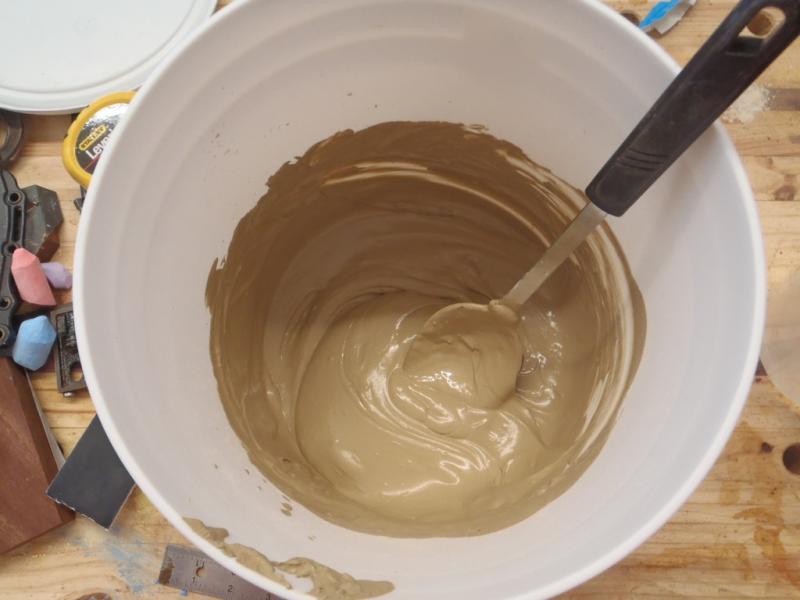
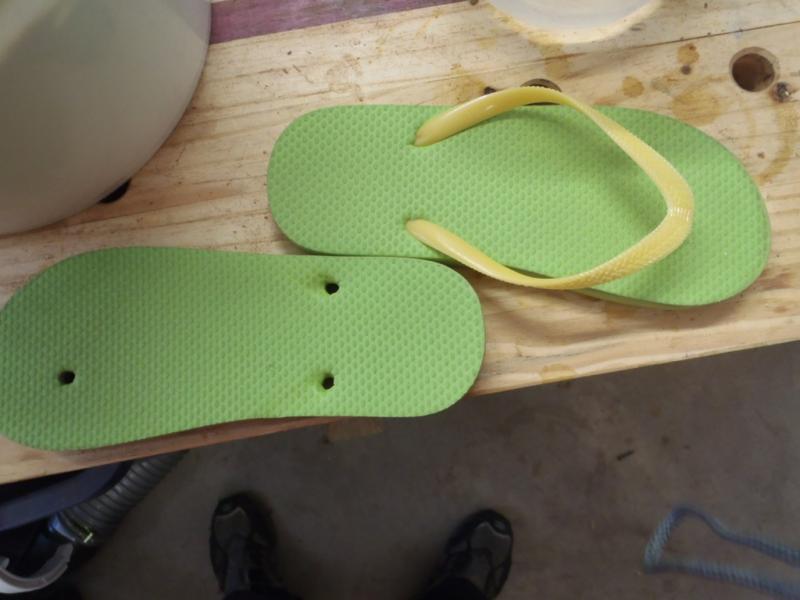
I didn't have a float and didn't want to buy one so I found some of my daughter's flops to cut them to custom sizes - this worked great to get the grout in the tight corners.


I started this job before the wedding and got the grout mostly cleaned up before I had to leave (2 HOURS EARLY - long story). I only had a little grout on my hands and pants at the wedding!
The blue tape helped keep the grout off the wood, but it wasn't perfect.
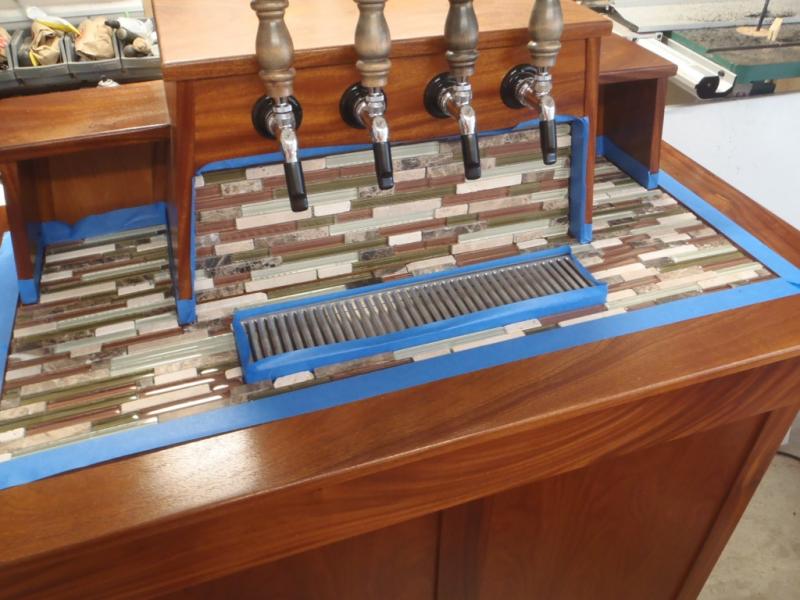
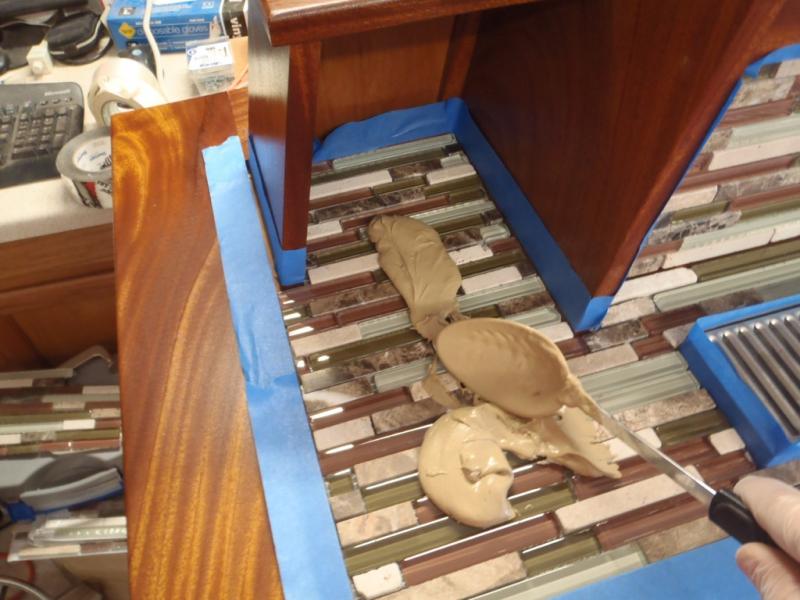

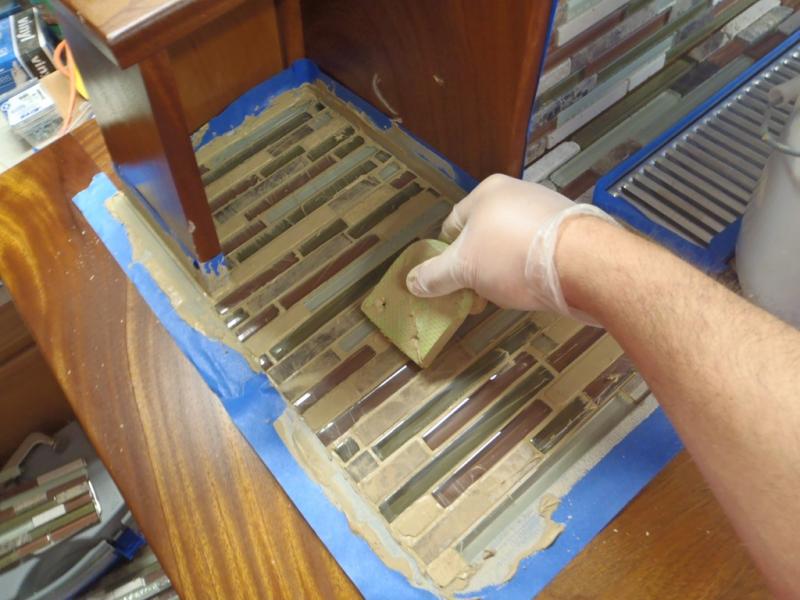
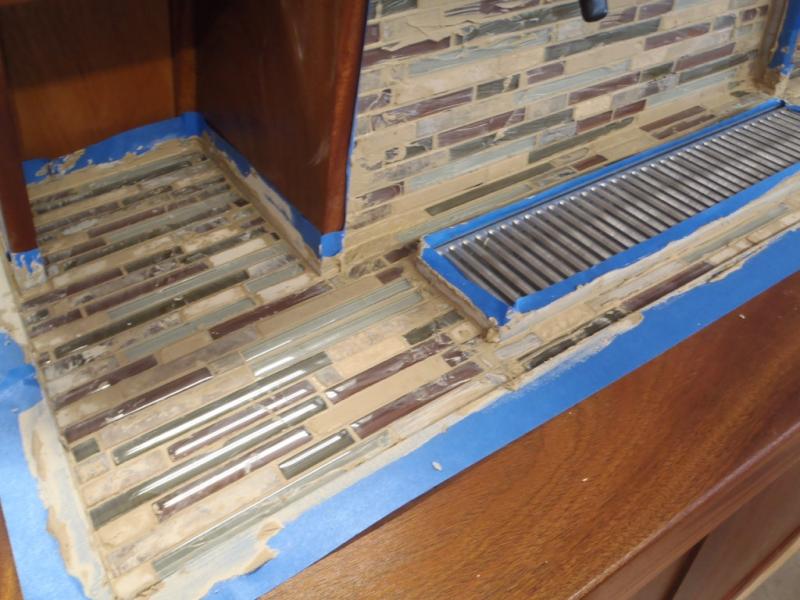
The blue tape helped keep the grout off the wood, but it wasn't perfect.


I disassembled al lof the major parts, removed the kegs from the freezer, cleaned everything up and brought the pieces into the house.
I screwed the skirt to the base, then set the freezer onto the base and secured it in place with these corner brackets.

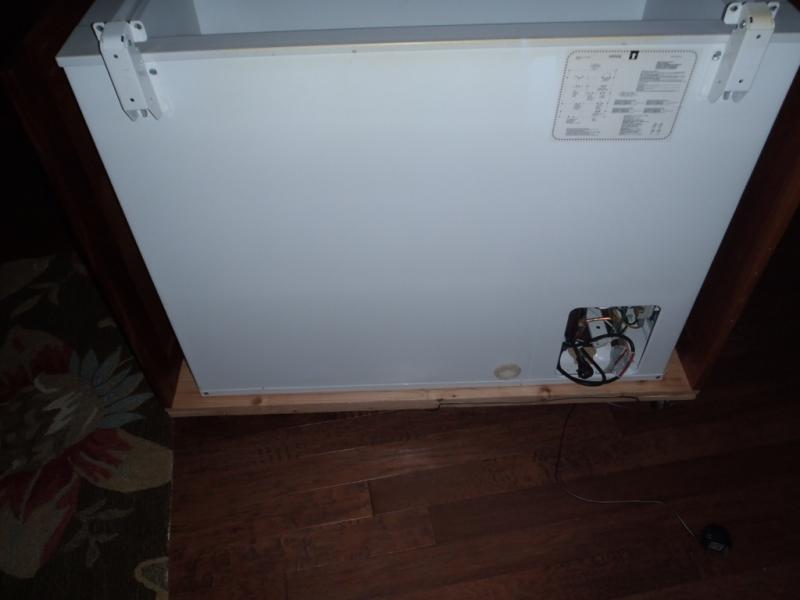
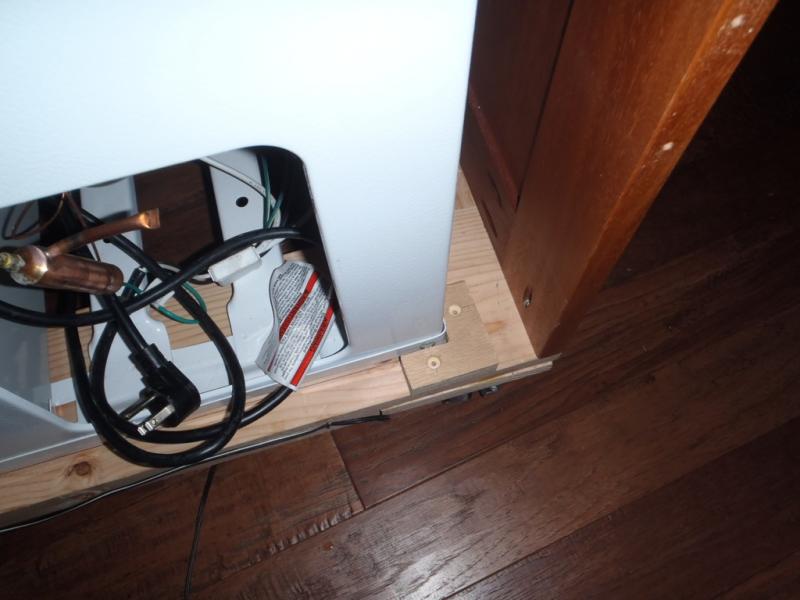
I screwed the skirt to the base, then set the freezer onto the base and secured it in place with these corner brackets.


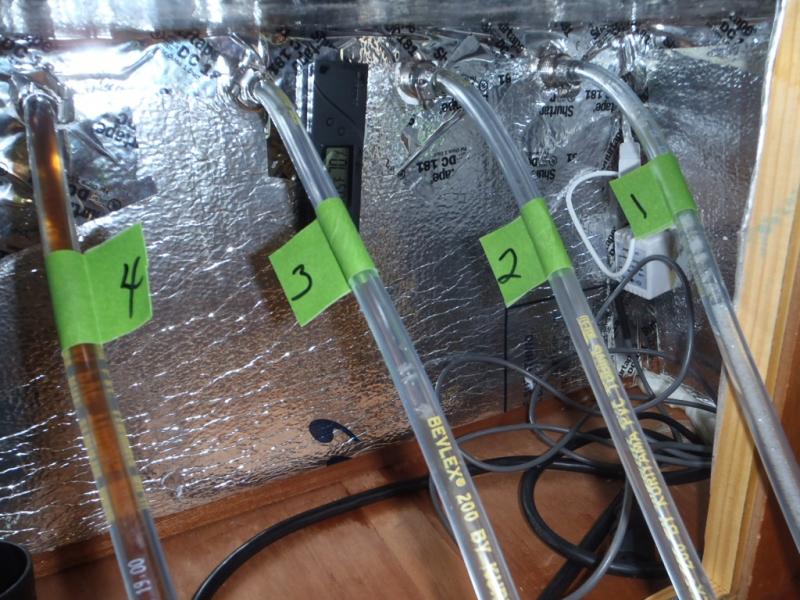
I labeled the beer line and cut everything to the correct length. I appreciate the post on here that gave me a hint to install longer lines than you need and then cut to correct length. I bought a 100' roll of 3/16" line and started with a 15' length on my first test. I was able to save myself a lot of trouble by doing it this way.




paparker21
Well-Known Member
Looks fantastic, come do one for me ;p
Copbrew133
Well-Known Member
Unreal, great job!!! I am jealous as heck.
Absolutely inspiring! All new homes should have this as an option. Looks fantastic and looks like a piece of fine furniture. :rockin:
RazzBarlow
Well-Known Member
Great job! It looks fantastic.
Keano41
Active Member
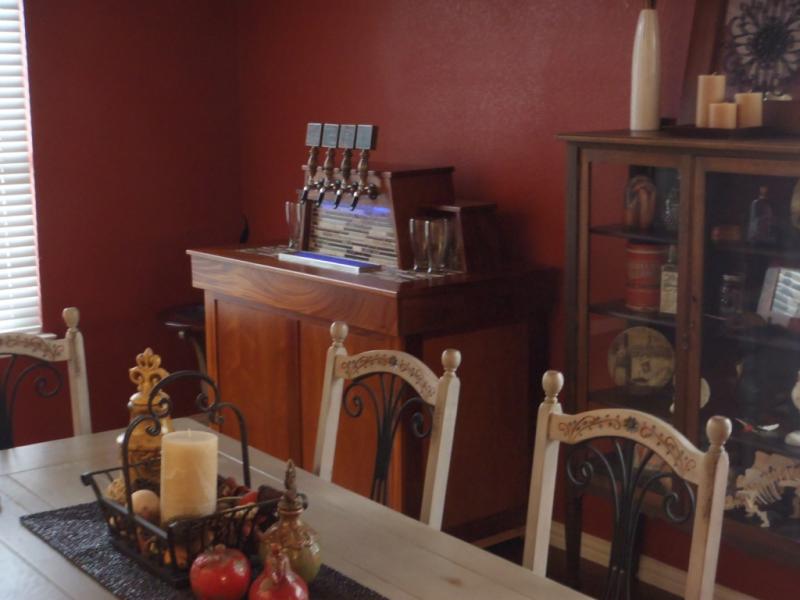
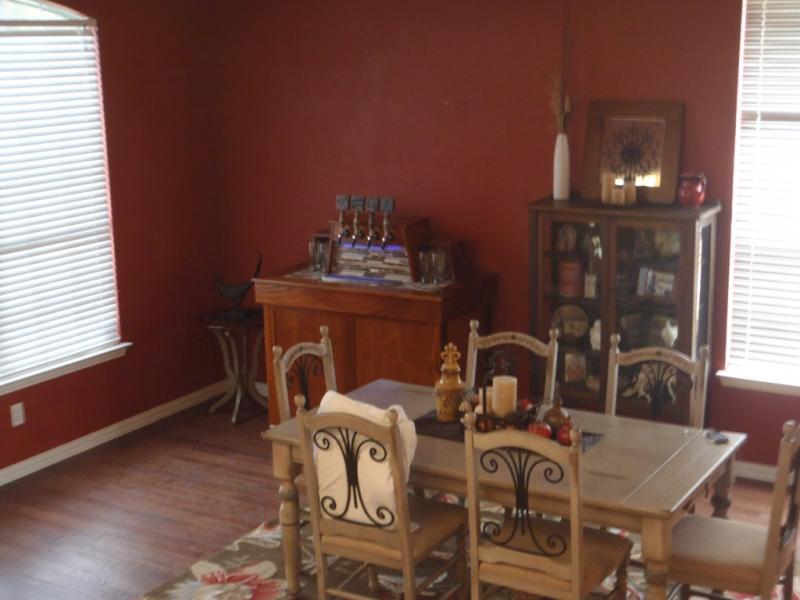
Looks great in the house! Well done!
I have to revive this thread. You have built a beautiful keezer and a fine piece of furniture. I have a boat that is built from mahogany so I'm very partial to that wood. Now I say damn you!
Thanks, I think!
Similar threads
- Replies
- 1
- Views
- 790


