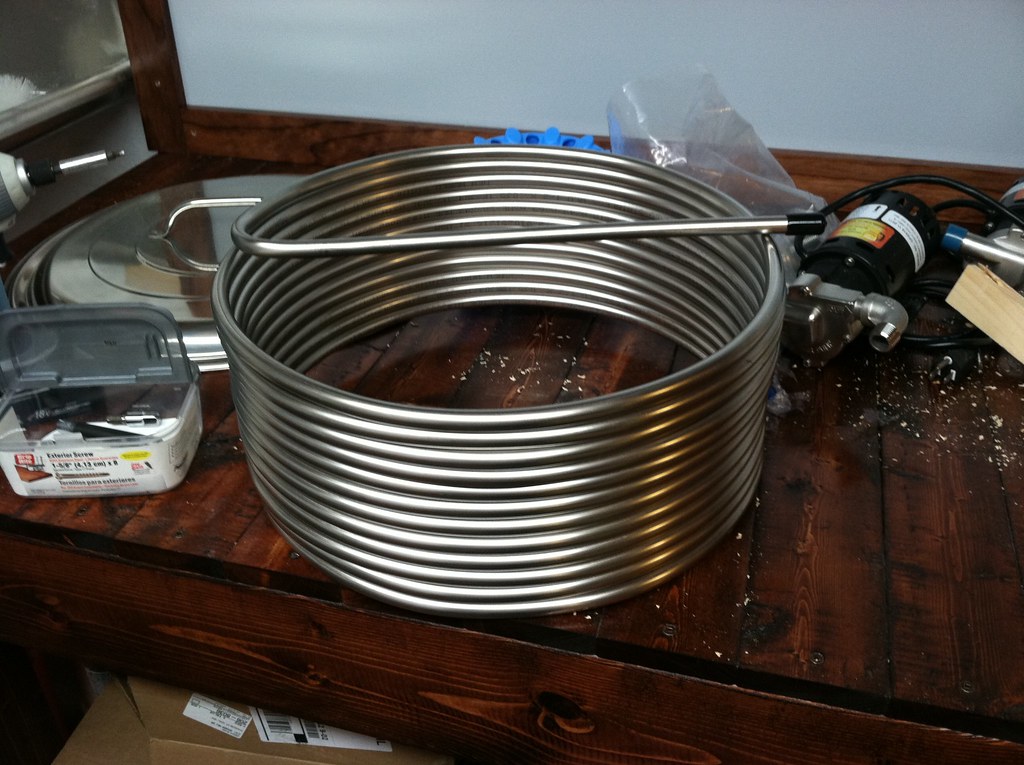
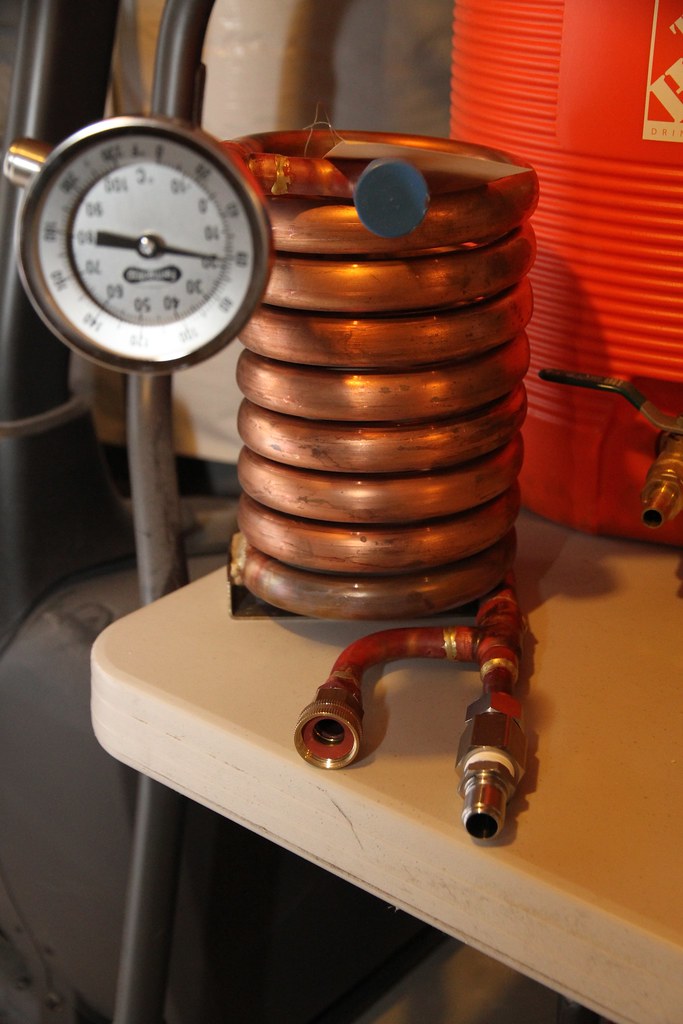
a cool thing would be to make a pattern or design using barley kernels and glaze it to the wood. idk if it would rot though. I just thought of that after seeing those tubes. coming along well. I'll see if you lose your sanity after this project before I decide to do it ")