magicalpancake
Member
- Joined
- Oct 30, 2013
- Messages
- 8
- Reaction score
- 1
Hi all,
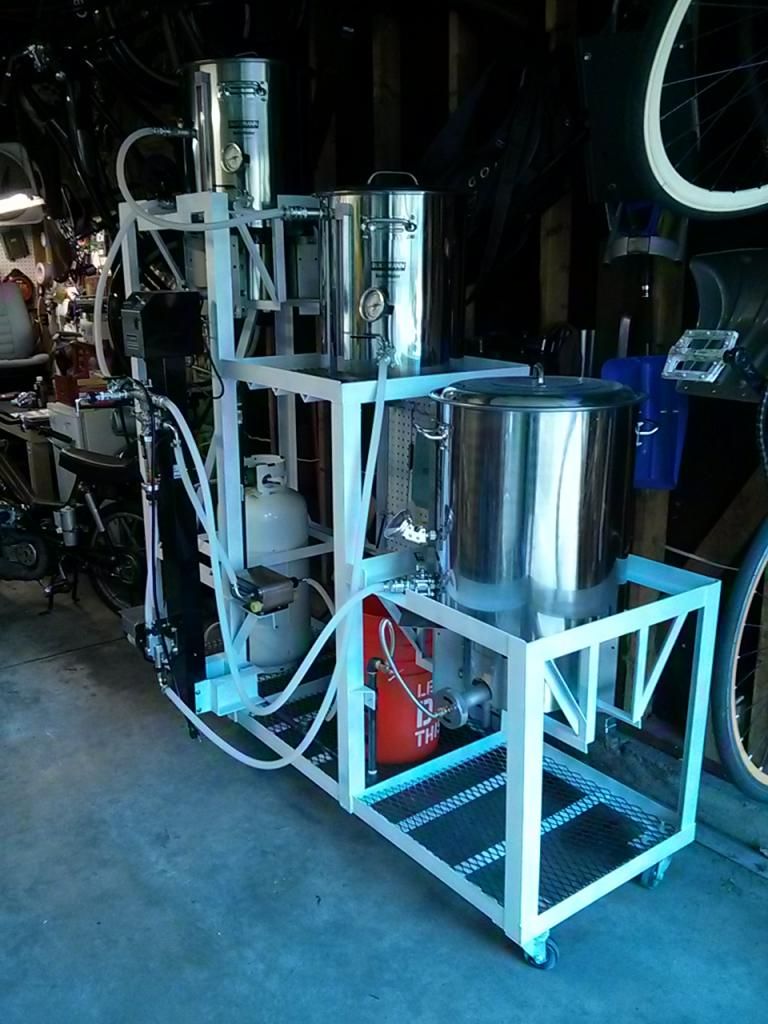
I wanted to share my build with everyone (there are many many amazing builds on here). I started brewing back in november 2013 after I completed a 3-tier HERMS setup. Prior to that, I have had no knowledge of brewing. I figure go big or go home. John Palmer's how to brew, this forum, and google provided me with the information I needed to make a complete HERMS (heat exchange recirculation mash system) setup.
Here is my build log. (49 photos)
Raw steel from Denco metal supply here in Denver.
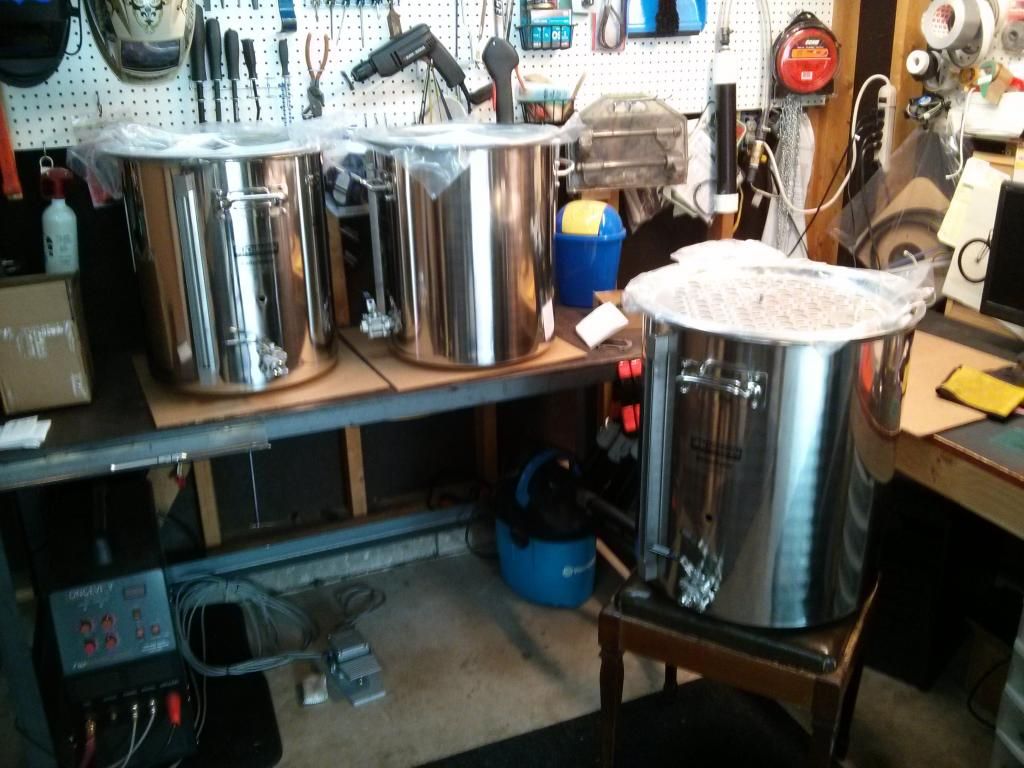
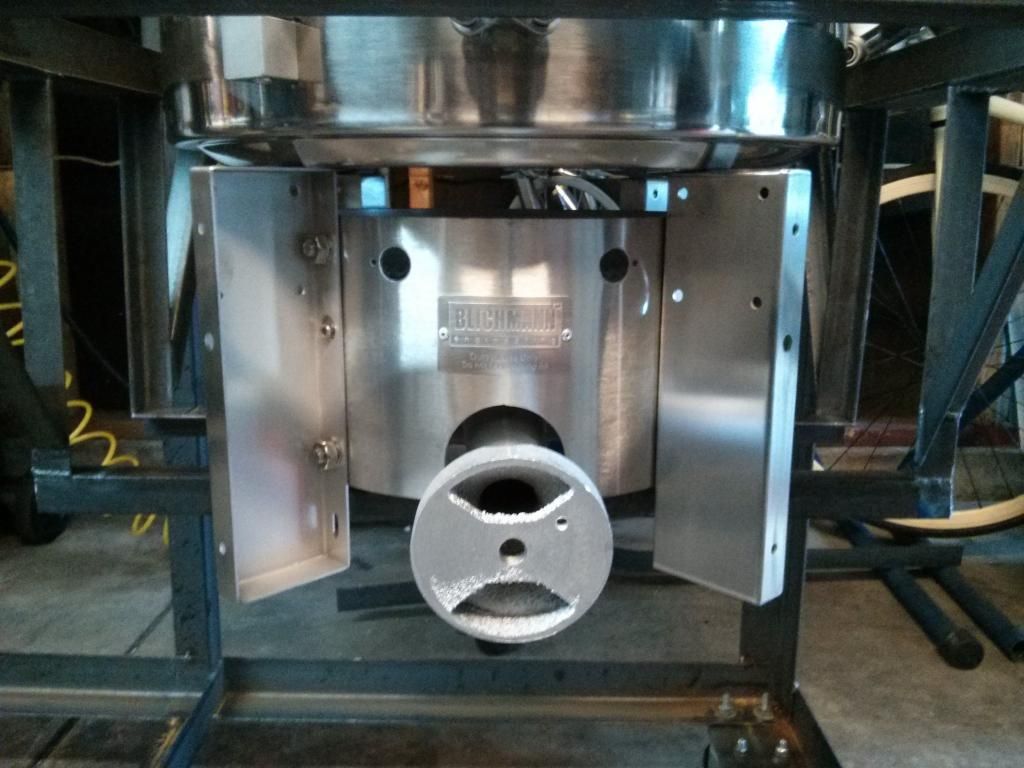
New Blichmann pots. 15, 15, 20 gallon sizes. HLT, MLT, and Kettle. If I were to do it over again I might have done 20 across the board (larger utilization of HLT after brewing for rinse/cleaning water). I picked these up from the brew hut (dry dock brewing!).
This is my 2nd welding project ever after building my welding table (not pictured)
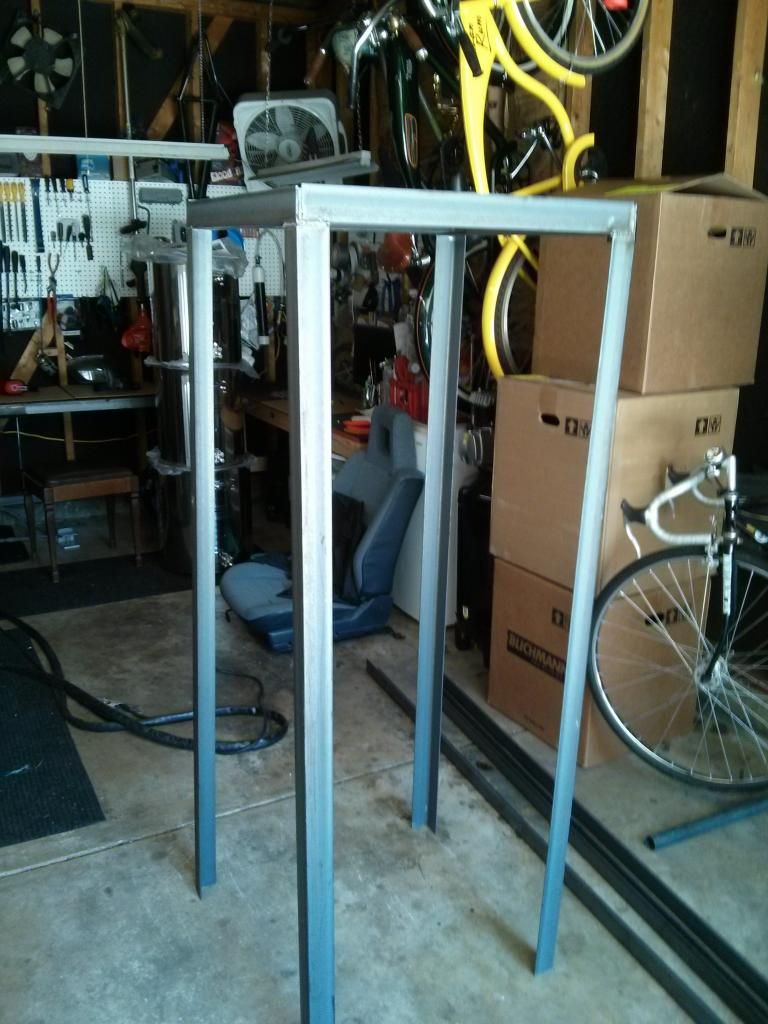
Sorta had an idea what I wanted.

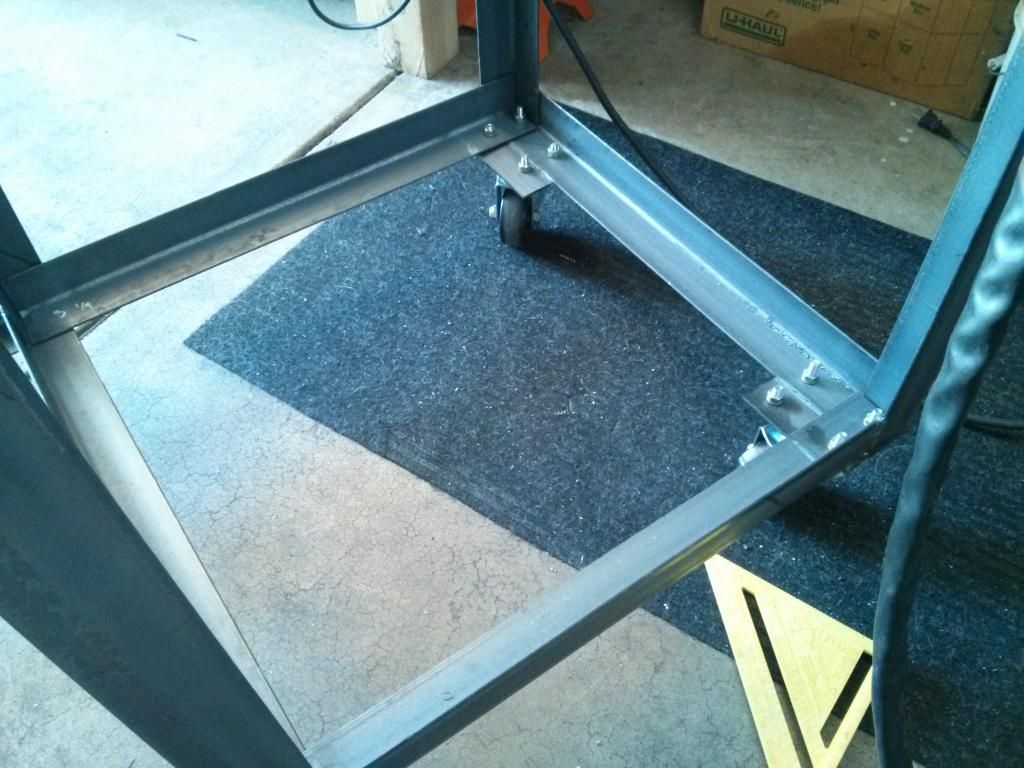
Harbor freight heavy duty casters.

My initial idea for the burners..
After factoring the cost for a sheet metal heat shield, burner, and steel required to make what I wanted, a blichmann set up was much easier and cheaper.
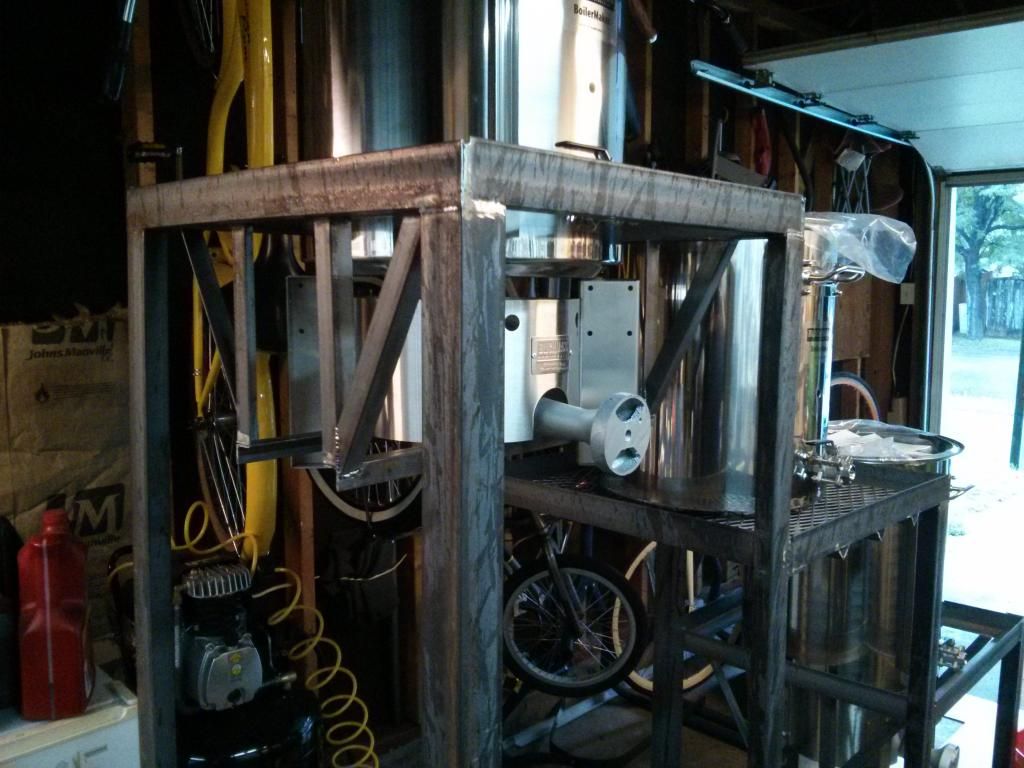
Mounted with pots.. an easier view of how I mounted the burners.

Bought some grates from Home Depot. Not sure if I'd do it again unless it was stainless steel (I had to treat later to keep them from rusting)
Pre-mounted gas line...
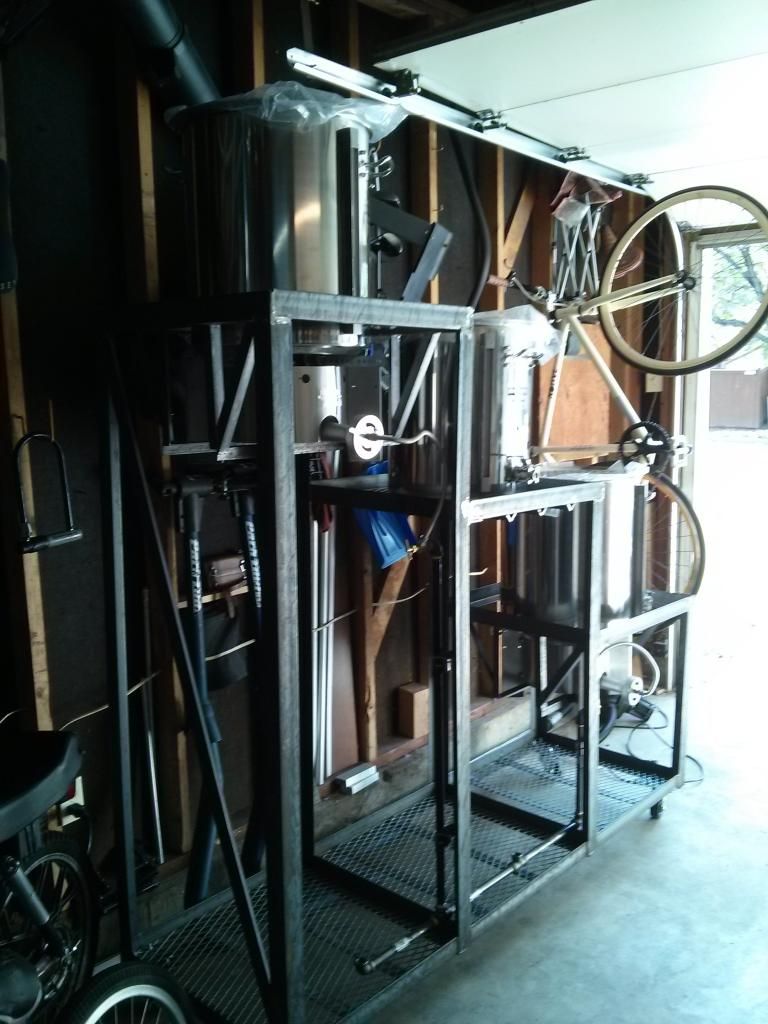
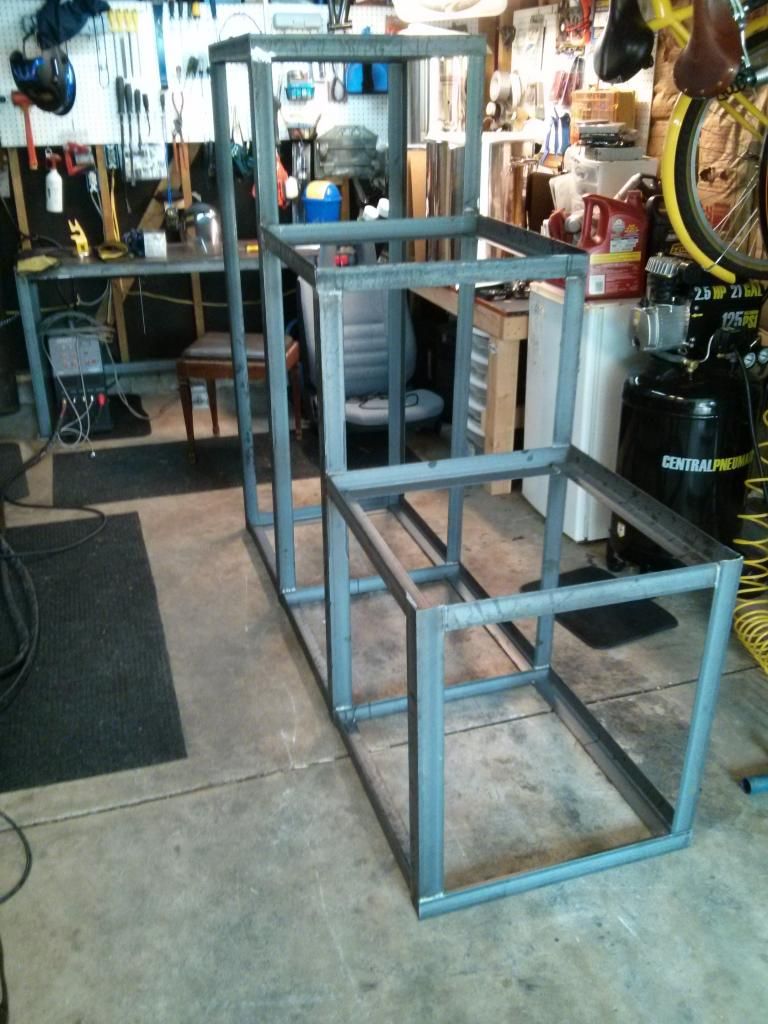
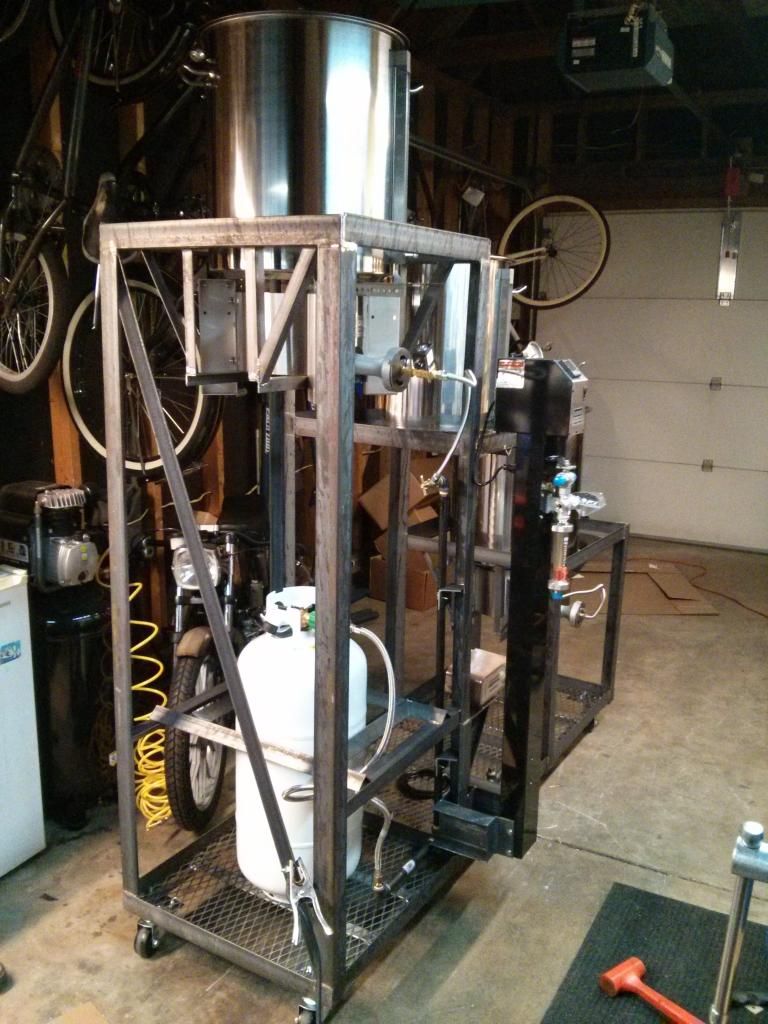
Mostly together..

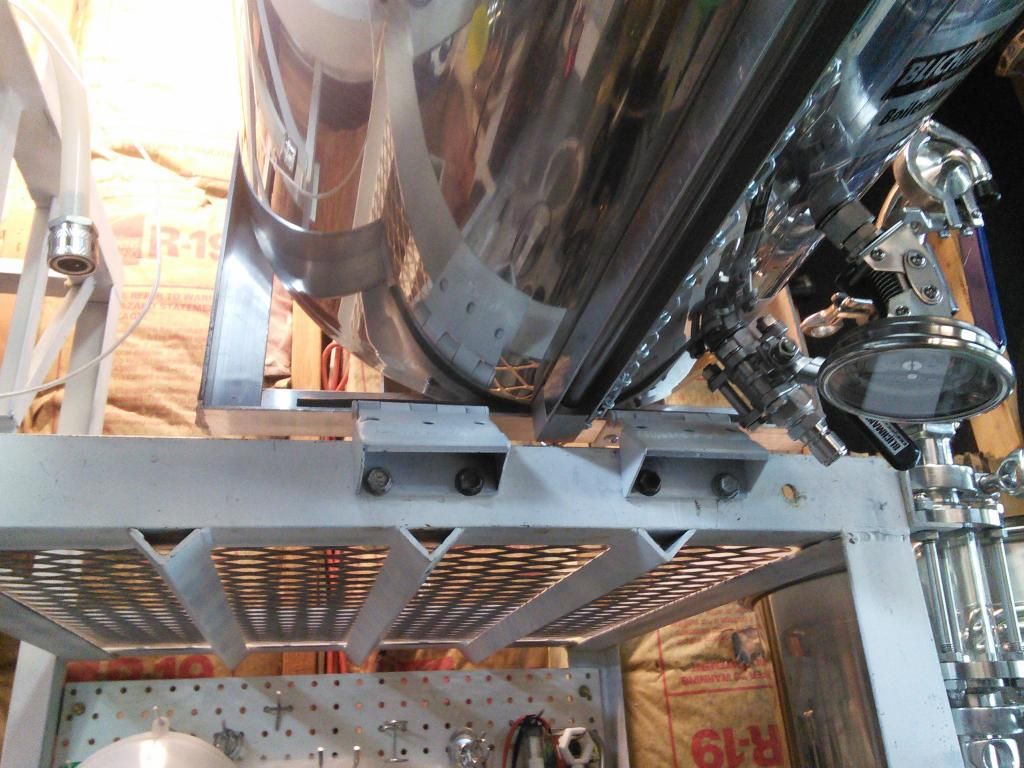
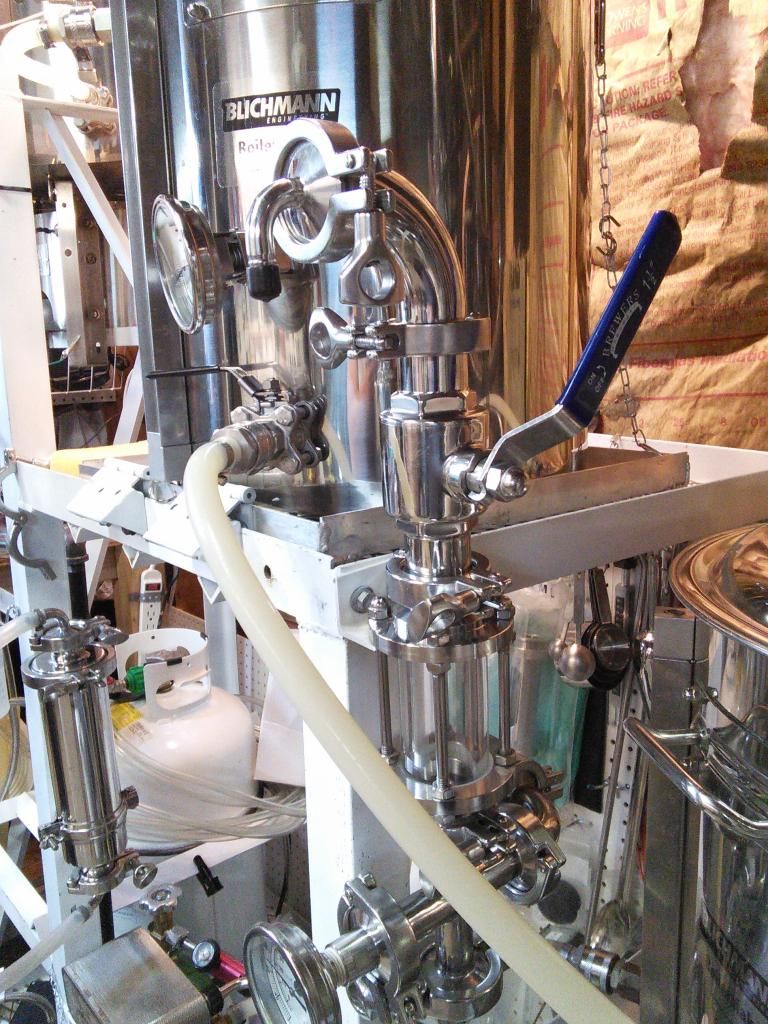
Some goodies I decided on. Blichman tower for temp control (mash) and nifty valve assembly.
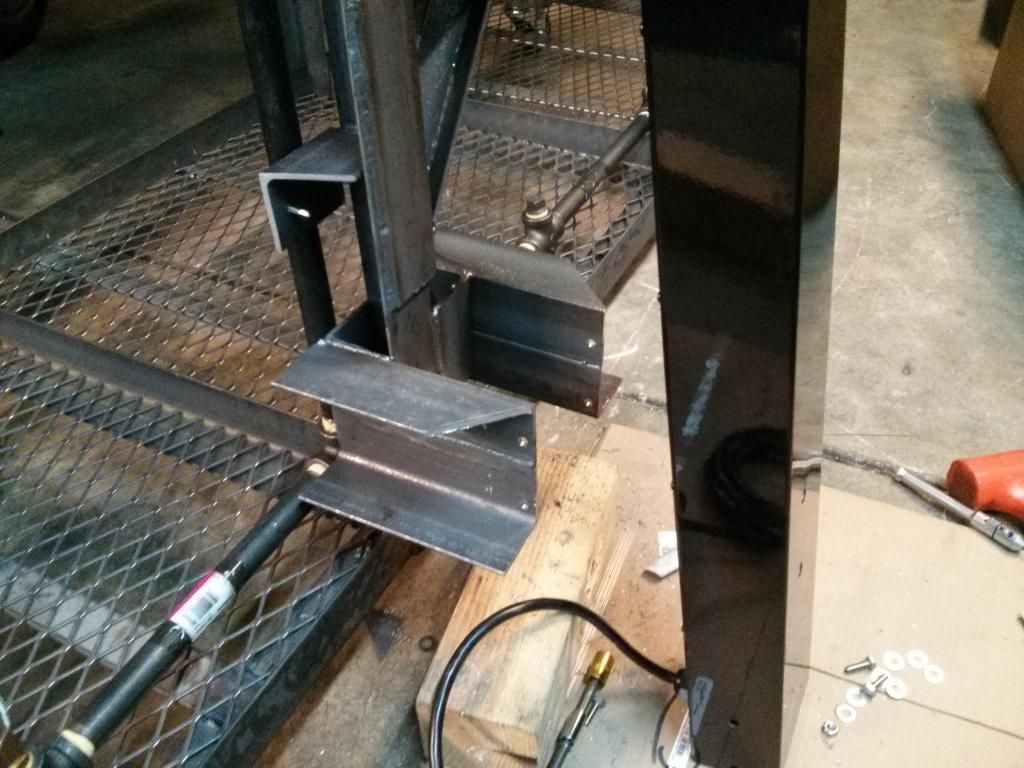
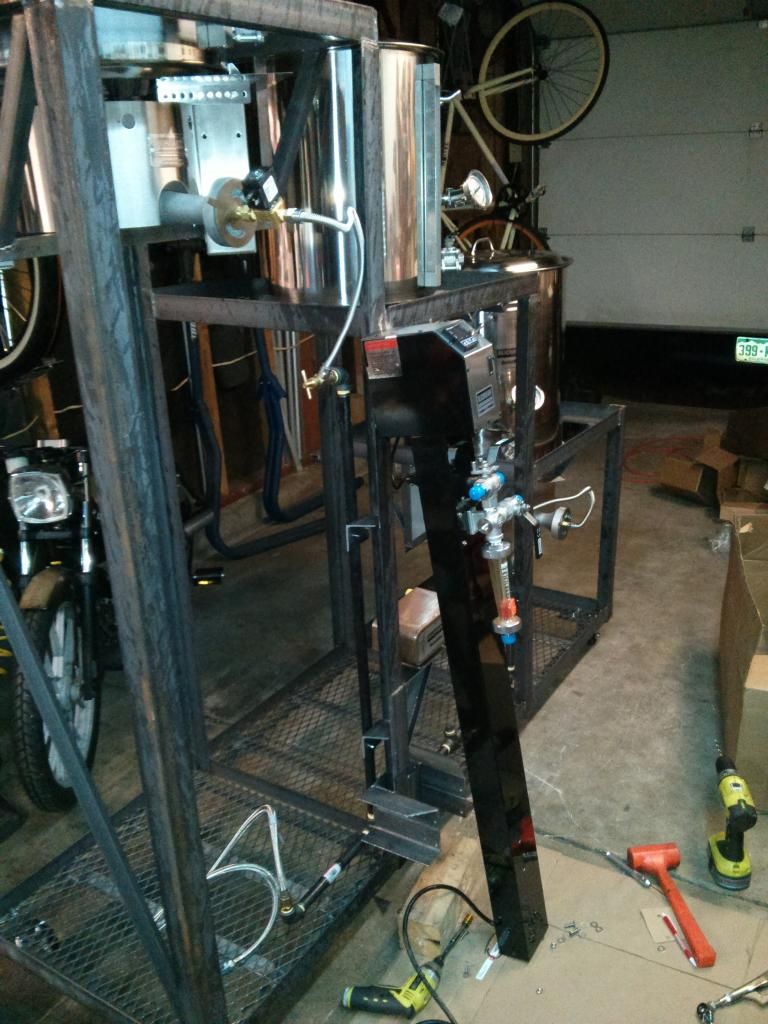
Mount welded up...
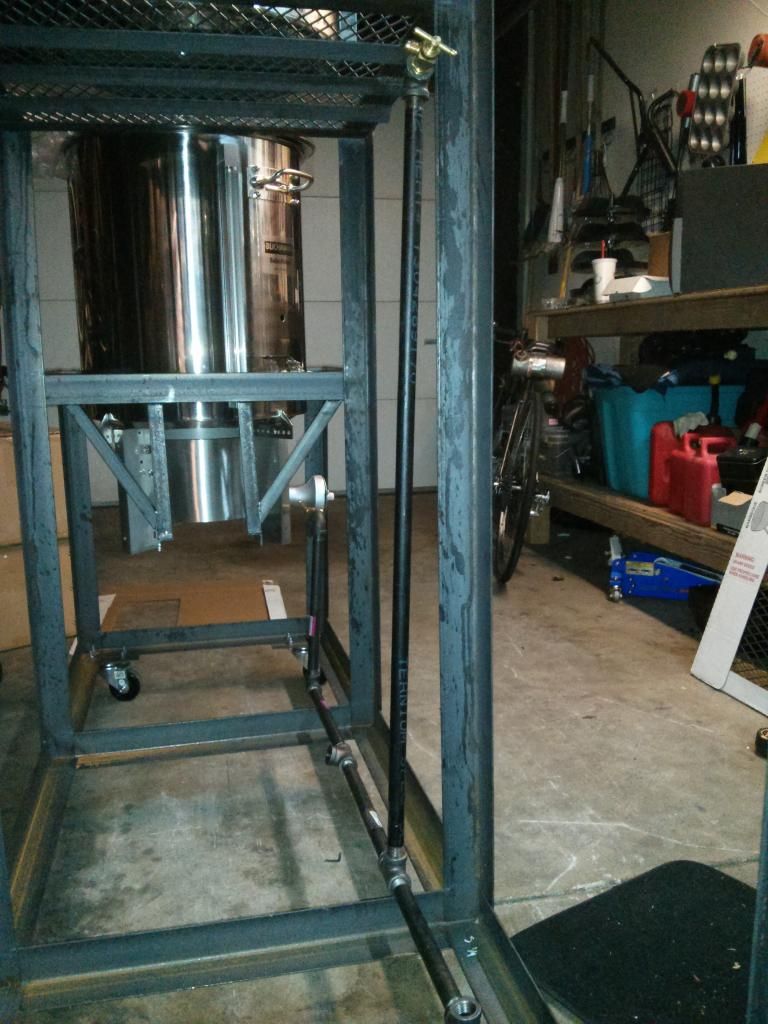
Some perspective on how tall this thing is. (how am I gonna lift the MLT off without breaking my back?!)
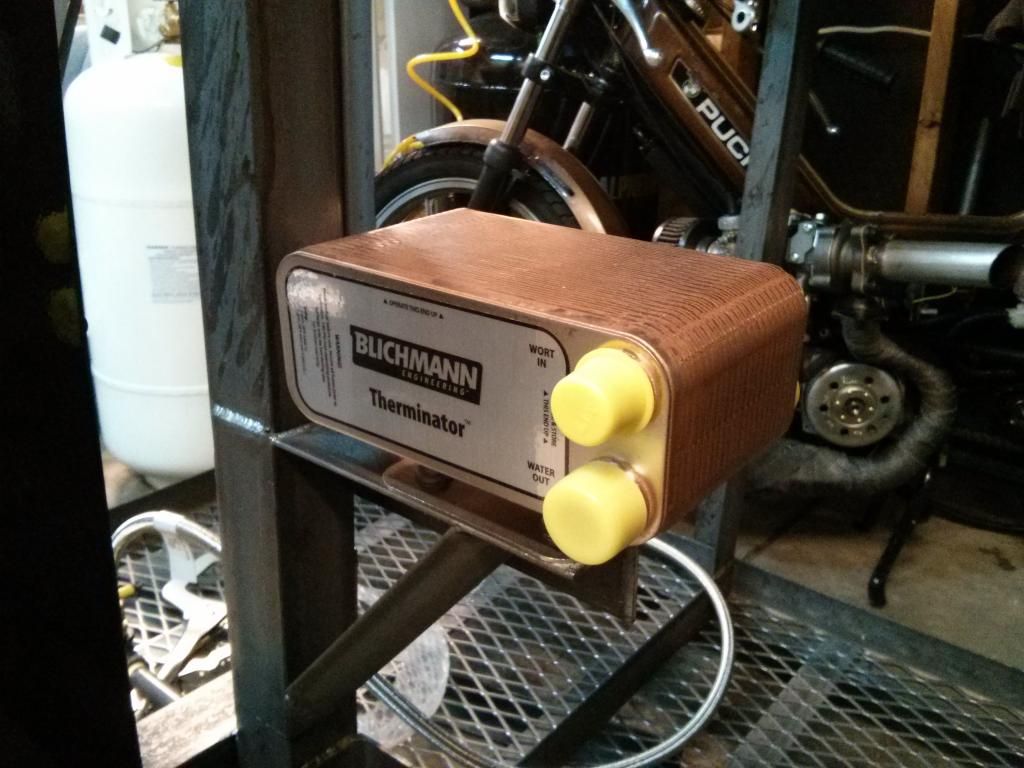
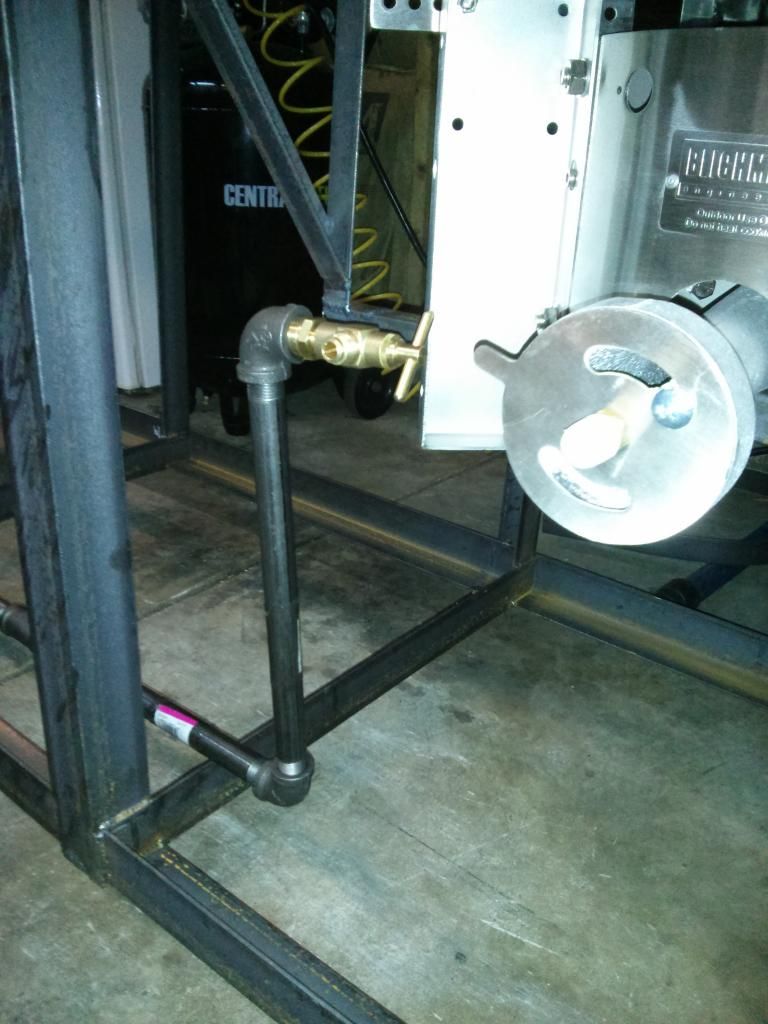
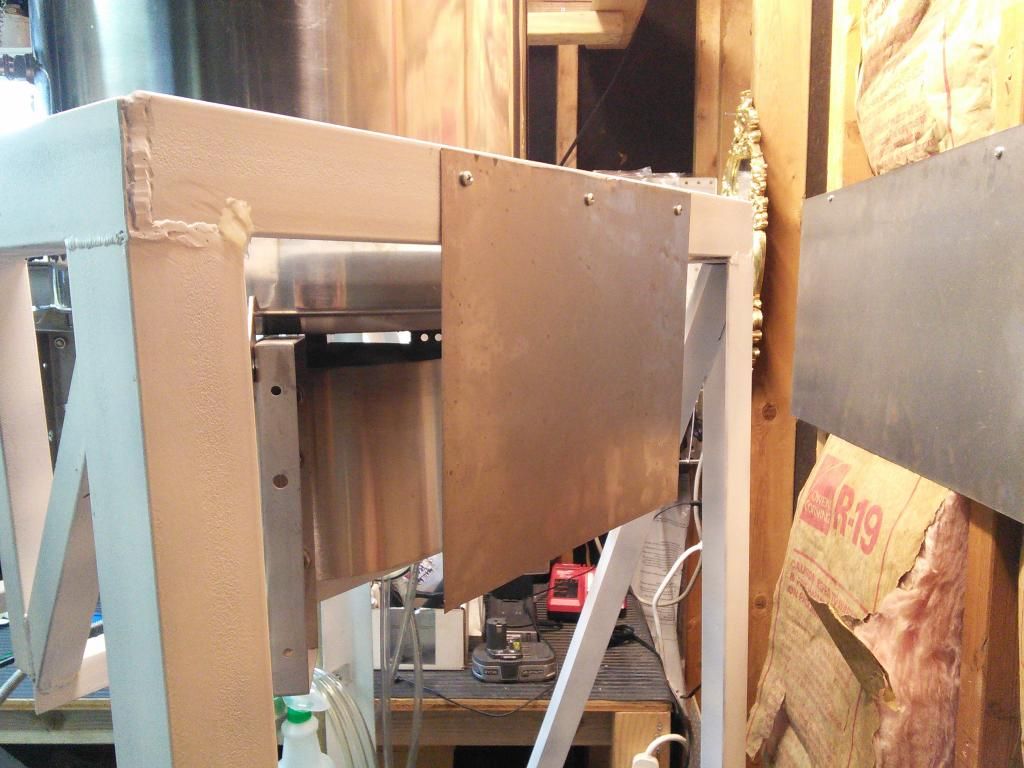
Mount for Therminator plate chiller.
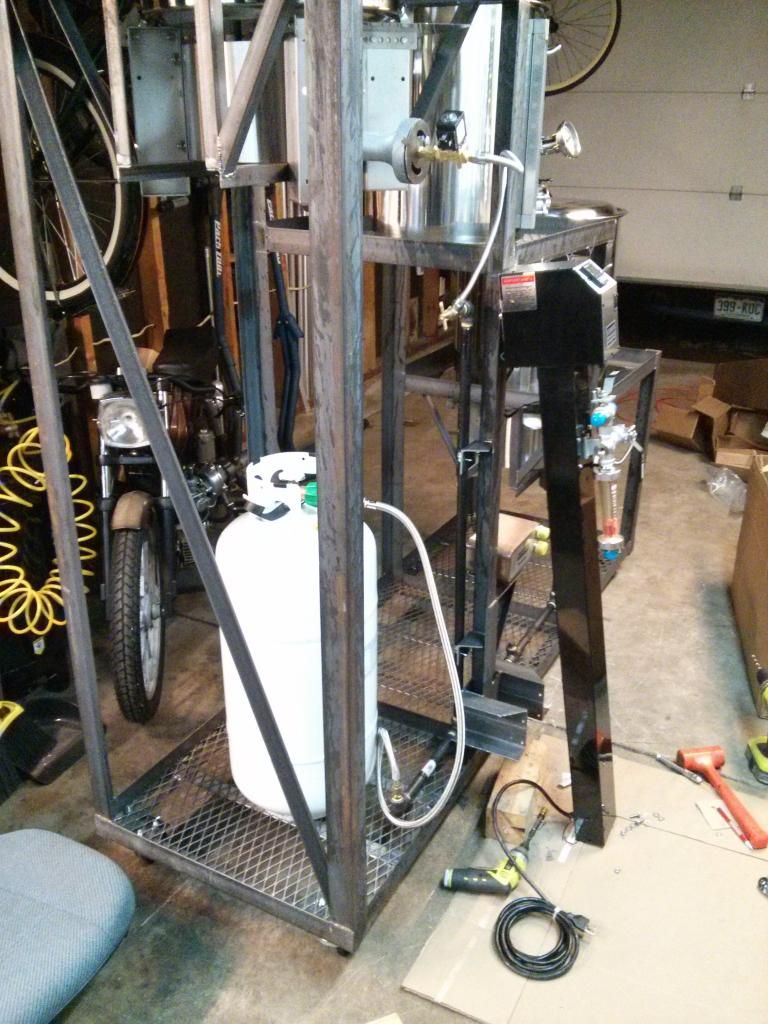
Picture with double capacity propane tank (amazon)
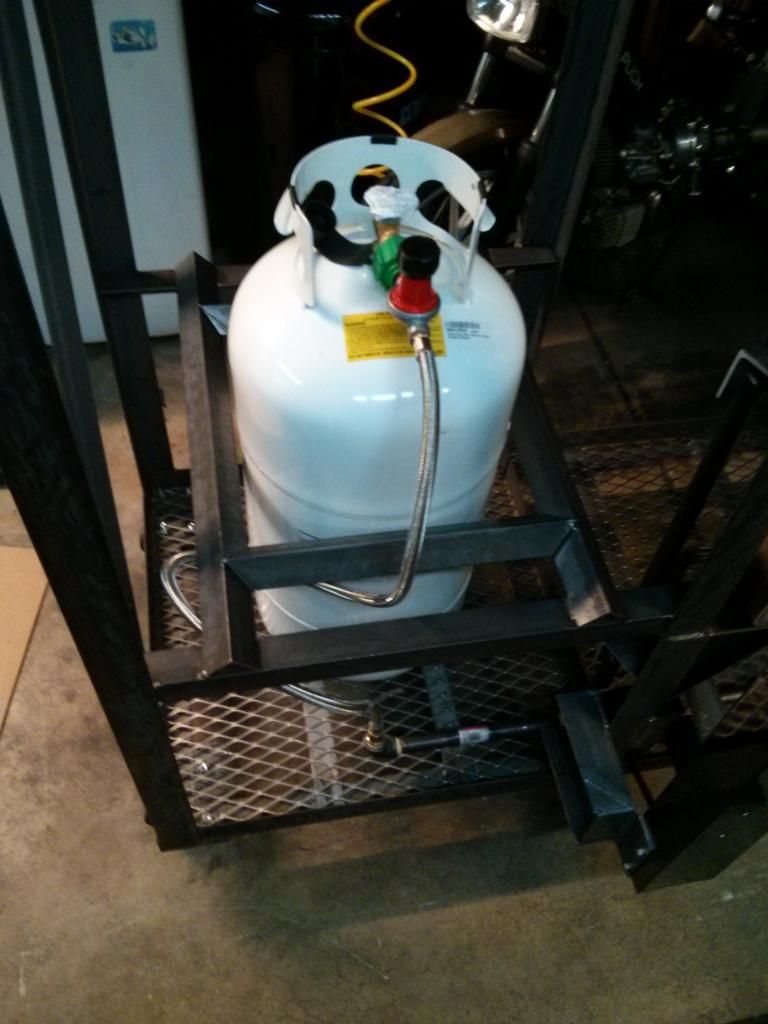
I've heard of horror stories of tanks tipping over and and causing havoc. I would make sure this could never happen.. really overkill. Just chain it. that's all ya need.
Mostly together.. but I said that already. I was still really far away from completing this thing.
Some hoses and fittings came in. I decided on quick disconnects. The lowest price I was able to find them were from Williams Brewing.
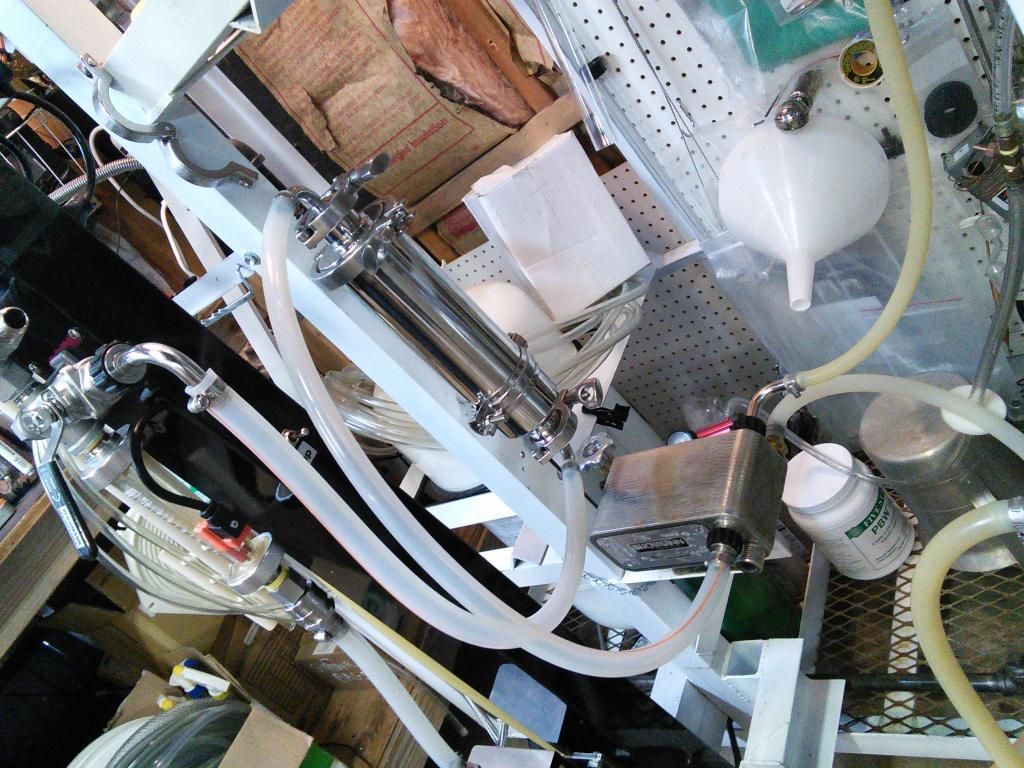
Some more goodies..
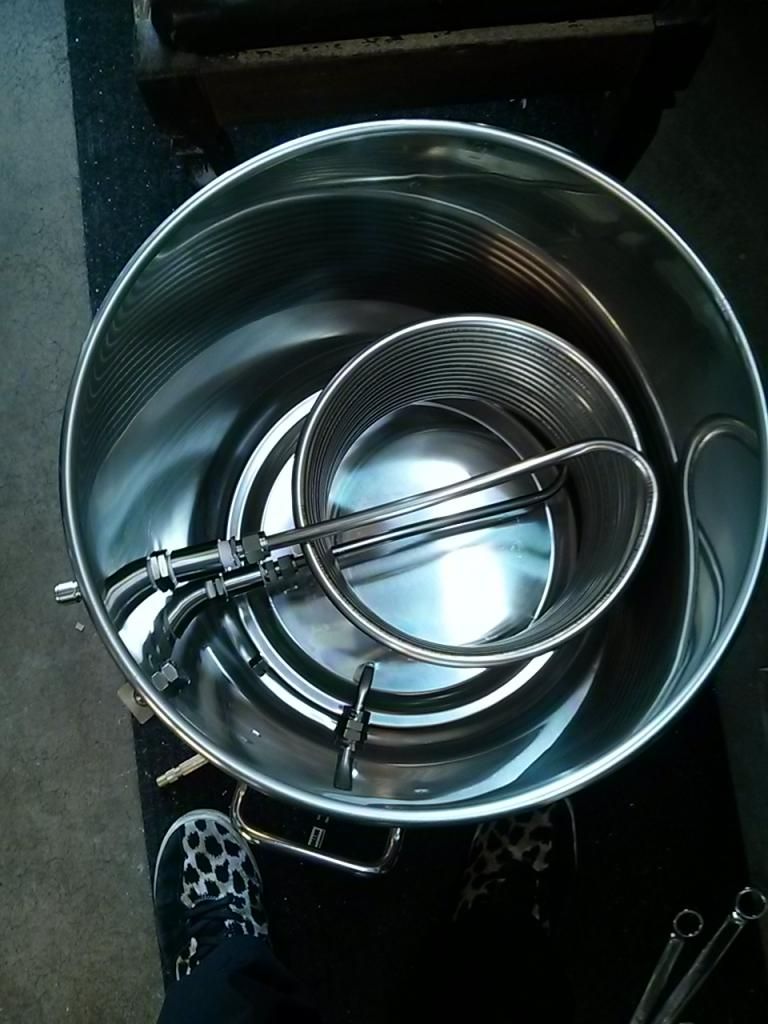
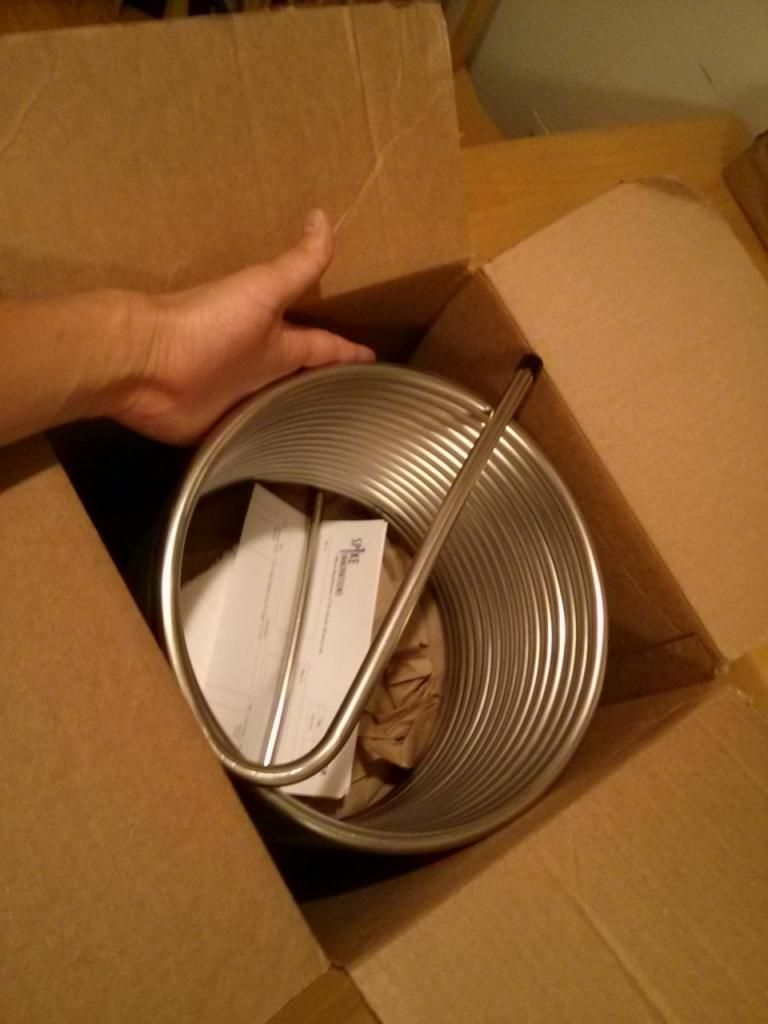
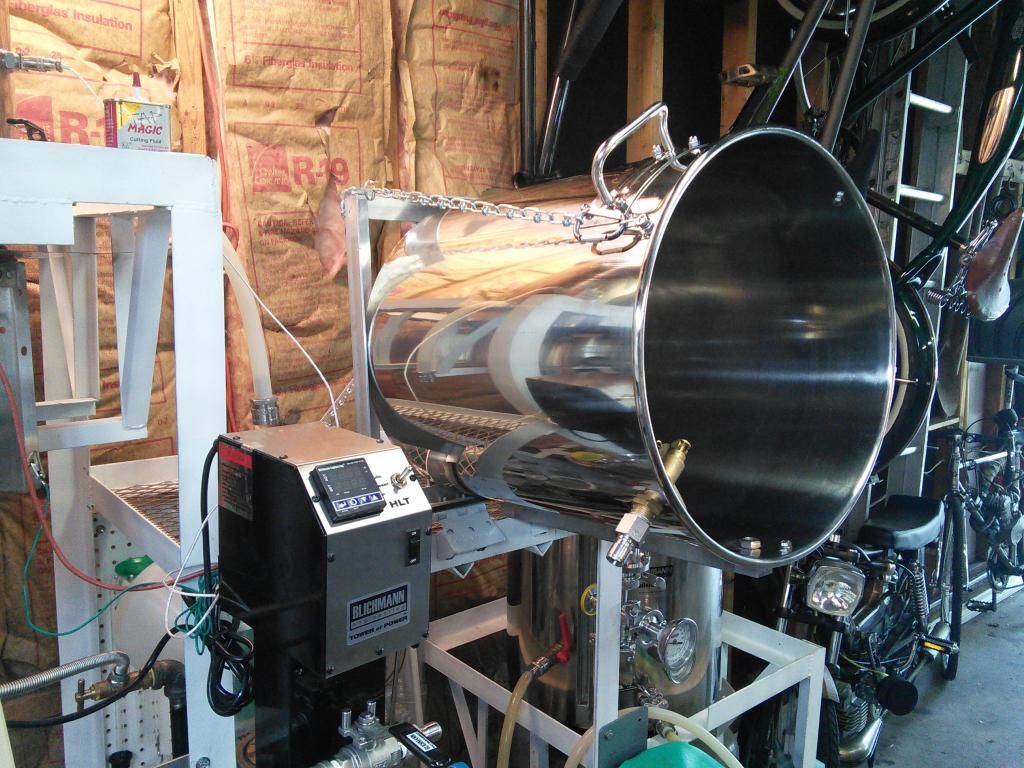
50ft of stainless steel coil from The Electric Brewery all mounted up inside the water tank (HLT)
My mash tun..
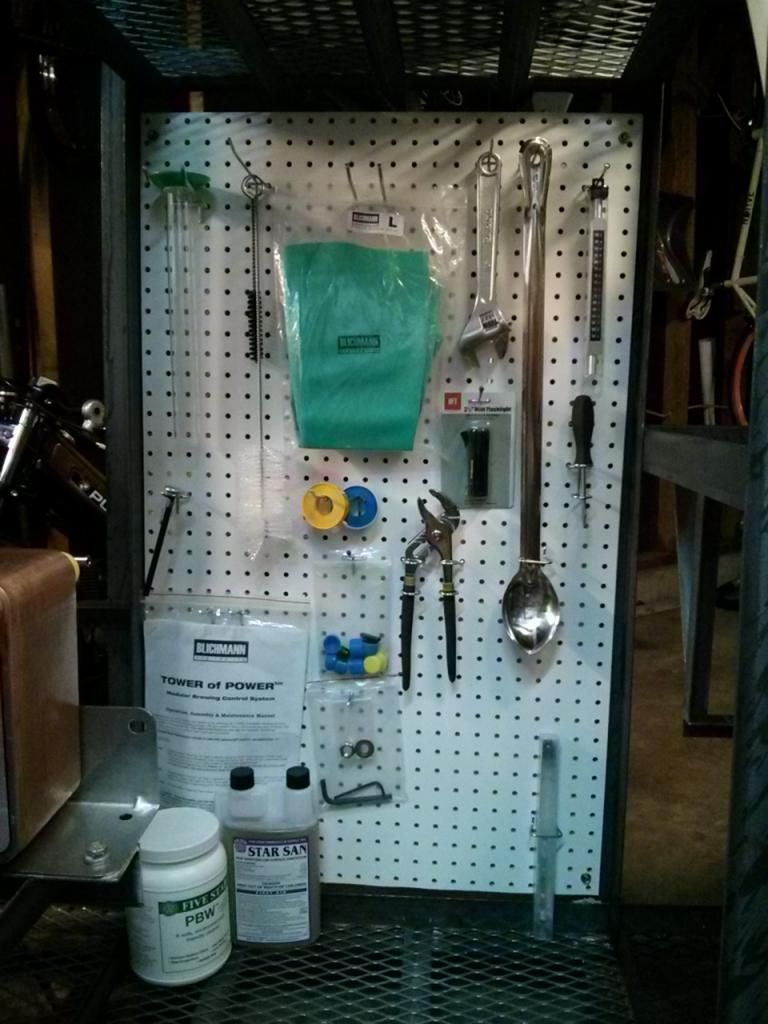
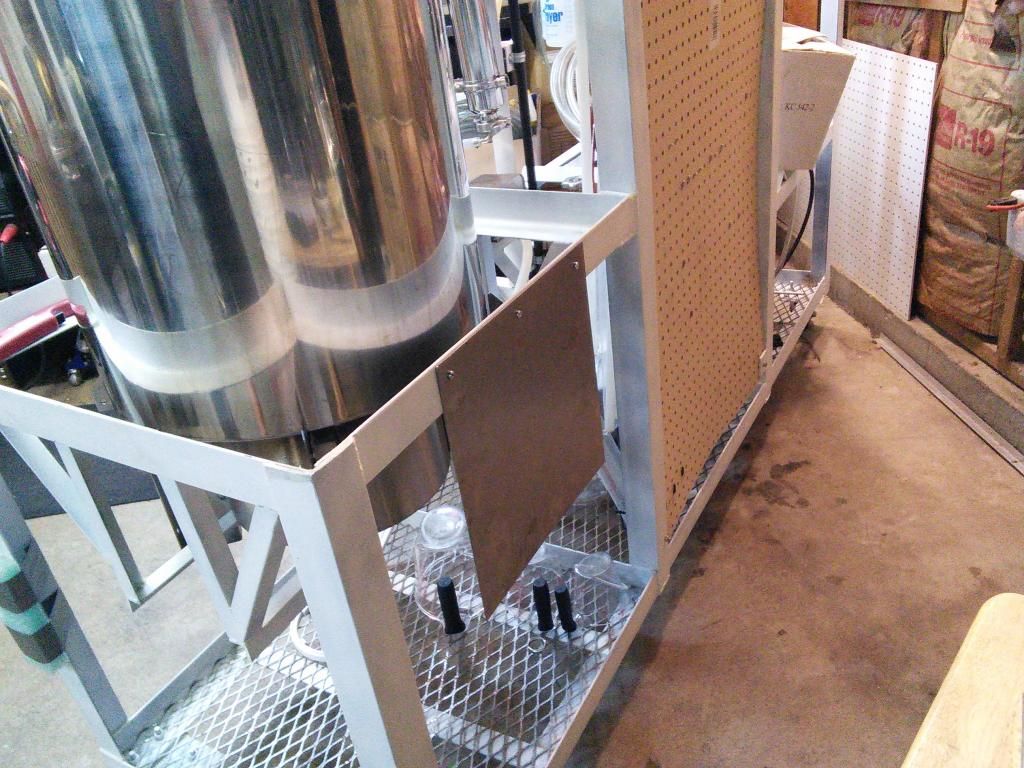
Hey I had some extra space so I figured since it wasn't harm of catching on fire I could use it to put up some peg board and some of my brewing stuff..

STILL haven't brewed on this thing yet... needs paint.
I decided to make an ignitor for the kettle.. this eventually failed. So when I build a new one I'll update.
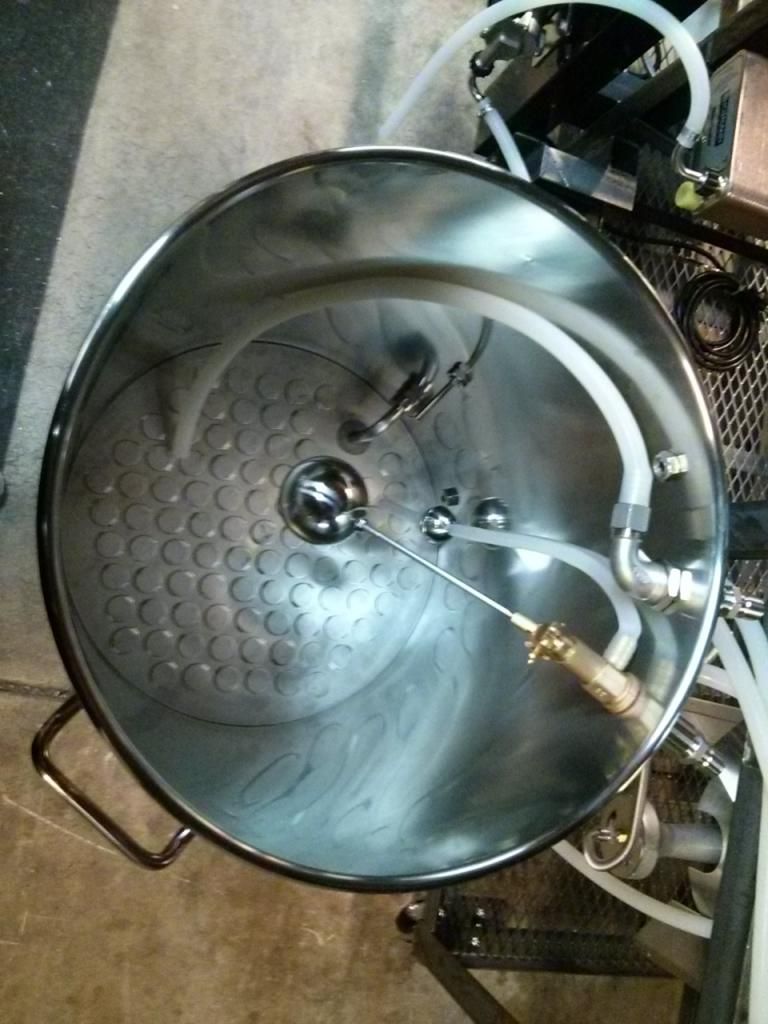
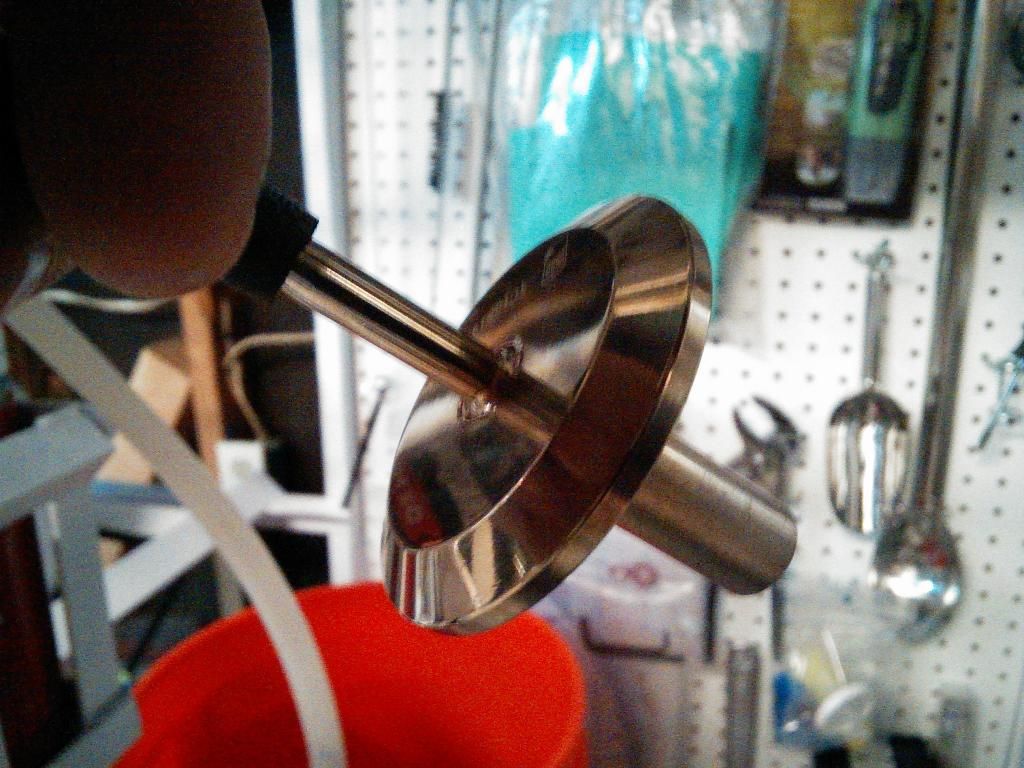
Oxygen assembly.. all fittings from Brewers hardware.
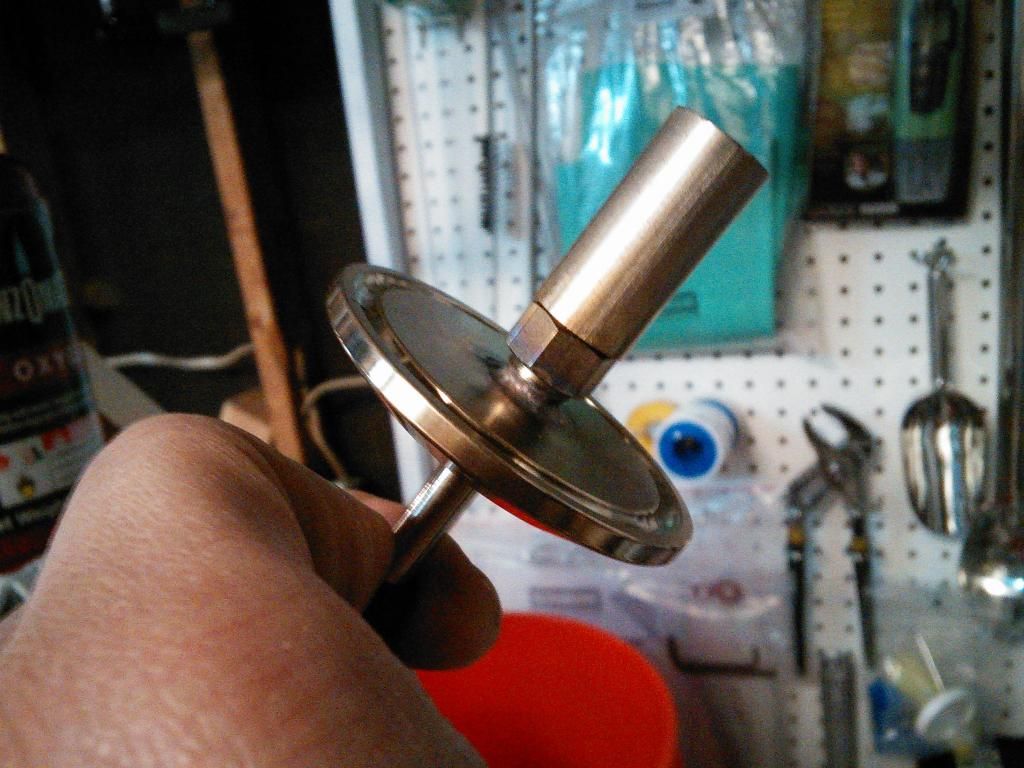
Nobody made a tri-clamp stainless steel oxygen stone that I knew of that was SHORT at the time so I decided to make my own. Just fused it at the base.. If you wanted to re-make this.. you could do a 3/8's NPT female tri-clamp and screw in an oxygen stone that has a 3/8's male treaded end (they are available now).
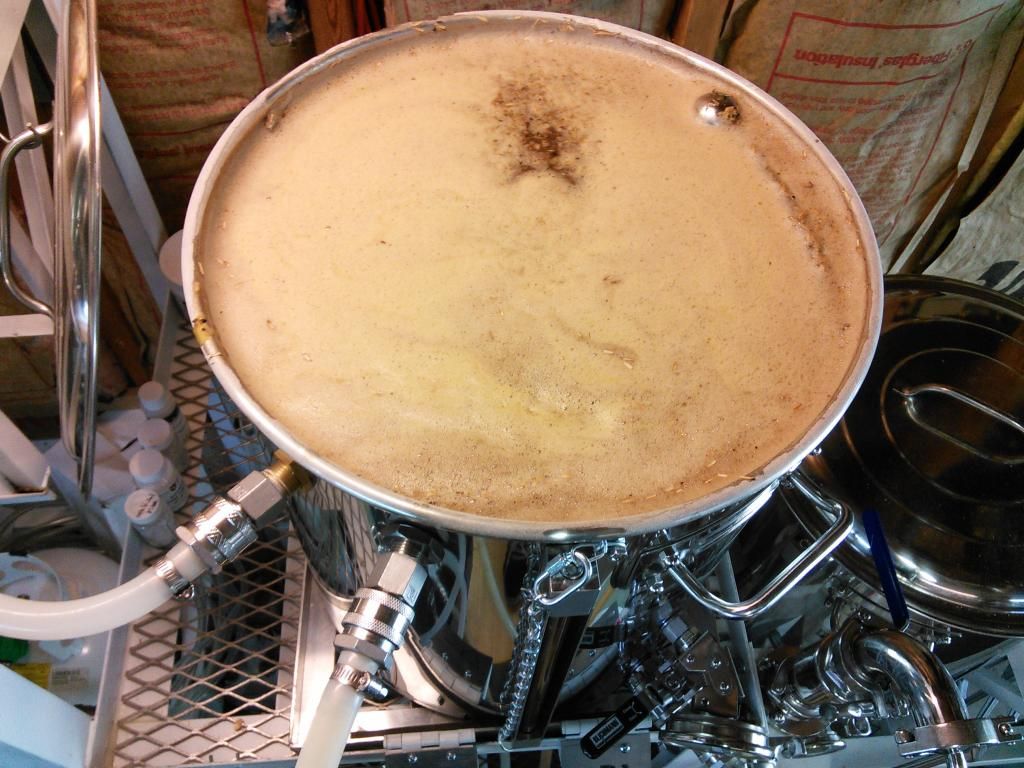
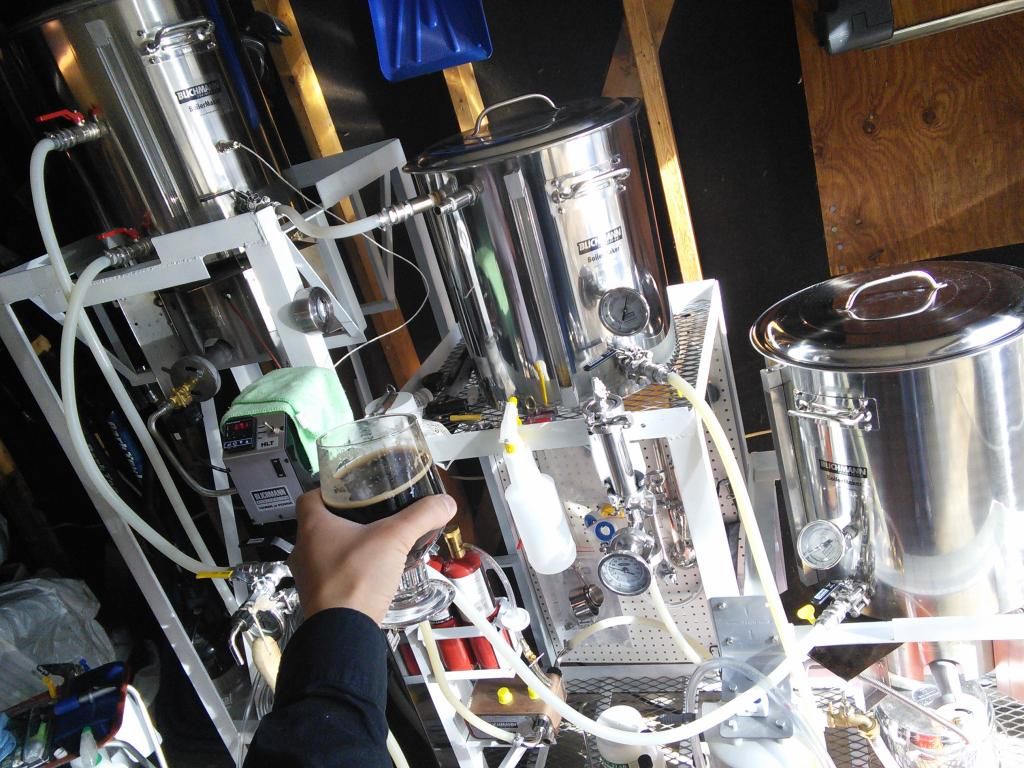
First brew day ever. Man, the wait was way too long! (notice the inline water filter)
1st 3 batches were an american pale ale. It was okay. 4th batch pictured and 5th batch brewing..
Fast forward 30 brews later, I decided that a tippy dump for the mash tun was required if I was going to brew sustainably. Wet and spent grains are HEAVY. Notice the chains? I used appropriate load 'S' hooks(not pictured) to take up the slack to keep the MLT nice and tight. Pardon the crappy aluminum welding.

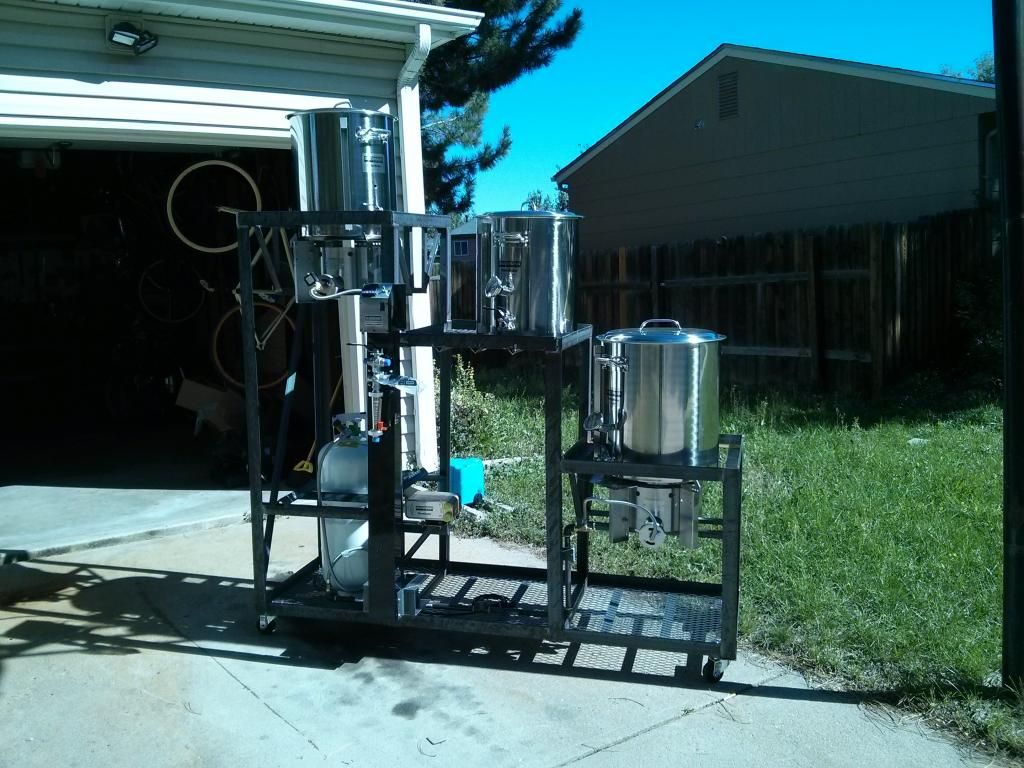
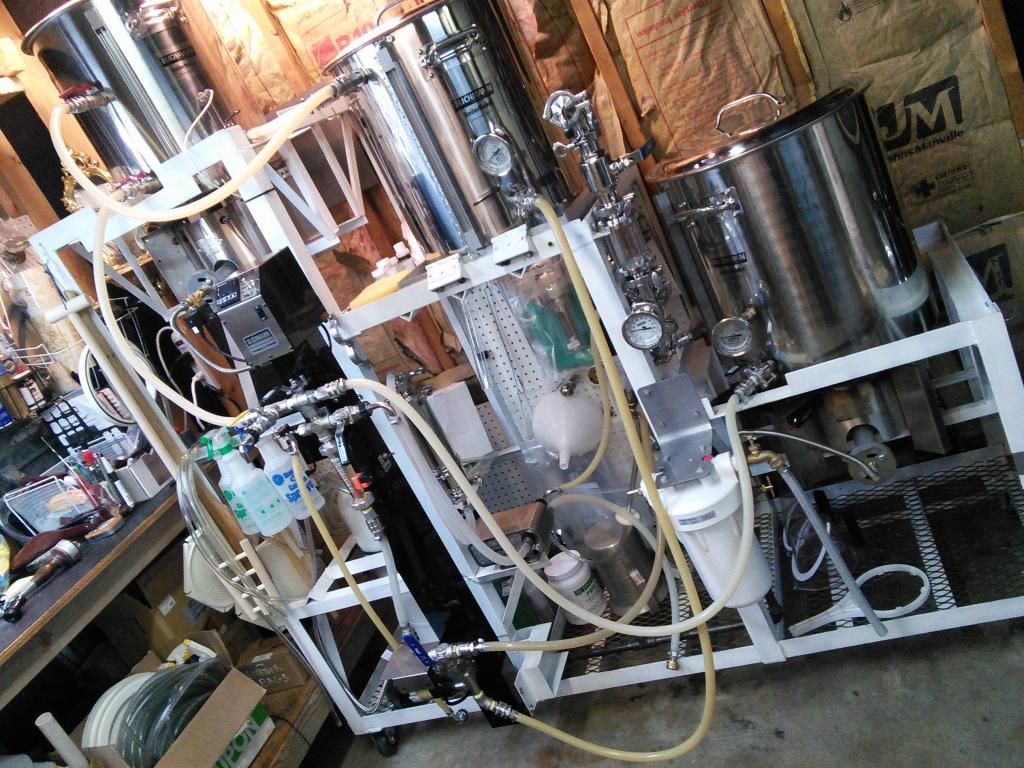
Configured now for filling with water. I've learned that using HOT water from my water heater inside the house cuts my propane use in HALF. Hoses set up for filling kettle (strike water) and HLT (top pot) for HERMS heat exchange and sparge water.
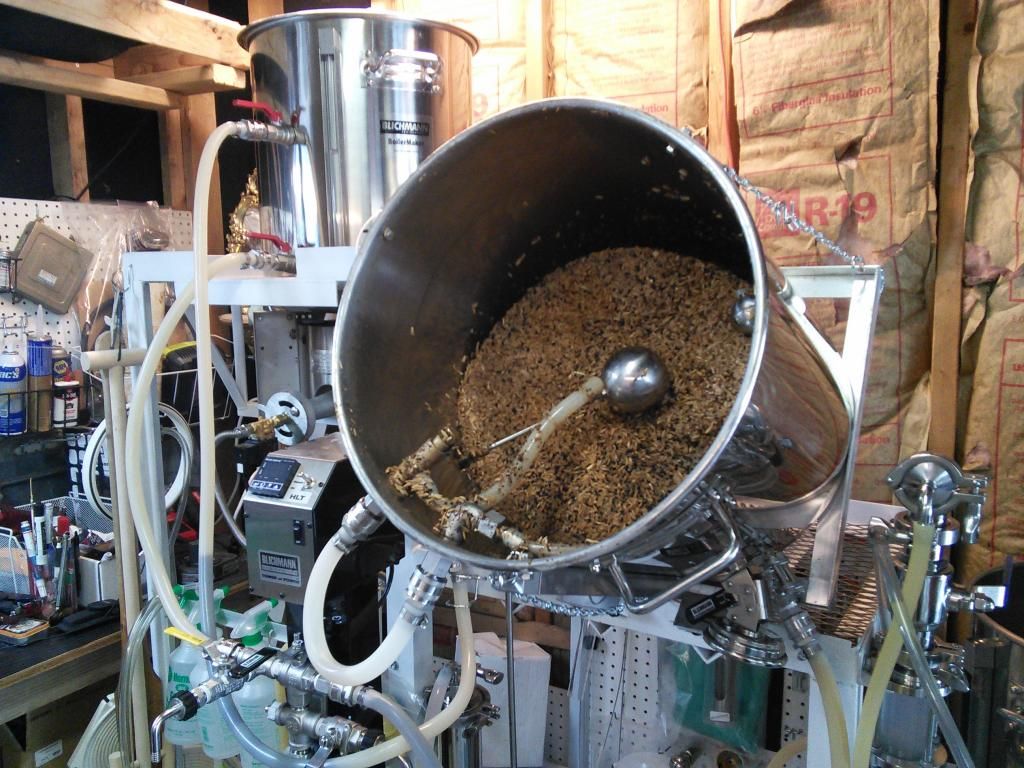
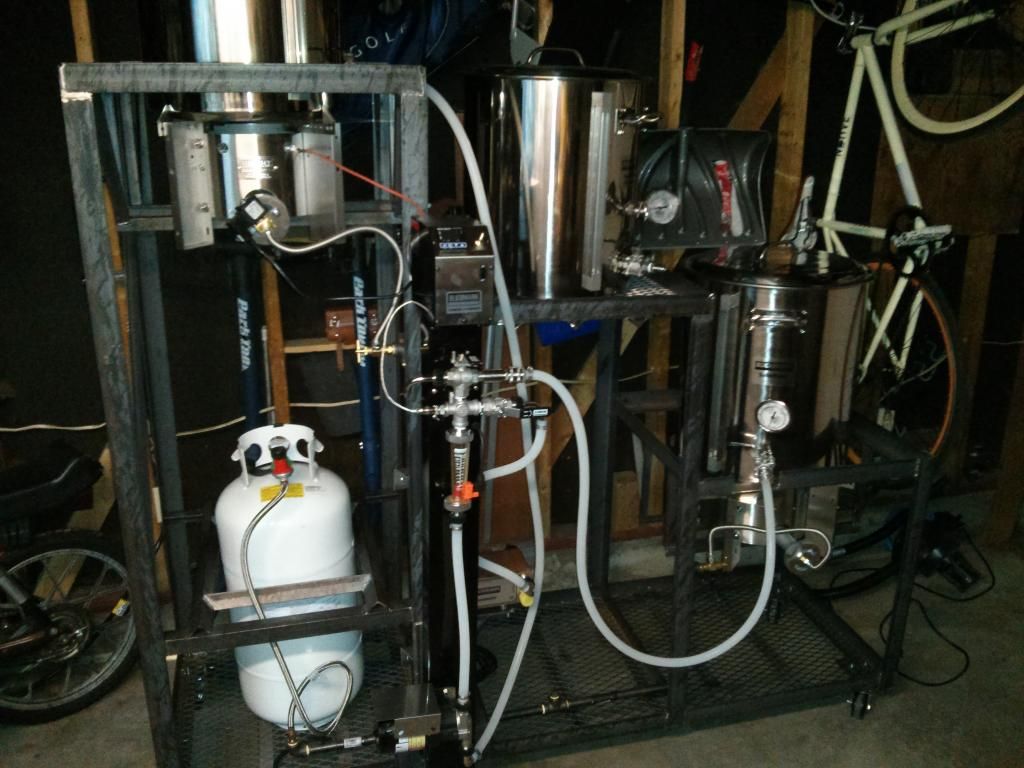
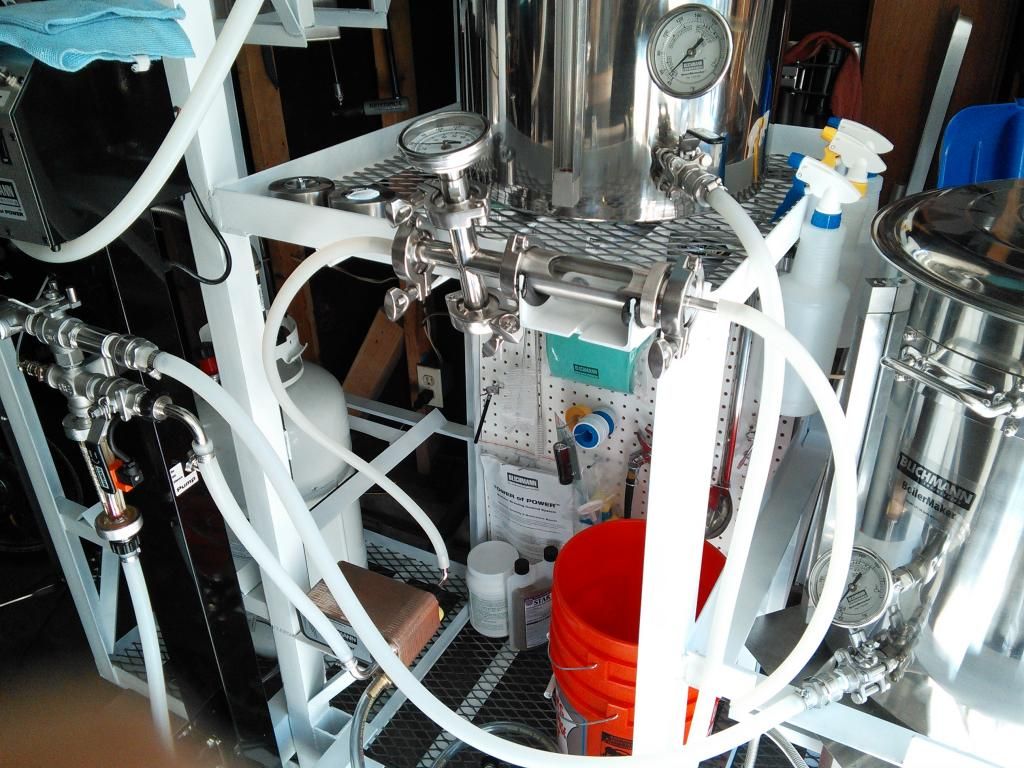
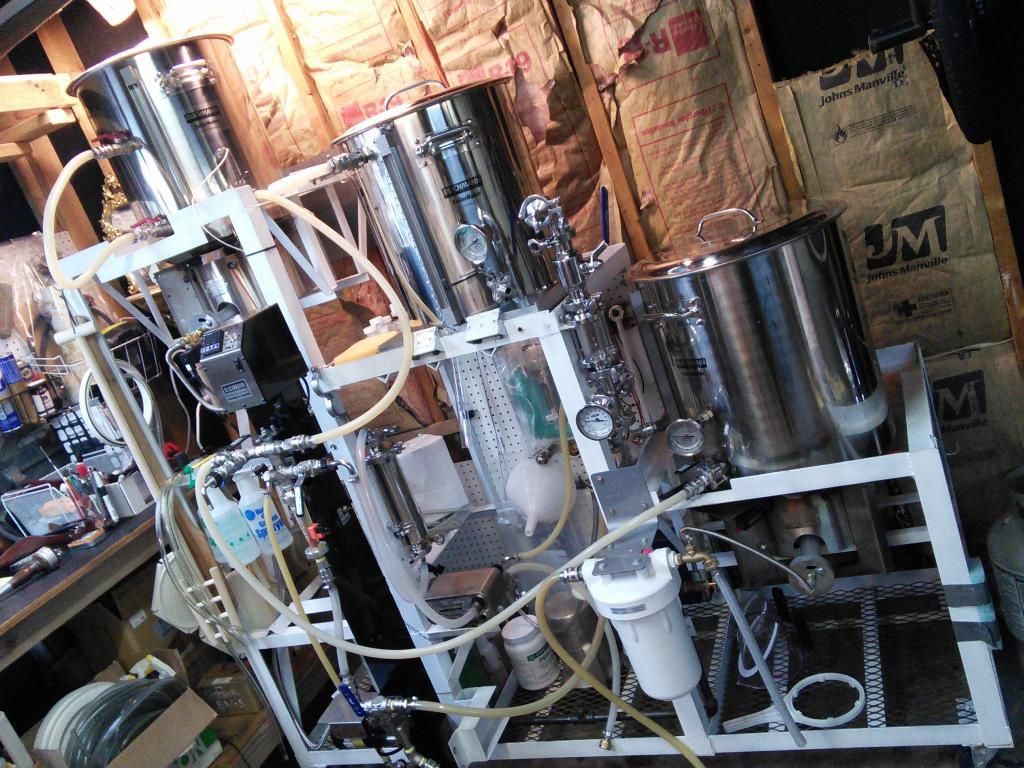
Configured for HERMS (recirculation path from MLT, tower, coil, then back up top of MLT). When I'm ready to go to the kettle I pull one valve. Any leftovers in the coil can be taken off by using the sampling port.
Some of you may be thinking about the flammable paper behind my pots..
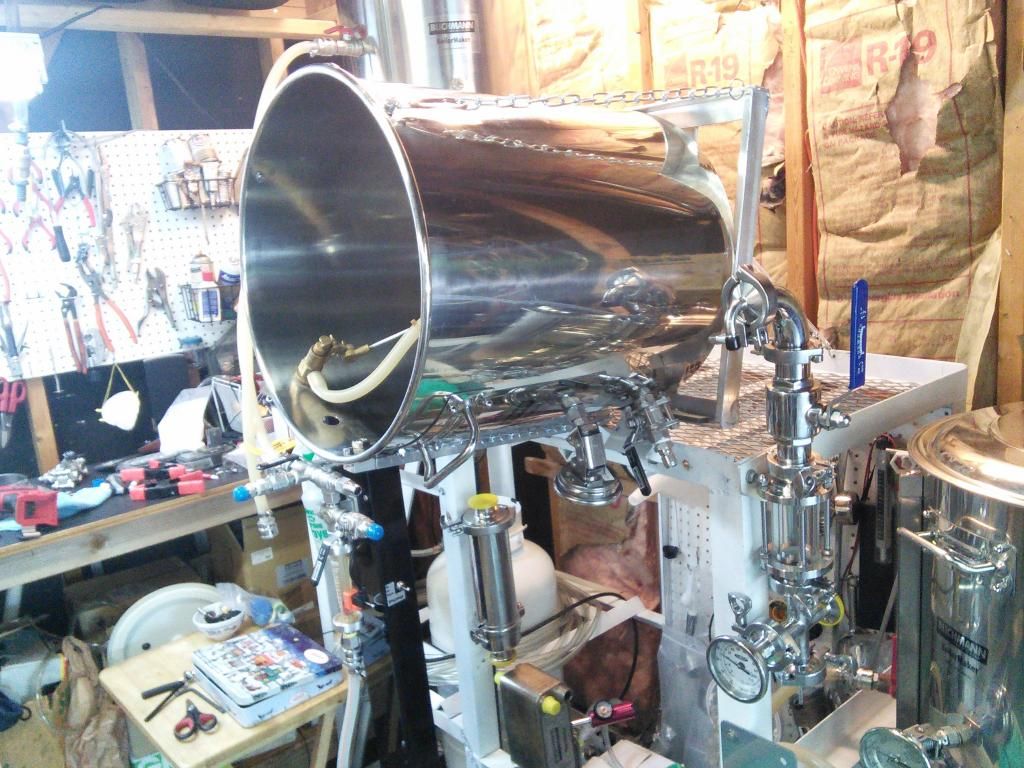
Some more goodies.. trub strainer. I got this awhile back but stopped using it after clogging multiple times. After introducing blichman hop blocker in the kettle AND dedicated whirlpool port, this does not happen anymore.
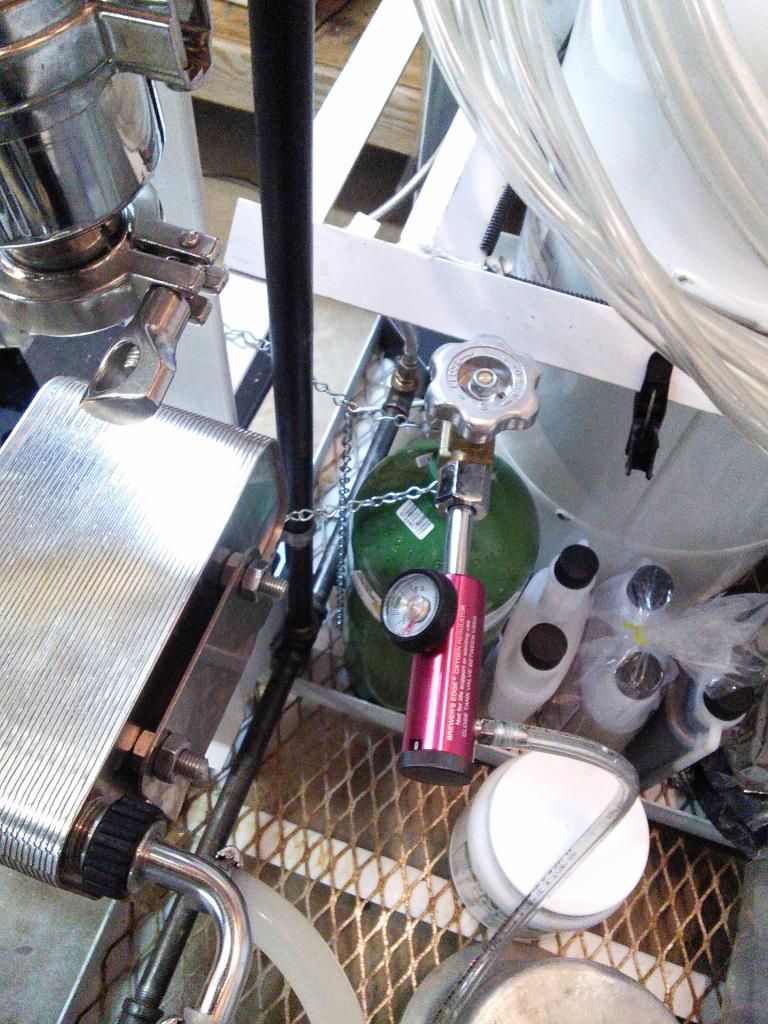
Dedicated oxygen tank with regulator.. wait? I can measure how much O2 I'm putting in? GET OUT.
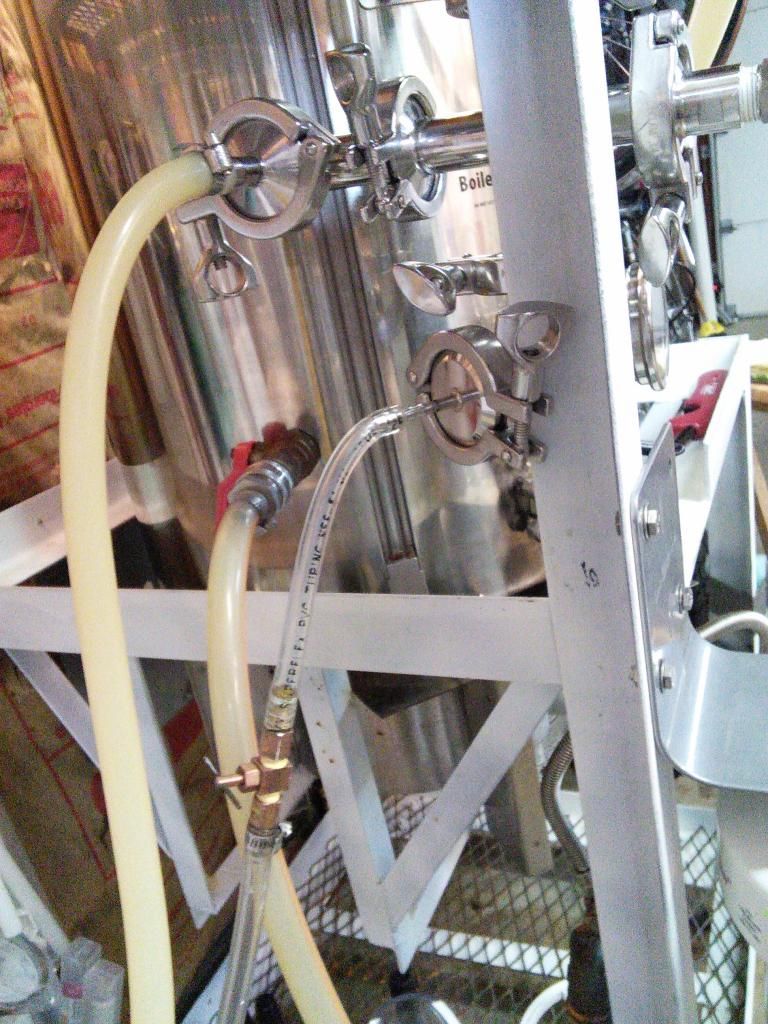
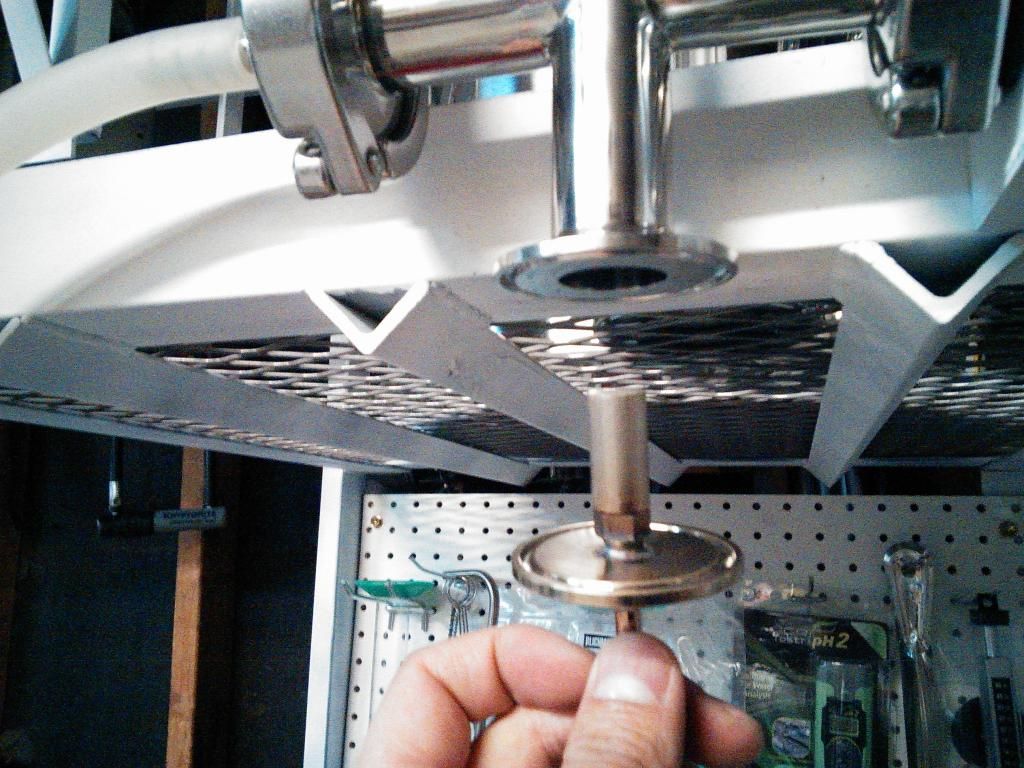
Tri-clamps evaryy whaaarr!
Current oxygen setup. Trying to experiment with varying levels of oxygen in my next couple of batches.
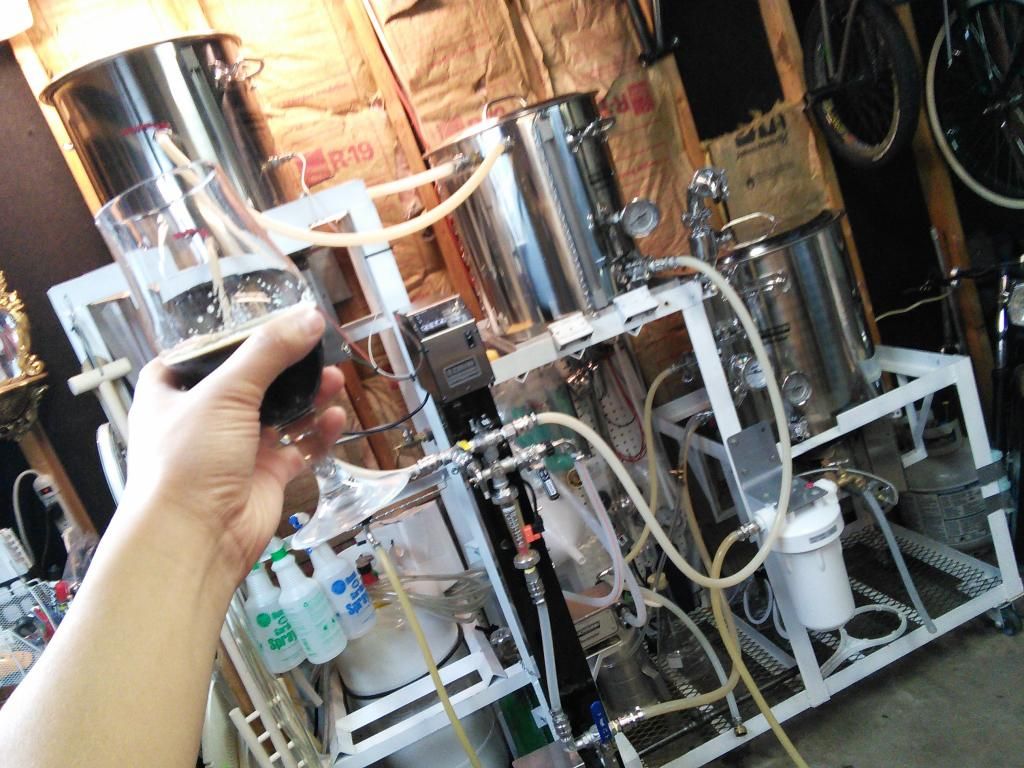
This project has been long and tedious. :rockin: But It was all worth it. I know that since I have everything I won't have to upgrade anymore. :cross:
The first time I brewed it took me 10 hours+next day clean up. Now, I've gotten it down to 4 1/2 hours completely taken apart and drying. Every 5 batches of beer I take apart the ball lock fittings and give them a good clean.
If I were to do it all over again, knowing what I know now I would have gone with different pots. The pots were a bit pricey for what they were compared to other pots (with equivalent modifications). As they came with everything (I was new and green to the hobby) they fit my needs at the time. Since I learned how to modify these sorts of things now, I would have done a lot of things that would have saved me hundreds of not thousands of dollars.
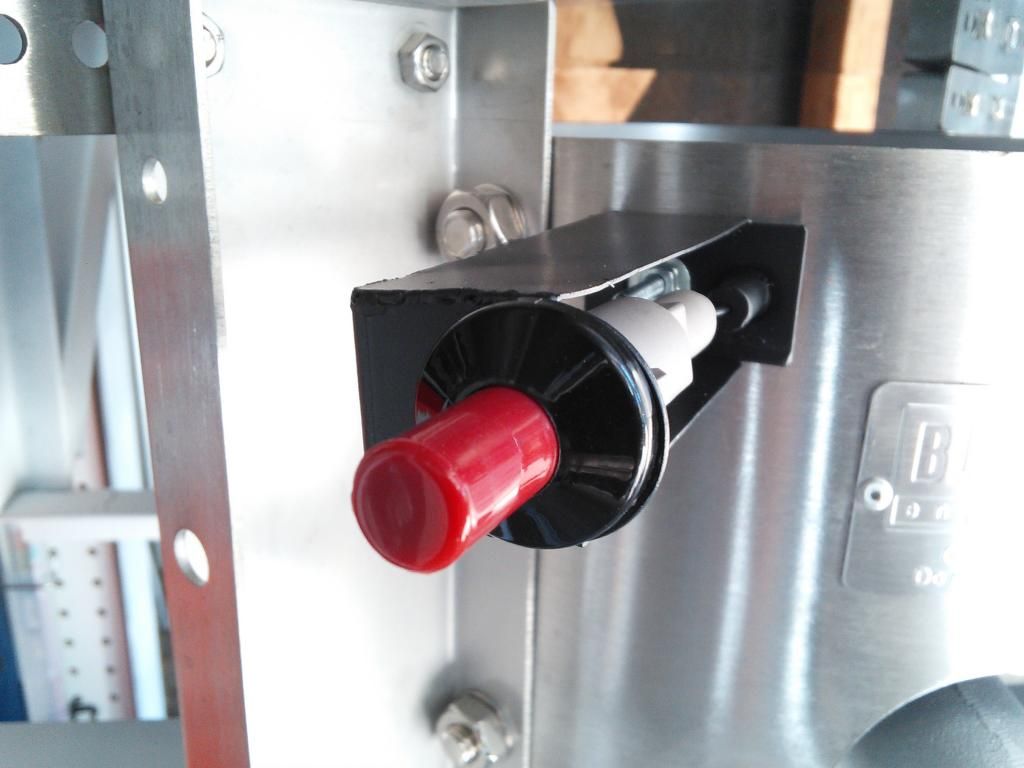
I think the one thing I have been disappointed with is the gas solenoid for the Tower of power. It gets stuck on sometimes and I have to bang it with a blunt object to 'fix' it.
:rockin:
I'm located in Denver, Colorado. Aurora area to be exact. I'm not apart of any brew clubs or know anyone else who brews and I would like to share, so message me! I try to brew every other weekend.
Thanks for checking out my project, cheers!
I wanted to share my build with everyone (there are many many amazing builds on here). I started brewing back in november 2013 after I completed a 3-tier HERMS setup. Prior to that, I have had no knowledge of brewing. I figure go big or go home. John Palmer's how to brew, this forum, and google provided me with the information I needed to make a complete HERMS (heat exchange recirculation mash system) setup.
Here is my build log. (49 photos)
Raw steel from Denco metal supply here in Denver.
New Blichmann pots. 15, 15, 20 gallon sizes. HLT, MLT, and Kettle. If I were to do it over again I might have done 20 across the board (larger utilization of HLT after brewing for rinse/cleaning water). I picked these up from the brew hut (dry dock brewing!).
This is my 2nd welding project ever after building my welding table (not pictured)
Sorta had an idea what I wanted.

Harbor freight heavy duty casters.
My initial idea for the burners..
After factoring the cost for a sheet metal heat shield, burner, and steel required to make what I wanted, a blichmann set up was much easier and cheaper.
Mounted with pots.. an easier view of how I mounted the burners.
Bought some grates from Home Depot. Not sure if I'd do it again unless it was stainless steel (I had to treat later to keep them from rusting)
Pre-mounted gas line...
Mostly together..
Some goodies I decided on. Blichman tower for temp control (mash) and nifty valve assembly.
Mount welded up...
Some perspective on how tall this thing is. (how am I gonna lift the MLT off without breaking my back?!)
Mount for Therminator plate chiller.
Picture with double capacity propane tank (amazon)
I've heard of horror stories of tanks tipping over and and causing havoc. I would make sure this could never happen.. really overkill. Just chain it. that's all ya need.
Mostly together.. but I said that already. I was still really far away from completing this thing.
Some hoses and fittings came in. I decided on quick disconnects. The lowest price I was able to find them were from Williams Brewing.
Some more goodies..
50ft of stainless steel coil from The Electric Brewery all mounted up inside the water tank (HLT)
My mash tun..
Hey I had some extra space so I figured since it wasn't harm of catching on fire I could use it to put up some peg board and some of my brewing stuff..
STILL haven't brewed on this thing yet... needs paint.
I decided to make an ignitor for the kettle.. this eventually failed. So when I build a new one I'll update.
Oxygen assembly.. all fittings from Brewers hardware.
Nobody made a tri-clamp stainless steel oxygen stone that I knew of that was SHORT at the time so I decided to make my own. Just fused it at the base.. If you wanted to re-make this.. you could do a 3/8's NPT female tri-clamp and screw in an oxygen stone that has a 3/8's male treaded end (they are available now).
First brew day ever. Man, the wait was way too long! (notice the inline water filter)
1st 3 batches were an american pale ale. It was okay. 4th batch pictured and 5th batch brewing..
Fast forward 30 brews later, I decided that a tippy dump for the mash tun was required if I was going to brew sustainably. Wet and spent grains are HEAVY. Notice the chains? I used appropriate load 'S' hooks(not pictured) to take up the slack to keep the MLT nice and tight. Pardon the crappy aluminum welding.
Configured now for filling with water. I've learned that using HOT water from my water heater inside the house cuts my propane use in HALF. Hoses set up for filling kettle (strike water) and HLT (top pot) for HERMS heat exchange and sparge water.
Configured for HERMS (recirculation path from MLT, tower, coil, then back up top of MLT). When I'm ready to go to the kettle I pull one valve. Any leftovers in the coil can be taken off by using the sampling port.
Some of you may be thinking about the flammable paper behind my pots..
Some more goodies.. trub strainer. I got this awhile back but stopped using it after clogging multiple times. After introducing blichman hop blocker in the kettle AND dedicated whirlpool port, this does not happen anymore.
Dedicated oxygen tank with regulator.. wait? I can measure how much O2 I'm putting in? GET OUT.
Tri-clamps evaryy whaaarr!
Current oxygen setup. Trying to experiment with varying levels of oxygen in my next couple of batches.
This project has been long and tedious. :rockin: But It was all worth it. I know that since I have everything I won't have to upgrade anymore. :cross:
The first time I brewed it took me 10 hours+next day clean up. Now, I've gotten it down to 4 1/2 hours completely taken apart and drying. Every 5 batches of beer I take apart the ball lock fittings and give them a good clean.
If I were to do it all over again, knowing what I know now I would have gone with different pots. The pots were a bit pricey for what they were compared to other pots (with equivalent modifications). As they came with everything (I was new and green to the hobby) they fit my needs at the time. Since I learned how to modify these sorts of things now, I would have done a lot of things that would have saved me hundreds of not thousands of dollars.
I think the one thing I have been disappointed with is the gas solenoid for the Tower of power. It gets stuck on sometimes and I have to bang it with a blunt object to 'fix' it.
:rockin:
I'm located in Denver, Colorado. Aurora area to be exact. I'm not apart of any brew clubs or know anyone else who brews and I would like to share, so message me! I try to brew every other weekend.
Thanks for checking out my project, cheers!