
This will not necessarily make me a better brewer, improve my beers, or put me on the forefront of home brewing innovation but I thought I'd share anyway. At least I haven't seen it done before.
Here's my take on a bottom drain Mash Tun. I didn't want to drill a hole through my table, so I made the bottom drain go out the side of the keg. Only leaves about 100ml of wort behind.
Just a couple of notes in case someone else may want to try it:
1. You need a right angle drill and a "narrow" step bit. Couldn't do it with a regular drill and a "fat" step bit would hit the keg.
2. Check the height with the clamp on & proper gasket. I had to put the keg in an arbor press to squish the opening down a bit in order for the clamp to clear. Before, the rivets of the tri-clamp would have been above the rim of the keg.
3. Soldering the 1/2" tube to the neck caused to loose some of the "squish" due to heating/cooling. So, you need to go a little more than what you need to be sure.
4. I soldered a 1/2" coupler to the rim of the keg for stability. This needs to be in precise alignment with the hole in the neck.
5. Insert the tube, nut and compression sleeve 1st. The compression nut will not fit through the hole for the coupler. Then, press the Coupler w/ compression fitting together ( I did use Teflon tape on the threaded joint) and loosely assemble.
6. Solder the coupler & tube in place.
7. Tighten the nut after the joints have cooled.
Thanks to those how helped out my leak in this thread (I had thought it was a bad solder job, which it was at first ): https://www.homebrewtalk.com/showthread.php?t=621938
Here' pics:
Old Setup w/ Cooler MT:

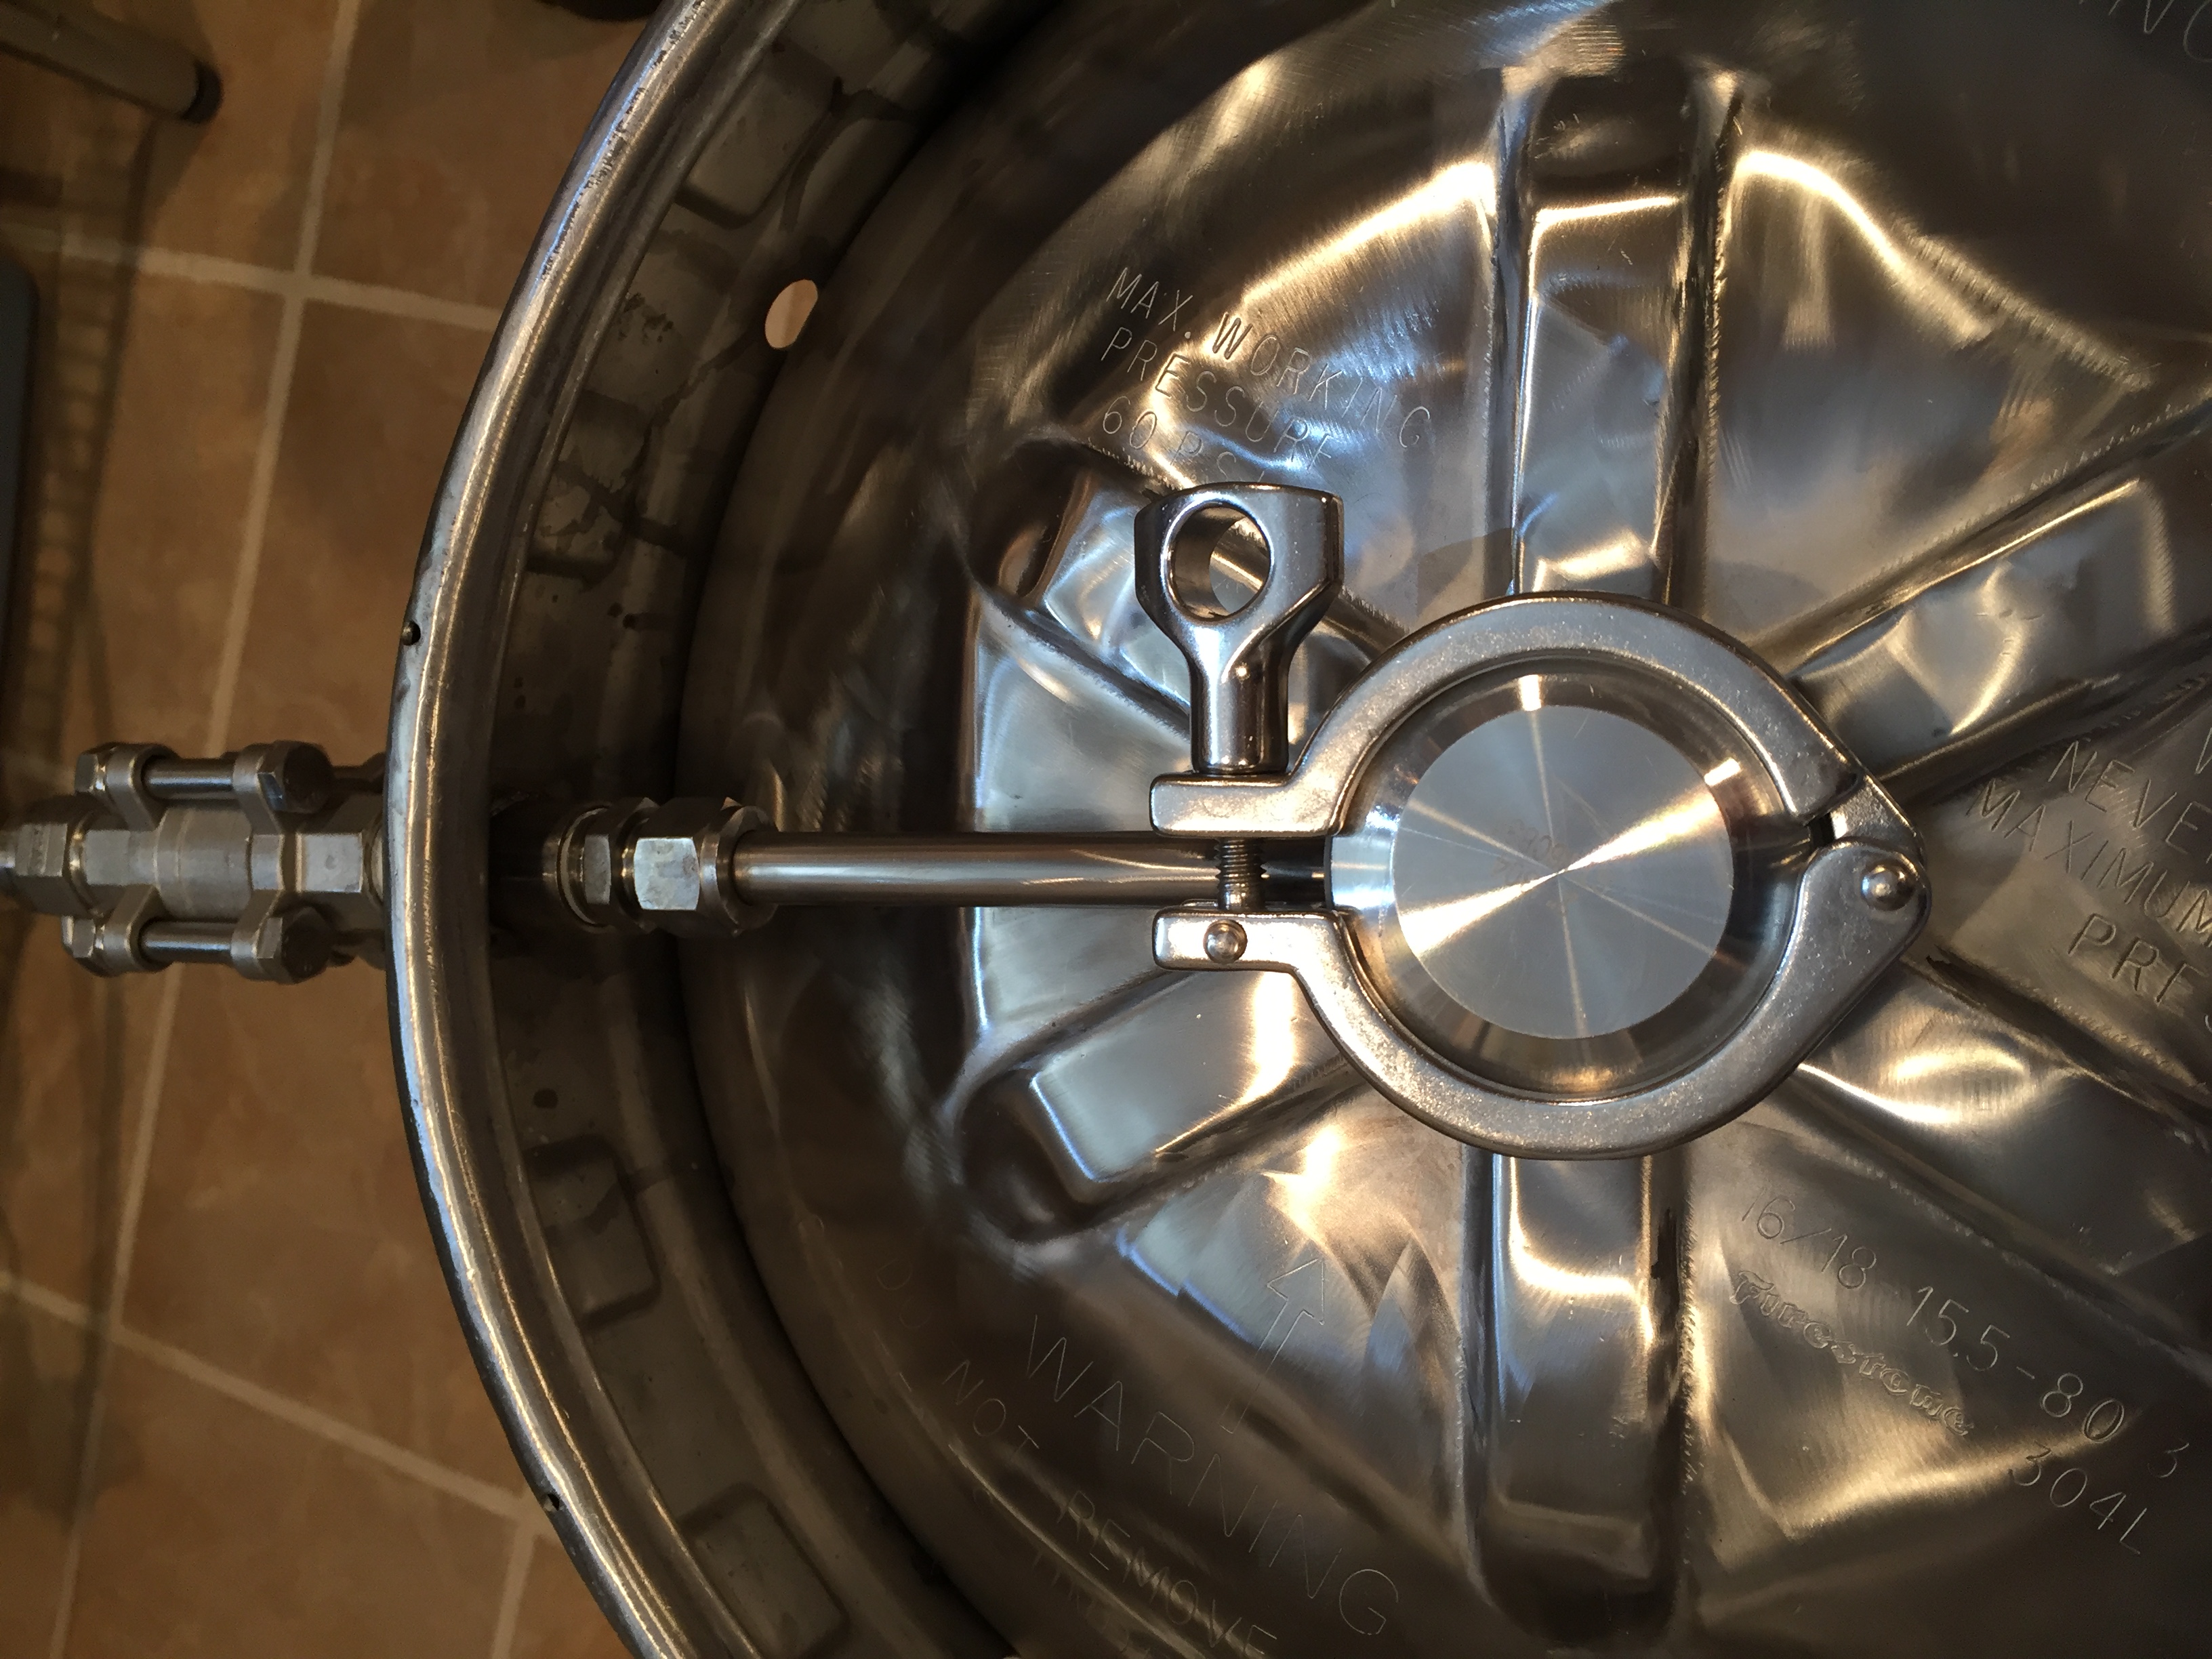
Bottom Drain Clearance:

Bottom Drain Side Port:

Drain with Cap:
Notched Level 3 JayBird Stand:


JayBird False Bottom-Bottom Drain:

New Setup:


Here's my take on a bottom drain Mash Tun. I didn't want to drill a hole through my table, so I made the bottom drain go out the side of the keg. Only leaves about 100ml of wort behind.
Just a couple of notes in case someone else may want to try it:
1. You need a right angle drill and a "narrow" step bit. Couldn't do it with a regular drill and a "fat" step bit would hit the keg.
2. Check the height with the clamp on & proper gasket. I had to put the keg in an arbor press to squish the opening down a bit in order for the clamp to clear. Before, the rivets of the tri-clamp would have been above the rim of the keg.
3. Soldering the 1/2" tube to the neck caused to loose some of the "squish" due to heating/cooling. So, you need to go a little more than what you need to be sure.
4. I soldered a 1/2" coupler to the rim of the keg for stability. This needs to be in precise alignment with the hole in the neck.
5. Insert the tube, nut and compression sleeve 1st. The compression nut will not fit through the hole for the coupler. Then, press the Coupler w/ compression fitting together ( I did use Teflon tape on the threaded joint) and loosely assemble.
6. Solder the coupler & tube in place.
7. Tighten the nut after the joints have cooled.
Thanks to those how helped out my leak in this thread (I had thought it was a bad solder job, which it was at first
): https://www.homebrewtalk.com/showthread.php?t=621938Here' pics:
Old Setup w/ Cooler MT:
Bottom Drain Clearance:
Bottom Drain Side Port:
Drain with Cap:
Notched Level 3 JayBird Stand:
JayBird False Bottom-Bottom Drain:
New Setup:

