
esteban
Active Member
Sorry if this is not the right section. I didn't know if I should post it this here or in "Other".
A friend of mine got married last weekend. I brew some beer for the wedding party, but I didn't have a jockey box. I thought of borrow one from another friend, but ended up building one. My budget was a little tight but the final result was good, I think.
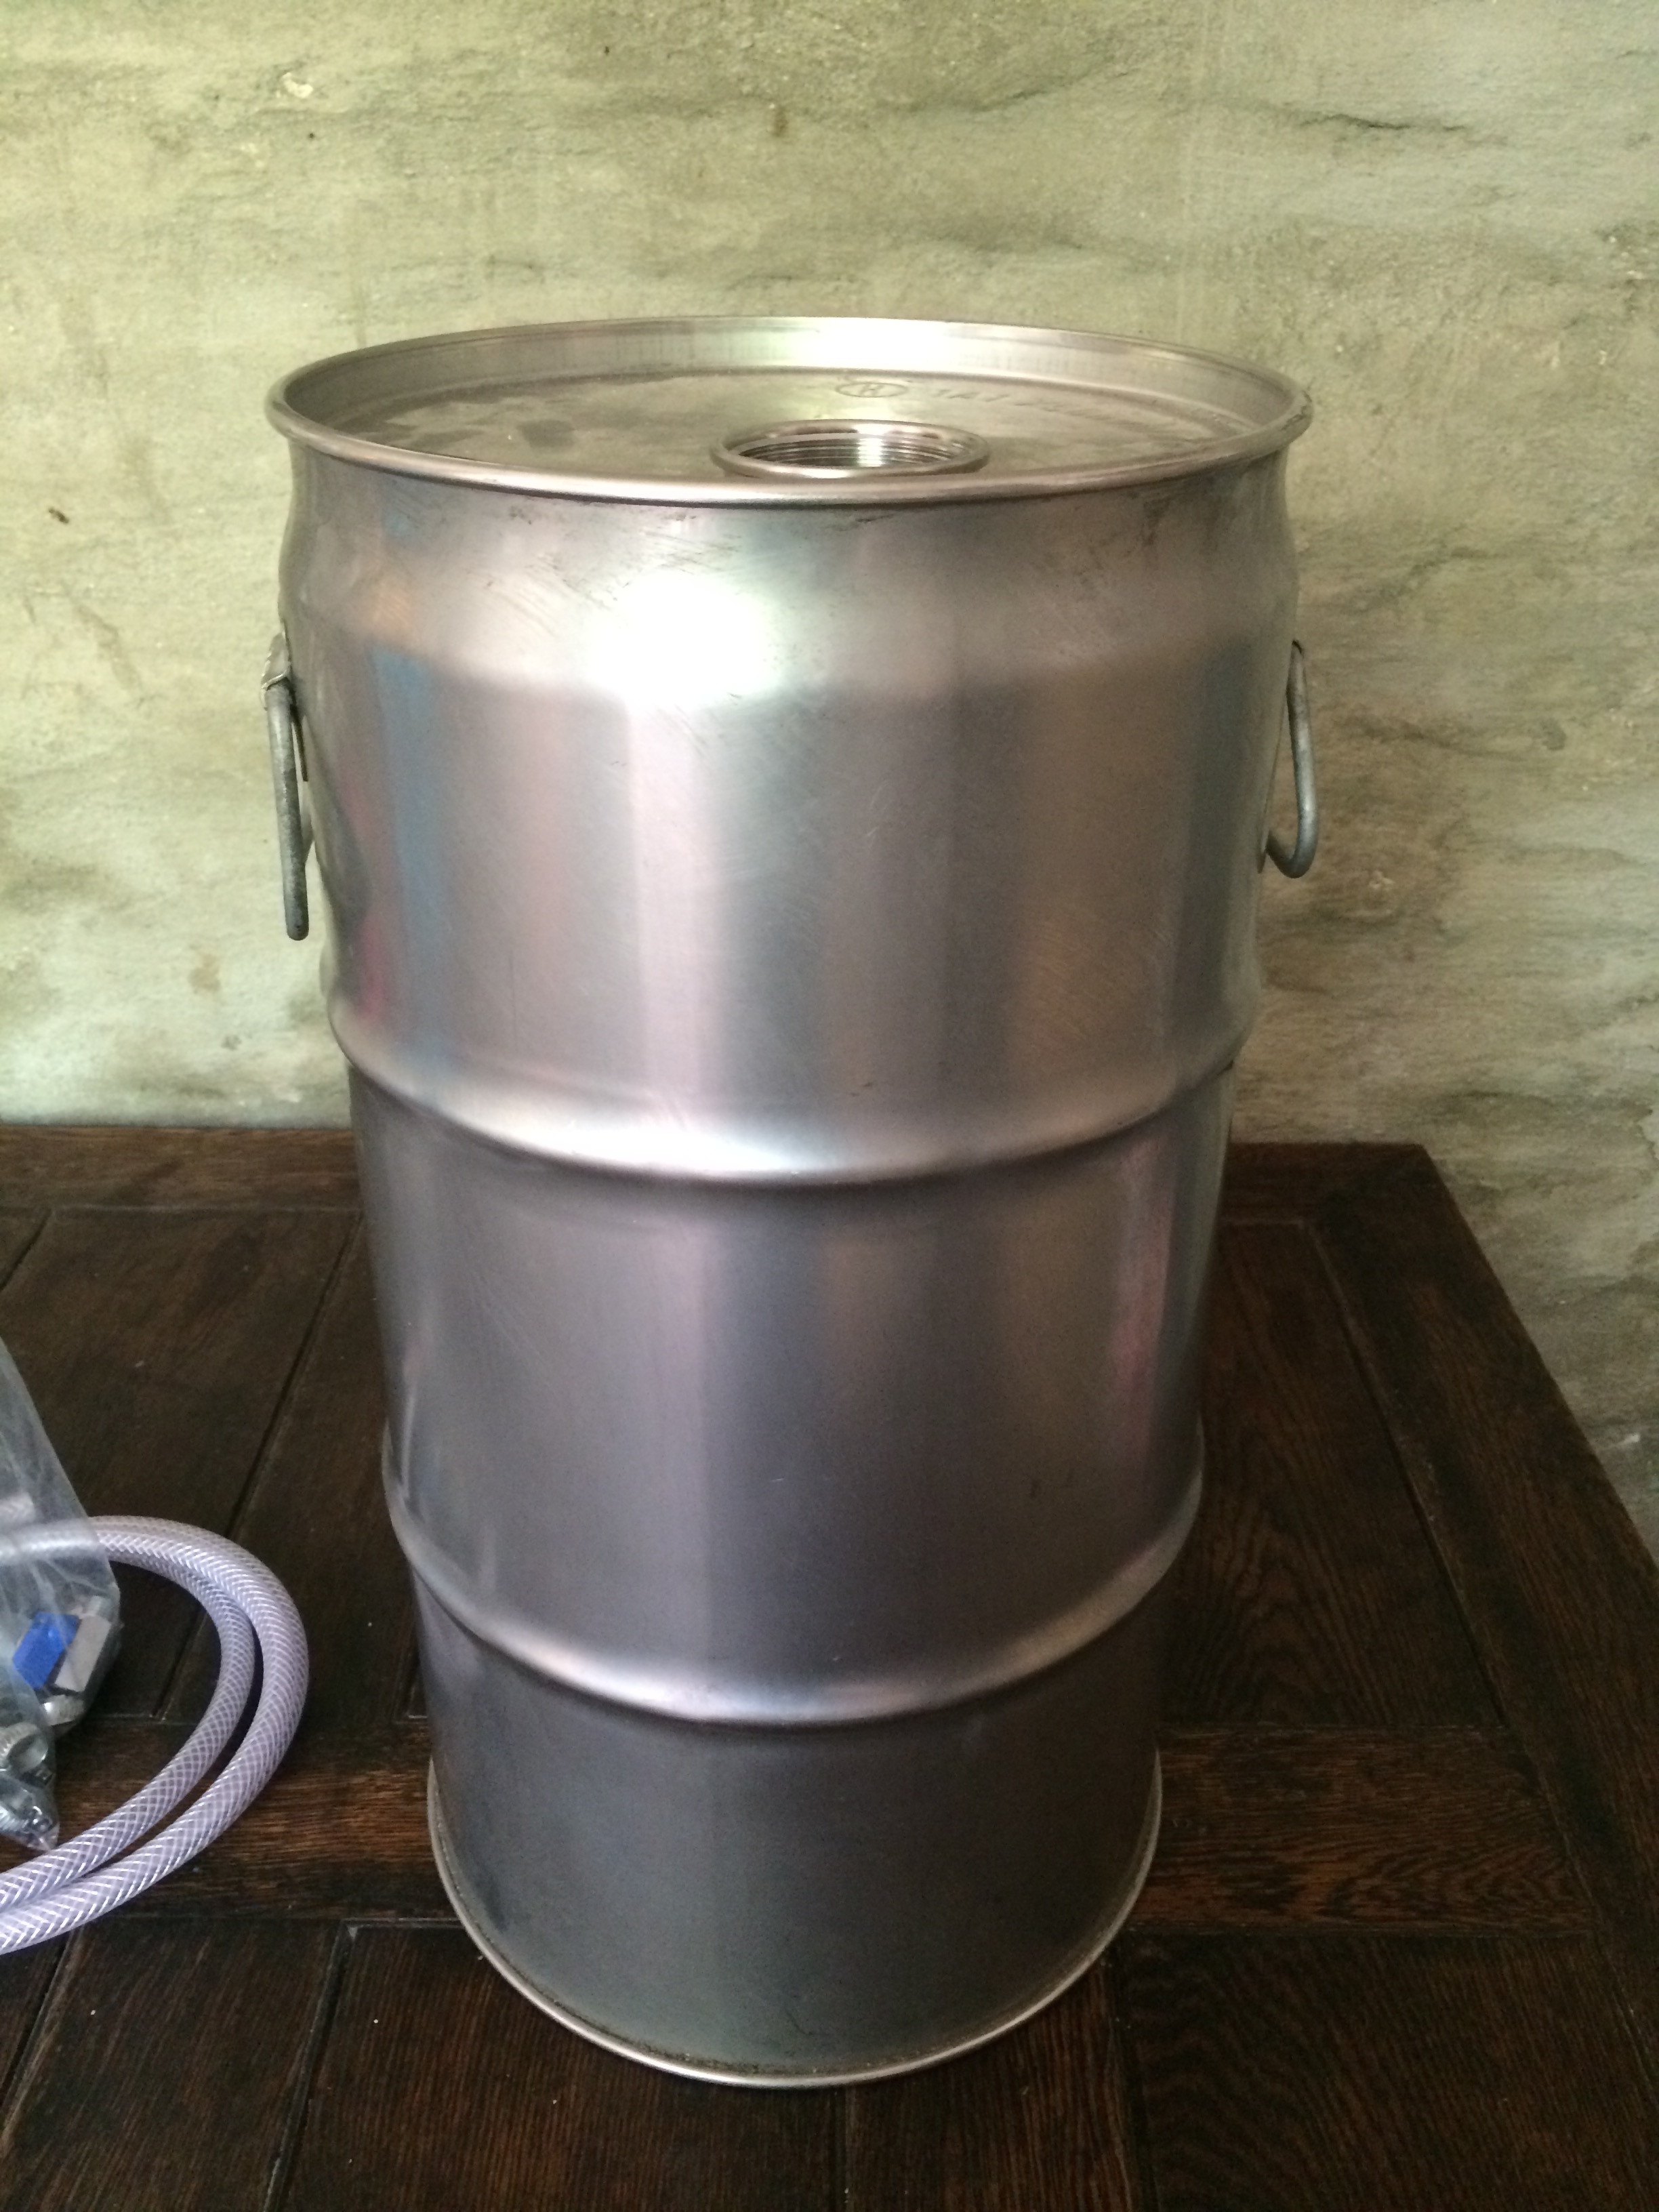
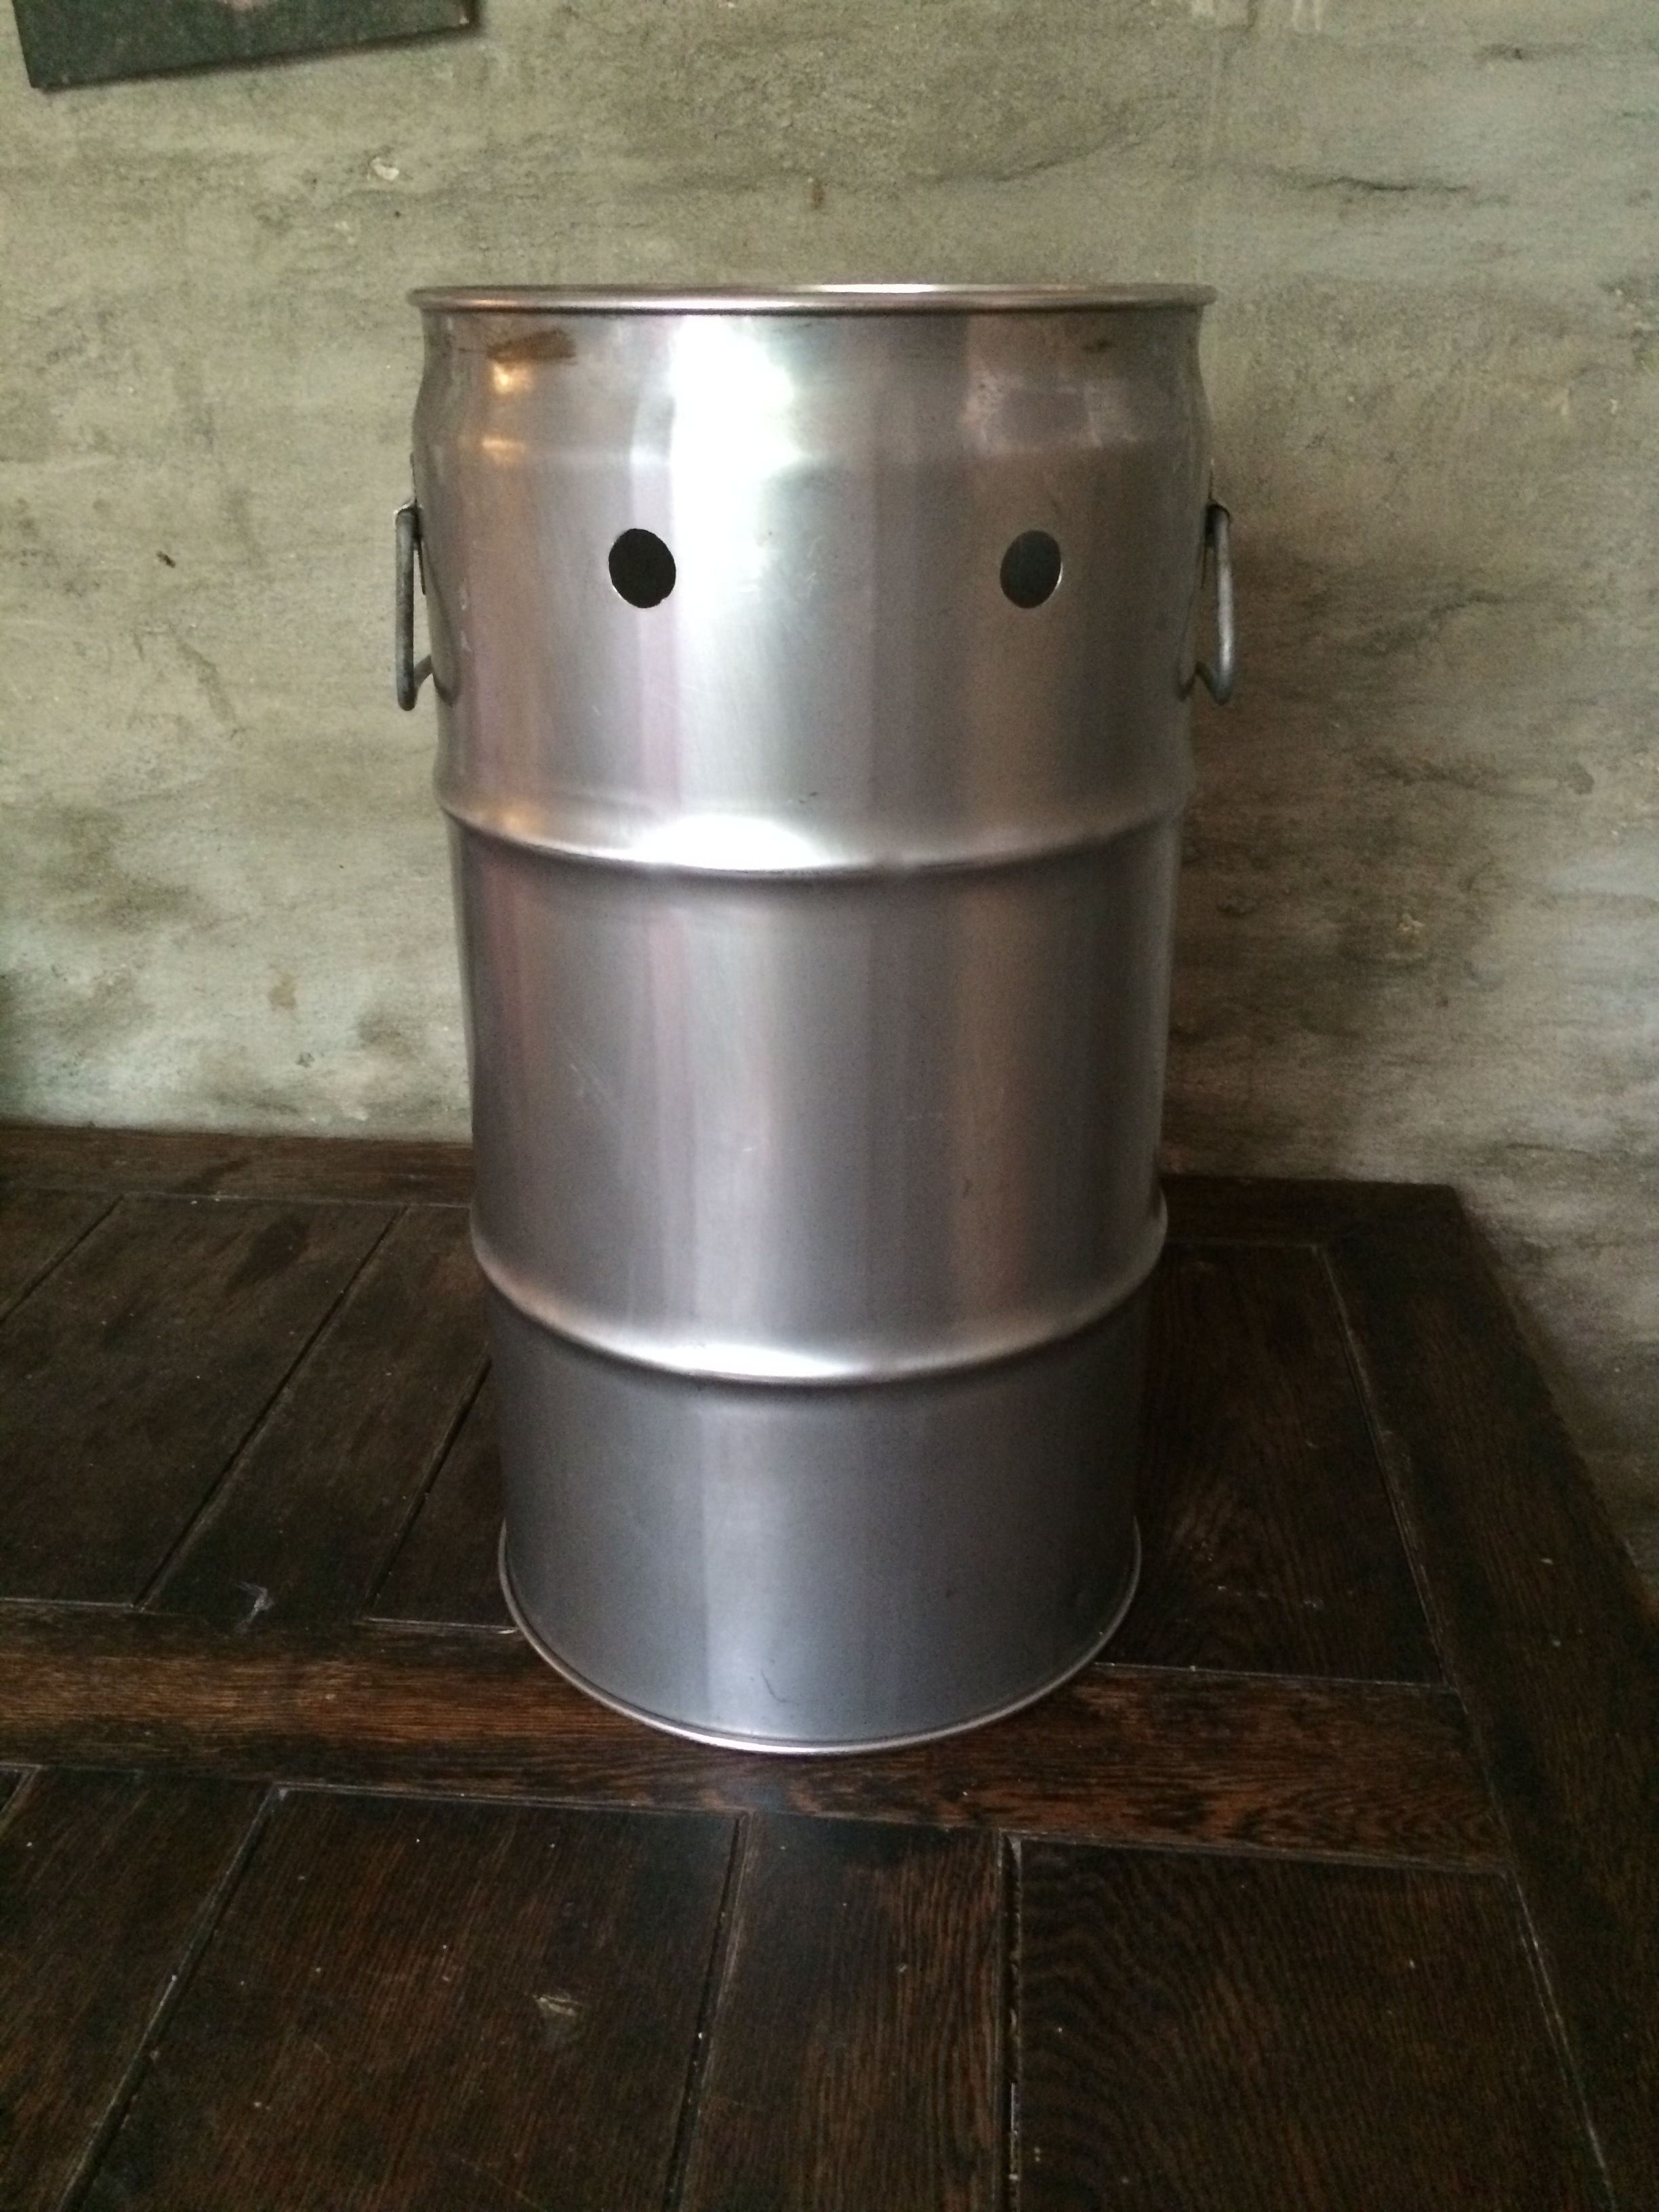
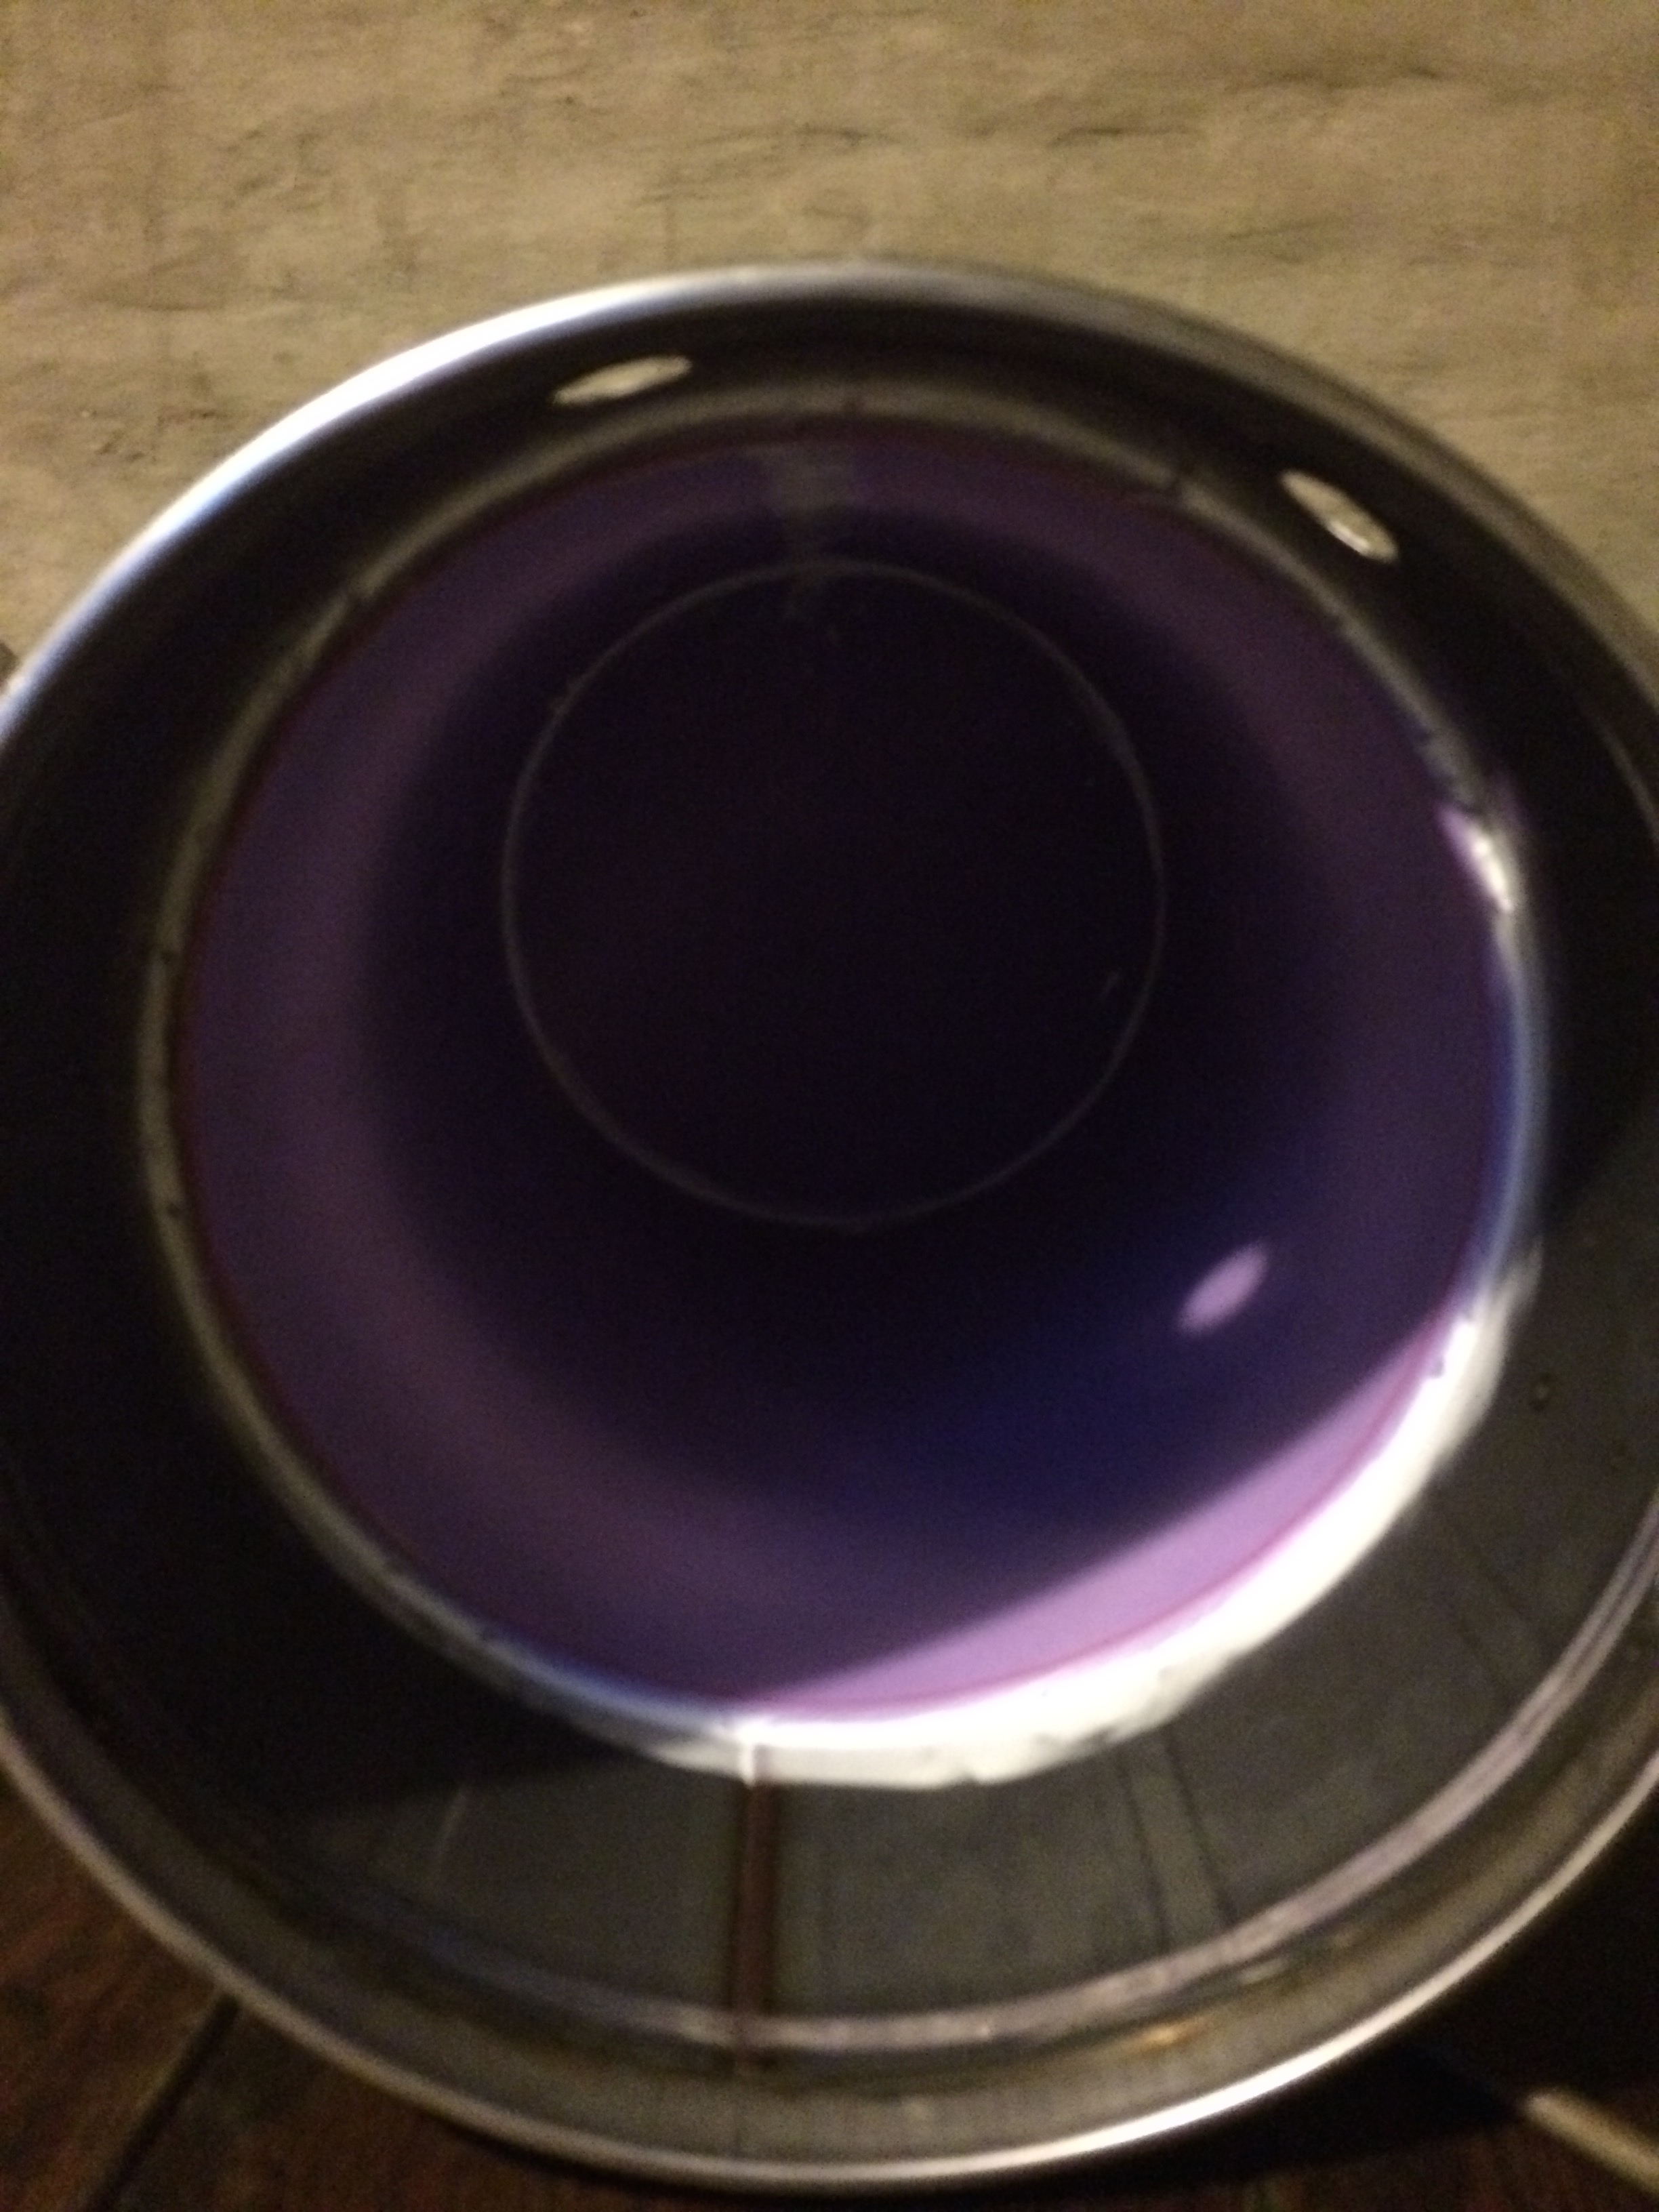
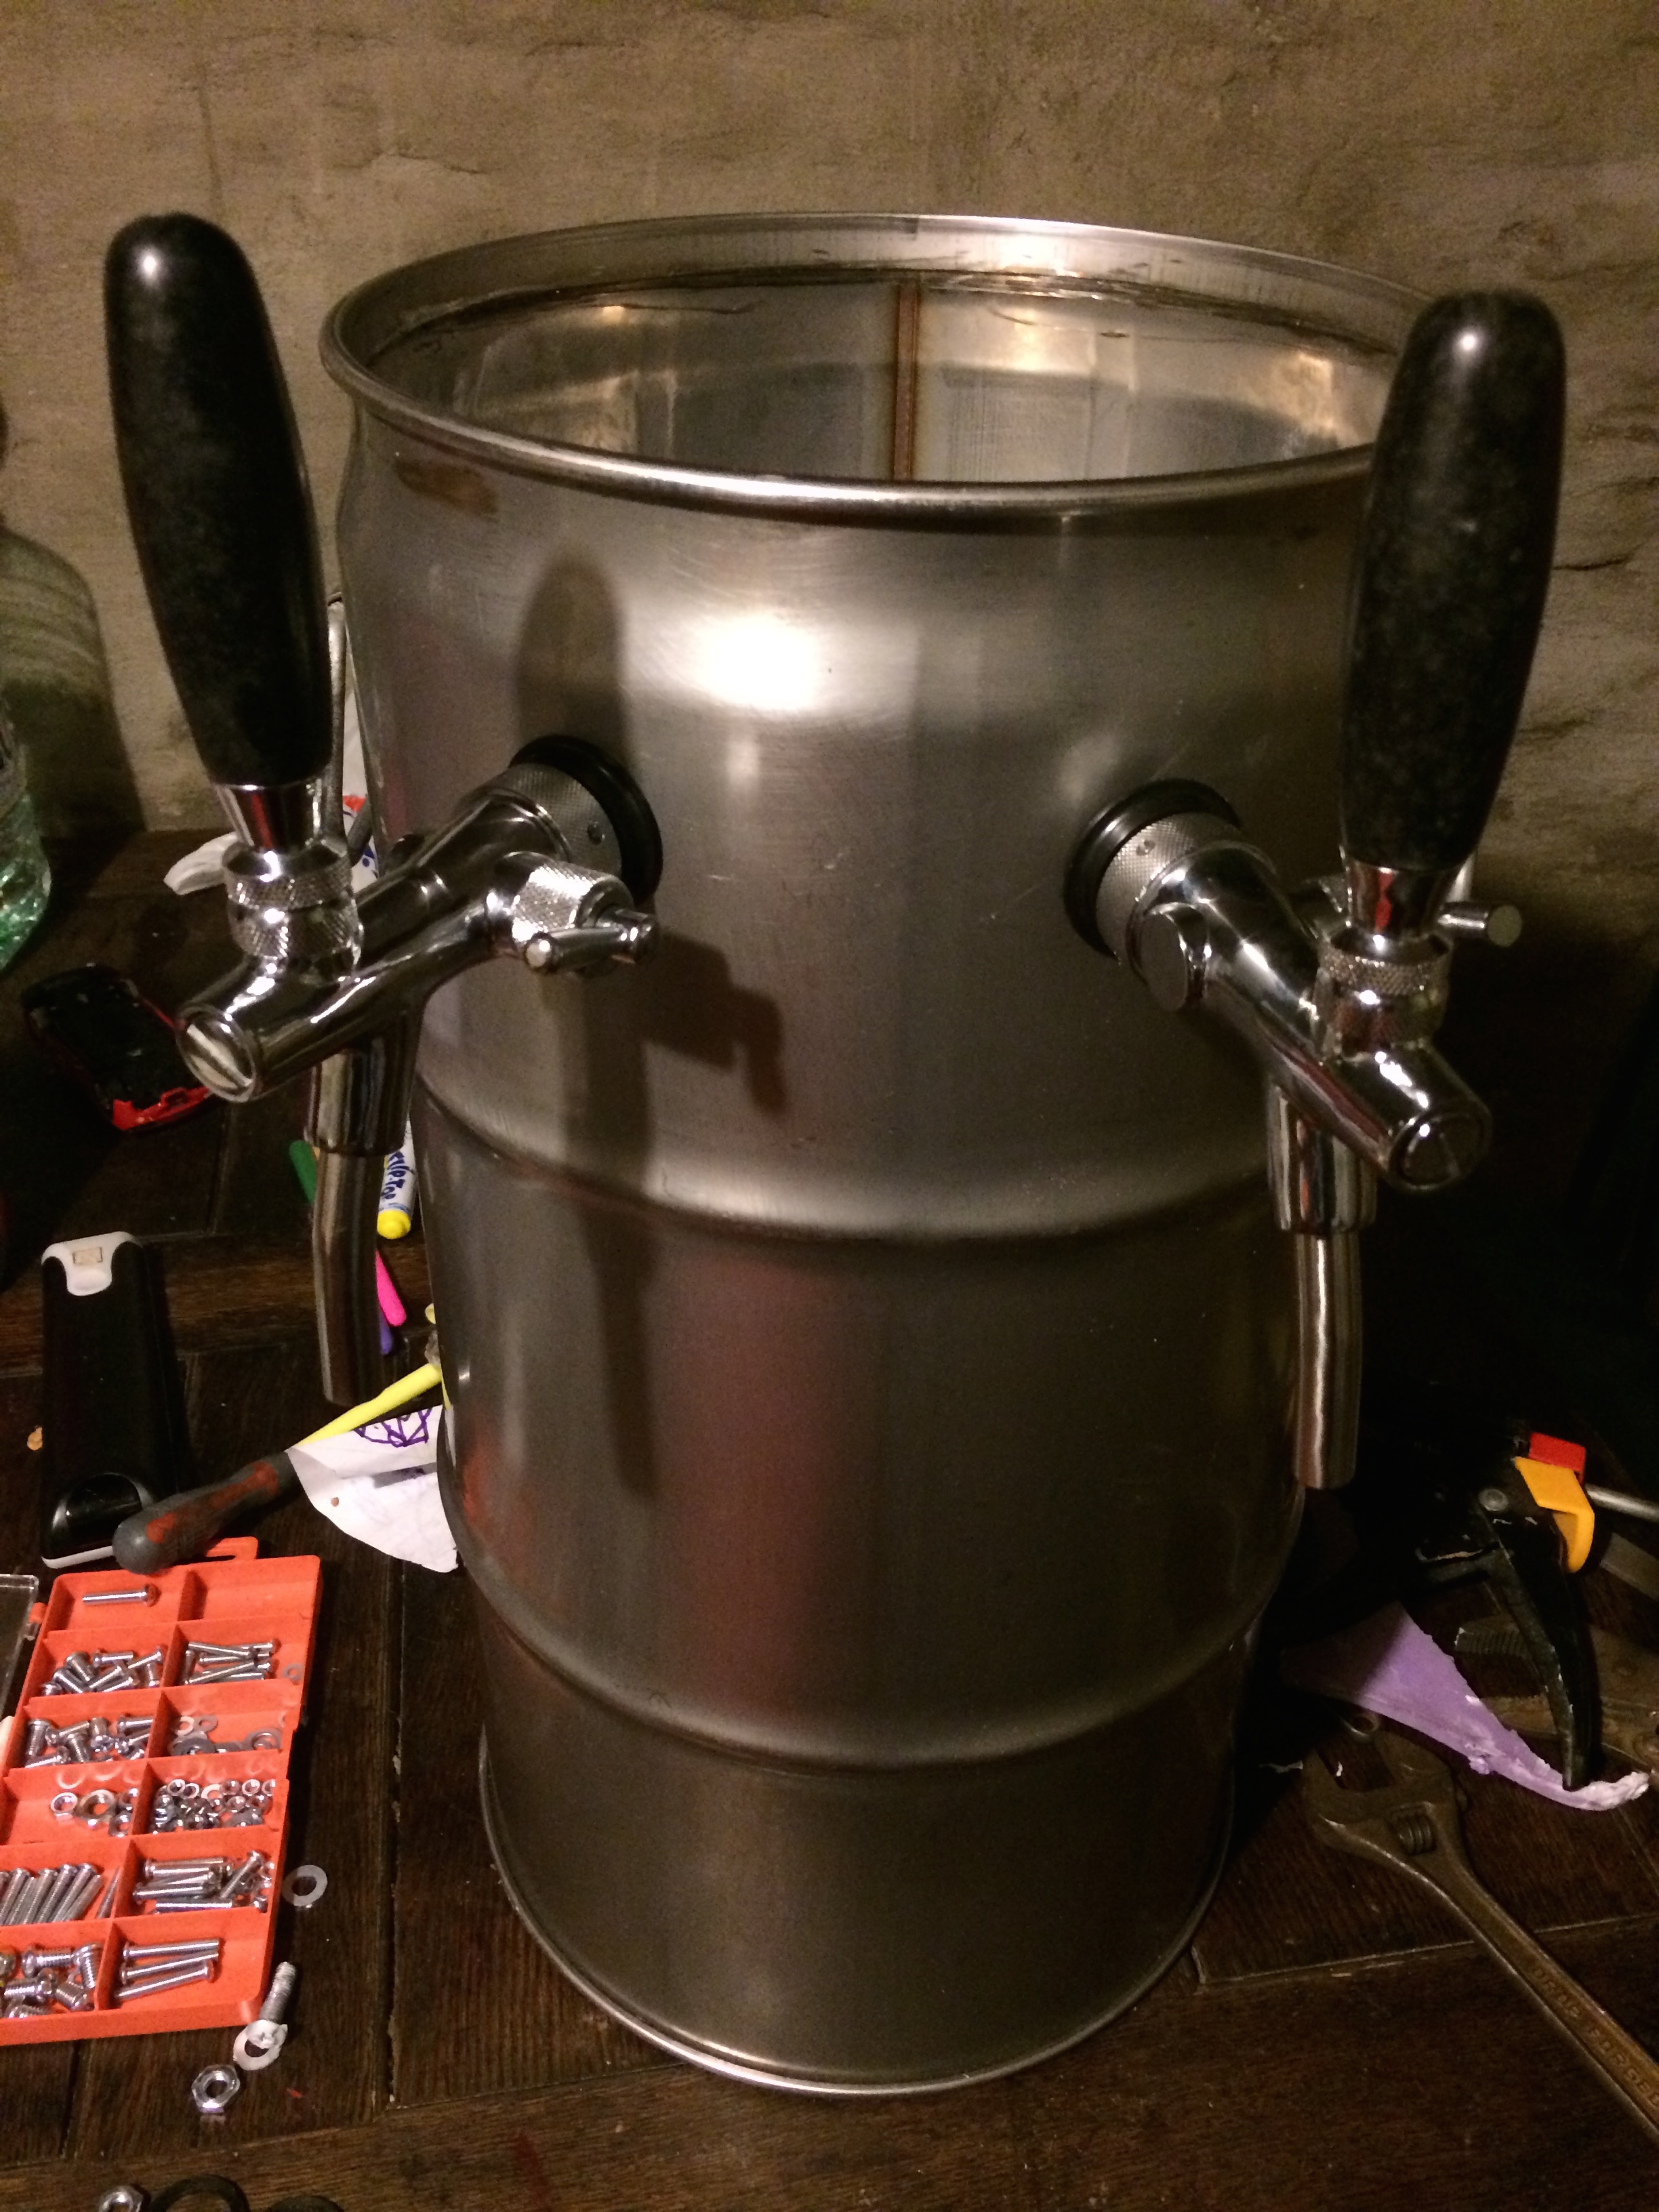
I had this tank for a while, I bought it for 6 bucks some years ago. I never know what to do with it though I had some ideas. It's a stainless steel 6.6 gal (25 liter) coke syrup tank.
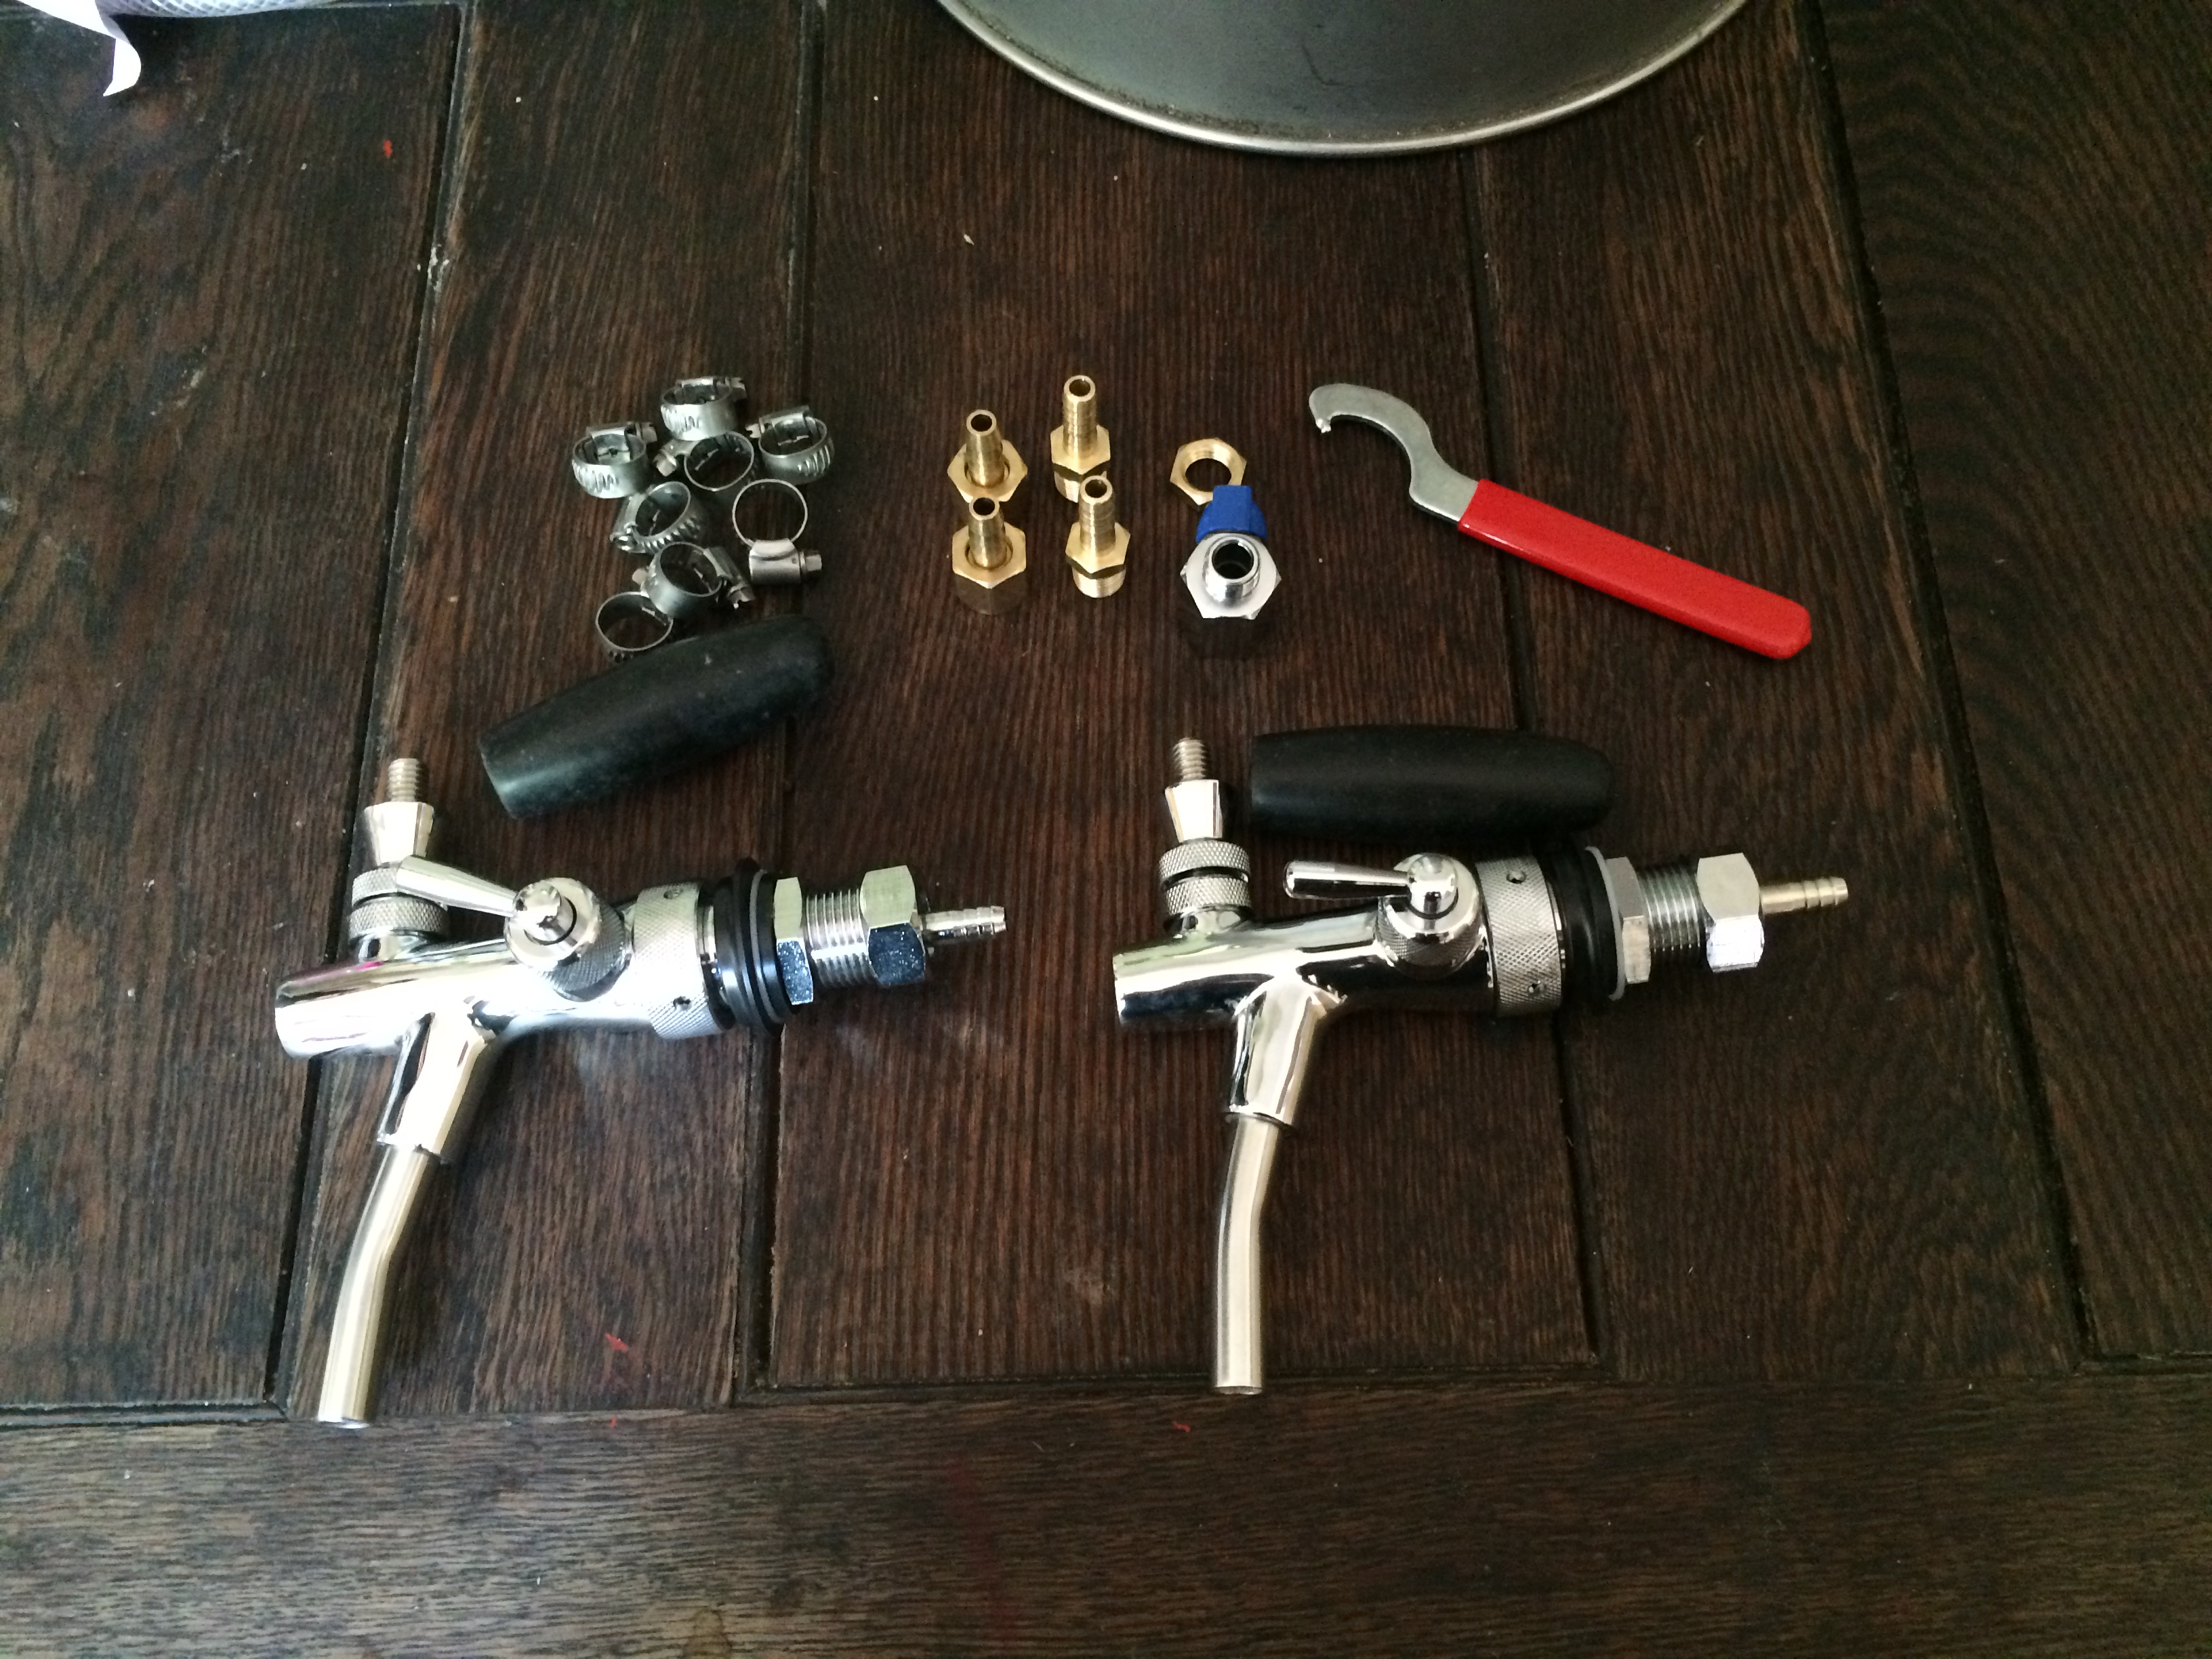
Assorted stuff. Those are cheap faucets, I think I got them for 20 dollars each. They are no Perlicks, but ok for this.
It took some time to get the perfect position. Any position would do at the end anyway.
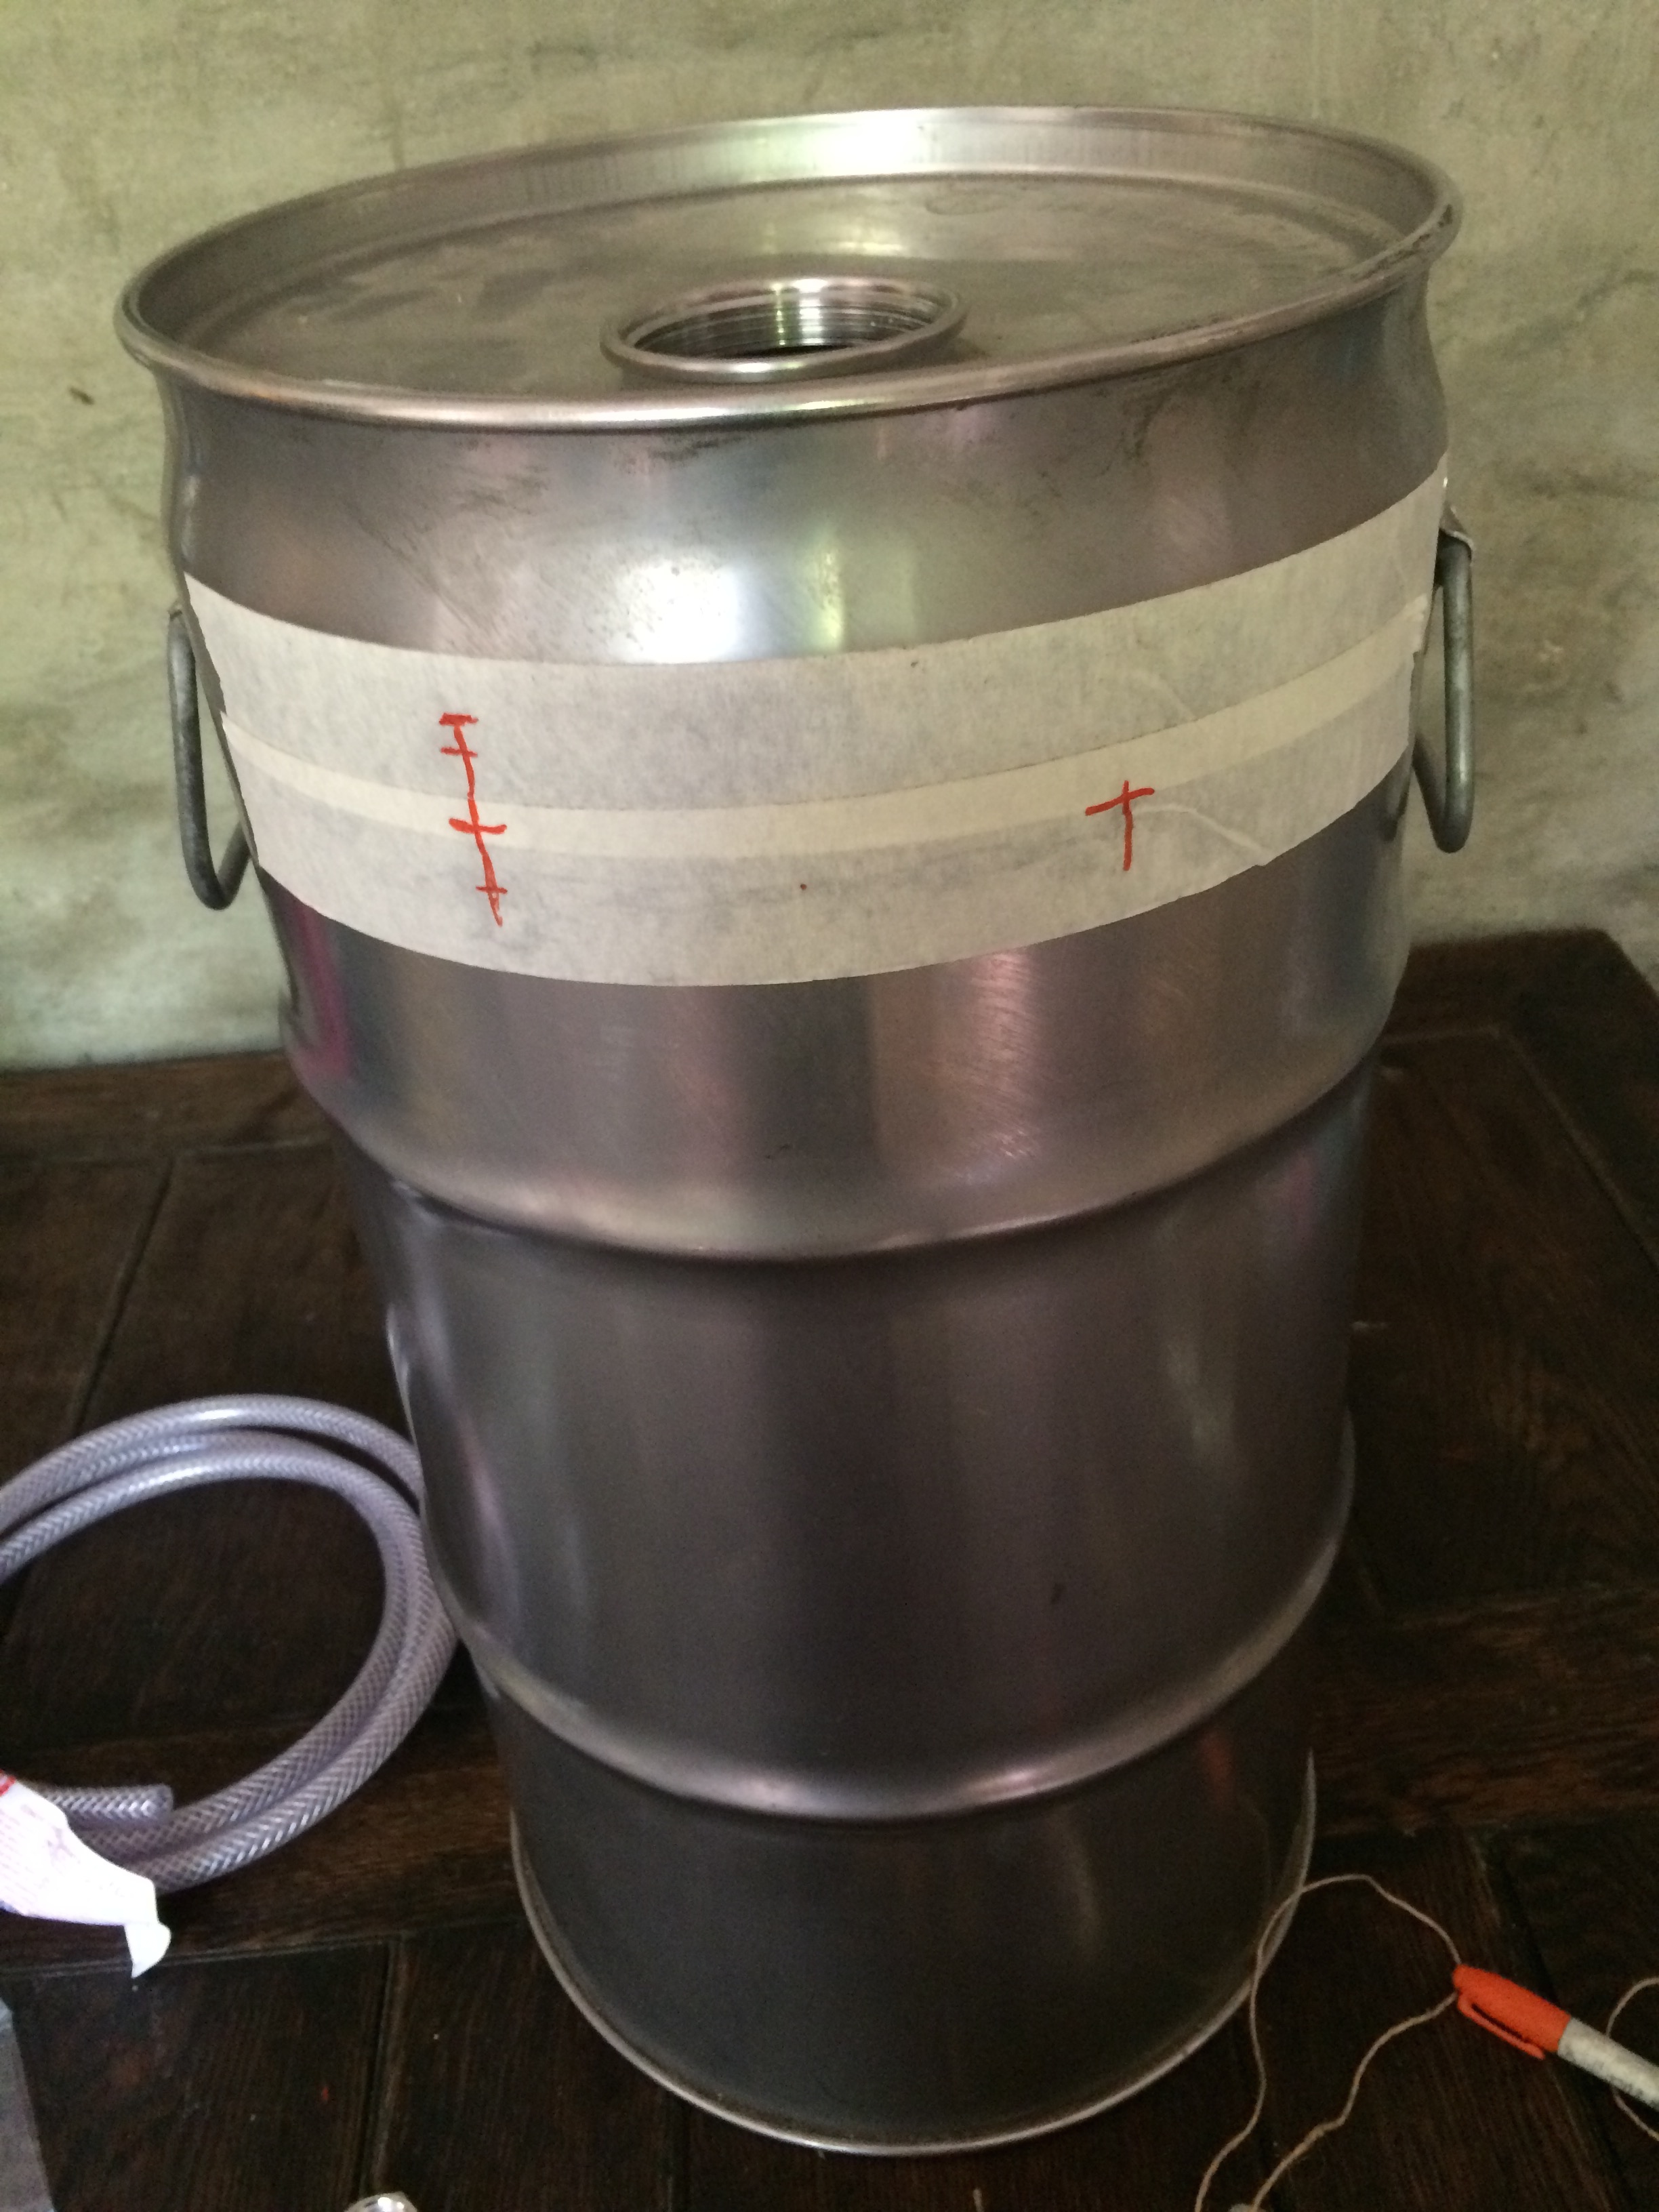
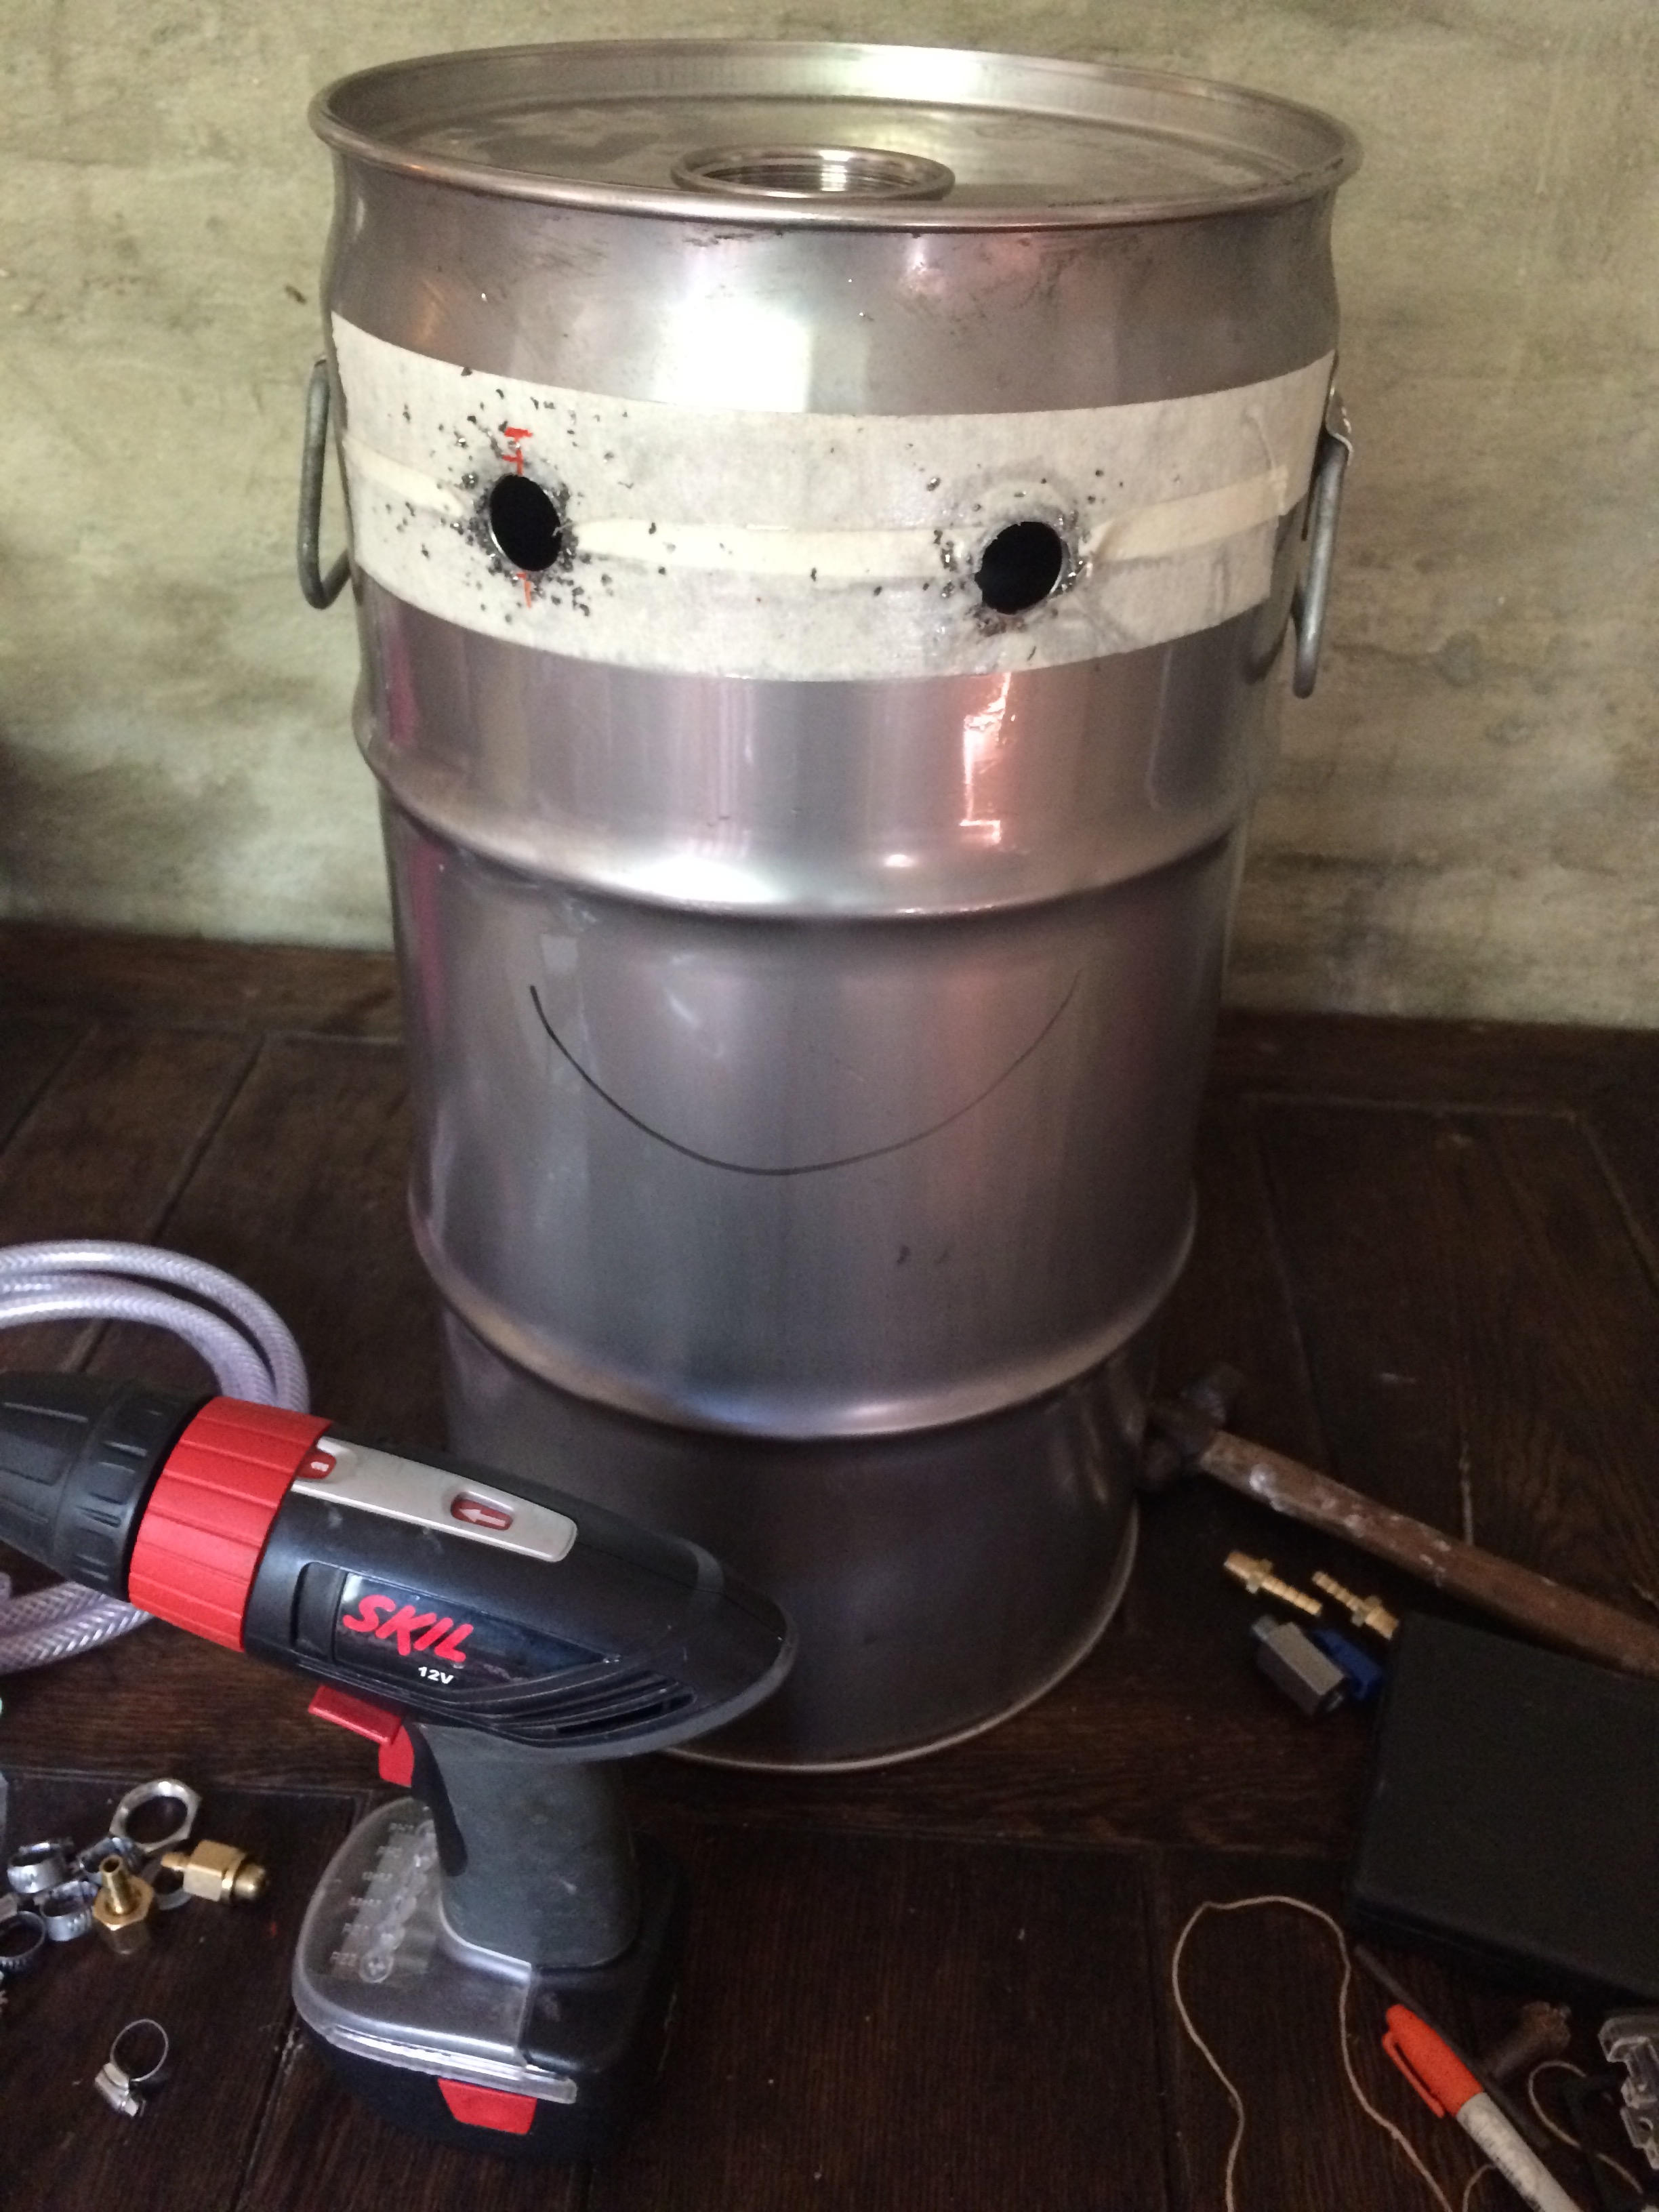
Drilled and happy. I didn't have blue tape, so white should do.
Done
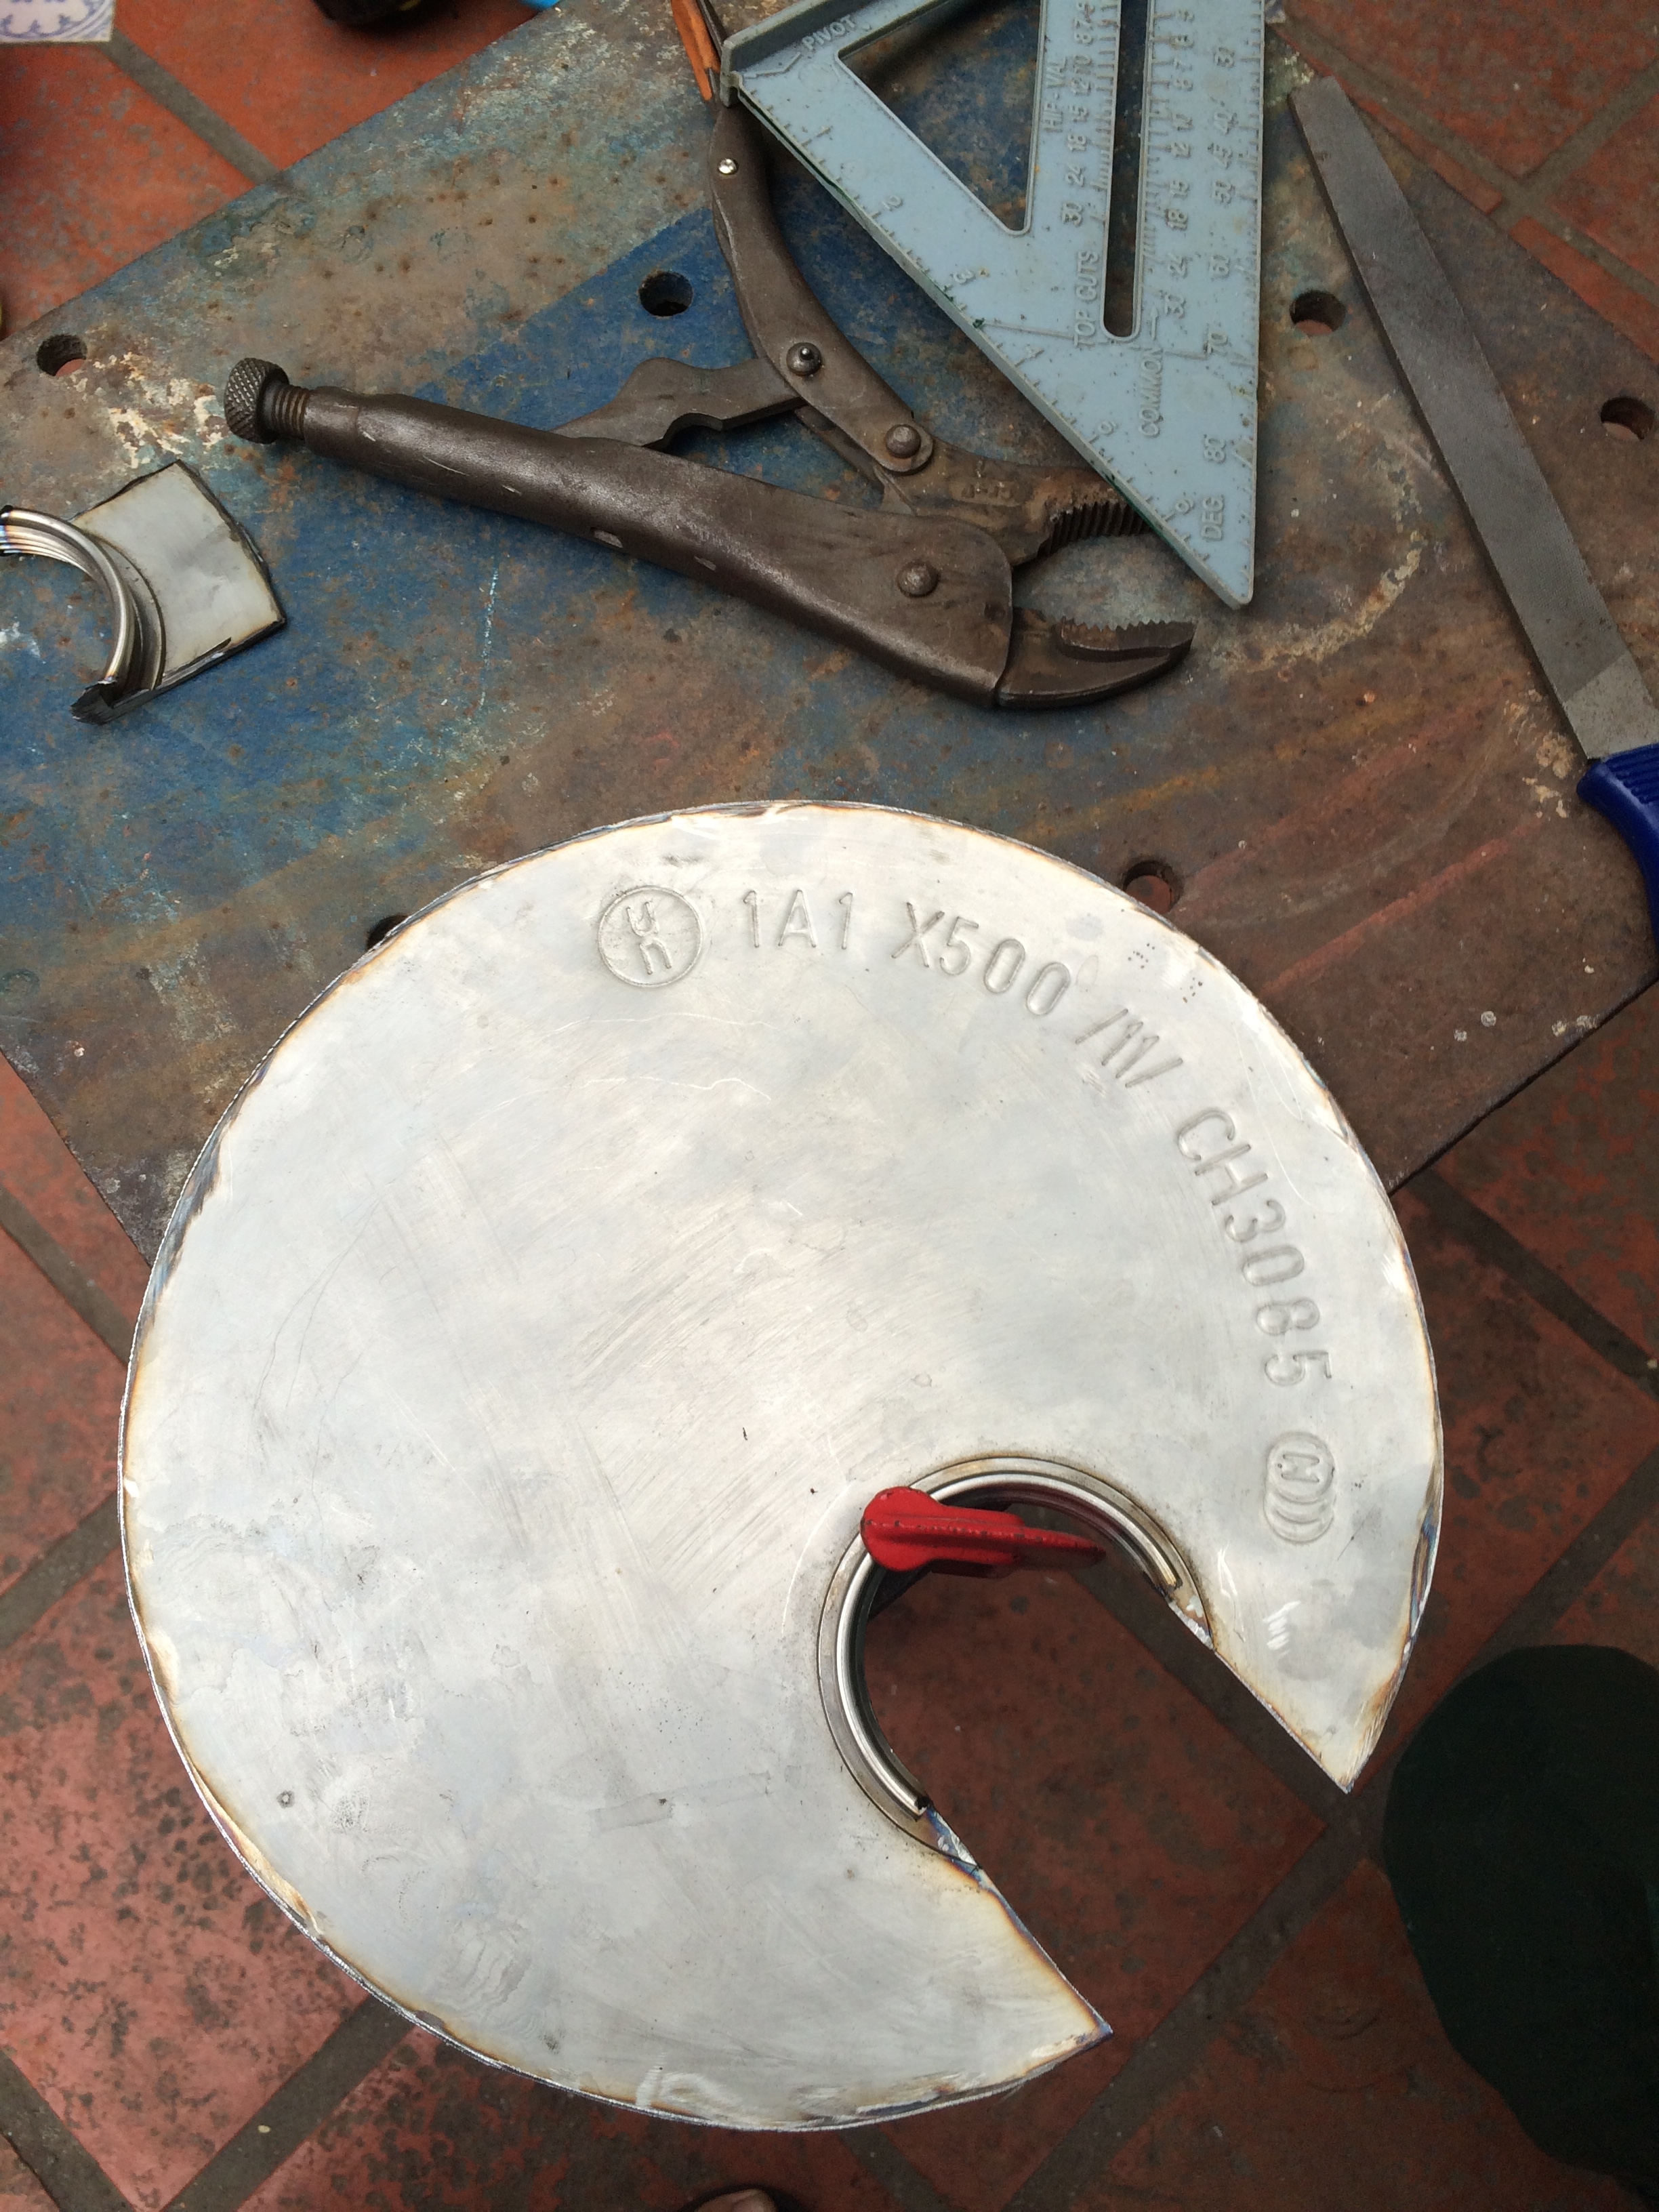
I cut the top. This is the only part I'm not 100% happy about. I overthought this part. The idea I had was to use this as the lid, and have it sitting a couple of inches inside the tank. That cut in the picture is for the hoses. This was not a good idea, having the lid sitting at the top would be much easier and visually appealing. I'll fix that in the future.
Drilled 3 holes at the side near the bottom.
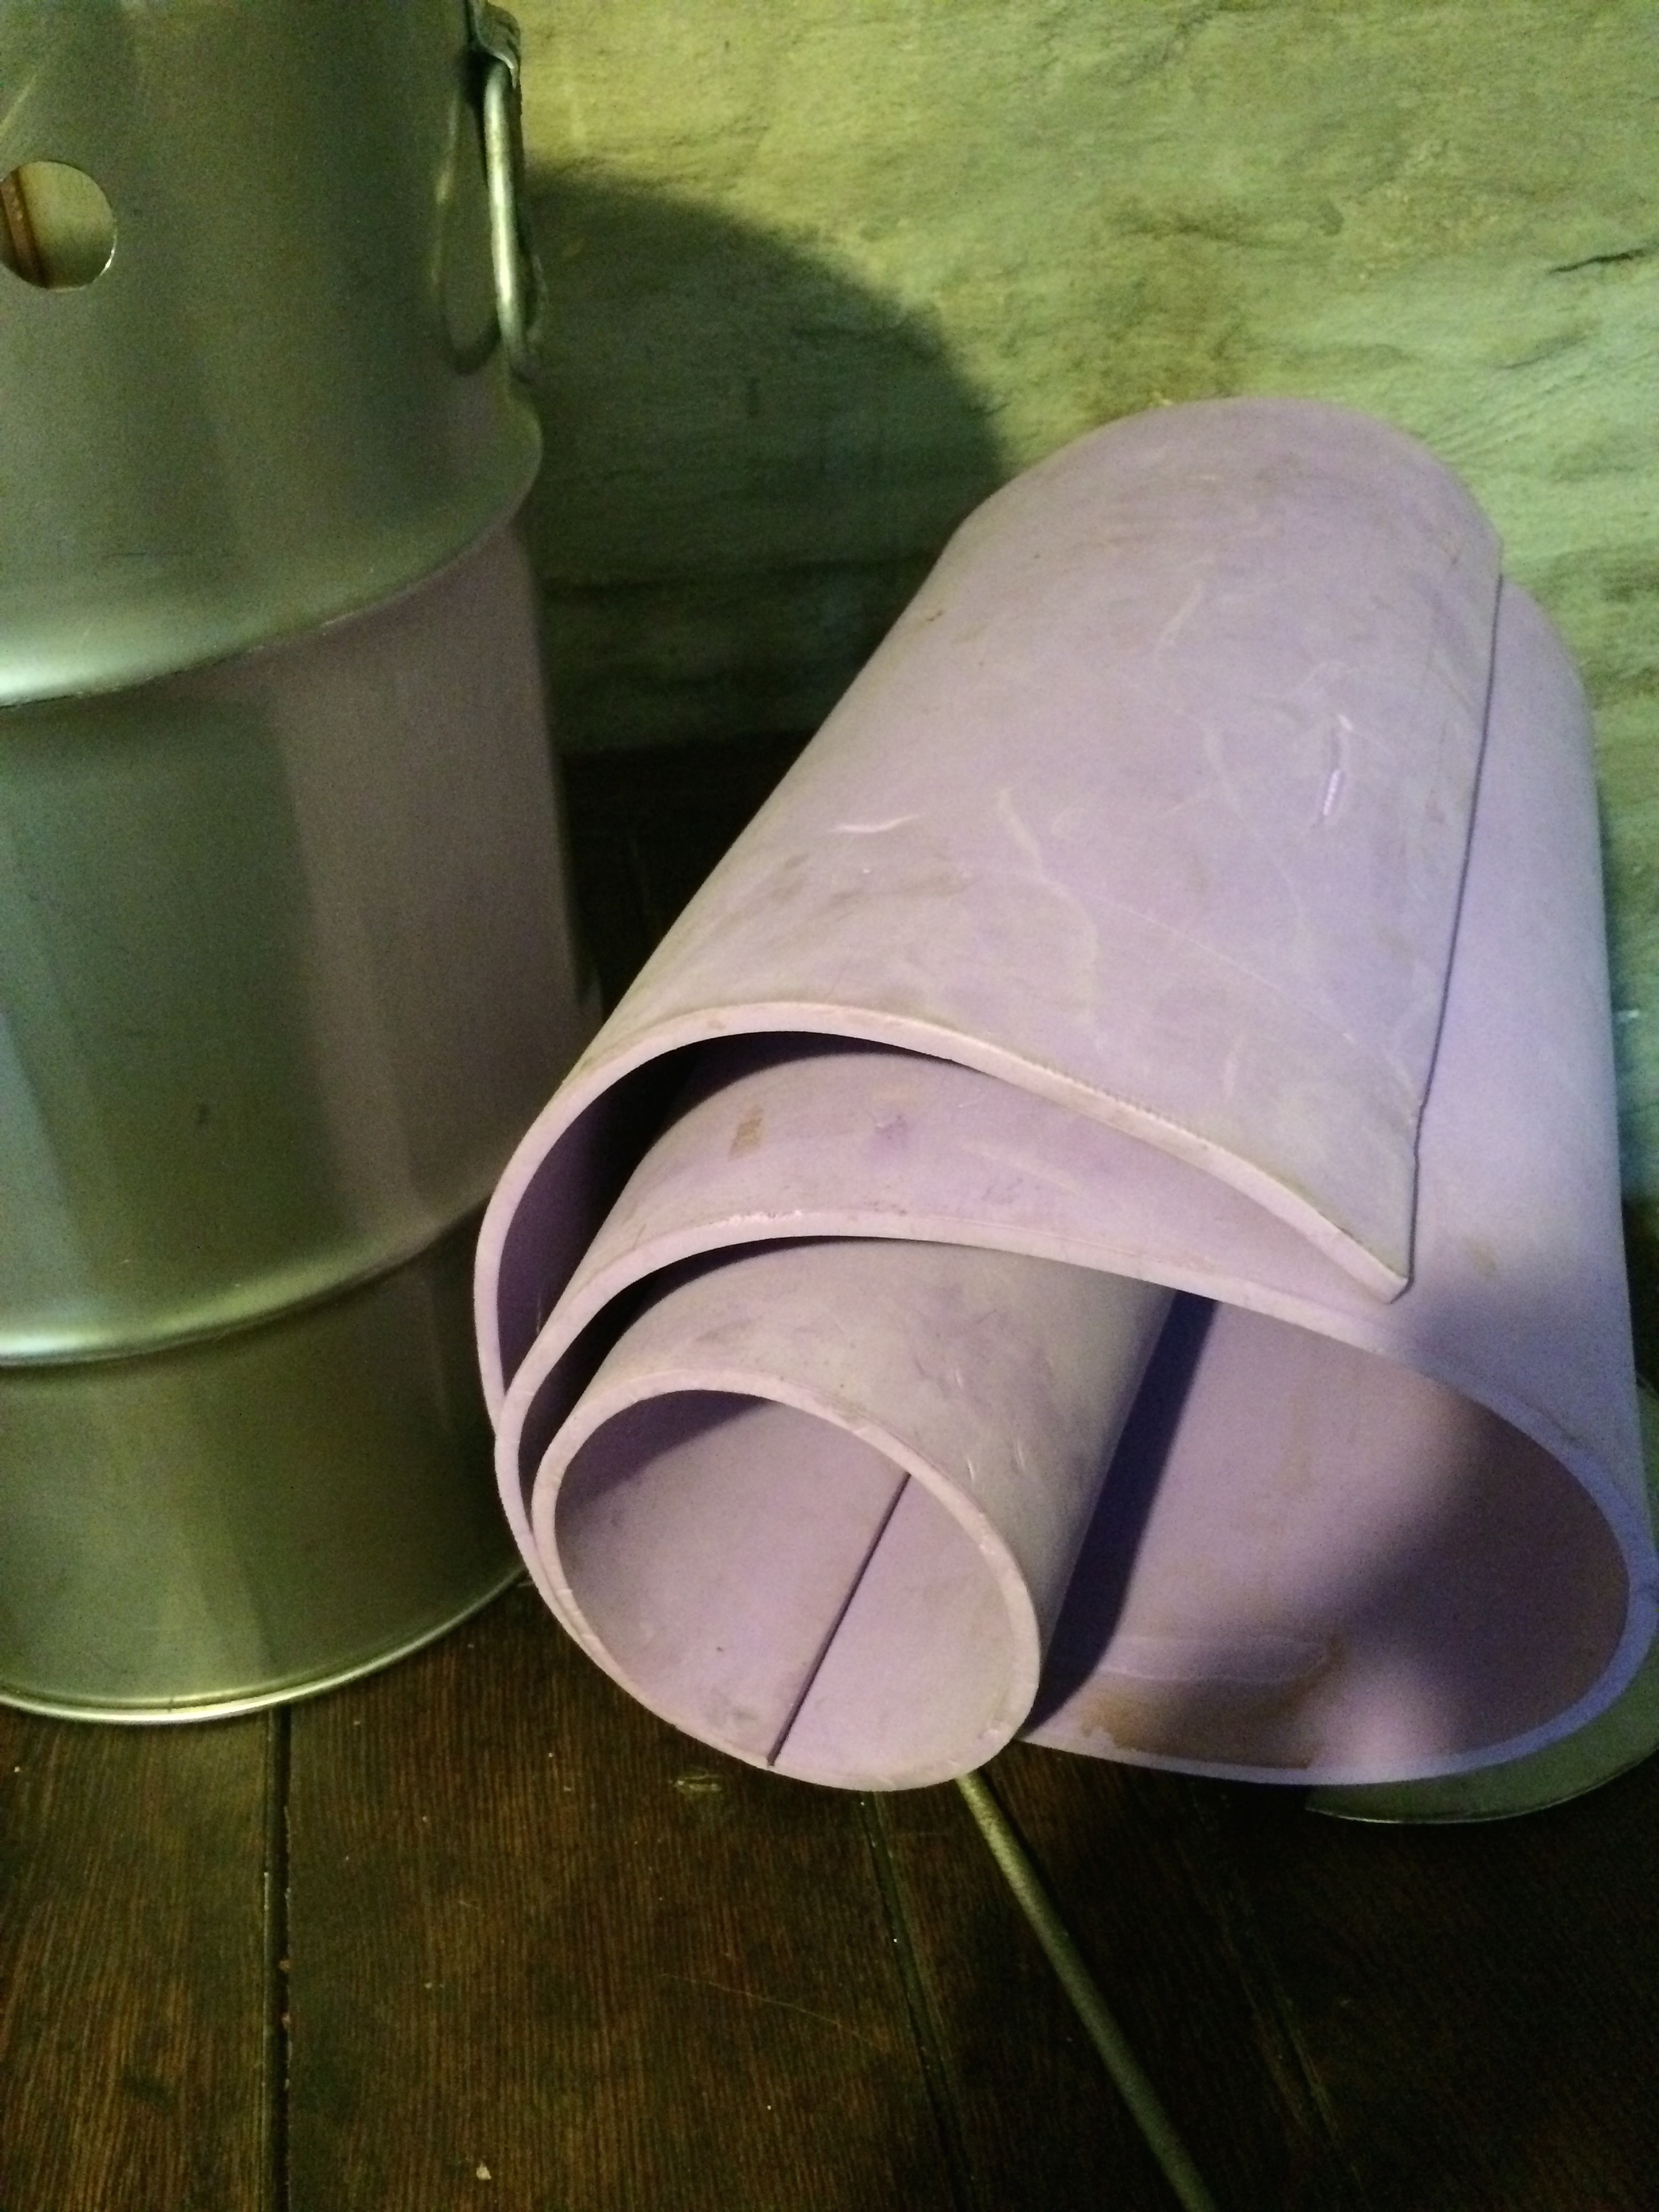
I had this piece of ugly old EVA yoga mat lying around. I used it in the past to cover kegs when bringing beer somewhere, now it will be my jockey box insulation. It's not very efficient but is waterproof, and, at the end it worked quite well.
Cut and glued with silicone.
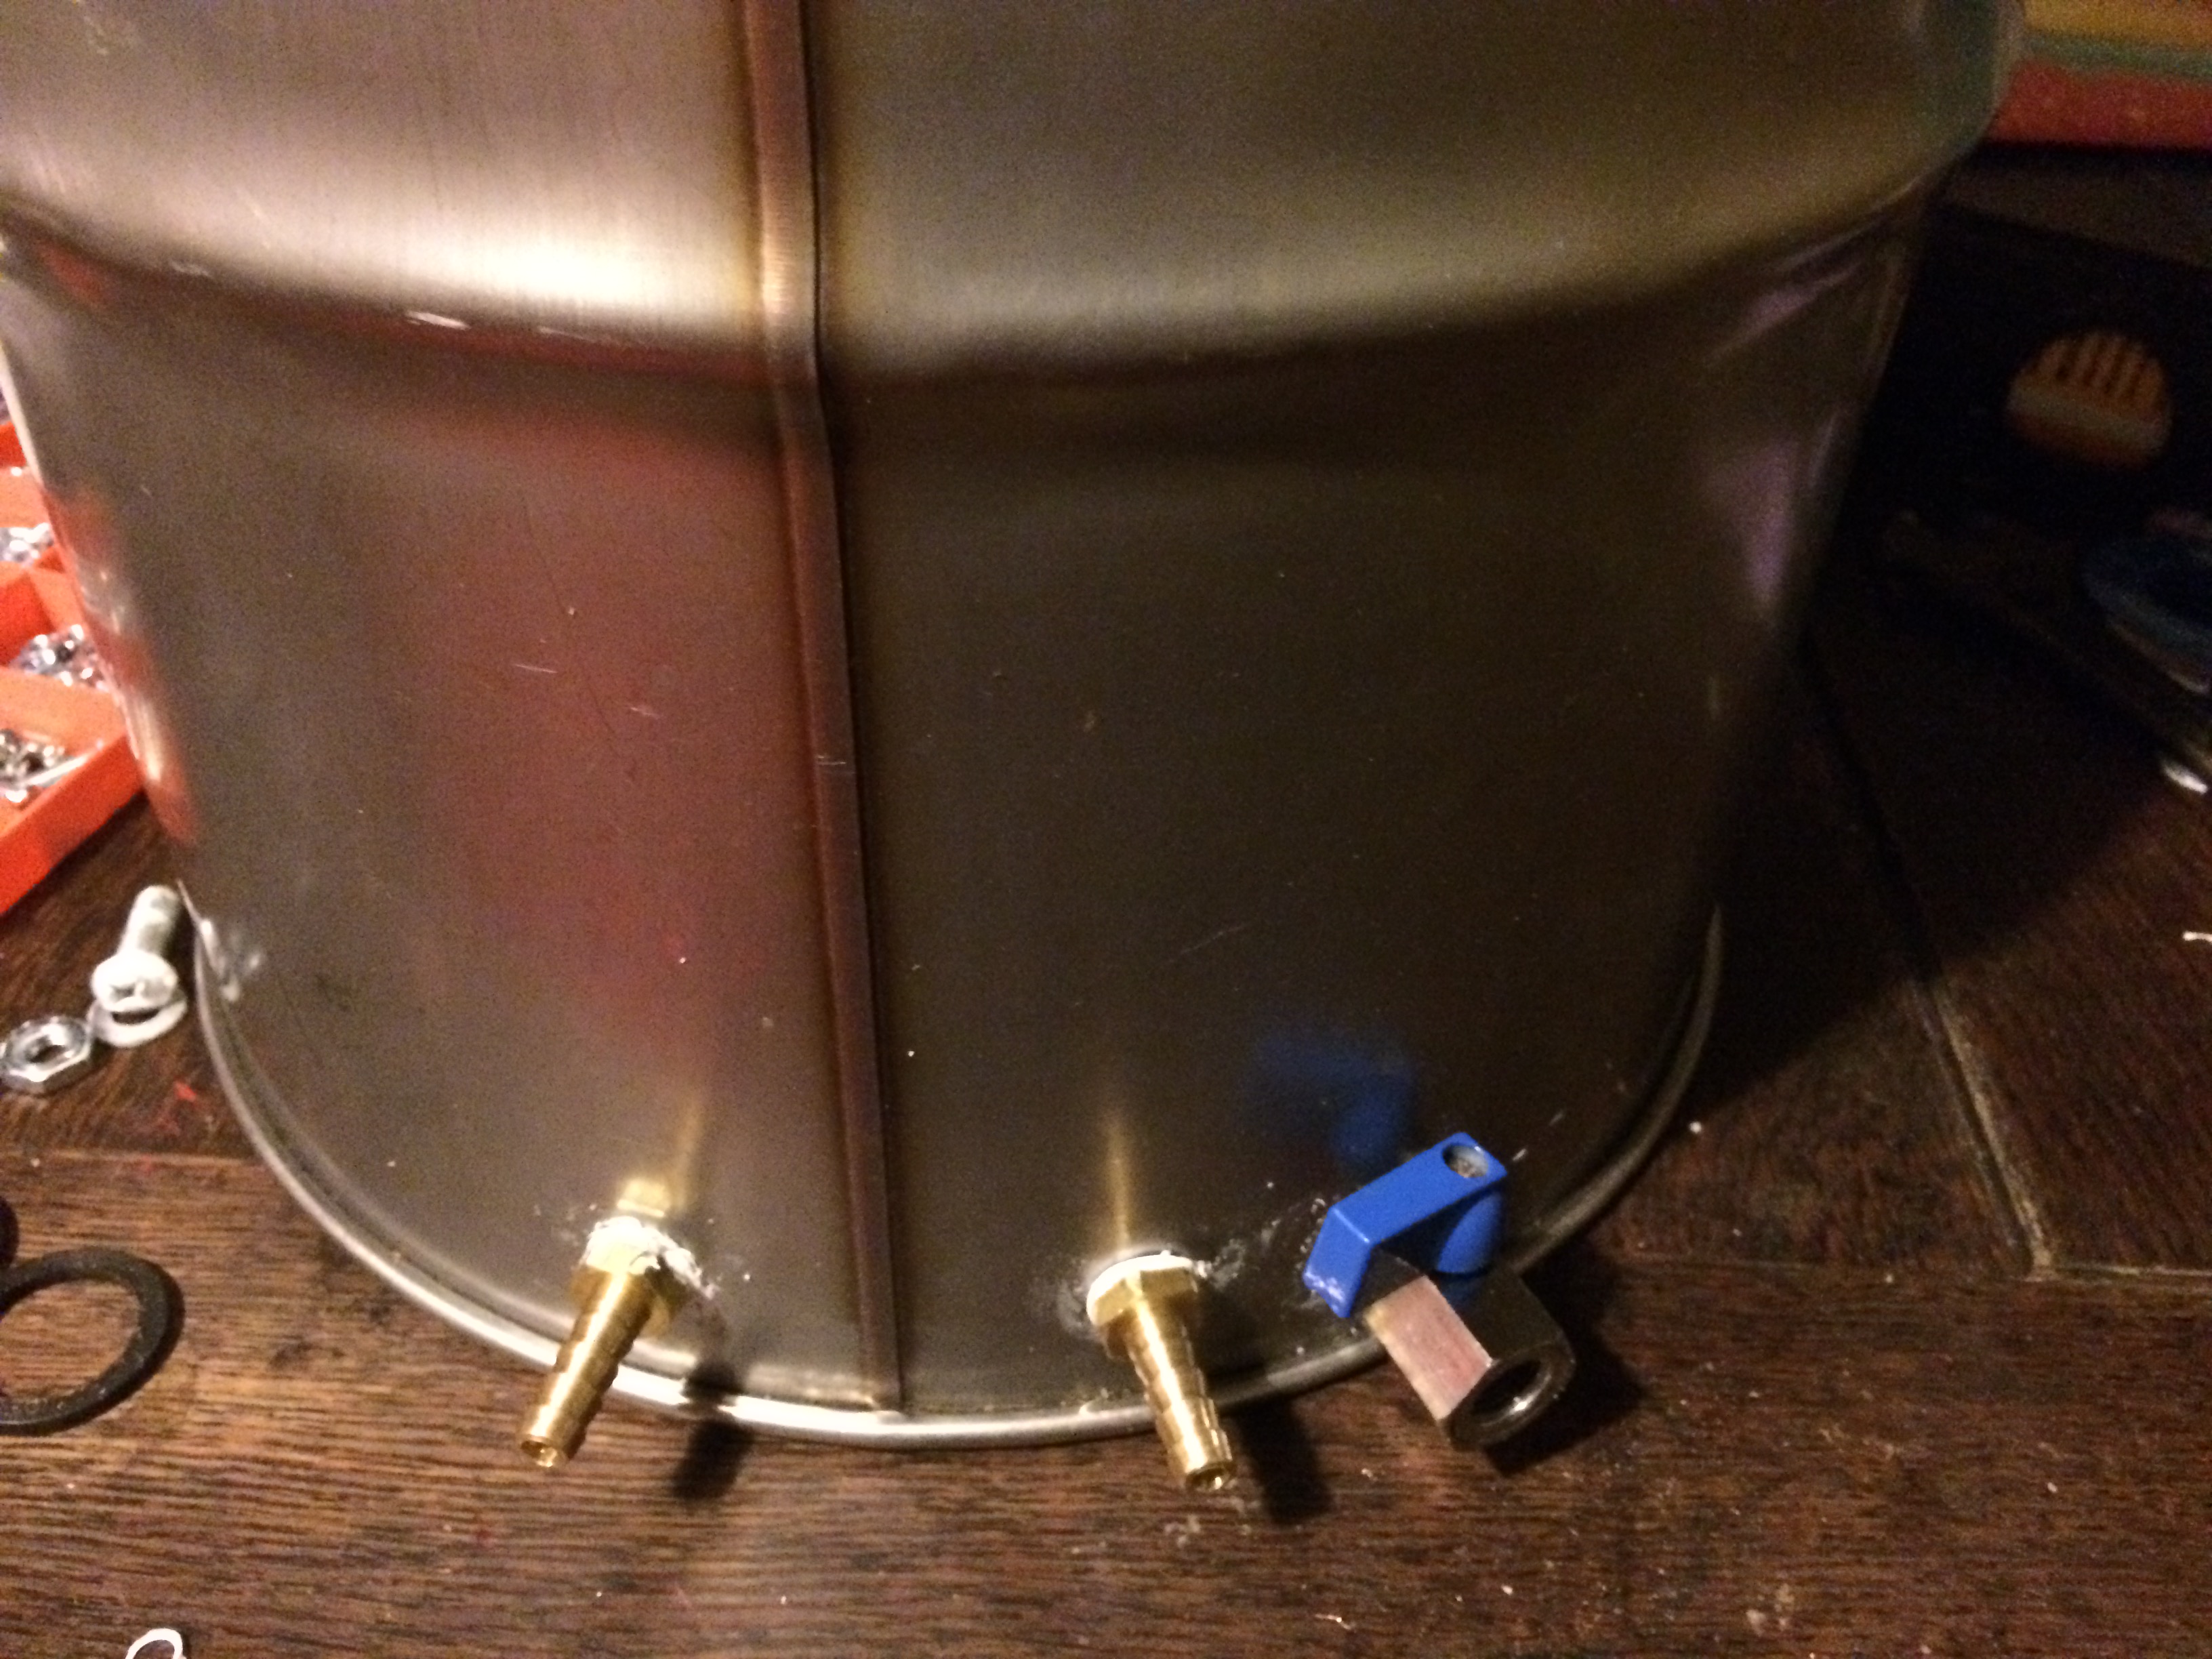
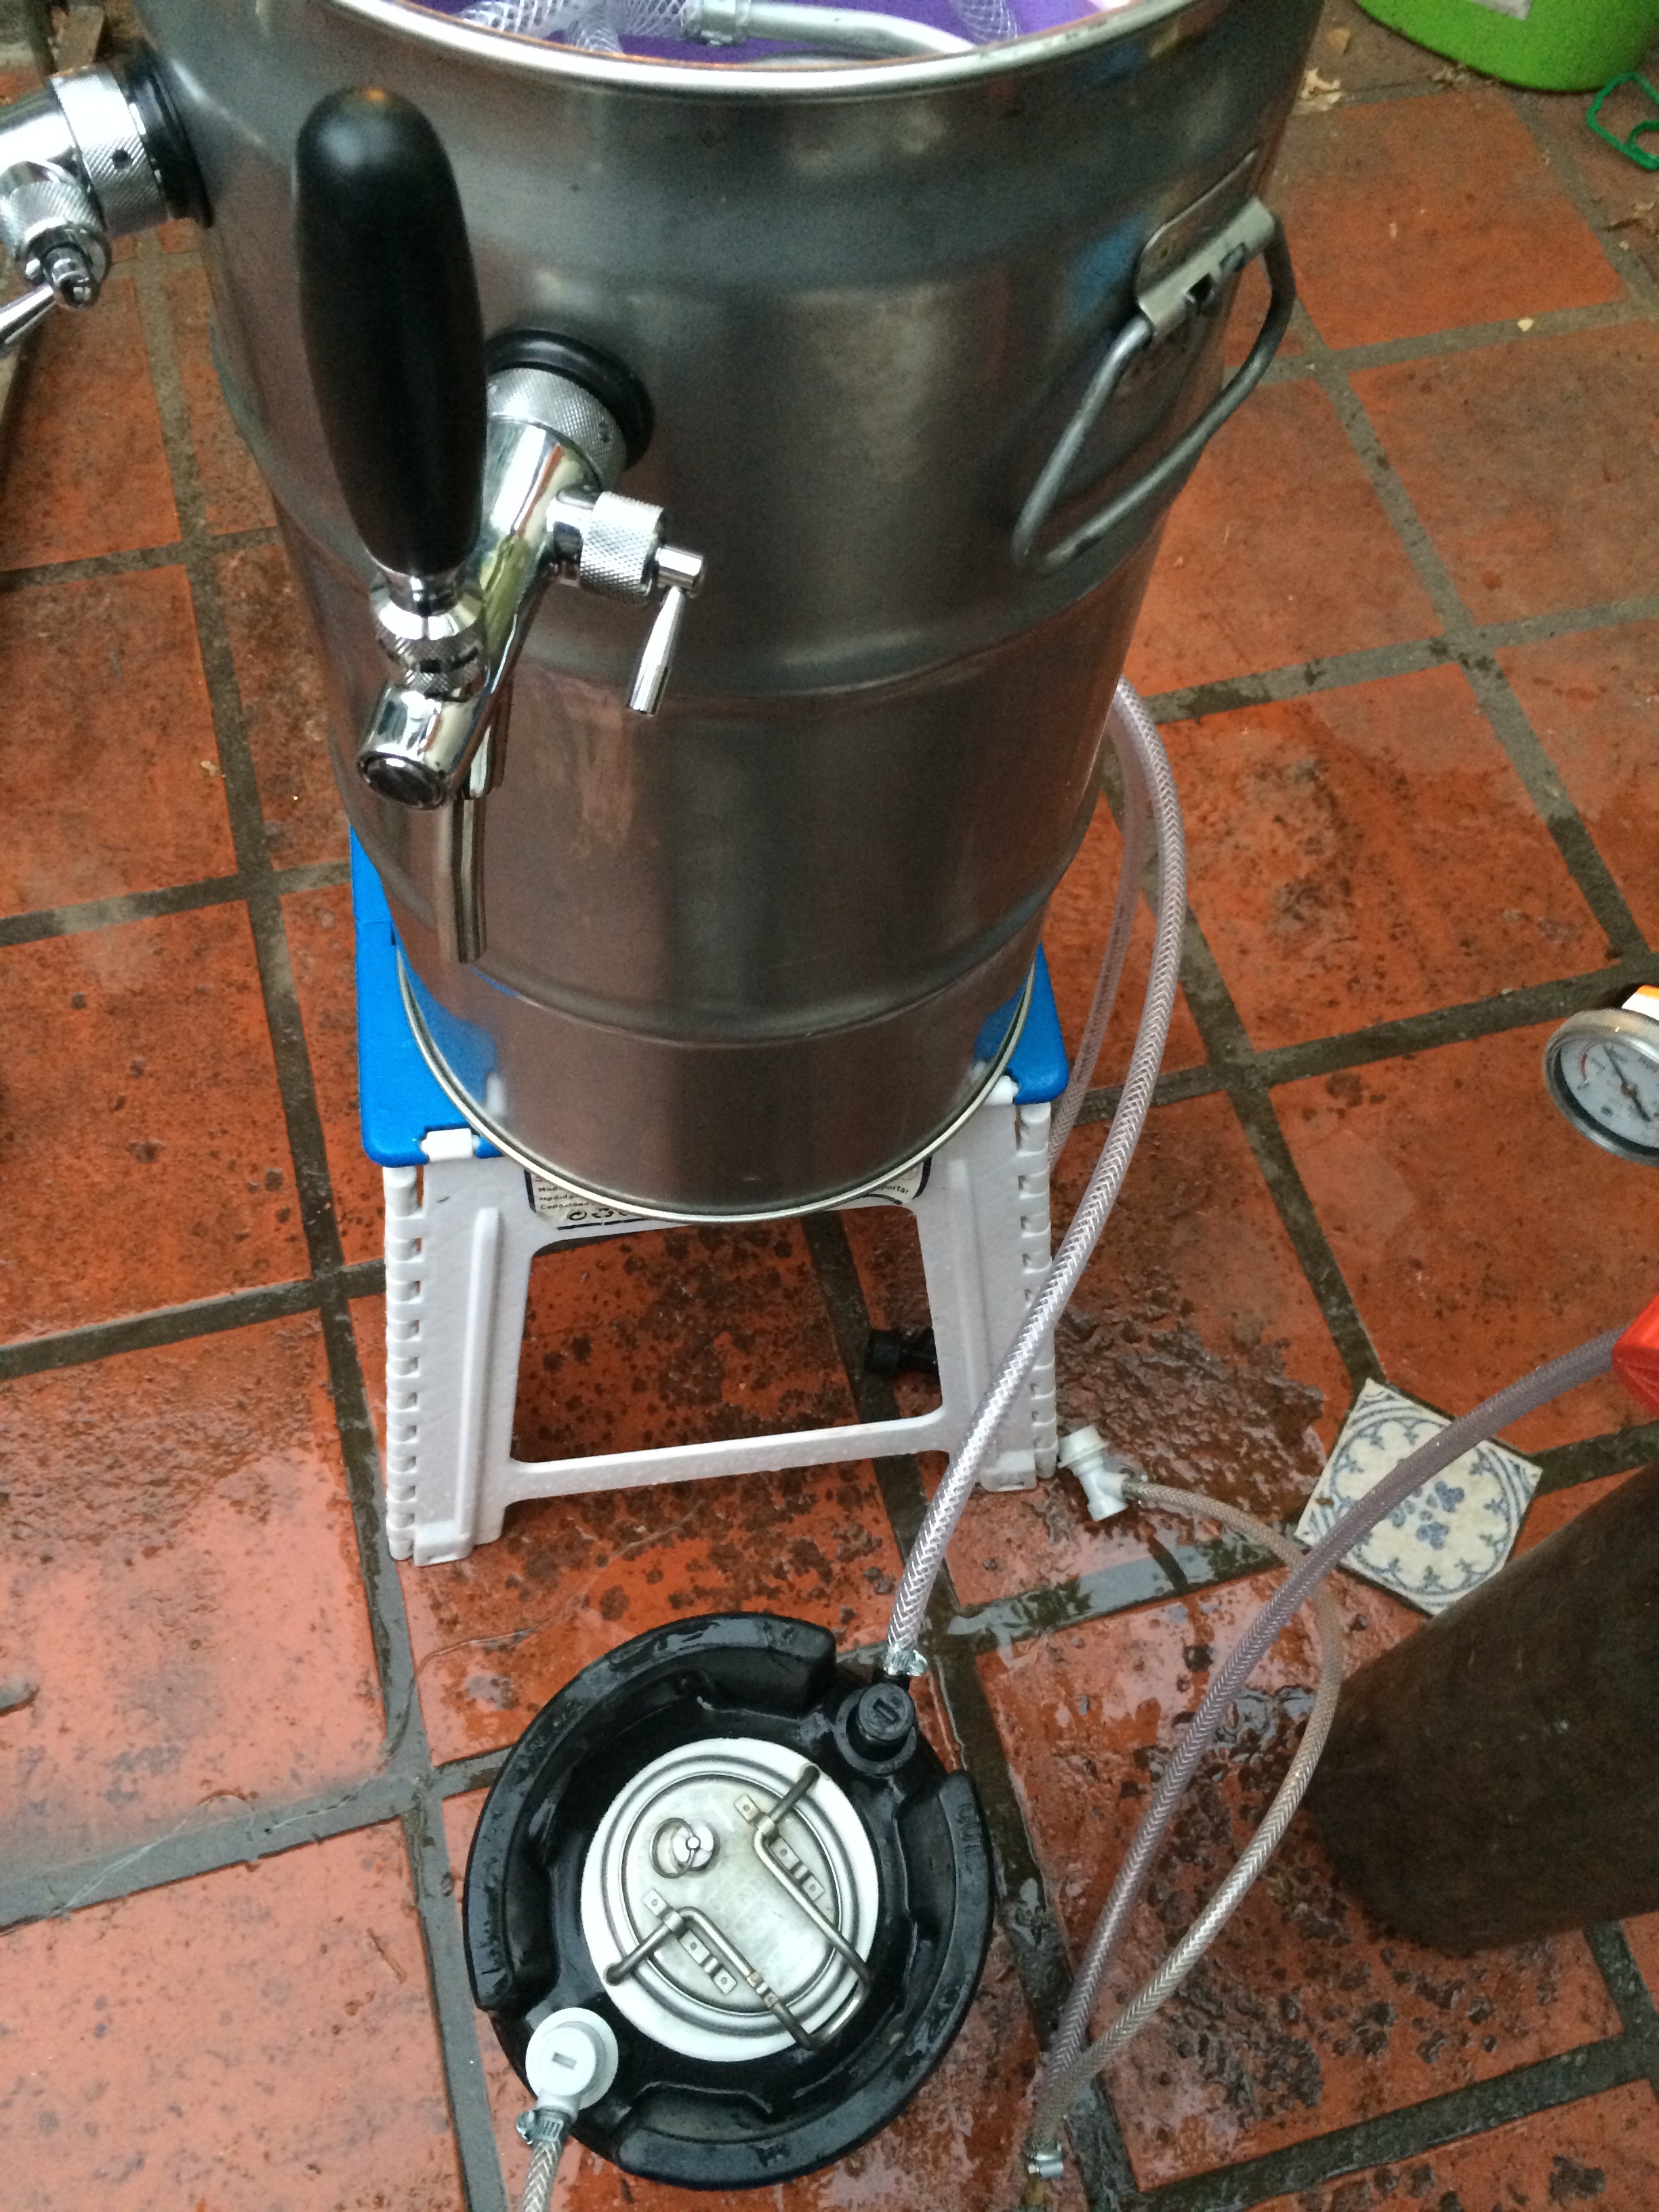
I installed a couple of barbed fittings for the beer lines. I was going to use stainless but they didn't have at the store end up used brass. Save some bucks there.
Put a 1/4" ball valve also to drain water.
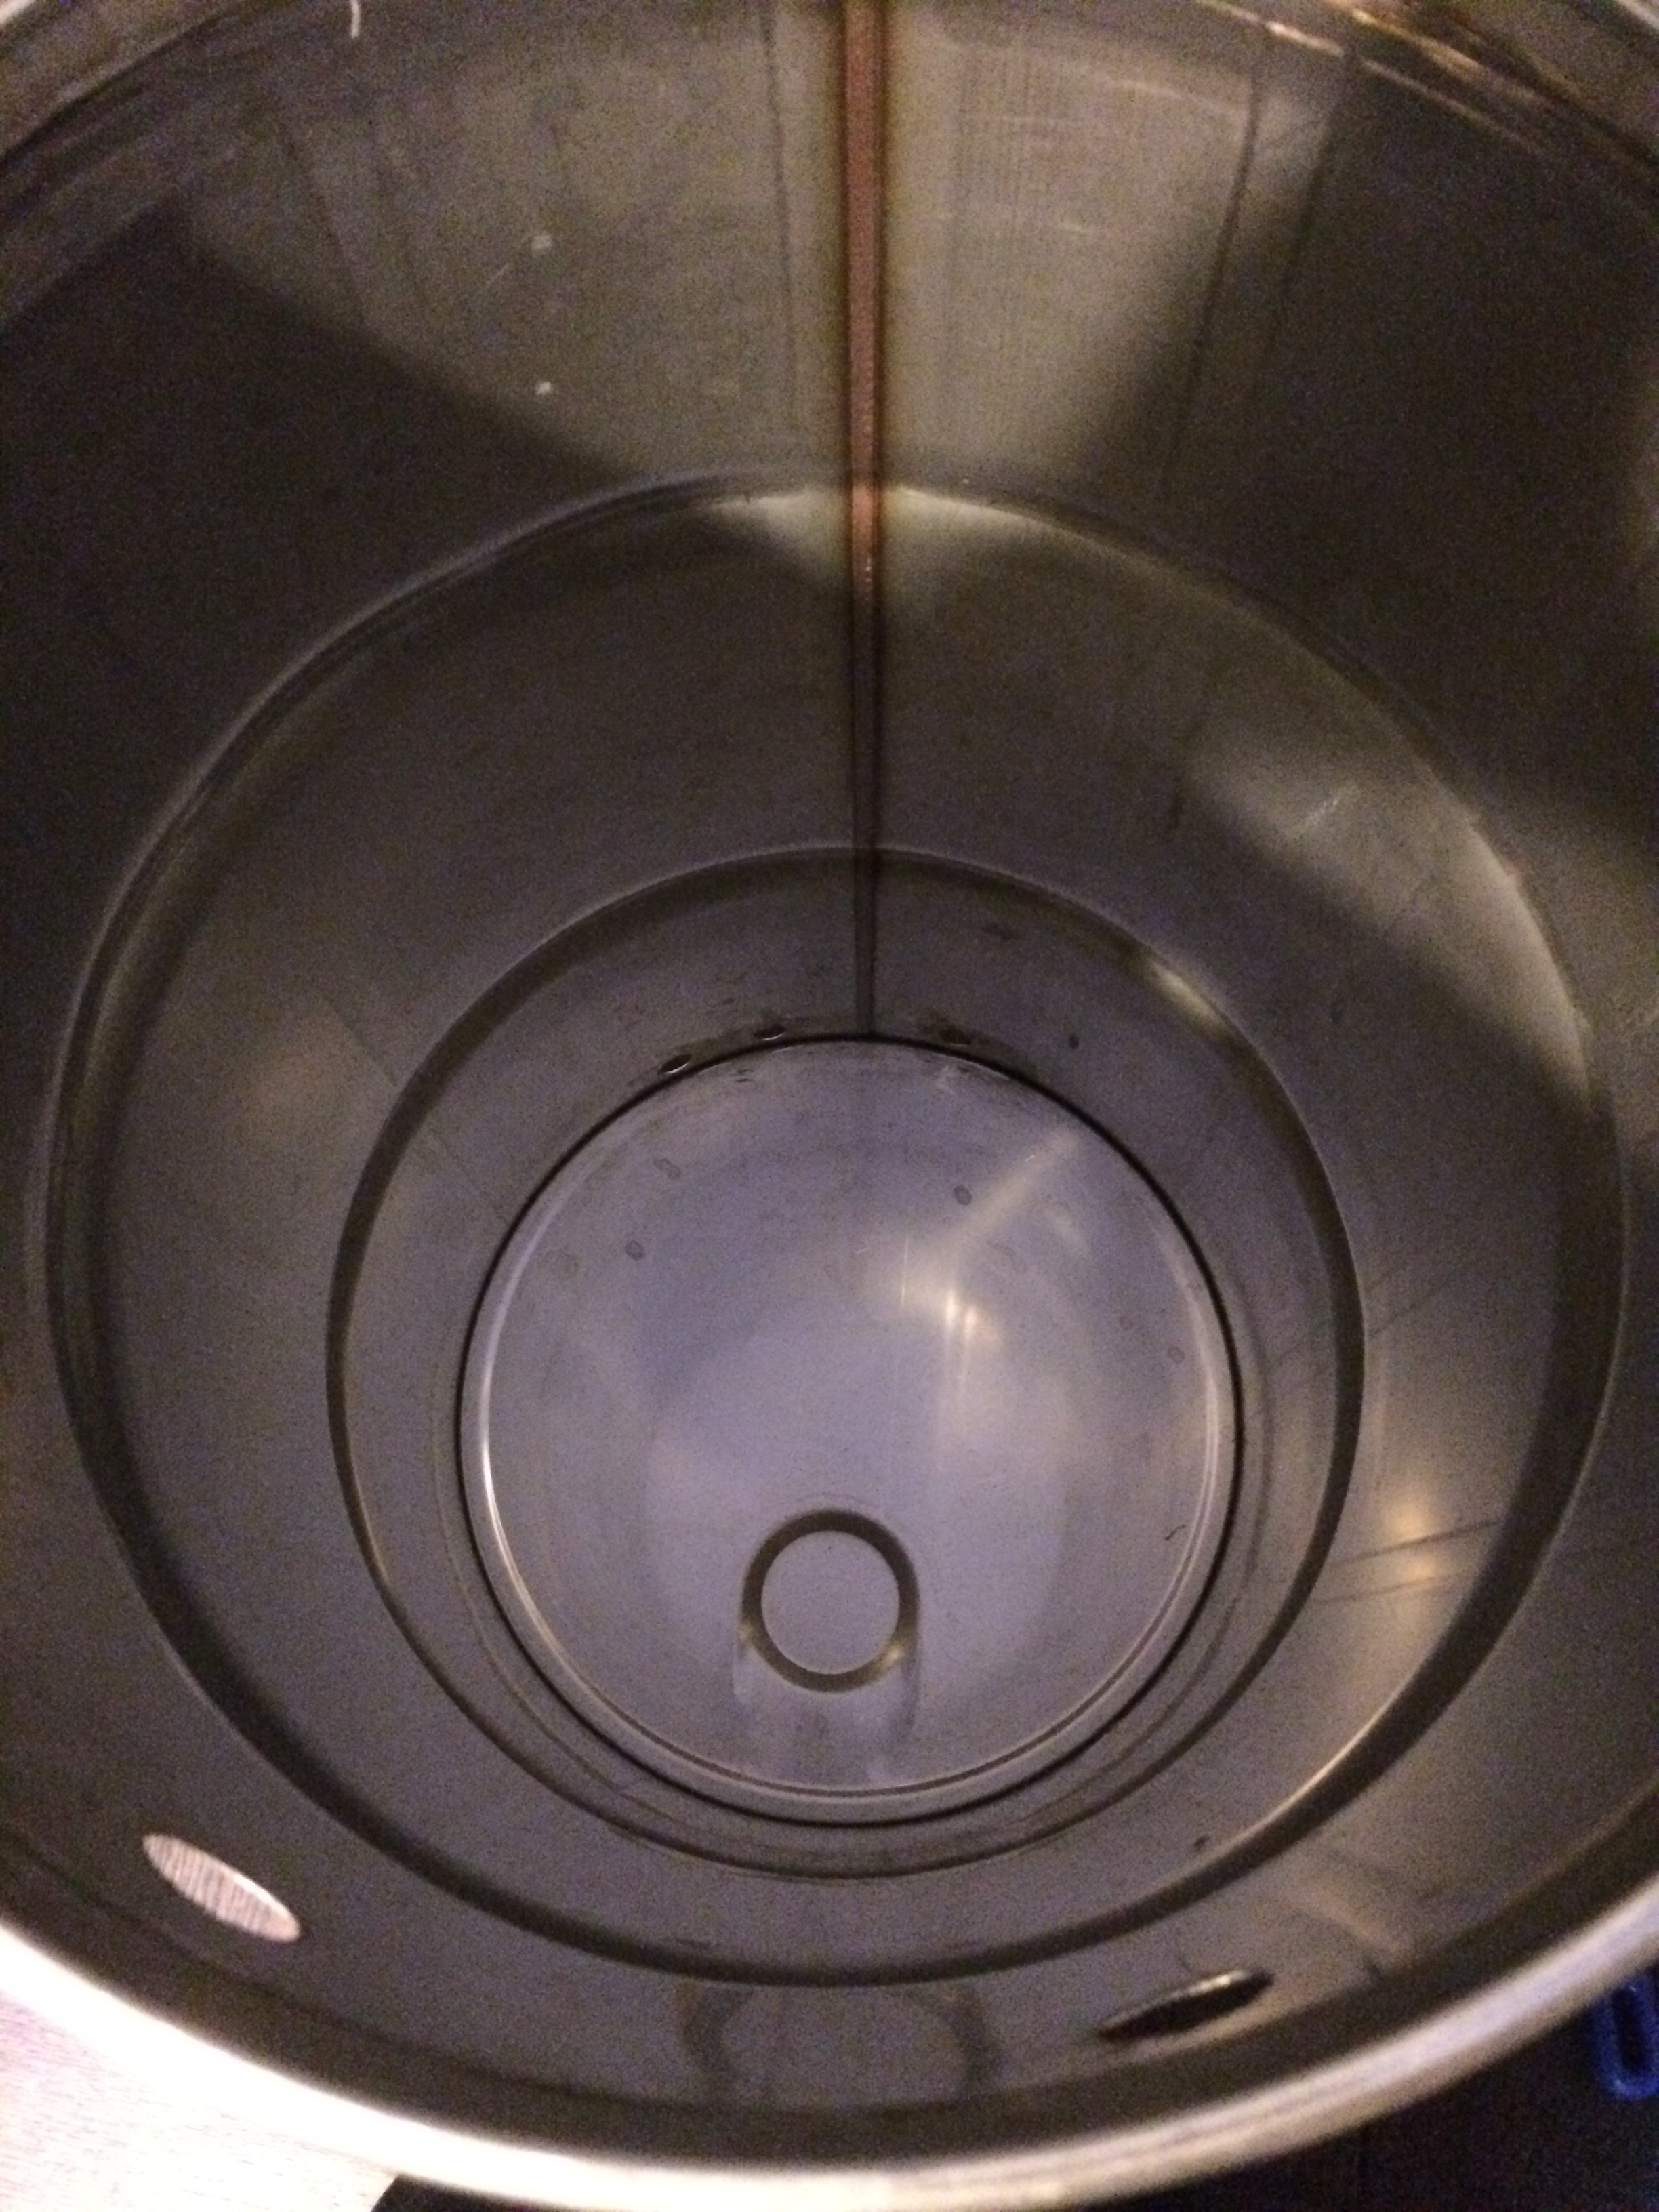
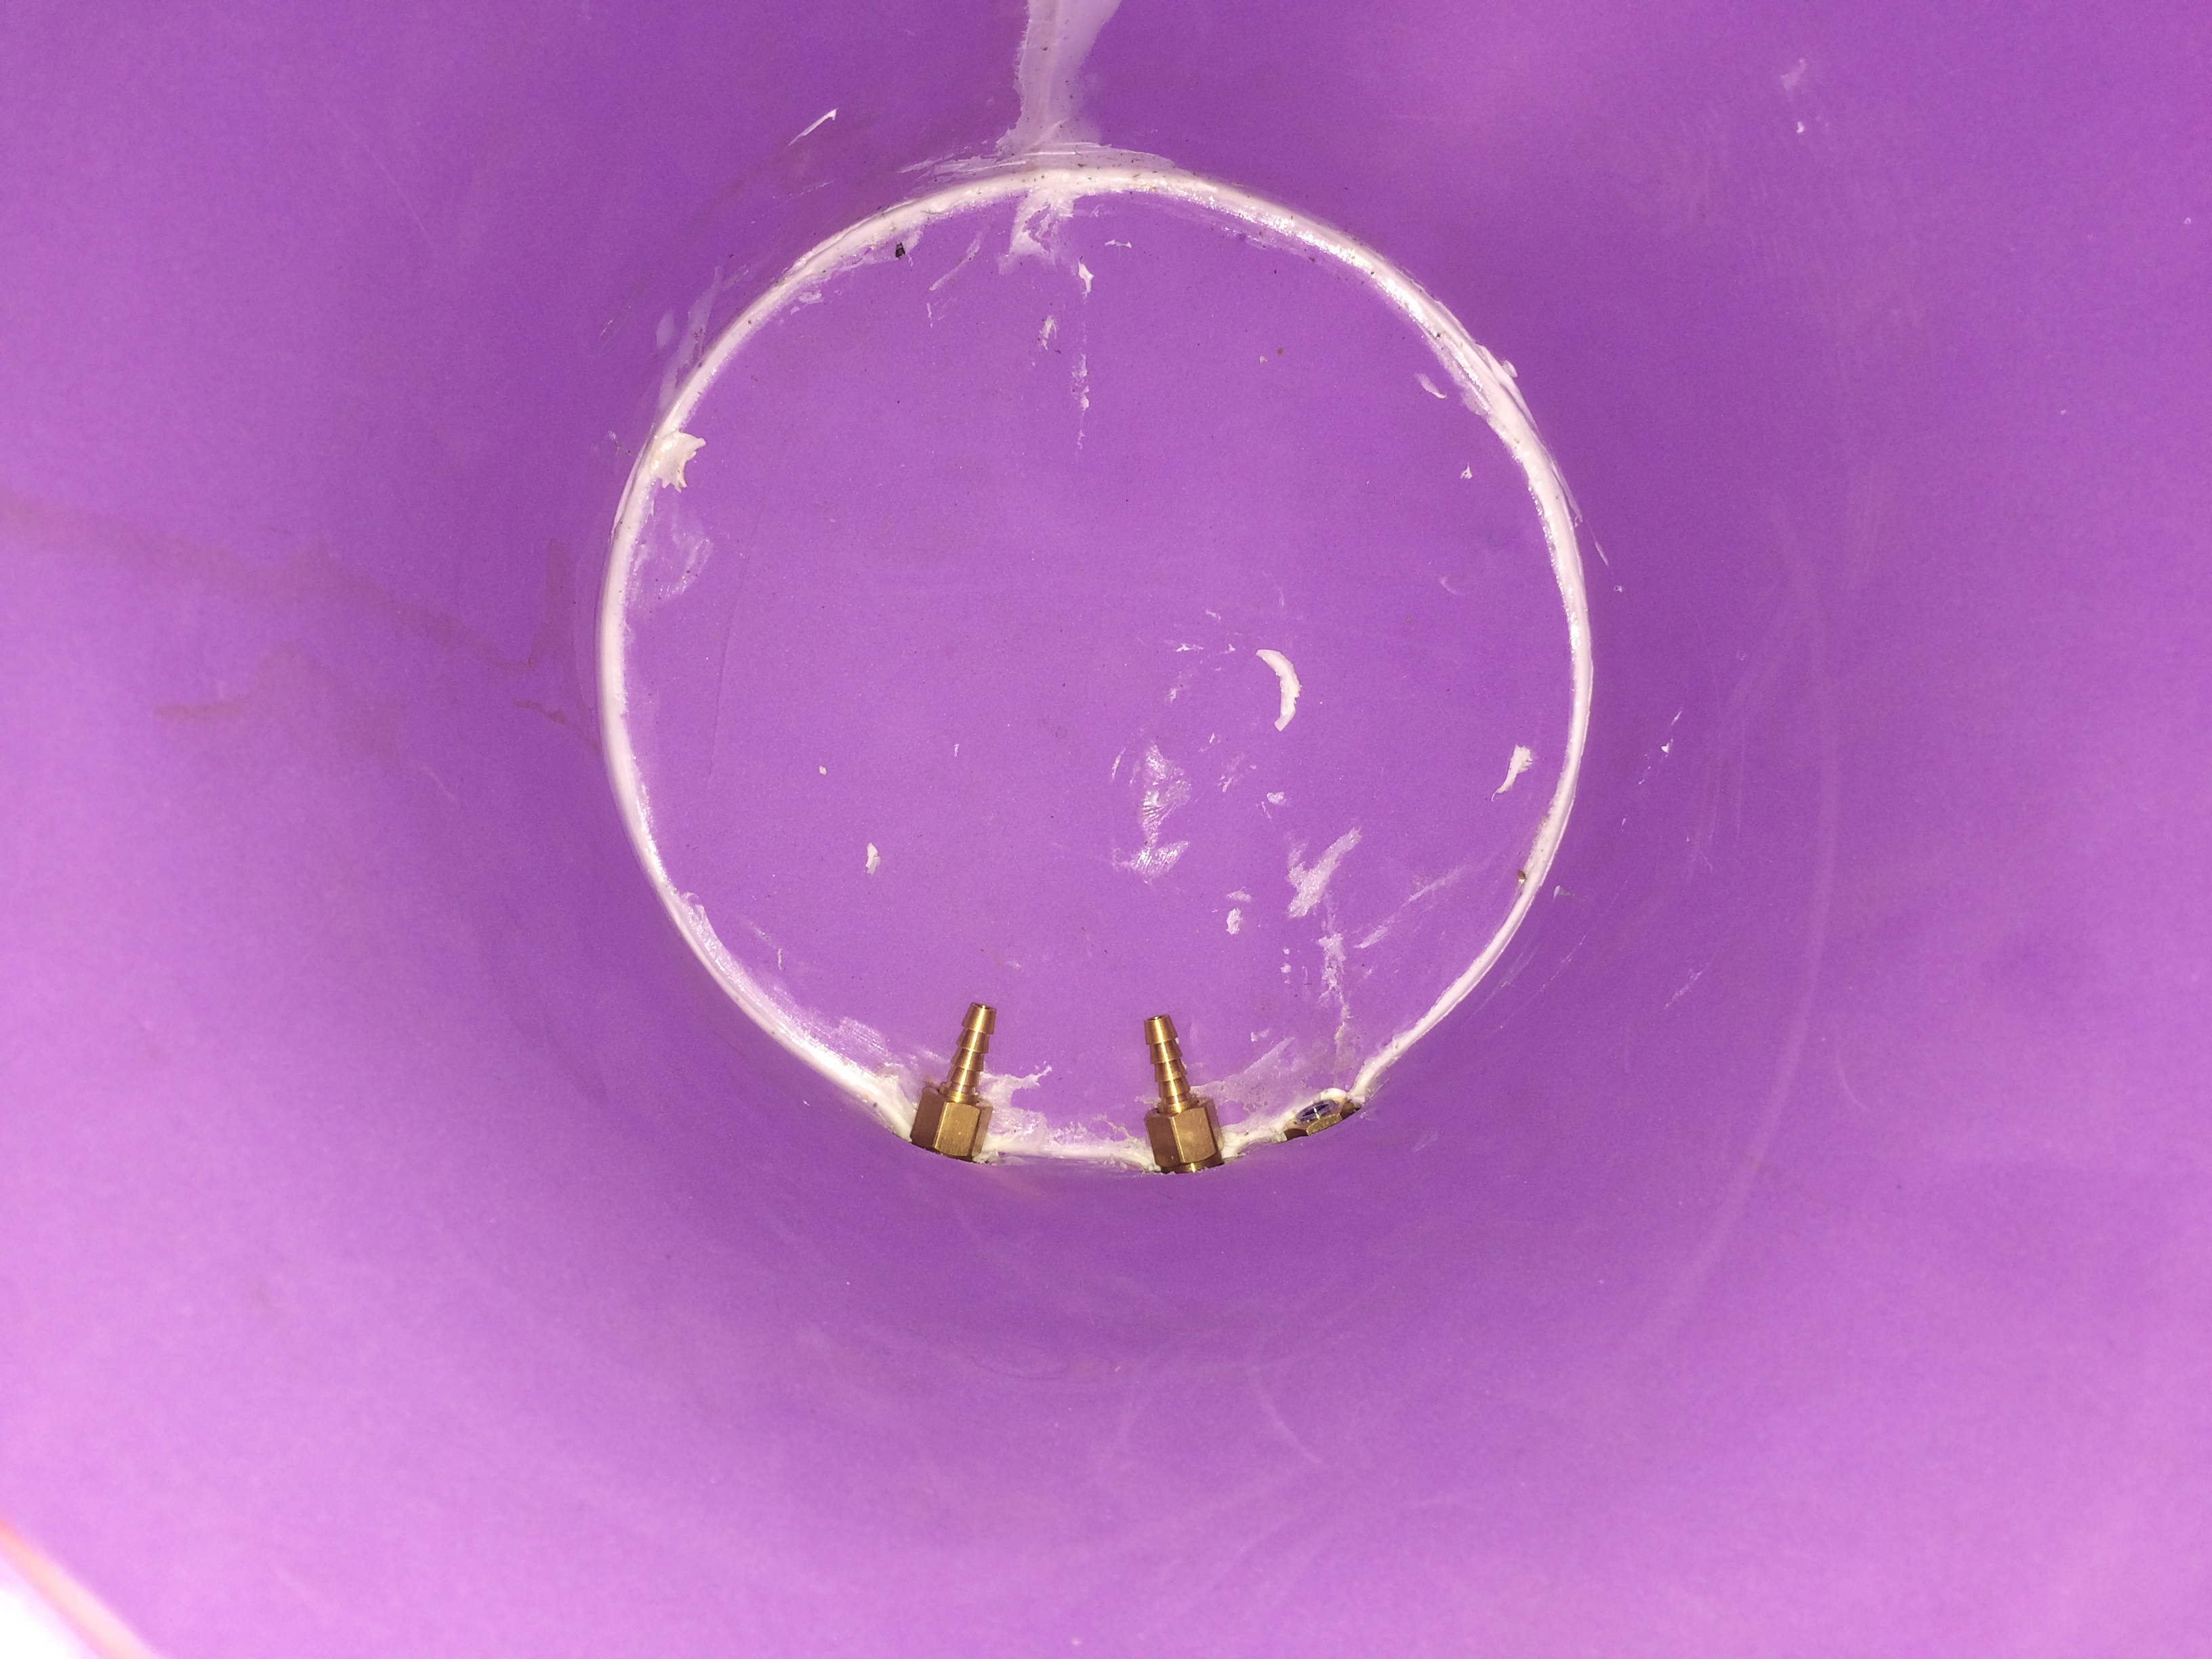
This is how it end up looking in the inside.
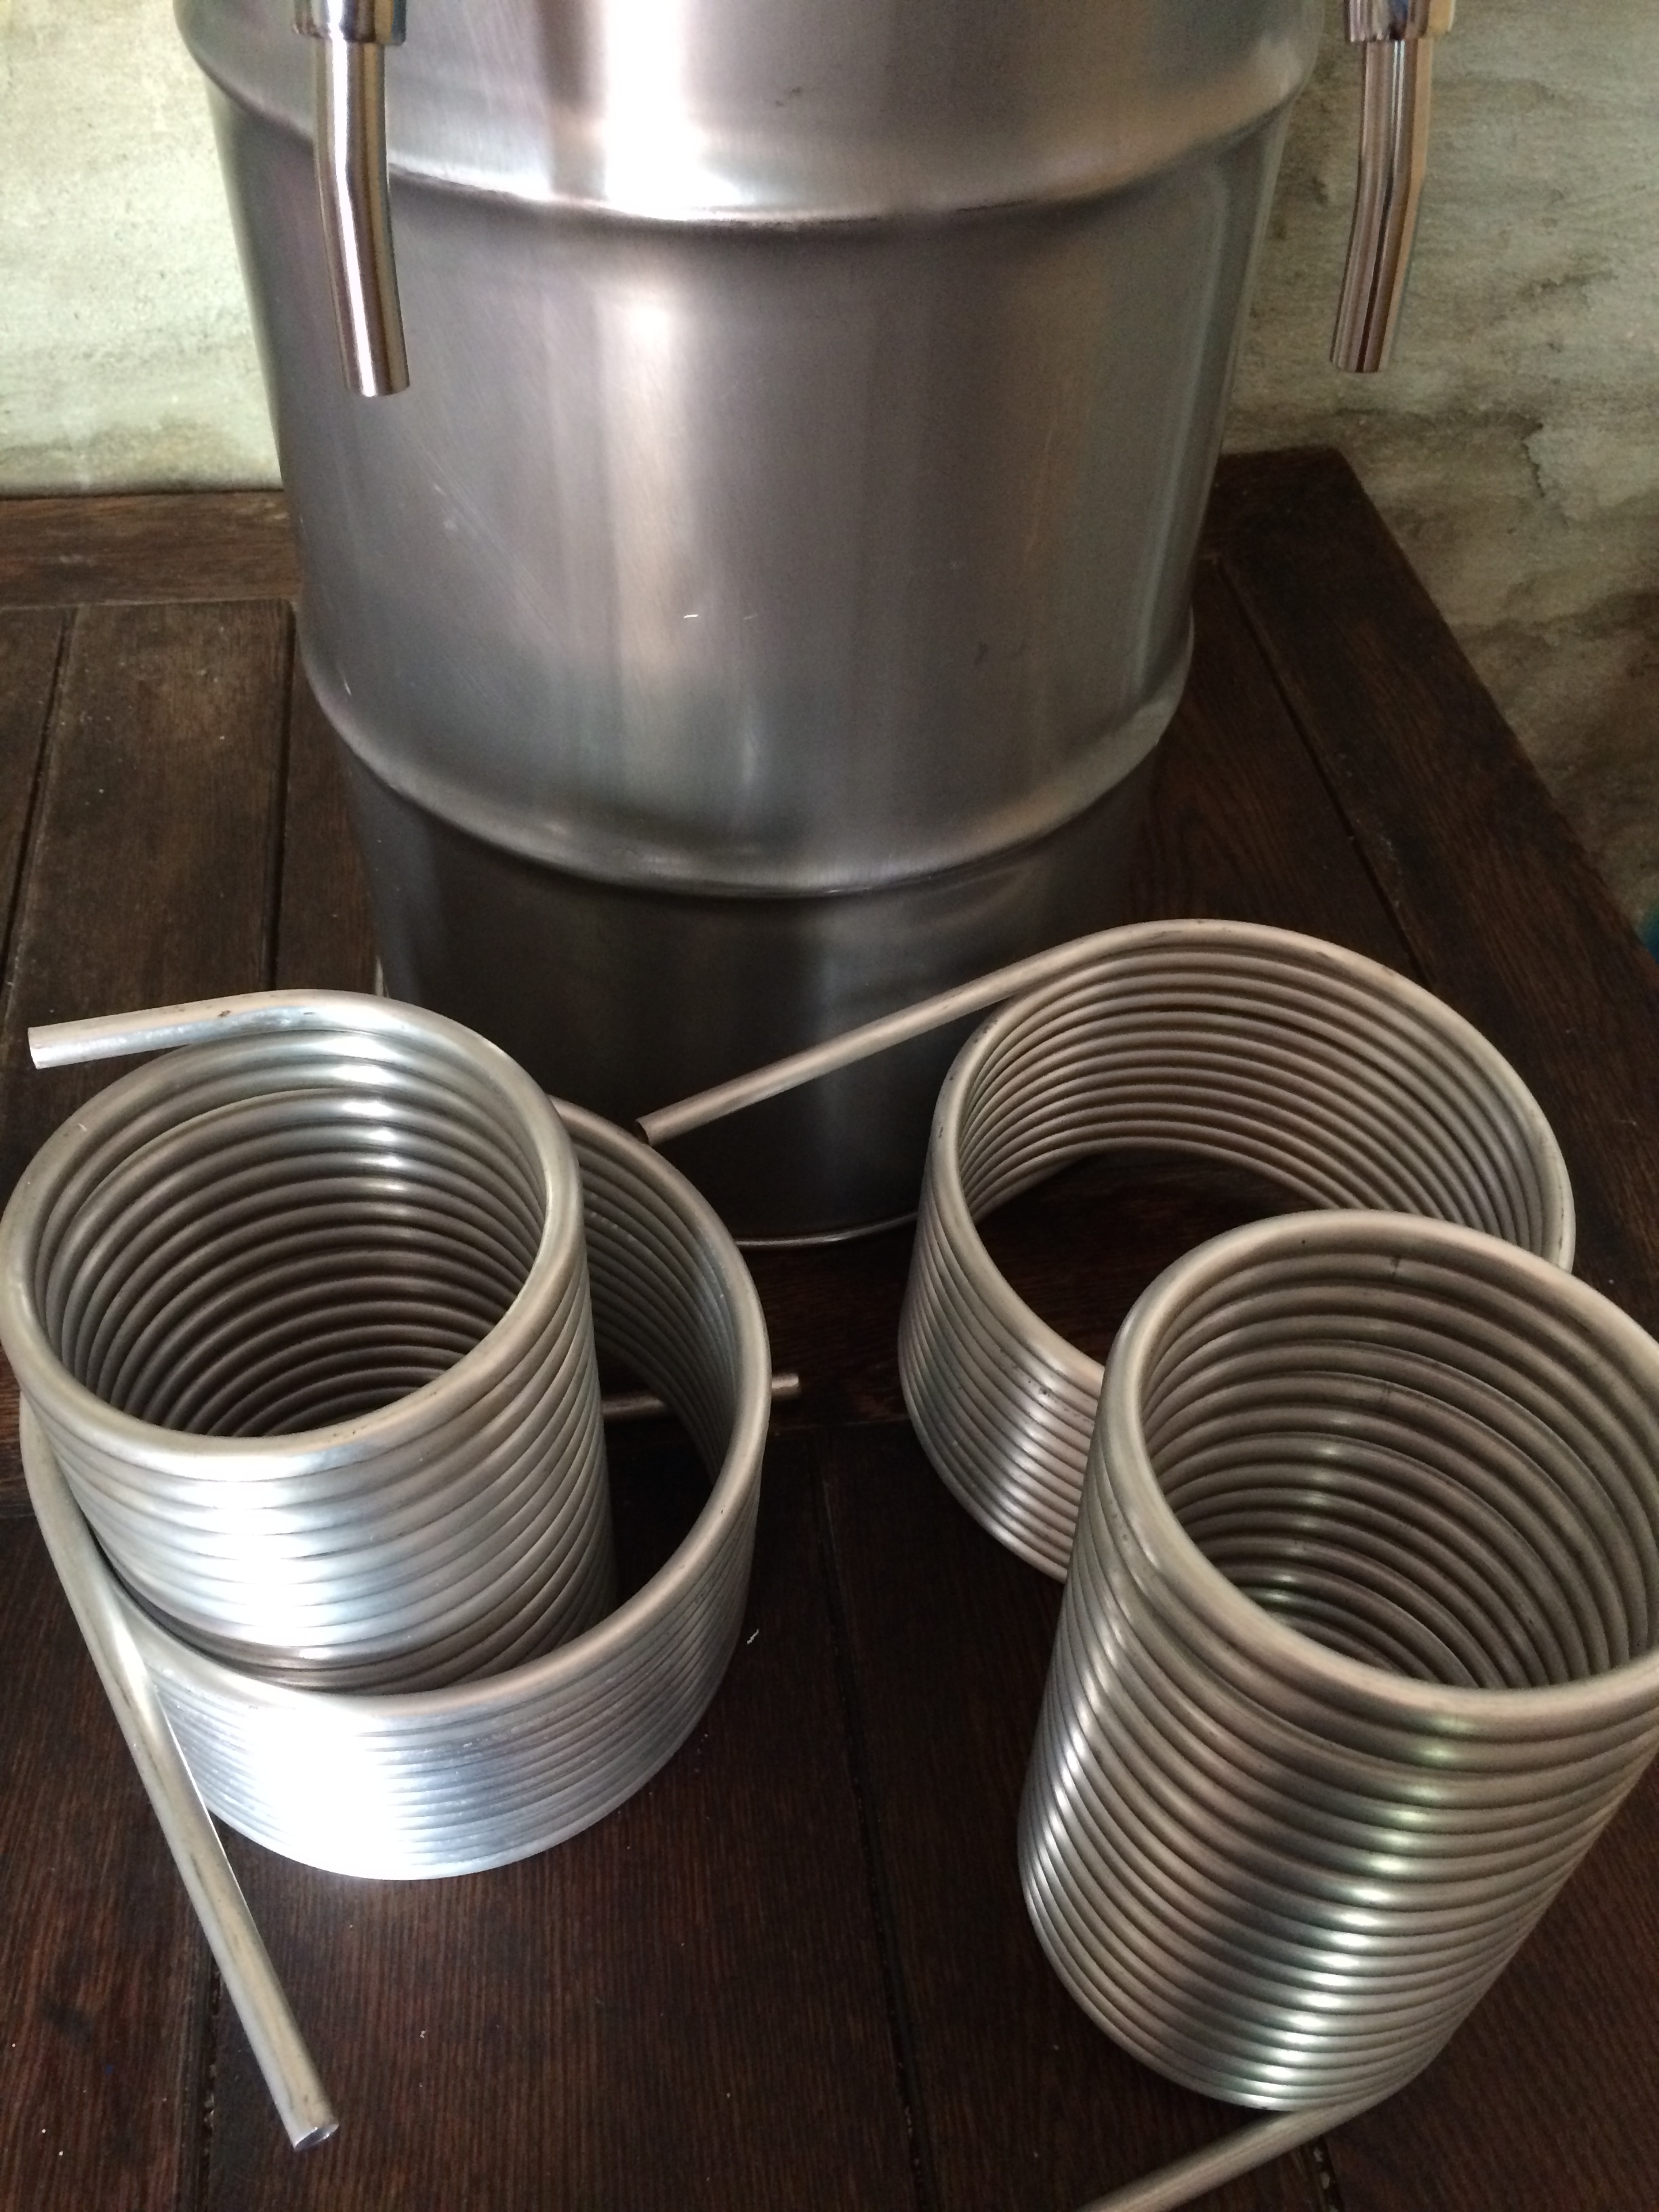
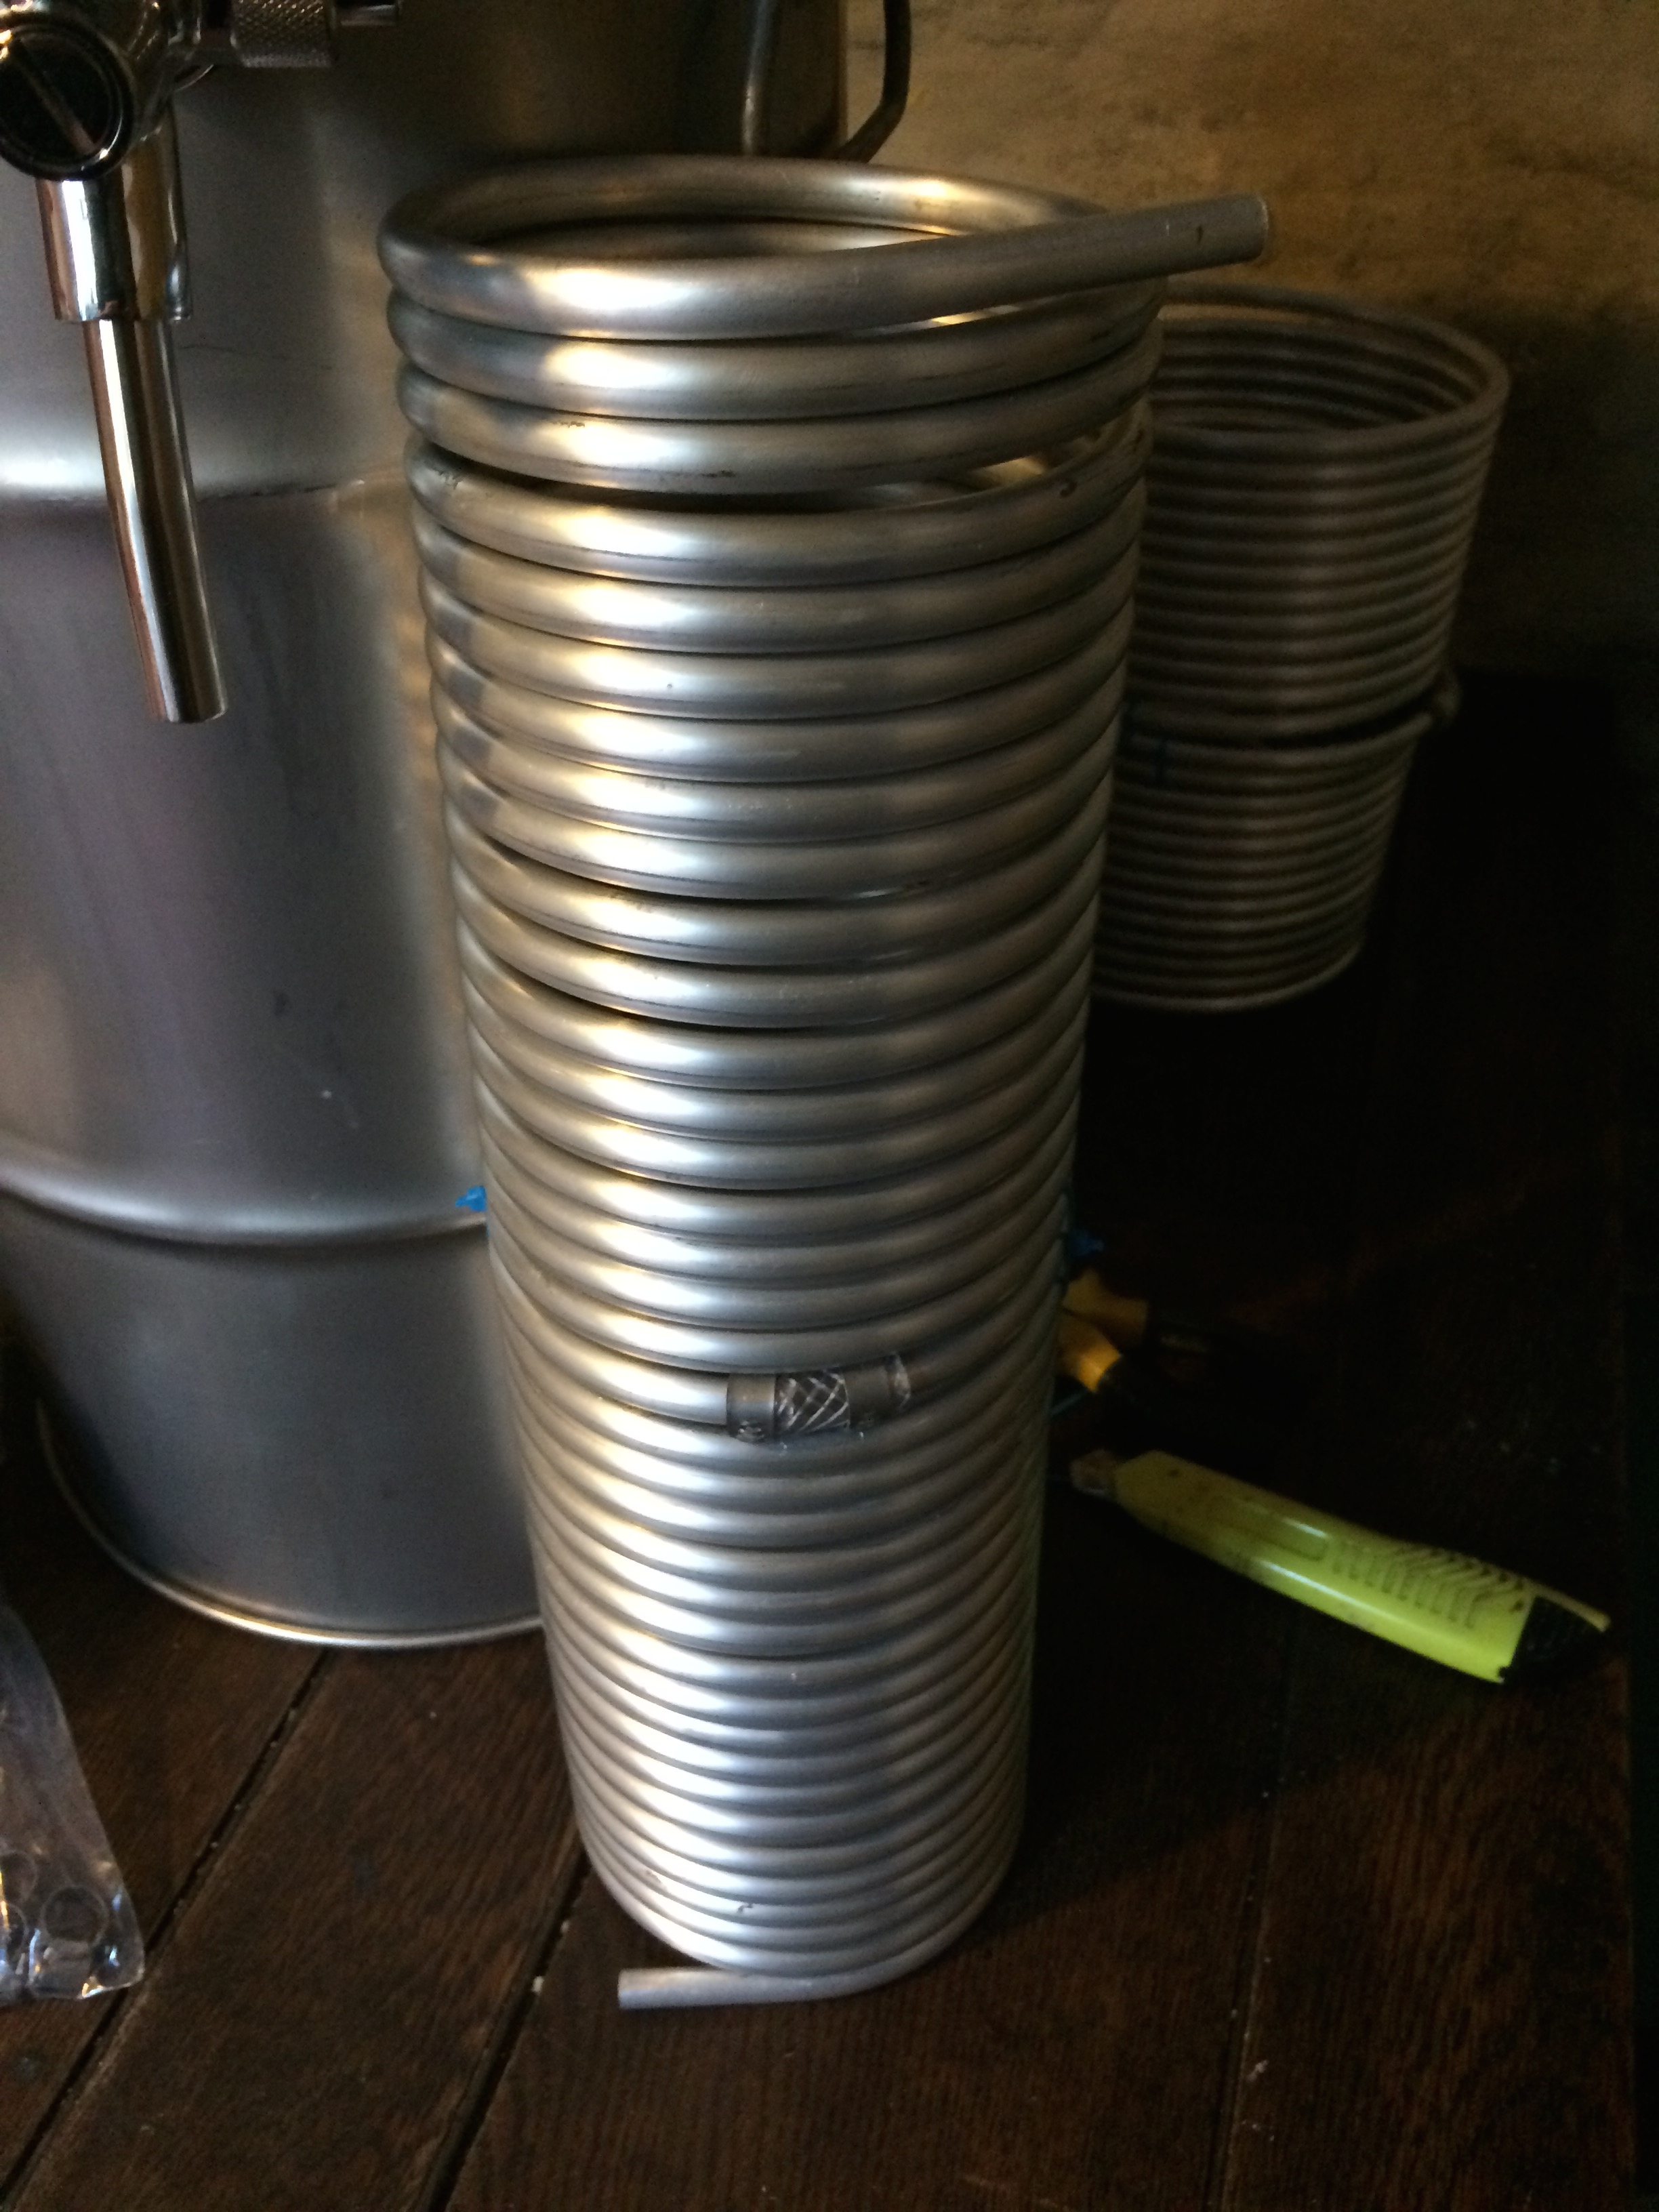
After much tough I finally decided for 3/8" aluminium coils. I did a lot of research and end up with the conclusion that nobody would die from drinking beer that passed through them, although they are harder to sanitize.
I used aluminium for a couple of reasons, first they cost 1/10th of the stainless of the same size, second I couldn't find longer stainless that 3m (10 feet) long straight pipes.
The aluminium pipes came in 6.8m (22 feet) long straight pipes.
I bought 4 for the jockey box (2 per faucet) and a couple more for a water pre-chiller.
Carrying them in the roof of the car was kind of interesting experience.
A guy from my local homebrew club coiled the pipes for free, I owe him a lot of beer.
I joined both narrow and wide coils with a piece of 5/16" hose and a couple of stainless steel clamps.
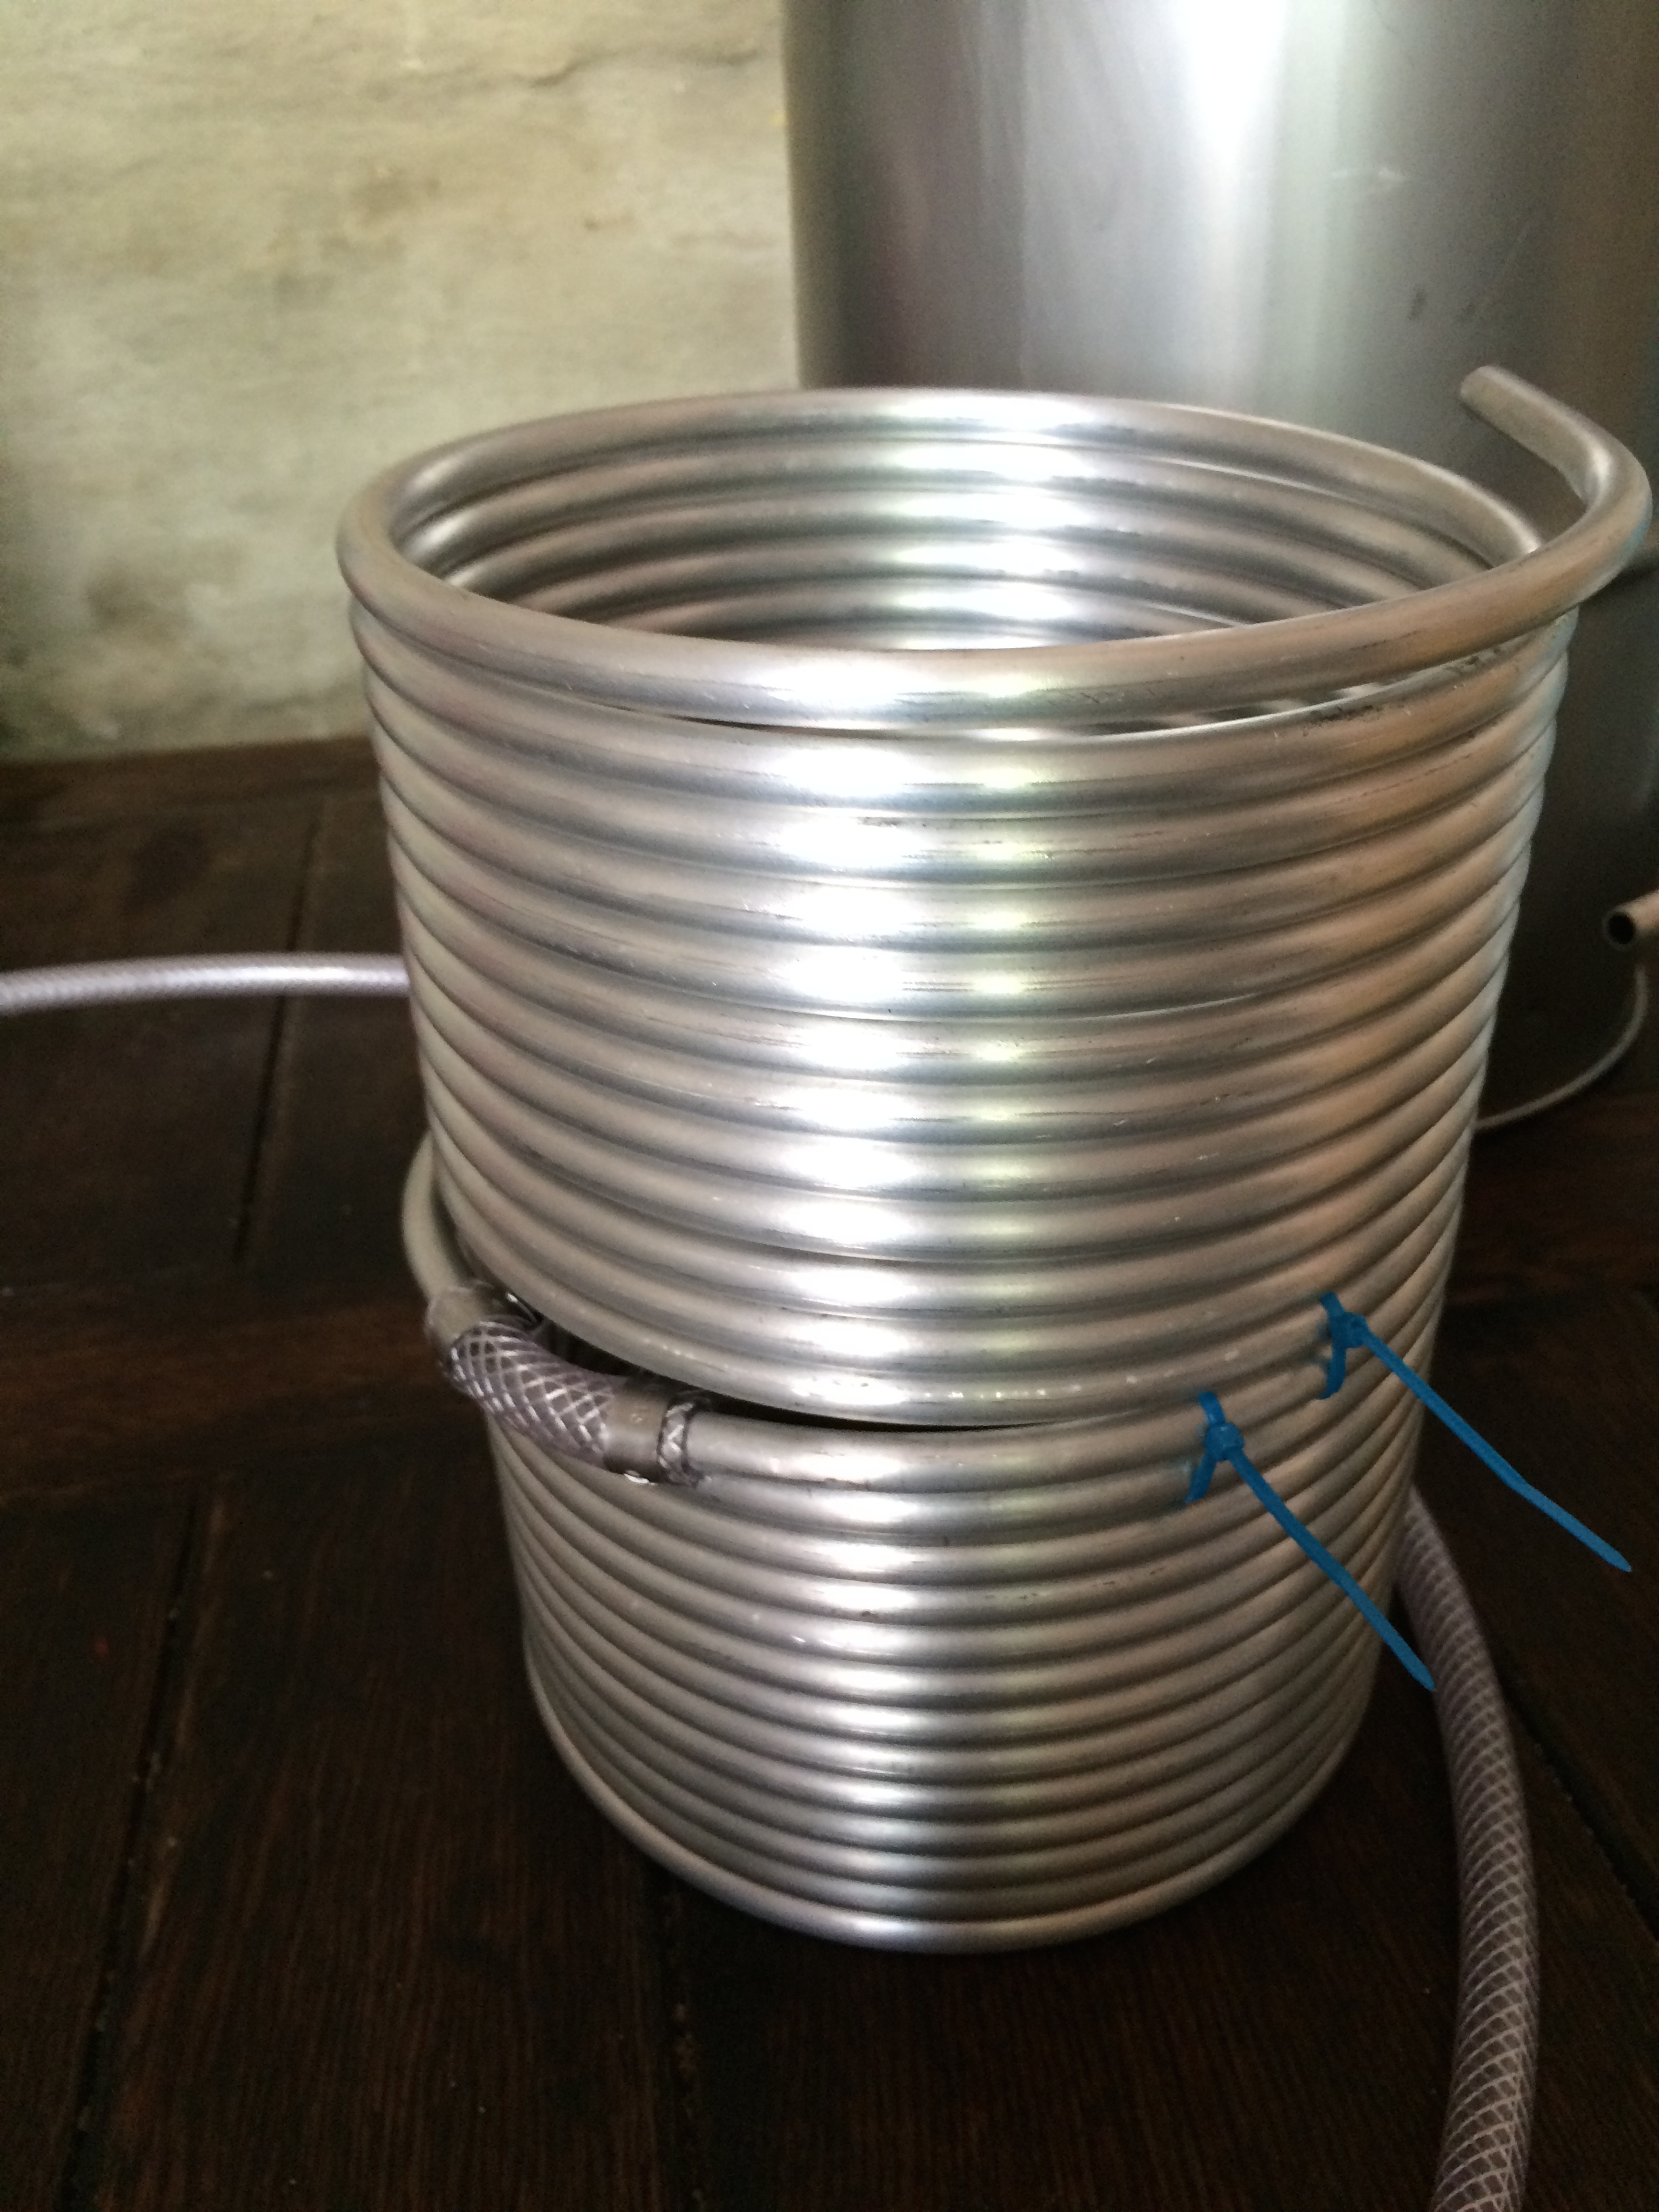
This is how it looks fully assembled.

Water test went ok. Just an, easy to fix, small leak.
TA-DA
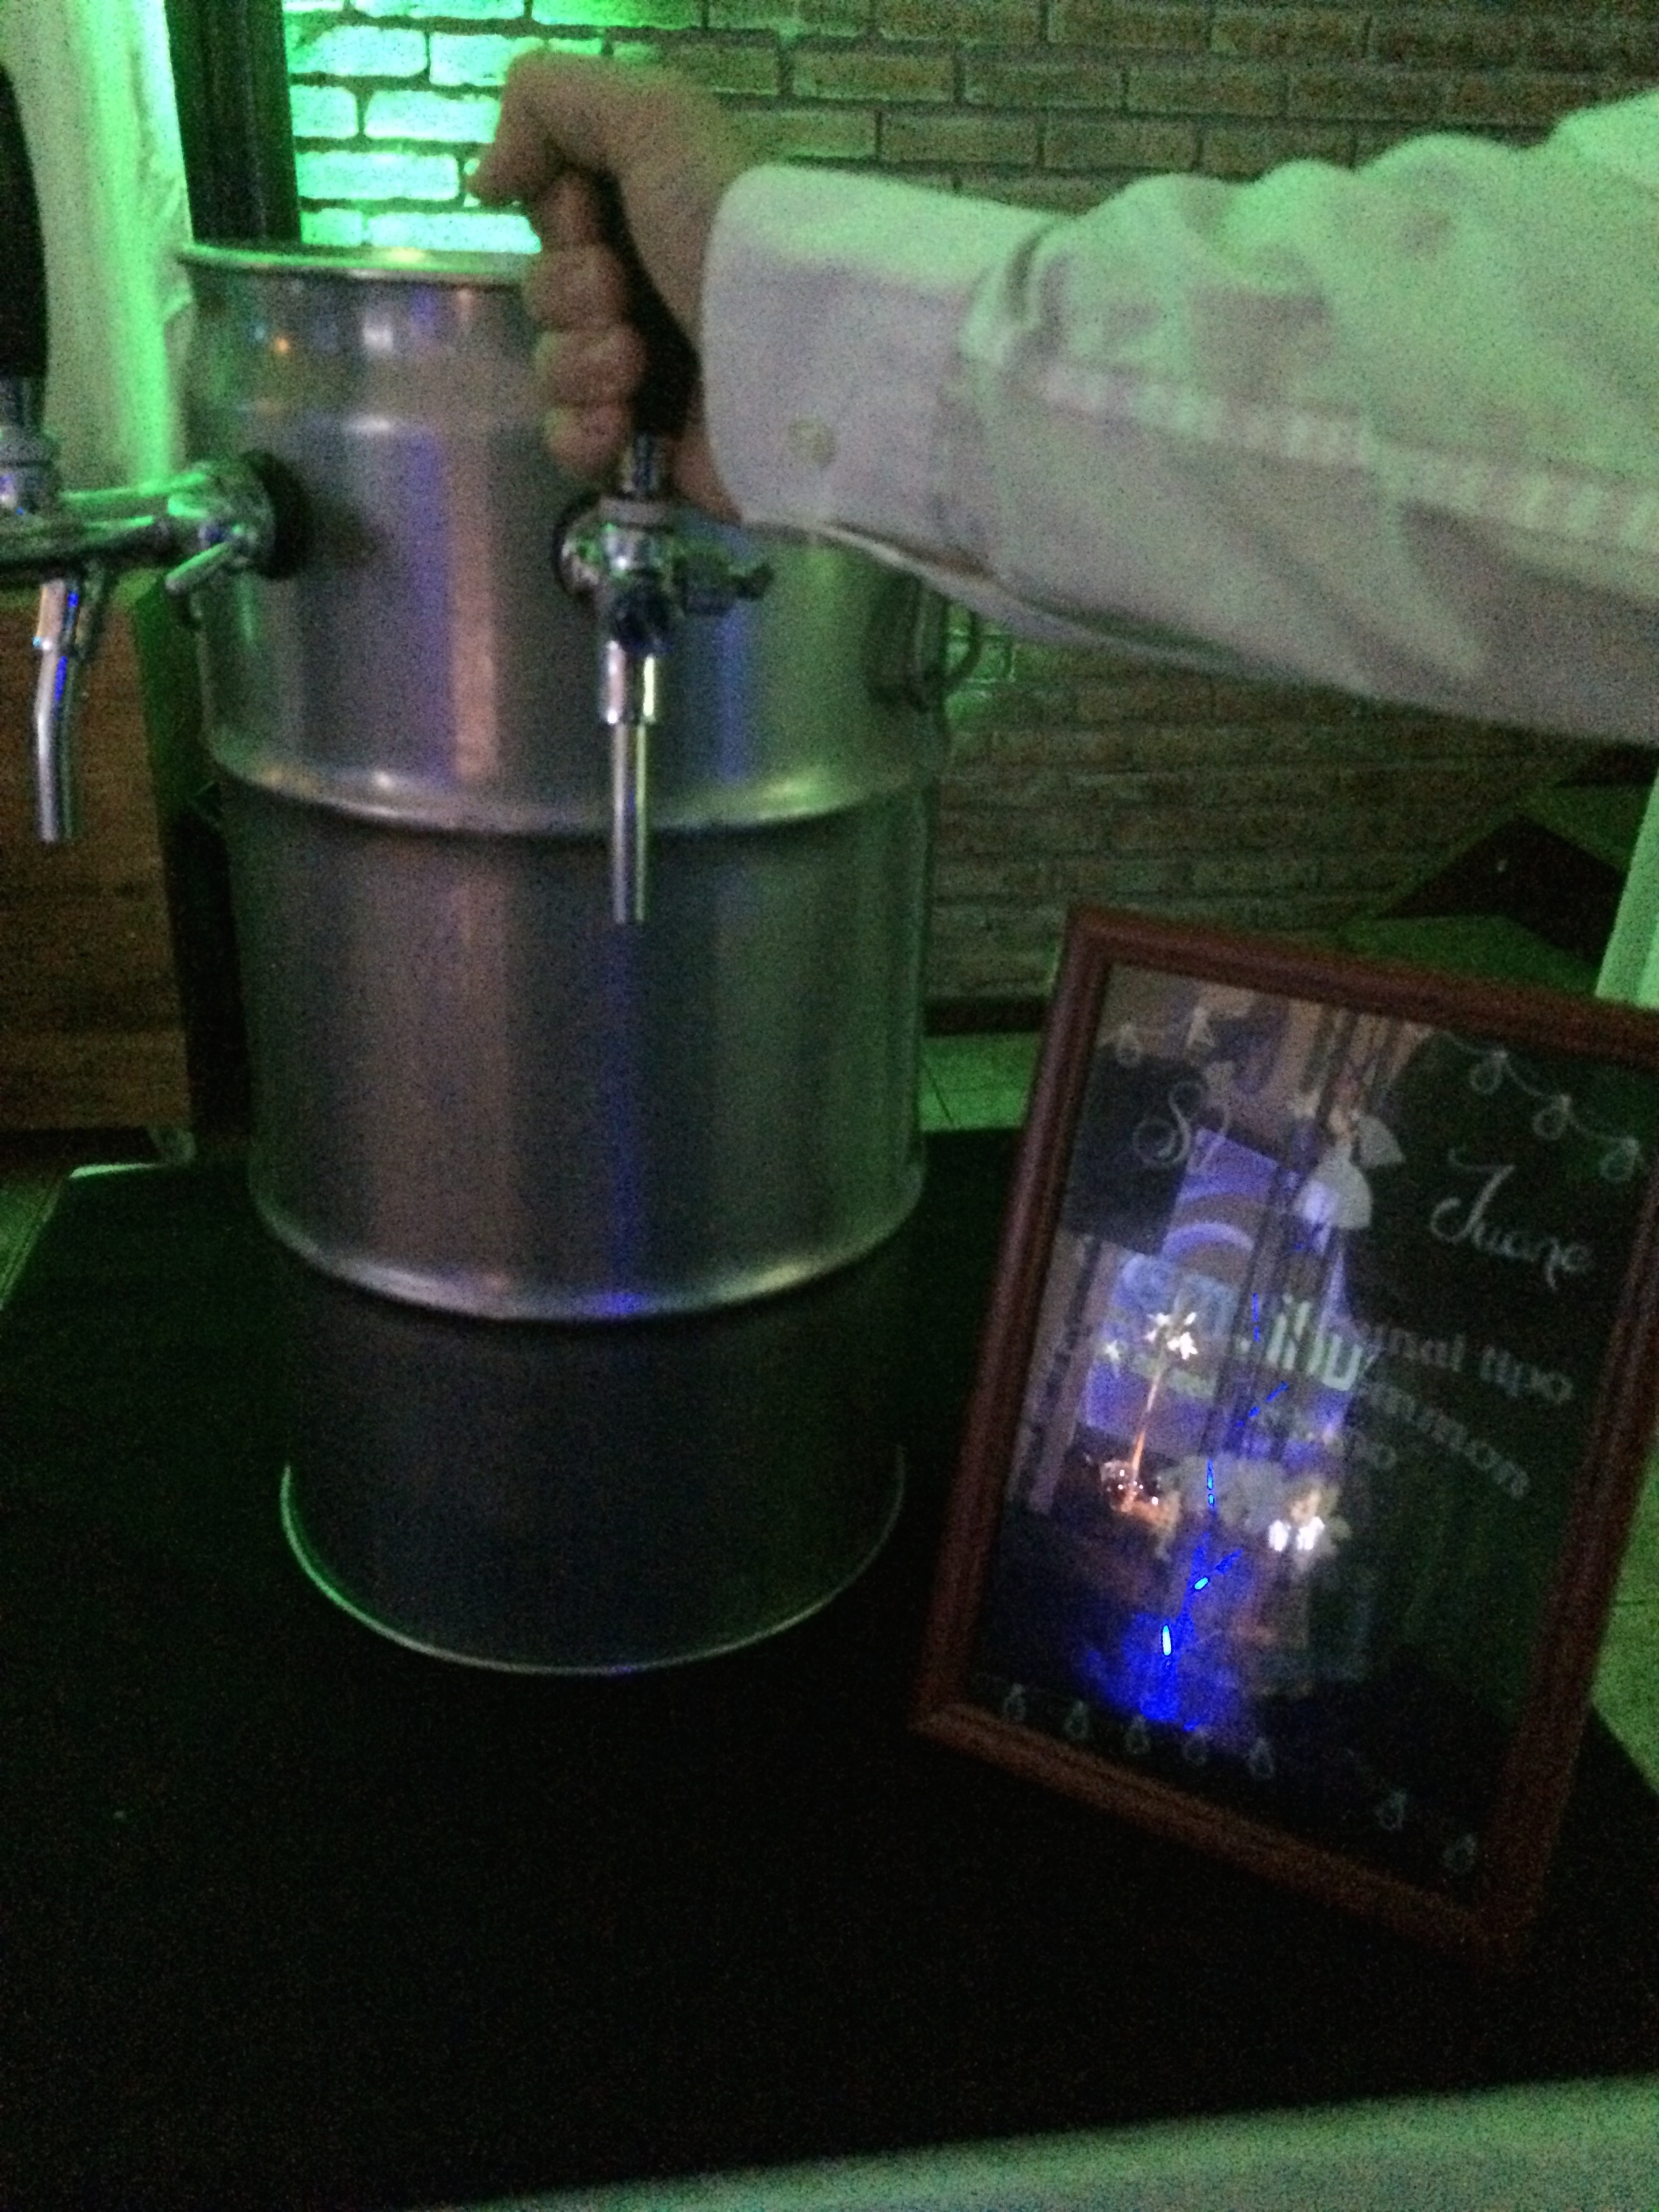
At the party.
Next step (after changing the lid) would be to get some pads for the angular grinder and make it shine.
A friend of mine got married last weekend. I brew some beer for the wedding party, but I didn't have a jockey box. I thought of borrow one from another friend, but ended up building one. My budget was a little tight but the final result was good, I think.
I had this tank for a while, I bought it for 6 bucks some years ago. I never know what to do with it though I had some ideas. It's a stainless steel 6.6 gal (25 liter) coke syrup tank.
Assorted stuff. Those are cheap faucets, I think I got them for 20 dollars each. They are no Perlicks, but ok for this.
It took some time to get the perfect position. Any position would do at the end anyway.
Drilled and happy. I didn't have blue tape, so white should do.
Done
I cut the top. This is the only part I'm not 100% happy about. I overthought this part. The idea I had was to use this as the lid, and have it sitting a couple of inches inside the tank. That cut in the picture is for the hoses. This was not a good idea, having the lid sitting at the top would be much easier and visually appealing. I'll fix that in the future.
Drilled 3 holes at the side near the bottom.
I had this piece of ugly old EVA yoga mat lying around. I used it in the past to cover kegs when bringing beer somewhere, now it will be my jockey box insulation. It's not very efficient but is waterproof, and, at the end it worked quite well.
Cut and glued with silicone.
I installed a couple of barbed fittings for the beer lines. I was going to use stainless but they didn't have at the store end up used brass. Save some bucks there.
Put a 1/4" ball valve also to drain water.
This is how it end up looking in the inside.
After much tough I finally decided for 3/8" aluminium coils. I did a lot of research and end up with the conclusion that nobody would die from drinking beer that passed through them, although they are harder to sanitize.
I used aluminium for a couple of reasons, first they cost 1/10th of the stainless of the same size, second I couldn't find longer stainless that 3m (10 feet) long straight pipes.
The aluminium pipes came in 6.8m (22 feet) long straight pipes.
I bought 4 for the jockey box (2 per faucet) and a couple more for a water pre-chiller.
Carrying them in the roof of the car was kind of interesting experience.
A guy from my local homebrew club coiled the pipes for free, I owe him a lot of beer.
I joined both narrow and wide coils with a piece of 5/16" hose and a couple of stainless steel clamps.
This is how it looks fully assembled.
Water test went ok. Just an, easy to fix, small leak.
TA-DA
At the party.
Next step (after changing the lid) would be to get some pads for the angular grinder and make it shine.
