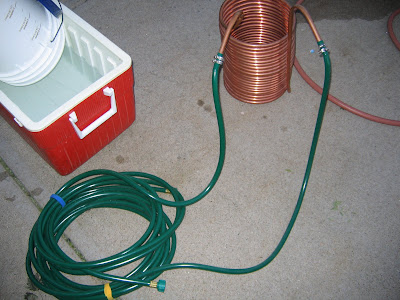
Hello guys,
I'm in the process of building an IC to replace the usual ice baths. So far, I have bought a few pieces but they aren't assembled yet. I don't have any kind of experience with plumbing so I did a little mistake. I bought 25' of 1/2" OD flexible tubing and a couple of feet of 10" concrete column form tube (I don't have a keg) to form the coil. I also got some 1/2" fittings with 8' of 1/2" straight tubing to complete the build. I had no idea that 1/2" OD == 3/8" nominal so I'm stuck with a little problem here. I can't seem to find any 3/8" fittings OR tubes in town. Only 1/2 -> 3/8 reducers.
Another thing to note is that the city water lines use 3/4" valves so I would need to reduce twice (though that might be ok?). I have what it takes to plug a 1/2" hose already. So I need help deciding what to do next.
Solution 1)
Ditch the coil and buy 5/8" OD instead. This will fit perfectly with everything I've got so far. This is a bit more expensive than I'd like considering I already have the 1/2" coil.
Solution 2)
Keep the coil and use one reducer at the start and another at the end to go from 3/4->1/2 pipe->coil->1/2 pipe. I'm not sure if increasing tubing size after the coil is a good idea. So I thought of something else.
Solution 3)
Cut the coil in half and build a ribcage chiller instead. I would need to reduce the diameter from 10" to maybe 9" or 8" (will it bend?). Now that would give me this : 3/4 -> 1/2 -> 1/2 Tee -> 2x 1/2 to 3/8 reducers into 2x coils -> 2x3/8 to 1/2 Tee -> 1/2 pipe.
Solution 4)
Buy another 25' of 1/2" OD and get a 50' ribcage chiller instead.
I do 5 gallon batches btw so I'm assuming 25' should be far enough.
Thanks for any kind of help/tips you can offer


