Help me learn my eHERMS system? Newb questions!

Homebrew Talk - Beer, Wine, Mead, & Cider Brewing Discussion Forum

Help Support Homebrew Talk - Beer, Wine, Mead, & Cider Brewing Discussion Forum:

This site may earn a commission from merchant affiliate links, including eBay, Amazon, and others.

luckybeagle

Making sales and brewing ales.
Joined
Apr 30, 2018
Messages
494
Reaction score
160
Location
Springfield, Oregon
Warning, long post. I'd shorten it if I could! Any help is greatly appreciated.

I just finished putting together an eHERMS system with the following components:
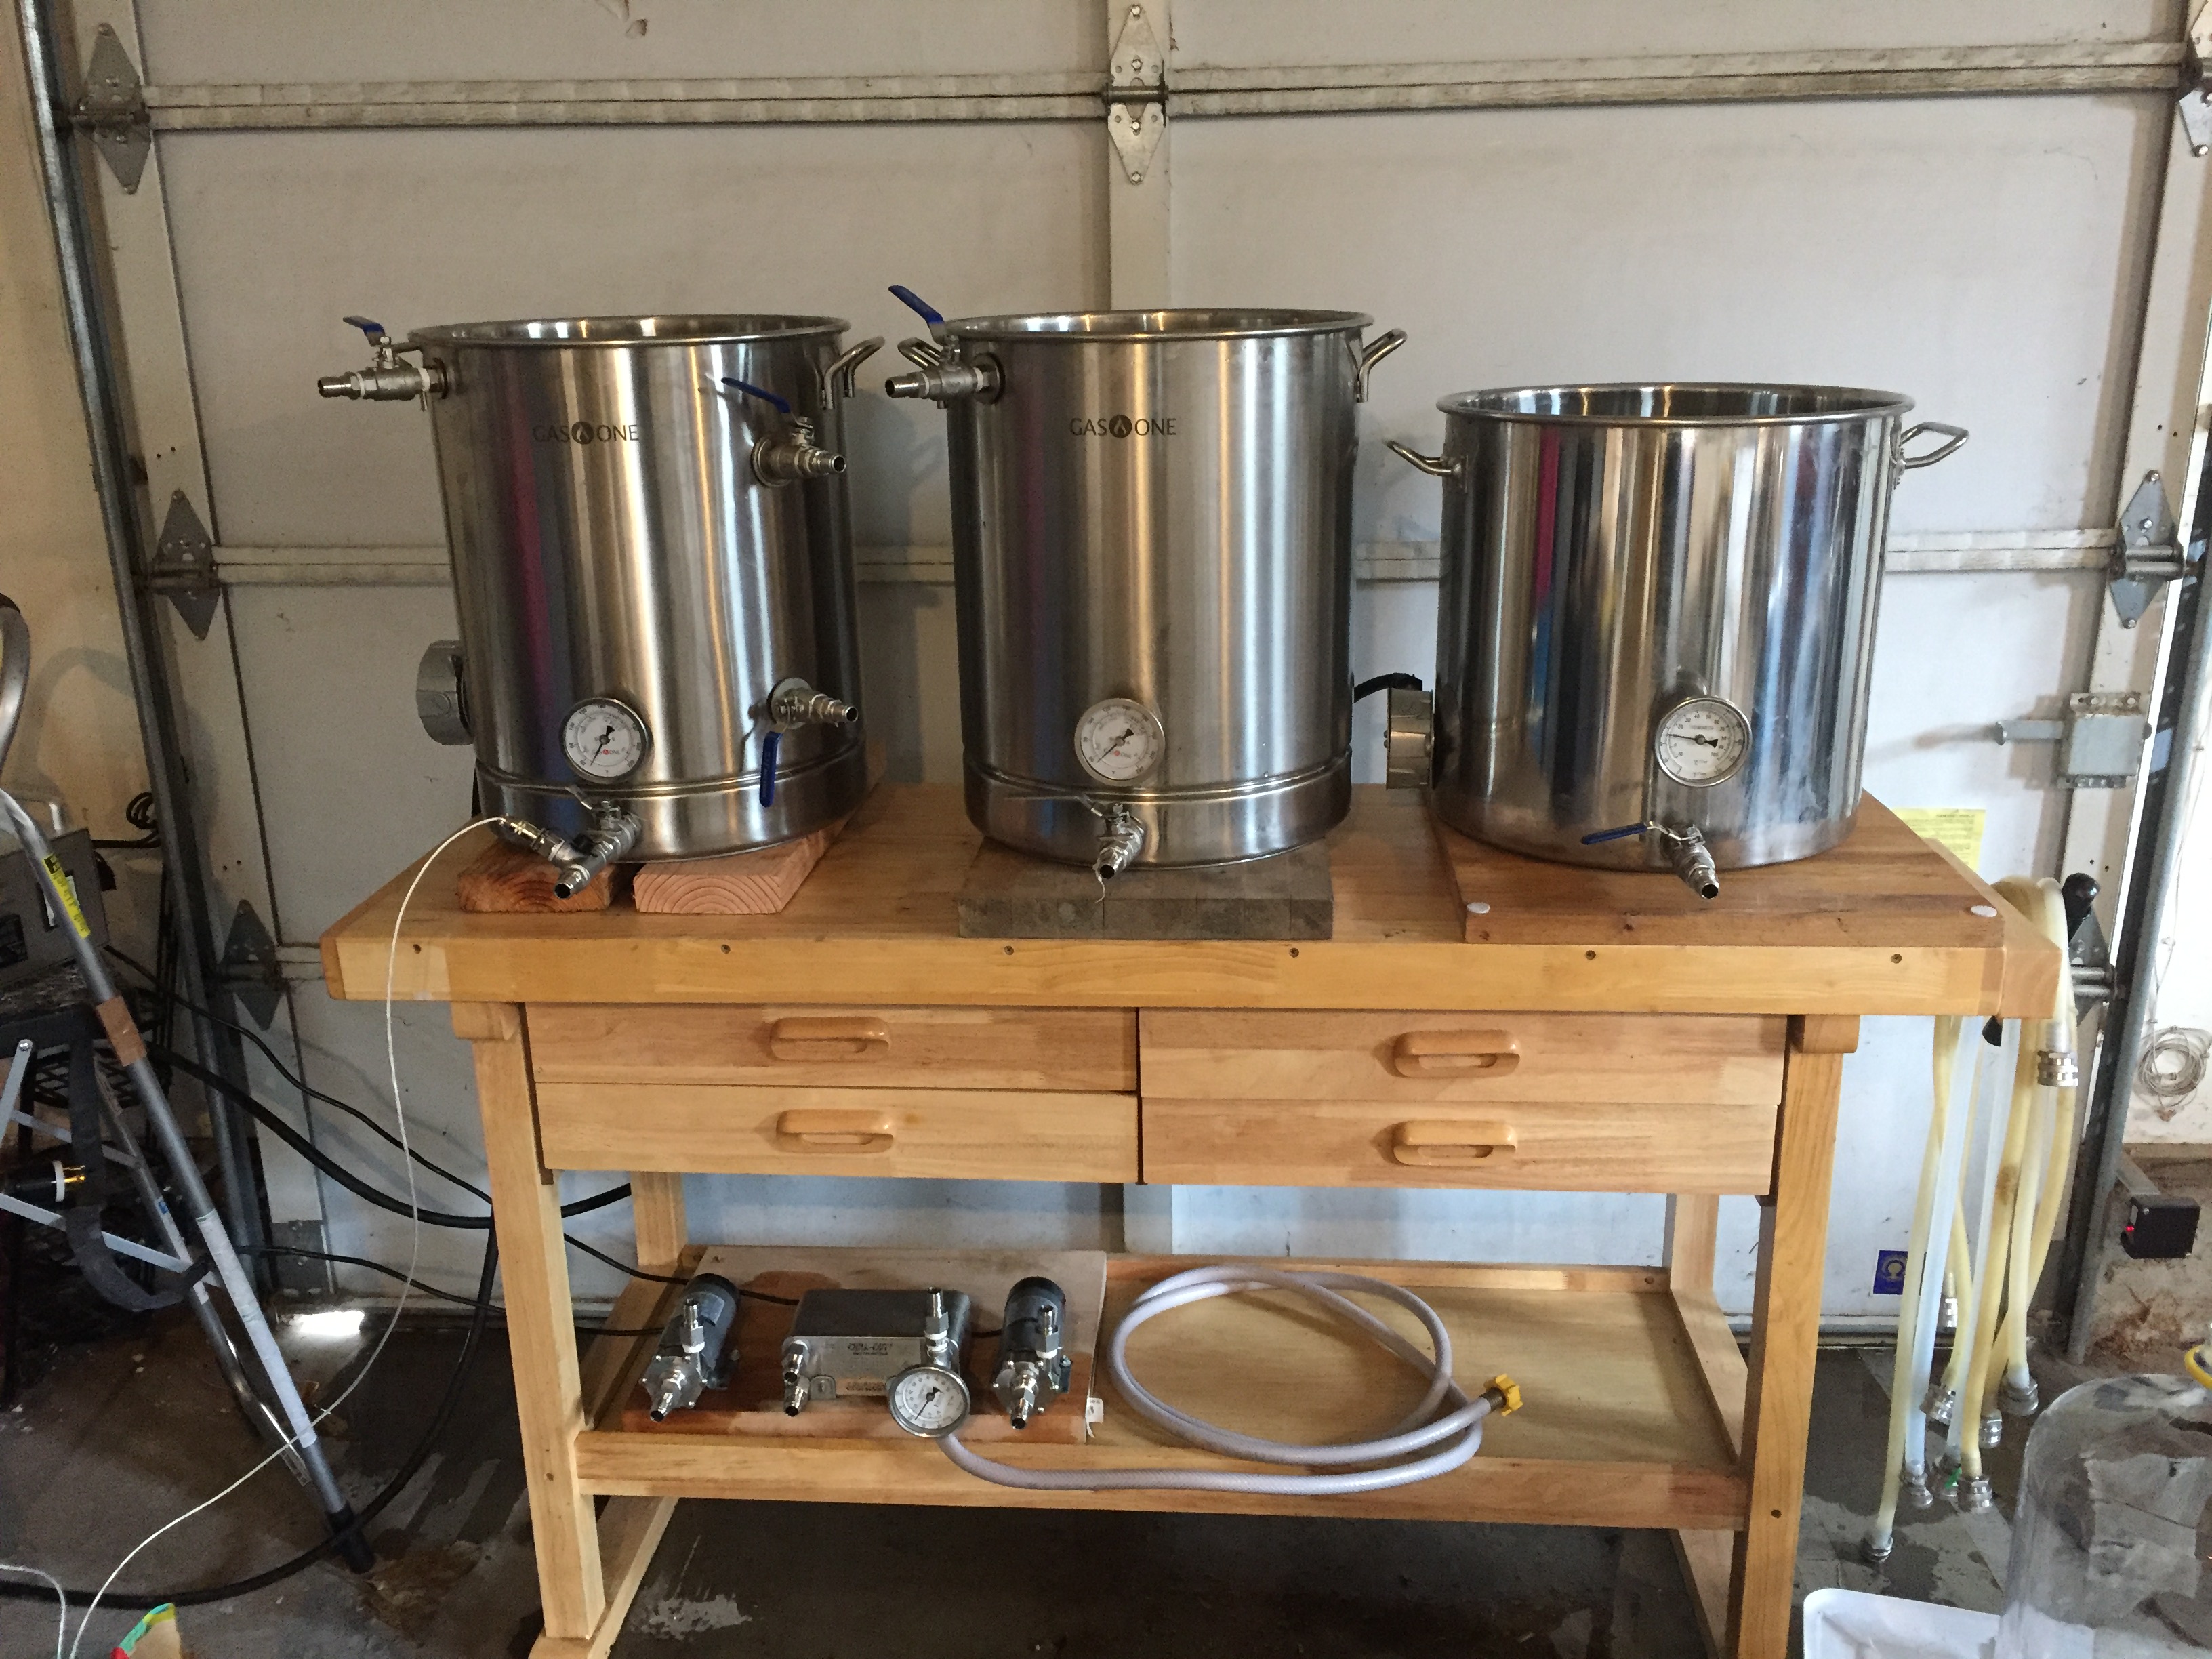
  • 2x16 gallon Gasone Kettles (HLT and MLT)
  • 1x15 gallon Concord Kettle (BK)
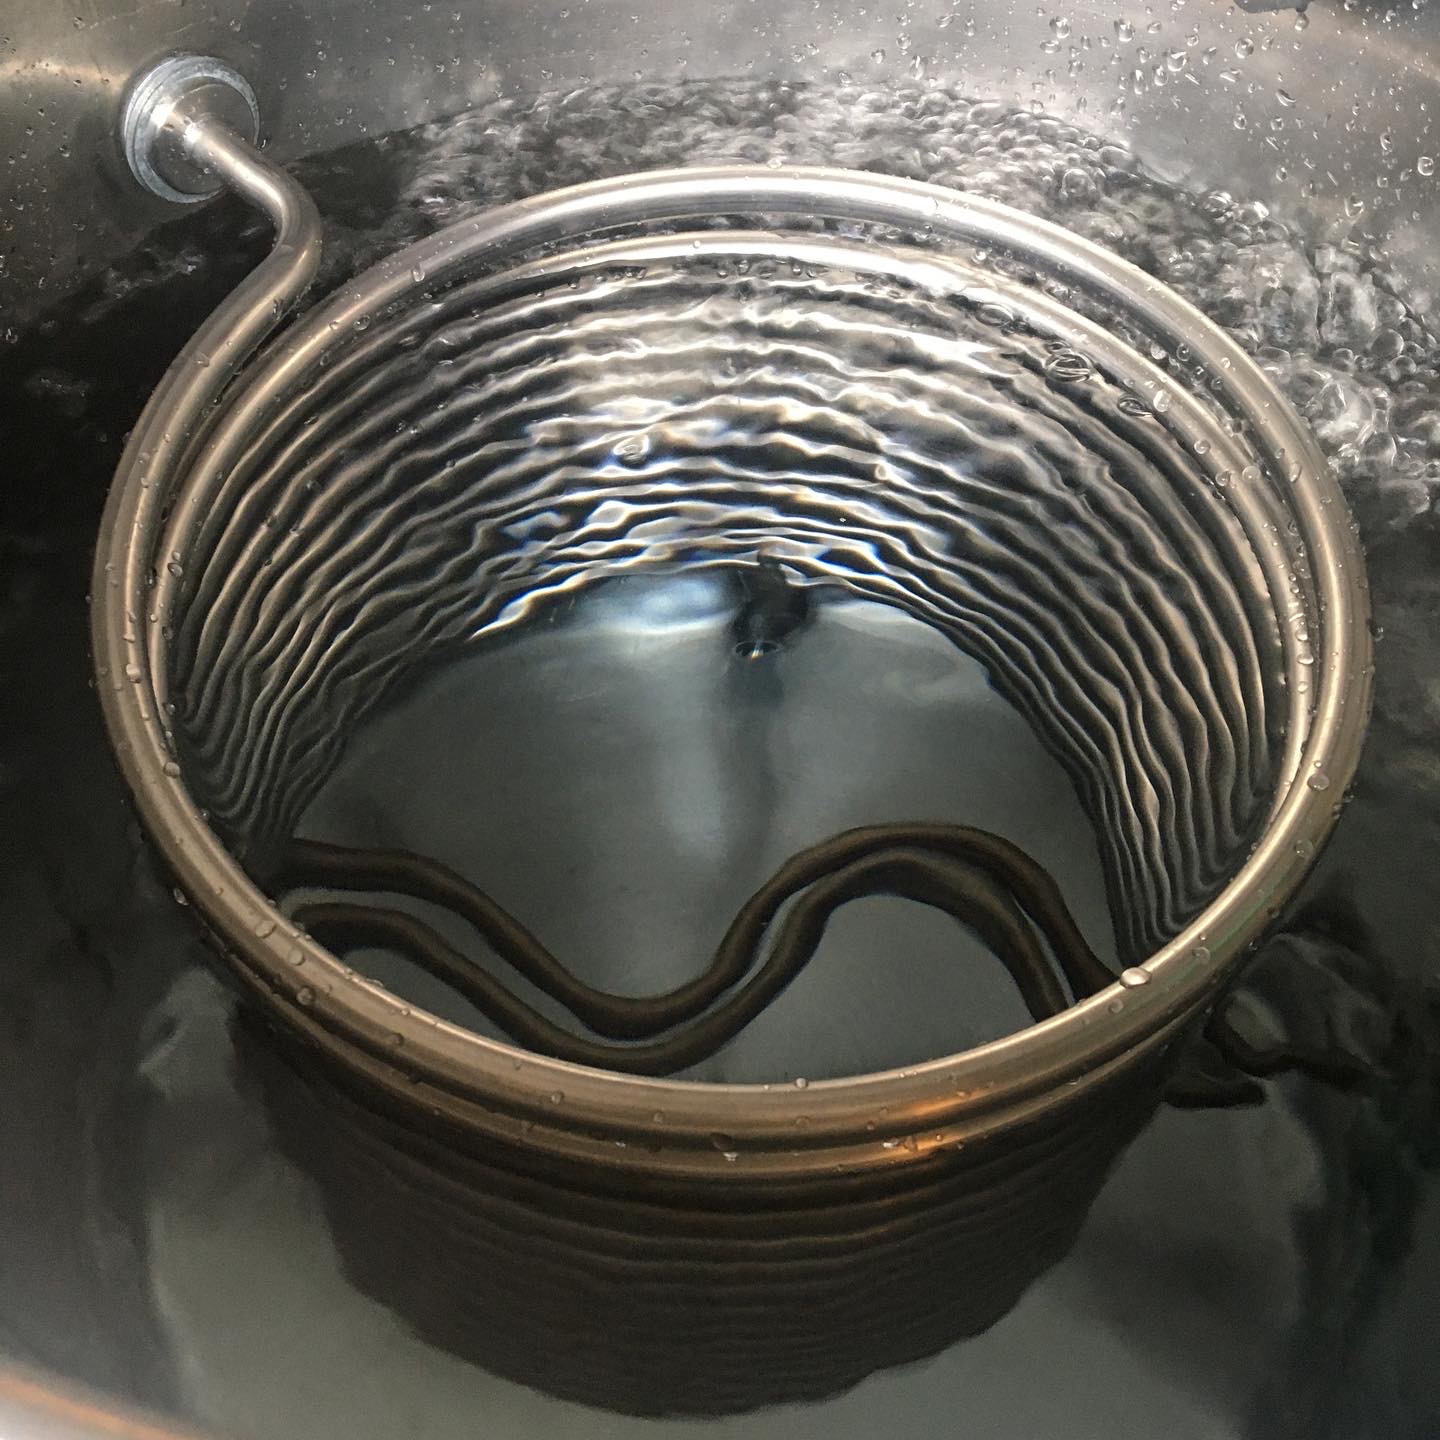
  • 32ft 1/2" diameter Blichmann HERMS coil
  • 2 x Amazon Brew pumps with stainless heads
  • 2 x 5500w Camco water heaters
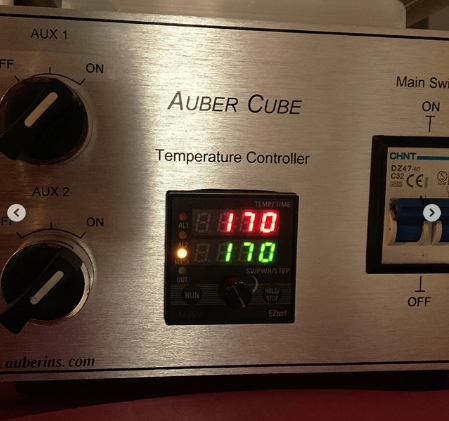
  • Auber Cube 2E Controller
IMG_0080.JPG


I've done two brews on it: a 5 gallon Patersbier and a 10 gallon batch of Westmalle Tripel Clone.

On both of these batches, I've noticed the MLT lagging a bit in temperature when I am recirculating, which I've heard is normal. I AM recirculating water from the top down in the HLT, and am pumping sweet wort through the herms coil from the bottom up.

The Westmalle Tripel had a step mash with a rest at 124F followed by a saccharification rest at 147 and a mashout at 170F.
630A3941-87FF-48EC-86CC-11AB3876DADE.JPG


My process is to fill up the HLT to the brim, and my MLT to my desired strike volume. Then I begin the recirculating of the MLT through the herms coil, and the HLT from the bottom valve to the top (for even temperature distribution). I then dough-in at my desired temperature. No issues with that part of the process.

When the second step in my program kicks in (raise to sacc. temp of 147 for 60 minutes), the HLT heats up very quickly to this desired temperature, which in turn tells my PID to start the 60 minute timer. The problem is the grain is significantly lower than this temperature. Should I add 20 minutes to ensure the grain bed is thoroughly resting at 147F on a step mash like this?

When I increased my temperature to mash-out, the grain bed was 147F as intended, but I have no idea for how long. My 170F mashout temp was again reached in the HLT quickly, but the grain bed did not reach that temperature before the 20 minute timer elapsed. Should I add additional time to this, as well, or move on with fly sparging at this point?

Finally, and probably my biggest headscratcher, is how to maintain sparge water temperatures while fly sparging for one hour. Since I have to move the hoses around, the pump that was recirculating my HLT water is now moving water from the HLT to the MLT for sparging, and the other pump is moving the lautered sweet wort from the MLT to the BK. Since the flow is so slow and my PID controller's temperature probe is on my HLT water-out valve, it's reading a much lower temperature than what the water in the HLT is at. This causes my HLT to be fired up to boiling while the sparge water is at-or-below 170F. When I've stirred the HLT manually, the temperature coming in to sparge the grains jumps up to 190-200F+, which is wayy too hot. Should I just shut off the heat element once the HLT reaches 170 and sparge without the HLT heater firing?

Thanks so much for any and all advice.This is much more complicated than igloo cooler batch sparging, but I think it'll ultimately be great--if I can figure out how to run it right!
Screen Shot 2020-03-03 at 8.39.26 AM.png
 
Regarding your sparge temperature issue, you could stir manually periodically and watch the dial thermometer temp instead. Fire the HLT if necessary but be careful to not overshoot.

Personally I just turn off the heat and keep a lid on the HLT. I'm usually in the 85-90% efficiency range.
 
Last edited:
I only do single step infusion, but the rise to mash out can take 15-25 minutes or so with my system. That's what I have noticed lately without exactly measuring the time. I've had to change the rise time in the Beersmith brew timer and I am working on a good amount to set it at. I also brew outside and that has created temperature variations that aren't perfectly programmable. Plus I would guess the grain bill weight to play a factor and mash water volume. You may not be able to exactly set.
 
Personally I just turn off the heat and keep a lid on the HLT. I'm usually in the 85-90% efficiency range.

I really like this idea, actually. Since the HLT is completely filled when I begin the fly sparge, it's unlikely to drop significantly over 1 hour given the thermal mass. If it does, I can do as you suggested and set the PID to boil mode, stir, and kill the heat once I'm back up to 170ish.
 
You'll want to measure how long your mashes typically take to ramp to different temperatures so you can build that time into your schedules. Next batch, once the HLT hits that target temp, drop a digital probe into the mash and see how long it takes to reach whatever maximum temp it will reach. It will always be colder than the HLT set point and that's called the "offset".

One way to speed steps with this type of HERMS design is to temporarily overshoot the HLT temps within your schedule. Since you have the DSPR320, you can automate it.

If you want to run a 120F rest, you'd set the HLT to 120F + whatever your measured offset is (say 3F) so 123F. When that timer expires and you want to run it up to 147, the next step should put the HLT to something like 160F for a few minutes. You'll learn over time what that period of time is, then have it step to 147F + the offset. The mash's drain on the heat in the HLT should bring the water down to the correct temp pretty quickly.

You can do the same trick when ramping to a mashout. Set the HLT to something like 180F. Again you'll learn how long this has to be actively held before the mash gets to 170. At that point, you'll begin sparging so you can disconnect the HLT element.

The primary reason to stop heating the HLT is that you'll want to start heating the BK as soon as the element is covered to save brew day time.

Note: that big temp differential you're seeing in the HLT probe is the primary reason I advocate installing that probe through the wall of the HLT.
 
...

You can do the same trick when ramping to a mashout. Set the HLT to something like 180F. Again you'll learn how long this has to be actively held before the mash gets to 170. At that point, you'll begin sparging so you can disconnect the HLT element.

The primary reason to stop heating the HLT is that you'll want to start heating the BK as soon as the element is covered to save brew day time.

Note: that big temp differential you're seeing in the HLT probe is the primary reason I advocate installing that probe through the wall of the HLT.
I'm quoting what Bobby is saying here because his numbers are around mine for mashout. I was trying to think if I had a conundrum similar to yours and it doesn't happen to me because I have a 30 amp system. I do just what he is saying and I switch power over to the BK once the element is covered. Also though in order to mashout I have the HLT set to at least the high 170's low 180's, with the actual temp somewhat lower by a few degrees due to the water temperature rising. It's usually a tad hot for sparging. I use a rotating arm to fly sparge and the water will spray down and lose a little heat but I pretty much always need to just turn off the heat to start with. And I may even add a little water to cool down the HLT. And put the lid on it. Now last Sunday I did a 10 gallon batch instead of my more common 6 gallons and I was sparging longer. I noticed the water coming out had cooled down a bit (maybe 160F) so I switched power from the BK back to the HLT for a little while. I usually use the excess HLT water to clean the mash tun was another reason I did that but turned out I had used most of the water anyway by the end of sparging.

You'll get the hang of it after another couple brews! I built my system mostly myself following a manual but I don't know exactly what all the electronics do. My first brew day I was like ok I put the water in, page 35 what's next...ok heat it up...ok page 35, sentence 2 what's next...

I like your stand, the drawers look pretty handy.
 
I was brewing with the same method as you for 3/4 of 2019. Fill HLT, Fill MLT, raise to target mash temp, dough in, recirculate, let it come up to temp, then turn on timer. It produced great results and i never saw a major issue, however i recently started underfilling my HLT a little bit, and shooting for a traditional strike temperature and then adding cold water to the HLT. For 2 reasons honestly.....
1) I use 120v so the less water that needs to be heated, the quicker my heat up times are, and
2) Then i'm right at my mash temp from dough in, i add cold water to the HLT to bring it down from strike temp to mash temp, and then start recirculation.

It probably doesnt shave any total time off my brew day, but its made it easy for me to be more consistent with my mash temps, and if in the event i have a stuck mash at the beginning, at least my mash is already at its rest temp, and i'm fiddling with the fix at that temp, instead of down at like 142 degrees and ending up with a dry finish if it takes me a while to fix the problem
 
This is my step mash process for my 240V/30A eHERMS.

1. Dough in at strike temp (measured at MT through wall) - HLT temp (measured through HLT wall) set at strike temp + offset.
2. Add cold water to recirculating HLT to bring temp down to 1st Mash step temp (like sicktght311's post above)
3. When time for next step, raise set point, then add boiling water to HLT and MT to bring temps up quickly. You can calculate the exact volume of water to add in BeerSmith. Note this does thin out your mash, but you can adjust your initial mash thickness to accommodate for this. This is not an all or nothing proposition - you can add a smaller volume of boiling water to speed things up, or just add boiling water to the HLT. I have used Bobby_M's suggestion of temporarily setting the set point high, and it does speed things up, but you have to be real careful to bring it down BEFORE your mash temp is reached, or you will overshoot.
4. After mash out temp is reached my HLT element is turned off. Be very careful about not turning on the element in the BK until you have a sufficient amount of wort.

For single infusion mashes, I have had recently been doing no-sparge for 5G batches with this method, by starting with a regular mash thickness, and mashing out by adding boiling water. This saves a HUGE amount of time in lautering, at the expense of efficiency. I open the pump wide and transfer the clear wort over to the BK in minutes.

I have also done no-sparge with step mashes, but have to be careful about stirring the grains until the mash is thinned out enough, to avoid pump cavitation from a thick grain bed.
 
This is my step mash process for my 240V/30A eHERMS.
.......

For single infusion mashes, I have had recently been doing no-sparge for 5G batches with this method, by starting with a regular mash thickness, and mashing out by adding boiling water. This saves a HUGE amount of time in lautering, at the expense of efficiency. I open the pump wide and transfer the clear wort over to the BK in minutes.

I have also done no-sparge with step mashes, but have to be careful about stirring the grains until the mash is thinned out enough, to avoid pump cavitation from a thick grain bed.

Gavin this is very interesting. My brew days have taken way longer than when I was batch sparging in a cooler and, while I appreciate the efficiency bump, I'd rather buy more grain and wrap up brew day a lot faster most of the time. I like your idea. What sort of efficiency are you getting with your no-sparge batches? I take it you are recirculating through your herms coil during the entire mash, which might still be helpful with efficiency?
 
Gavin this is very interesting. My brew days have taken way longer than when I was batch sparging in a cooler and, while I appreciate the efficiency bump, I'd rather buy more grain and wrap up brew day a lot faster most of the time. I like your idea. What sort of efficiency are you getting with your no-sparge batches? I take it you are recirculating through your herms coil during the entire mash, which might still be helpful with efficiency?

Yes, I recirculate through my e-Herms during the entire mash. My fly-sparging mash efficiency of 88-92% dropped about 20 points (68-72%) when I switched to no-sparge. Please note that I do NOT do a full-volume mash, but mash at standard thickness of 1.25-2.0 qts/lb (typically 1.5), then add hot water to top up the mash to full volume at mash out. Full volume mashes (another form of no-sparge) can have much lower conversion rates because of the "diluted" enzymes in a thin mash. My technique has the (hotly debated) benefit of creating a "maltier" wort, but I can say it has certainly improved my beer, and my personal efficiency as relates to brew time. I also don't have to constantly monitor the valve positions during a long fly sparge, which was a pain even using linear Blichmann valves.

I'm careful about calculating the water temp for mash-out, so that I don't exceed 170 deg. I typically stir the mash once after adding this water, and then let it mash out for 10 minutes while continuing to recirculate, which is more than enough vorlauf time to set the grain bed. I always have very clear wort in my BK.

I do all my 5G batches no-sparge these days in my 15G mash tun, and just did a 1.082 Belgian Tripel with a 3-step mash this way. The 22 lbs of grain at an initial mash thickness of 1.25 qt/lb really tested the limits of my false bottom, and I had to stir it a couple of times to keep wort going through the pump until I thinned it out at the next rest.

I have a single element controller in my panel, just like you have. I recently added a separate 220V/30A switched receptacle to heat water in my BK during mashing for quick step-ups. I use my spare pump for this purpose (always good to have a spare pump around on brew day!)
 
Last edited:
Back
Top