First Batch With Catalyst Fermentation System

Homebrew Talk - Beer, Wine, Mead, & Cider Brewing Discussion Forum

Help Support Homebrew Talk - Beer, Wine, Mead, & Cider Brewing Discussion Forum:

This site may earn a commission from merchant affiliate links, including eBay, Amazon, and others.

FrostyJR

Member
Joined
Feb 17, 2013
Messages
21
Reaction score
3
Location
Madison
There isn’t a ton out there on this forum regarding the catalyst system so I thought I would give a daily update on my first brew using it. Actually... first brew in about 4 years.

Details:
Honey Badger Amber (my own concoction)
Partial mash
2 lbs Vienna Malt
1 lb Caramel/Crystal 40L
1 lb Caramel/Crystal 75L
1 oz Willamette @ 60 minutes
3 lbs LDE @ 15 minutes
0.5 oz Willamette @ 10 minutes
0.5 oz Cascade @ 5 minutes
2 lb Honey (local farm) @ 5 minutes
0.5 oz Cascade @ 1 minute
0.5 oz Willamette @ 0 minutes
Safeale US-05

Added to the fermenter at 1.05 SG

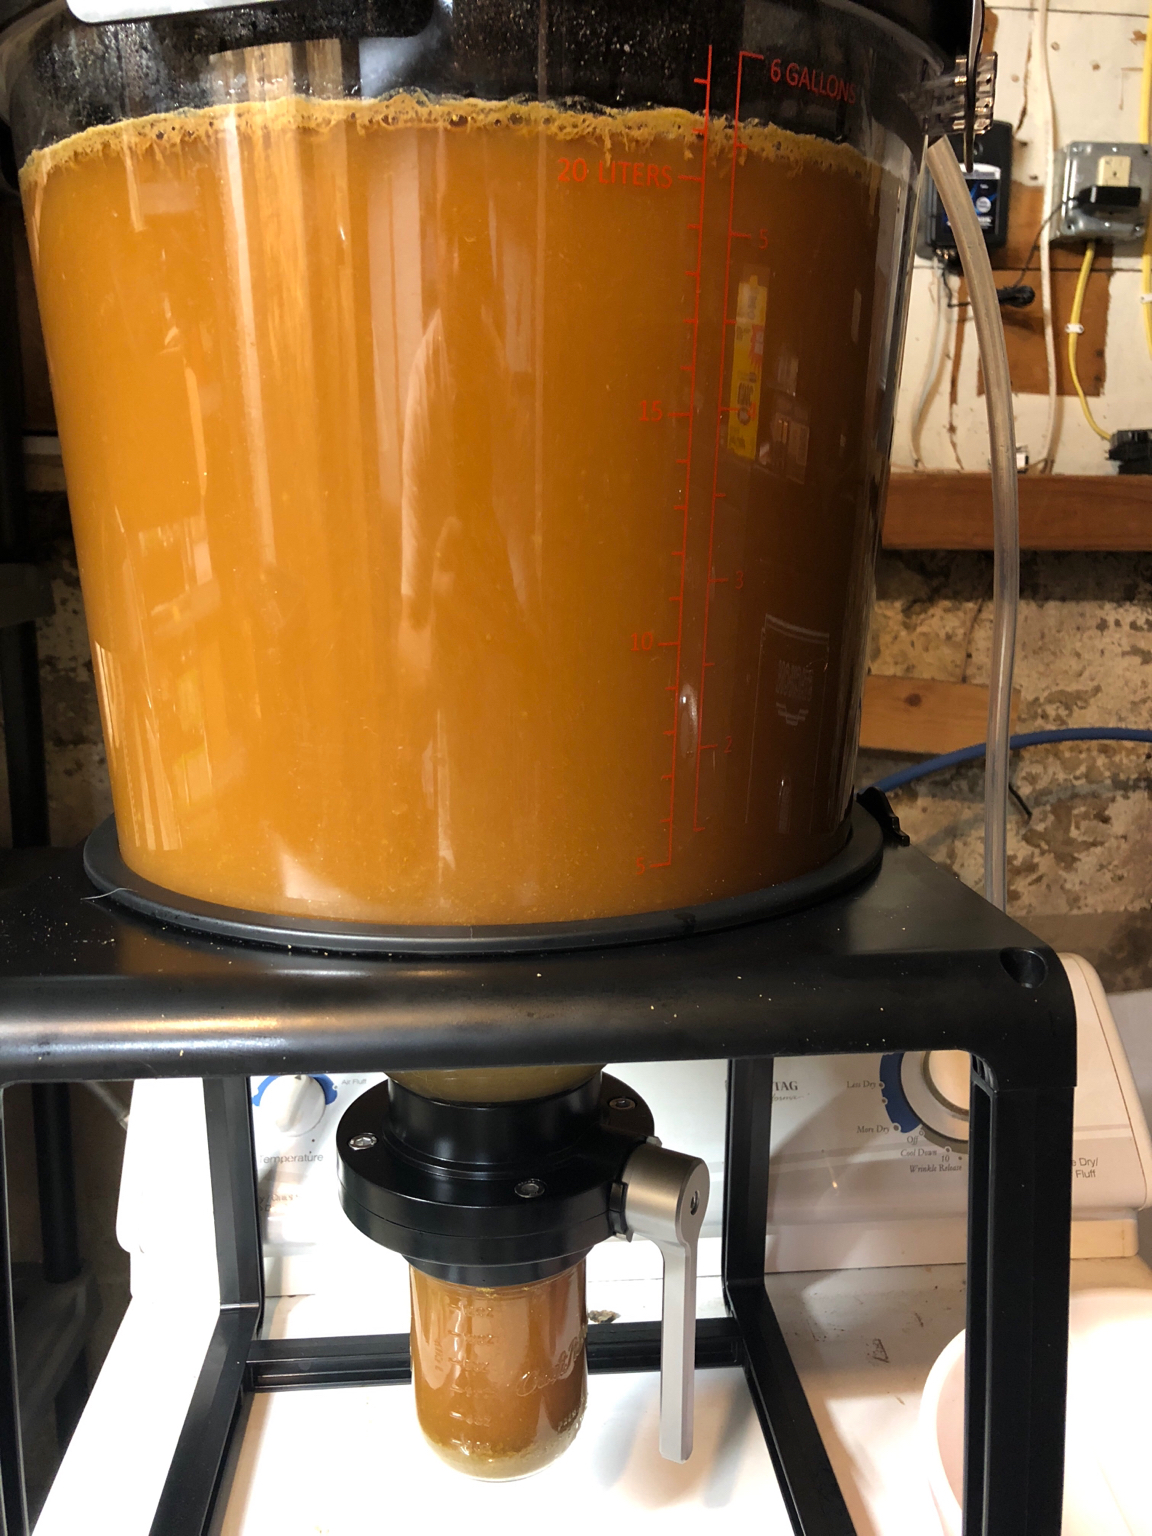
Day 0 (immediately following brew, yeast pitched in)
IMG_0258.jpg
 
Last edited:
48 hours post brew:

Fermentation is still going strong. I can’t get it to come through in photos, but the larger particulates that could be seen swirling around yesterday are greatly reduced. Other than that no visible change from yesterday to warrant a new photo.
 
72 Hours Post Brew:

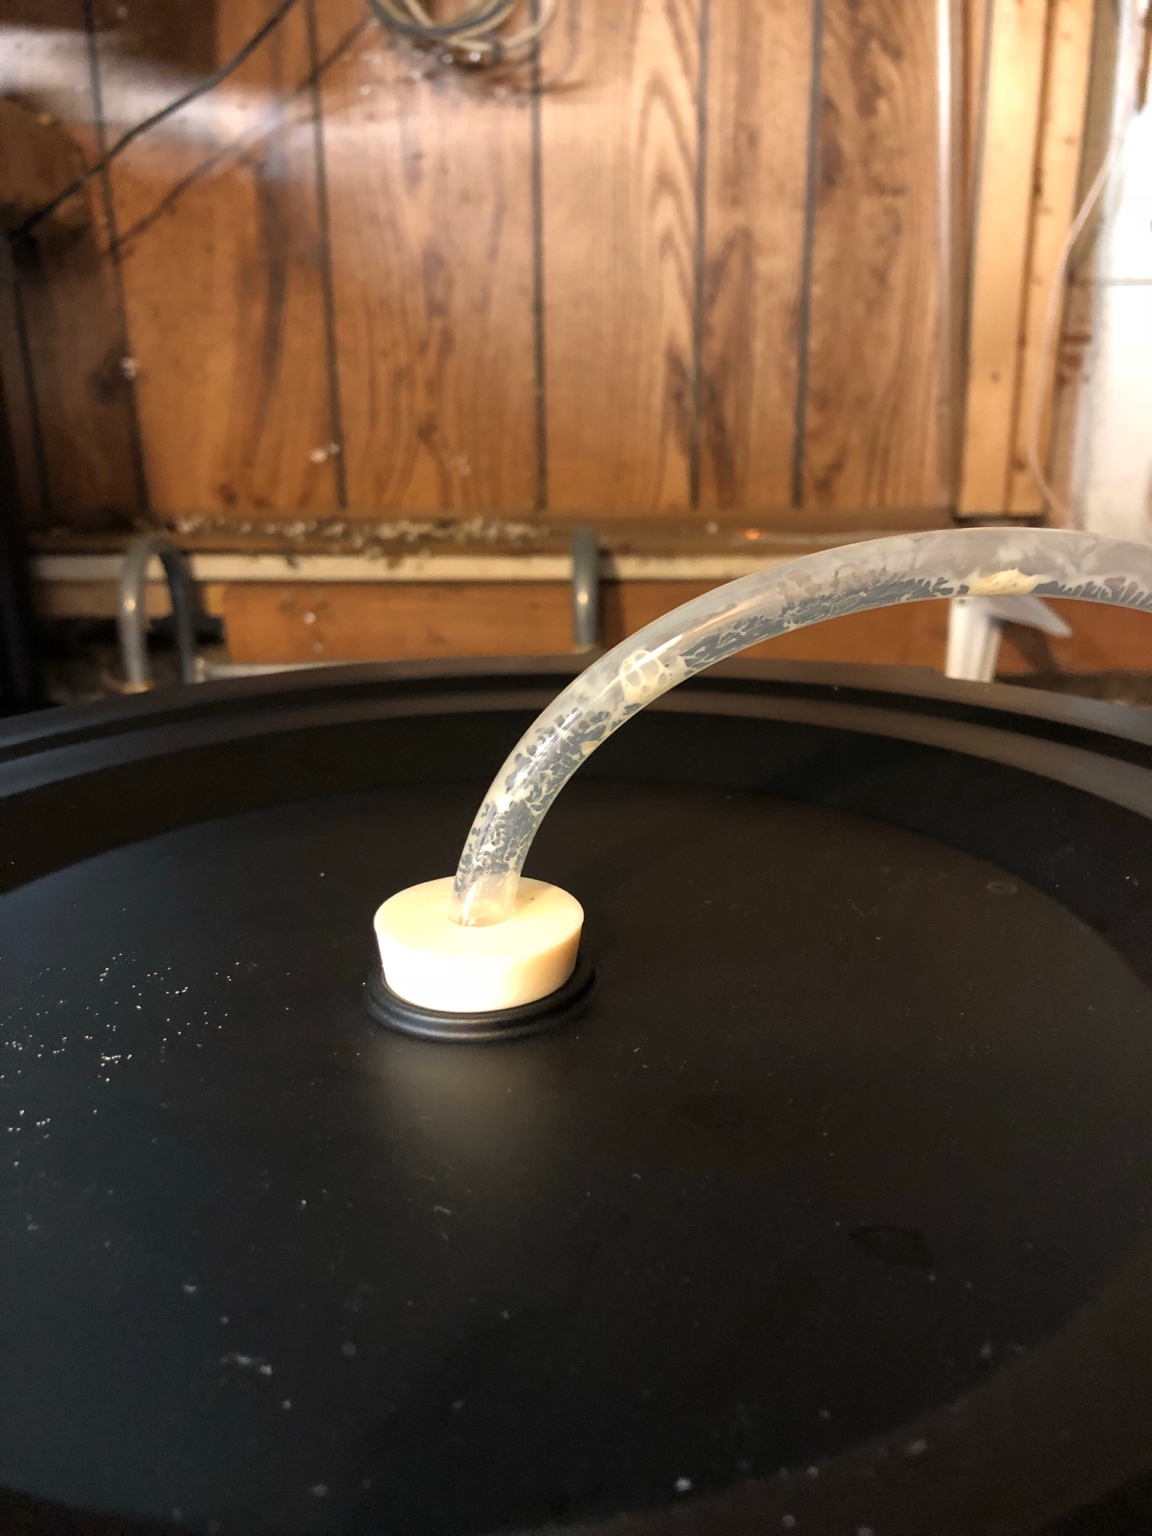
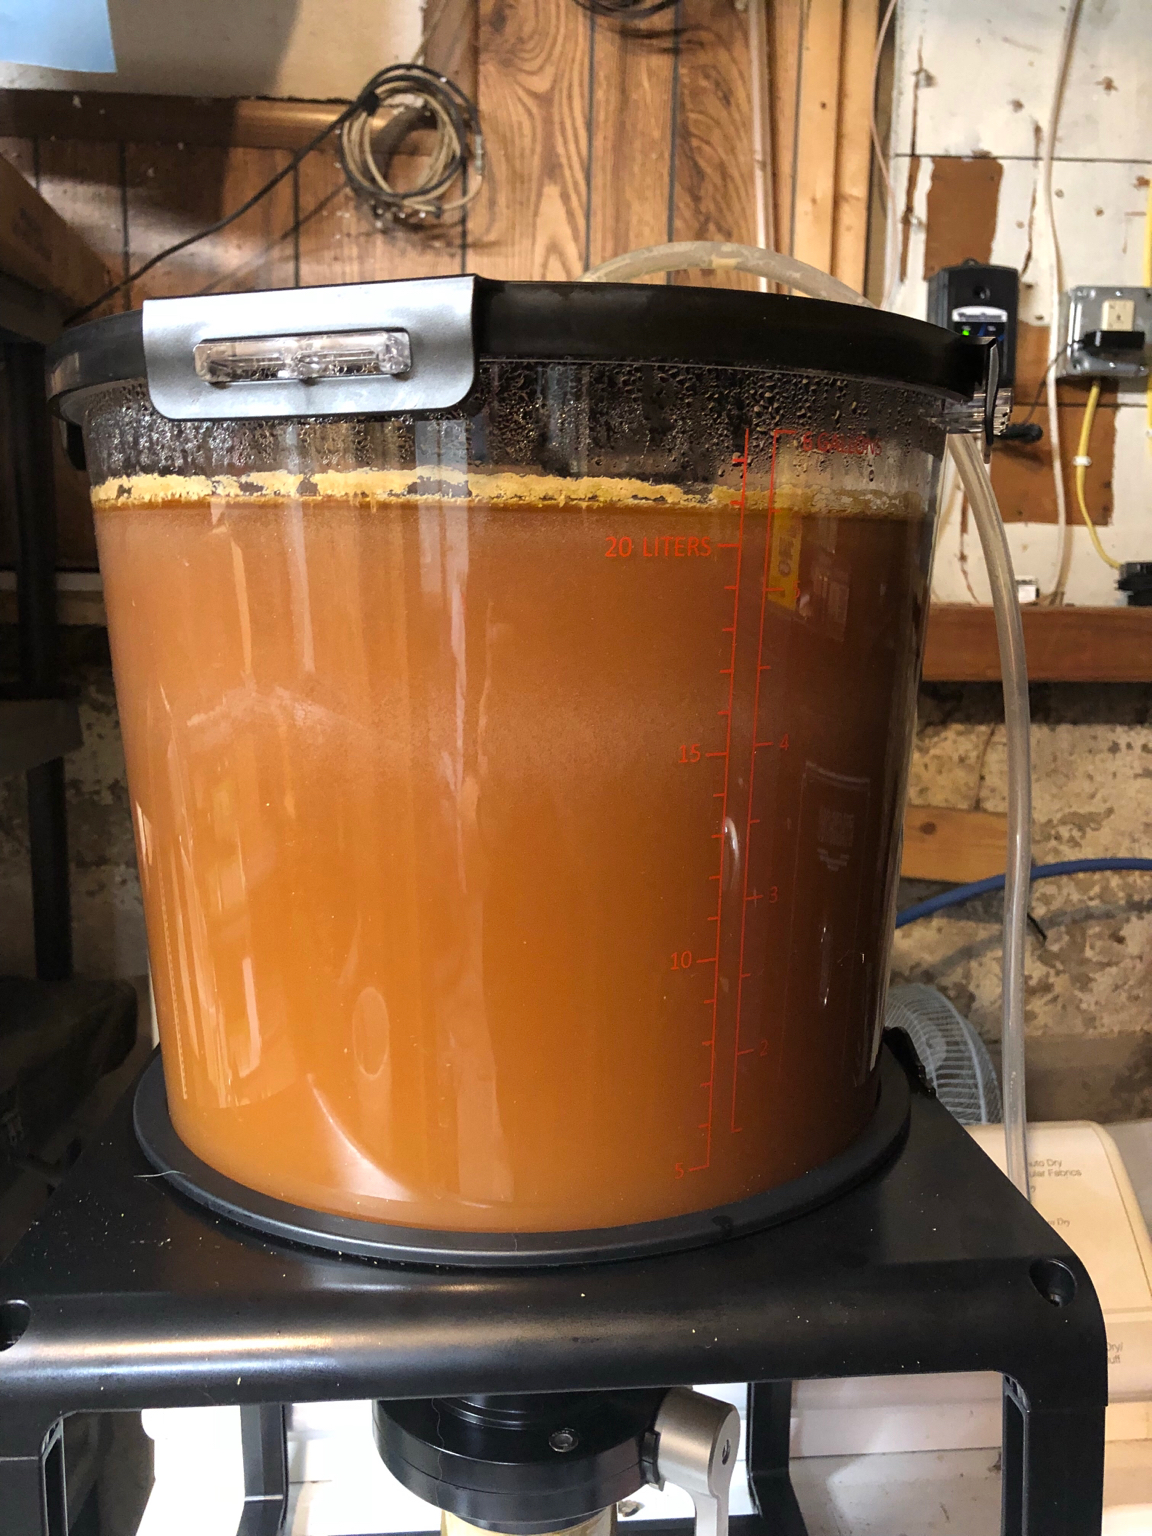
It’s been a busy 24 hours in the fermenter. I’m glad I did the blow off setup since it seems it would have gone over a standard airlock
IMG_0287.jpg


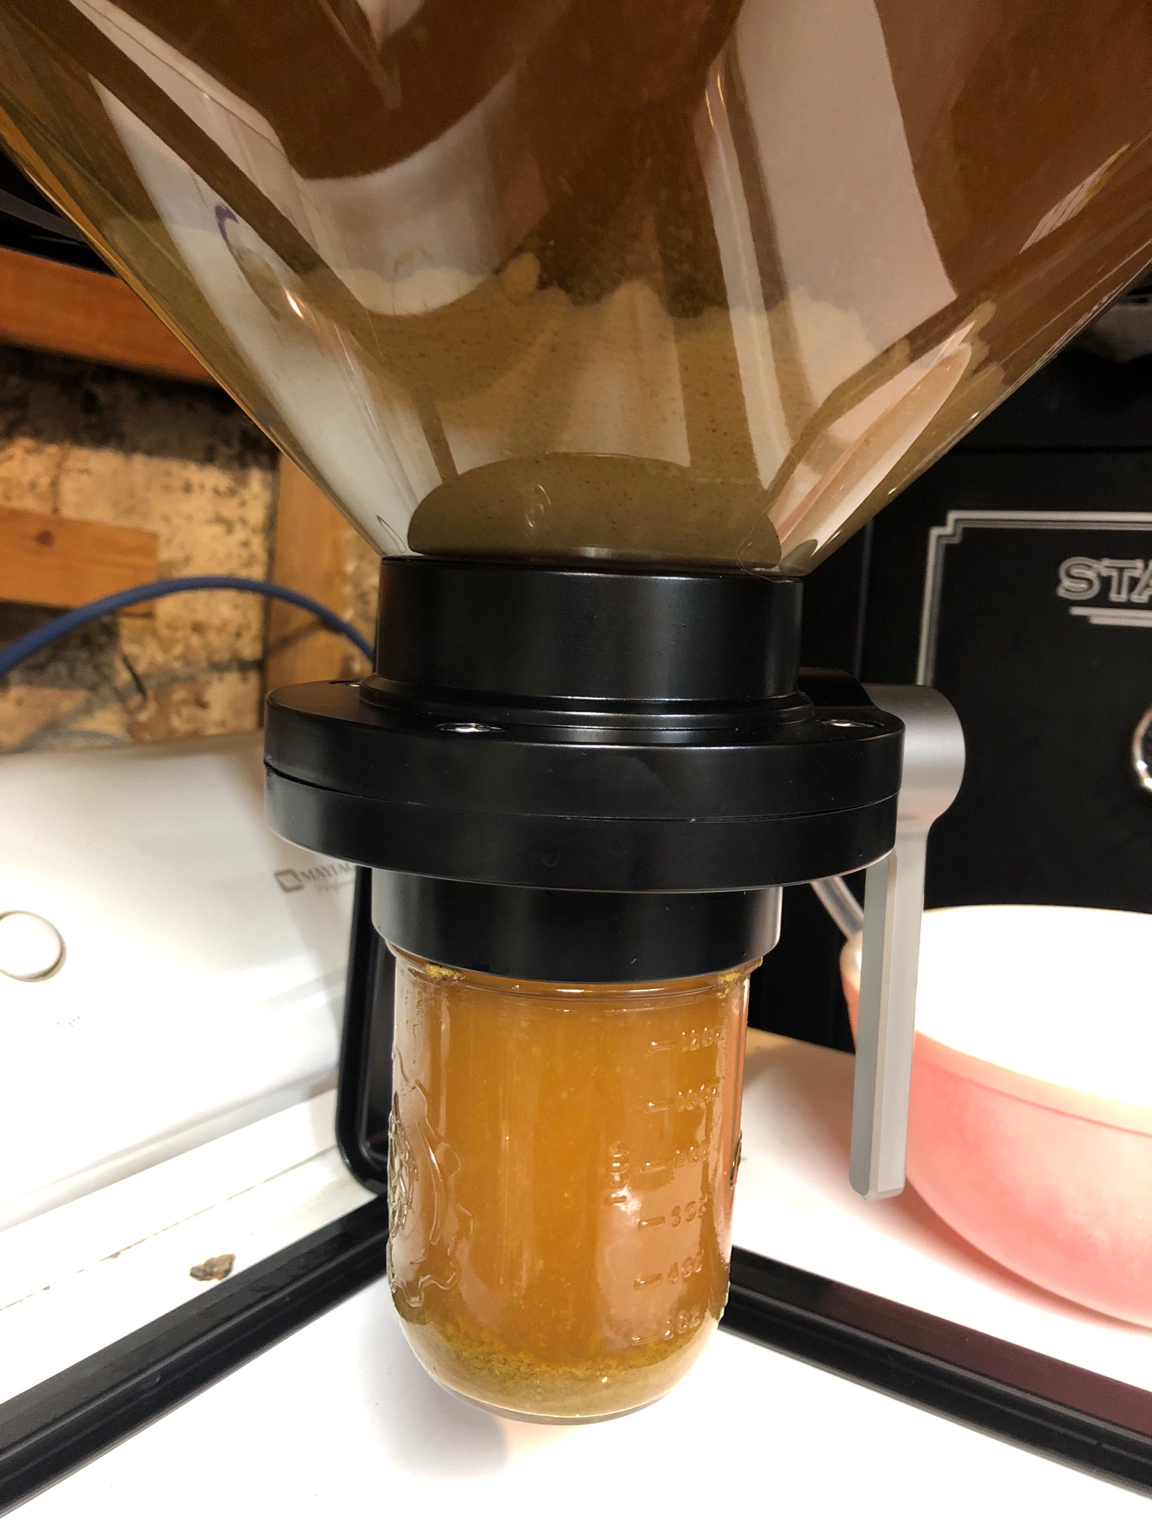
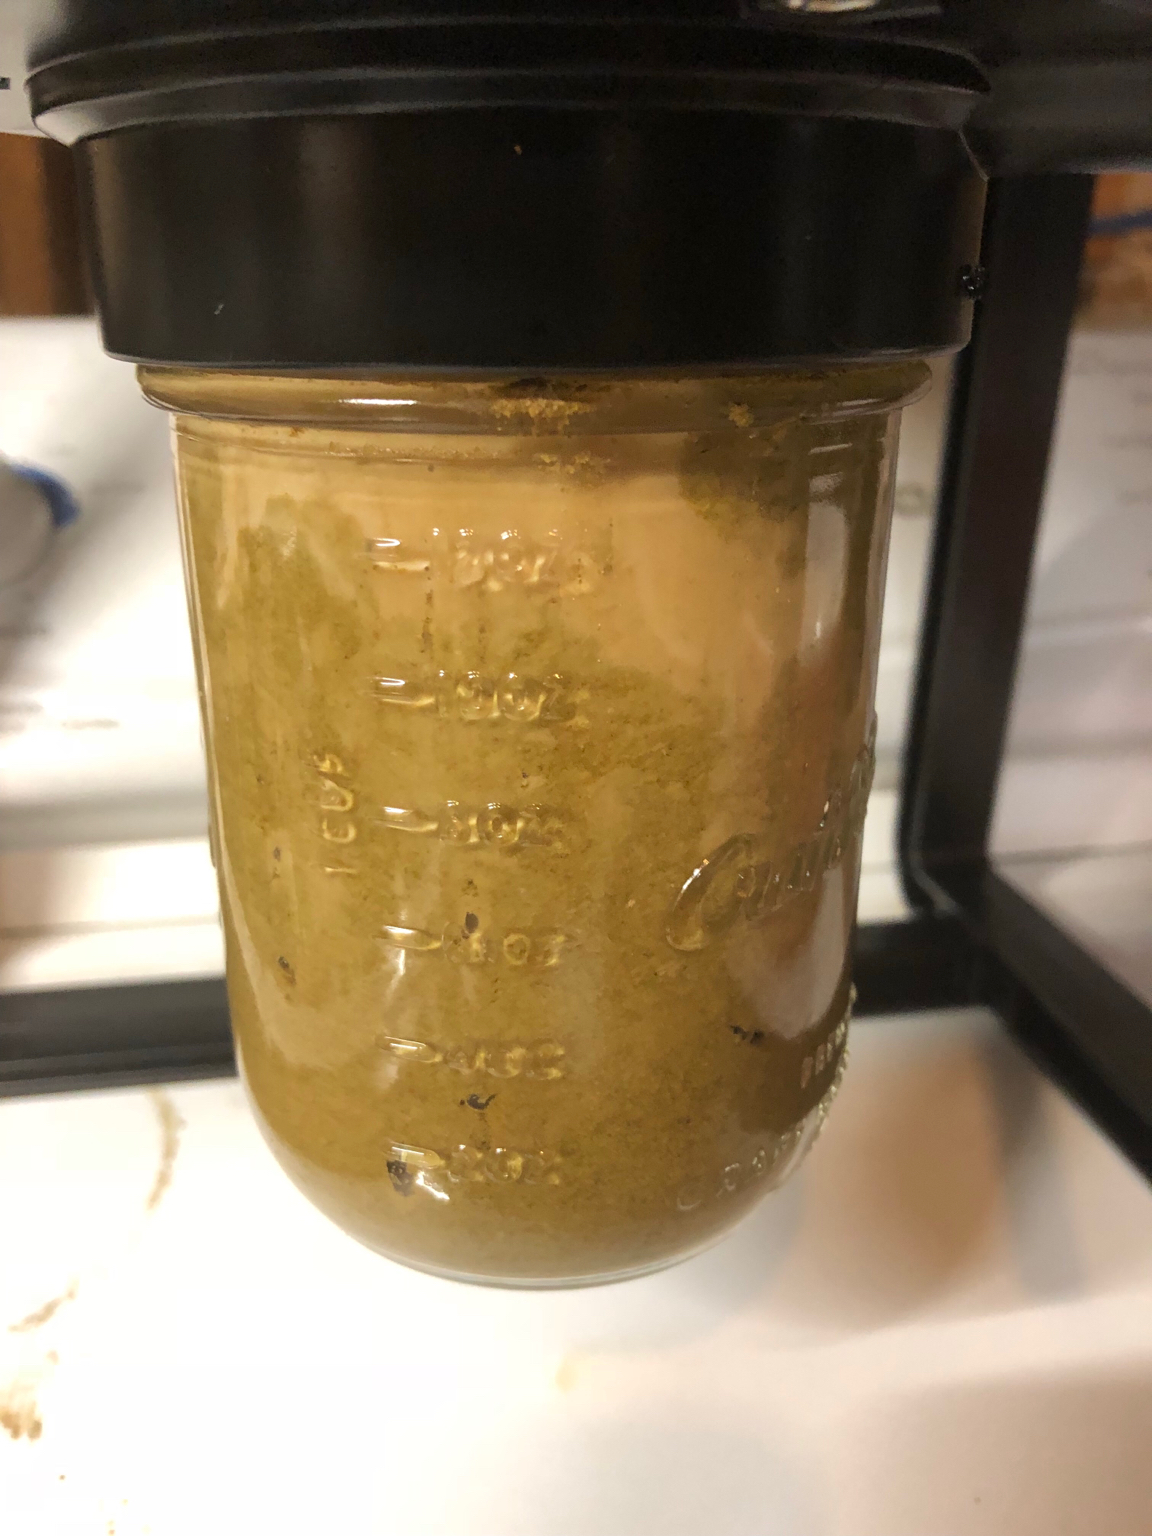
The heavy cyclone action is done and a lot of particulate has started to settle in the mason jar at the bottom.

IMG_0285.jpg

IMG_0286.jpg


CO2 production has also slowed. All in all a big change in the last 24 hours. Excited to see what happens next.
 
Looks great. I'm debating getting one of these...this answered a lot of questions I was having about it.
 
Alright...

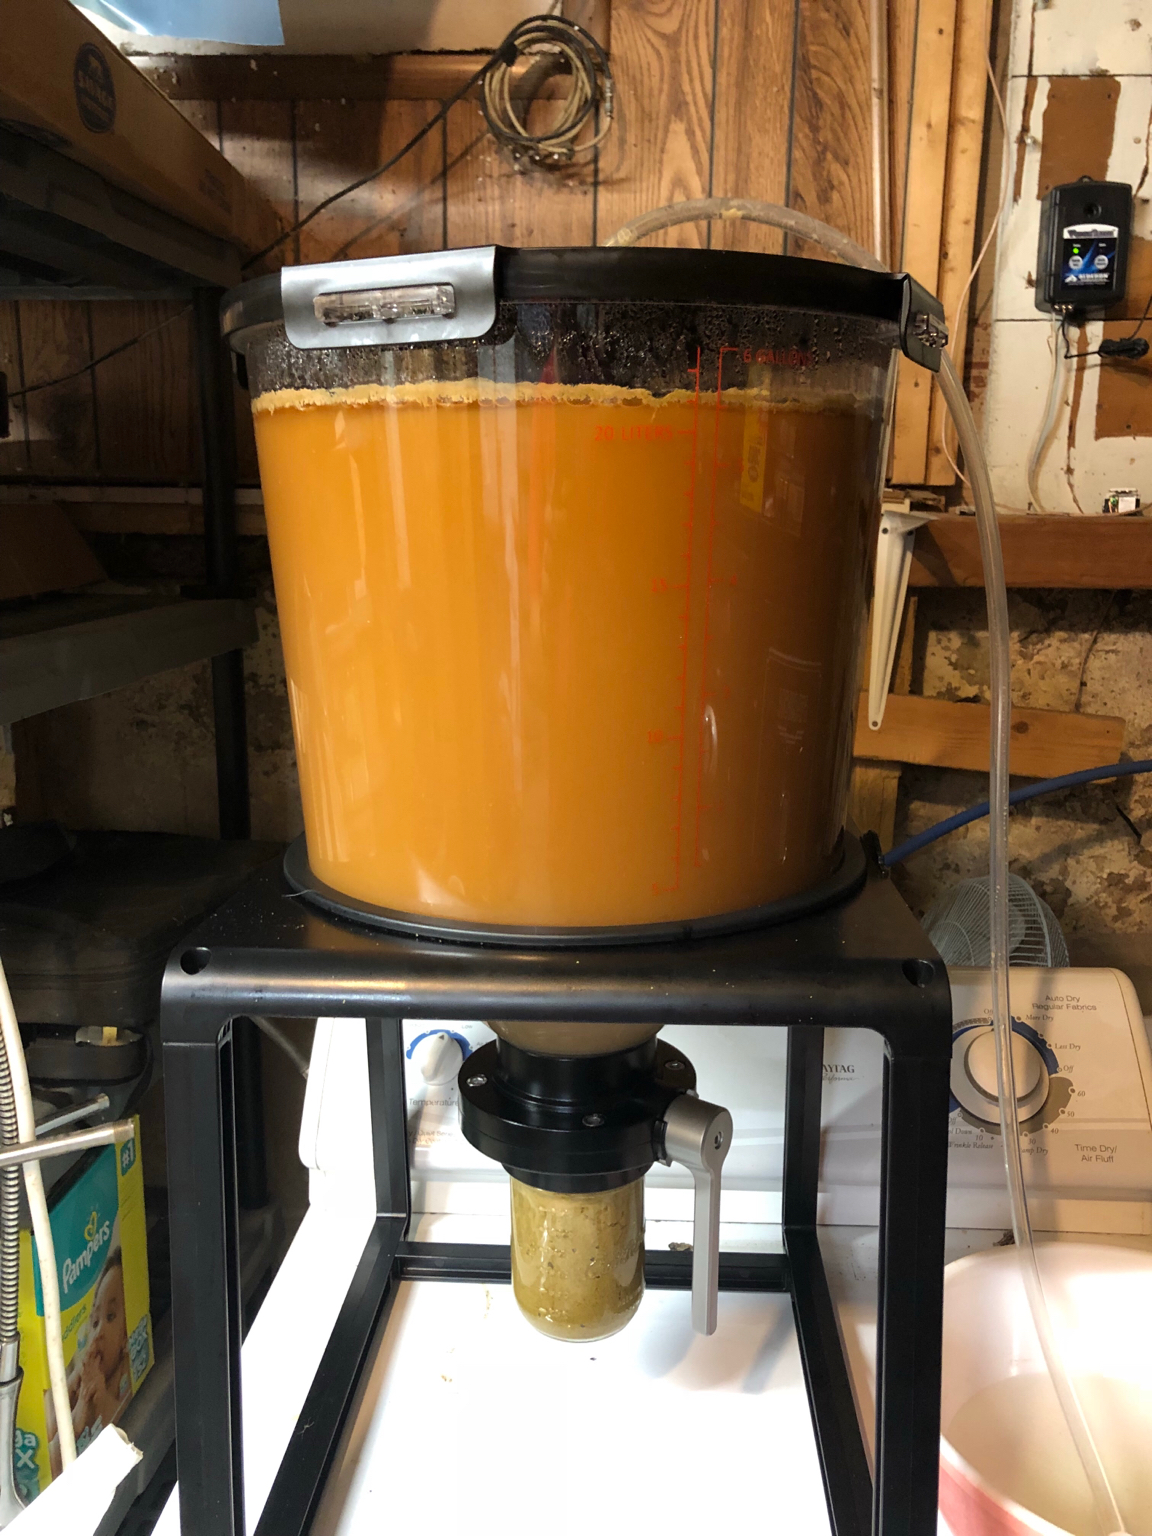
Skipped a day yesterday so we are now at 120 hours post brew:

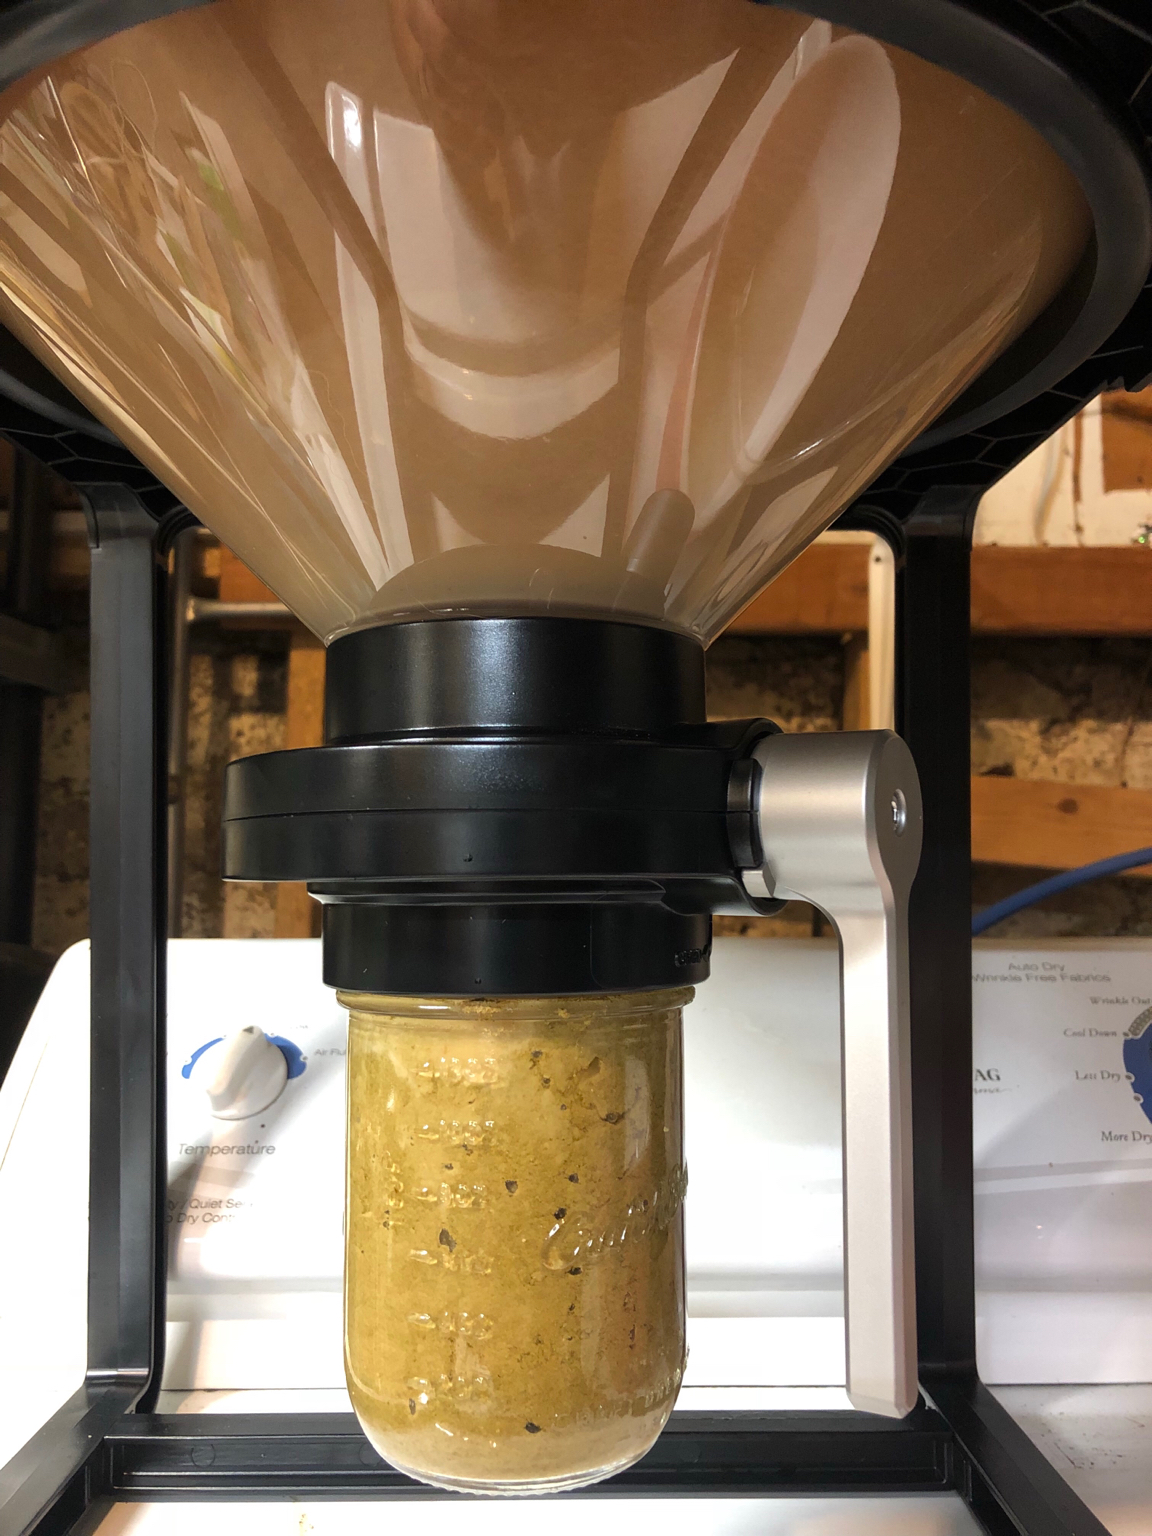
CO2 production has decreased even more at this point. I have found one point about this system I really don’t care for over using a carboy. There is no way to visually inspect the yeast cake short of opening the top up. Not that I really have to look at it, but if I wanted to I couldn’t. The best I can do is try to peek at it from the side.

IMG_0291.jpg


There is definitely a tight pack of trub in the collection jar on the bottom. It is looking good and I am really liking the thought of how easily it is going to go away.

IMG_0288.jpg


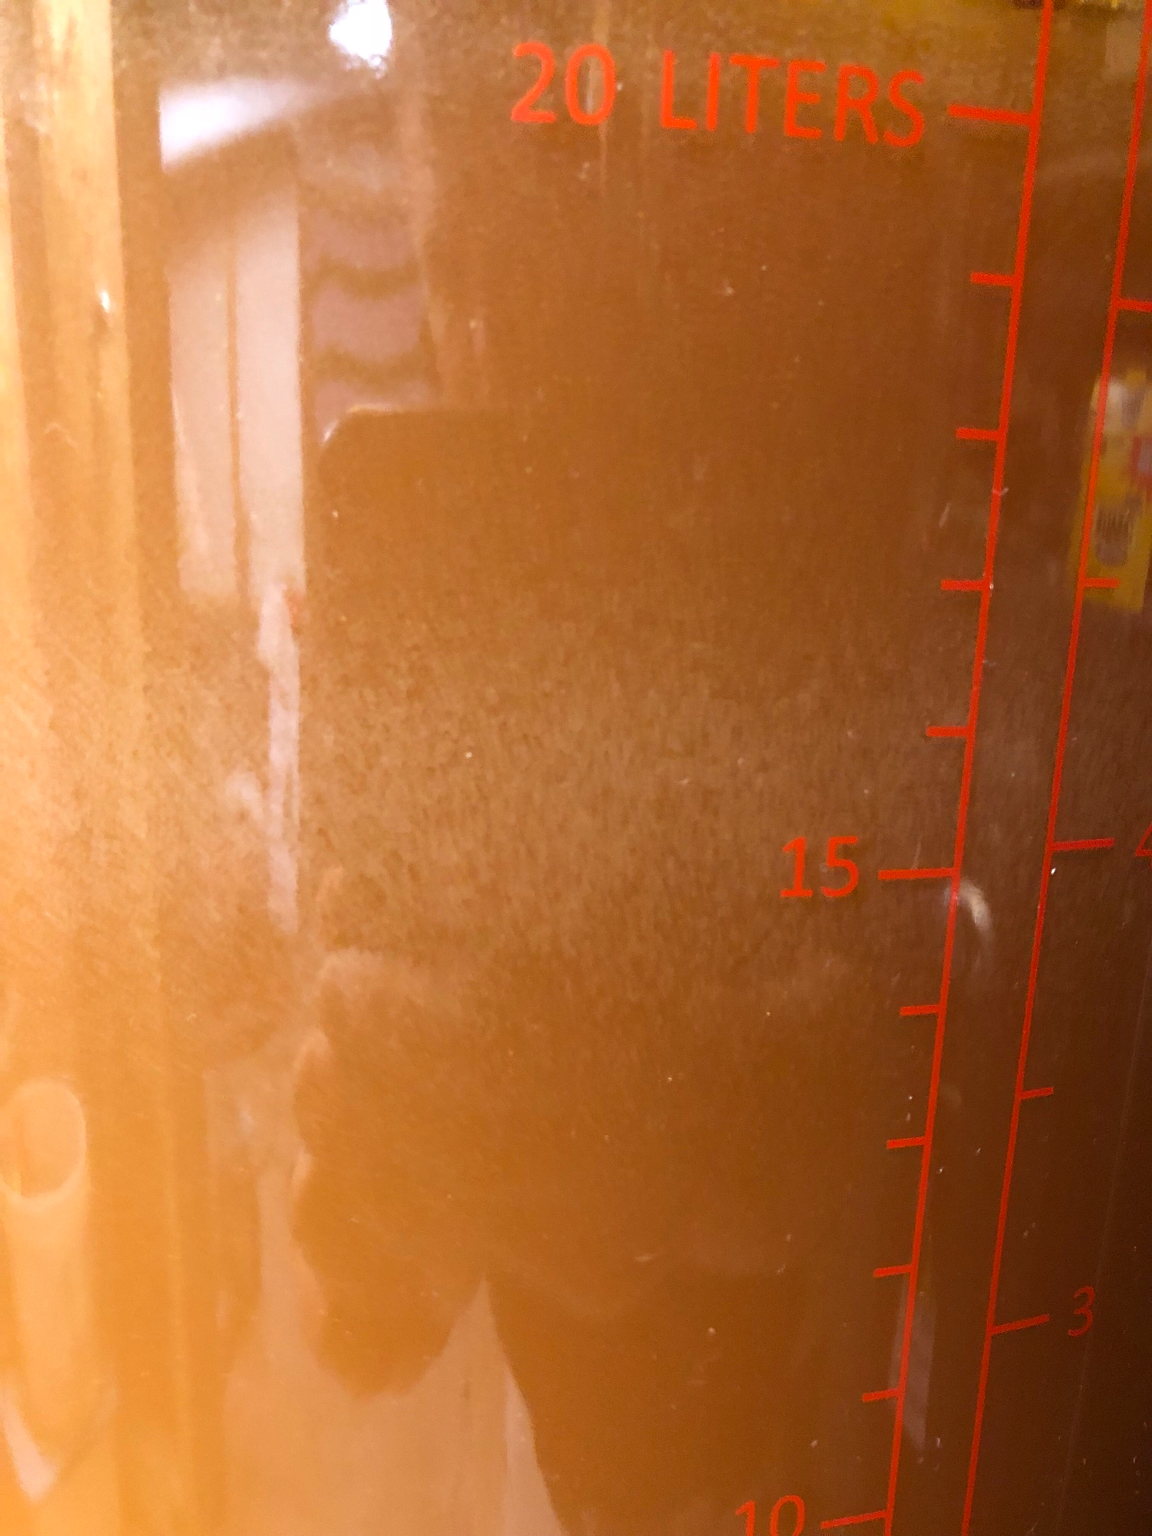
There is also still quite a bit of stuff on the conical portion, but I still must withhold judgement on that until I dump the trub and give it a chance to settle out. I have tried to get a good photo of this, but in my basement the lighting situation doesn’t give me any angle that isn’t very reflective off the shiny polymer of the catalyst.

IMG_0289.jpg


I’m now starting to think forward and have a couple minor questions to answer for myself as well. Perhaps some of you more seasoned brewers can help me out here.

1. How am I going to sample the SG? I have always transferred to a secondary in the past and took the reading then. In addition my secondary was alway a bucket with a spout to make bottling easy so I could take the sample off the spout. I’m thinking I will somehow collect through the vent hole at the top. Will have to buy one of those fancy wine thief thingys.

2. I don’t want to just place an empty mason jar on the bottom after trub dump (not a fan of all that O2 being added). I’m thinking a small jar of water/gelatin mix to keep out air and clear things up a bit. Going to have to research this though.
 
7 Days Post Brew:

I really want to take off the trub and take a sg reading, but my local brew store was closed Friday for some reason so no wine thief. I guess I will tackle that Monday and provide pics and maybe a video.

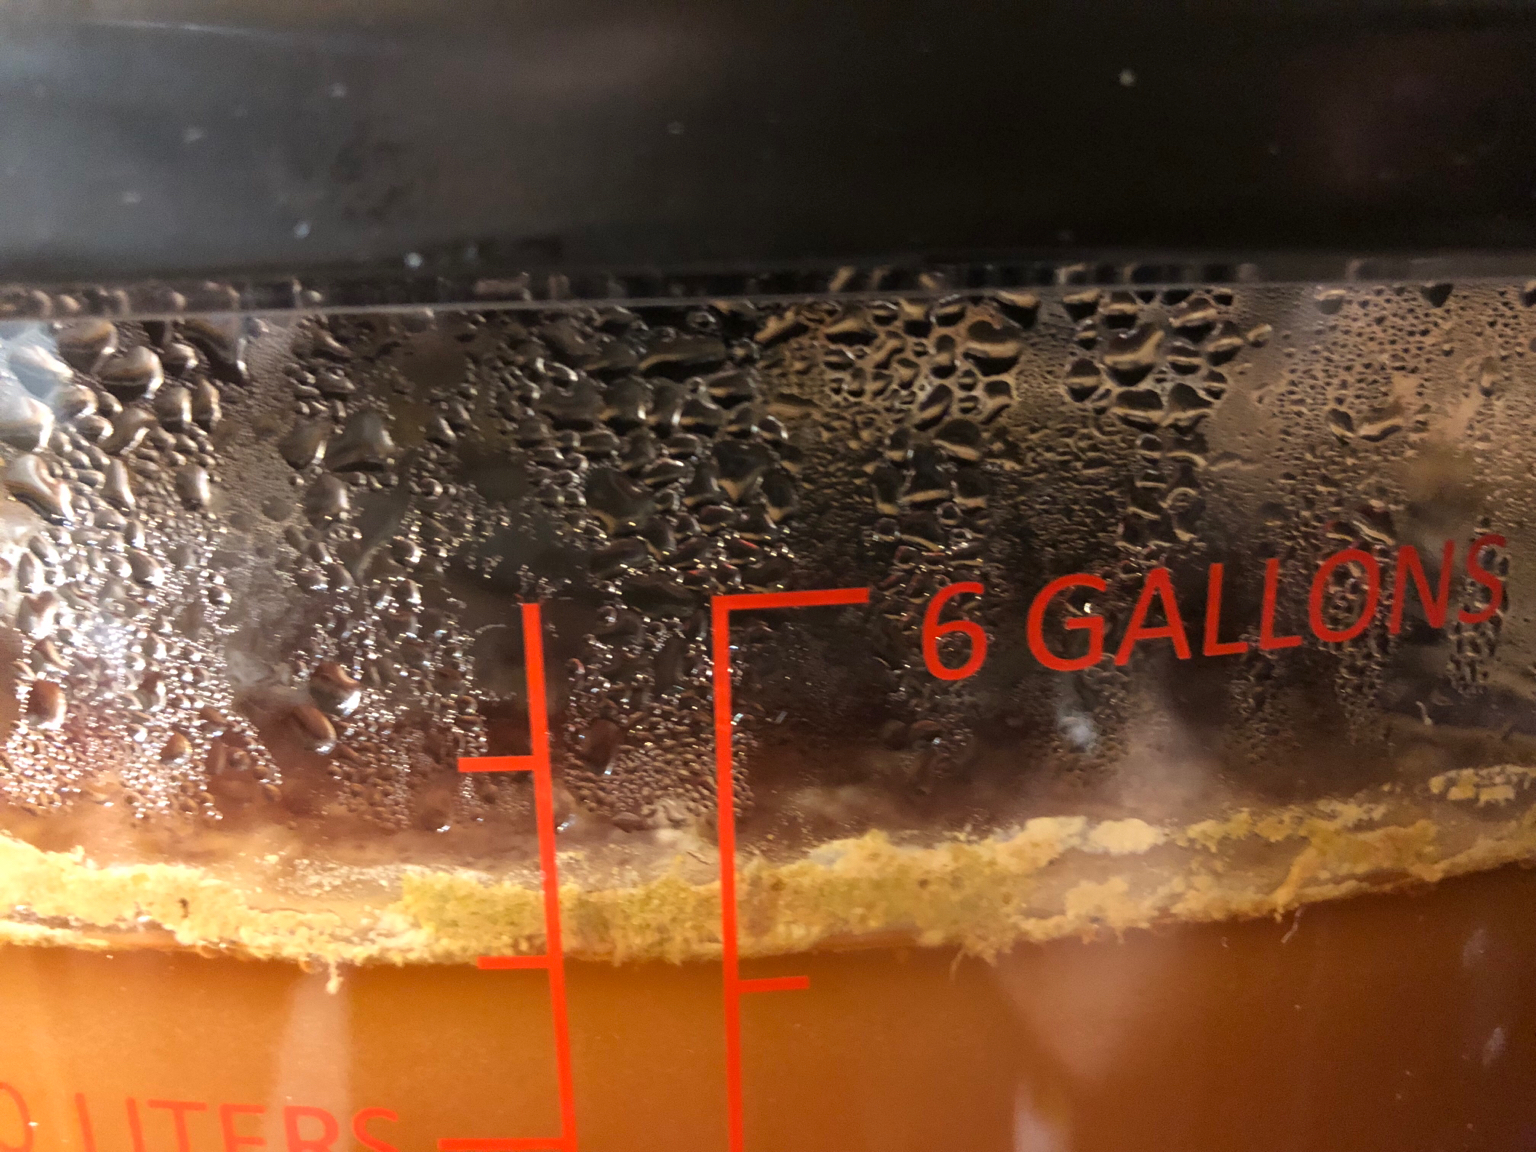
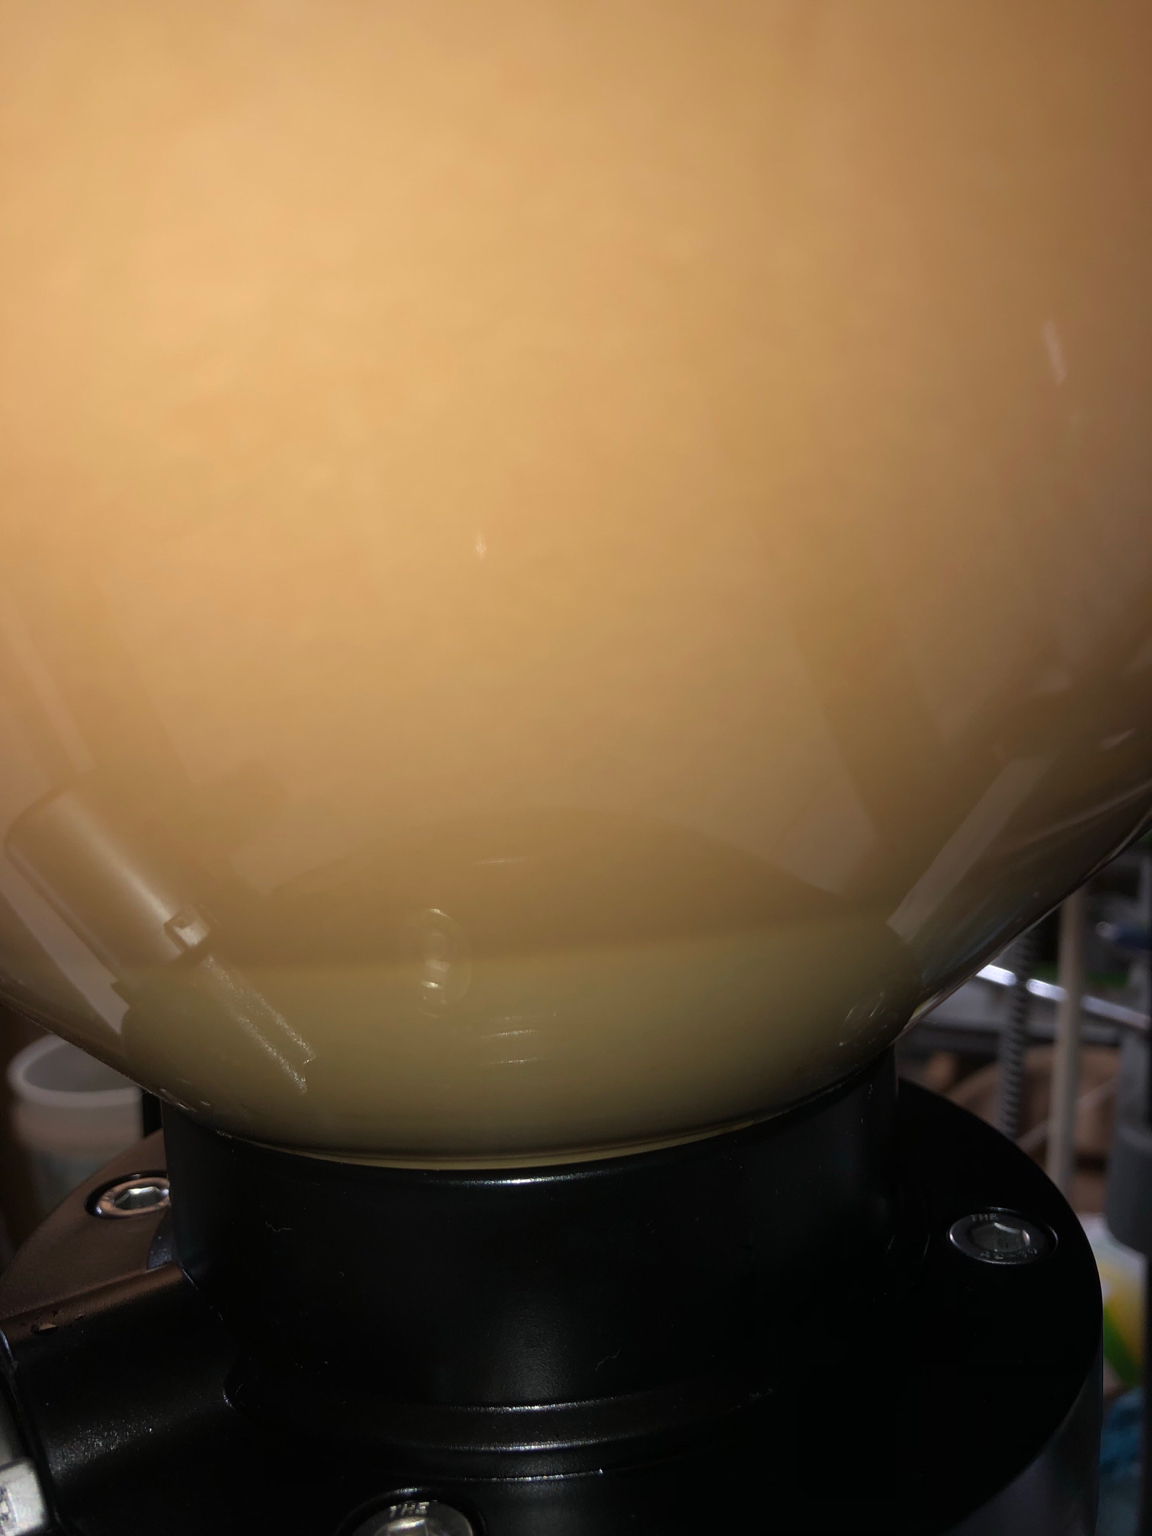
Meanwhile... an interesting observation. There is a lighter colored ring that has appeared. I can’t even really describe it other that it is inside the tank and it goes all the way around. It looks like it could be micro bubbles of some sort. Any ideas?

IMG_0302.jpg

IMG_0301.jpg


I also finally got a half way decent photo of the conical portion.

IMG_0304.jpg


Will let you all know Monday or Tuesday how the gravity reads and how the trub dump goes.
 
7 Days Post Brew:
Meanwhile... an interesting observation. There is a lighter colored ring that has appeared. I can’t even really describe it other that it is inside the tank and it goes all the way around. It looks like it could be micro bubbles of some sort. Any ideas?

I would hazard a guess that it is just the settling of yeast and trub. If you are capable of cold crashing it I think you might see that whole line "thicken" and fall out as it drops clear. Will do it anyway, but it will just take longer.
 
Thanks for the thread... I bought a Fermentasaurus and was completely dissatisfied with the valve. The process of evacuating the trub was a disaster, and I can only hope the final product isn't oxygenated beyond hope.

Fortunately the LHS guy is super cool, and upgraded me to the Catalyst. I picked it up yesterday and it looks like a massive upgrade with respect to the efficiency of the valve opening.

What was your final verdict? Hoping it was good.
 
I’ve used it for about 15 batches, love it. I’ve had zero issues with the seal and I love being able to remove the trub. A couple of things I’ve noticed with it. The jar is a pita to remove at times, pay attention to the butterfly valve turning and not the jar. I now keep a rubber kitchen glove next to my ferm chamber to get a better grip on it while holding the valve in place.

Craft a brew put out a video recently that shows a step I must have missed somehow. They put their wort in pre pitch and let the trub settle out. Remove the jar and then put their yeast starter in a clean sanitized jar attach and open the valve to pitch their yeast. I’m going to try this on my next batch.

I also use three different size jars. I use a big jar to start off with, then move to the one that came with it and then to little ones at the end. Typically by the time I get to the little one I have it about a quarter to half filled with yeast and the rest is beer. Settles out nicely.

As for the small amount that sticks to the side of the conical part I don’t think much, if any, actually makes it into my keg. It seems to just stay there. It’s just a thin layer in my experience.

The one thing I would like to see is a larger
id fitting to move the beer to keg.


I noticed that they added the yeast after the trub has settled and been removed. Not sure how long that takes and was worried about the o2 contact during that wait time.
 
I noticed that they added the yeast after the trub has settled and been removed. Not sure how long that takes and was worried about the o2 contact during that wait time.

So I did this on my last batch and I have to say it made a big difference in the amount of stuff that has settled in my jar.

I put a big jar on before I pitched yeast and let it sit for about 20-30 minuets. Lots had settled out at that point so I pulled that jar and replaced with a new one that had my yeast in it and pitched. This is my new method as it really made a difference. No boil hops, trub, or cold break, just fermentation byproduct and yeast in my jar. Depending on the beer and yeast used I can probably reduce the size of the jar used during fermentation from the large jar to a medium sized jar and move to a small one during cold crash.
 
Batch #2 on my Catalyst and I couldn't be more pleased with it. The only adventures are taking the jar off, and getting the rubber seal back onto the lid. Outside of that it's an excellent system.
 
Back
Top