
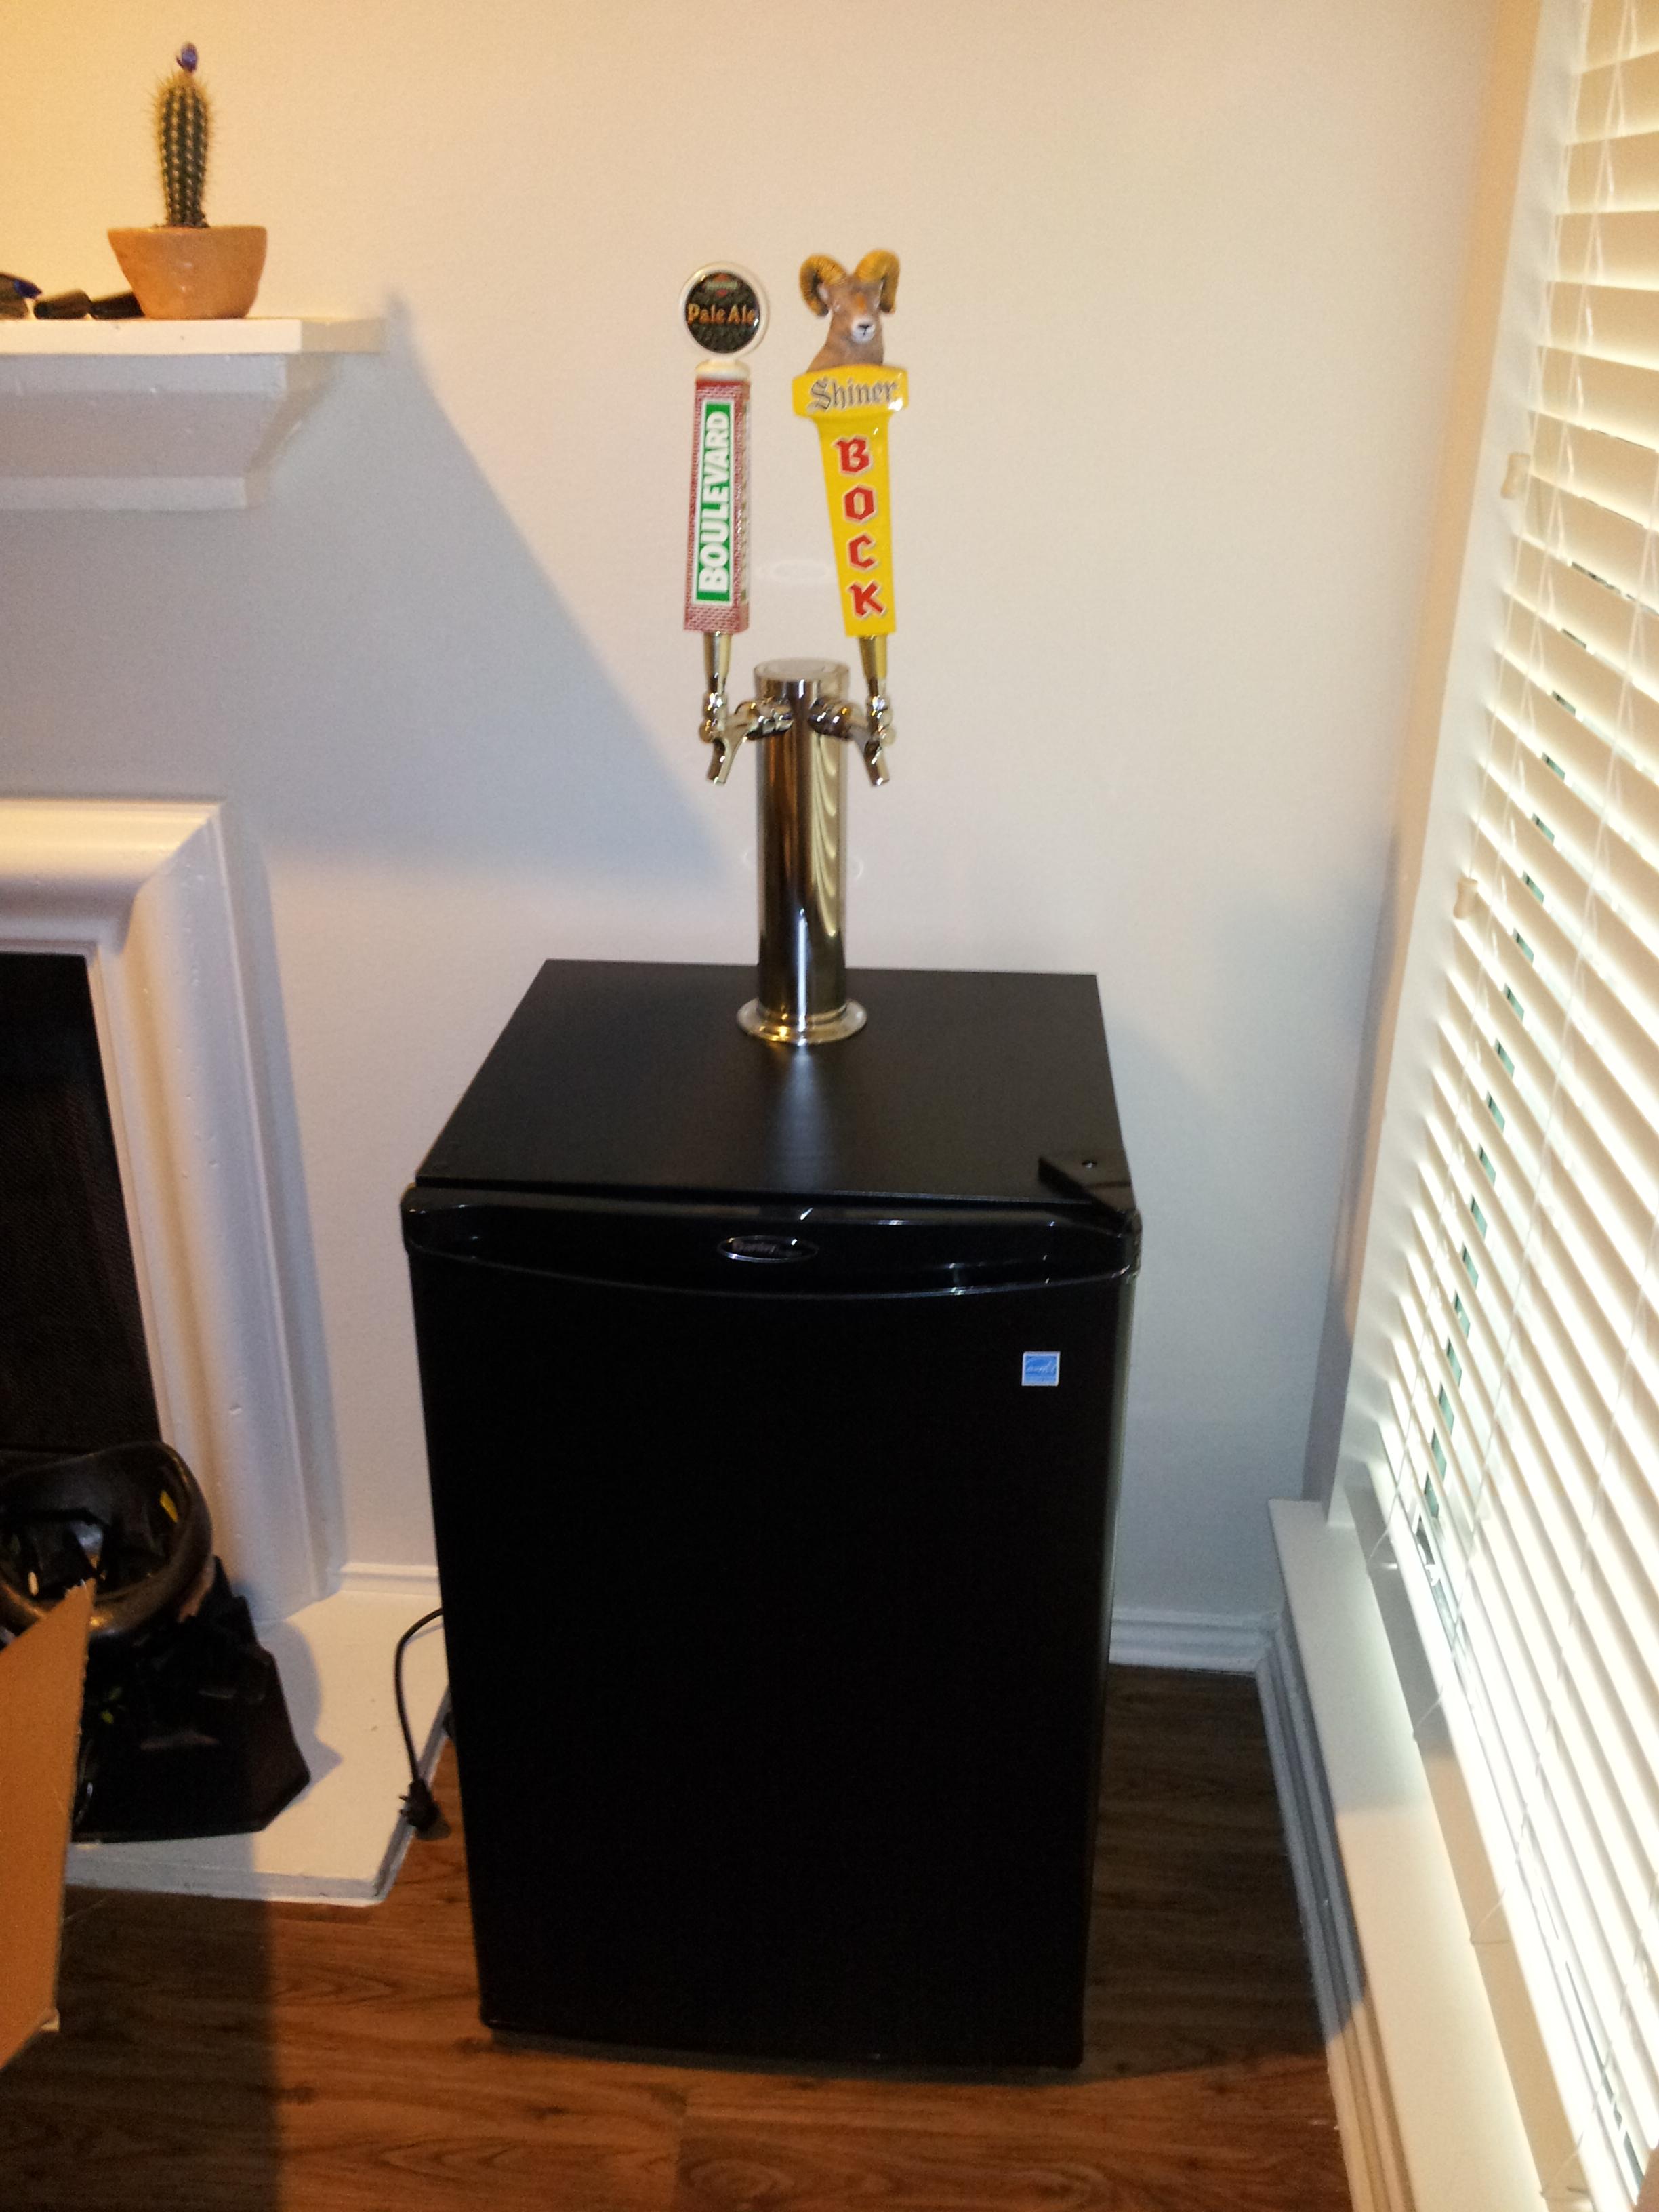
Hey all. I recently finished up most of the construction on my DAR440BL dual tower kegerator. I just wanted to give a few pointers on how to make it super easy for any of you wanting a tower kegerator.
Supplies Needed:
-Fridge (tested to make sure it works FIRST)
-Tower conversion kit (I used this one
-Drill
-Hole saw (I used a 2 3/8" from amazon that I got for like $10 shipped. It was AWFUL. It worked for the one hole though. Take that review as you will)
-Drill bit for your mounting hardware (mine used 1/4")
-Xacto/Box cutter
Steps:
1) Test fridge to make sure it works.
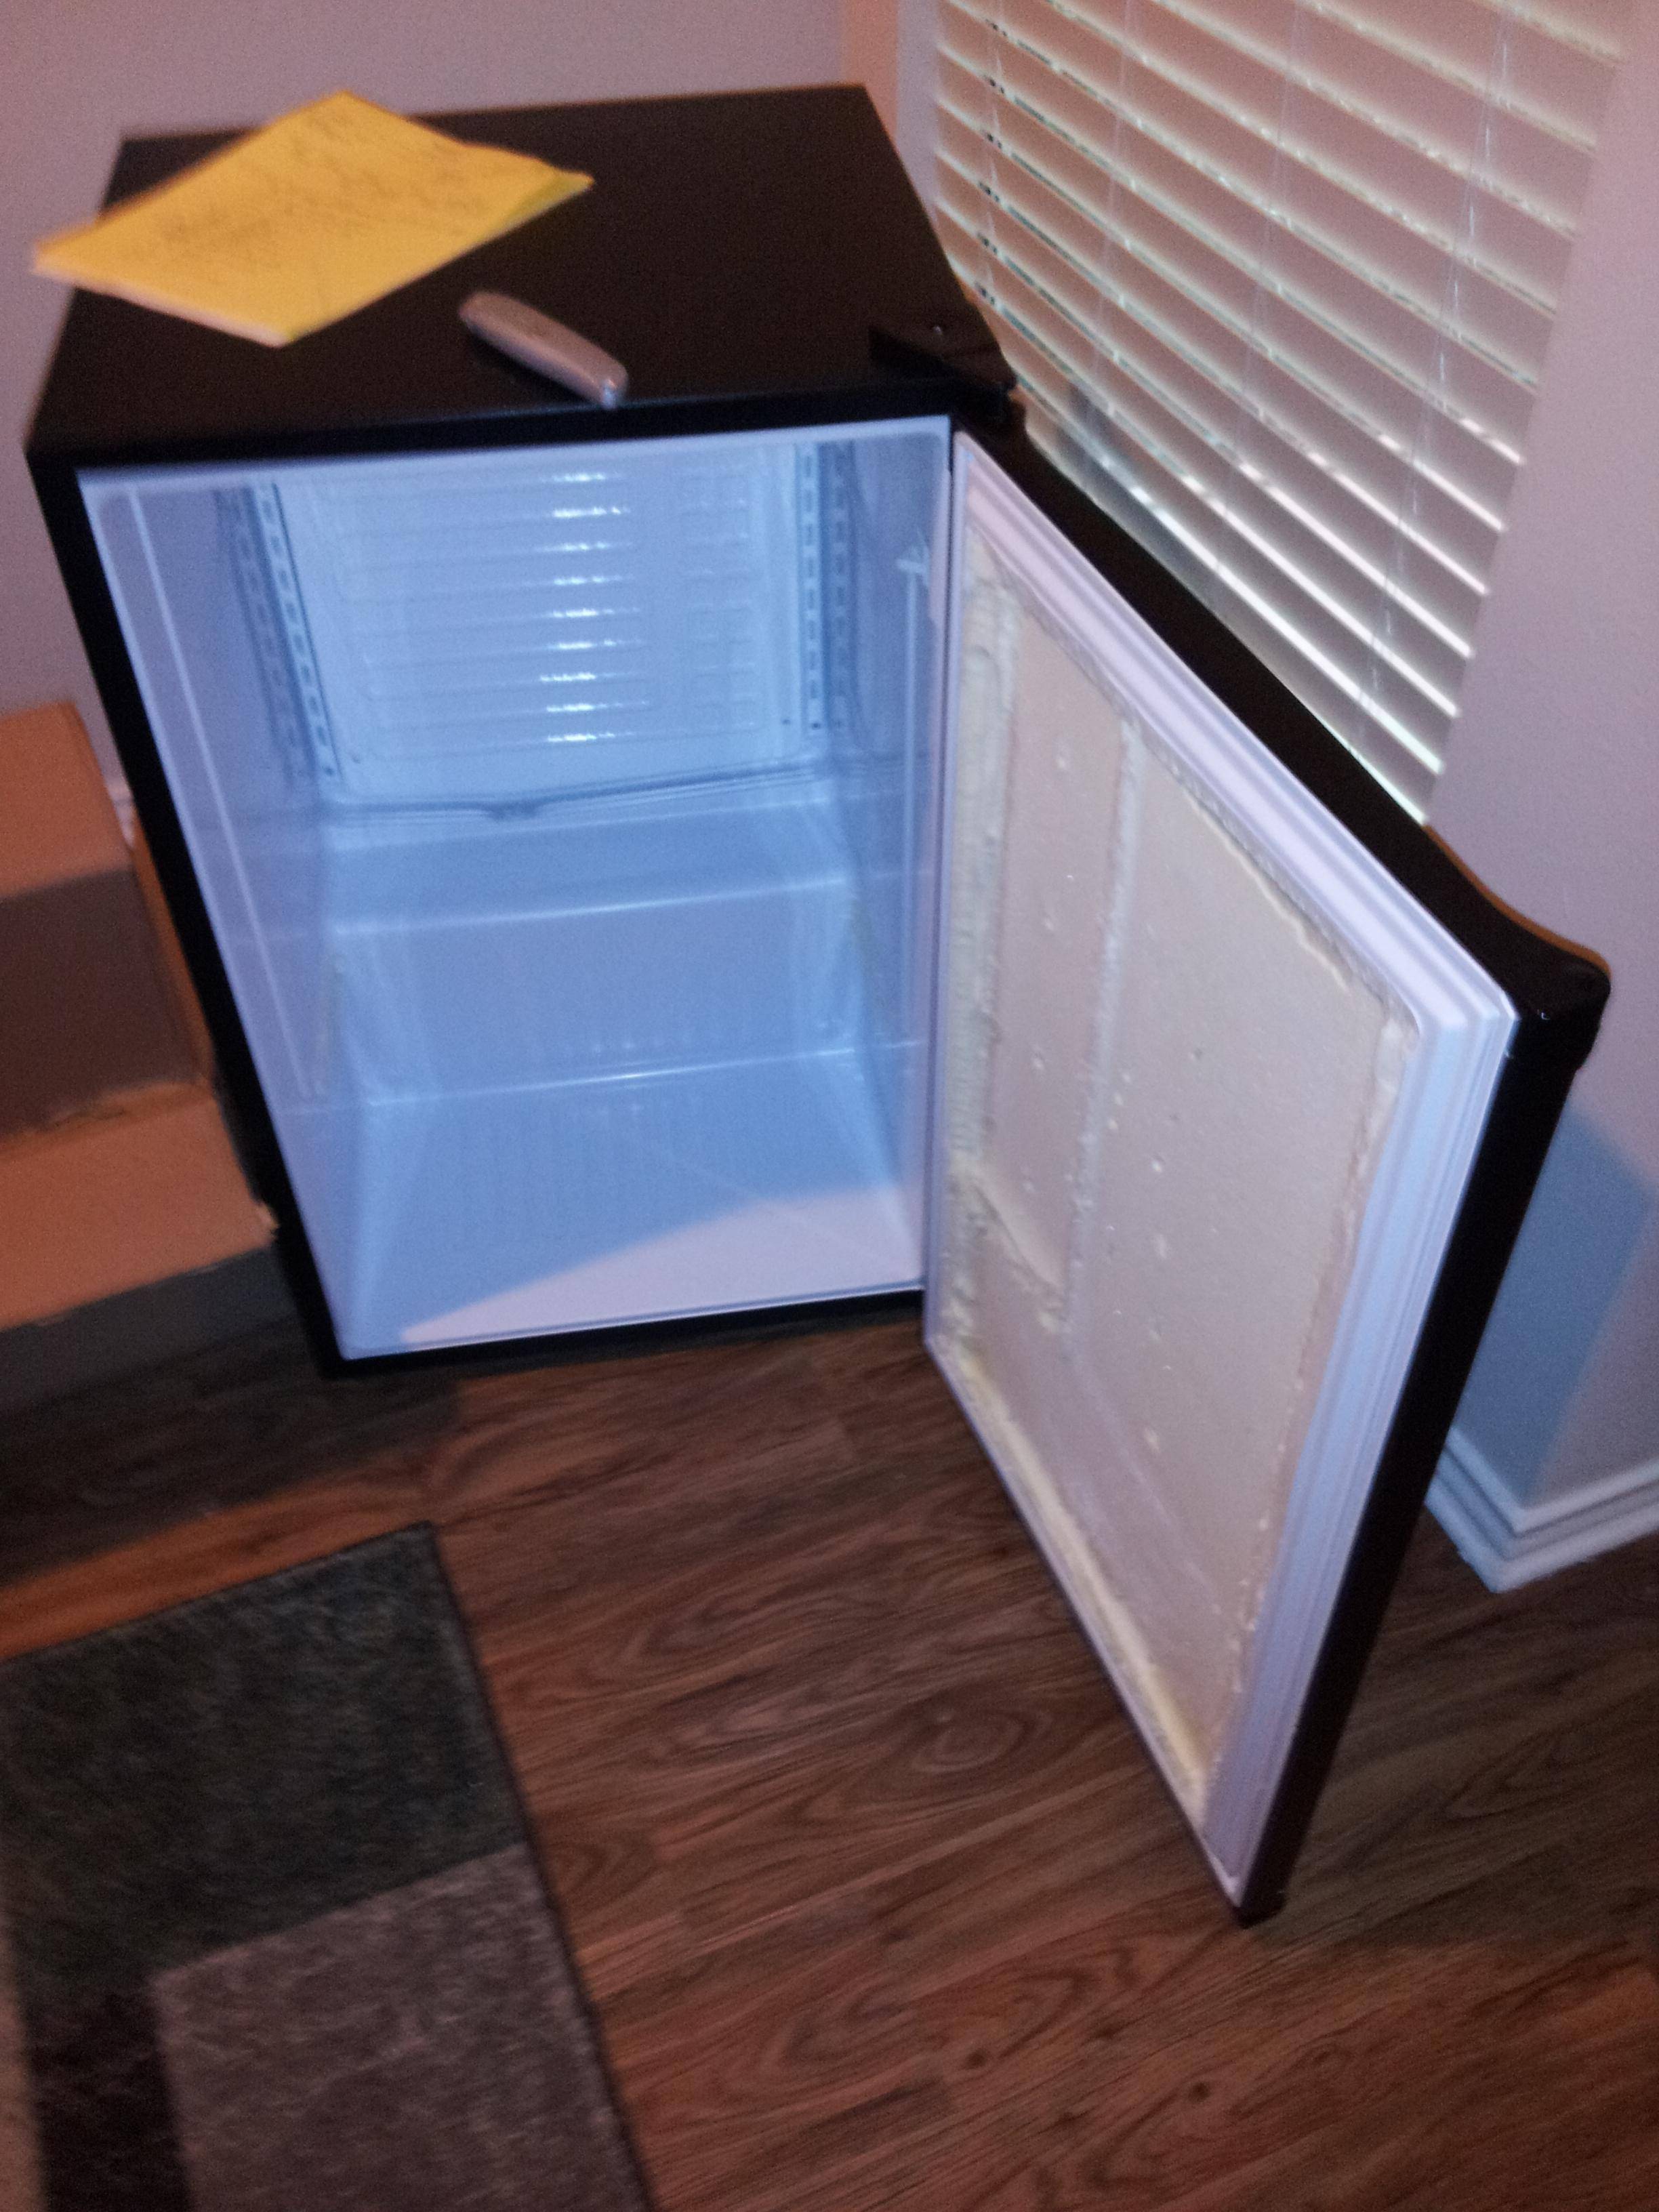
2) Cut away all the door stuff. An exacto makes quick work of the plastic. Score the plastic and then go full depth on the blade to cut the foam. After you cut/pry away the parts that stick out from the door, the white plastic flat back pulls away easily. Two ball lock cornies will fit without any further modification. If you want to do a cornie and a sixth, you also need to cut the bottom most rack mounting bits from the inside of the fridge that extend from the compressor hump.
3) Drill your hole for your tower. This can be difficult due to the small margin for error front to back to squeeze your tower between the cooling plate and the light. Easy way to do it:
Lay your fridge on its side.
On the inside of the fridge, line up your hole saw in the drill between the cooling plate and the light.
Give it a quick squeeze just to mark where to drill so your mandrel makes a mark.
Drill a pilot hole with a regular drill bit all the way through the fridge top.
Now flip the fridge back upright and drill down through using your hole saw and pilot hole.
4) Drill your mounting holes. I lined up my tower how i wanted it then gave a quick squeeze in each of the holes to mark where I wanted to drill, then removed the tower and drilled them through.
5) Mount tower, other pieces.
6) Drink lots of homebrew.
The entire construction took maybe an hour and a half. About 30 minutes to cut out the door parts while talking with my girlfriend (ie, not solely concentrating on cutting, so you could probably do it faster) and about an hour to drill everything. The crappy hole saw accounted for most of that time where I had to replace the mandrel every 30 seconds. Remember to use slow RPMs and high pressure when drilling metal.
Supplies Needed:
-Fridge (tested to make sure it works FIRST)
-Tower conversion kit (I used this one
-Drill
-Hole saw (I used a 2 3/8" from amazon that I got for like $10 shipped. It was AWFUL. It worked for the one hole though. Take that review as you will)
-Drill bit for your mounting hardware (mine used 1/4")
-Xacto/Box cutter
Steps:
1) Test fridge to make sure it works.
2) Cut away all the door stuff. An exacto makes quick work of the plastic. Score the plastic and then go full depth on the blade to cut the foam. After you cut/pry away the parts that stick out from the door, the white plastic flat back pulls away easily. Two ball lock cornies will fit without any further modification. If you want to do a cornie and a sixth, you also need to cut the bottom most rack mounting bits from the inside of the fridge that extend from the compressor hump.
3) Drill your hole for your tower. This can be difficult due to the small margin for error front to back to squeeze your tower between the cooling plate and the light. Easy way to do it:
Lay your fridge on its side.
On the inside of the fridge, line up your hole saw in the drill between the cooling plate and the light.
Give it a quick squeeze just to mark where to drill so your mandrel makes a mark.
Drill a pilot hole with a regular drill bit all the way through the fridge top.
Now flip the fridge back upright and drill down through using your hole saw and pilot hole.
4) Drill your mounting holes. I lined up my tower how i wanted it then gave a quick squeeze in each of the holes to mark where I wanted to drill, then removed the tower and drilled them through.
5) Mount tower, other pieces.
6) Drink lots of homebrew.
The entire construction took maybe an hour and a half. About 30 minutes to cut out the door parts while talking with my girlfriend (ie, not solely concentrating on cutting, so you could probably do it faster) and about an hour to drill everything. The crappy hole saw accounted for most of that time where I had to replace the mandrel every 30 seconds. Remember to use slow RPMs and high pressure when drilling metal.


