- Joined
- Mar 18, 2012
- Messages
- 2,418
- Reaction score
- 3,058
You make me laugh and cringe at the same time.

Irrenarzt said:For my buddy Tony who is watching this thread:
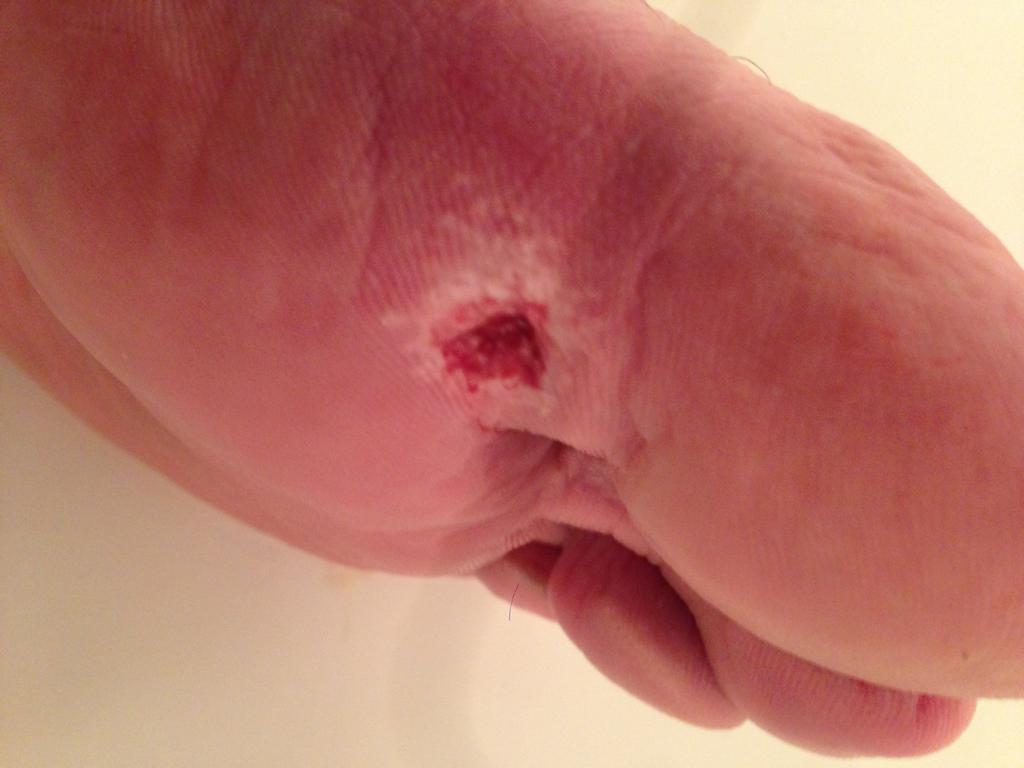
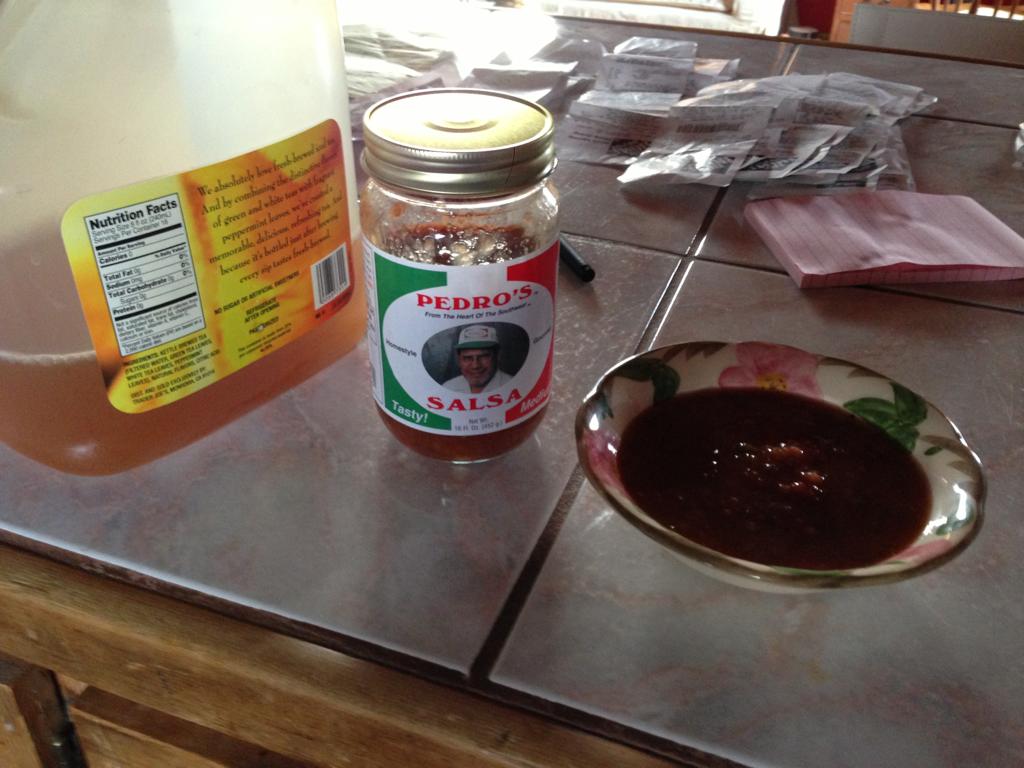
Is that the salsa or the blood from your toe?
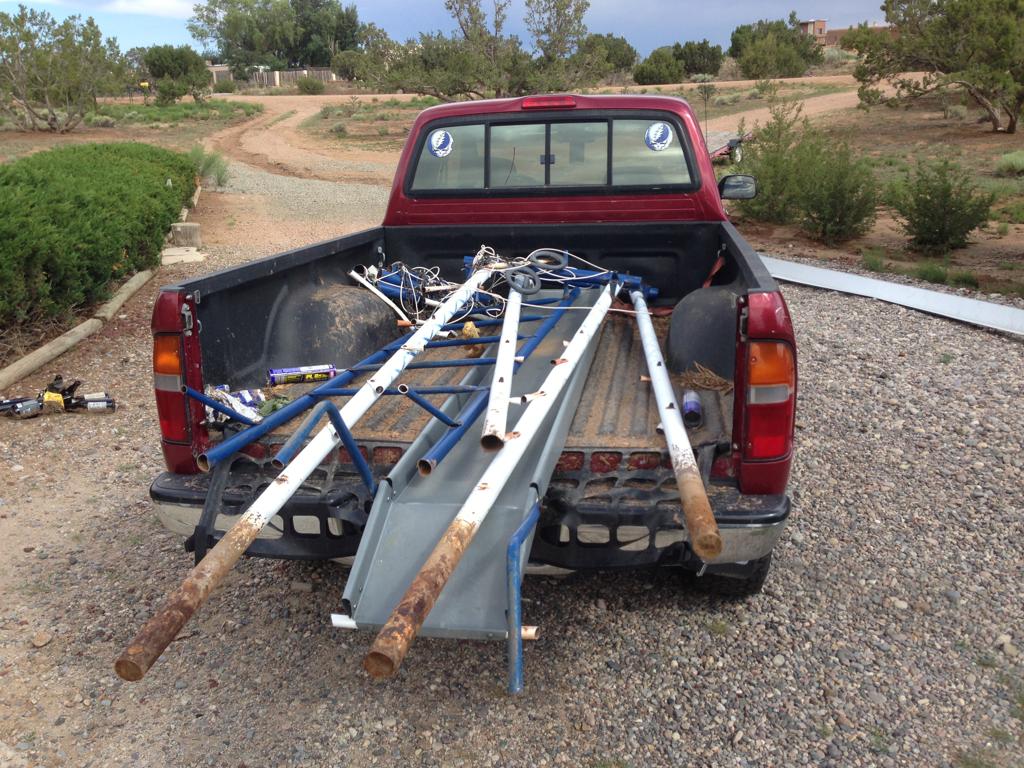
After the third rusty nail, I got a pair of puncture resistant red wings. Heavy as sin, but they keep my feet in pretty good shape. They also don't do the horrible pucker thing sneakers do right before you get impaled.
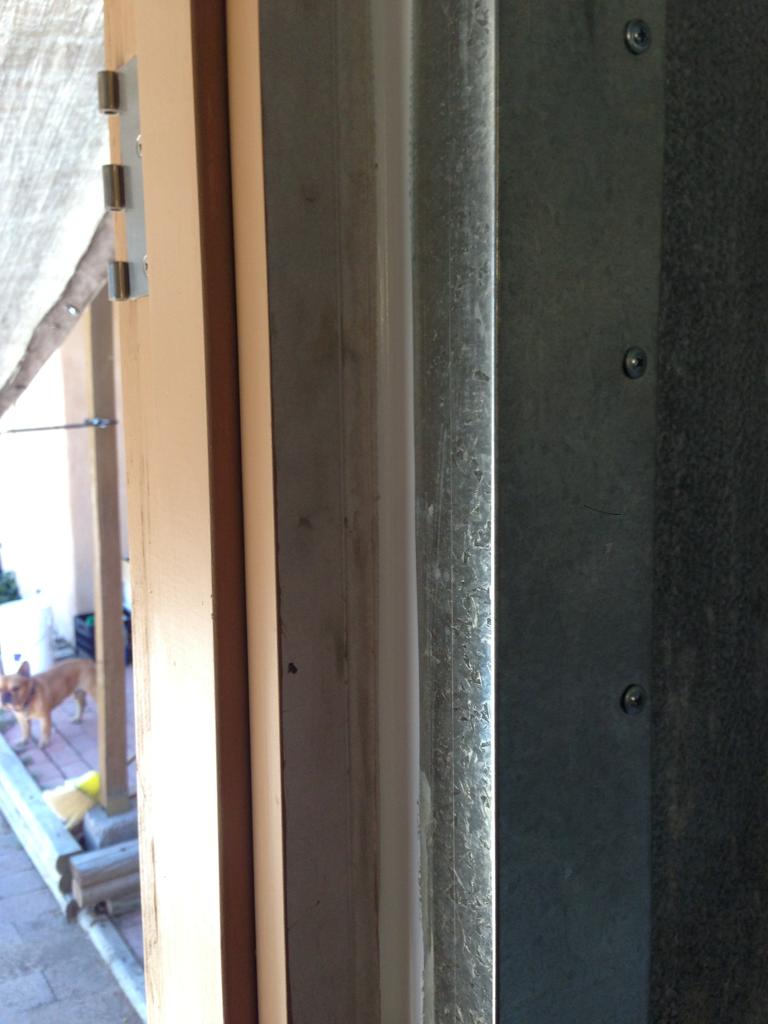
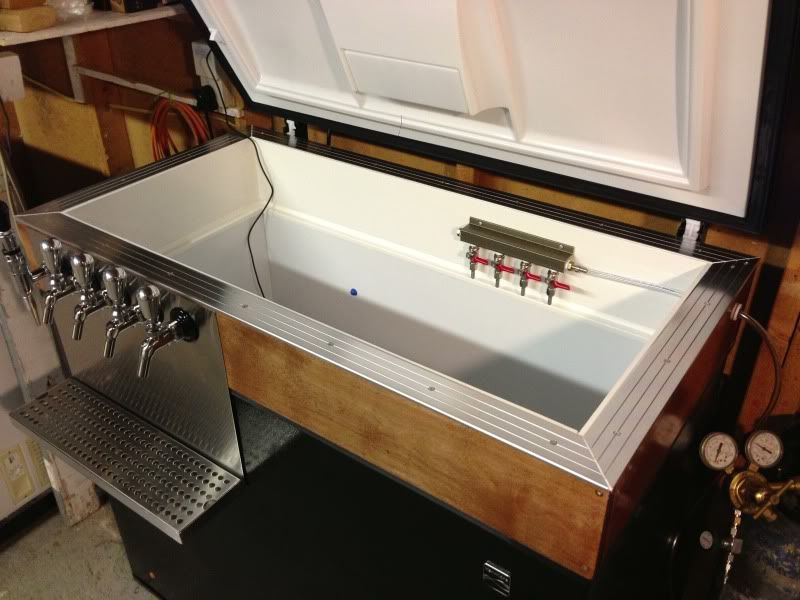
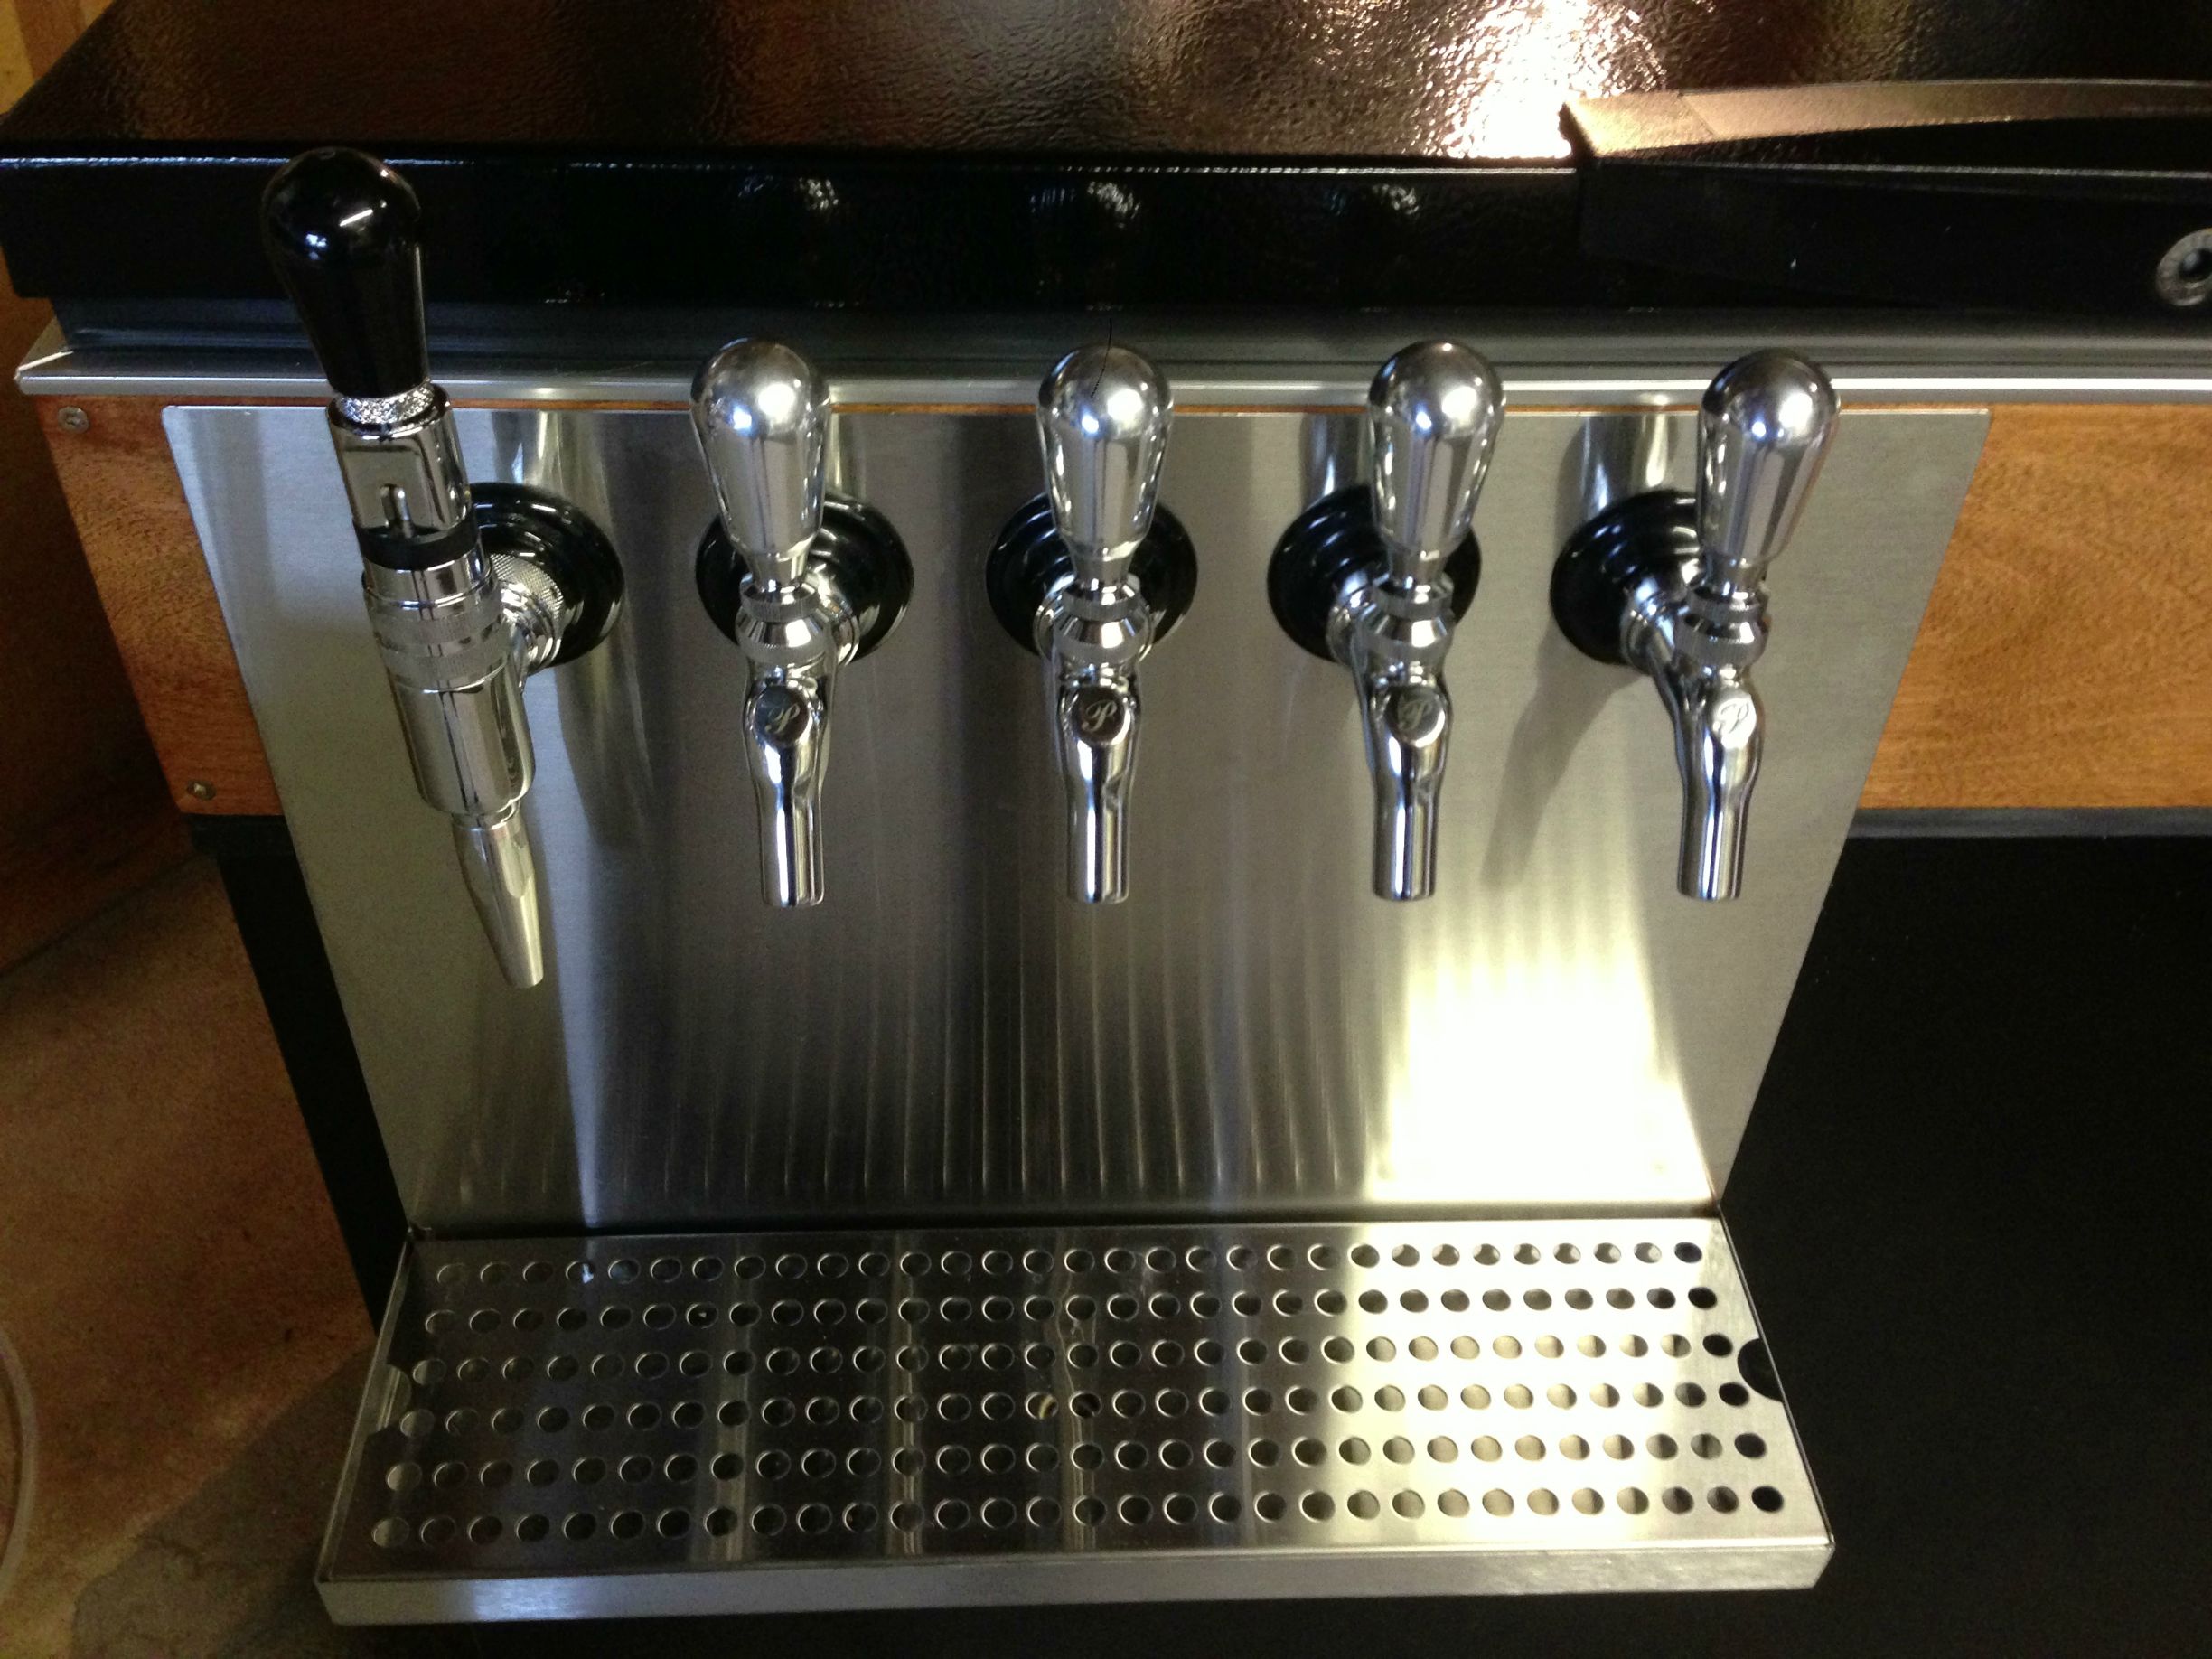
I've decided to build a 144" x 80" outer dimension walk in cooler off the back wall of my garage. Eventually, I plan to have an insulated trunk line through the wall with a number of taps in the garage with keg storage in the walk in. Ghettogyle Greg is my brewing brother/neighbor and has been helping with this project thus far.
Should be a fun project. I have a budget of about 3K left and I've spent about 1K so far (but this includes a 12' x 6' lean-to shed which is framed out now but needs to be sheathed, roofed and painted). I expect the shed to free up a fair amount of space in the garage that I can use to more comfortably brew. I've got way too much schit in my garage.
I currently have way too many chest freezers so I thought a consolidation of these via a walk in would be a good idea. I will use this thread to document the process. I also need more bottle storage as I have a significant collection of commercial and homebrewed beer in 750 mL bottles that I could be doing a better job of cellaring with.
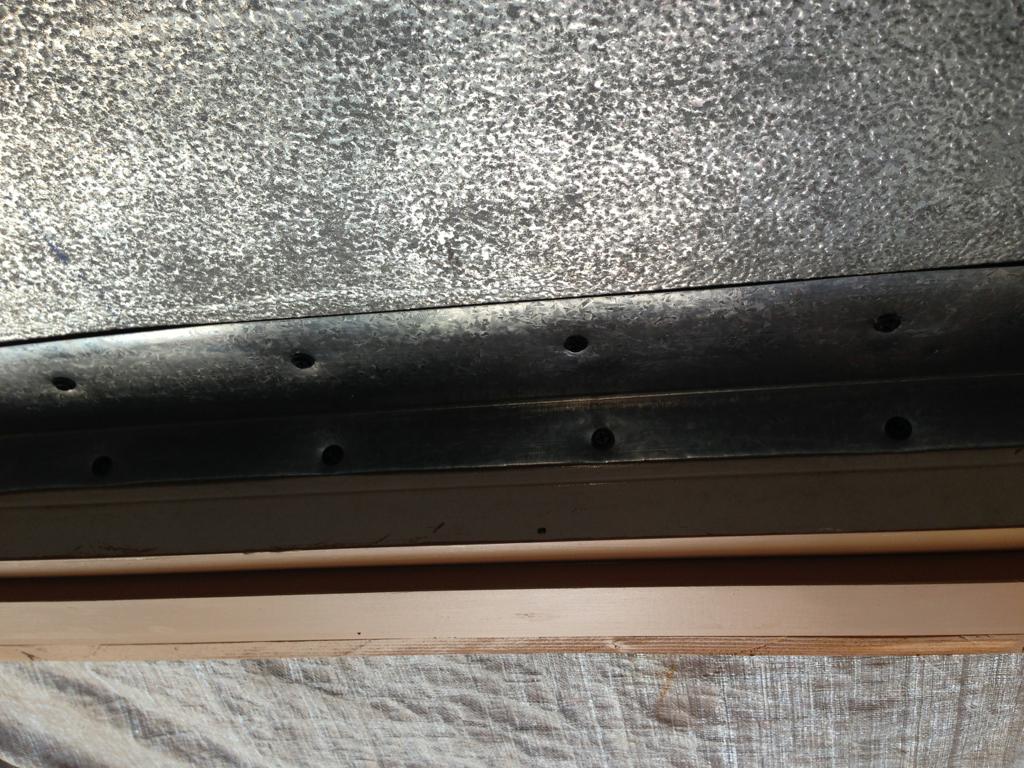
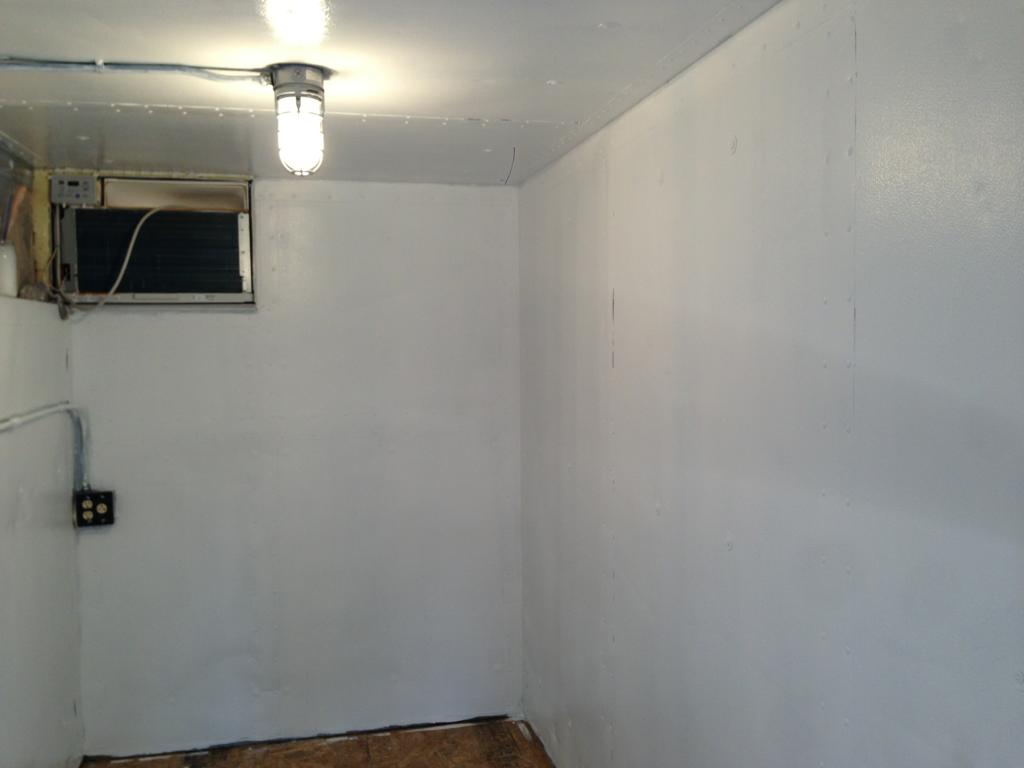
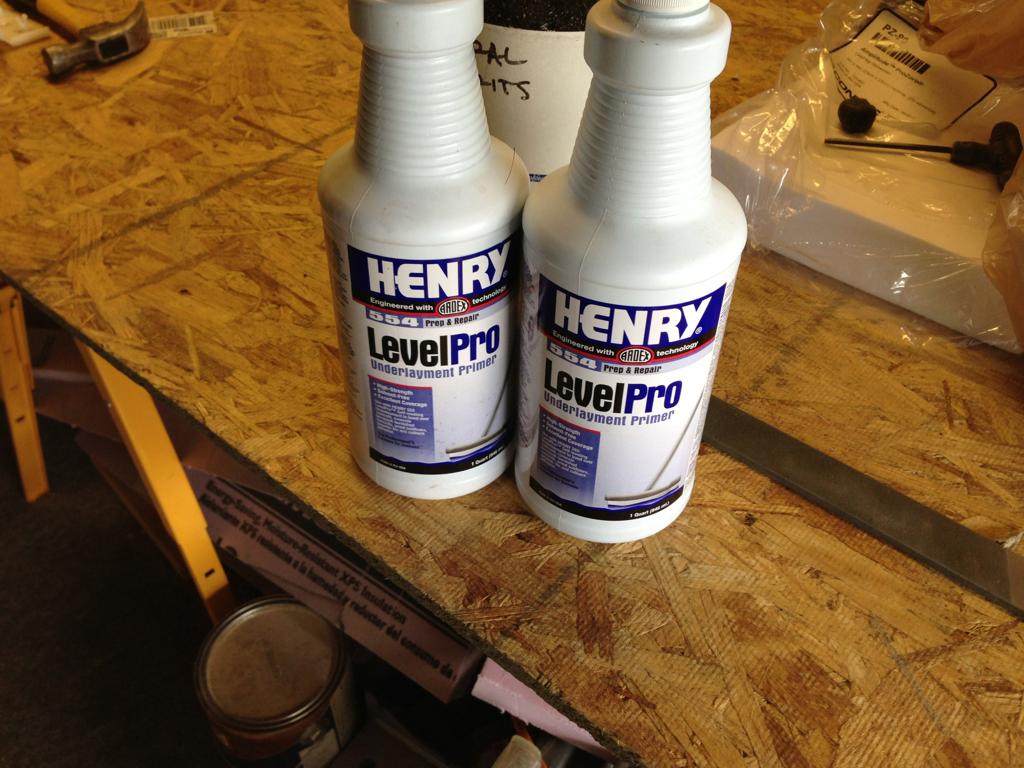
So far I have a 6" deep base course foundation that has been solidified with portland cement, squared and leveled concrete footer pads and a waterproofing treated 2x6 base built. The base is lagged to the garage wall and is not going anywhere. I plan on insulating the space in the floor and getting a 6 mil LDPE vapor barrier sheeting and hopefully 3/4" tongue and groove OSB flooring down by the end of the weekend. I decided to forego an insulated slab/foundation as that would eat up my budget significantly. It would definitely be more ideal but if I went this route, I would be broke before I could conceivably finish the walk in. I think a well insulated raised floor should suffice at a significantly lower price.
")
Sounds like a cool build...but let me warn you, if you feel a bit of pain like you have a rock in you shoe or something...you might want to take like 3 seconds to check it out .
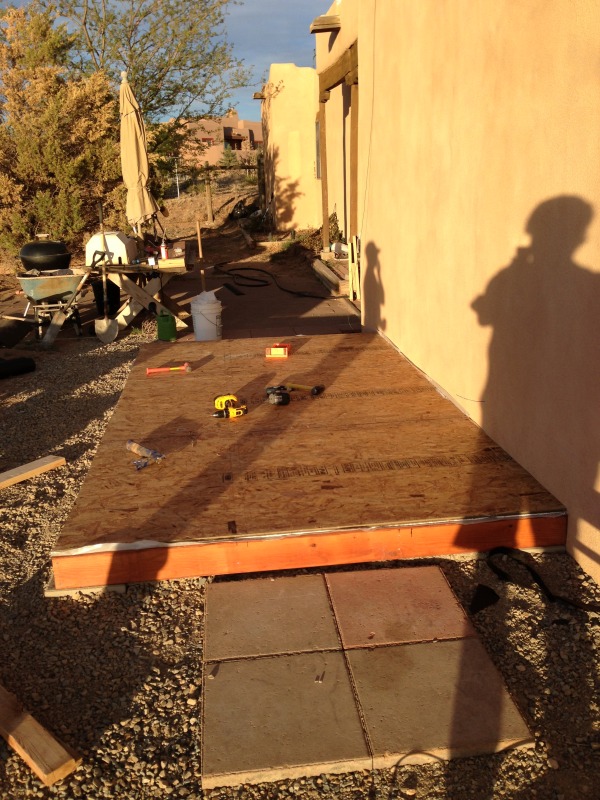
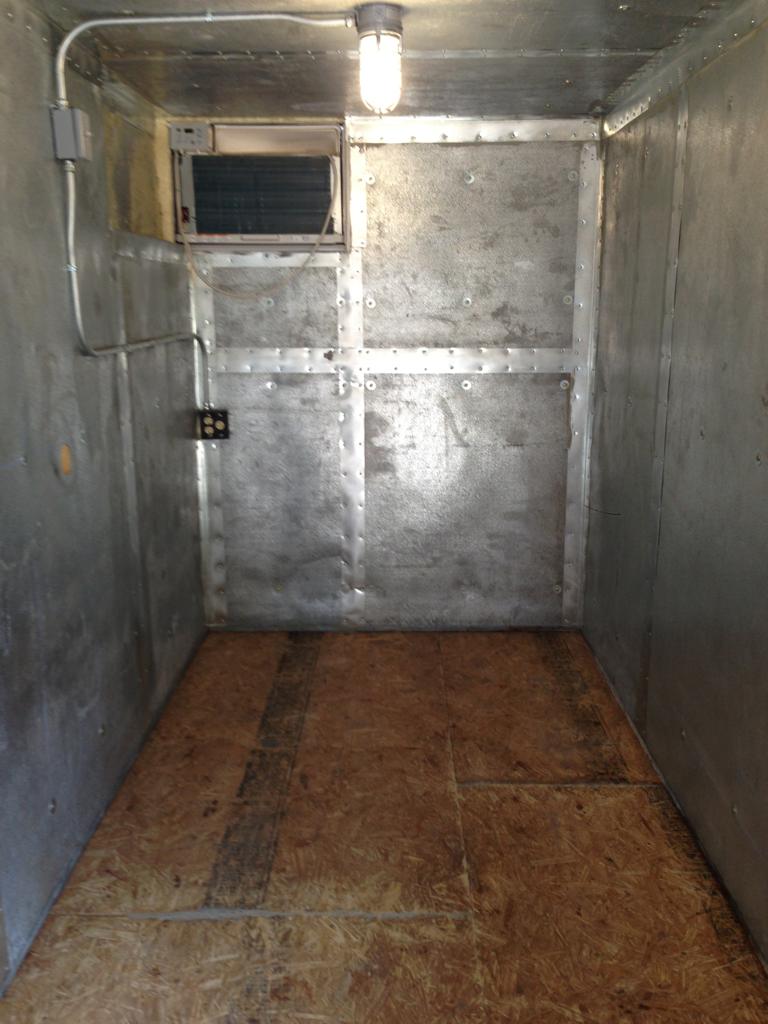
Some progress today. A bit of an issue though as I didn't know OSB can shrink. We had 3 sheets of 23/32" tongue and groove OSB underpainted with elastomeric white paint (2 coats) and pre-cut to size. On Sunday night, they fit the spot they were supposed to exactly. Somehow they shrank an inch in overall diameter between the 3 pieces since then. It did very lightly rain Monday overnight and everything was covered with condensate early in the morning (very rare to see this here). I'm thinking the humidity got high enough to swell the OSB and then when it dried all the way out (like it normally is here), the panels shrunk somewhat. A quick google search shows this as a possibility and it is not uncommon for OSB to swell and shrink. This screwed up my tongue and groove spacing so we will glue and screw down a second layer to firm it up and eliminate any potential issues. This floor will be loaded with a lot of beer so it needs to be dimensionally stable. We did manage to get some polyurethane glue in the tongue and groove so it should make for a decent base layer at least.
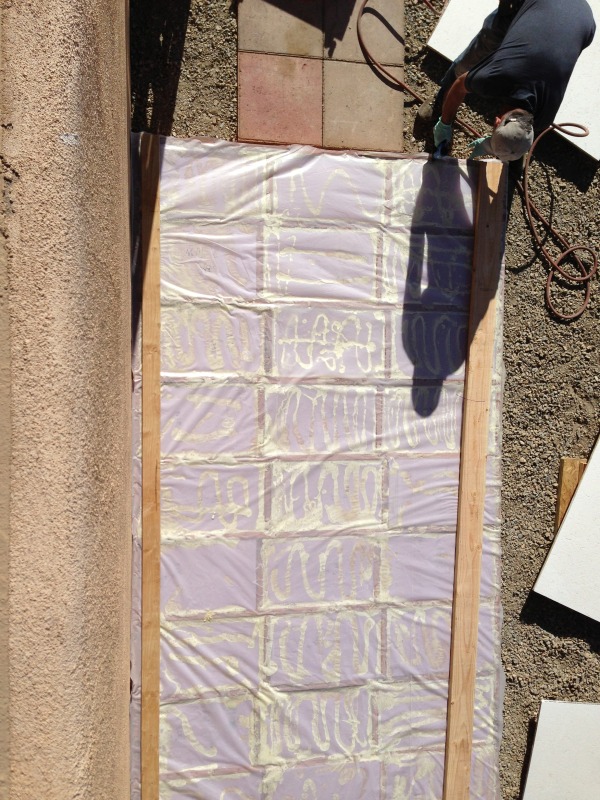
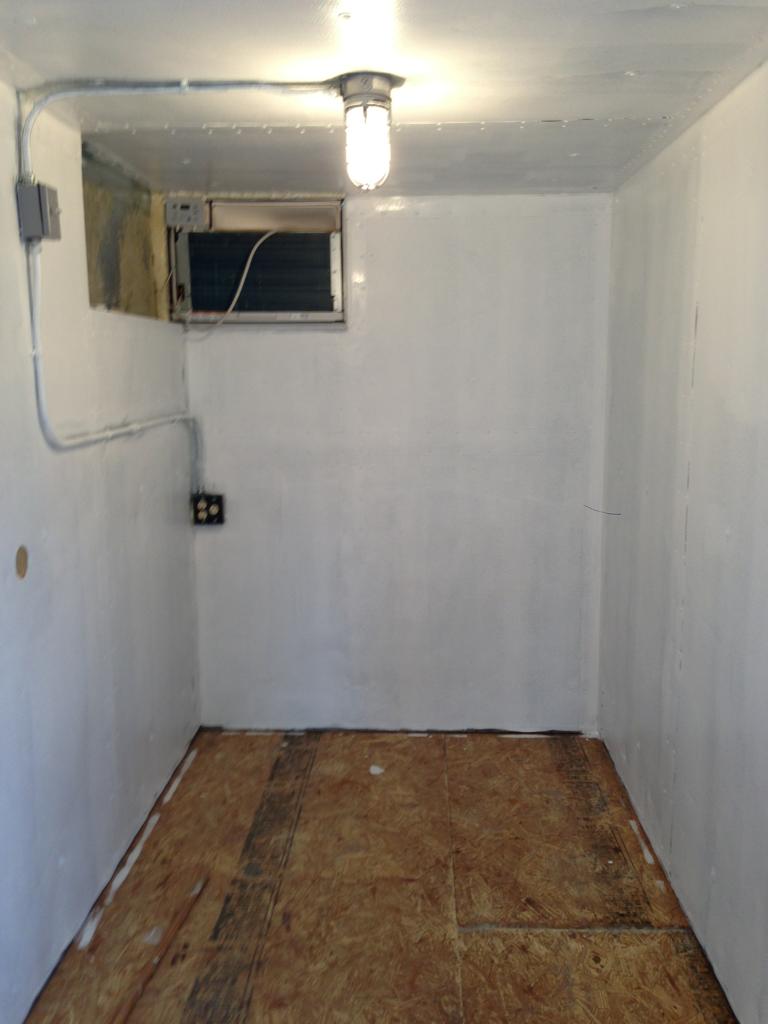
Top vapor barrier layer going on with some additional foam to fill/firm it up a bit:
OSB flooring in place:
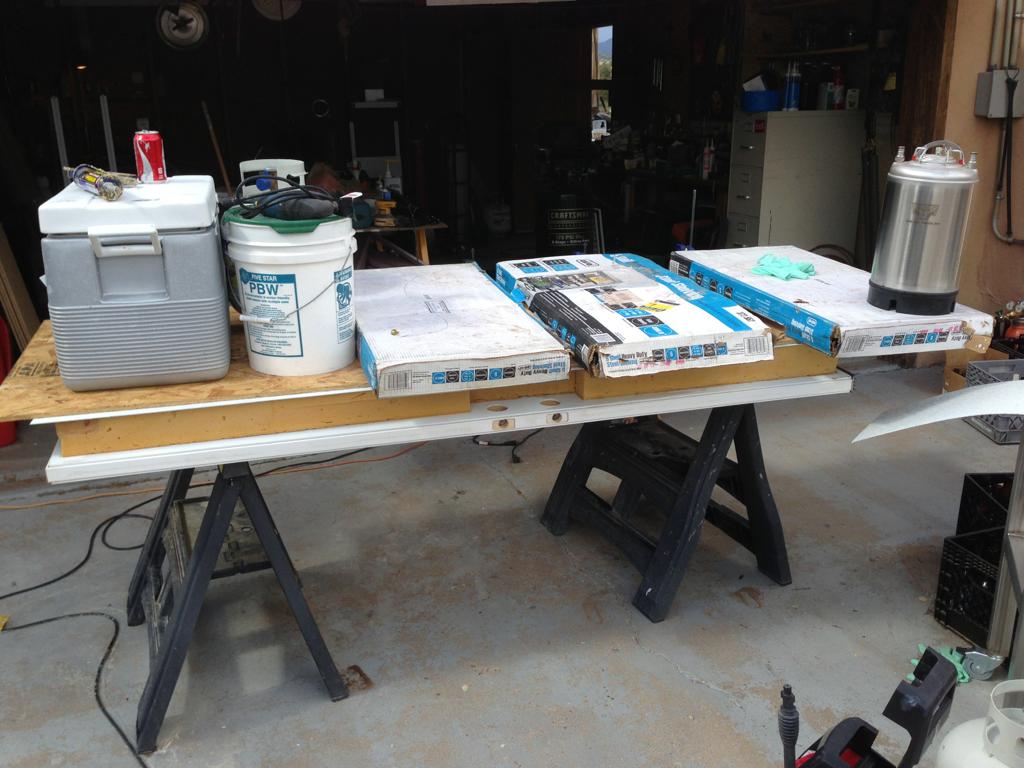
New hose reel for Bimmerphiles:
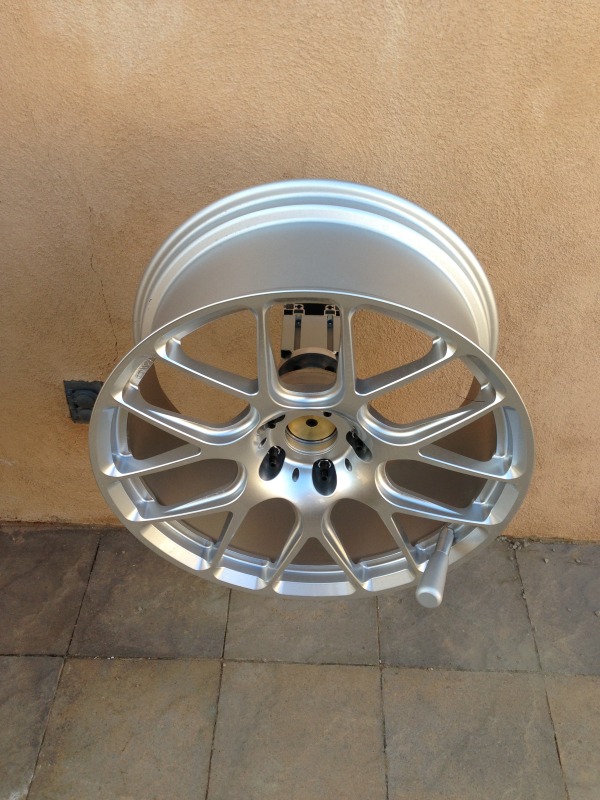
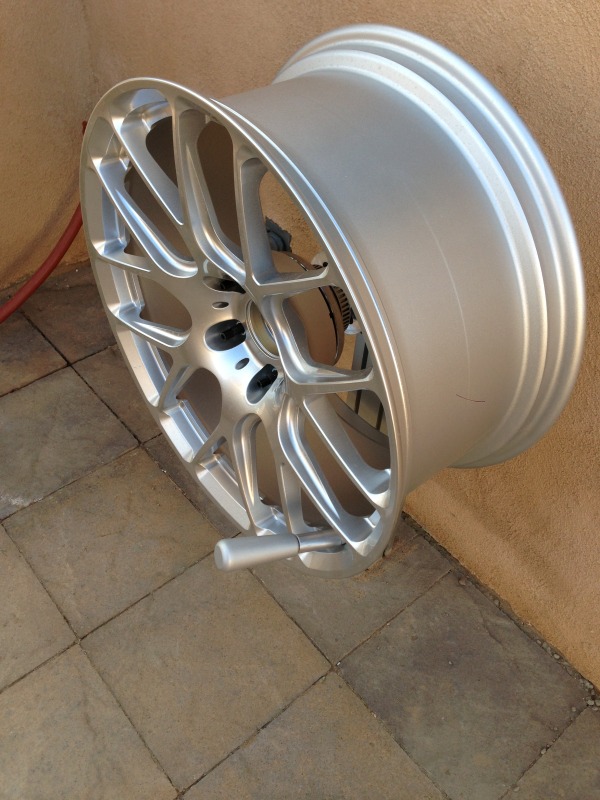
Rotating handle through valve stem bore with knuckle saving extension:

Congrats on the build. Looks amazing!I would think you would have felt the squishy of the blood in your sock before you finally took the shoe off after 3 hours.
but the dump and the flooring place are only open during my normal work hours.
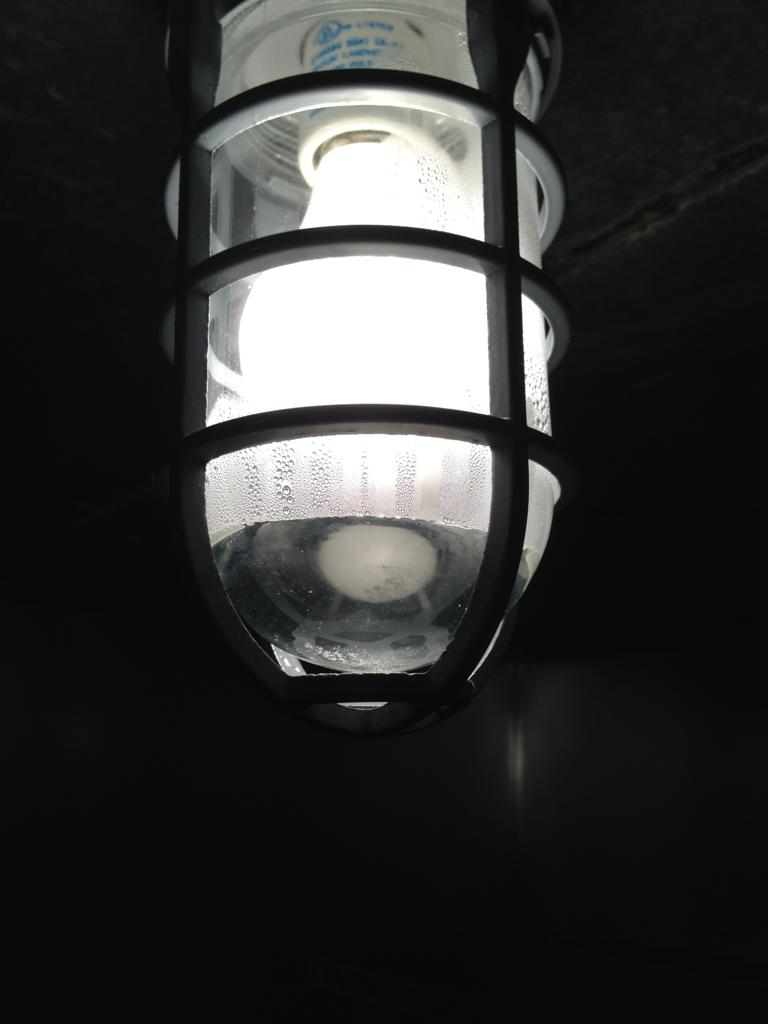
I'd definitely use LED since it cuts heat and costs. But I'd probably seal the box too
Wouldn't a hot light reduce condensation? I would think the bigger issue would be that the light isn't sealed to prevent the humid air from getting in, condensing, and then having no way to evaporate out of the housing.
Oh, yeah... subscribed!
Put a hole in the bottom of the globe.............It can be masked off ( heavily), and leave a spot to sandblast or glass bead a hole through the globe.
If you're talking "sealant" where the globe screws to the base, I don't think that will help ya', as there should be a gasket included with that type of fixture.
There is a gasket where the globe screws into the fixture, but there is not one where the box meets the cooler wall. The instructions that came with the light indicated to silicone the box to the wall/ceiling but I'm not sure yet if Lee did this. I suspect he did not.
They can chew on my left nut
I'm putting in a swamp cooler next year, whether they like it or not. I have ceiling fans throughout the house and an AC window unit in my master bedroom but otherwise no active cooling so the living room gets wicked hot this time of year.
They can chew on my left nut for all I care as I'm doing it, with or without their approval.

Enter your email address to join:
