OP
OP
FlyGuy
Well-Known Member
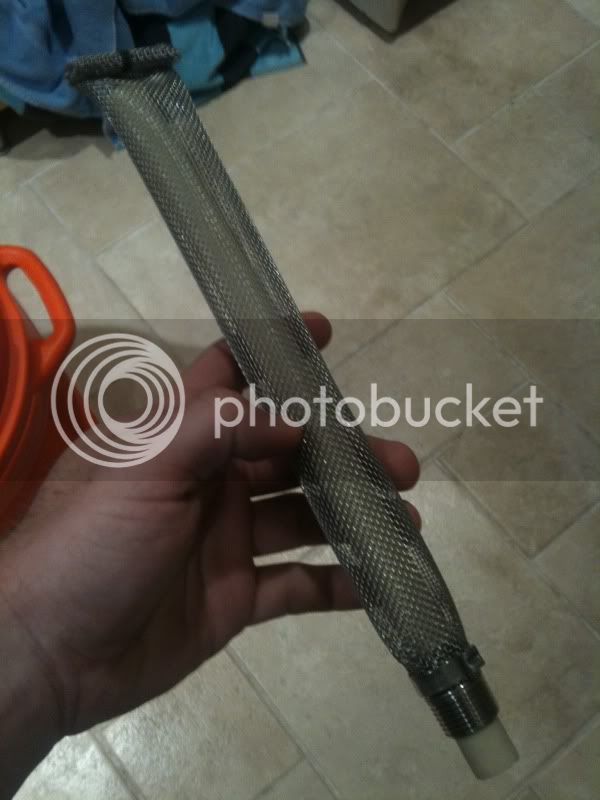
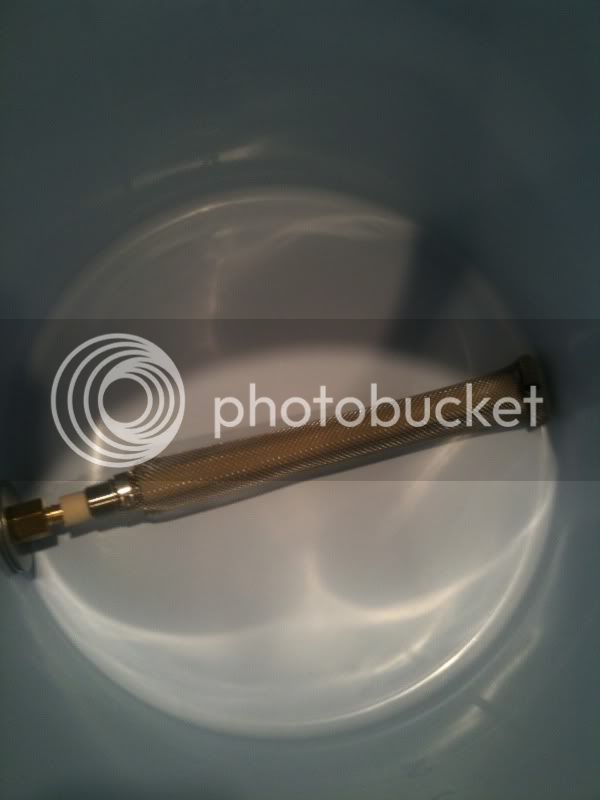
Yikes, that braid got really beat up. But unless it feels really flimsy, so much that it might collapse in the mash, I bet it works just fine.flyguy - thanks for this and other great diy projects. i built mine using 3/4" water heater hose and the braid didn't come out looking too pretty after removing the hose. is this a problem or do you think this will work? thanks.
Cheers!