Today went pretty nicely. I got a late start because the Tour de France started today, and I gotsta watch that. So I started getting around well after noon.
I made "A Well Made Tripel" from Brooklyn Brew Shop. I like these guys. UPS screwed some things up for us but BBS really hooked it up, and I fully recommend them.
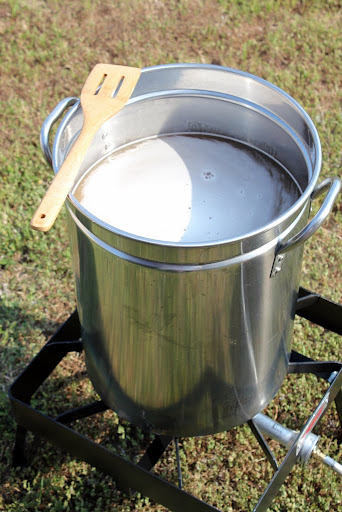
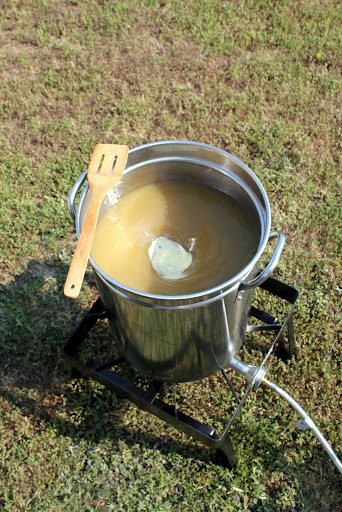
So I got my strike water from the fridge (filtered, slow), and got it to 160 degrees.
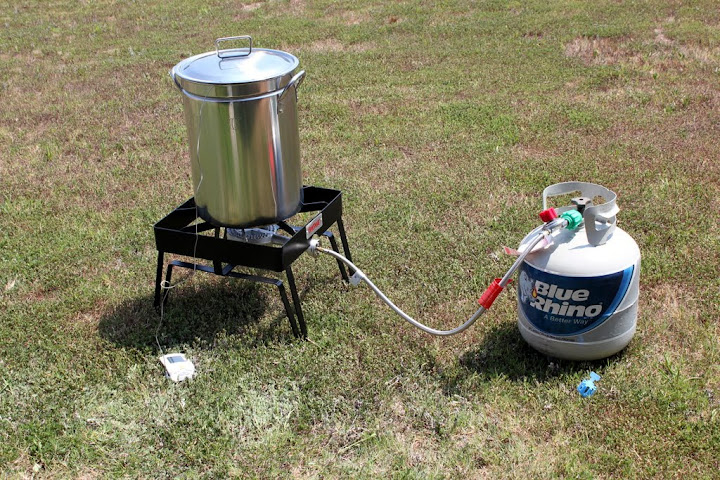
Threw the grain in the strike water (and stirred so it didn't clump), and let'er go.
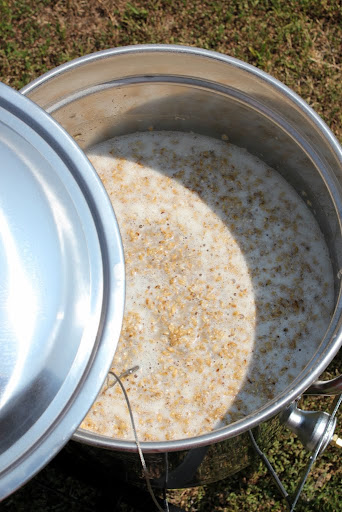
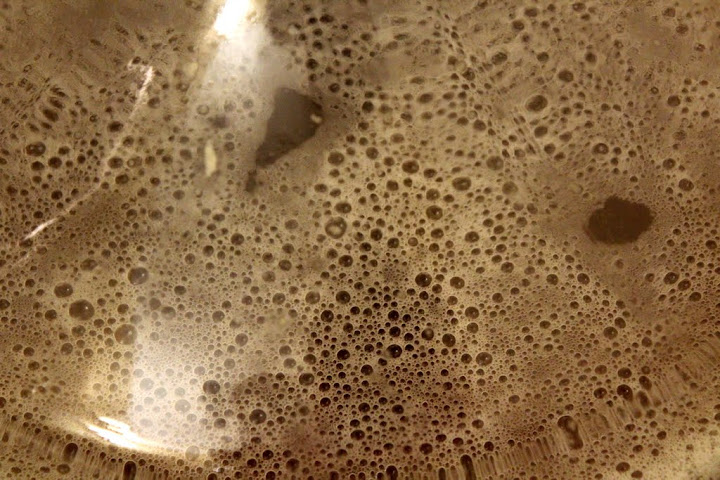
Instructions say stay 144-152 degrees. When I added grain at 160, the temp dropped a little, but not too much. Maybe about 154ish. And in the sun, then SS Bayou Burner only dropped about a degree every 10 minutes when I stirred it! So I didn't have to add any heat over the mash in.
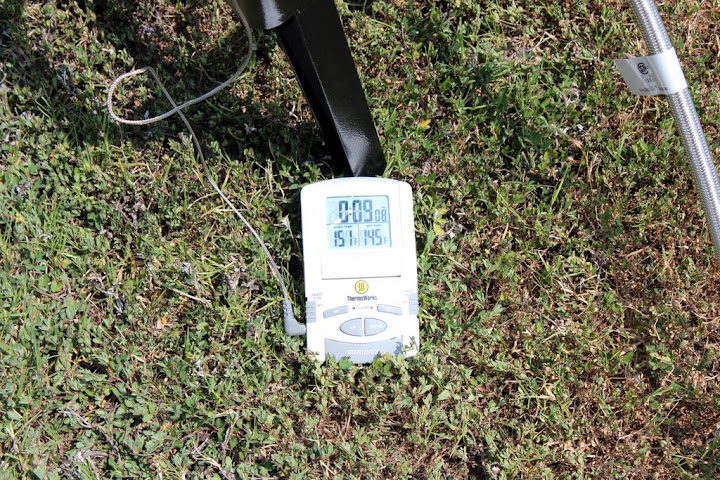
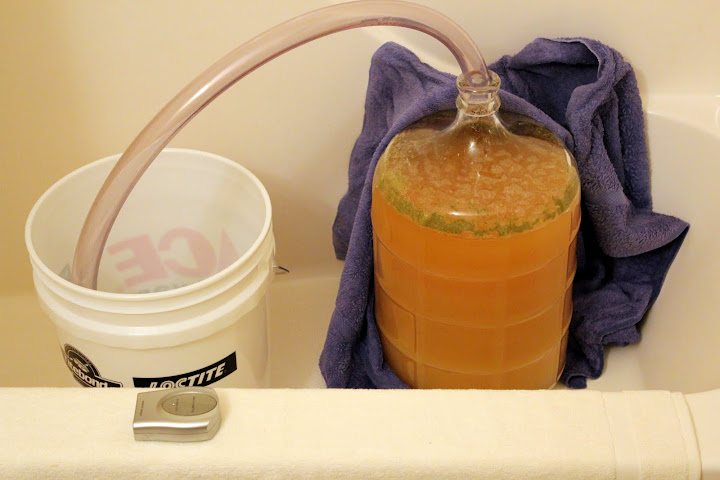
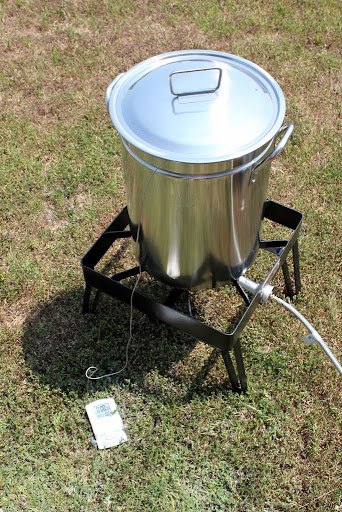
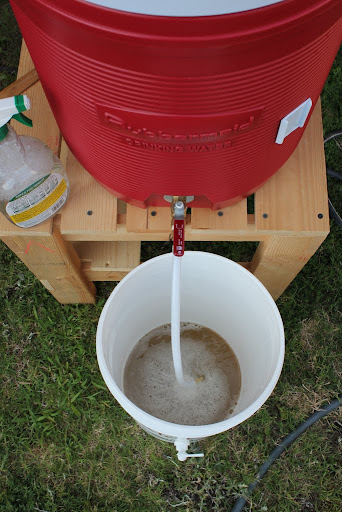
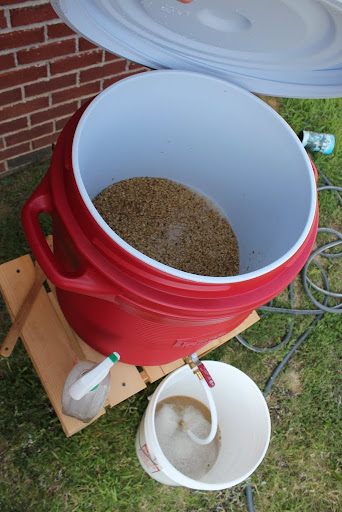
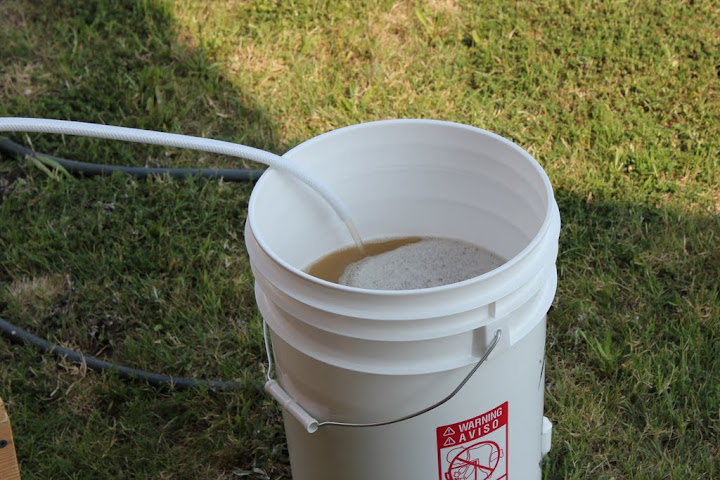
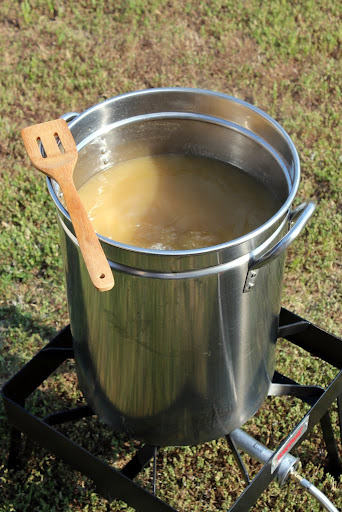
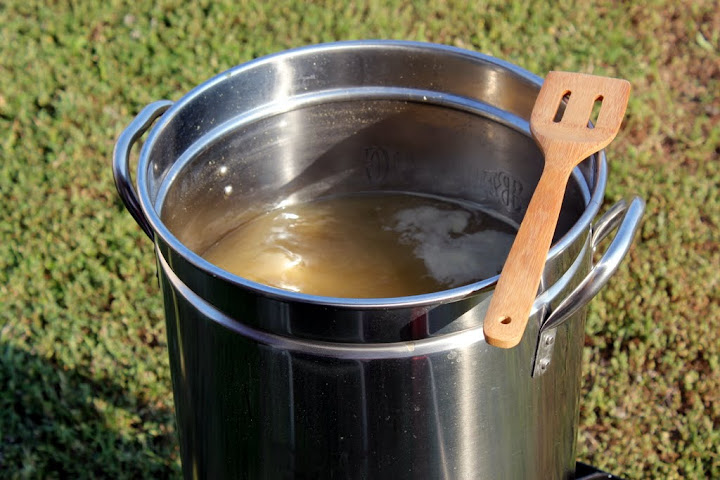
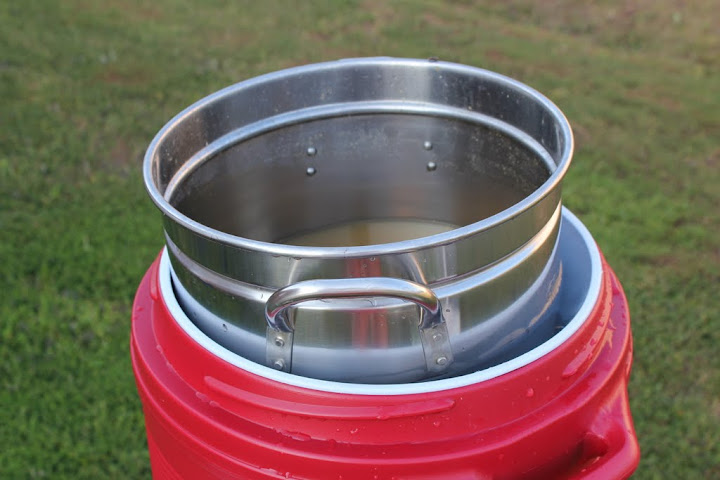
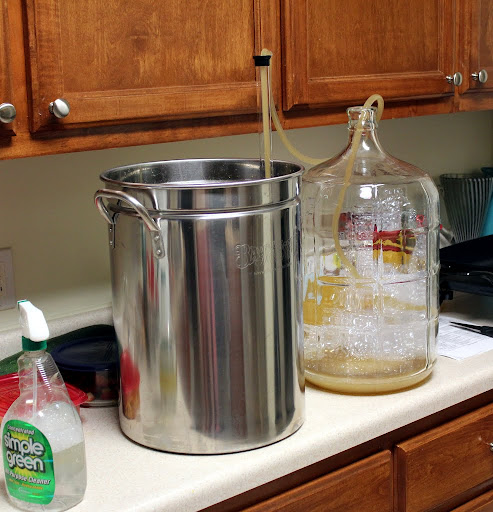
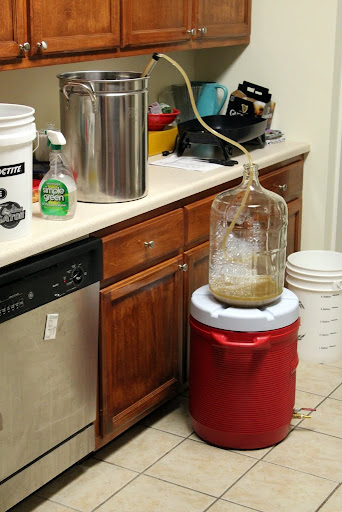
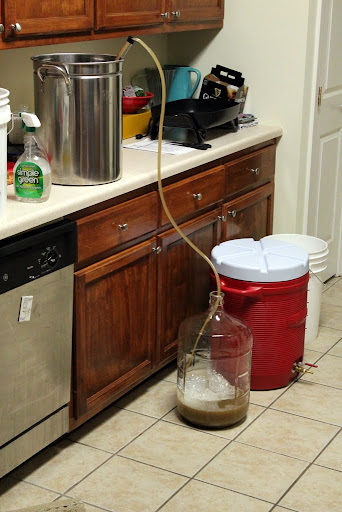
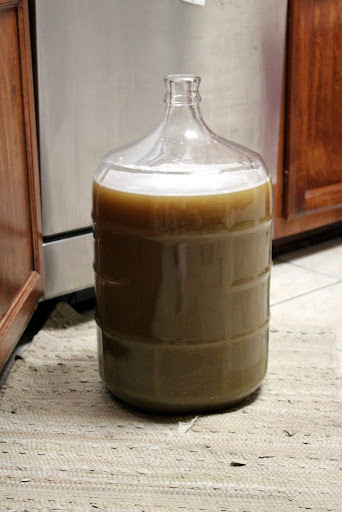
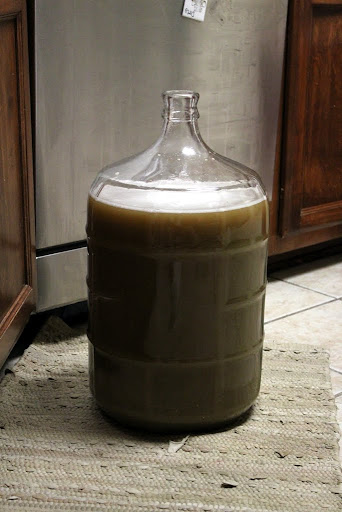
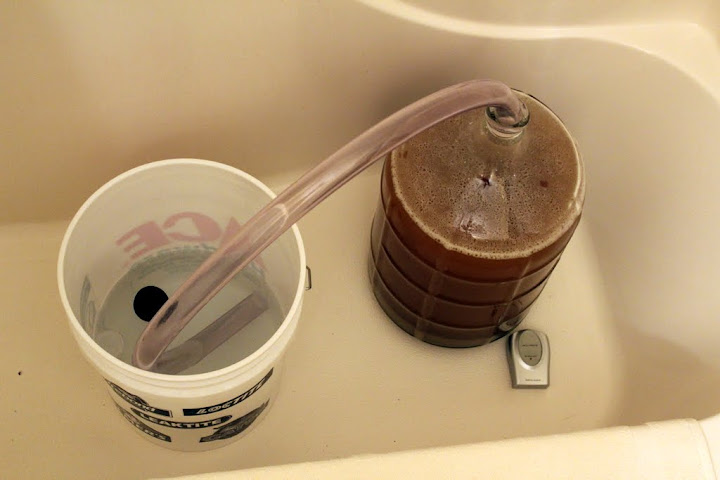
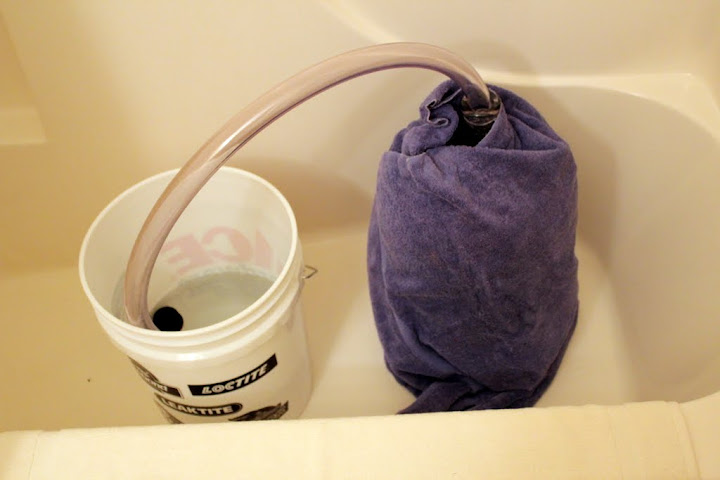
So I did that for an hour. Stir every 10 minutes, keep between 144-152. At the end, I needed to take the mash up to 170, which I did. Takes a while to get up to 170 quite frankly, and a windscreen would do wonders for that. Then it was time to put the mash into the MLT (Mash Lauter Tun).
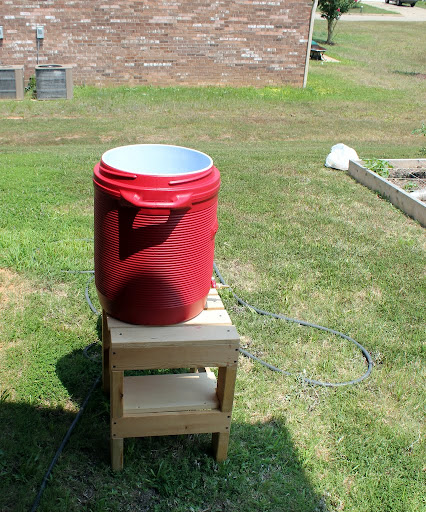
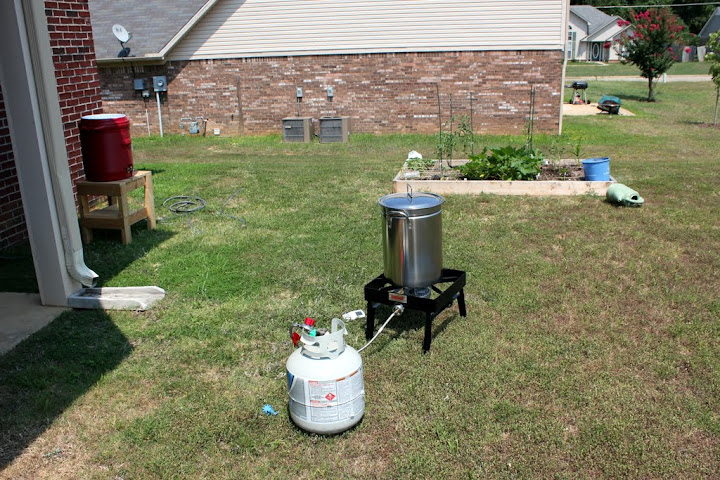
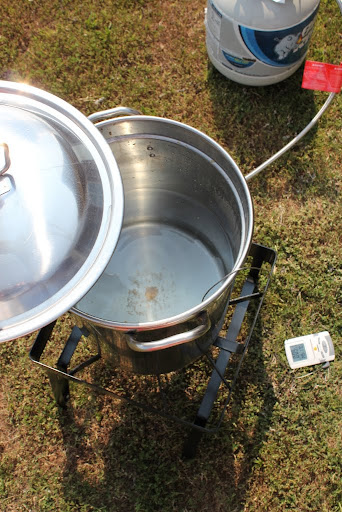
In the meantime I had to get 4 gallons of sparge water up to 170. I had actually been doing this ahead of time in small batches on the stove, so that helped get it up to 170 faster. There was a little grain in there that had stuck after the mash, but no big deal.
I made "A Well Made Tripel" from Brooklyn Brew Shop. I like these guys. UPS screwed some things up for us but BBS really hooked it up, and I fully recommend them.
So I got my strike water from the fridge (filtered, slow), and got it to 160 degrees.
Threw the grain in the strike water (and stirred so it didn't clump), and let'er go.
Instructions say stay 144-152 degrees. When I added grain at 160, the temp dropped a little, but not too much. Maybe about 154ish. And in the sun, then SS Bayou Burner only dropped about a degree every 10 minutes when I stirred it! So I didn't have to add any heat over the mash in.
So I did that for an hour. Stir every 10 minutes, keep between 144-152. At the end, I needed to take the mash up to 170, which I did. Takes a while to get up to 170 quite frankly, and a windscreen would do wonders for that. Then it was time to put the mash into the MLT (Mash Lauter Tun).
In the meantime I had to get 4 gallons of sparge water up to 170. I had actually been doing this ahead of time in small batches on the stove, so that helped get it up to 170 faster. There was a little grain in there that had stuck after the mash, but no big deal.


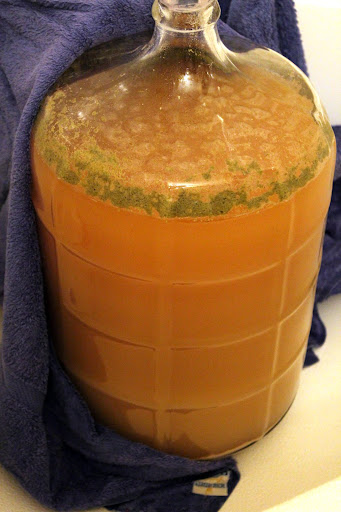
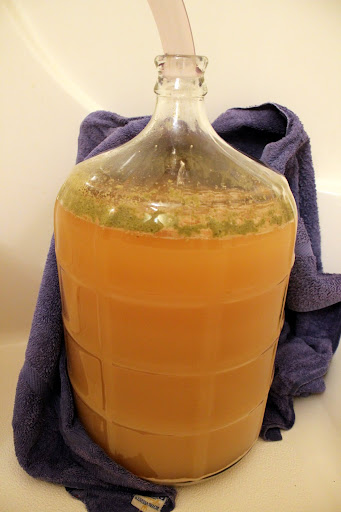
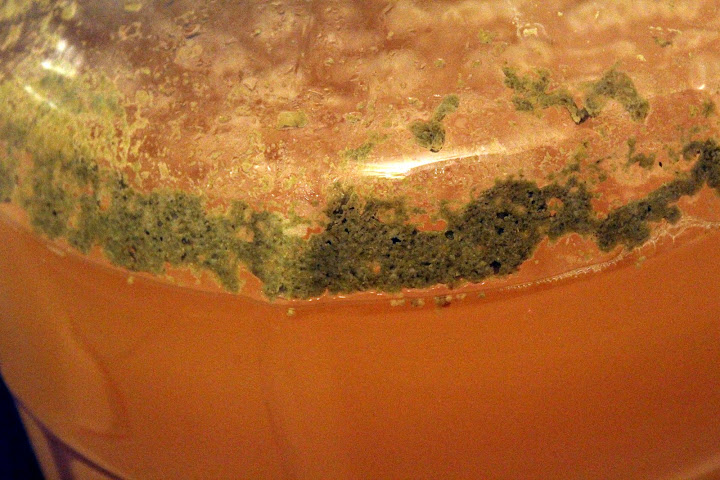
 Remember patience is your friend. My last big beer was also a Belgian (8.5% alc). I let it age for 6 months in the secondary before bottling. 1 year later and the beer is just getting good albeit a bit too late since I only have 2 bottles left