Finally pulled the trigger on a dual 1500w 11G rig with the ranco controller! I ultimately decided that even though the extra features on the brau controller are cool, they weren't worth a $200 jump in price.
Came to my house yesterday afternoon, and I literally spent ALL night reassembling and disassembling just to get the thing to not leak. It was a lot harder than I expected honestly (although I didn't get an element socket wrench piece like the instructions said I was supposed to, so that may have made it harder than it had to be). I will say a few things:
1. The teflon tape is your friend. Mummy wrap the heck out of threads.
2. I had much more success installing the elements after switching to the instructions provided by brewhardware.com on
https://www.brewhardware.com/product_p/hotpod-ewl3.htm
3. I found the elements have to be really tight, but the ball valve just has to be snug. I had problems with being over-tight on that gasket.
After I finally got it to not leak for a 20 min or so period filled at least halfway, I left it overnight for further leak testing. Woke up to find one tiny droplet formed overnight from one of the element holes, but I think I'm just going to leave it alone. I don't want to risk going through hours of reinstallation again to improve on a one drop per 12 hours "leak".
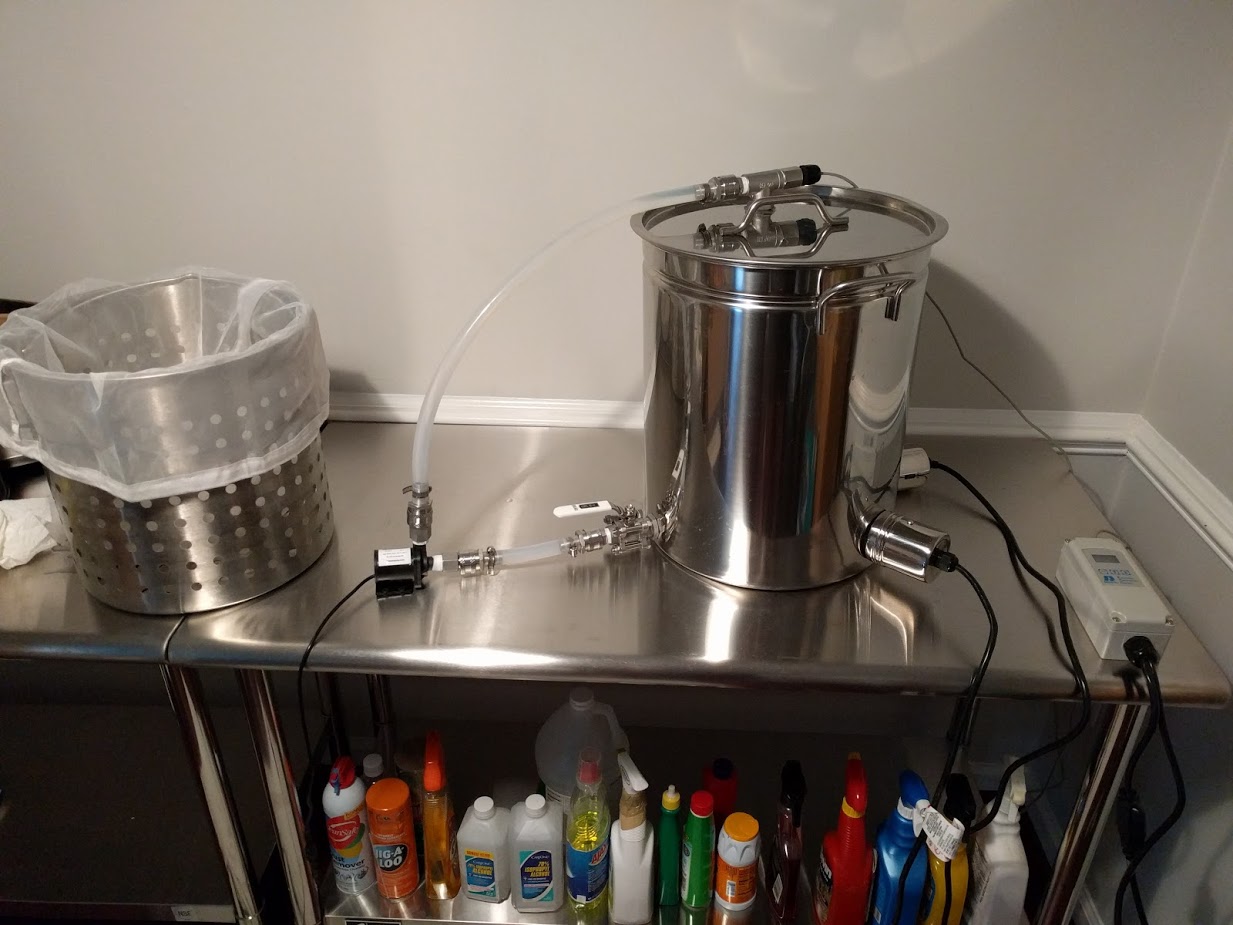
The pump fired up right away and had no issues with hose/QD leaks. No cavitation noise whatsoever, the pump is actually very quiet. Was great to see it in action after the frustrating build.
Today I'm gonna hook up the rest of the electrical wiring and test out the elements! Then I need to do a full water process test and figure out all the deadspace/evap rate/etc stats that beersmith needs for a new equipment setting. I promise to take some pics when I actually brew something next week!
Can't wait to try it out for real!

")