Boil kettle condenser - no overhead ventilation needed

Homebrew Talk - Beer, Wine, Mead, & Cider Brewing Discussion Forum

Help Support Homebrew Talk - Beer, Wine, Mead, & Cider Brewing Discussion Forum:

This site may earn a commission from merchant affiliate links, including eBay, Amazon, and others.
BrunDog - I have an aluminum kettle and bought a stainless 2" TC ferrule to JB weld onto my kettle. I'll be using a 2" hole saw and hopefully a steady hand to not let it get out of control.

I was looking through the thread for a picture of your TC Ferrule being JB Welded to the kettle, but couldn't find one.
Do you still have that ferrule JB Welded onto the kettle? If so, are you happy with that?

I don't want it to look too ugly, but it being secure is the most important.

I see you used the Stick of JB Weld instead of the two tubes.

Any suggestions for mounting the ferrule at the top of my aluminum kettle?
 
I think I posted a picture of it but you might not see the JB Weld part - it will just look like a ferrule magically connected to the kettle. My pot is SS, but I am sure Al works fine. I blended the epoxy and rolled out a spaghetti strand of it. I then rolled it onto the center of the flange, adding a little more on the sides because they made less flush contact with the pot (the radius of the pot and the flange are not identical). Worked like a champ!
 
I'm ready to make the hole in the kettle. Trying to predict the best place to put this.
I'm right-handed so I was thinking about putting it on the left side. But thinking about that, I'd usually take the lid off with the left hand and do whatever I'm doing (adding hops, stirring, etc) with the right hand - so maybe the left side isn't the best, as it'd be in the way of the left hand taking the lid off the kettle.
The kettle currently has a outlet/drain which I'll probably keep facing frontwards, toward me when I'm brewing. The electric element cord would then be on the left side, looking at the kettle.
What have most people done? I see BrunDog put his on the right side (at least it looks that way to me). I suspect that may be the best place to put it.

IMG_20180317_153226.jpg
 
Last edited:
I'd put it on the side closest to whatever you are going to drain it into. If that's a bucket, it doesn't matter, but if it's a sink, it means it will be easier to run the tubing.

Also, I wouldn't put it directly over the electric element housing just to be on the safe side in case of leaks.
 
I'm going to be pulling the whole setup away from the wall when I brew - and maybe perpendicular to the wall.

I'm thinking of getting a 12v solenoid/valve to turn off the condenser water supply since the garden hose shutoff is in front of the house.

Which one of these would be better? 1/2" or 5/8"? Is water volume an issue using the smaller? Or should I get something different?

https://www.ebay.com/itm/1-2-12V-DC...Electric-Water-12-volt-DC-12VDC-/121437063003
or
https://www.ebay.com/itm/5-8-12-vol...bs-Water-12VDC-N-C-Plastic-Body-/300625215478
 
Use the smallest/least expensive valve - the volume is very very little (6 or 9gph isn’t much). 1/2” and probably down to 1/4” would be ok. You just don’t want the valve to be a restriction compared to the nozzle as that will only serve to reduce the pressure at the nozzle (I don’t think using a manual valve to reduce flow is a good idea for this reason). You don’t need an electric valve unless you don’t want to put a manual valve there for some reason.
 
I got all setup today and ran a water test. The design works flawlessly, but I do have some questions and observations.

I added a dedicated drain line to be used for the condensor and my counterflow chiller, but it seems that connecting the condenser drain line directly into a drain kills the vaccum and the water coming out of the condensor turns cold.

The same thing happens when draining into a bucket and the drain line is subermeged under water.

How is everyone else draining the waste water? I’d like to find a more elegant solution to the bucket if possible
 

Attachments

  • 0E427418-2582-4F36-AA76-DEF3E8535CE4.jpeg
    0E427418-2582-4F36-AA76-DEF3E8535CE4.jpeg
    1.7 MB · Views: 564
  • 373E64C0-91C9-4E06-B20C-036CEE036BCD.jpeg
    373E64C0-91C9-4E06-B20C-036CEE036BCD.jpeg
    968.8 KB · Views: 541
You probably need an air-gap so that there is no back pressure. I believe you can get a wall mount receptacle that then ties into the sewer line. Similar to what is used for a washing machine drain.

Or you can just 90 up that fitting and put the hose in it without the cam lock.
 
yep, can't have that camlocked on the fitting. Bigger elbow perhaps and just stick the hose in. Gotta be able to breathe so to speak...
 
Finally got around to brewing with my condenser last night, it worked great! 5500w element @ 35% power was rolling well. Could boil all the way down to 25%, but not as vigorous as I like.

Boil off was 1/2 gallon over an hour, down from 1.2 gallons previously. Thanks to the other posters in this thread I was able to account for that before starting. 9gph sprayer.

Sorry no pics, I was busy with a few other things and forgot. This was also my first run electric and first indoor. With how much easier it all went, I'll be brewing again this weekend, pics will happen on that one.
 
@prosperbrews... I agree with the air gap. But my real intent of responding is to ask if the tube feeding your sprayer is pressure rated? That circuit will see full water pressure, so make sure it can handle it else you might flood your space!

Thanks for the follow up. Yes, it’s a braided pvc tubing with a max working pressure of 225 psi.
 
You probably need an air-gap so that there is no back pressure. I believe you can get a wall mount receptacle that then ties into the sewer line. Similar to what is used for a washing machine drain.

Or you can just 90 up that fitting and put the hose in it without the cam lock.
Thanks for the recommendation.

I am going to cut the pipe and elbow up the 2 inch pipe and just drop the silicone tube and allow it to suspend about 2 inches into the pipe, being careful to ensure the elbow has enough height so that the tube never submerges.

Additionally, I noticed schedule 40 pvc is rated at a max temp of 140F. I’m pretty sure it should be ok to drain the boil off a couple times a month as the 140 F Rating is primarily for high pressure applications.
140F at 40 psi. Schedule 80 is 140F at 80 psi. At the 0 psi of your drain, you'll be fine.
 
Finally got around to brewing with my condenser last night, it worked great! 5500w element @ 35% power was rolling well. Could boil all the way down to 25%, but not as vigorous as I like.

Boil off was 1/2 gallon over an hour, down from 1.2 gallons previously. Thanks to the other posters in this thread I was able to account for that before starting. 9gph sprayer.

Sorry no pics, I was busy with a few other things and forgot. This was also my first run electric and first indoor. With how much easier it all went, I'll be brewing again this weekend, pics will happen on that one.
Well, didn't take long. Similar performance, 1/2 gallon boil off over an hour, very little debris on the kettle wall, same as when I used propane.

20180327_210958.jpg
 
Just completed my final test run with the steam condensor and new drain design. Everything worked flawlessly and not a single bit of steam escaped! What a fantastic piece of engineering! I can easily maintain a boil with element at 35% power. Time to put my walls back together.
 

Attachments

  • 8F5C184B-3FD9-4093-AF19-EBF5E71A974A.jpeg
    8F5C184B-3FD9-4093-AF19-EBF5E71A974A.jpeg
    1.4 MB · Views: 513
Last edited:
I am about to pull the trigger on this. Any updates? Anybody having issues with DMS? Have any of you brewed with a large percentage of pilsener malt?
 
Well, all this happened just in time for me... and thanks to my perpetual planning and not doing anything.. provided the optimum solution to my ventilation problem....

thanks everyone....
 
I can vouch for those findings. You can definately smell it in the waste water. Even on the tubing after rinsing it off after the brew day, so the DMS is certainly being purged from the boil kettle.
Largest % of Pilsner ive used in a batch using the system was about 30% and no ill effects to speak of. I do tend to leave the lid off the BK until close to a boil... maybe 180 degrees or so as theres not alot of steam to worry about anyway.
 
Thank you for the contributions to this thread BruNDog and others!

A few friends and I are in the process of fabricating a 10bbl system. The MLT and kettle will be the same vessel. A basket (like Colorado brewing) hooked to a winch maneuver will allow for sparge. The downside is the lid has to be hinged or removable for clearance for basket. This makes this condenser idea perfect! Any help with the following calculations would be appreciated!

1. Pump or city pressure requirements
2. Cooling water max temperature
3. Sprayer head requirements
4. Triclover vent size
 
I think you will end up regretting your decision to build a BIAB for 10 barrel batches. For the cost of building the infrastructure to haul up the basket you could buy a MLT. Dry grain for a 10 barrel batch will be over 500 pounds. A pint per pound of retained water will add another 500 pounds. That is for a 1.050 beer. You could create a two vessel system and use an on-demand hot water heater for sparging. Just a thought...
 
I think you will end up regretting your decision to build a BIAB for 10 barrel batches. For the cost of building the infrastructure to haul up the basket you could buy a MLT. Dry grain for a 10 barrel batch will be over 500 pounds. A pint per pound of retained water will add another 500 pounds. That is for a 1.050 beer. You could create a two vessel system and use an on-demand hot water heater for sparging. Just a thought...

I work in a steel shop and have structural members I can have for pretty cheap. All id need is a winch plus the materials to build basket. The thought here was that the materials to build another vessel would cost more then to fab a basket. I’m thinking triclovers, heat elements (or components required for HERMS/RIMS). Sight gauge etc..

Maybe your right, it has crossed my mind whether this is a good move or not.
We won’t be 10barrel off the bat more like 3-5 but we don’t want to undersize. We always have the option of ditching the basket down the line till we have working capital to buy a MLT. We are nearing completion on our HLT. See attached that shows current design of MLT kettle combo.

Condenser assembly is on lid now but I like the idea of having it in sidewall.

IMG_0637.jpg
 
Many things at the homebrew level do not translate when you get above 1 or 2 barrels. Above 2 or 3 barrels, HERMS and RIMS will not effectively raise temps but may help maintain temps. The thermal mass of the mash will hold temps pretty well for an hour in an uninsulated SS vessel. Obviously, insulated is better. Personally, I think you would be better off with two vessels - MLT and BK. You can heat your strike water in the BK and pump into MLT. Use on-demand hot water heater for your sparge water. My $0.02.
 
Thank you for the contributions to this thread BruNDog and others!

A few friends and I are in the process of fabricating a 10bbl system. The MLT and kettle will be the same vessel. A basket (like Colorado brewing) hooked to a winch maneuver will allow for sparge. The downside is the lid has to be hinged or removable for clearance for basket. This makes this condenser idea perfect! Any help with the following calculations would be appreciated!

1. Pump or city pressure requirements
2. Cooling water max temperature
3. Sprayer head requirements
4. Triclover vent size

I agree that 10G BIAB may be optimistic and 2 vessel is a better approach. That said, it wasn't the question you asked me, so...

What will be the boil-off rate? And what is the temperature of the water that you will be spraying (you need to tell me, not the other way around)? Those are needed to figure out how much spray water will be needed.
 
Really interested in adapting something like this to my Unibrau eventually. I'm just a little...overwhelmed by all the reading I've done in this thread! I'm not the best DIY'er.
 
Really interested in adapting something like this to my Unibrau eventually. I'm just a little...overwhelmed by all the reading I've done in this thread! I'm not the best DIY'er.

Long-time lurker but I added the condenser to my v2 Unibrau 120V version. I'm lucky enough to be near Brew Hardware so I was able to just wait while Bobby soldered the 1.5" TC ferrule through the lid. If you're not up to DIY I would just consider sending the lid/kettle to him to get the work done. Plus you can add the various other parts on the return shipment.

I've only done a water test so far and the boil-off was 0.7 gallons/hour. Used both elements to get up to boiling and ended up firing 1 element at 100% for the boil. I needed binder clips to keep the lid in place. I need to tinker again but the power could probably be dialed down a little bit for future brews.

Suuuuuper interested and would like to look into it more one day soon. If you don't mind I might PM you or tag you in this thread to maybe ask a few questions about your setup!
 
I'm on the fence between building my own or purchasing the brew boss version. Money doesn't seem like an issue since they're both about the same price. Pros for the brew boss version is its pre built and fits right on my pot, but the con is the 1/2 inch opening for the steam to pass through. Brundog version all seem to work great but i would have to build it and drill my pot. Whats everyone's opinion about the 1/2 cam lock opening? Obviously bigger is better but would you think the 1/2 is big enough?
 
I don’t think anyone has done a side by side to say which is better. I do believe the bigger area of importance for proper performance is the tee diameter. The volume where steam conversion takes place is key. I used a 2” tee for that purpose... to give the 80 degree sprayer more room to interact with the steam. There are good reports here of 1.5” TC performance. So I think the opening is less critical.

I do not think you should use a valve to reduce flow - I think that is a bad idea that Brew Boss added. It will only make the spray droplets bigger and less efficient at condensing steam.
 
Thanks @BrunDog this is a genius invention and a perfect solution to indoor brewers.

Does anyone have a link to a parts list, i know someone posted it on here when i read through the whole thread but I cant remember what page it was on.

Found the parts list. Post #287 on page 8.
 
Last edited:
I have been following this thread closely and think this is a great concept. I am in the middle of building a dedicated brewing shed in my back yard to house my 10 gal electric brewery equipemnt. (wife says she wants to park her car in the garage again... sheesh!:smh:
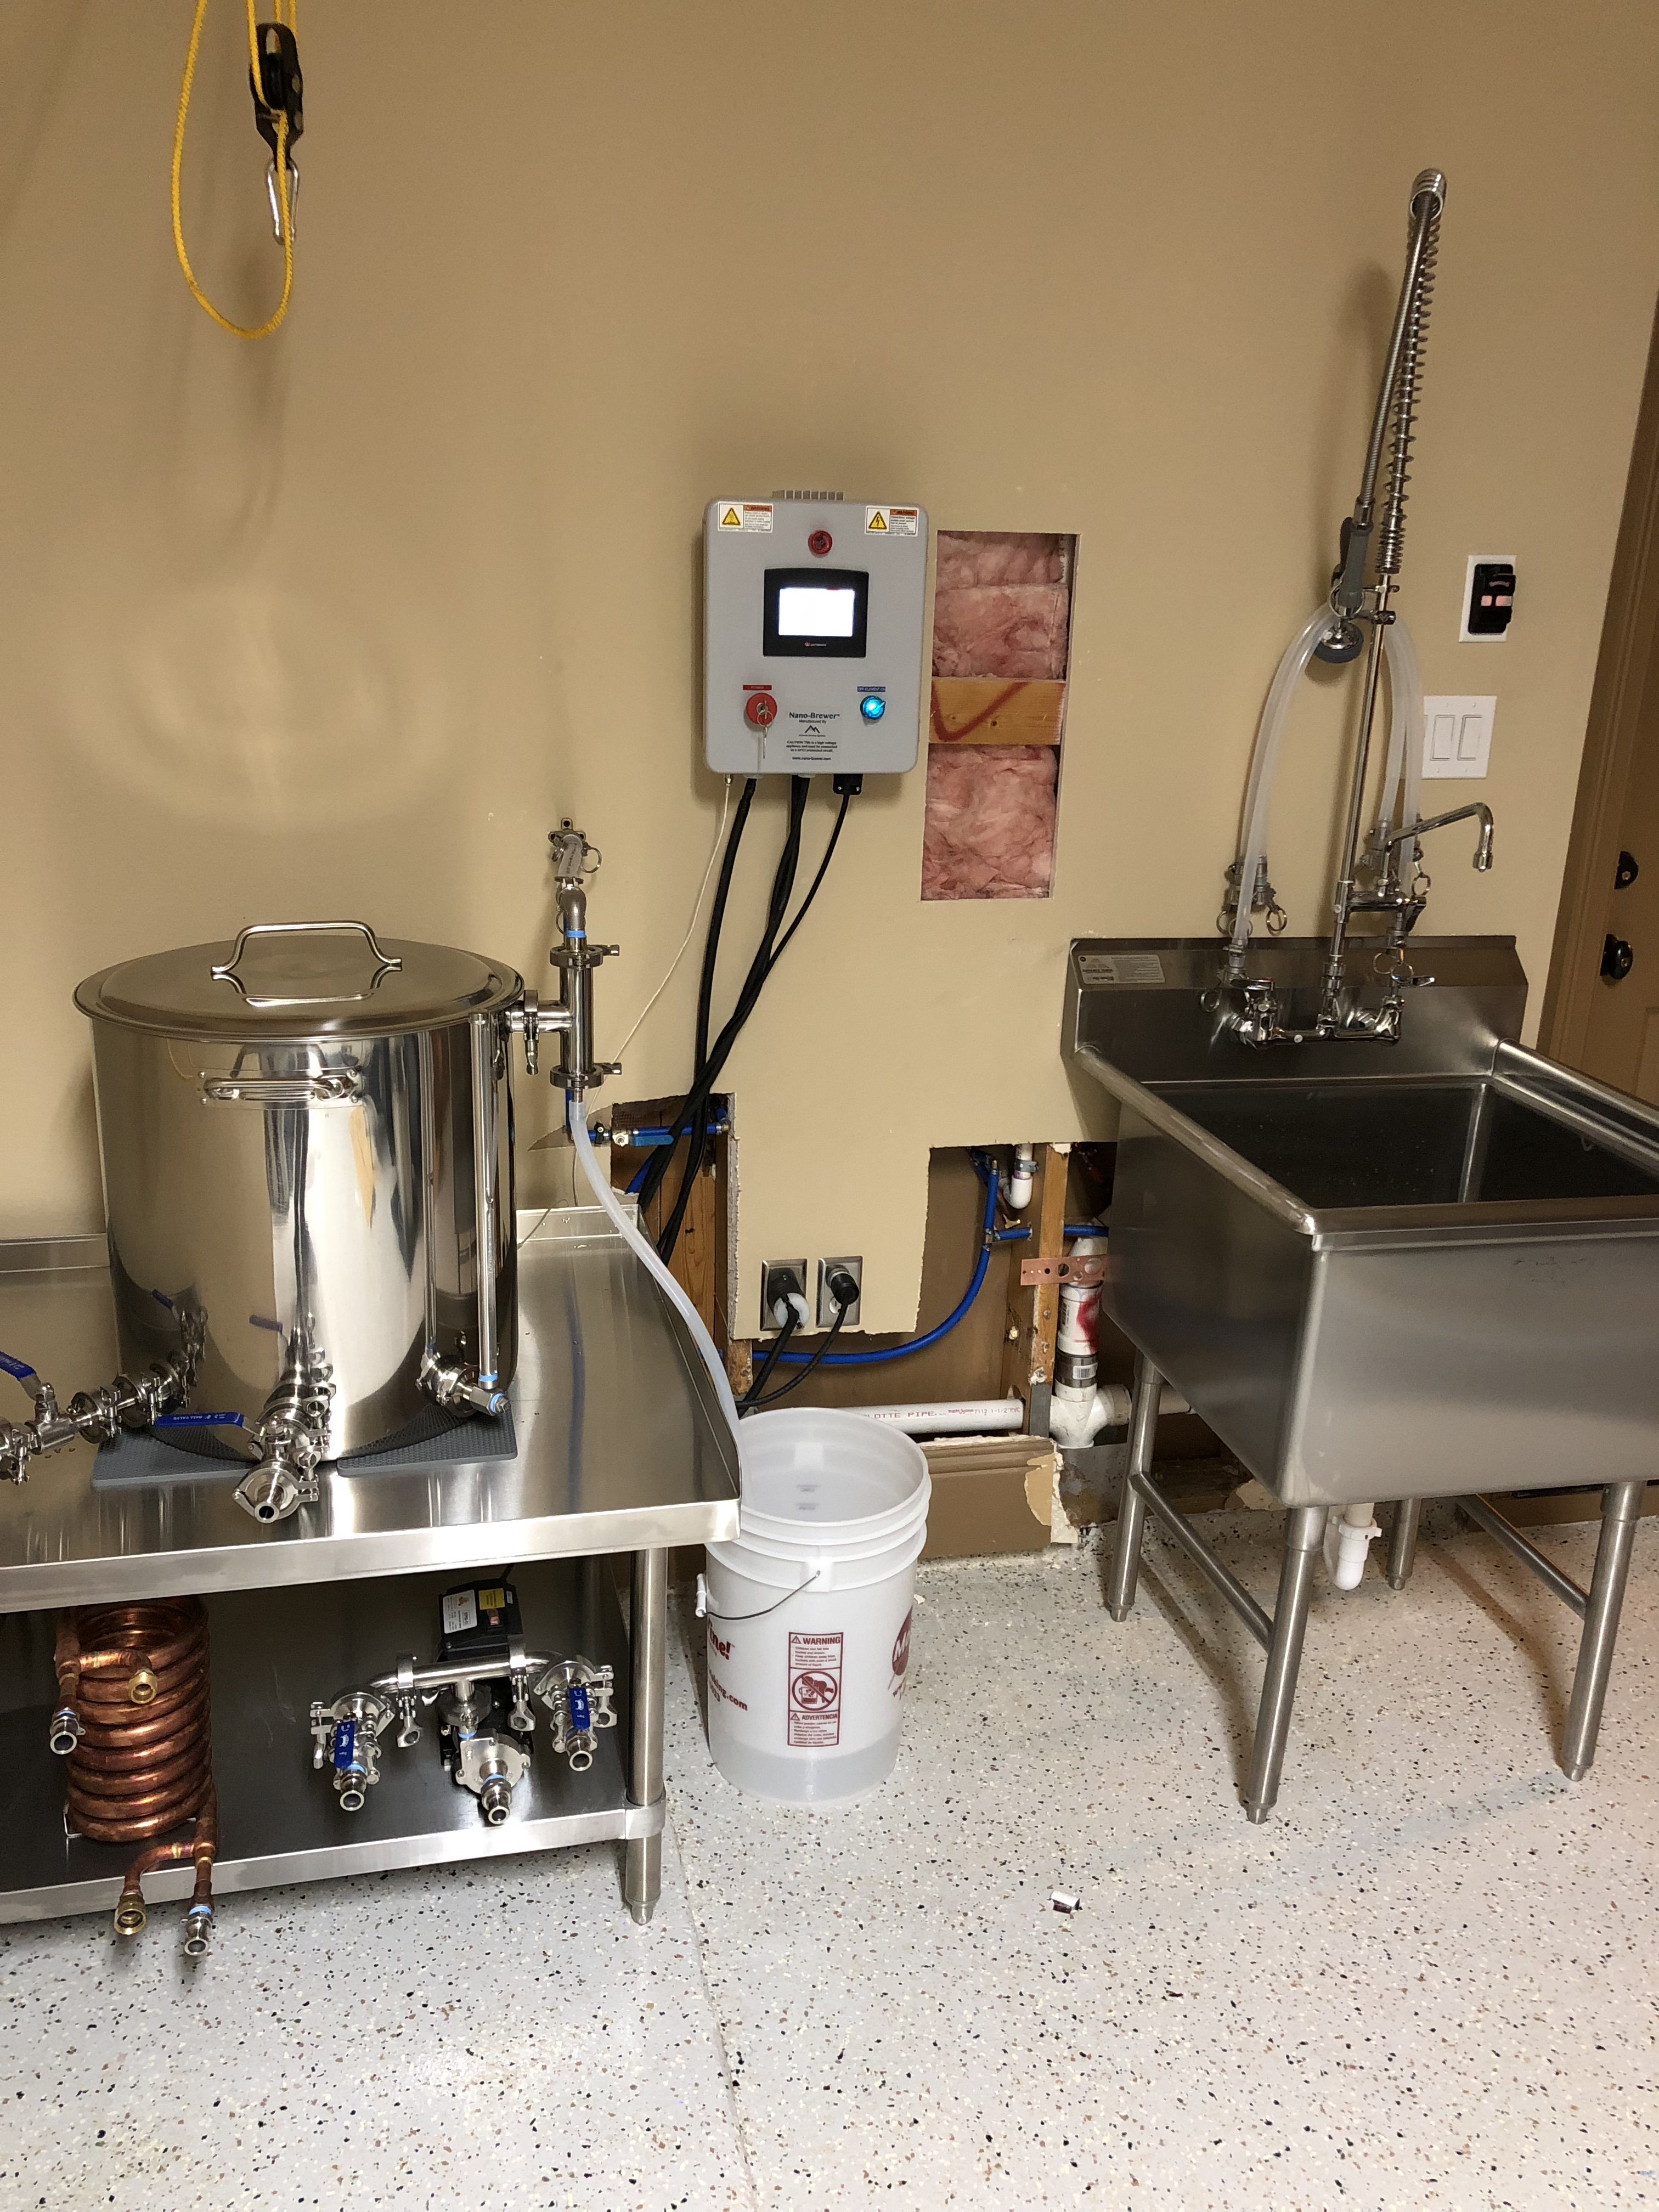
) Initially I was planning to use a Blower assembly from an old furnace to power an exhaust hood over the boil pot. But it was proving more difficult to find a suitable location for the fan, and ducting. not to mention the cost of having a steam hood fabricated to fit within the limited space I have. Thank you to everyone that has contributed to building testing and sharing your knowledge here!
 
Back
Top