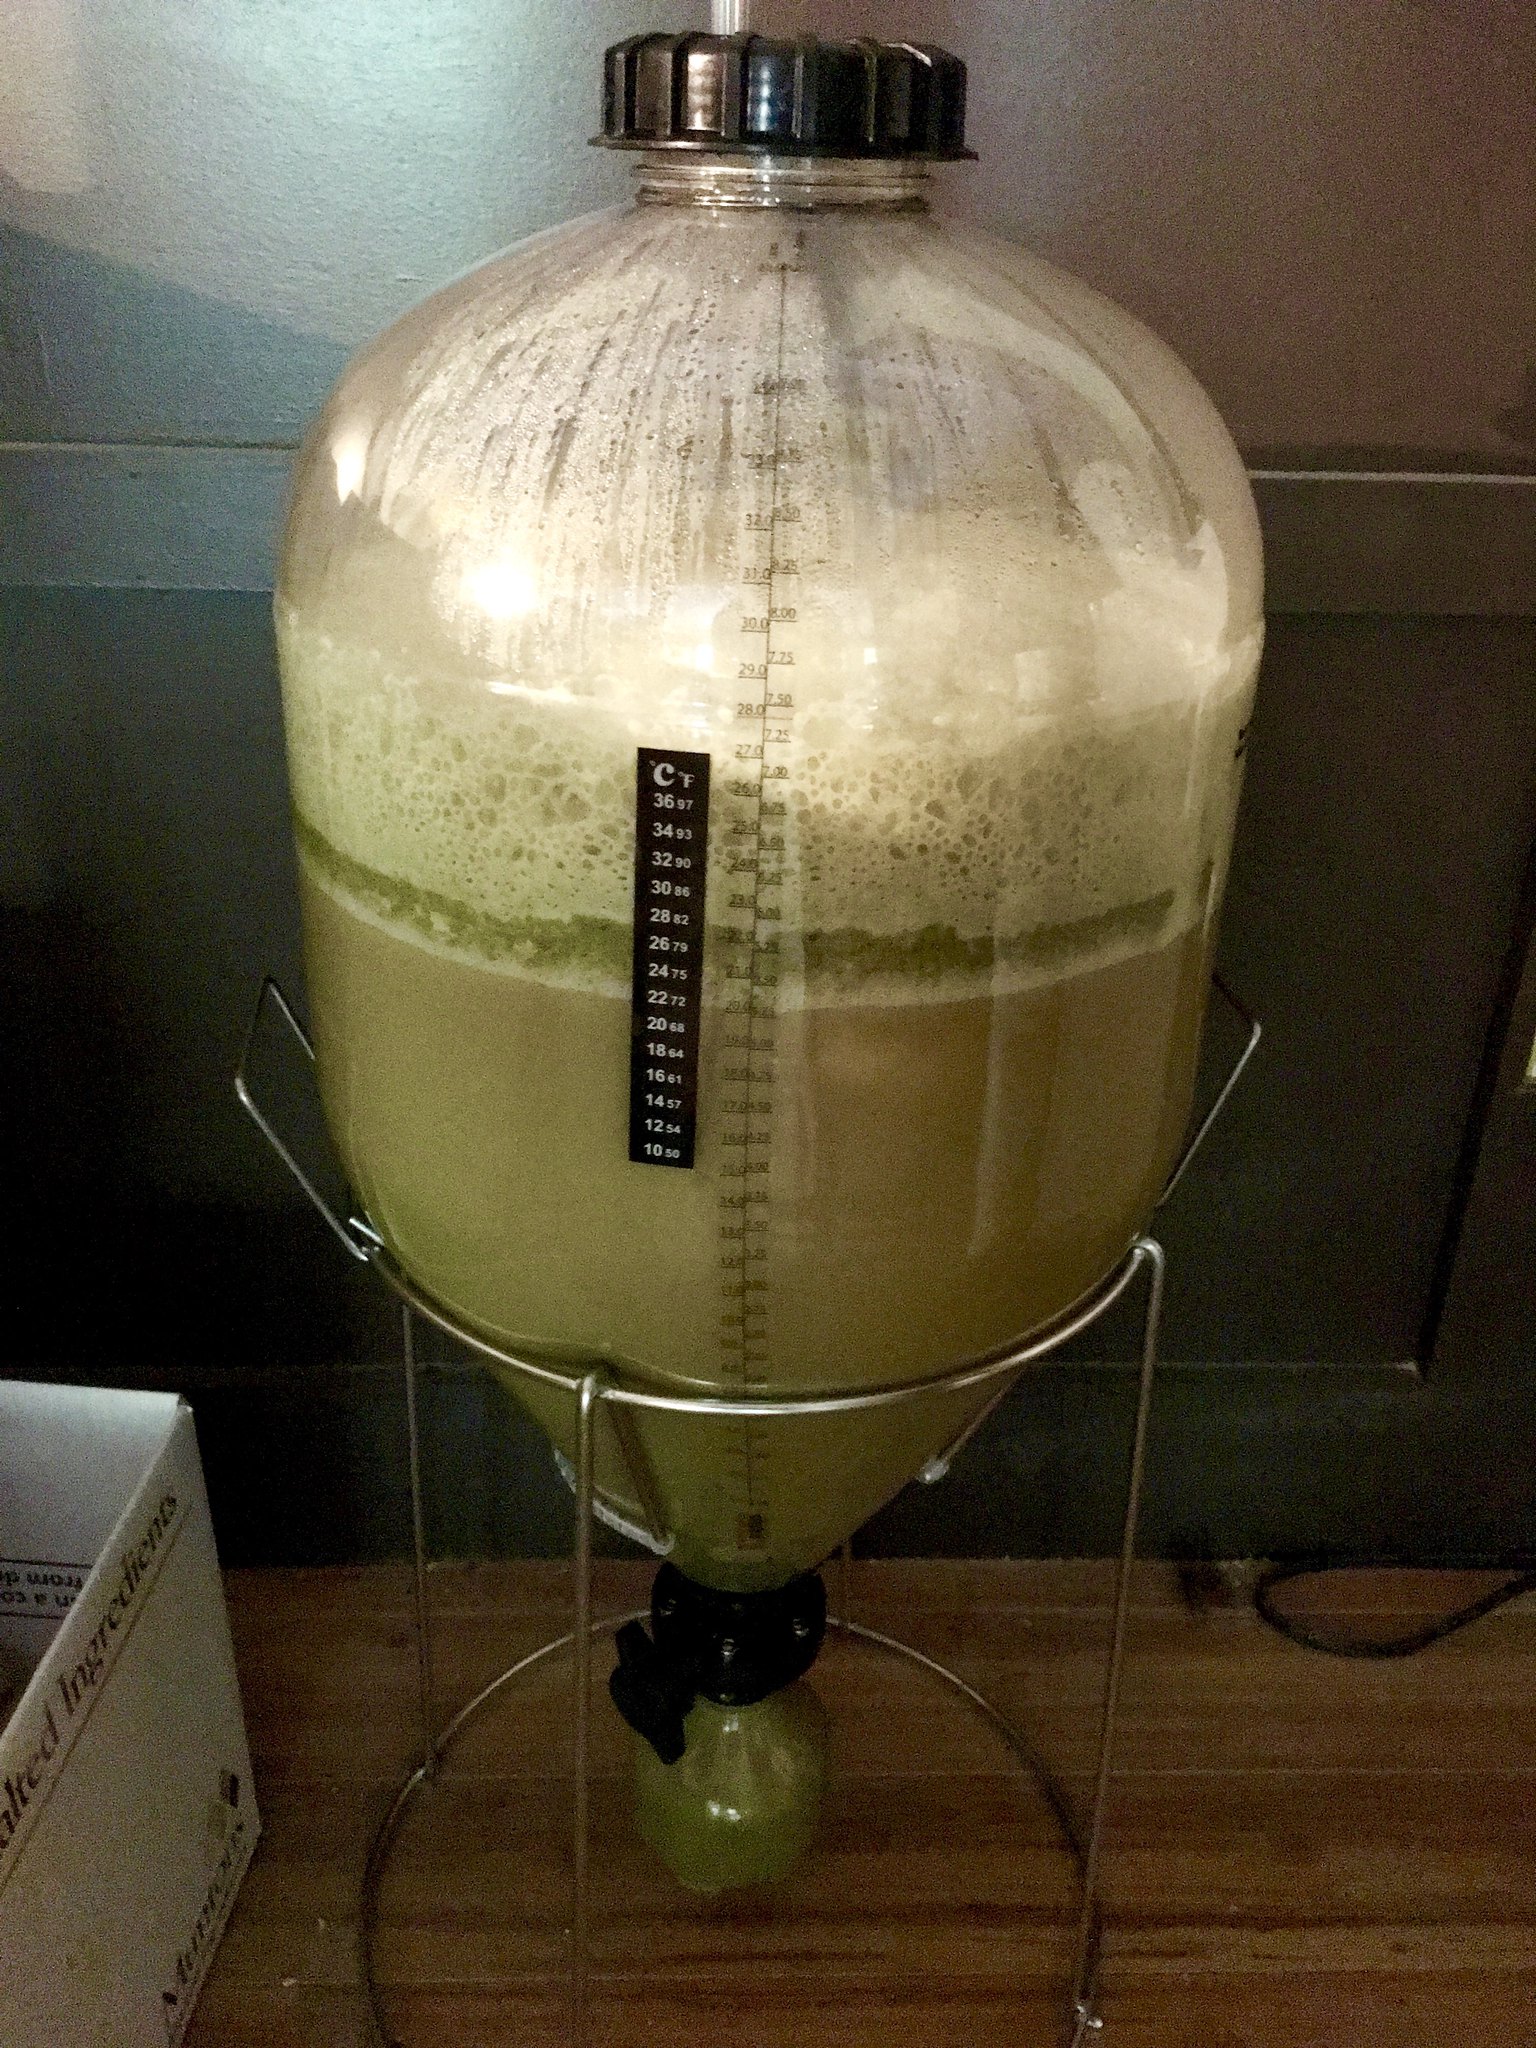
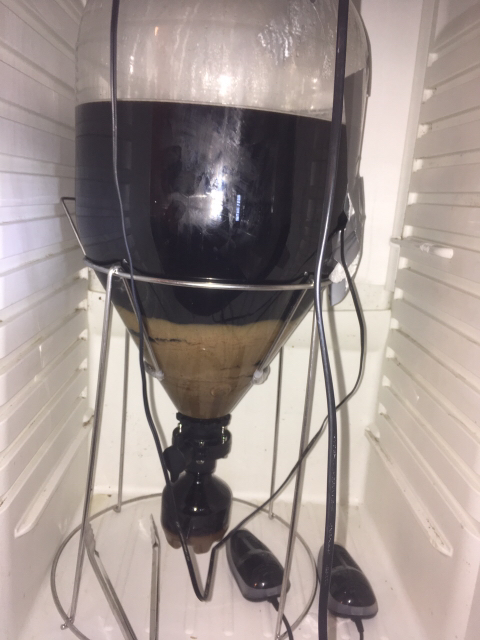
Used my Fermentasaurus for the first time and just bottled my first batch from it. Some observations from my experience of my first go-round:
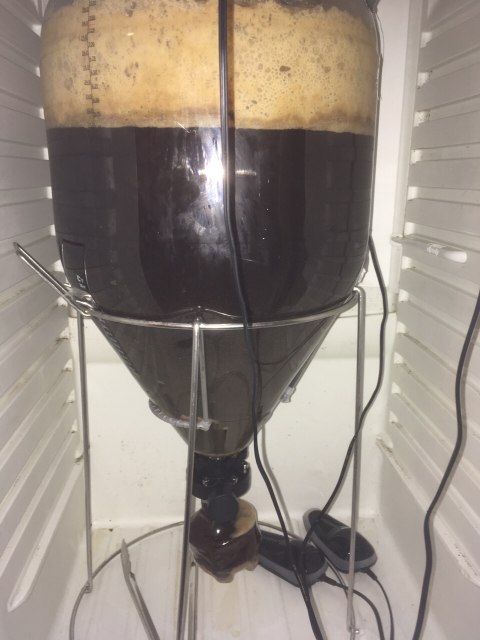
- Definitely was great to see exactly what's going on inside, is very light weight and easy to carry
- Assembly was not too difficult, and the YouTube videos are a big help.
- For my batch of NE IPA, I used a hop spider and immersion chiller, then racked to my SS 304 7 gallon BrewBucket, then let it sit overnight and racked it off the trub into the Fermentasaurus. Had very clean wort as a result.
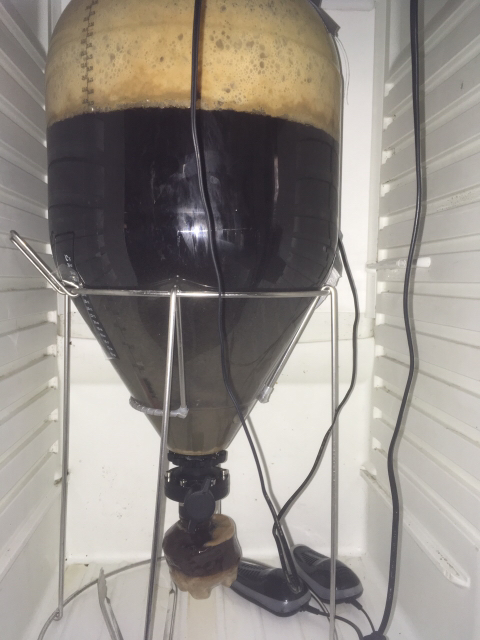
- I bought and used a 1 liter Soda Stream bottle to begin with instead of the 500ml bottle that comes with the kit.
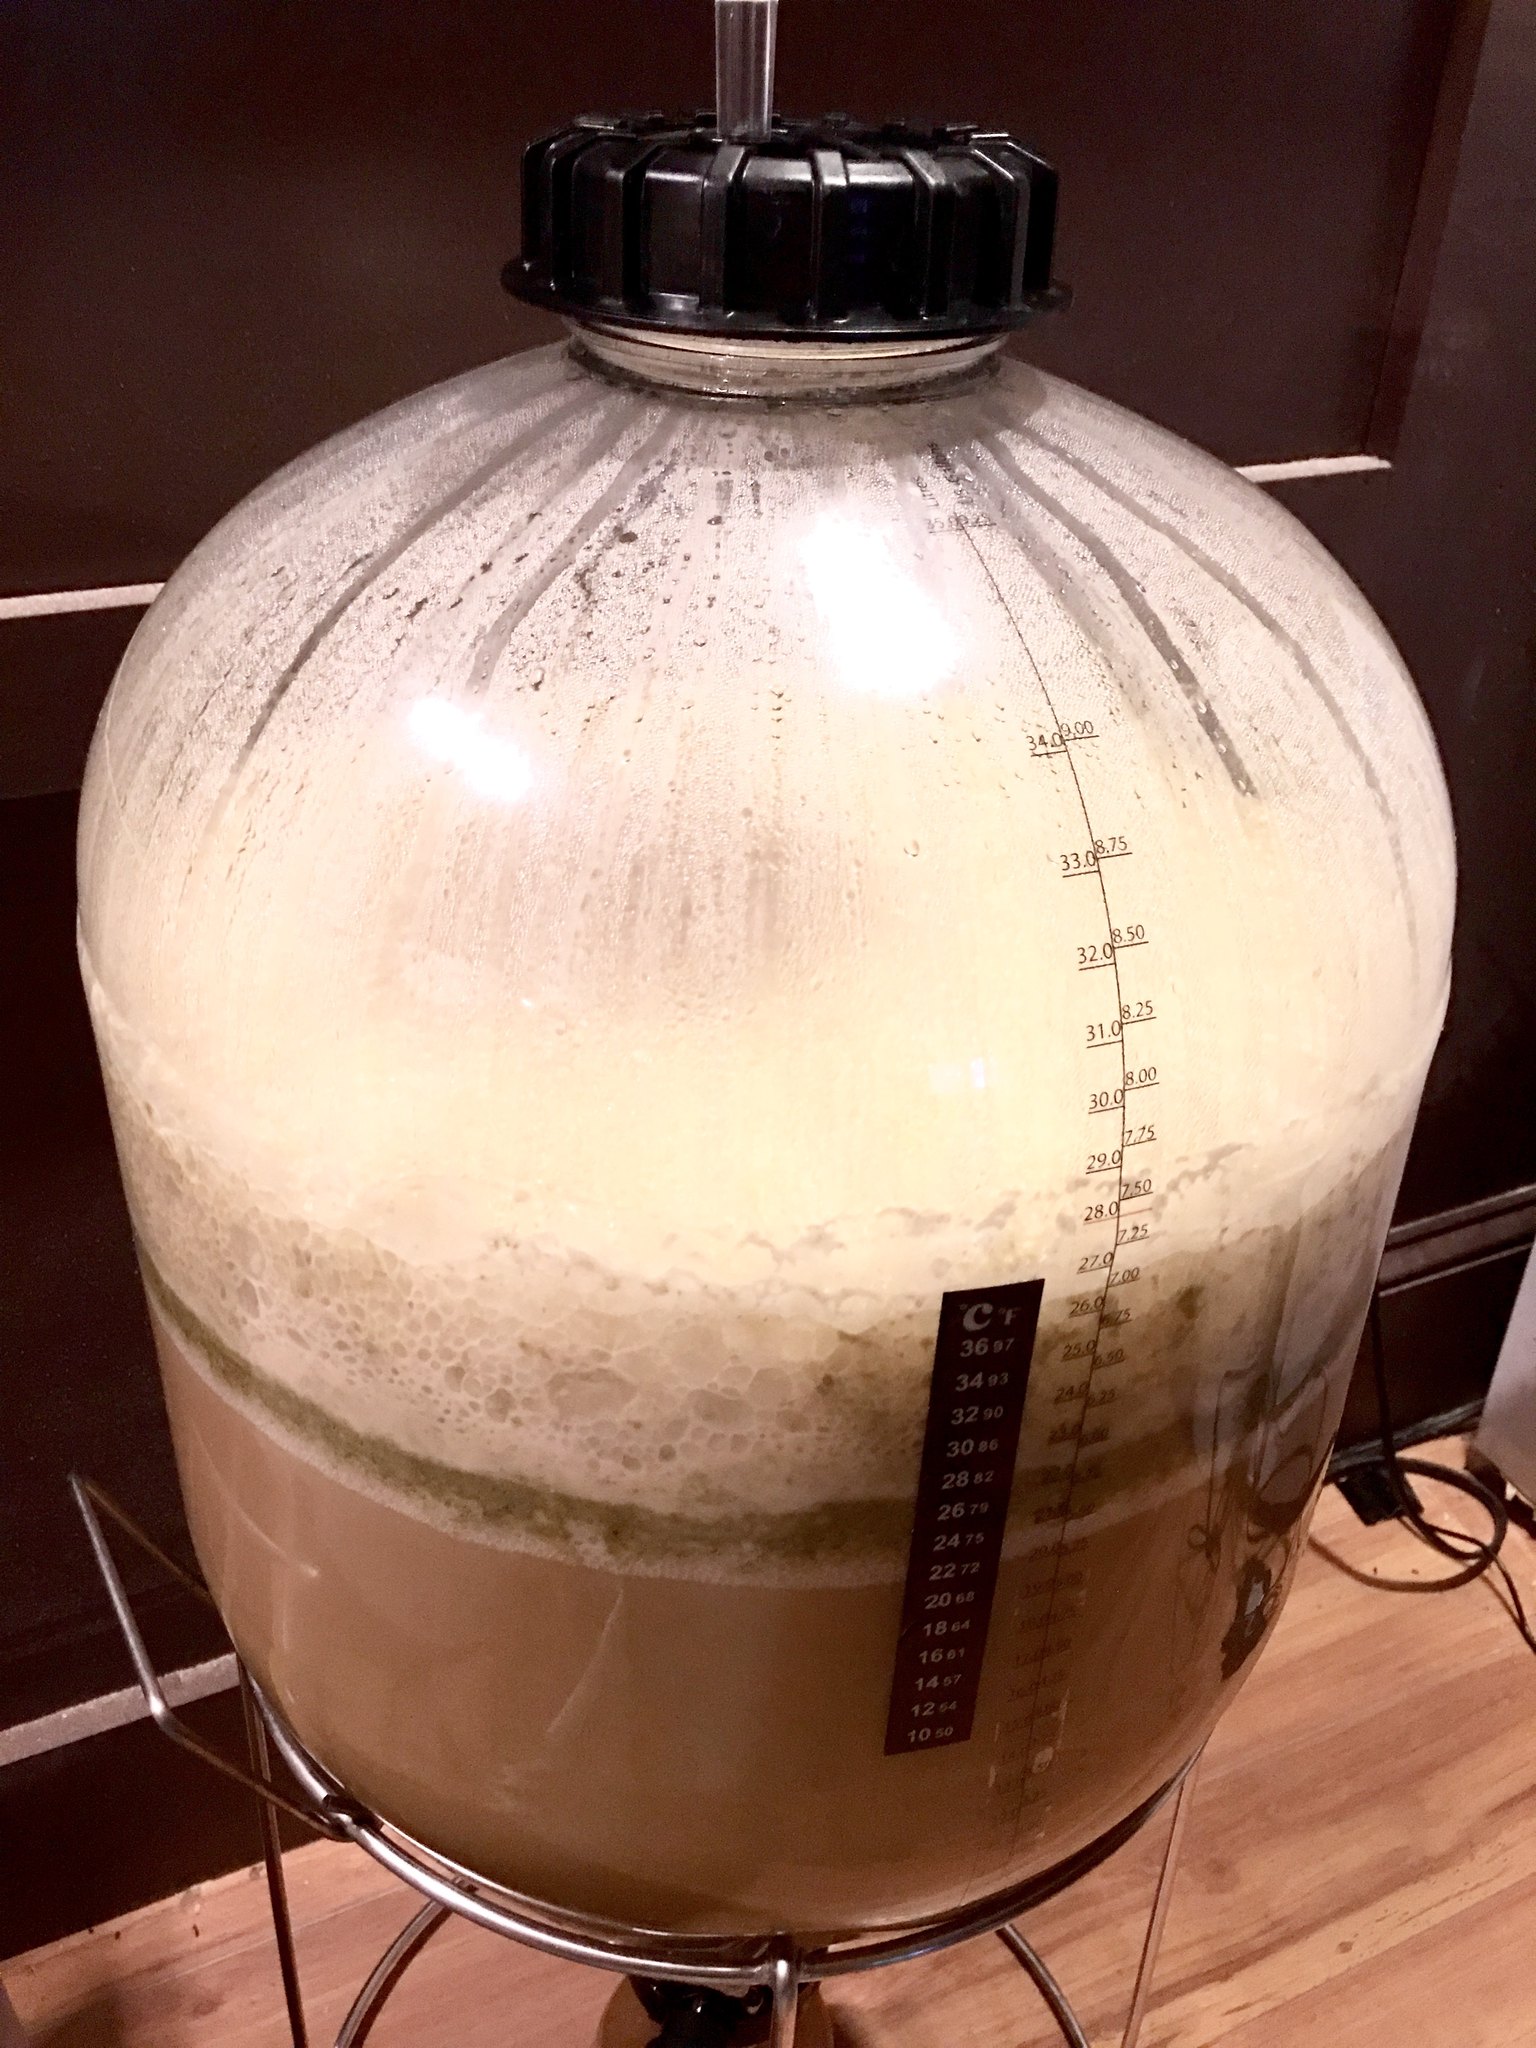
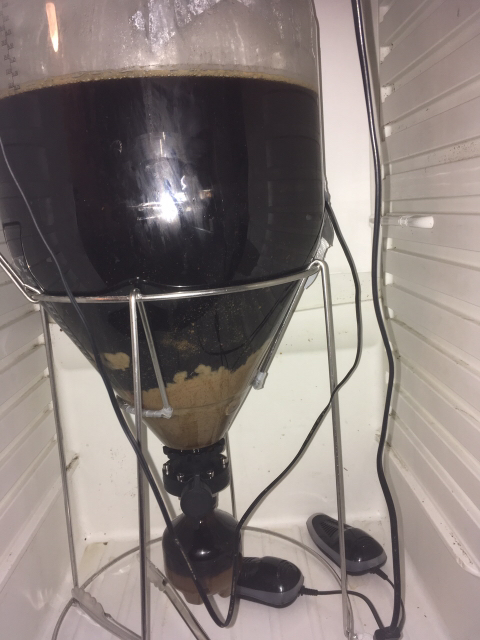
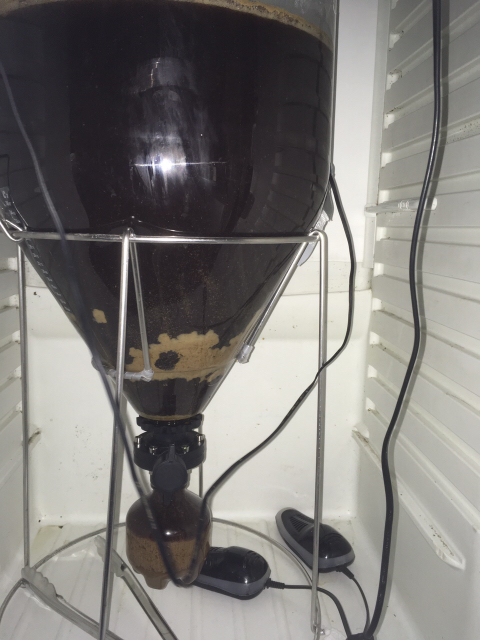
- No trub collected and needed to be dumped, but the bottle filled up 1/2 way with yeast after fermentation.
- I did not ferment under pressure, I don't have a dedicated fridge for it yet.
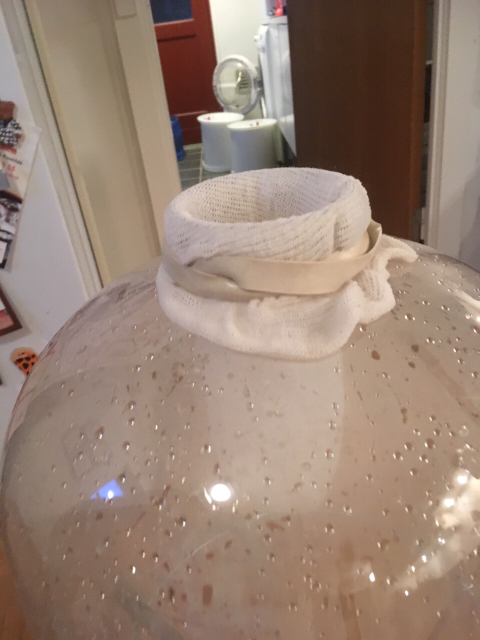
- I dry hopped with a hop tea, usually I dry hop in a 300 micron canister, which I think I'll do next time
- After 8 days i bottled it using the barb, and had no trouble bottling and had very little yeast on the sides near the bottom of the fermenter.
- Cleaning was easier than I thought, but unscrewing the butterfly valve assembly took every ounce of strength I had (which wasn't much after having a bottle of Permanent Funeral while I bottled).
I am anxious to ferment under pressure, be able to crash-cool, and use the pressure kit to keg the batch off the top. Really liking it after the first use, but will be careful not to overtighten the assembly next batch.