Another BIAB rig? What, are you guys multiplying?

Homebrew Talk - Beer, Wine, Mead, & Cider Brewing Discussion Forum

Help Support Homebrew Talk - Beer, Wine, Mead, & Cider Brewing Discussion Forum:

This site may earn a commission from merchant affiliate links, including eBay, Amazon, and others.

brewinsam

Supporting Member
HBT Supporter
Joined
Oct 13, 2010
Messages
50
Reaction score
2
Location
Oklahoma City
I've decided that my first dedicated AG rig would be a BIAB unit for the sake of simplicity. After weeks of browsing threads of note by ScubaSteve, Navy_Brewer, HossTheGreat, Seven and great contributions to my understanding of electronics by Kal and P-J (cheers ya'll :mug: ) I've decided to take the plunge and begin the process of burning my house down. :drunk:

I've assimilated a a few wiring diagrams and came up with this.

biab%20diagram.jpg


Please don't let me burn my house down, I think I understand the basics but I slept through circuits and wouldn't mind critiques on this thing. Also, a 30 AMP GFCI can power this element and a March pump right? I think it should, so I plan on adding a fused and switched outlet to the system to power my pump as well.

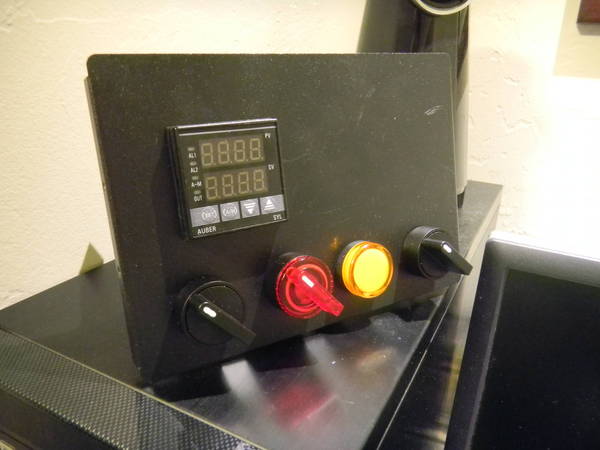
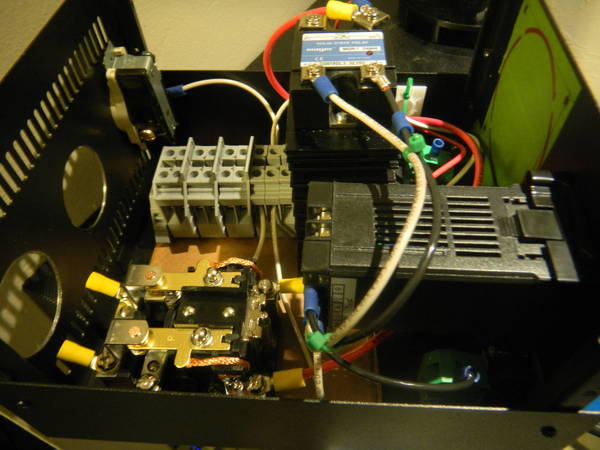
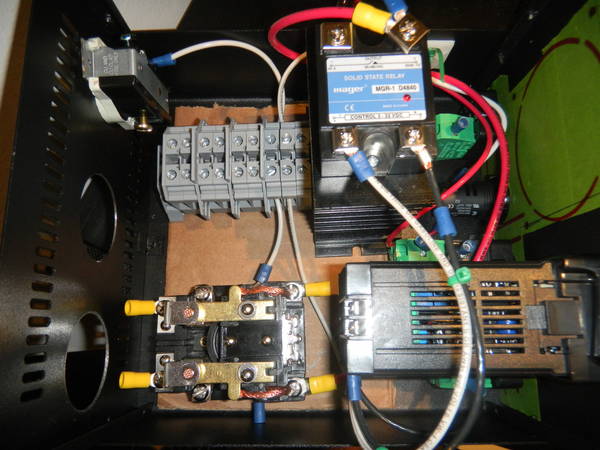
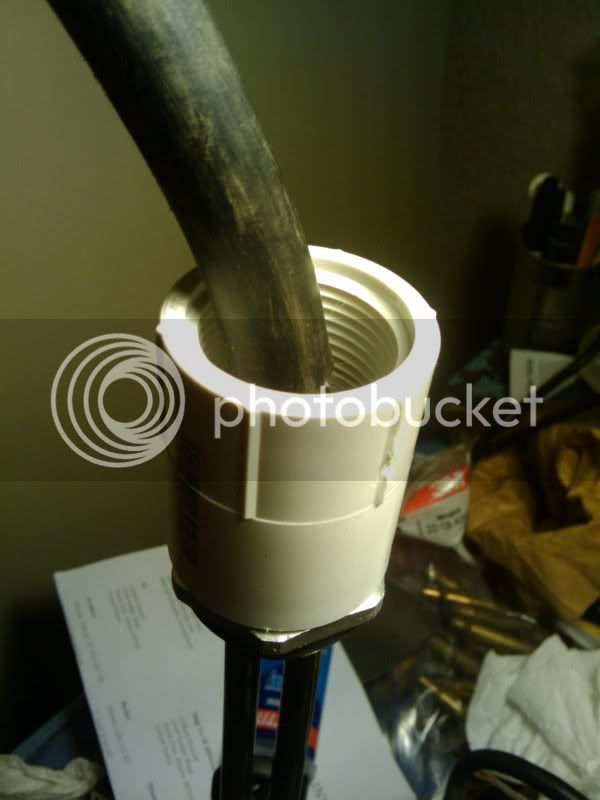
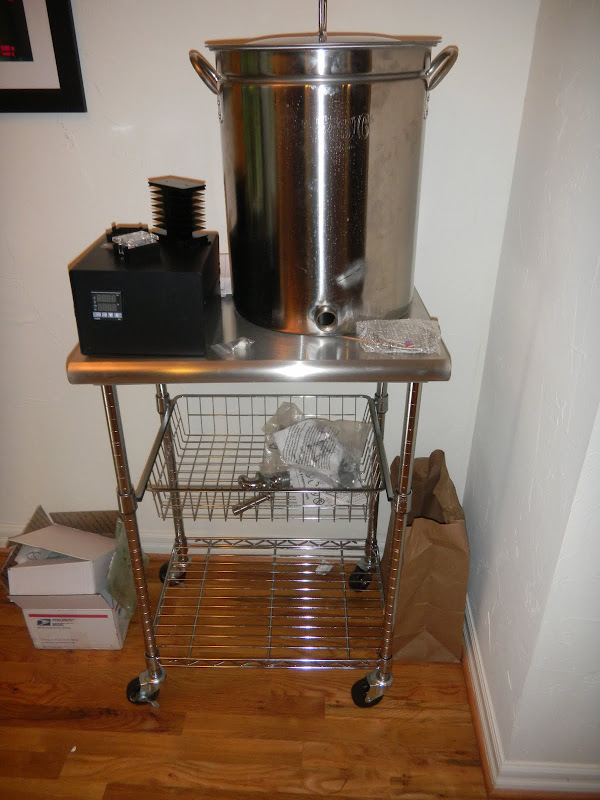
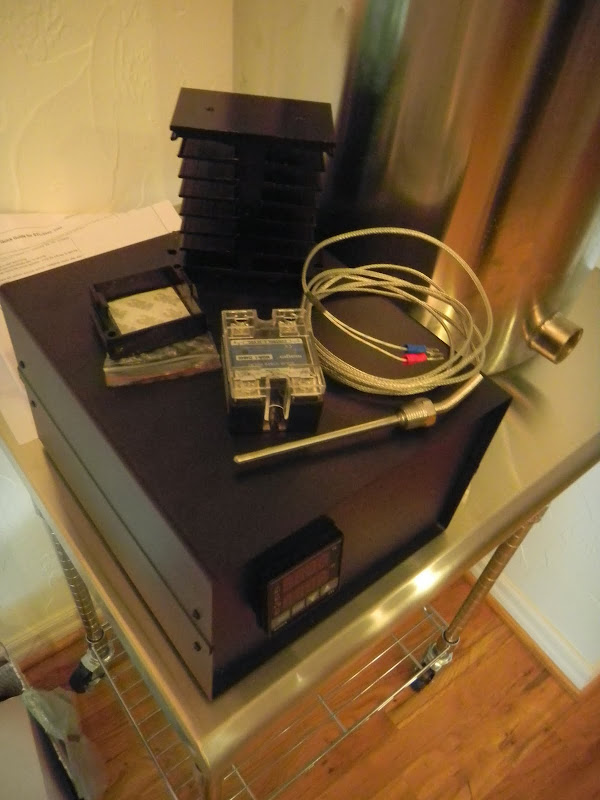
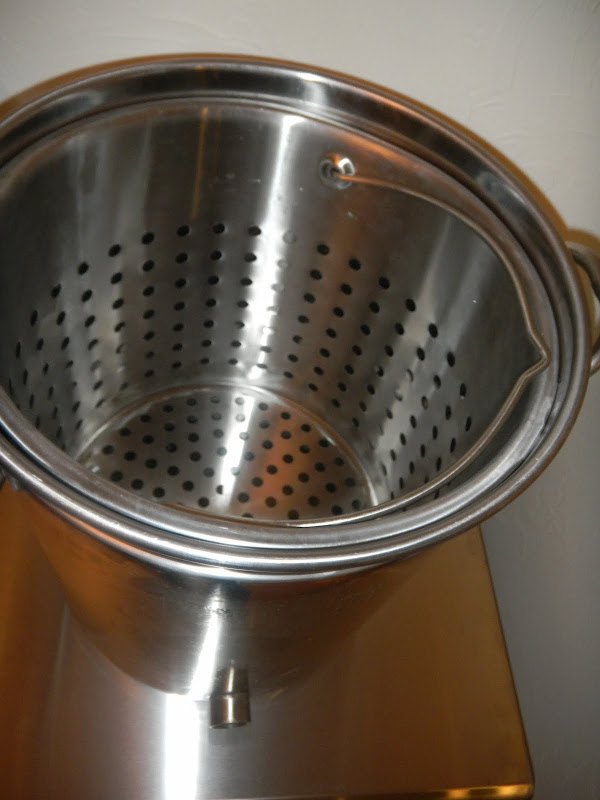
As a way of thanks I'm including some brewporn of my soon to be assembled BIAB rig. Enjoy!

BIAB%20Brewery%20005.jpg


BIAB%20Brewery%20006.jpg


BIAB%20Brewery%20003.jpg
 
Last edited by a moderator:
holy crap this is like the exact same setup i am working on right now. insane! is that a 62qt bayou classic kettle?
 
Garrett, it's the 44 qt pot. I bought it on impulse after seeing one at an incredible discount, but I think it's going to be small for big 5 gallon batches.

P-J, I hope this helps:
biab_diagram.jpg
 
Nice! Are you going to stick with the mesh bag, or are you going to try screen?
 
brewinsam,

You mentioned that you wanted to add a pump (pumps?) so I did this diagram for you that might help. It also has a circuit for EPO (Emergency Power Off) that you might be interested in.
(Click on the image for a full scale printable diagram)


The outlet pictured in the diagram is a standard outlet.
A little description:

duplex-outlet.jpg


The arrows point to a small break away tab. Just snap off the one on the left side (brass terminal screws).
This way you will eliminate some wiring complexity as the neutral and ground will be common for both outlets.
You would only need to cut one hole in the box as well.

Hope this helps.
 
P-J: Thank you! Your diagrams have been especially helpful and I must admit the diagram I made is loosely based off of one of yours. I don't really like DPST switches though so I incorporated the relay used in Kal's control panel. As for the pump wiring and the EPO I will likely incorporate both of those so thank you for them.

ScubaSteve: I'm going to stick with the bag at first, your screen exploits are inspiring though.

More of the hardware is coming next week; now I just need to buy the switches, bus bars, relay, fuses and plugs/receptacles so I can get started on wiring.

-Sam
 
Well a bit of an update, almost everything is in now. The relay I used is the same one Kal uses in TEB, however it and the heatsink on my SSR take up a lot of space in my enclosure. I also bought a dryer cord to use as a power supply however I've run into a snag here, it uses 8 gauge wire but my terminal blocks can handle 10 gauge max (I used the same ones Walker recommended in Cidahmaster's build) so either I order a few 8 gauge blocks or splice the 8 into 10 gauge wire? Bad idea?

Further complicating things is my desire to craft my own back plate for my box so I'd only have four screws sticking out the bottom keeping things neat. The major complication here is that my SSR with the heatsink from Auber only has 8mm of clearance to the top of the enclosure as is. If I hadn't spent the time and money on this enclosure I would have invested in a different sized unit to keep with my goals. Oh well, control panel pic enclosed:
BIAB_Brewery_015.jpg
 
Well some updates in photographic form.

BIAB_Brewery_017.jpg

I've started wiring this beast and run into a few issues; most prominent is the lack of space inside the enclosure. I've changed my mind and was going to supply power to the element using a NEMA L6-30 outlet, but now I'm putting a lead with a receptacle at the end. Wait till you see the strain relief I'm using, it looks overkill but it likely just sufficient.

Furthermore I think I'm not using the 8/4 dryer cord it's a little too bulky and won't fit into my terminal blocks. I'm going to return it and replace it with 10/4 SJOOW, which I think is sufficient. As you can see in the following picture it's getting cramped in there. The bottom hole in the rear of the enclosure will be the out to element, the middle will be the power input, and the top is the outlet for the pump. The green tape has the rough outline of where an 80mm 120v fan can go, I'm still debating if I really need it. I know it won't hurt but wiring it in may prove to be a headache.
BIAB_Brewery_018.jpg

Edit: forgot to mention that cardboard is just a mock-up of where my backplate will go. It's a piece of 304 stainless that I'm using standoffs to mount inside the box, it will help me not perforate the bottom of the box and if necessary i may put a hole in the middle of it to snake wires through to the switches since it's getting pretty crowded up front.
 
I've made the same mistake in the past you are making. IMO you should cut your loss and buy a bigger box. I had completely finished mine, fired it up and had a meltdown due to an incorrect part I was sent. Trying to work in the small box for repair was frustrating so I ripped the whole thing apart and rebuilt it with plenty of room to spare plus room to grow if needed.
 
samc: I'm a glutton for punishment. If something happens and I need to repair or replace anything I'll spring for a new enclosure, but right now I've spent too much time punching and filing holes in that thing to toss it.

P-J: Thank you!

Another update, early last night I finished my kettle, well almost. I left it overnight full of water and there were no leaks. Just gotta figure out a way to trim that sight glass and JB weld the eyelet to the grove in the top of the kettle. The Bayou Classic pot with spigot is perfect as you just unscrew their spigot and install your own element in their welded 1" fitting.
BIAB_Kettle_002.jpg
 
Good work! We just finished ours. Well, phase 1 anyways. Scuba Steve has started an epidemic.

34rhd1h.jpg
 
Well, just hit a wall...

I've been unable to attach the ground to the element as planned. I wanted to attach the ground directly to the element body using a screw, so I drilled and tapped it and realized that if I were to use a 1" coupler the location of the ground screw would interfere with the coupler seal. The following images were stolen from klyph's build.
1: What I was going to do:
2010-07-27223619.jpg


2: So then I wanted to solder the ground wire directly to the element:
2010-07-27211959.jpg


I've tried 3 different solders and I'm using my old school, reliable Weller 100/140 gun with a brand spanking new tip but nothing sticks to the element. Any ideas?
 
Does the coupler have to be sealed? I'm going with a PVC 1-1/4" elbow which fits over the hex-sided portion of the element. Since it was just slightly loose in the fit, I made several saw cuts across the end that goes on the element so as to form "fingers". A stainless worm-drive hose clamp over it forces the "fingers" onto the element & it grips it tightly. I glued a 3/4" threaded reducer into the other end of the elbow for a cord clamp. I used an elbow to turn my cable downwards, but the same method could be used for a straight coupler. Maybe this would allow enough room for your ground screw. Mine is going on a keg, so I'm extending my ground wire out to a bolted connector on the keg skirt.
 
Back
Top