
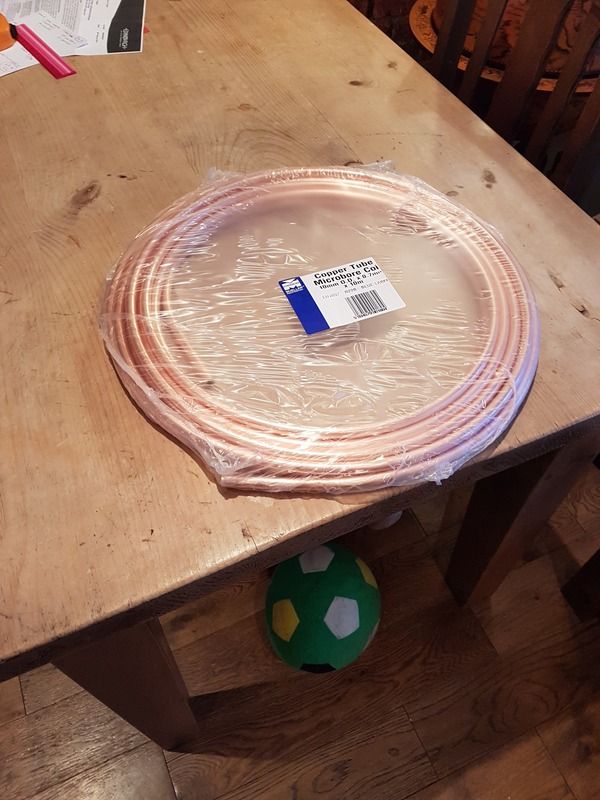
First step buy the parts, got some copper tube from B&Q. 10m by 10mm.
I separated it out so that the ends were clear of the rest(this will become clear in the next step)
I filled the tube with water & hammered shut both ends. I saw this technique on Youtube and it seemed to work pretty well.
I didn't bother with the welding, simply a hammer was enough to get them closed tight.

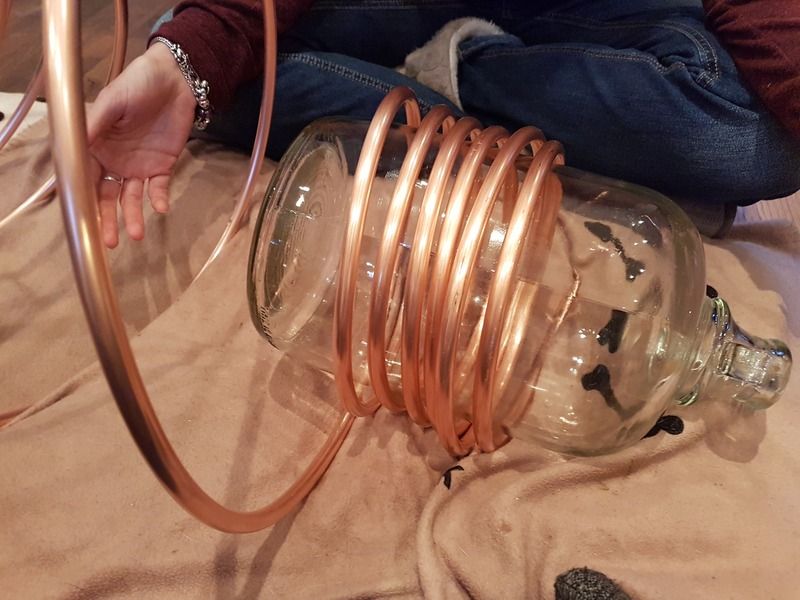
With the coil now filled with water & closed at the ends I started wrapping the coils tighter using a demijohn for sizing. Take your time here as it is still possible to kink the metal despite it being filled with water.
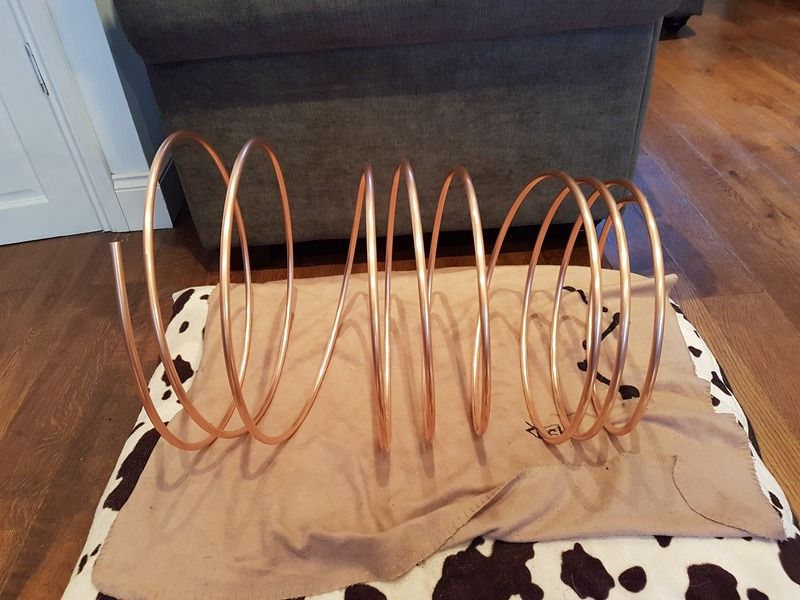
The coiling seemed to go pretty well and I had some pretty neat and even coils
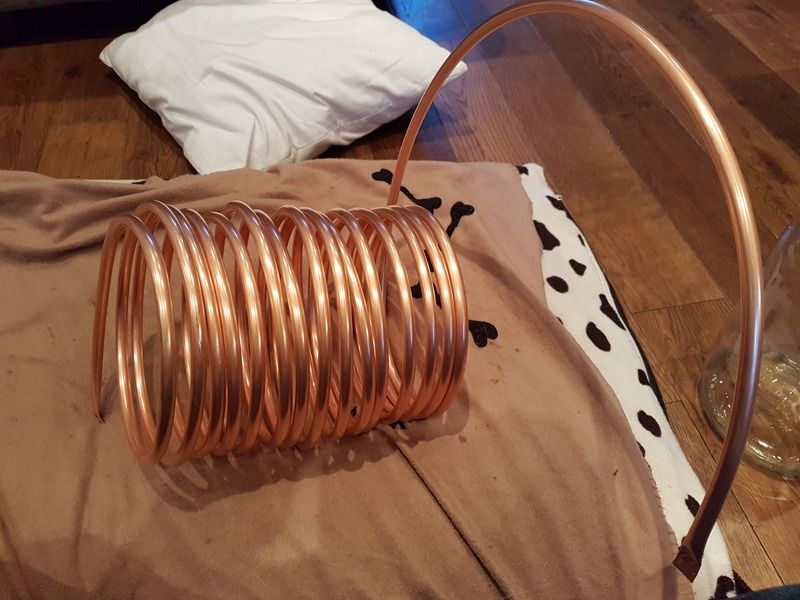
The next part was pretty hard as I had to get the longer end from the bottom worked back up through the centre. To do this I made a tight coil at the bottom then pulled it back through, straightening as best I could.
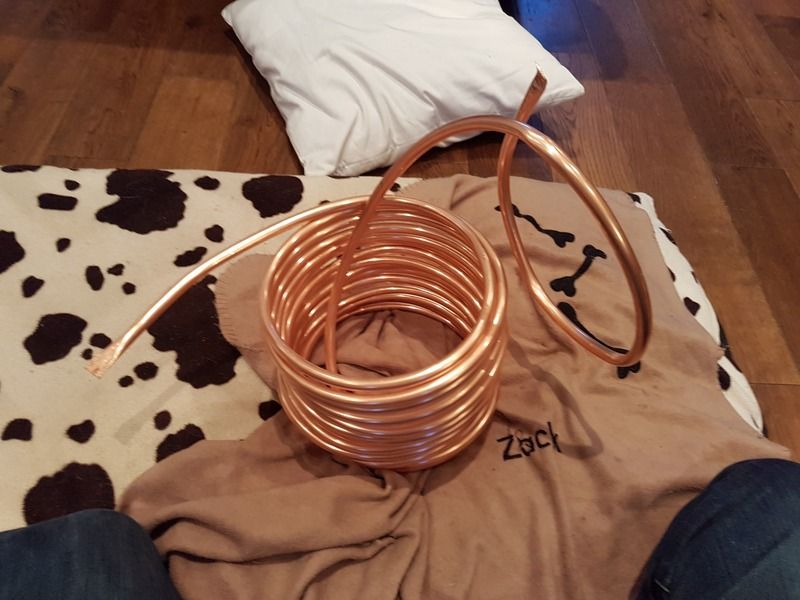
Heres wow it looked after "straightening" out
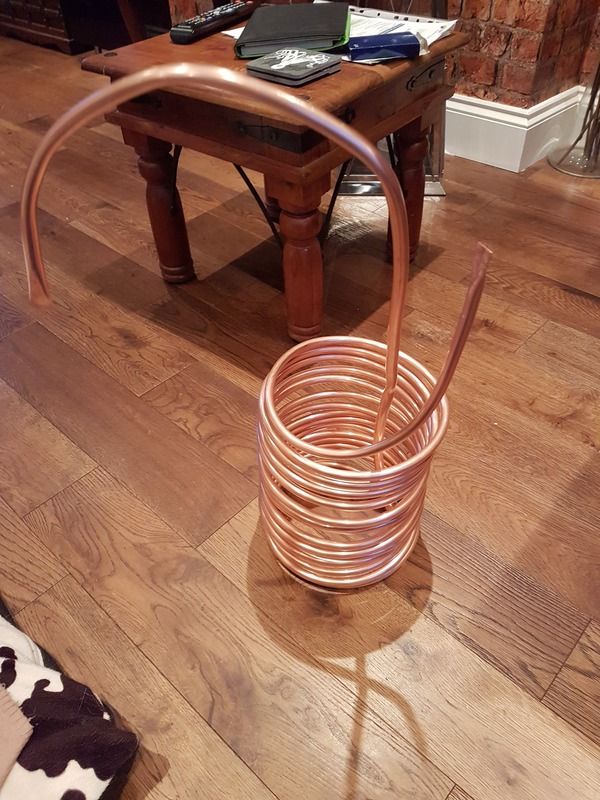
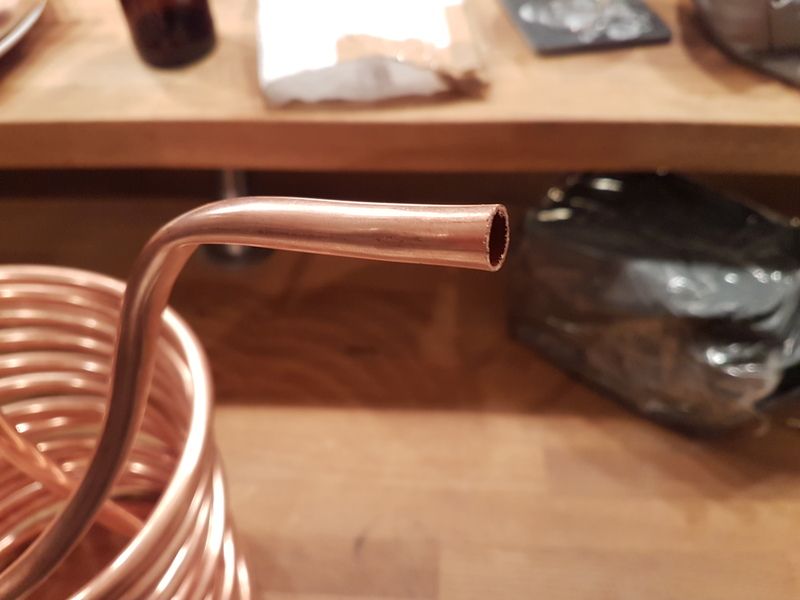
I bent the ends so that they formed a crude "L" shape then using the hacksaw cut off those hammered ends & emptied the water. I also sanded down the ends so that there were no sharp bits.
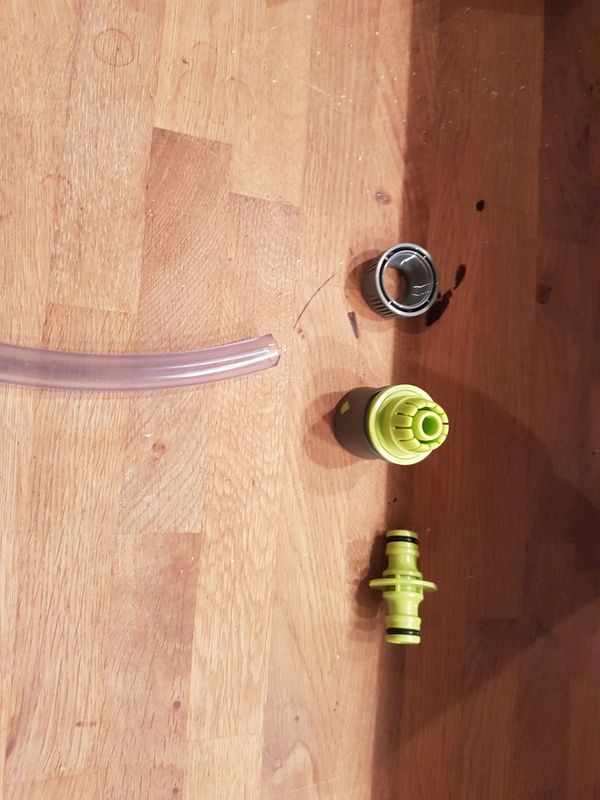
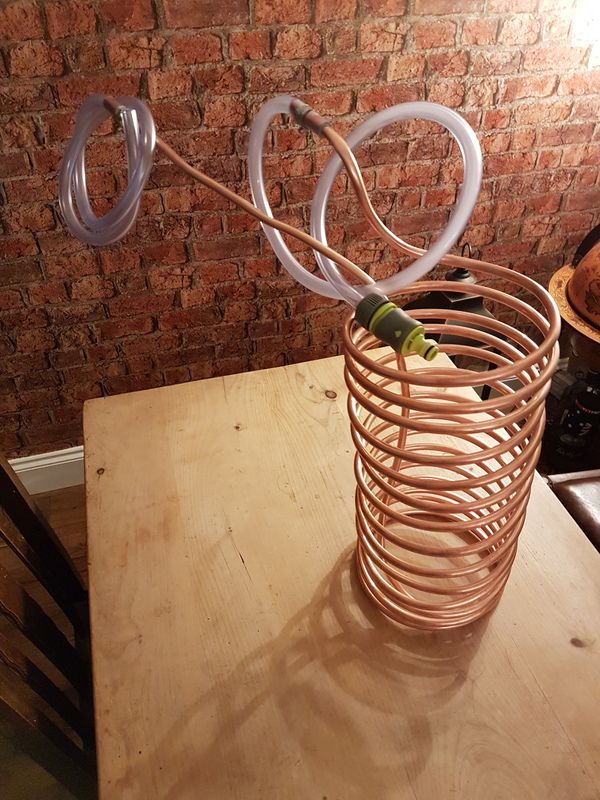
I cut two 1m lengths of pvc tubing ready to attach to the copper. As my wort chiller will be attached to a garden hose I fitted a Hose End Connector to it
I attached the PVC tubes onto the ends of the wort chiller and secured with hose clips.
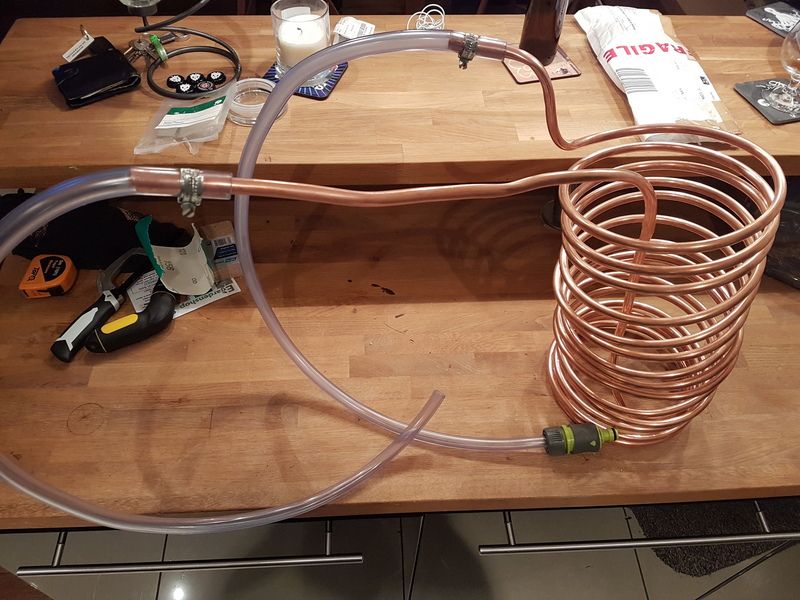
And there we have it, the finished wort chiller. It's a bit wonky here and there but it should do the job nicely. I'll probably cut shorter that long end but for now its fine. I'll see how well it works on it maiden chill next week.
Parts & Equipment:
10m * 10mm copper coil £22
2 x Hose Clips 13-20mm £1.45
2 x 1m * 10mm Tubing (10m at £16.99)
Hose End Connector £2
Double Male Hose Connector £1
Hammer
Hacksaw
Screwdriver
Sand paper

I separated it out so that the ends were clear of the rest(this will become clear in the next step)
I filled the tube with water & hammered shut both ends. I saw this technique on Youtube and it seemed to work pretty well.
I didn't bother with the welding, simply a hammer was enough to get them closed tight.
With the coil now filled with water & closed at the ends I started wrapping the coils tighter using a demijohn for sizing. Take your time here as it is still possible to kink the metal despite it being filled with water.
The coiling seemed to go pretty well and I had some pretty neat and even coils
The next part was pretty hard as I had to get the longer end from the bottom worked back up through the centre. To do this I made a tight coil at the bottom then pulled it back through, straightening as best I could.
Heres wow it looked after "straightening" out
I bent the ends so that they formed a crude "L" shape then using the hacksaw cut off those hammered ends & emptied the water. I also sanded down the ends so that there were no sharp bits.
I cut two 1m lengths of pvc tubing ready to attach to the copper. As my wort chiller will be attached to a garden hose I fitted a Hose End Connector to it
I attached the PVC tubes onto the ends of the wort chiller and secured with hose clips.
And there we have it, the finished wort chiller. It's a bit wonky here and there but it should do the job nicely. I'll probably cut shorter that long end but for now its fine. I'll see how well it works on it maiden chill next week.
Parts & Equipment:
10m * 10mm copper coil £22
2 x Hose Clips 13-20mm £1.45
2 x 1m * 10mm Tubing (10m at £16.99)
Hose End Connector £2
Double Male Hose Connector £1
Hammer
Hacksaw
Screwdriver
Sand paper
Last edited by a moderator:

