The new eHERMS brewery is fully operational!!

Homebrew Talk - Beer, Wine, Mead, & Cider Brewing Discussion Forum

Help Support Homebrew Talk - Beer, Wine, Mead, & Cider Brewing Discussion Forum:

This site may earn a commission from merchant affiliate links, including eBay, Amazon, and others.

303Dan

Well-Known Member
Joined
Apr 23, 2015
Messages
313
Reaction score
103
Location
Erie, CO
So excited to get brewing on the new system! Last night, I did a number of different tests and simulations, ran auto tune on the PID controller and I am ready to go! First brew day is on Friday.

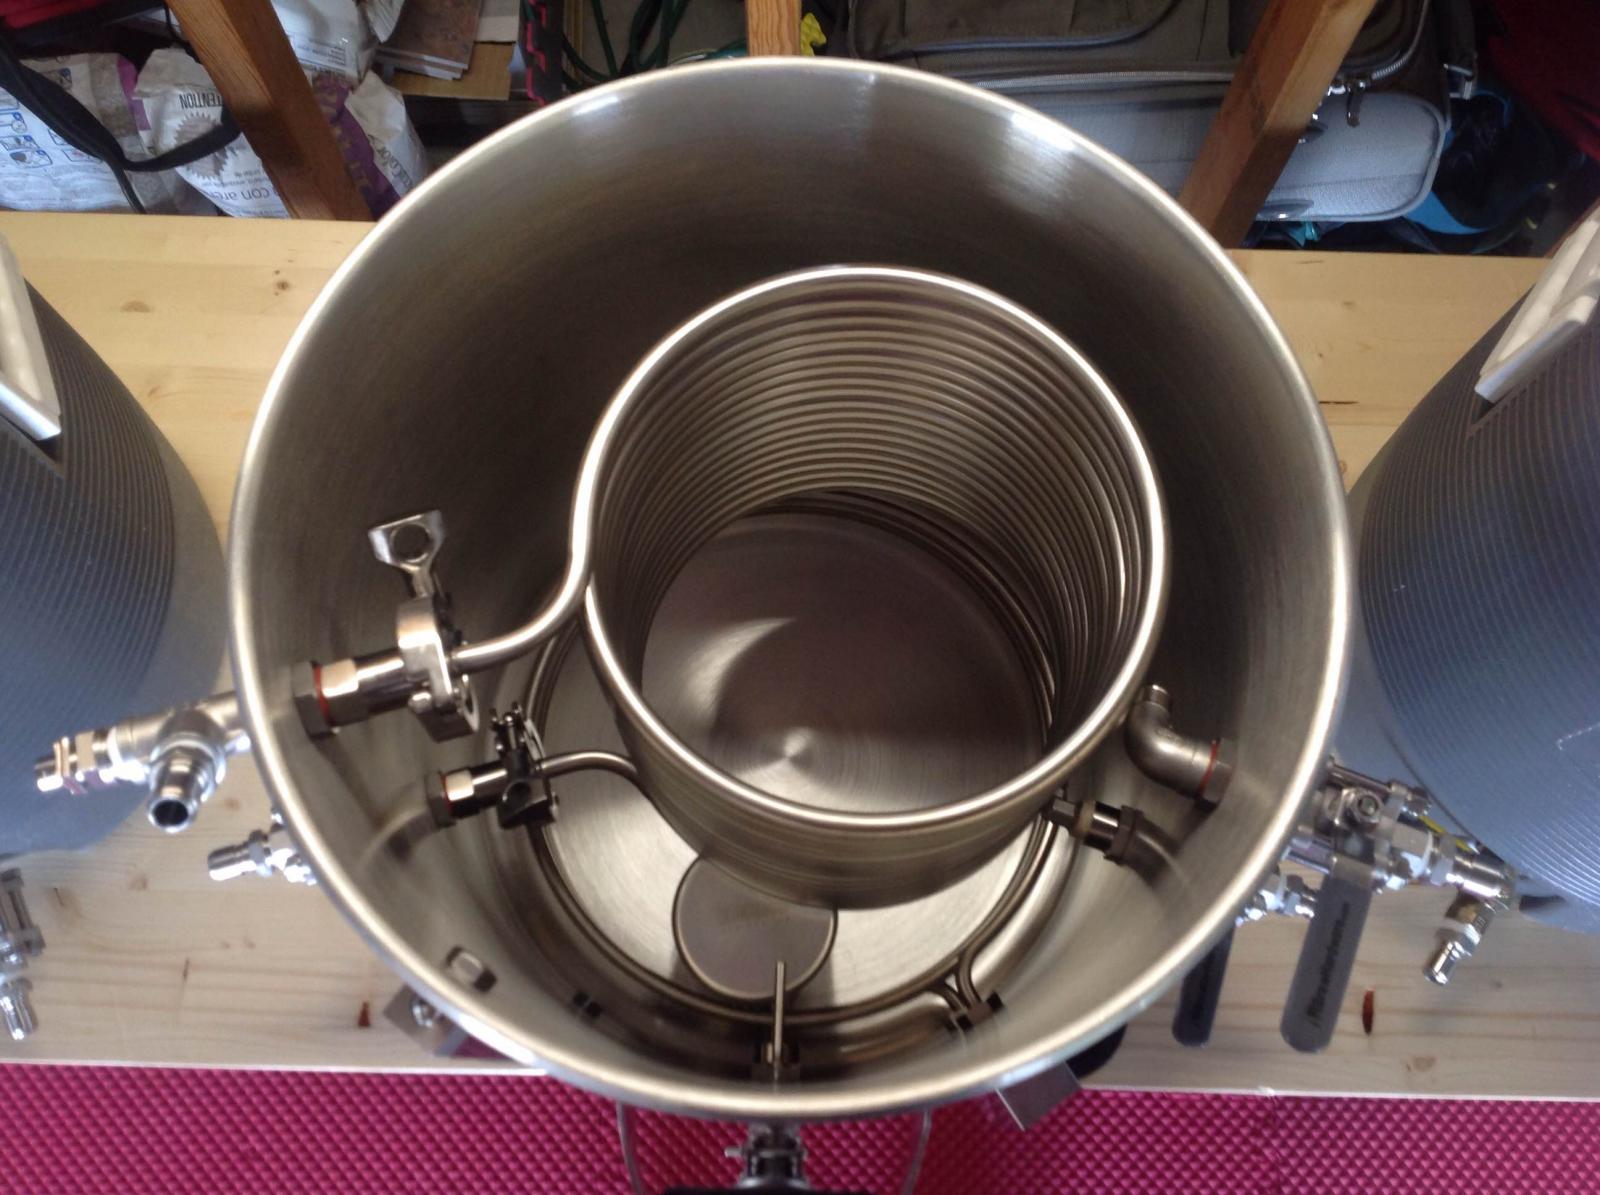
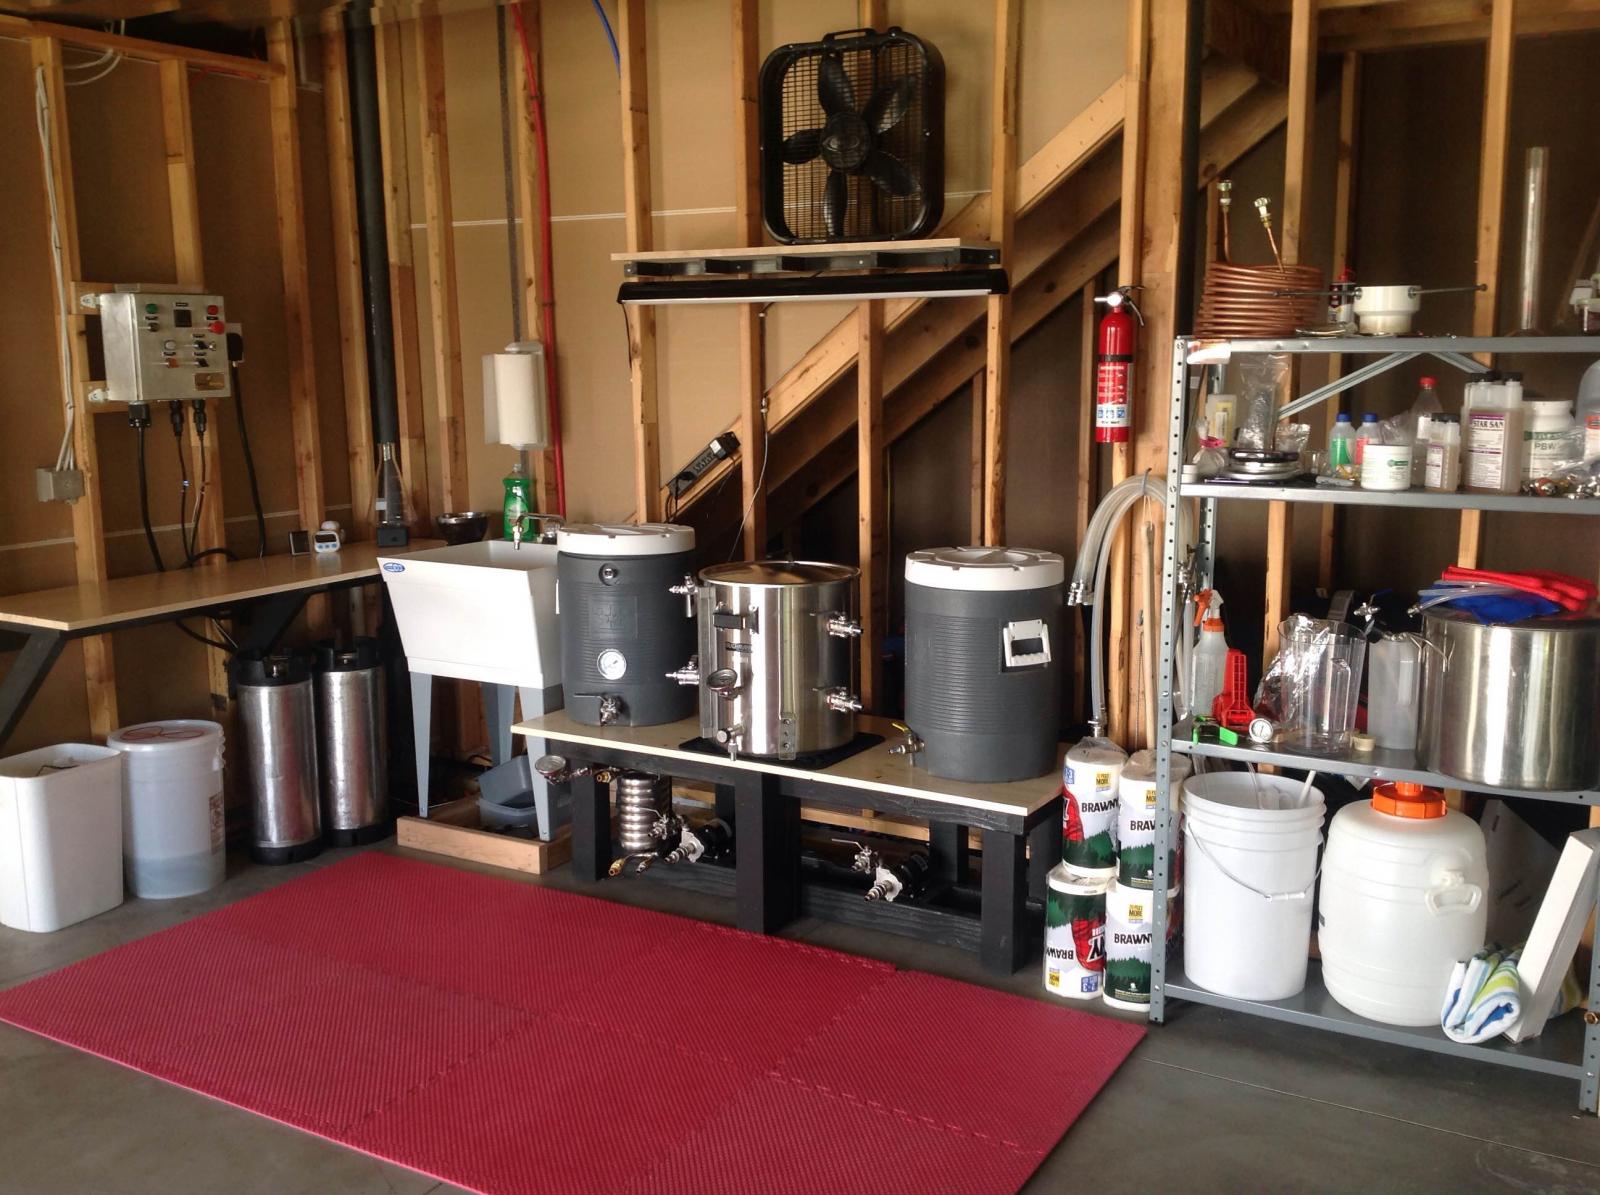
I put together the design based on my intended process as well as trying to best utilize components I already owned. It's kind of a "2.5 vessel" single tier system. The vessel on the far right in the pictures below is simply a reservoir for holding heated sparge water. There is only 1 heating element (240v, 4500w BoilCoil), in the 15 gallon Blichmann in the middle, and that vessel serves as both the HERMS tank as well as the boil kettle.

The mash tun is in the 11 gallon cooler on the left, into which I put a calibrated thermometer and a Blichmann AutoSparge. The mash is recirculated by one of the two center inlet Chugger pumps through the 50ft 1/2" diameter SS HERMS coil mounted in the Blichmann, then back through the AutoSparge set with the valve wide open. At the same time, the HERMS water is recirculated through the other Chugger pump to the recirc port on the top right. When the mash is done, the sparge water is heated then pumped over to the cooler on the right through the HERMS coil to clean it. Then the HERMS coils is removed via the tri-clover fittings, and sparging can occur as it would in a normal 3-vessel system.

There is another recirculation port on the lower right of the Blichmann just below my typical post-boil volume for whirlpooling.

Chilling is through the Stainless Steel convoluted counter-flow down at the bottom left. I put a T fitting on the wort out port so I could monitor wort temp.

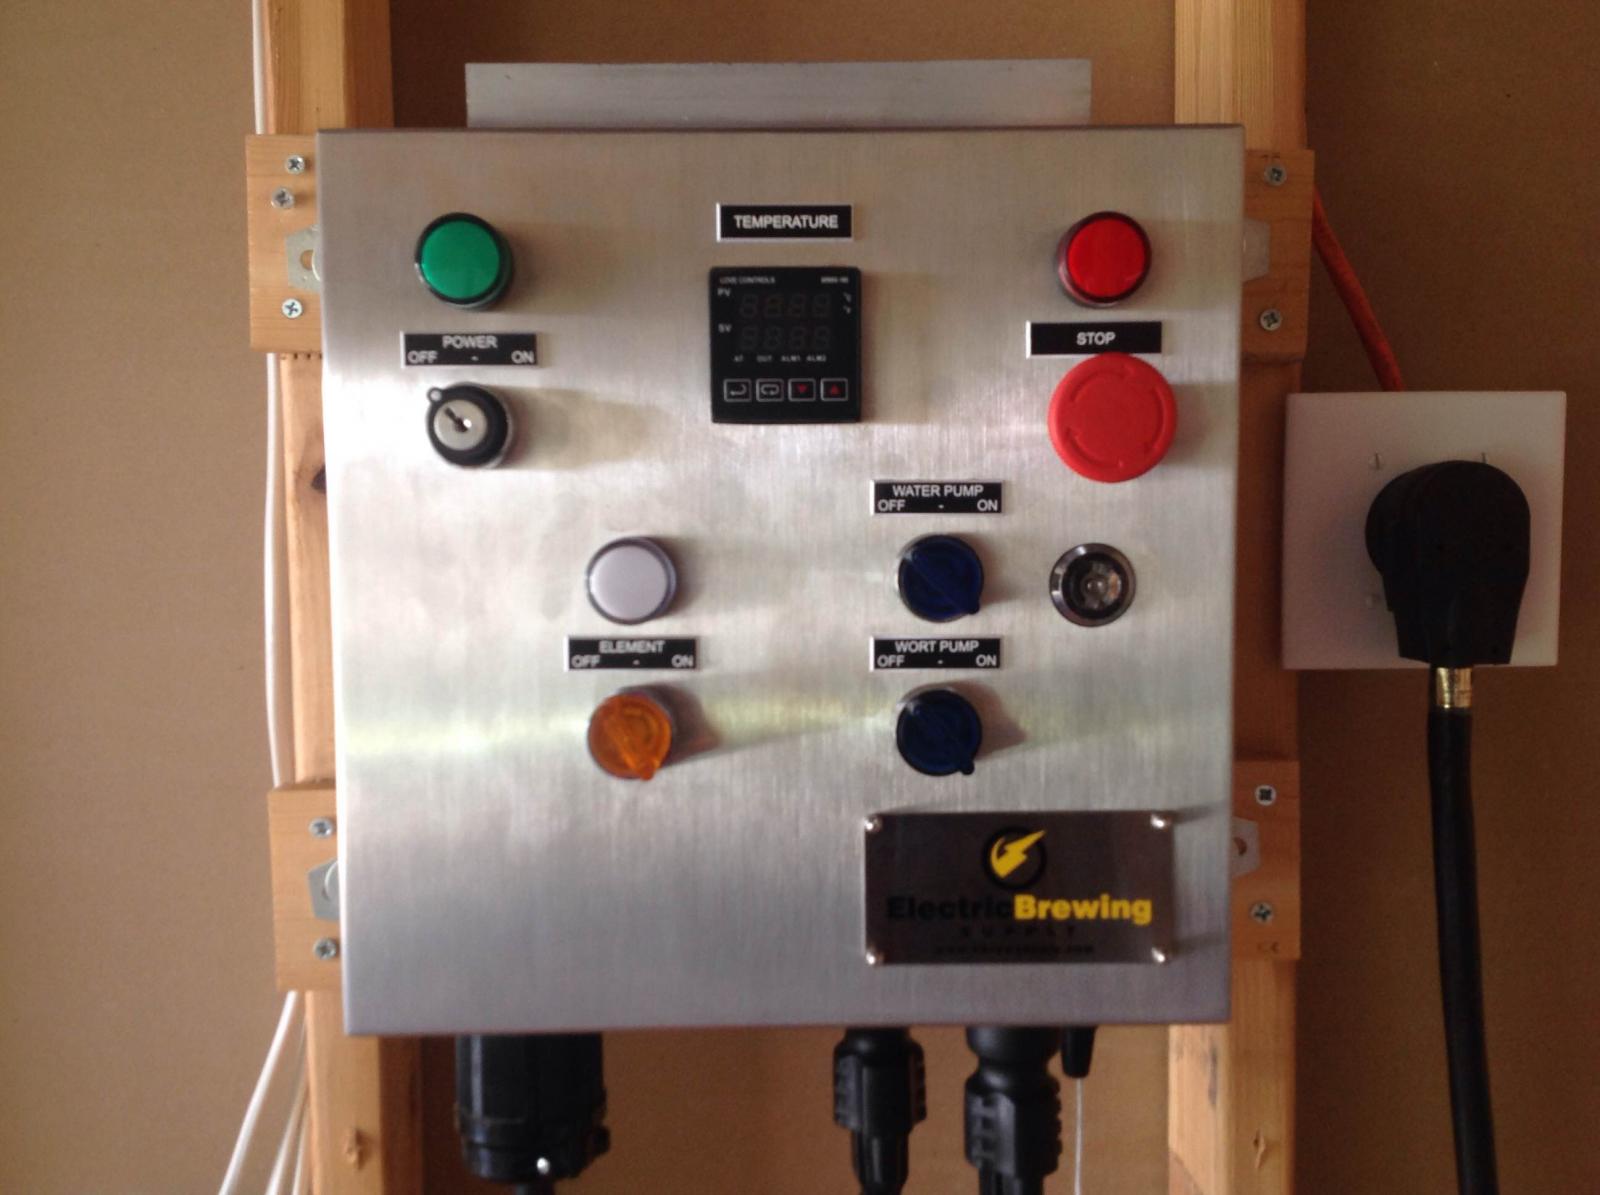
The control panel is a slightly modified version of the single element design from Electric Brewing Supply. Basically, I just added the switch and outlet for the second pump.

Pics!
IMG_0370.jpg


IMG_0376.jpg


IMG_0373.jpg


IMG_0372.jpg


IMG_0374.jpg
 
Great looking system and even better looking setup, really jealous of that area!

Thanks! I'm lucky to have a pretty big basement with lots of natural light at my disposal. I already had a drain rough-in right there, too, so putting in the utility sink was pretty easy.
 
Do you have ventilation?

Nothing special for ventilation. I made a decision to start off with just a box fan over the kettle (which you can see in the pictures), and another fan blowing out an open window on the other side of the basement. I had a feeling this would be sufficient based on that fact that:

1. The basement I'm in is a very large space, approx 2300 sq ft
2. I live in Colorado, a very dry climate

I did a test run with water the other day with a simulated 60 minute mash, 10 minute mash-out and 90 minute boil. I have a hygrometer that I used to monitor the humidity in the room. I also watched very carefully to see if any moisture built up on any surface. Throughout the entire exercise, no moisture built up on any surface and the humidity in the basement only raised from 26% to 31%. It was back down to 26% within 2 hours.

Anyway, based on all that, I think I'm going to be fine. But, if it becomes an issue, I have a contingency plan to install forced ventilation.

Dan
 
That's great what are you going to brew for the voyage?

John

I've been brewing so many Pales and IPAs lately, I wanted to get a Stout in before the weather got warm. So, I'm doing a Milk Stout I've done before, but I'm adding 5oz of Cocoa Nibs and 2 Vanilla Beans (both soaked in enough vodka to cover for a couple weeks) in secondary. Trying for something pretty obviously flavored, so we'll see how it goes.
 
I've been brewing so many Pales and IPAs lately, I wanted to get a Stout in before the weather got warm. So, I'm doing a Milk Stout I've done before, but I'm adding 5oz of Cocoa Nibs and 2 Vanilla Beans (both soaked in enough vodka to cover for a couple weeks) in secondary. Trying for something pretty obviously flavored, so we'll see how it goes.

I made a milk stout with 8oz cocao nibs and 2 vanilla beans soaked in vodka for 2 weeks before adding to secondary. I can't remember if it spent 2 weeks or 4 weeks in secondary.

The end result was hugely chocolate right out of the gate, but settled down to a really good tasting beer after about 2 months in the keg, and was absolutely perfect at about 4 months.


Edit: Oh, and I'm hugely jealous of your giant basement brewing space. I have to share a 1 car garage with my wife's car...
 
That silicon hose at the bottom of your mash tun is a prime candidate for coming off during the mash in and your spoon or mash paddle smacks it. You might want to consider clamps.
 
I made a milk stout with 8oz cocao nibs and 2 vanilla beans soaked in vodka for 2 weeks before adding to secondary. I can't remember if it spent 2 weeks or 4 weeks in secondary.

The end result was hugely chocolate right out of the gate, but settled down to a really good tasting beer after about 2 months in the keg, and was absolutely perfect at about 4 months.


Edit: Oh, and I'm hugely jealous of your giant basement brewing space. I have to share a 1 car garage with my wife's car...

Great to know, man, thank you! That gives me some confidence that I'm in the right ballpark with the nibs and vanilla.

Yeah, I feel lucky to have the space I do. Some day we're gonna finish that basement, though, and I'm not sure what happens to my brewery then. I'm gonna start the negotiations on that with SWMBO years in advance.
 
That silicon hose at the bottom of your mash tun is a prime candidate for coming off during the mash in and your spoon or mash paddle smacks it. You might want to consider clamps.

That's a great point, I'm gonna throw a couple clamps on that when I get home today. It's never popped off before, but I can definitely see how it could. Better safe than sorry.
 
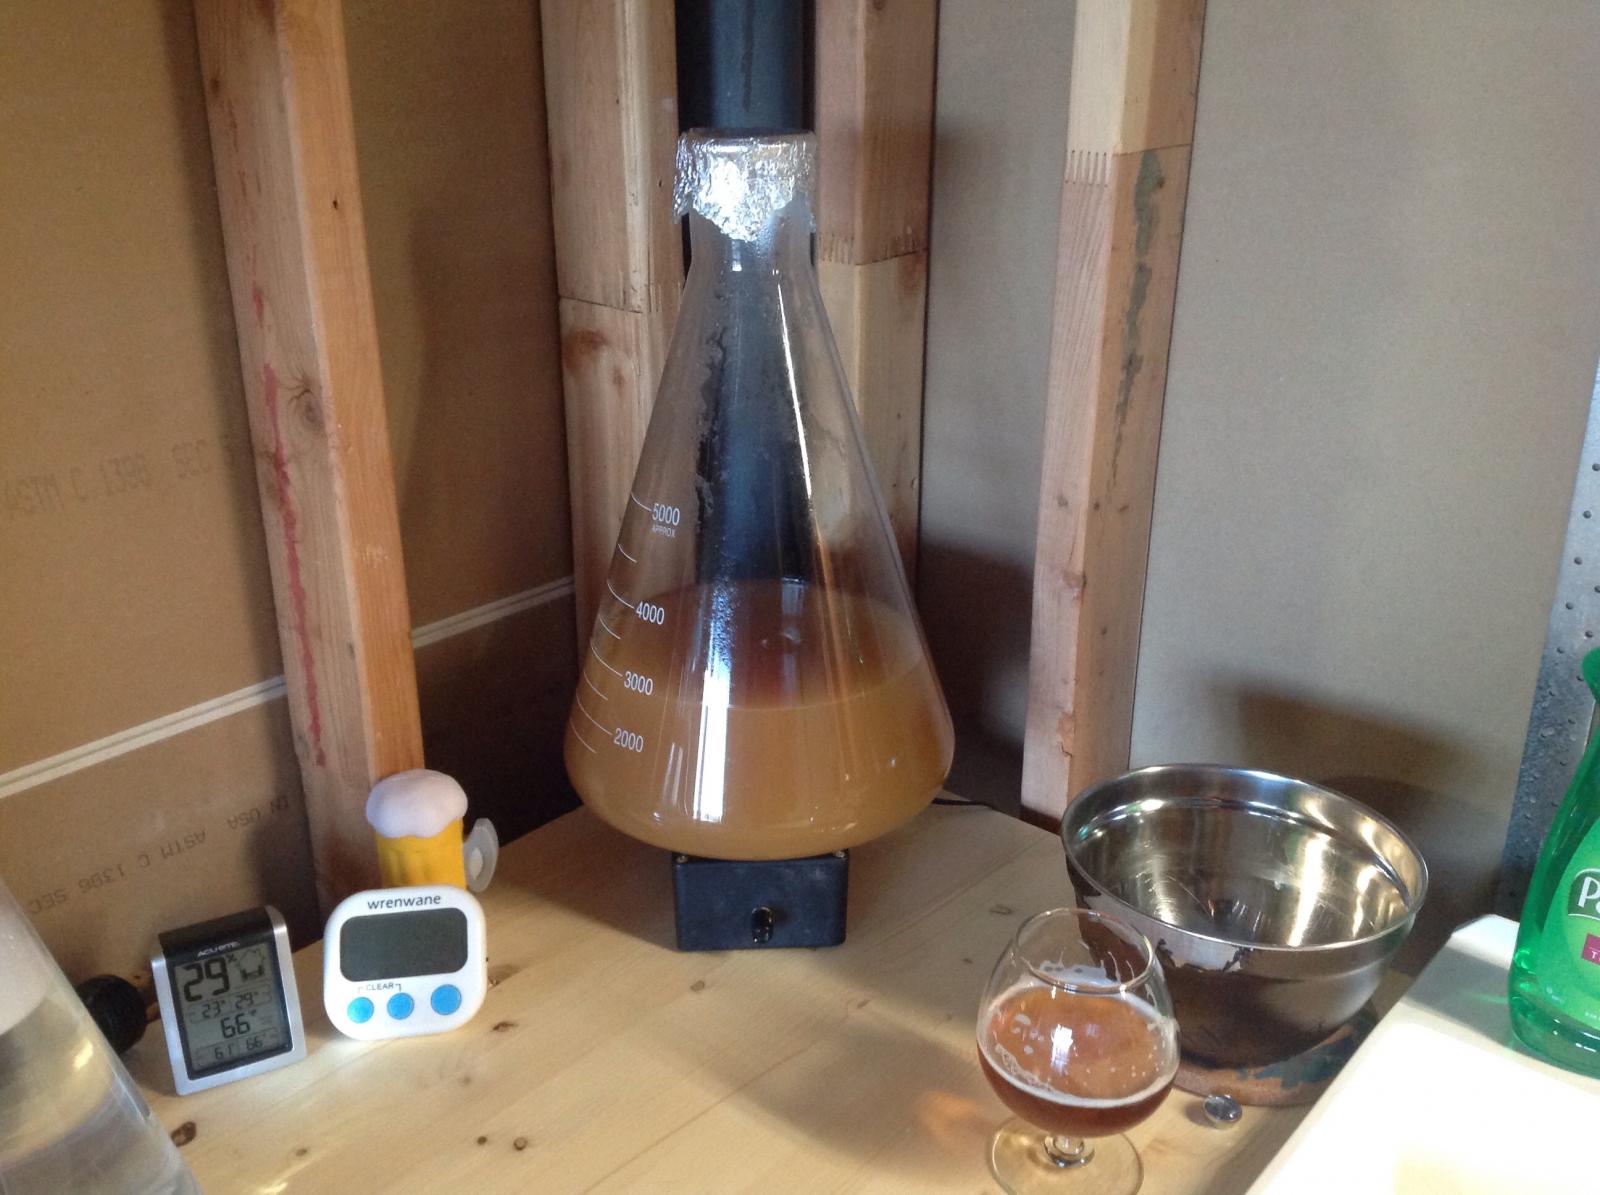
Is that a stirstarter stir plate? i thought it could only handle up to a 2L flask.

Yeah, it's a little bit underpowered for the larger volume. I generally don't go more than 3L, and with that volume, I can still get nice agitation around the sides/bottom and a good dimple on top with a relatively small stir bar. I'm not sure it would handle any more than 3.5L. A larger stir bar is actually worse with it on the larger volumes, it'll throw it regularly.

Dan
 
Some pics from the first brew day...

IMG_0381.jpg
The mash. Later on, I had an issue where a ton of my rice hulls floated to the top and stayed there forming a pretty thick layer. Anyone else experience this? Is this from not pre-soaking them perhaps?

IMG_0380.jpg
Once the mash reached 154 after mash-in, the system help temp beautifully for the whole duration.

IMG_0382.jpg
Mash and HLT Circulation

IMG_0383.jpg
Sparging. Went pretty smooth, about 55 minutes, got around 77% efficiency, which is about 5 points higher than the last time I did this exact recipe on my old setup.

IMG_0385.jpg
To the fermenter

IMG_0386.jpg
62 degrees out of the chiller in one pass. Pretty satisfied with that compared to my old chilling setup.

Overall, the day went smoother than I expected for the maiden voyage. No real issues. Hit my pre-boil gravity and OG within 1 point. The mash temp held beautifully. The new counterflow chiller worked great. Pitched about 500 billion cells of Wy1318 at 64 degrees and had activity within a few hours. I'm pretty optimistic about this beer!

The one big lesson I learned was that I need to mash in a little hotter. When I was completely mashed in, the mash tun was at 150, so 4 degrees low. It took about 8 minutes to bring it up to my target mash temp of 154. Next brew I'll adjust strike temp accordingly so I start off closer to my target temp.

Dan
 
Very good for your first brew on your new system. Usually the first brew you find out all the things that can and will go wrong, and you have to figure out your new setup. Nice job, and congrats!

John :mug:
 
Nice. Better to need to bring mash temp up than down!

What was your groundwater temp and how long did it take to chill using that SS CFC?

I definitely agree. I should be able to make an adjustment and bring that in a couple degrees for next time.

Groundwater here right now is nice and cold, about 45F. If I ran the pump as slow as possible, I could get it down to about 52 into the fermenter. I had to throttle it up just a touch to get it to come out at 62. Once at that speed, it took about 18-20 minutes to move just under 6 gallons. So, I really didn't gain much time-wise compared to my old immersion chiller with a pumped whirlpool setup. But it's certainly cleaner and easier this way. And more precise.

Dan
 
Nice setup, and, the way it is setup you could use that HERMS coil in the HLT/BK as a chilling coil as well.

One thing I noticed: Why do you pump your wort from the bottom of the CFC to the top? I have mine Pumping in from the top to bottom so that it drains properly near the end and I get every last drop.

Yeah, when I do 10 gallon batches, I could definitely use the HERMS Coil to help chill if I wanted to. But for boil volumes on 5 gallon batches, it would barely touch the bottom of the coil. It takes almost 14 gallons to fully submerge it.

I don't have a great reason why I'm pumping wort through the CFC from the bottom to the top other than the fact that I didn't want that thermometer at ground level and be accidentally kicking it all the time.
 

Latest posts

Back
Top