I Built my Own Tardis Kegorator

Homebrew Talk - Beer, Wine, Mead, & Cider Brewing Discussion Forum

Help Support Homebrew Talk - Beer, Wine, Mead, & Cider Brewing Discussion Forum:

This site may earn a commission from merchant affiliate links, including eBay, Amazon, and others.

crusader1612

Well-Known Member
Joined
May 20, 2012
Messages
1,505
Reaction score
194
Location
Christchurch
I Built My own TARDIS!
Yes thats right all you Whovians....

So, I'm getting married in w few months, and decided not long after, that I would brew all the beer for my Wedding. But I wanted something cool, and special for serve it from.
so, being that me and my lovely wife to be are Fans of the Show, It seemed fitting to build a TARDIS to serve as a kegorator on the big day.
I will detail what I can for everyone, in case people want to make something similar. Enjoy and ask questions if you have them.
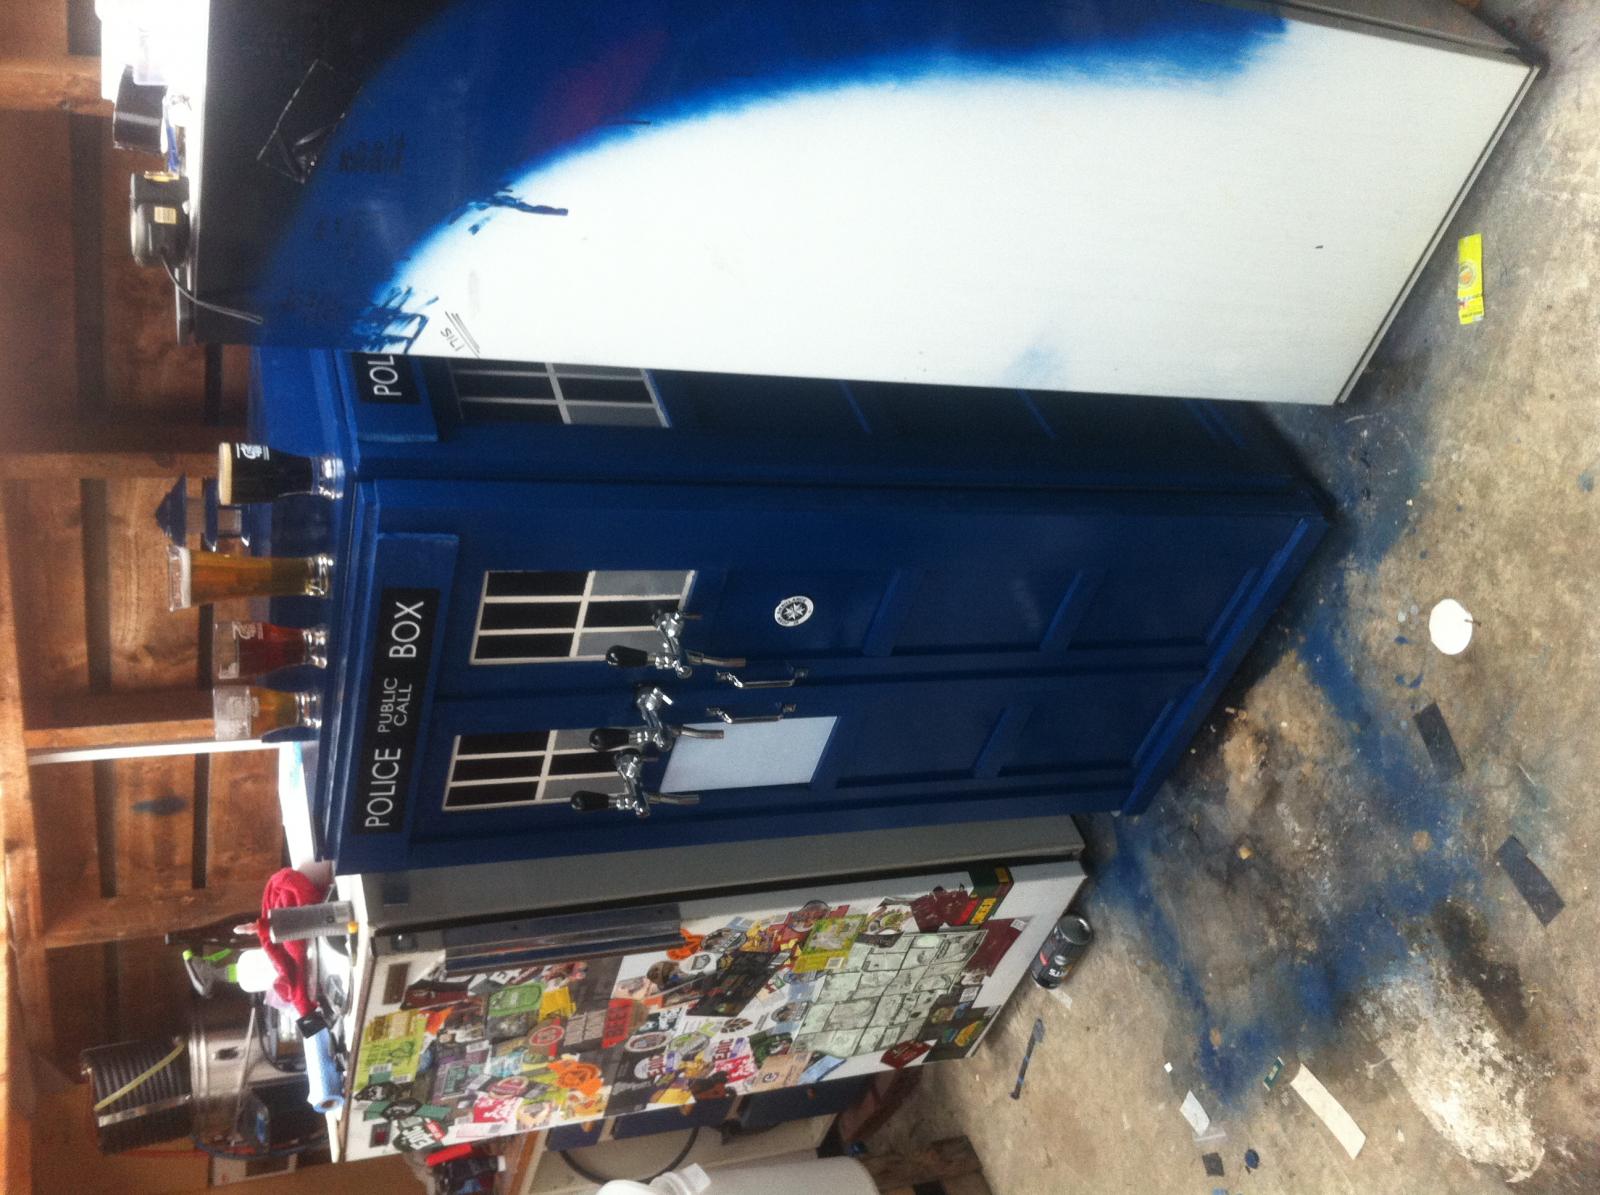
Here is what it looked like previously:

IMG_0019 (1).jpg


5690f7e6-eeb5-4d2c-8db8-b4e6a6136452.jpg
 
some hints and tips:
* Be sccurate in measurements, I downloaded the full size measurements for the box, and downsized as required to the size of my fridge.
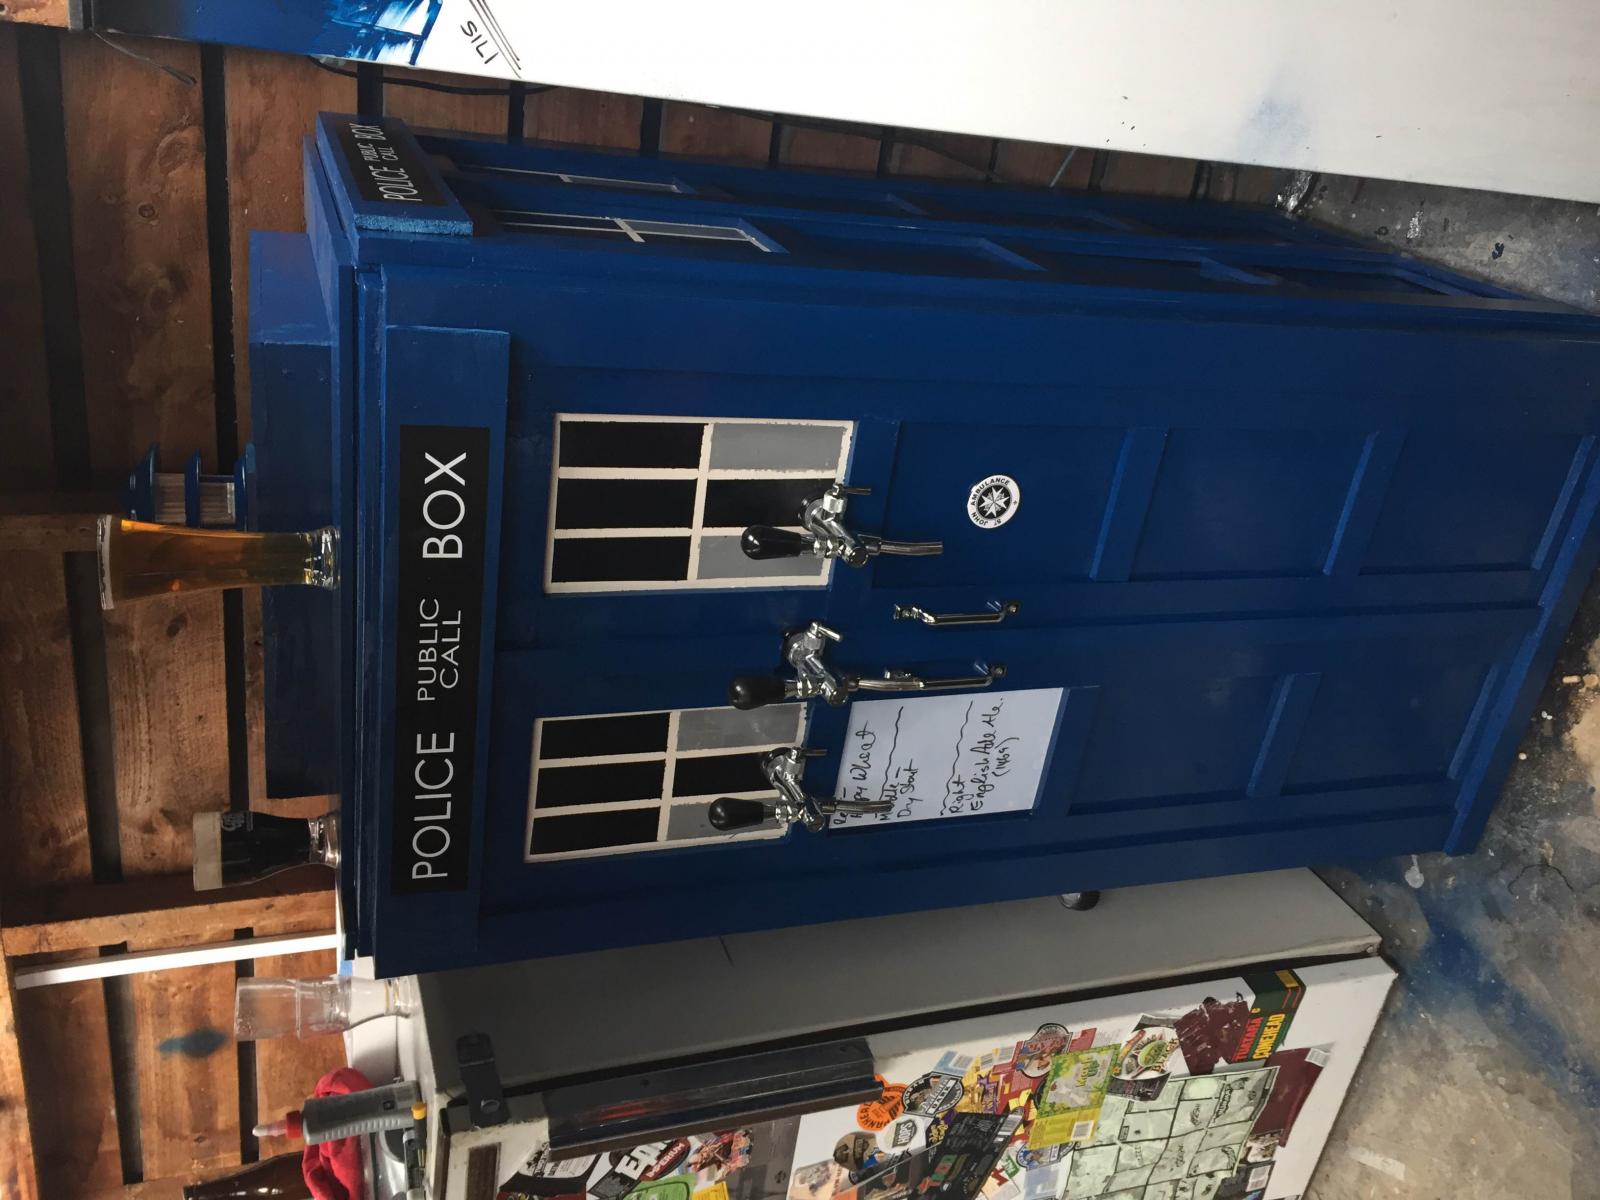
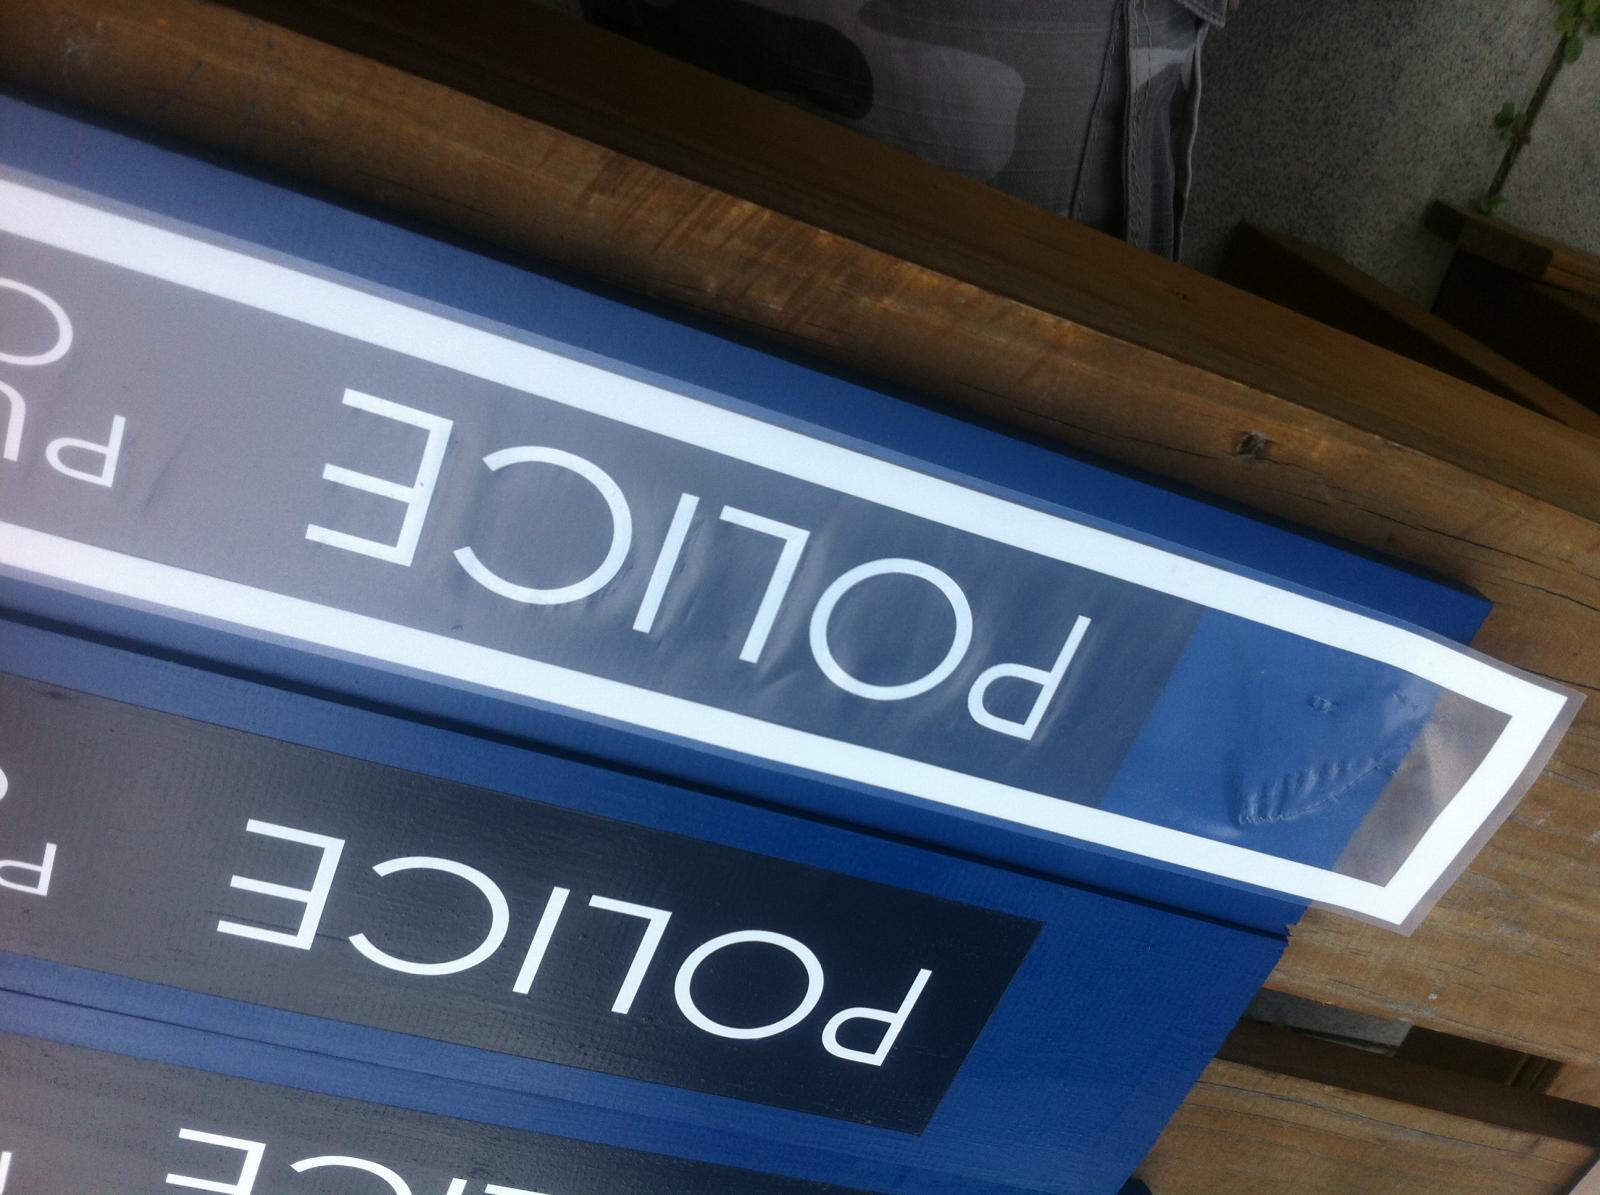
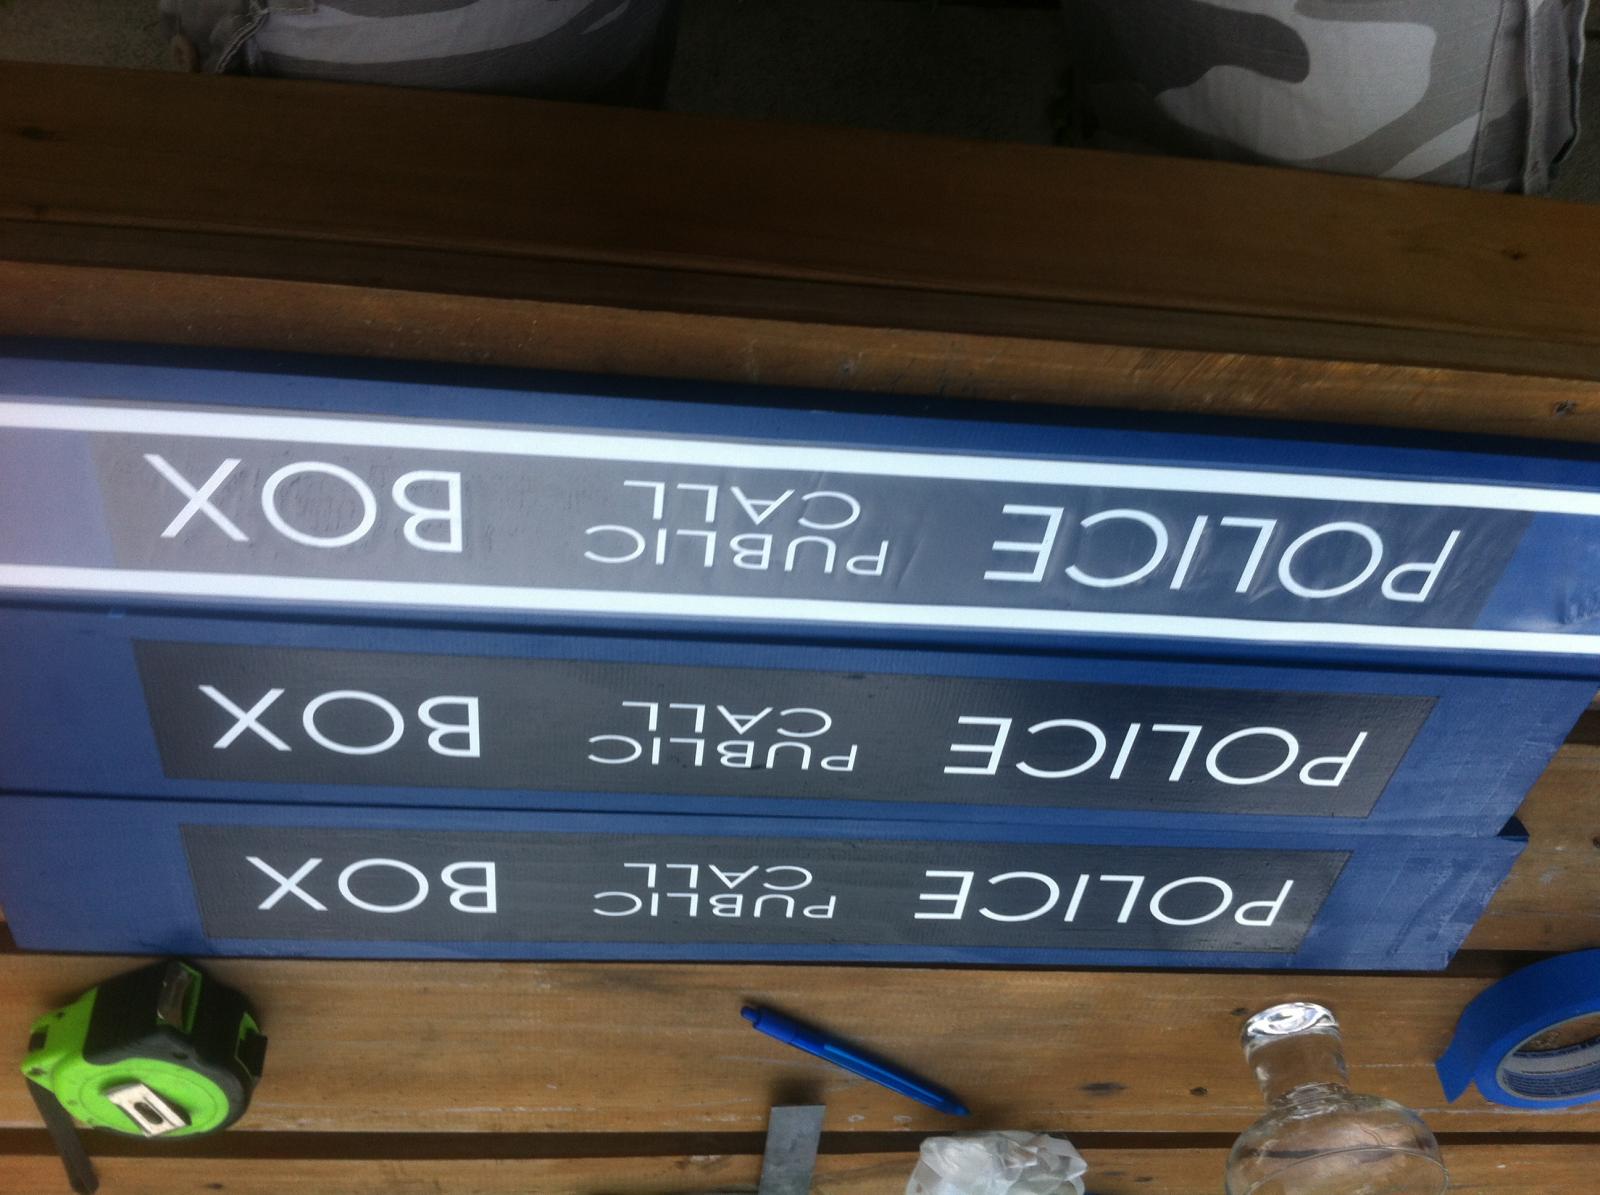
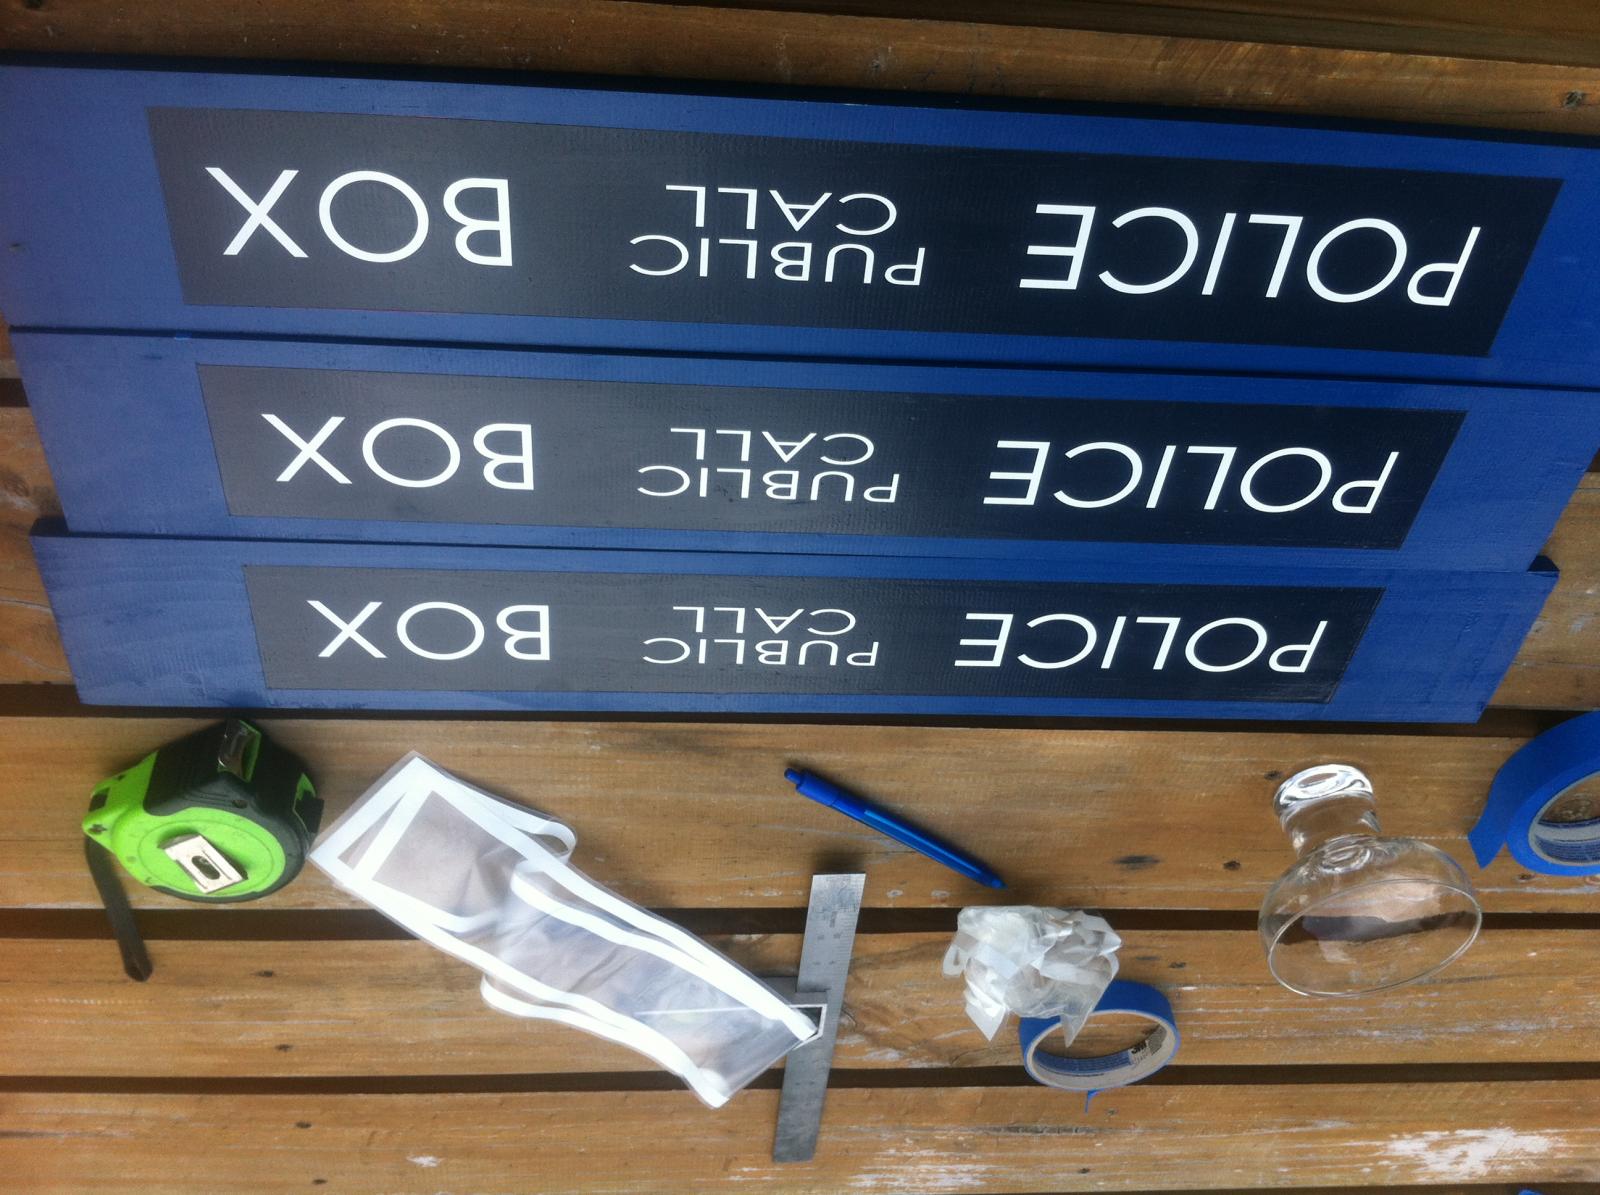
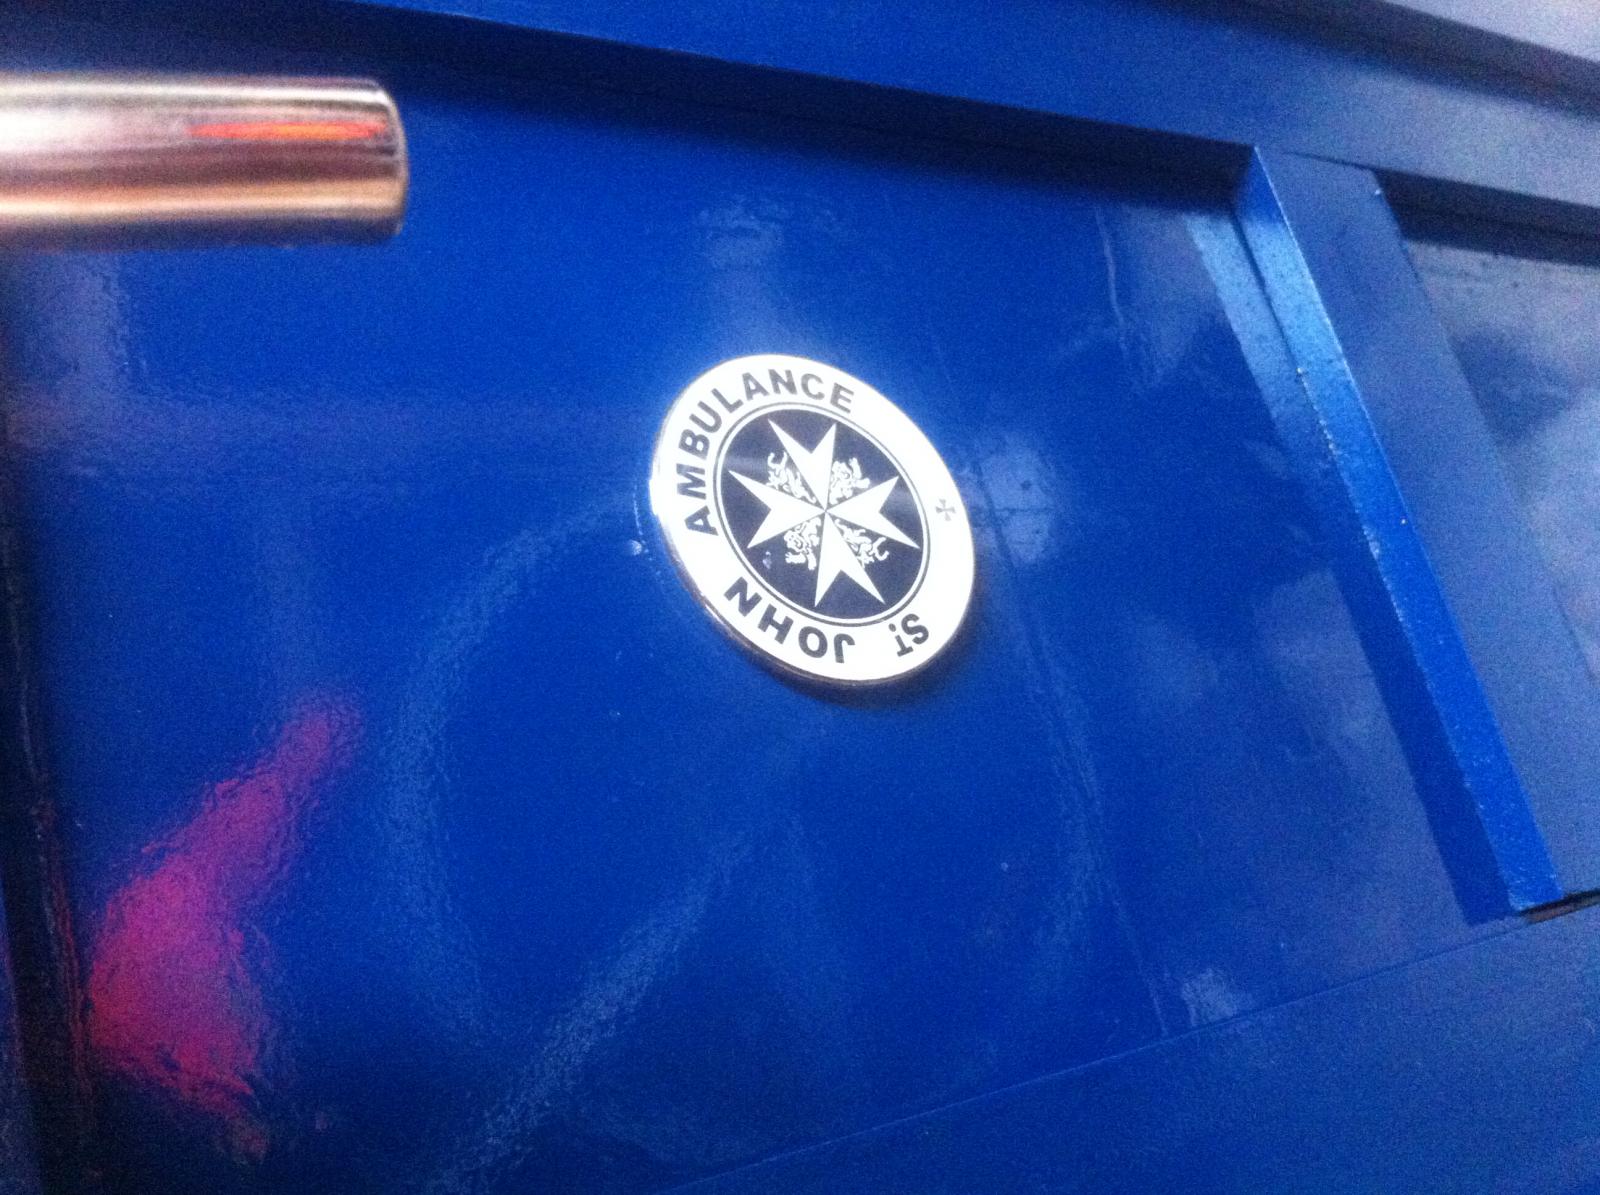
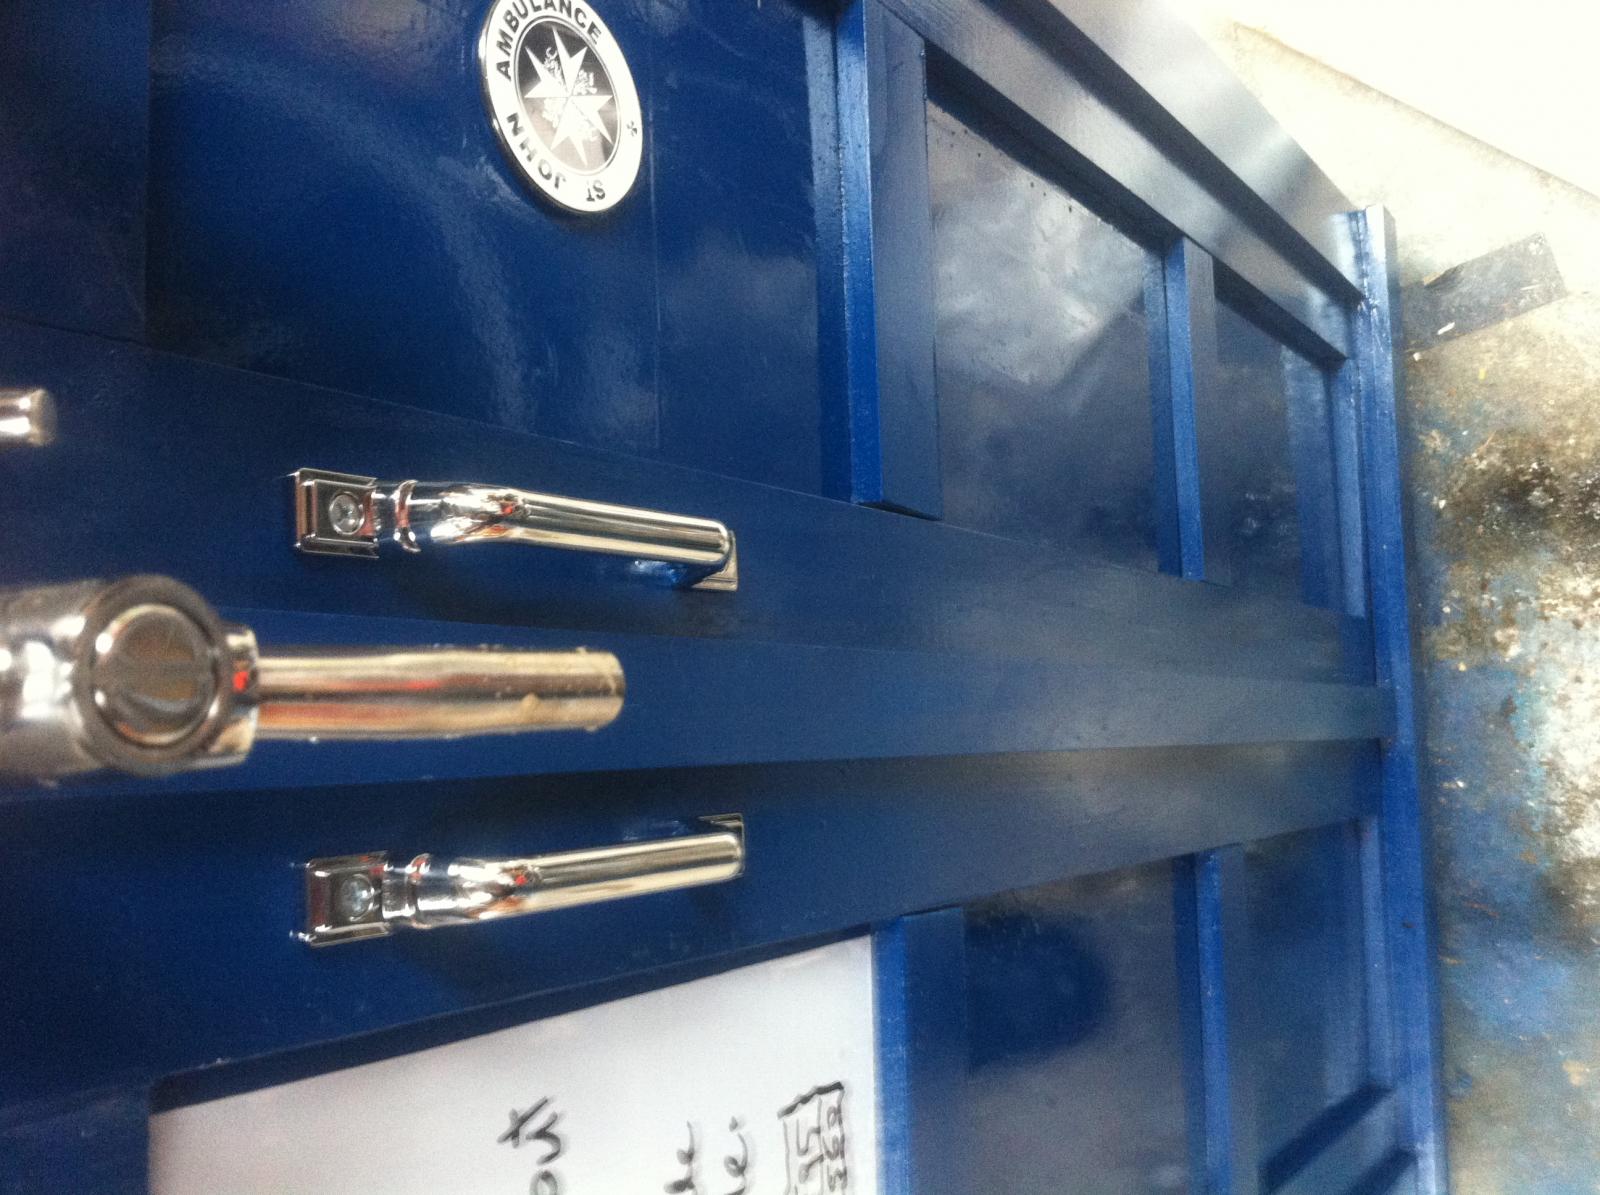
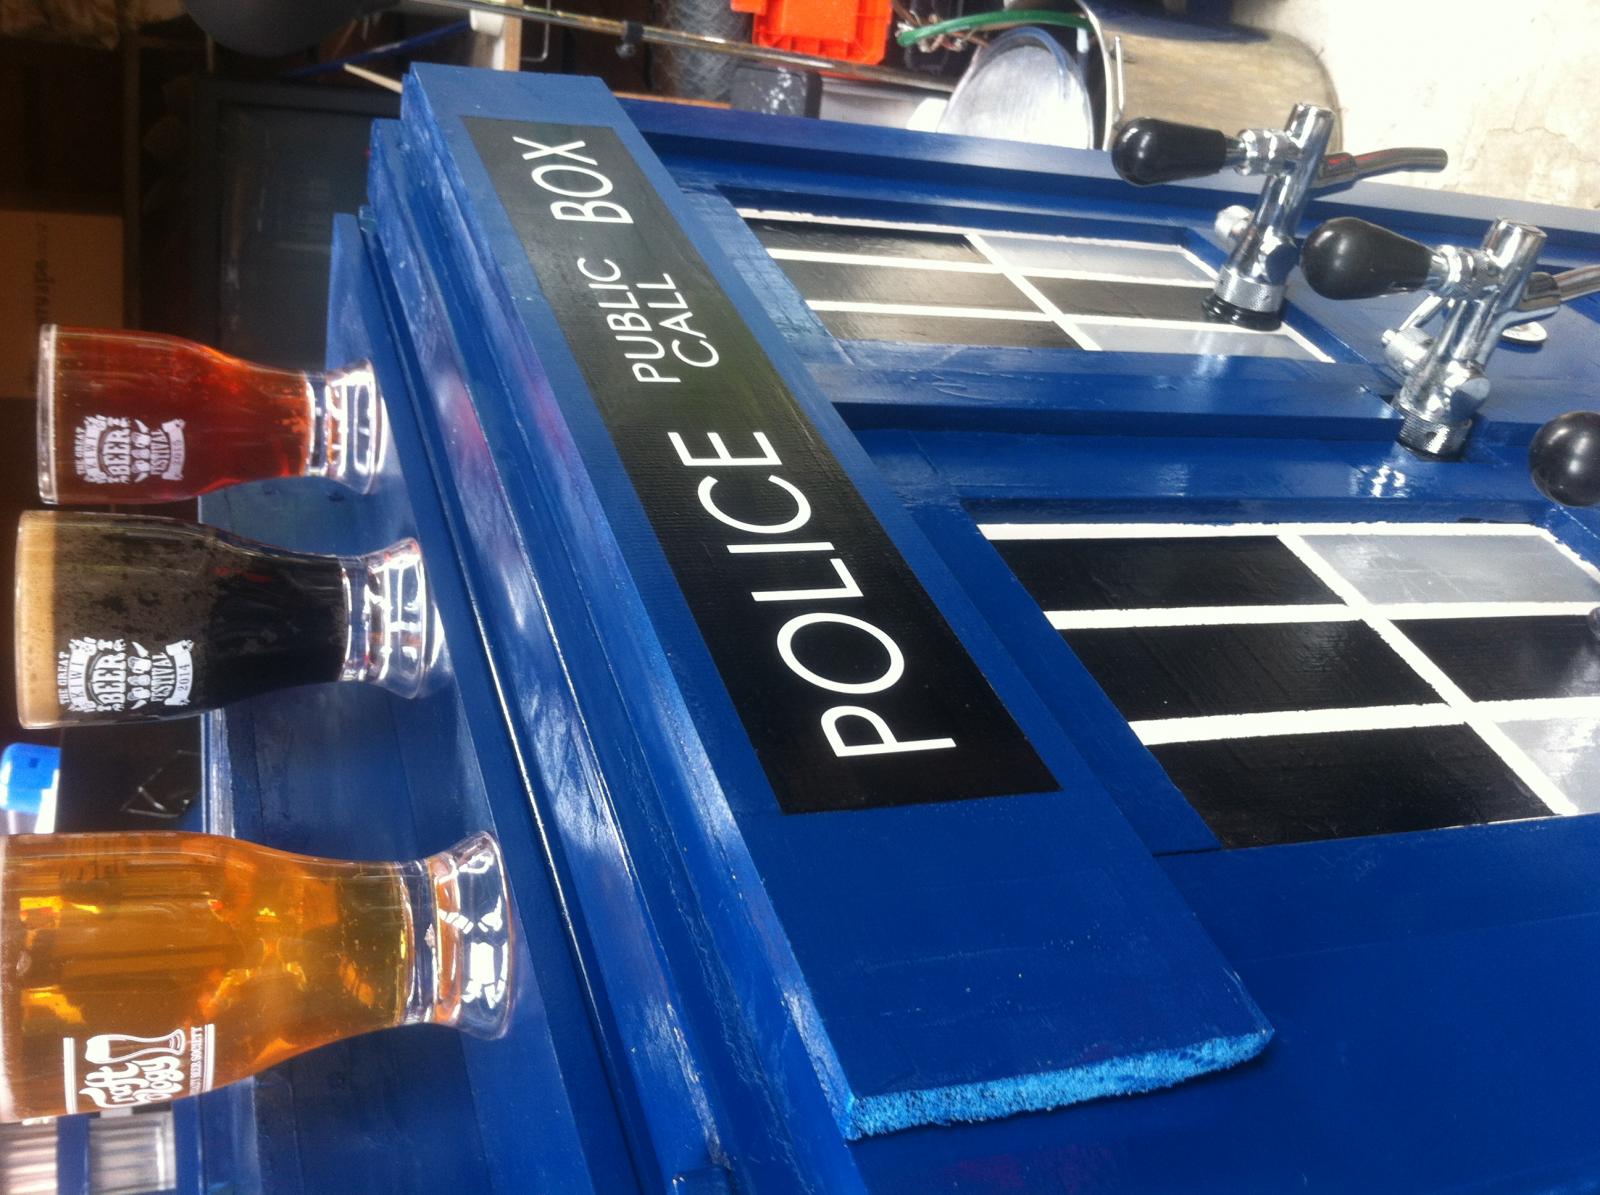
* My Police Box Signs I made from the same wood used for the framing, and painted myself. A bigthanks for outlawdesigns.com for the White Vinyl transfers and St John AMbuloance Magnert. They look fantastic.
* Measure twice cut once. I built this with glue, wood, a Square, and hand saw, no Electric saws were used. Oh and paint.
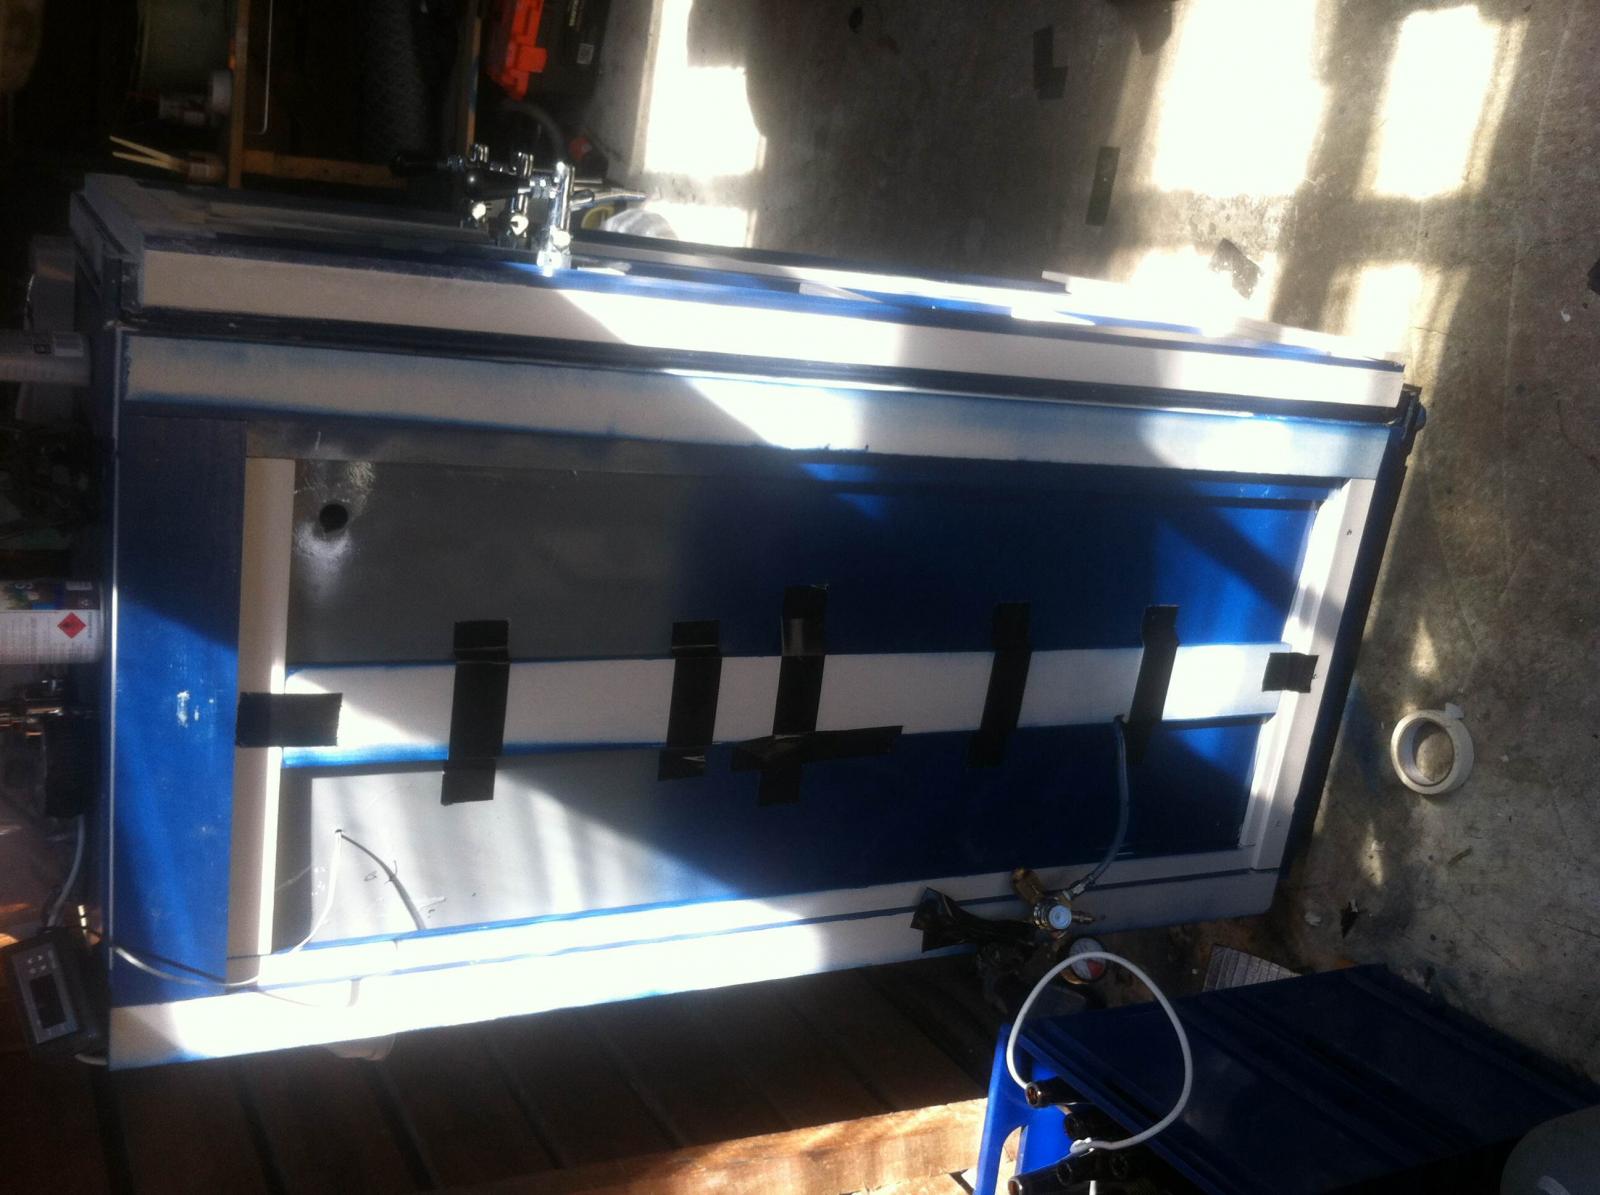
* Paint the unit last, measure it, cut it, frame it, glue it all together and then paint the whole thing. apart from the windows
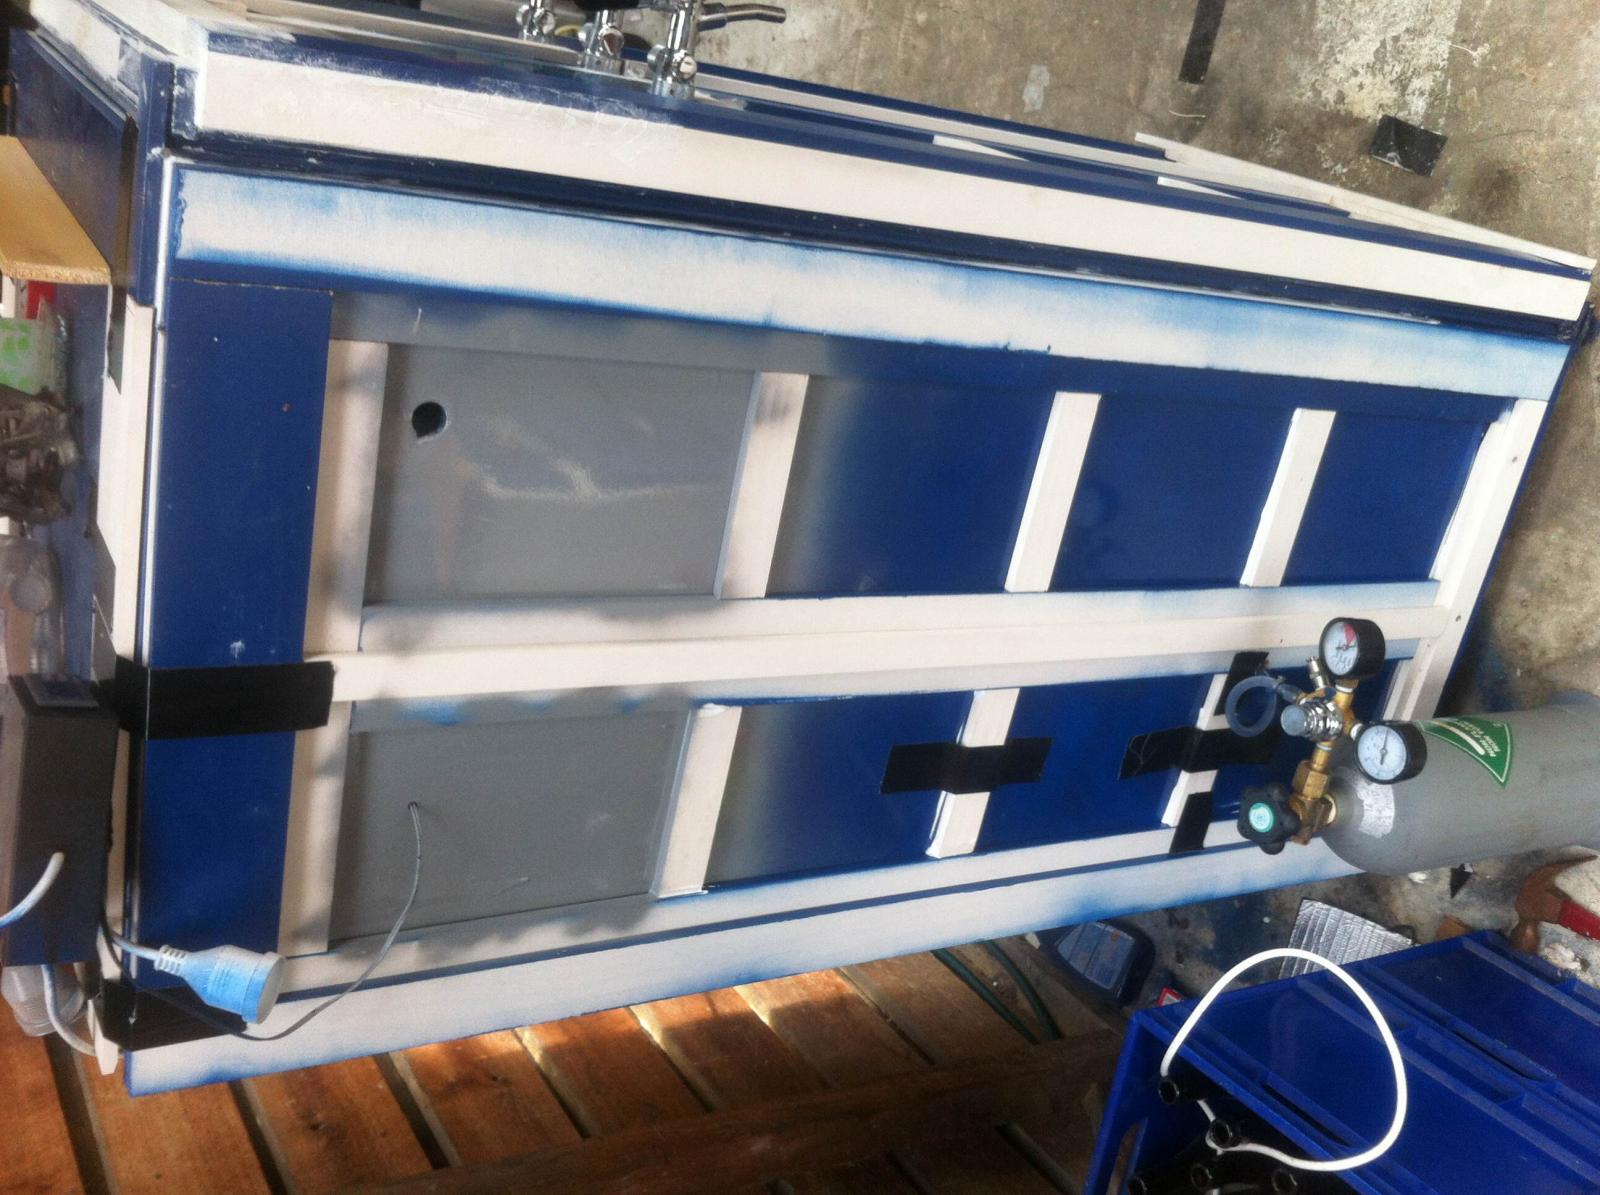
* Don't cover the back of your fridge it will overheat (I learnt this from my time in the HVAC/Aircon Trade)
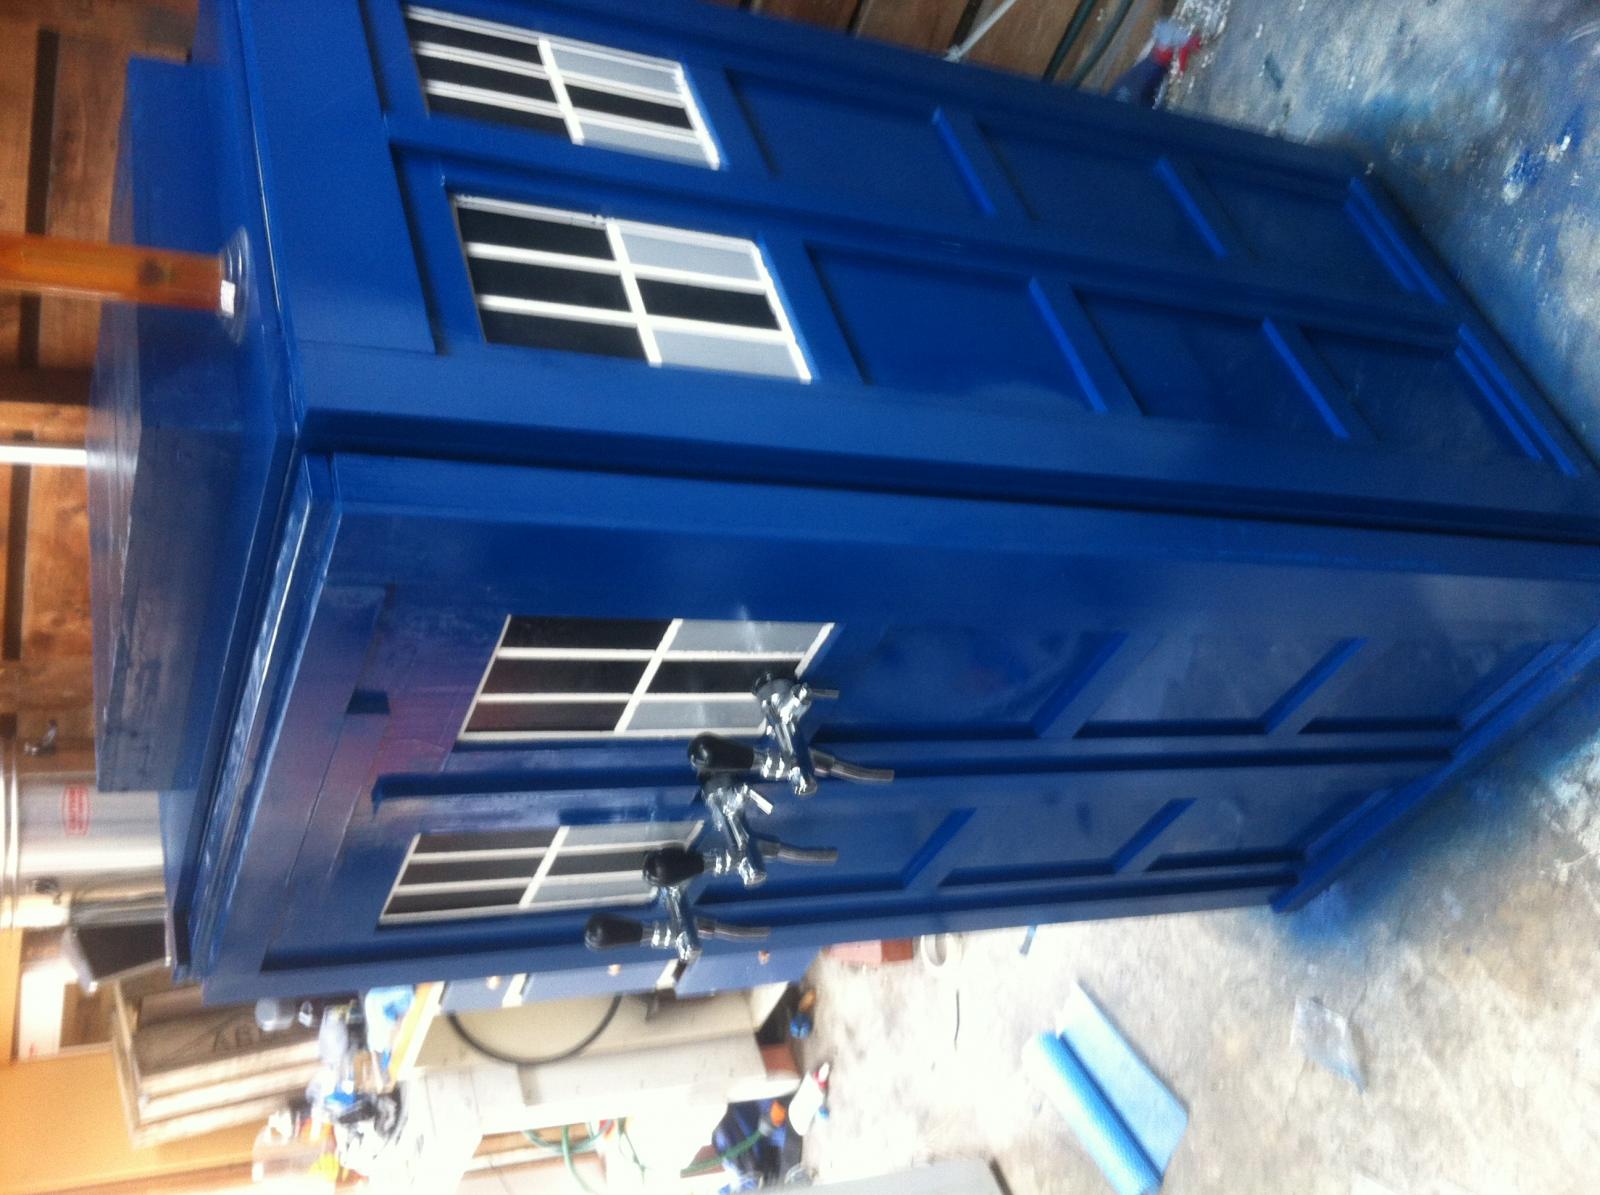
* be sure to cut your hols if its a new kegorator in the right places, If I was using a new fridge, I would not putthe middle tap directly in the middle. just for ease of construction.
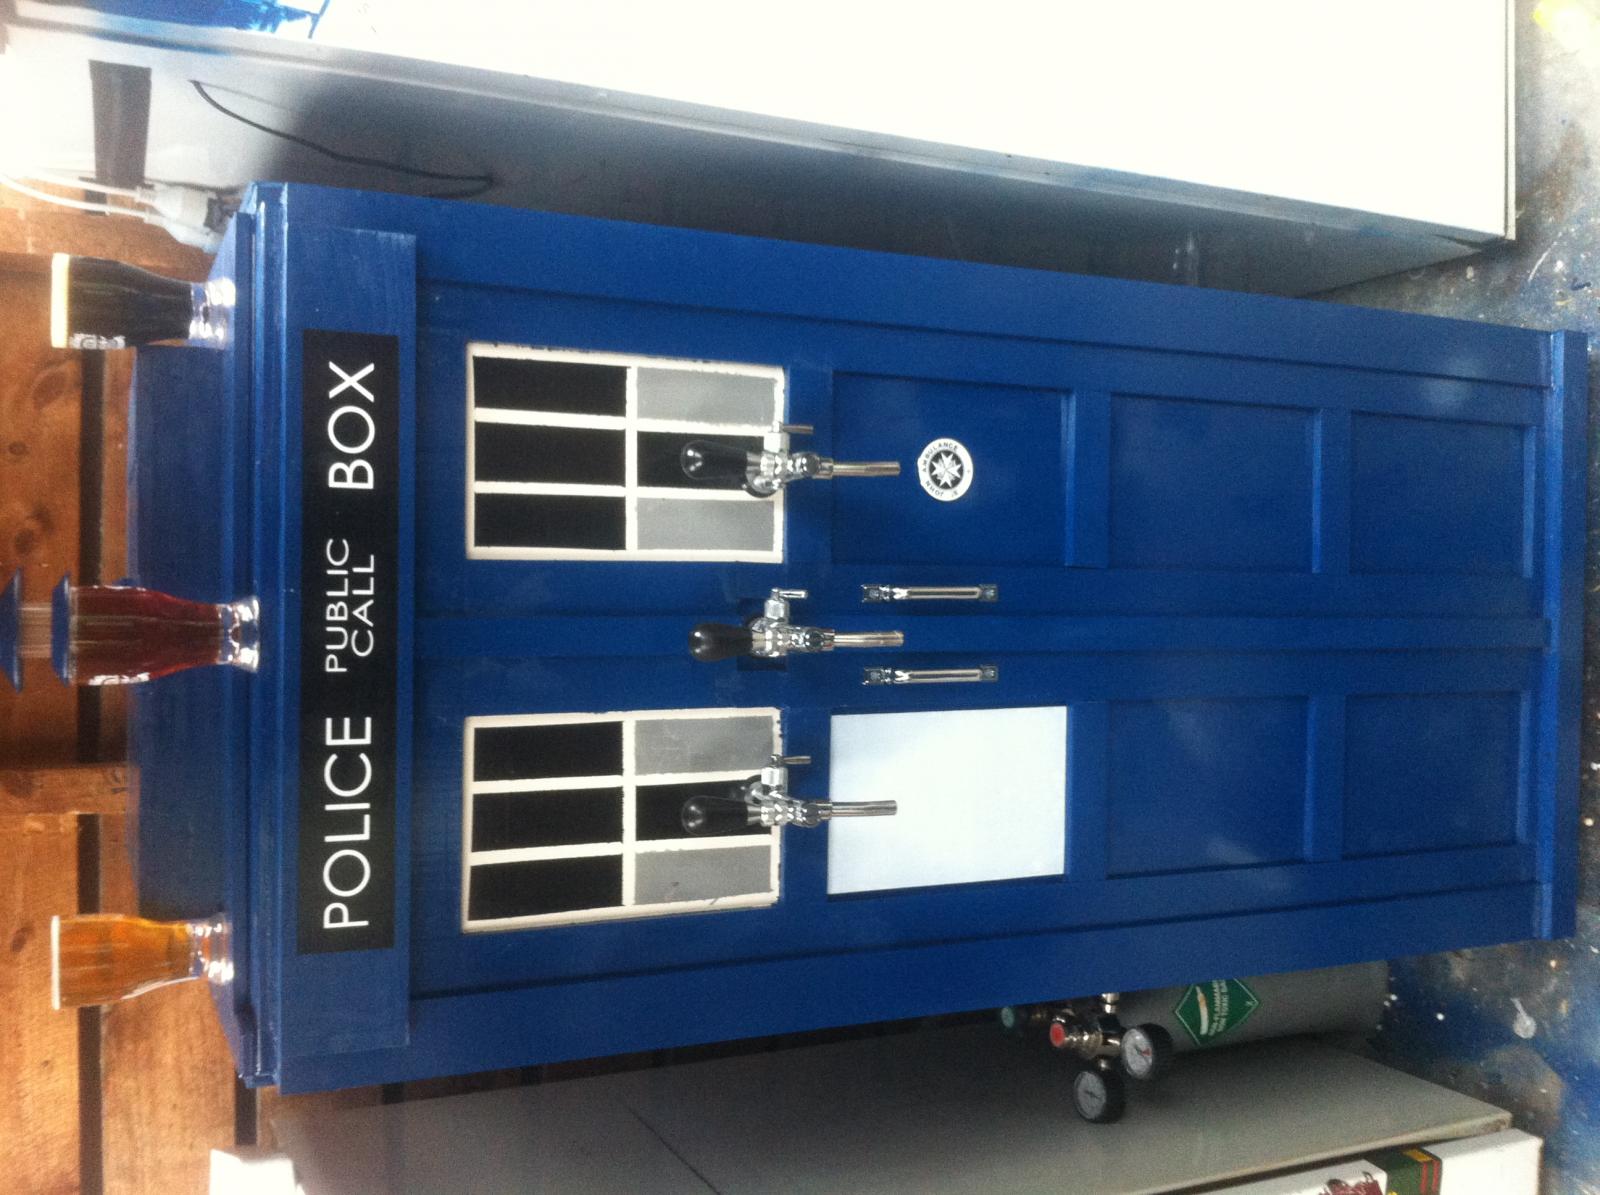
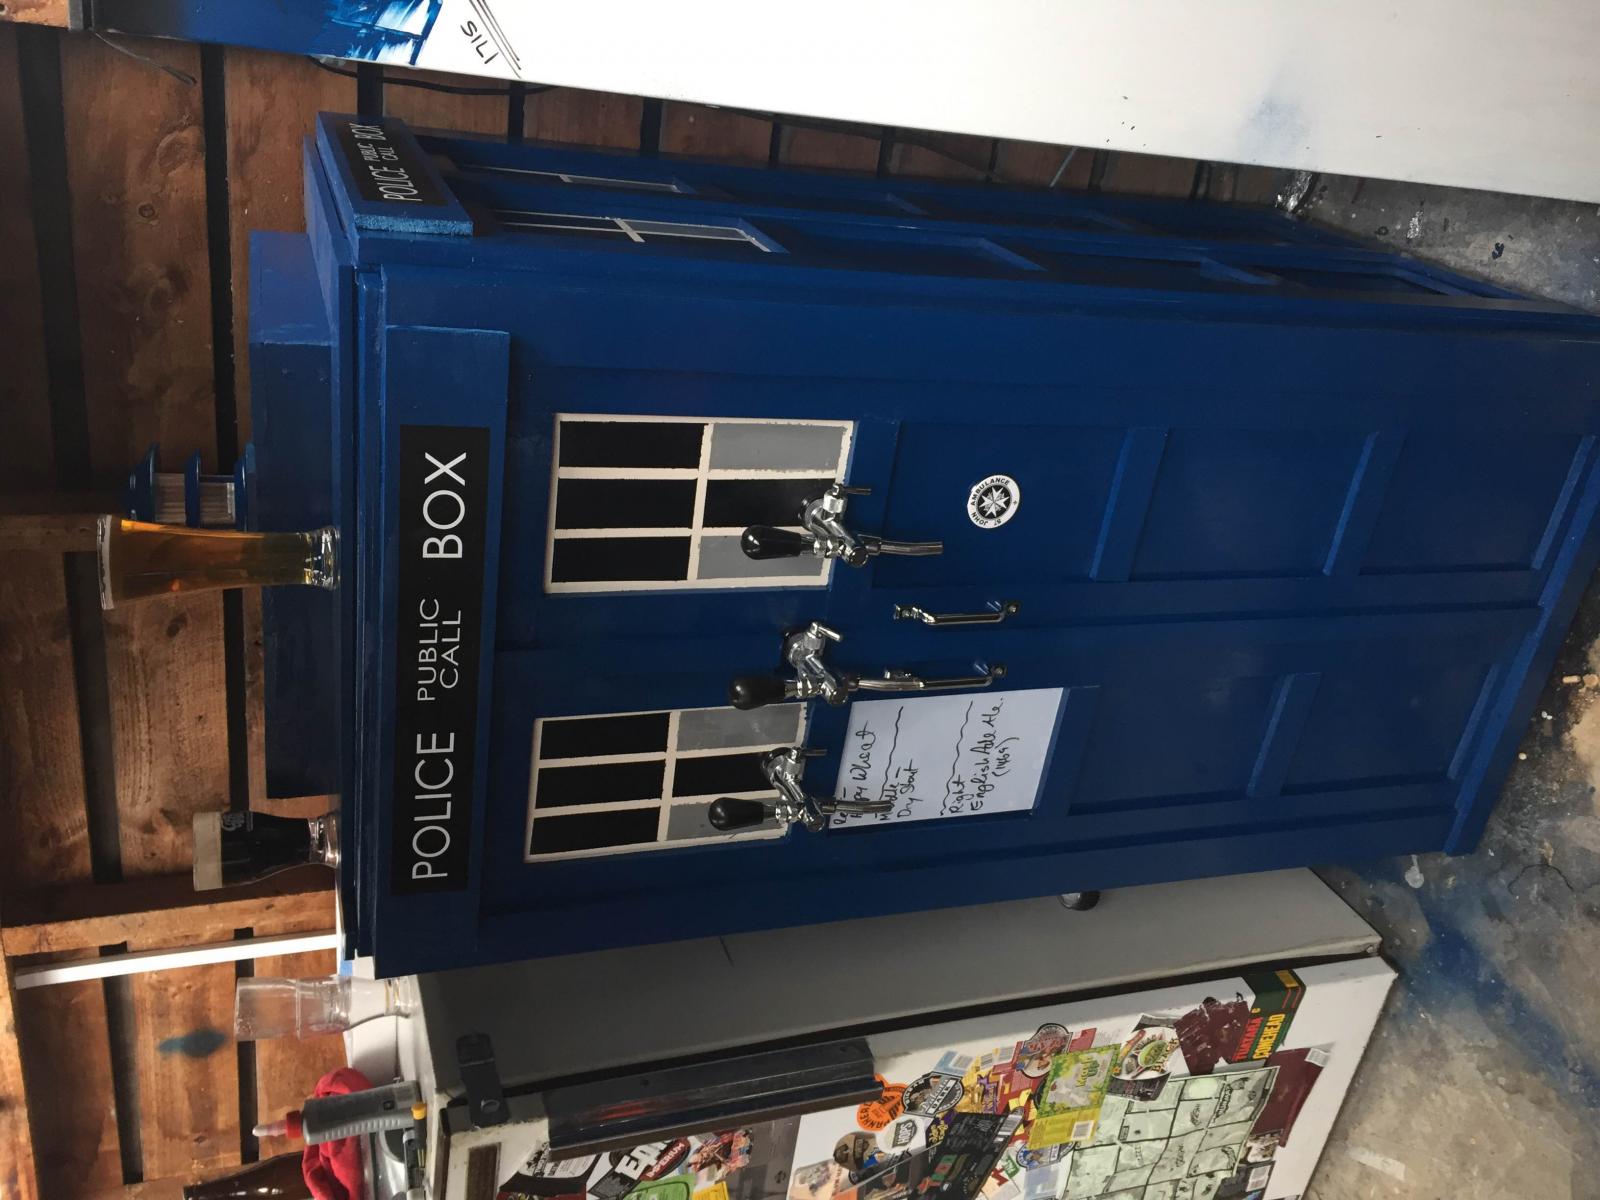
this is the final product :)

IMG_5951.jpg


IMG_5953 (1).jpg
 
Right so, third post.
I measured eveything up and figured out my sizes for everything.
the fridge size was 1390mm high x 600 x 600
So everything needed to be sized accordingly.

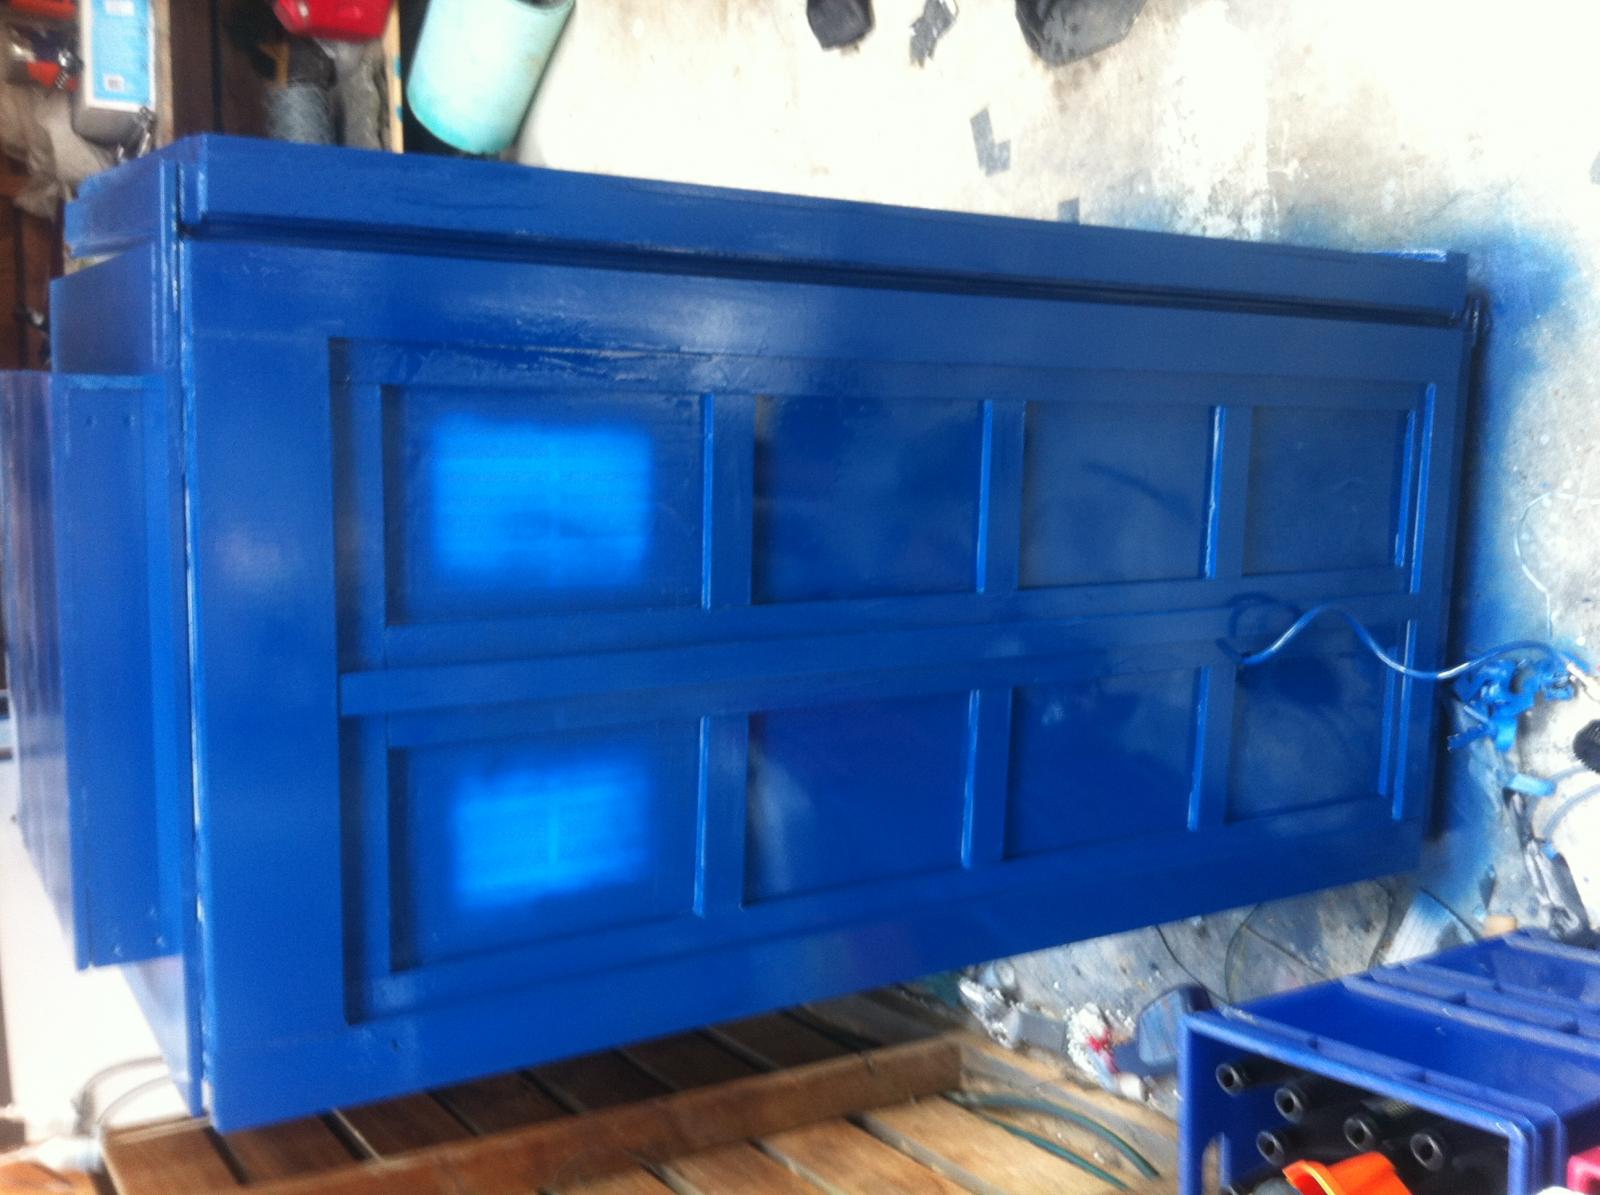
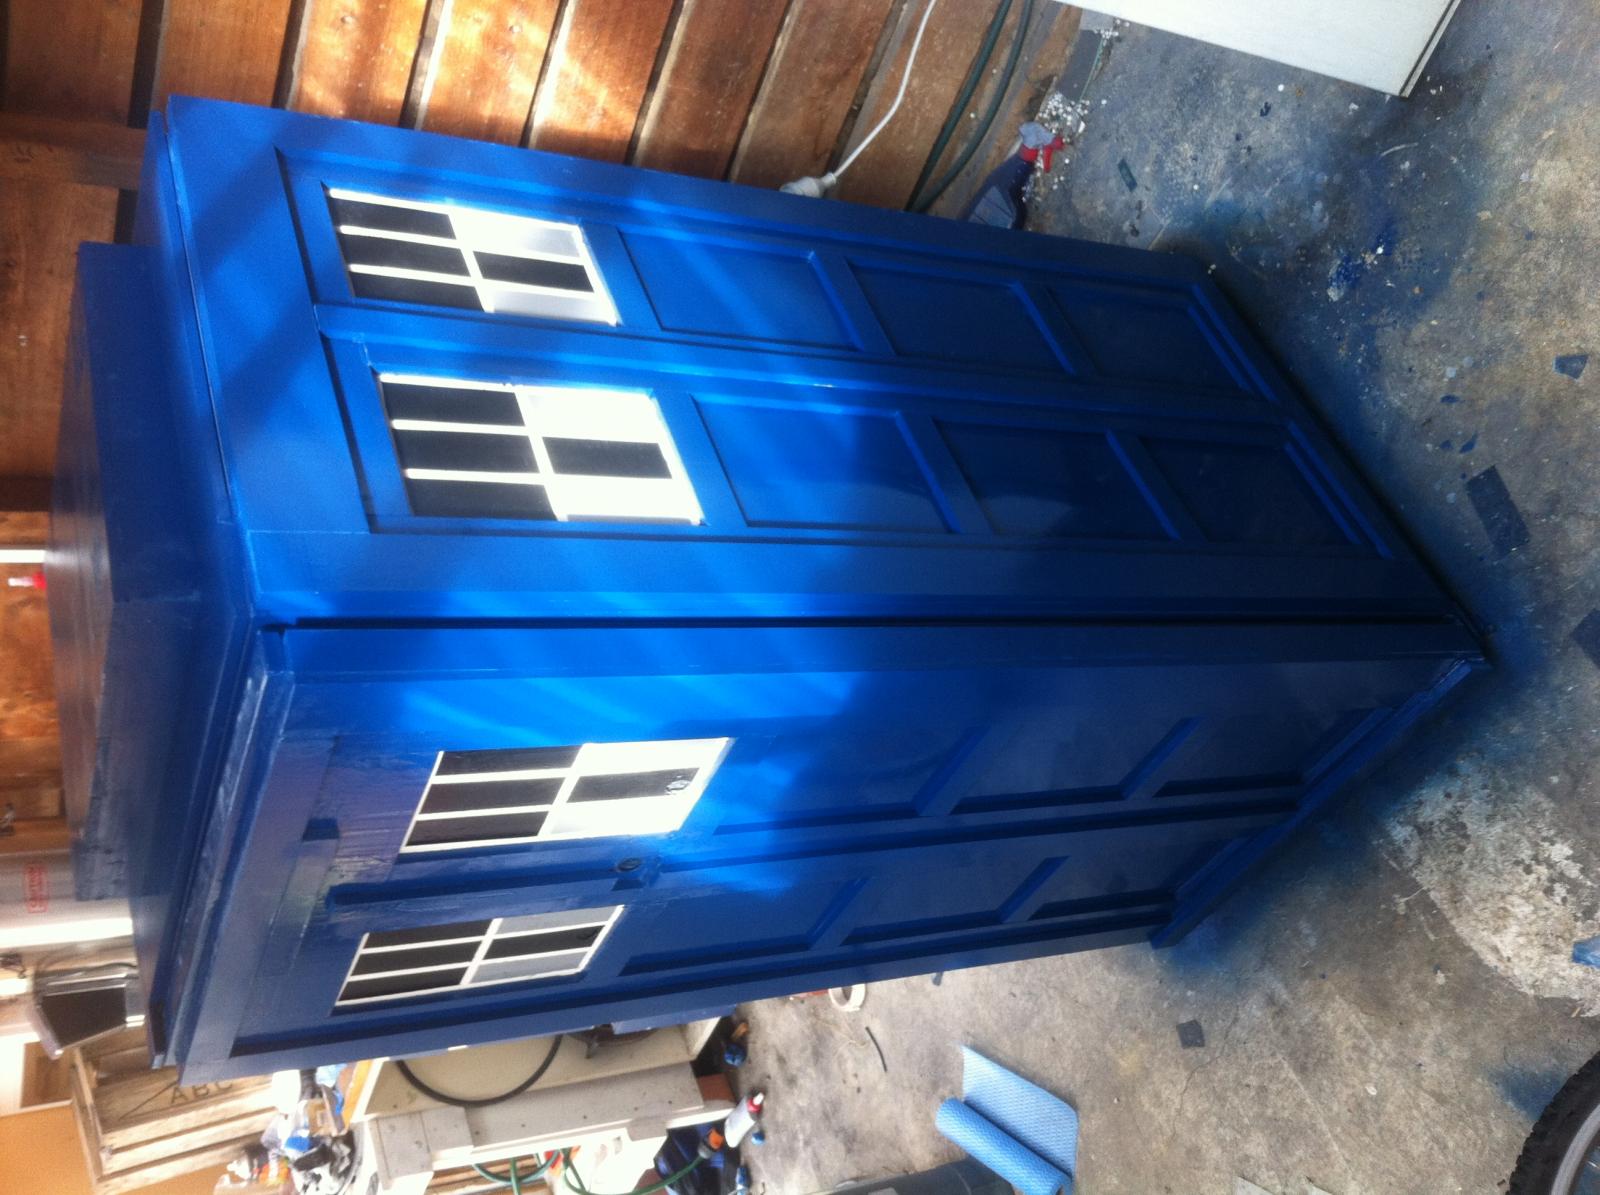
I used Standard Pine wood, which was 10mm thick, and undercoated everything prior to spraying the blue paint on.

Main Frame: 90mm Underneath, 60mm on top
Middle frame/ vertical partition Front was slightly wider than side, so front was 2x60mm with a 30mm middle section
the sides 1x90mm with 30mm middle partition on toop.

Horizontal sectioning/partitions 40mm

at the top, you'll need to layer to make sure the re are no gaps from fridge to sign. so i used 1x40mm section and 1x90mm section with a 90mm section.

The Bottom of the front, gets a 60mm on bottom, then 2x 40mm to get a step of sorts. forthe doctor to step into.

The top received a Frame of 90mm to the size of the fridge. and then, i build a box to fit the size of the small hole it had created. The box was 60mm high, and around 450 Squar I think.

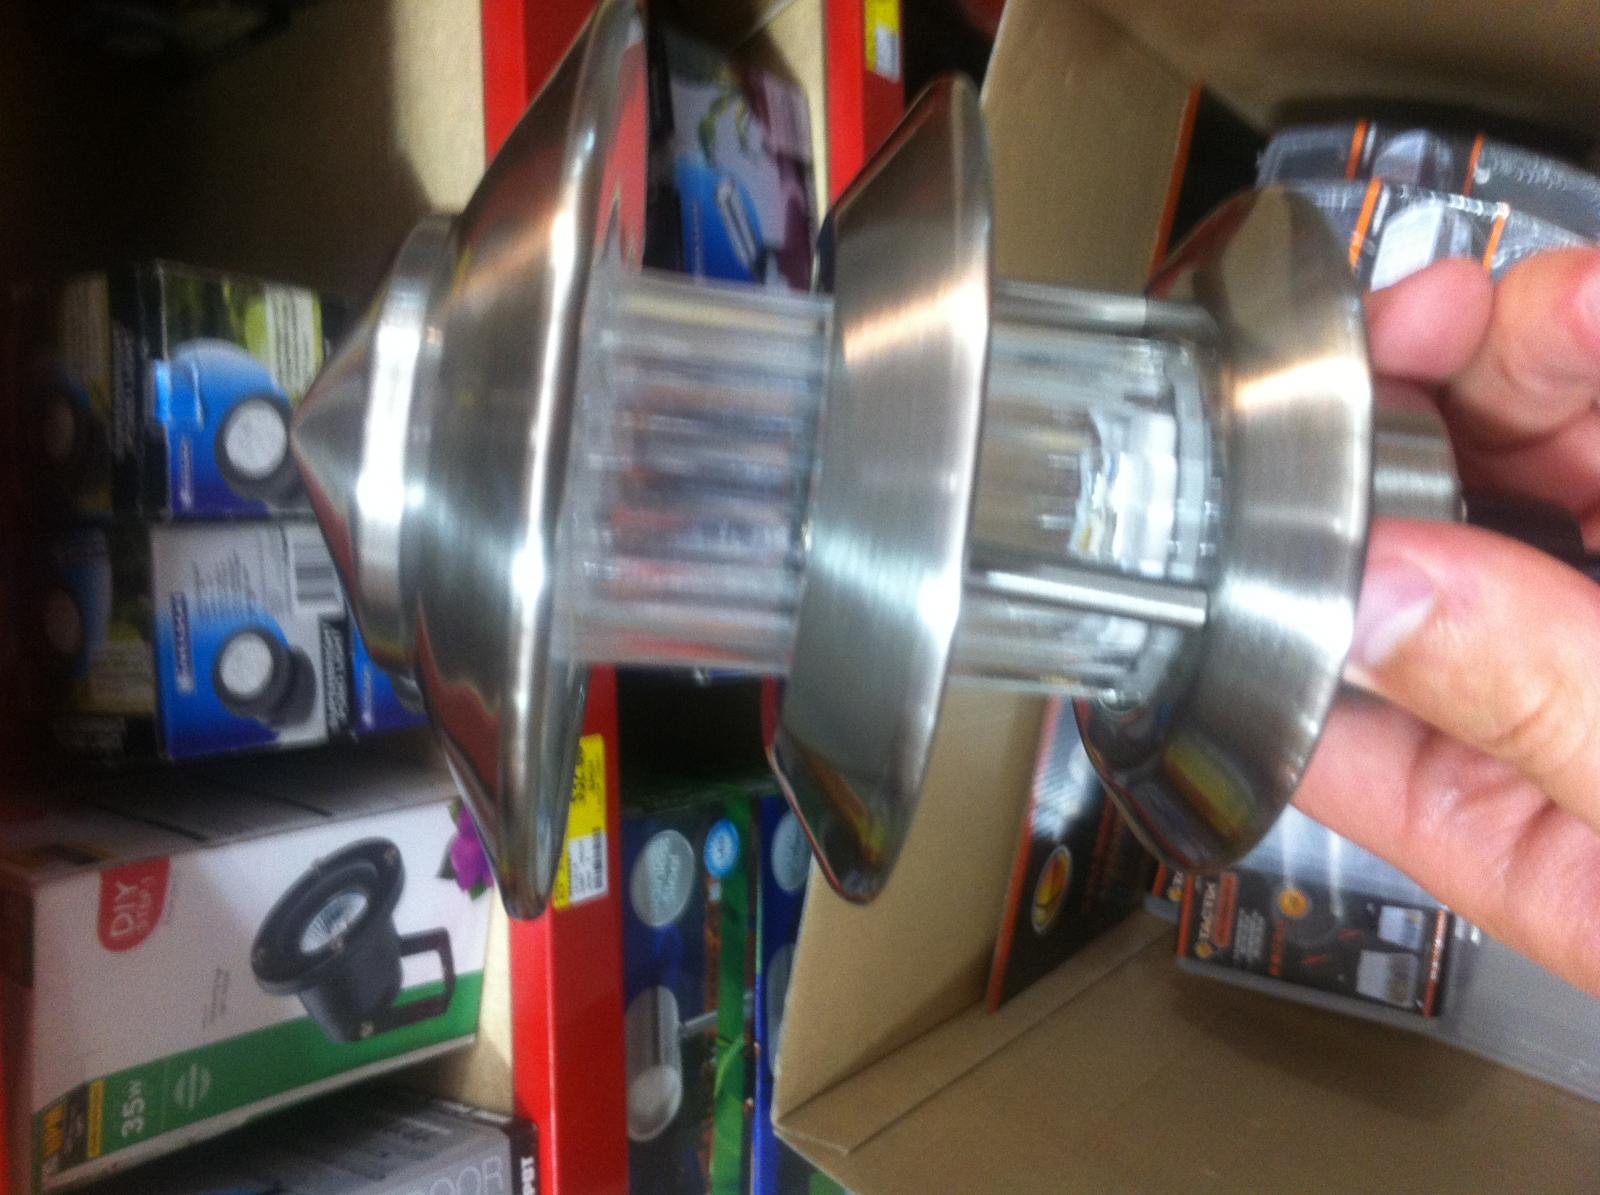
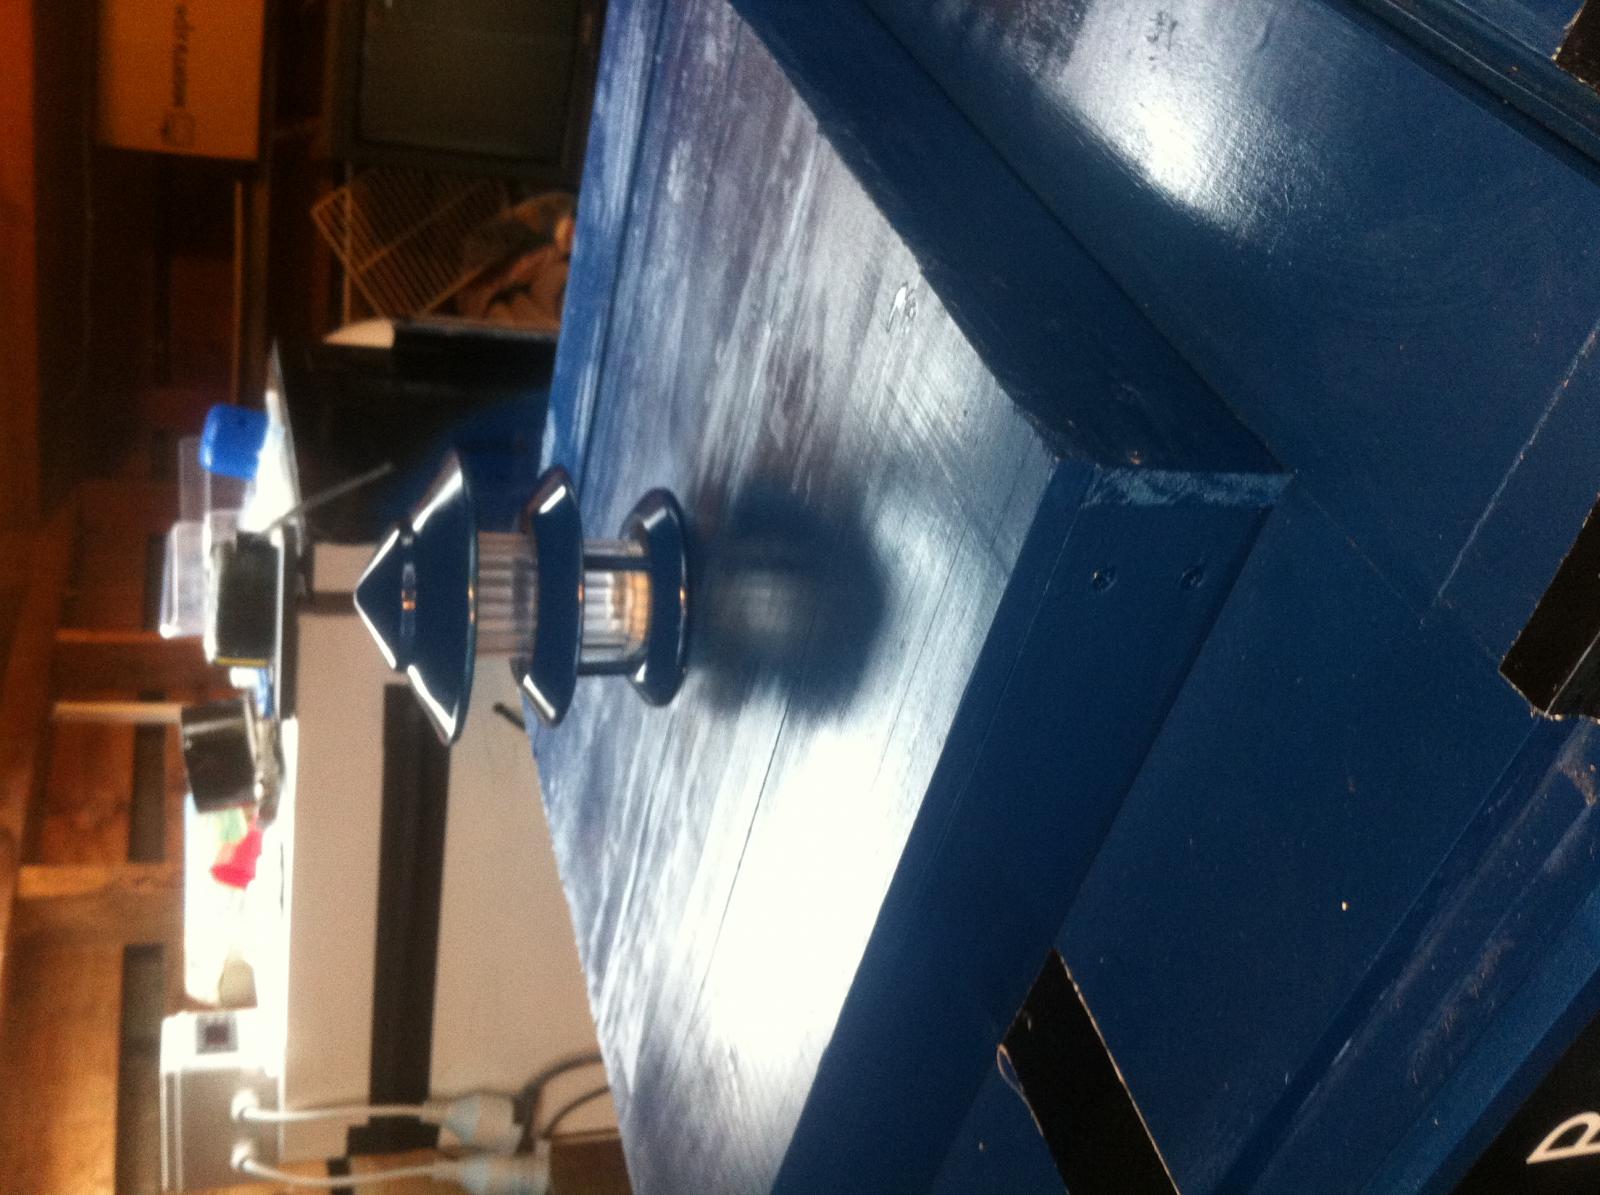
The Light I picked up from a local hardware store, and it needs to be the right size, I then put this on a 90mm square plinth, after pulling the light apart to remove bits off it, as it would not sit properly on the roof.

Paint-
Midnight Blue, grey, black and white.

the Vinyl transfers for police box sign and St john Ambulance Magnet can be found here:
http://www.outlawcustomdesigns.com/

For the In Cae of emergency sign, I decided, as it was difficult to get this signage to the size I was looking for, to turn it into my tap list. so Used whiteboard film, which works well, cut to size, so there is a little blue showing on either side of the film

2x Door handles Pull type. Smallest size u can find.

the Police Box Sign should be sized tothe full length of the fridge, minus half on each side of the top vertical framing (i hope that makes sense)

IMG_0200.jpg


IMG_0201.jpg


IMG_0202 (1).jpg


IMG_0232.jpg


IMG_0234.jpg


IMG_0241.jpg


IMG_0242.jpg


IMG_0243.jpg


IMG_0244.jpg


IMG_0245.jpg
 
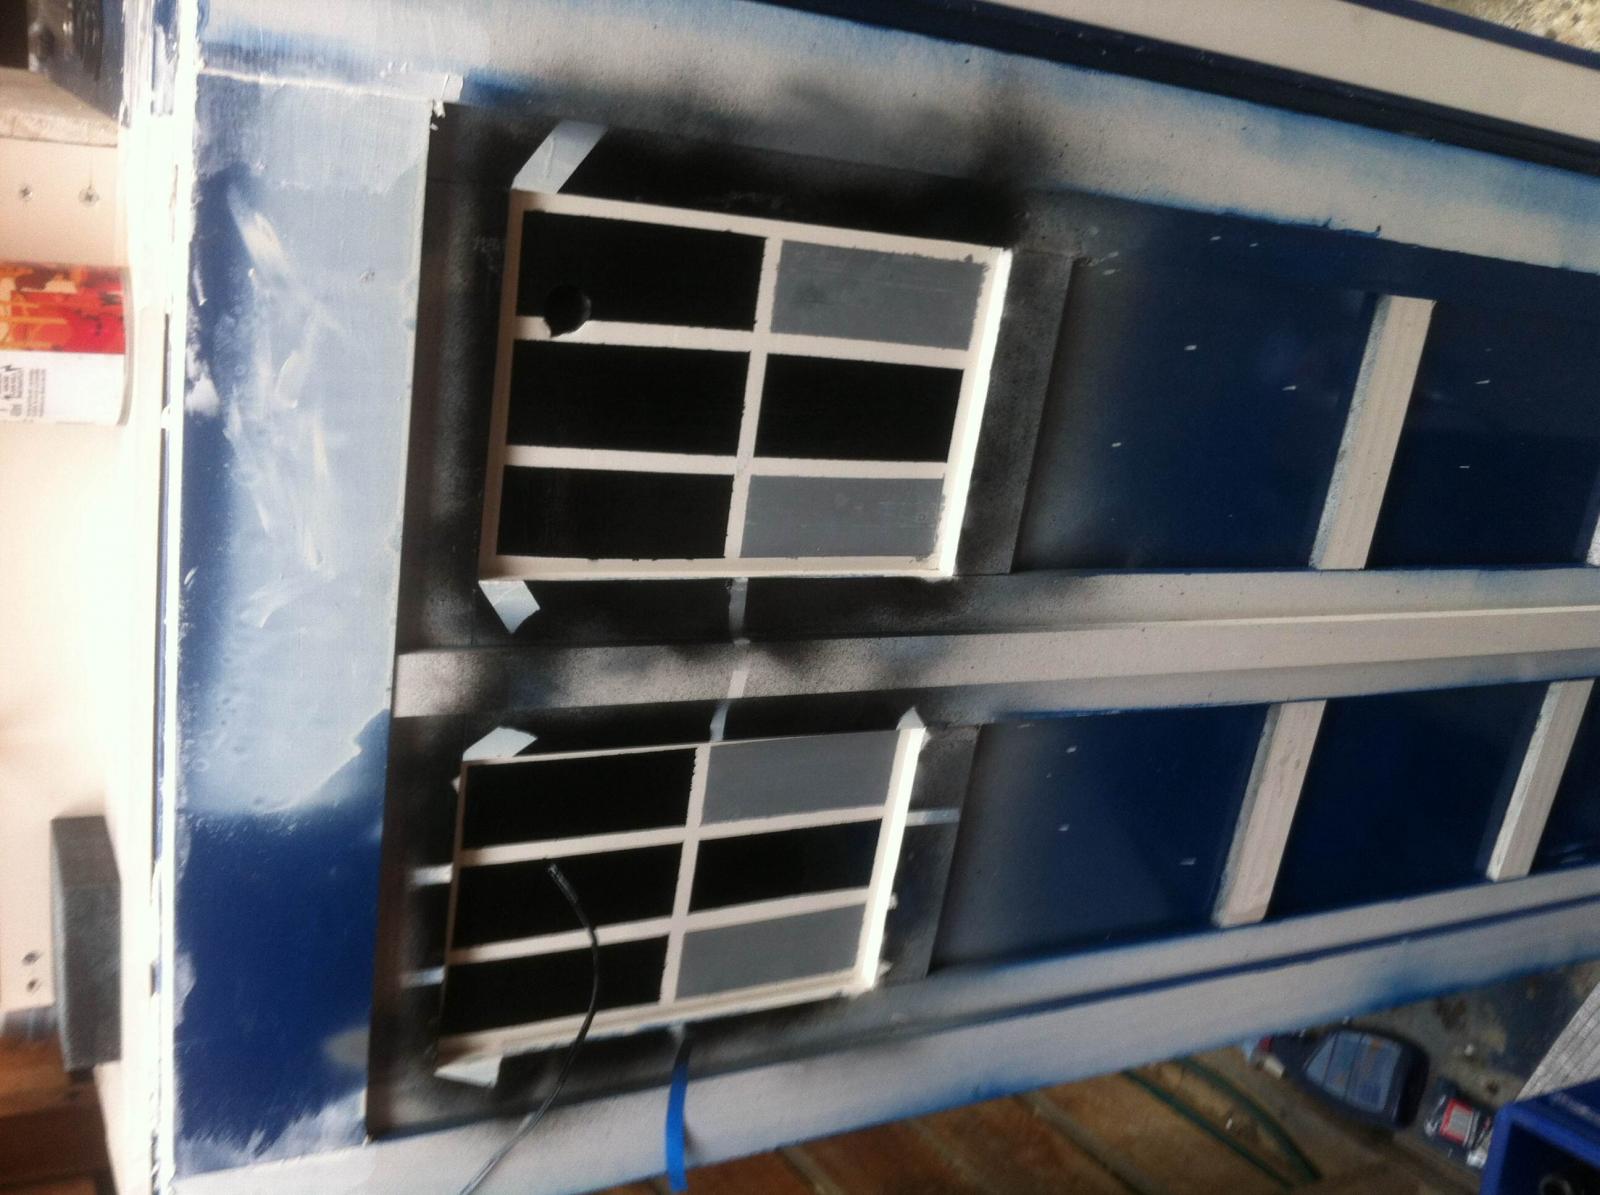
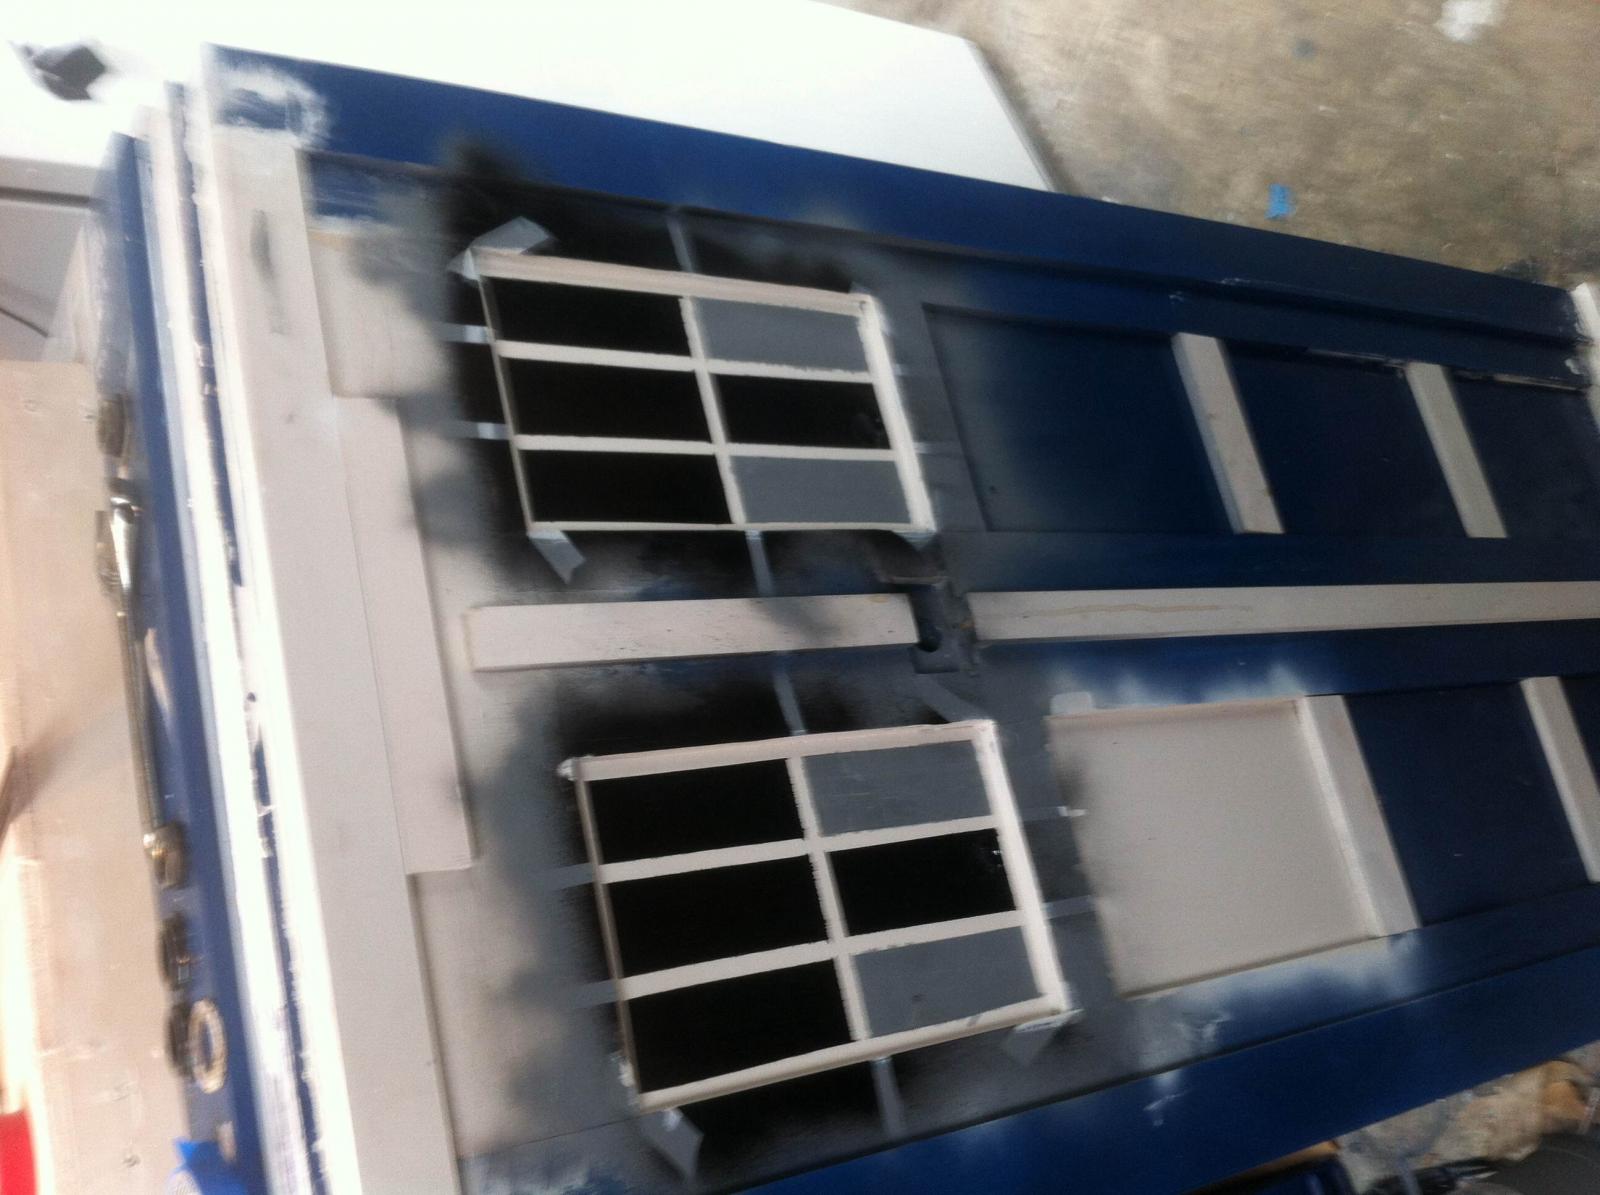
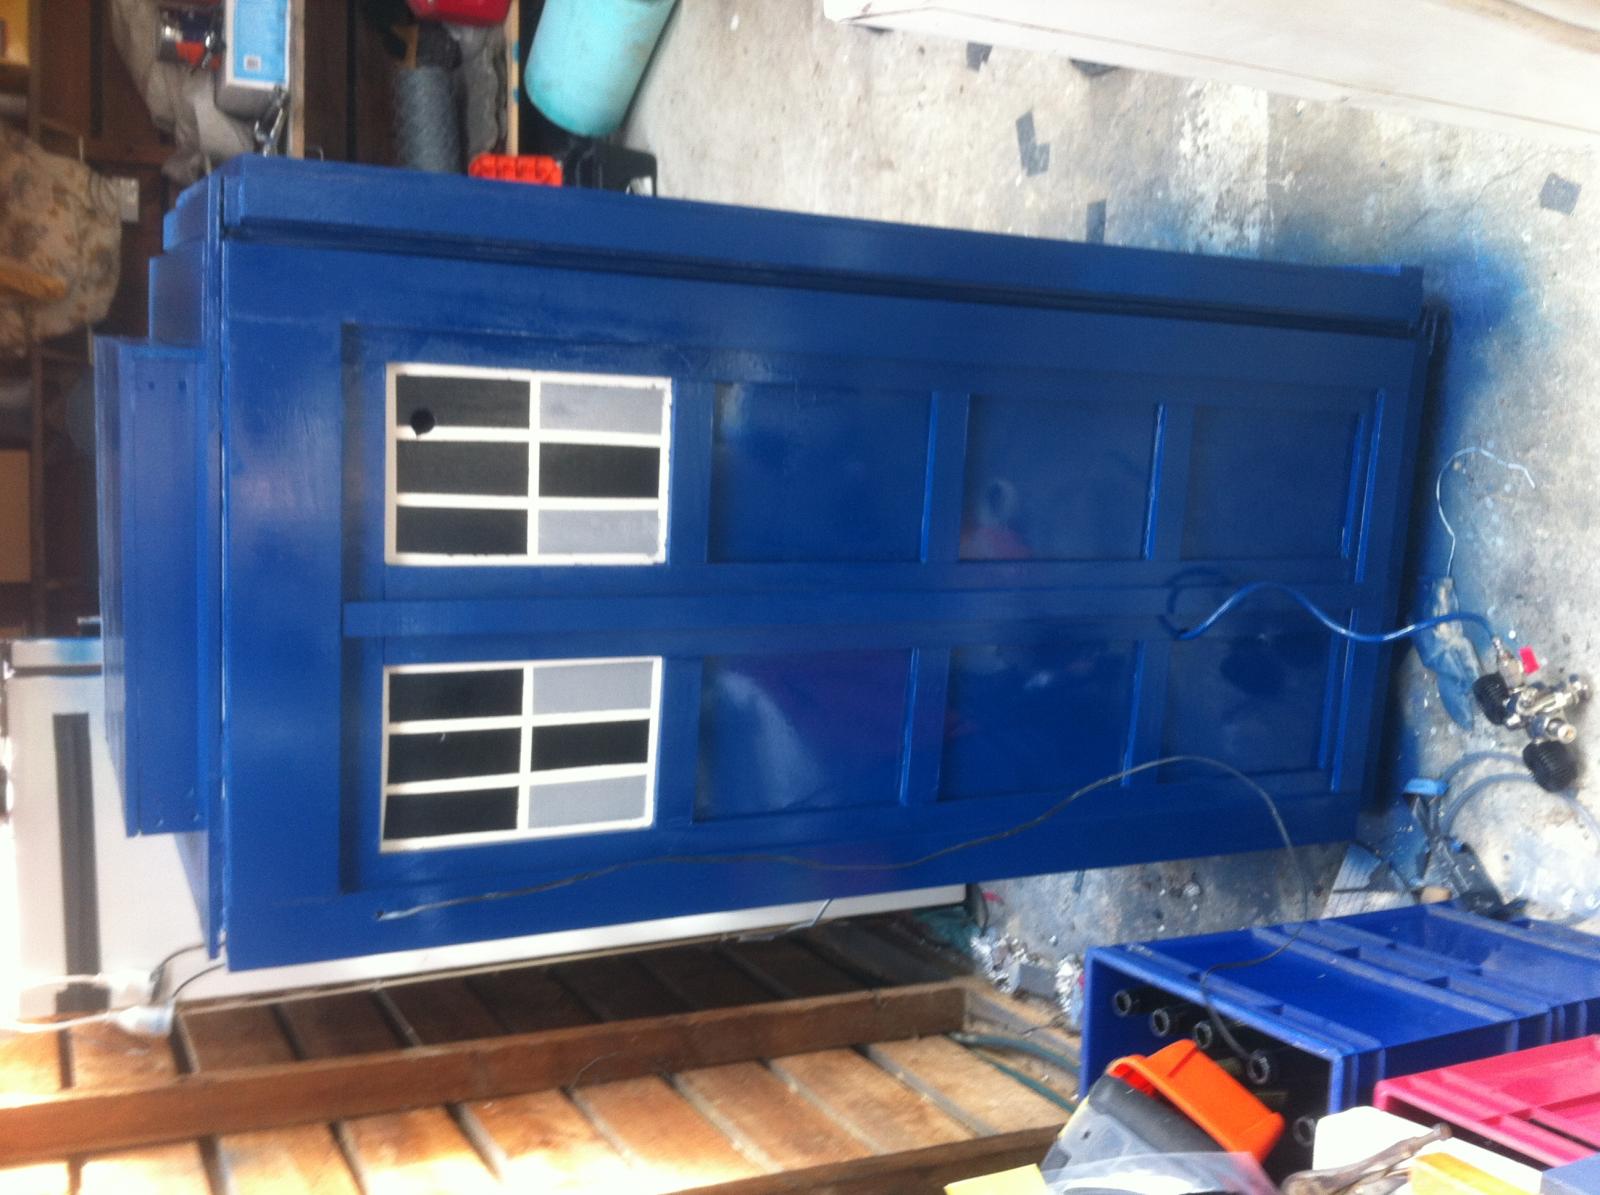
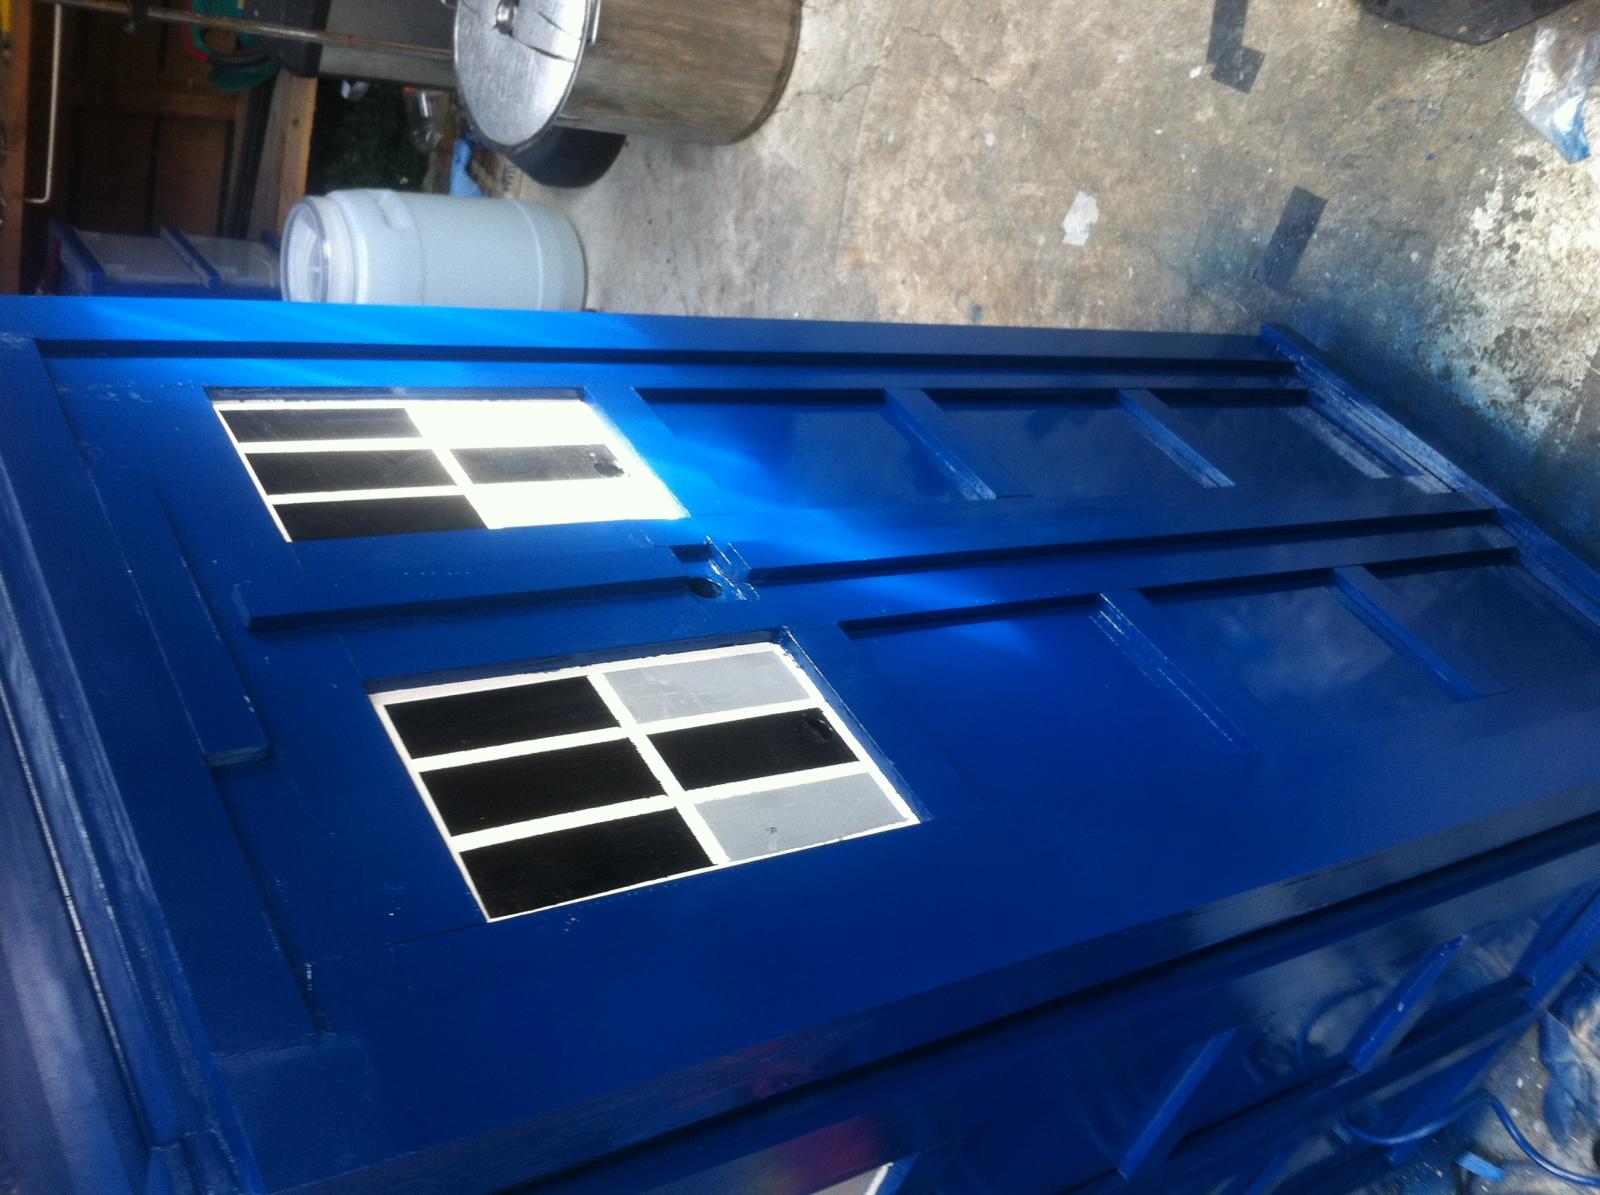
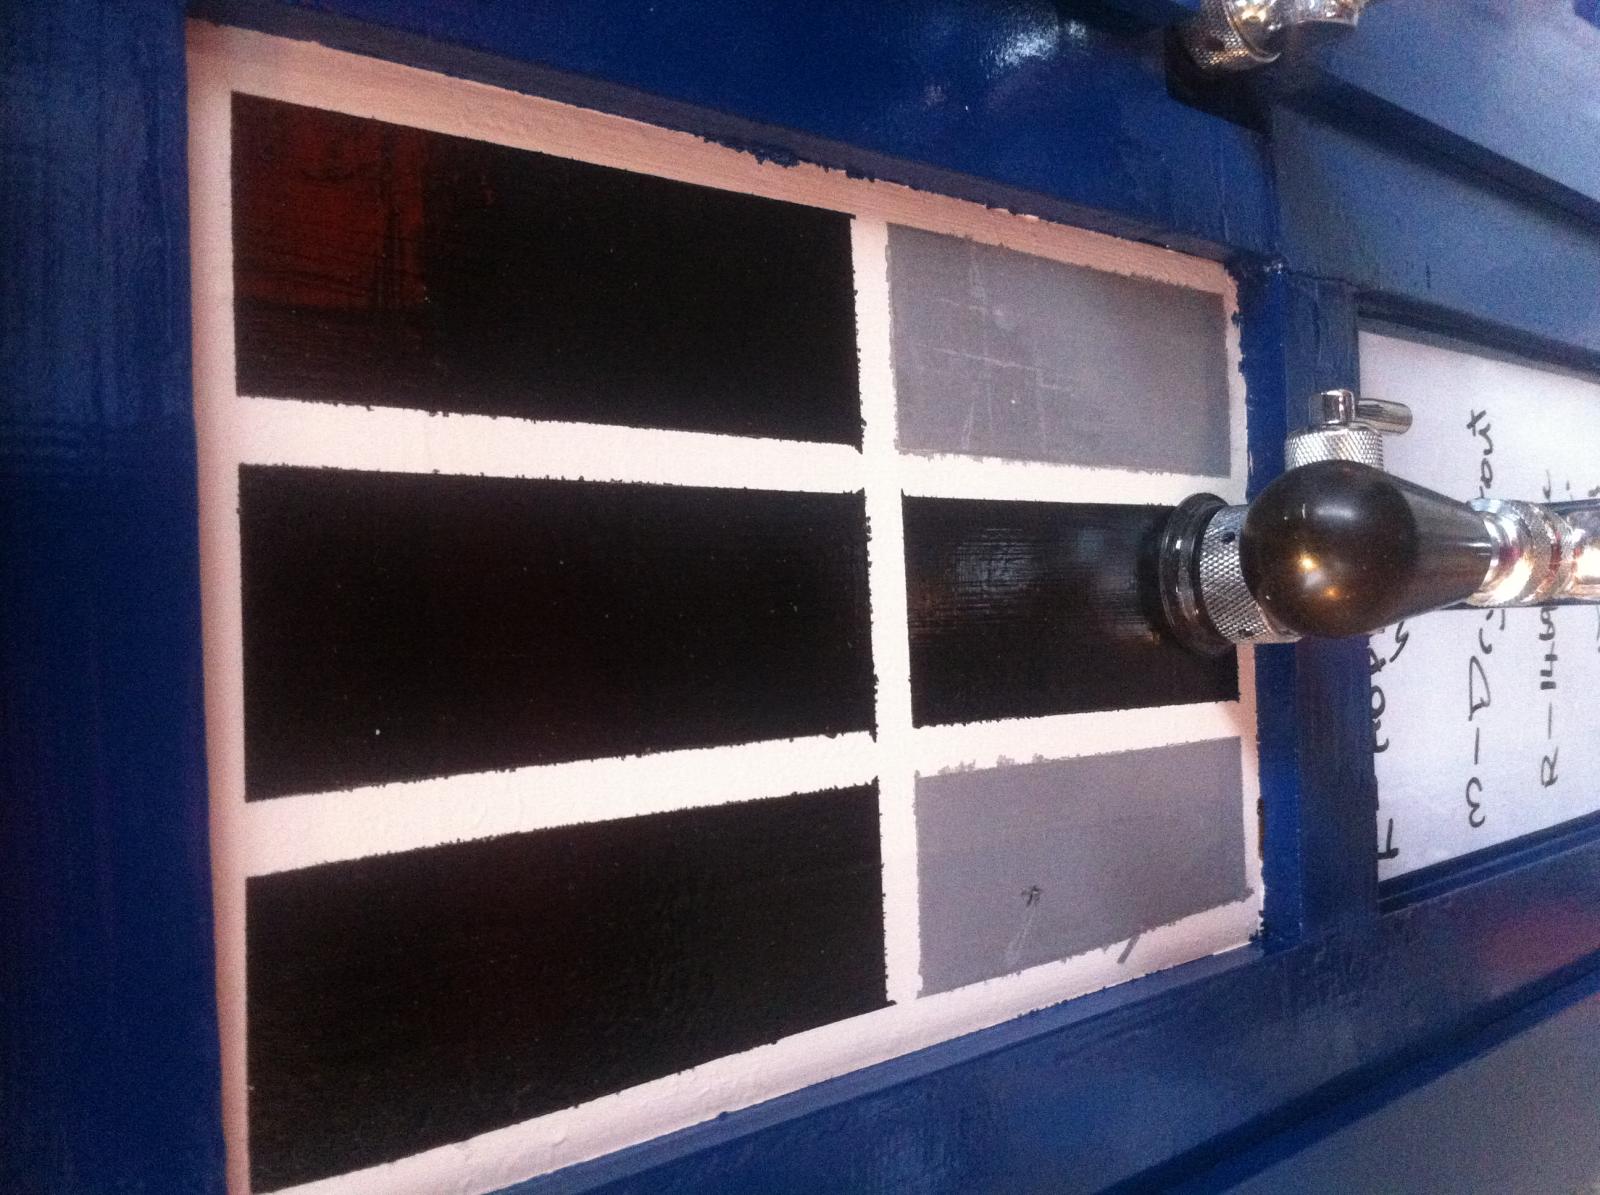
The Windows...
Paint these prior to painting the unit.
Measure these into three vertically, and divide in two.
Suggest also getting really skinny masking tape

The Signs -
Pain BLue, and let dry, then mask out to larger than the size of the transfers you got from the website above.

I glued the Ambo sign on as well.

The Light, Garden outdoor light, Removed the bottom and pulled apart to paint.
glued ont othe top of the unit.

and yor done, easy as pie.

Enjoy, and feel free to ask me anything :)

IMG_0246.jpg


IMG_0254.jpg


IMG_0257.jpg


IMG_0260.jpg


IMG_0259.jpg


IMG_0258.jpg


IMG_0262.jpg


IMG_0264.jpg


IMG_0266.jpg
 
Awesome job!
The wife who is a bigger Who fan than I, said to tell you "That ROCKS!!!!!"

New Zealand, that would explain the picture orientation. :p

Thanks to @PapaO, it's great to see it's much bigger on the inside.
 
Awesome job!
The wife who is a bigger Who fan than I, said to tell you "That ROCKS!!!!!"

New Zealand, that would explain the picture orientation. :p

Thanks to @PapaO, it's great to see it's much bigger on the inside.

Haha! I took them on my Iphone, but couldn't figure out how to rotate them, as they all showed the correct way up on my computer.

sorry.
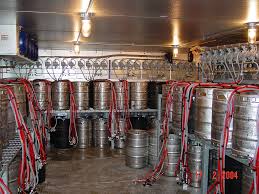
and yes, it looks exactly likethat one the inside..... ;)
 
Please tell me it makes the "vroo-vroo-vroo" sound every time you pull a pint.
 

Latest posts

Back
Top