brauhausjoe
Well-Known Member
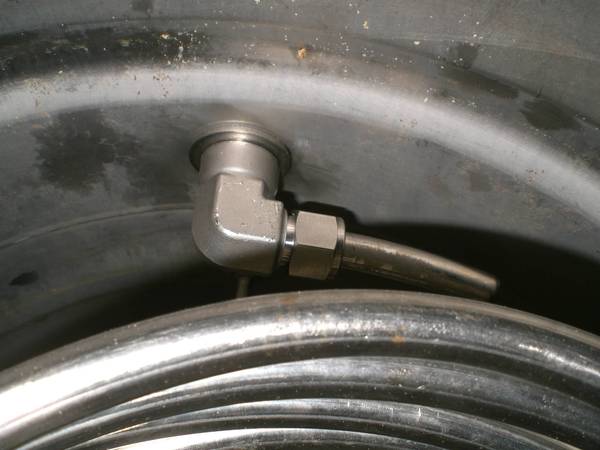
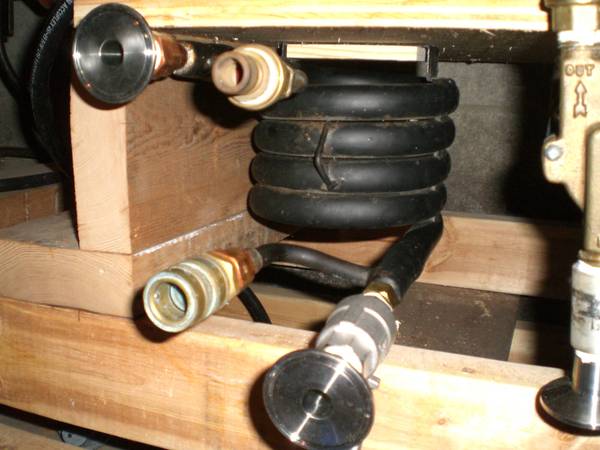
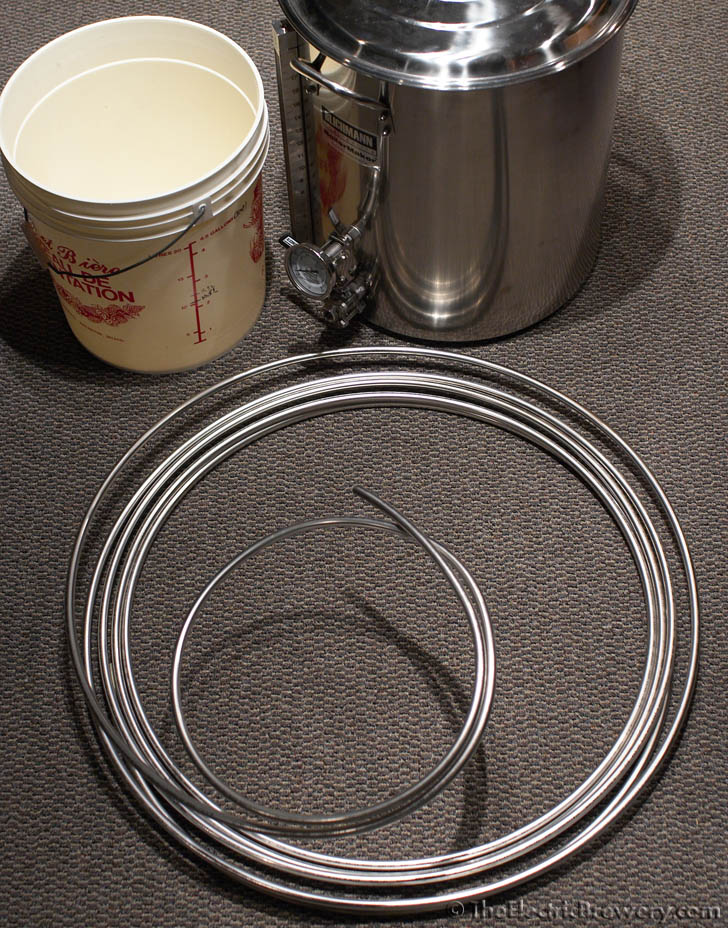
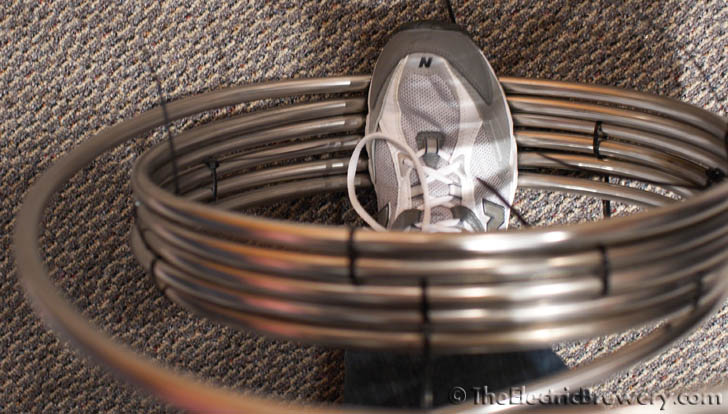
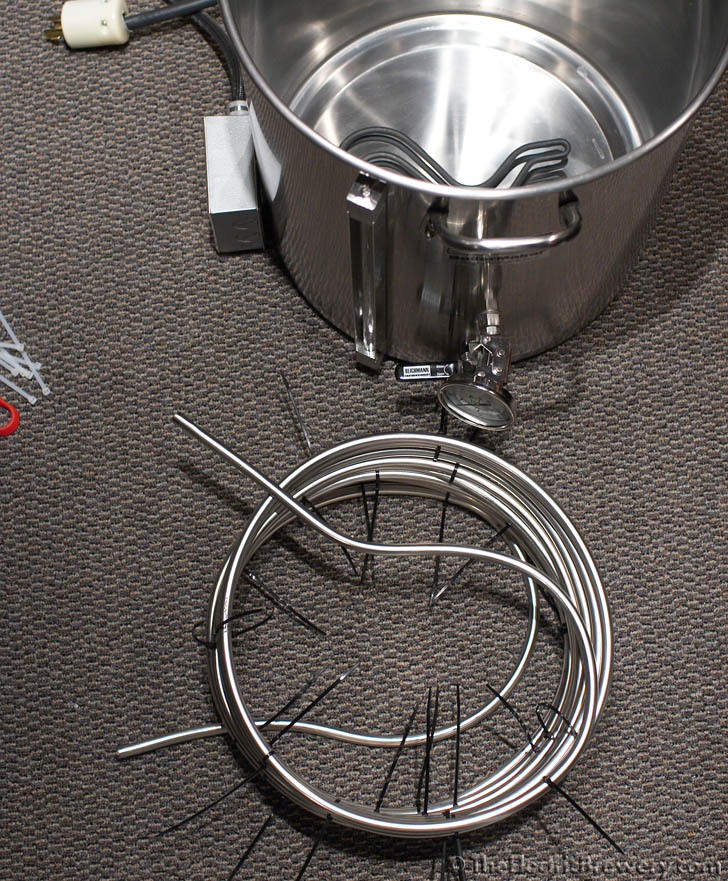
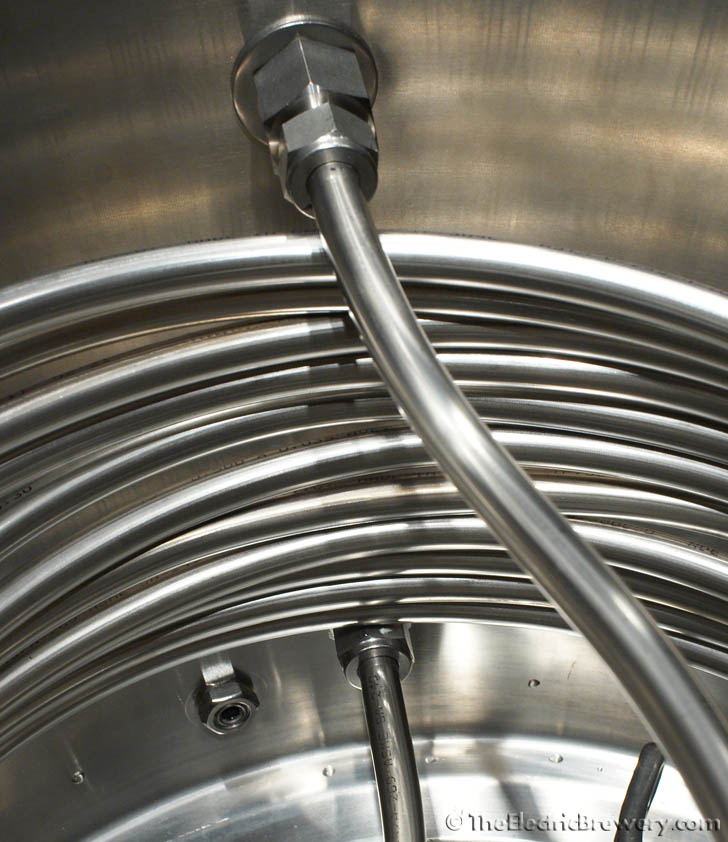
Also, I coiled the 50' of 1/2" stainless that I have. NO PROBLEM
Were did you get the stainless tubing from? The 1/2 inch tubing I saw would run about $400 bones...

Also, I coiled the 50' of 1/2" stainless that I have. NO PROBLEM

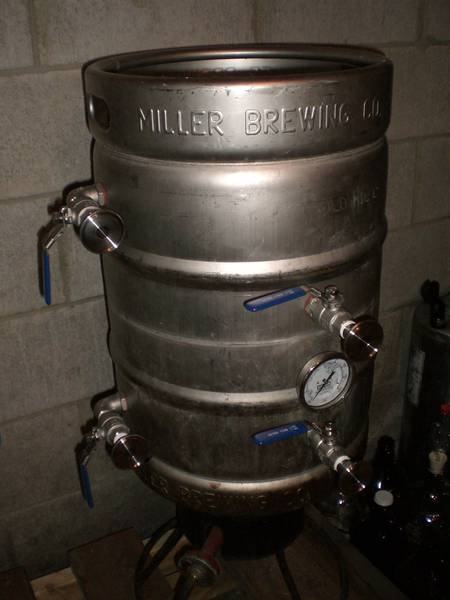
I have never really (yet) had a need for a grant in my system.
Good Luck, buddy!
Based on your gallery pics, your setup seems pretty advanced I'd say! Do you have any information that describes your setup and how you "kept it simple"? I'm always looking for new ideas (and I'm a KISS type of guy too).Personally, I am more a KISS kinda guy, as you have seen from my build. Form follows function. Of course, that said, I didn't have the budget that you have, either, so....


The simplest 'sparge arm' I've seen is the Sabco method. They use silicone tubing, long enough to curl around the circumference of the tun, then the point down into the grain bed. You would think introducing the sparge water this way would cause channeling, but they cite a lot of research and trials that give no indication of channeling or inefficiency. Sometimes simple is good I spoze. Here is a picture of the Sabco method, when the tun is full the tubing mostly floats and the tip will naturally go below the wort level just a bit.
Interesting. Good to know. I'll by fly sparging too I think since I have two pumps like yourself.Basically, what I do now is just use a straight section of silicon tube and disperse my sparge water over the surface of the grain manually. I use the stream of sparge water to break up the surface of the grain bed and to evenly distribute the flow. This avoids channelling and in both Mensch and my experience it allows for very fast fly sparging with good efficiency and wort quality.
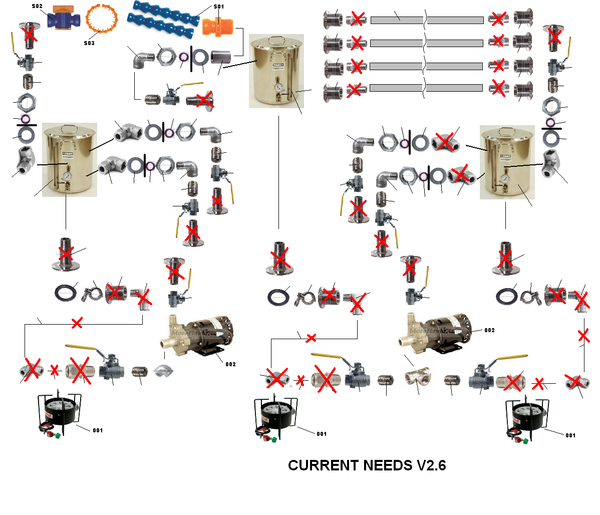
This design seems to have plenty of redundant systems.
2 coils where 1 would be sufficient
4 heat sources where 2 would be sufficient
This is the engineer in me trying to eliminate unnecessary extras. If you want them then go for it.
BUT IT GOES TO ELEVEN! :rockin:
-OCD

 I said from the beggining this was a long term project.
What does that mean?

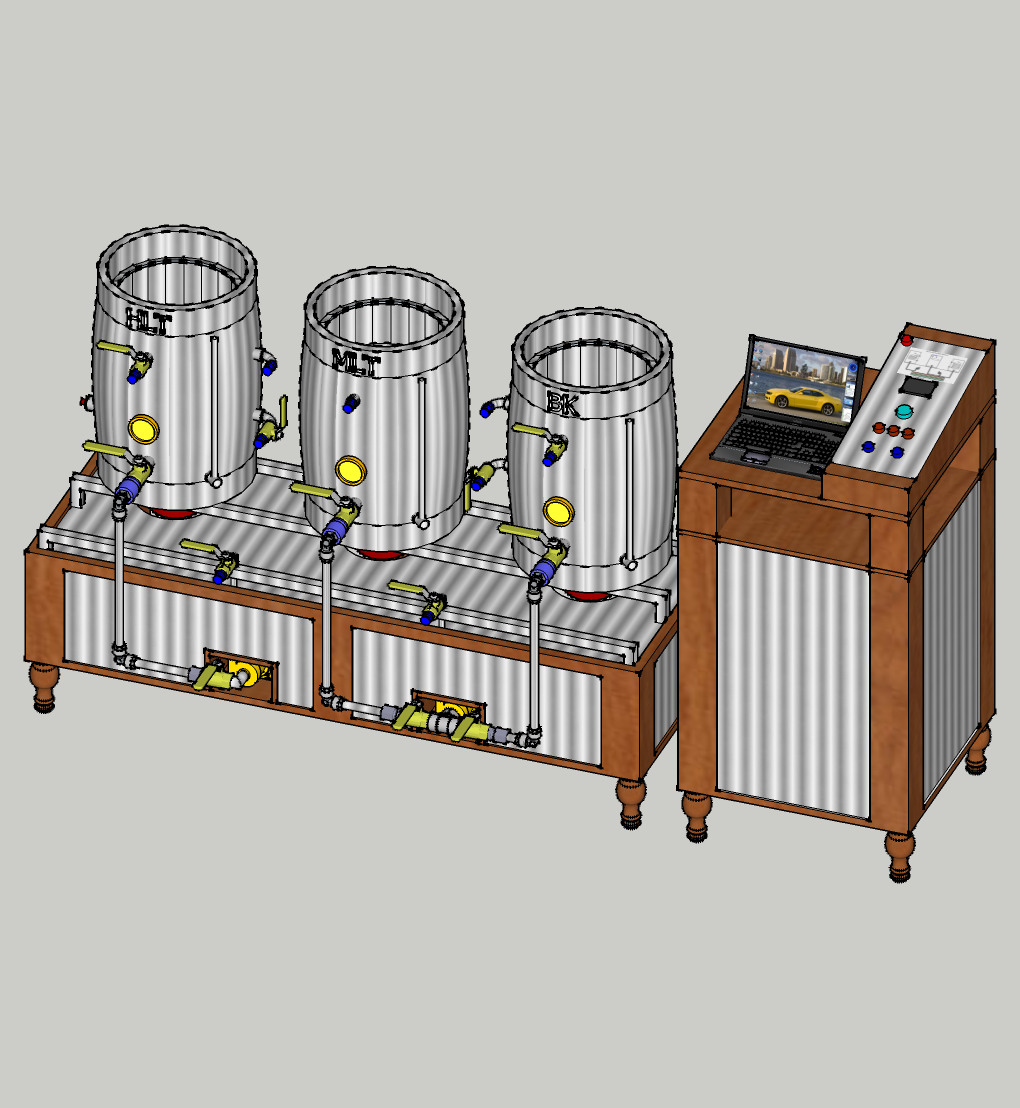


The setup looks great Kal!
Yeah the stainless is a bear. I think the next coil I do I will take breaks as I go. I got it almost perfect for a while, but your hands and forarms just get to sore and I started screwing up.
Slow and steady wins the race.
Enter your email address to join: