- Joined
- Jun 12, 2014
- Messages
- 574
- Reaction score
- 191
I just finished it this past weekend.
View attachment 563801
can you show some more pics? details?

I just finished it this past weekend.
View attachment 563801


can you show some more pics? details?


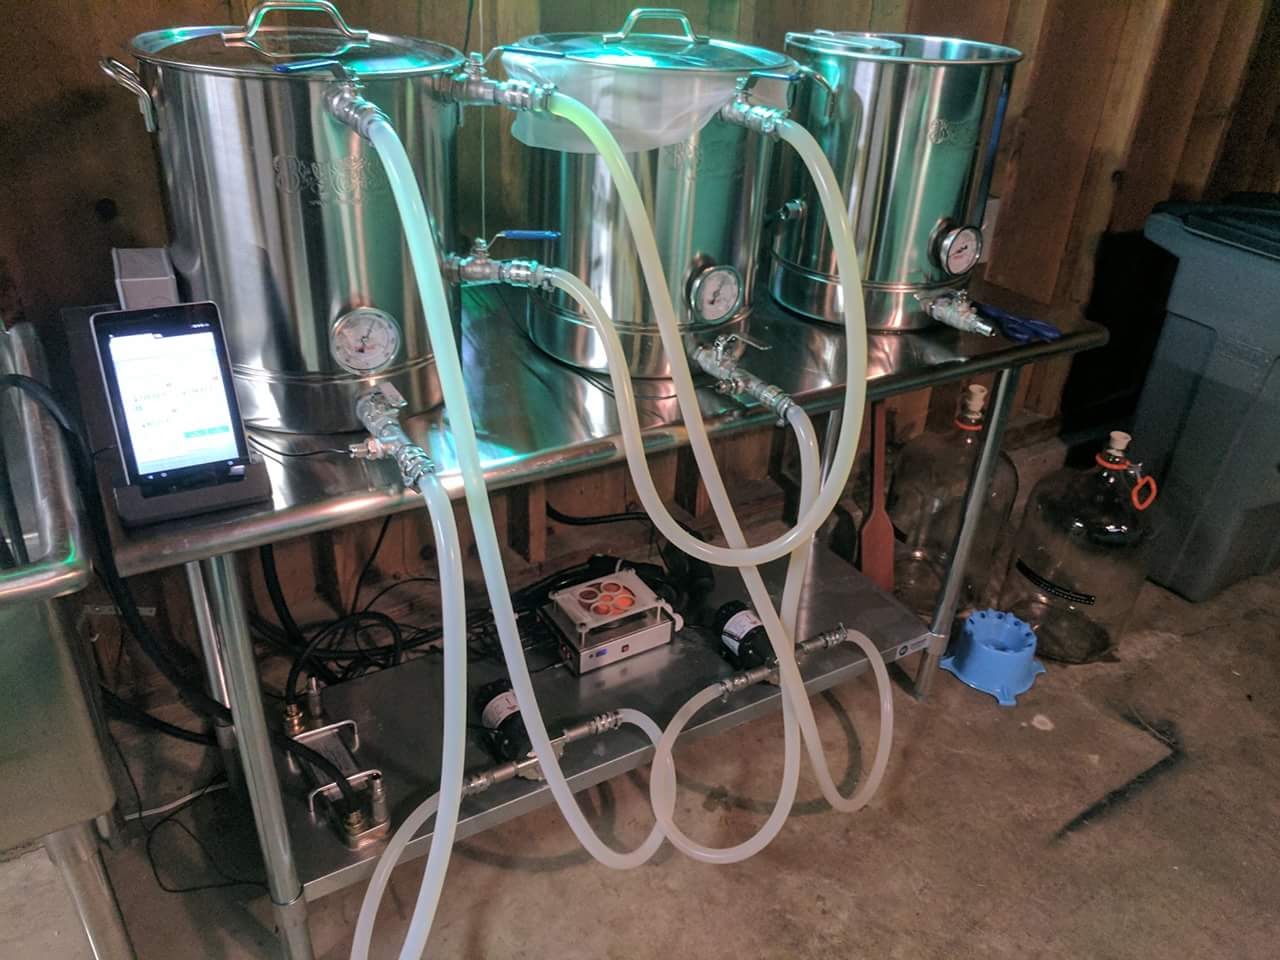
There are a lot of photos scattered over many threads of brewing set-ups.I looked all over the web for pics and ideas for a simple sculpture.Maybe it'll help someone to see a bunch in one place.
This was a fairly simple project.
Cheers

The mash tun and HLT are bottom draining,... the handle to either the left or the right.
It's aluminum extrusions made by 80/20 Inc.What is that material you built the frame out of?

There are a lot of photos scattered over many threads of brewing set-ups.I looked all over the web for pics and ideas for a simple sculpture.Maybe it'll help someone to see a bunch in one place.
This was a fairly simple project.
Cheers
There are a lot of photos scattered over many threads of brewing set-ups.I looked all over the web for pics and ideas for a simple sculpture.Maybe it'll help someone to see a bunch in one place.
This was a fairly simple project.
Cheers

There are a lot of photos scattered over many threads of brewing set-ups.I looked all over the web for pics and ideas for a simple sculpture.Maybe it'll help someone to see a bunch in one place.
This was a fairly simple project.
Cheers


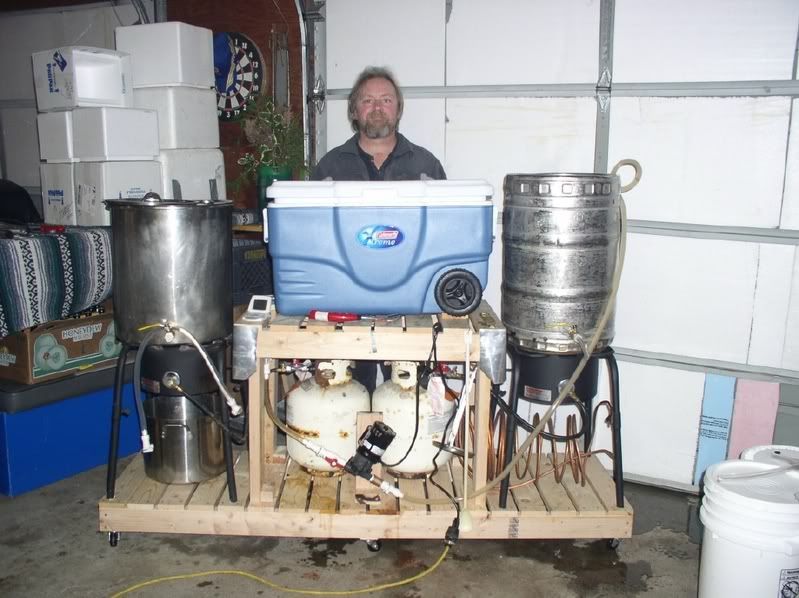
I'm not sure what I'm looking at, but I sure do like it! [emoji106]
That is a thing of steampunk beauty!
What the efffff!
Looks like it’s from Casper!
Details, STAT!!!
. Next cool looking thingy will be the parallel counter flow chiller I am working on right now. So more and better quality videos coming up soon.. I am not that happy with the videos now, but I am learning... https://www.youtube.com/channel/UCKxDop_iEM_OGU0gXwY7Q2w? All comments, ideas, tips anything are welcome to the videos! Oh yeah and I just added a facebook page also, so I should have updated there soon also https://www.facebook.com/Pirunpanimo-177942586240705/

Thank you! that what happens when you put a crazy artist on a projectThat is one of the more remarkable combinations of art and function I have seen in a while - very nicely done!
it has taken few years I am still working on it and making improvements. On one side for example I have quite interesting bottle capping machine currently able to handle 1 bottle, but in future maybe 3 at time. Will post some video about it on my channel and maybe some pics here also.easy to see I like steampunk style?That is a thing of steampunk beauty!
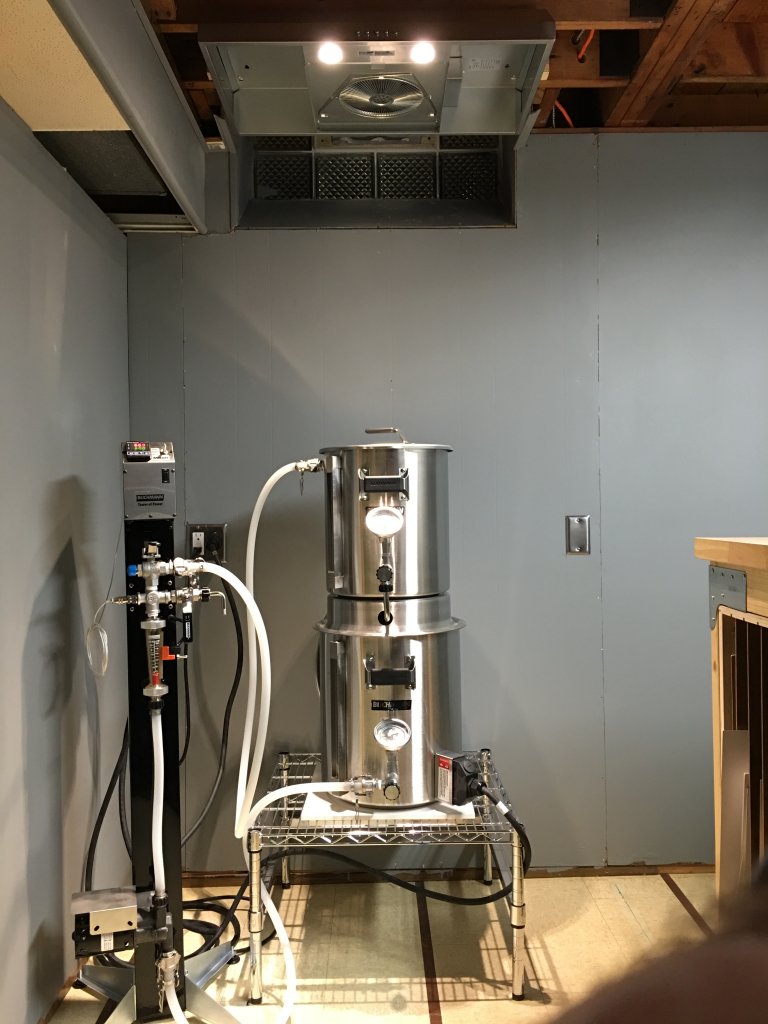
It was interesting project to create all those parts. The control panels I draw with Inkscape and then used laser cutter. They are actually made of mdf that I just painted copper & some stains Brew stand. 2.0 : in the process of a rebuild.
View attachment 569309View attachment 569312
Propane/rims to electric/herms
I watched your video, love the simplicity of the mash stirrer! And really curious about your BBQ, smoker stuff...you should join us over hereeasy to see I like steampunk style?

Adhesive backed PVN - polyvinyl nitratewhat did you use to insulate your mash tun?
@pinchegil
The are Tejas Smokers CVO250 . they are for high pressure propane I have two for my mash and boil kettle, my mlt is controlled using a honeywell so I have a two stage regulator to drop 35lbs to 11 inches of water because of this I called them and they opened the orifice for me. These are all connected to Bayou Classic BG14s. They are a really nice feature@pinchegil
Can you tell us about the gas line connectors or post a link? I'm particularly curious about the burner end.
Enter your email address to join: