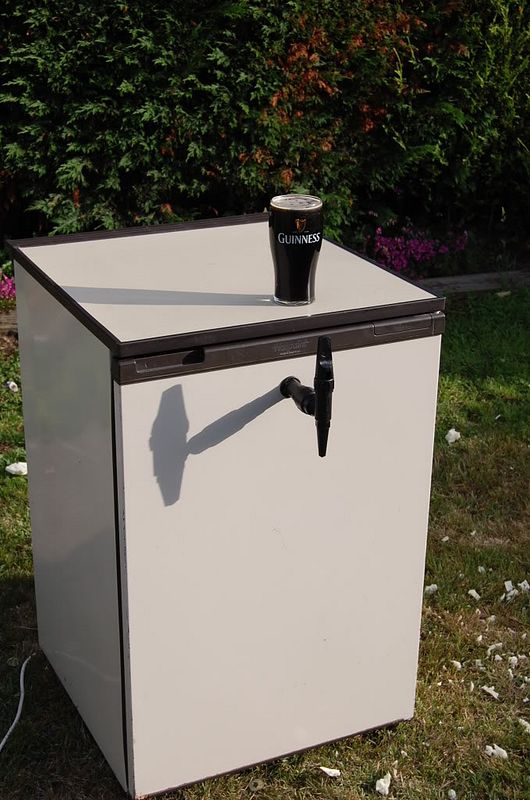
My main brews are cider and theres nout worse than having a nice cider getting warm on a summer day, this left me with no option but to come up with a way of cooling it, after messing with tons of ideas, from ice buckets to water cooler machiens, i decided a kegerator was the safest and best option, while i was at it i decided i would make it as cheap as i could.
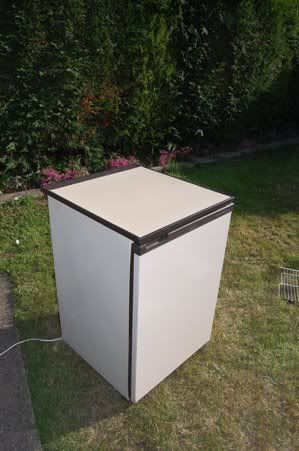
so i trauled ebay and finally found a fridge, waist height hotpoint, for only £10, snapped it up and went to collect it (only 15 miniutes drive away).
The seller helped load it up and i headded home.
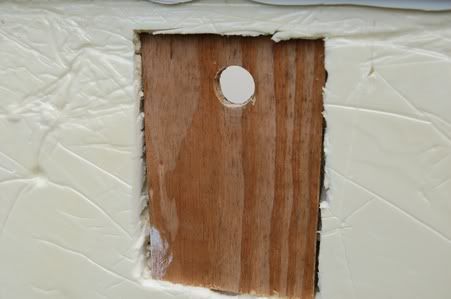
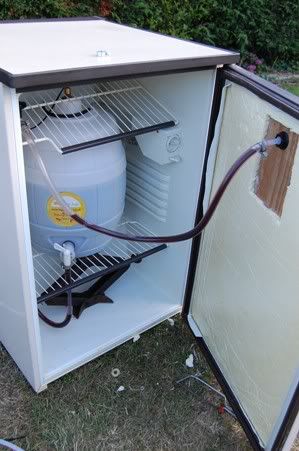
i decided that instead of using a cornie i was going to attempt to use a barrel and attatch a pipe to the tap thus using the internal pressure.
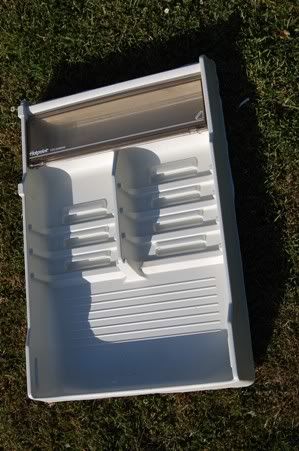
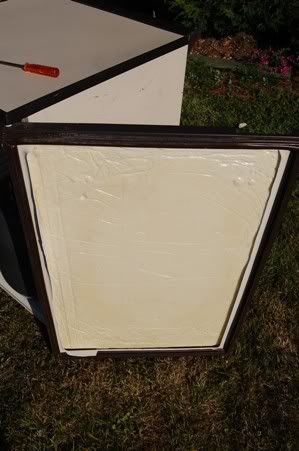
at this point i decided to test to see if the barrel fitted...it didnt...so i got the knife out on the door shelfs
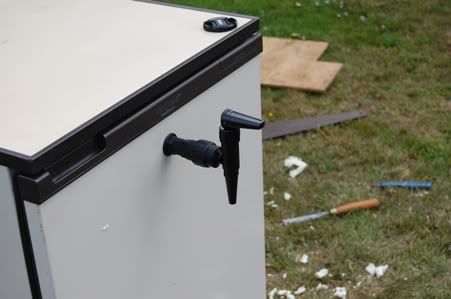
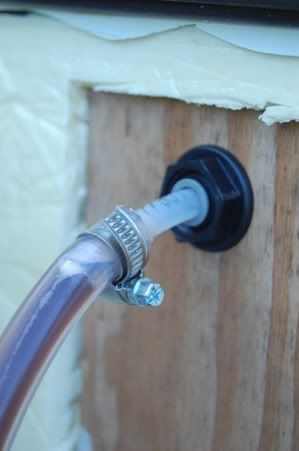
next came putting the tap pipework together.
This wasnt quite as easy as i hoped though, i fist had to get some 3/8 internal diameter pipe and put this over my tap, then i had to get some 3/8 outside diameter pipe that would fit into the first pipe and into my tap regulator etc.
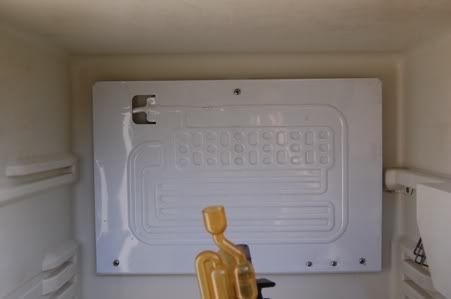
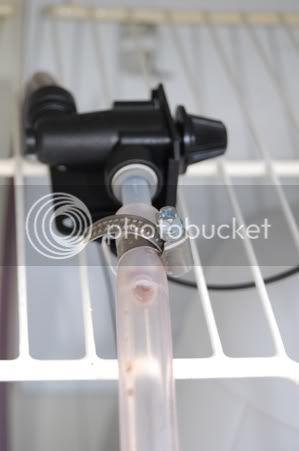
Next i replaced the top shelf and cable tied the flow regulator in place.
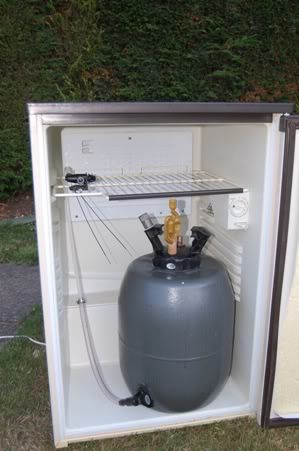
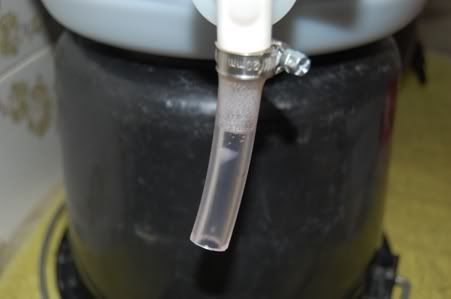
At this point i would like to point out the reason for the air lock, usually there is an s30 pin valve there, but the seals went and the valve was in poor nick anyway so its being replaced, until then i shoved a bit of sugar in and wedged a wine bottle cork in the top to keep it safe, once the new valve arrives i will fit it, reprime and wait.
I will hopefully recieve my tap tomorrow and so expect more photos to come.
so i trauled ebay and finally found a fridge, waist height hotpoint, for only £10, snapped it up and went to collect it (only 15 miniutes drive away).
The seller helped load it up and i headded home.
i decided that instead of using a cornie i was going to attempt to use a barrel and attatch a pipe to the tap thus using the internal pressure.
at this point i decided to test to see if the barrel fitted...it didnt...so i got the knife out on the door shelfs
next came putting the tap pipework together.
This wasnt quite as easy as i hoped though, i fist had to get some 3/8 internal diameter pipe and put this over my tap, then i had to get some 3/8 outside diameter pipe that would fit into the first pipe and into my tap regulator etc.
Next i replaced the top shelf and cable tied the flow regulator in place.
At this point i would like to point out the reason for the air lock, usually there is an s30 pin valve there, but the seals went and the valve was in poor nick anyway so its being replaced, until then i shoved a bit of sugar in and wedged a wine bottle cork in the top to keep it safe, once the new valve arrives i will fit it, reprime and wait.
I will hopefully recieve my tap tomorrow and so expect more photos to come.