
I had a little free time last week and finally made the pump I bought in the summer usable.
I took an old rubbermaid wal mart toolbox I had laying around, installed the pump with a GFCI outlet and a switch for turning the pump on and off.
Parts:
- Toolbox (already had)
- GFCI outlet/$29 @ lowes
- Light switch/$2 @ lowes
- Extension cord/$20 @ lowes
- Project box/$4 @ lowes
- Faceplate/$3 @ lowes
- March 809 pump/$149 @ austinhomebrew
- SS ball valve/$14.99 @ austinhomebrew
- Camlock Type A fitting/$4.39 @ austinhomebrew
- Camlock Type F fitting/$4.39 @ austinhomebrew
So the total cost for the pump setup set me back about $230, not including hoses and fittings, the pump making up half that cost, I could have gone cheaper if I really wanted to but I'm happy with what I have.
An important note is I have never wired up anything in my life, but if I can do this, I'm sure anyone can. It was pretty straightforward and I made sure to triple check every connection before I powered everything up.
I'm also planning on converting a cold room to a brew room, but I felt this toolbox option is great option for portability vs mounting to a stand.
Here's some pics I snapped while I was putting it all together:
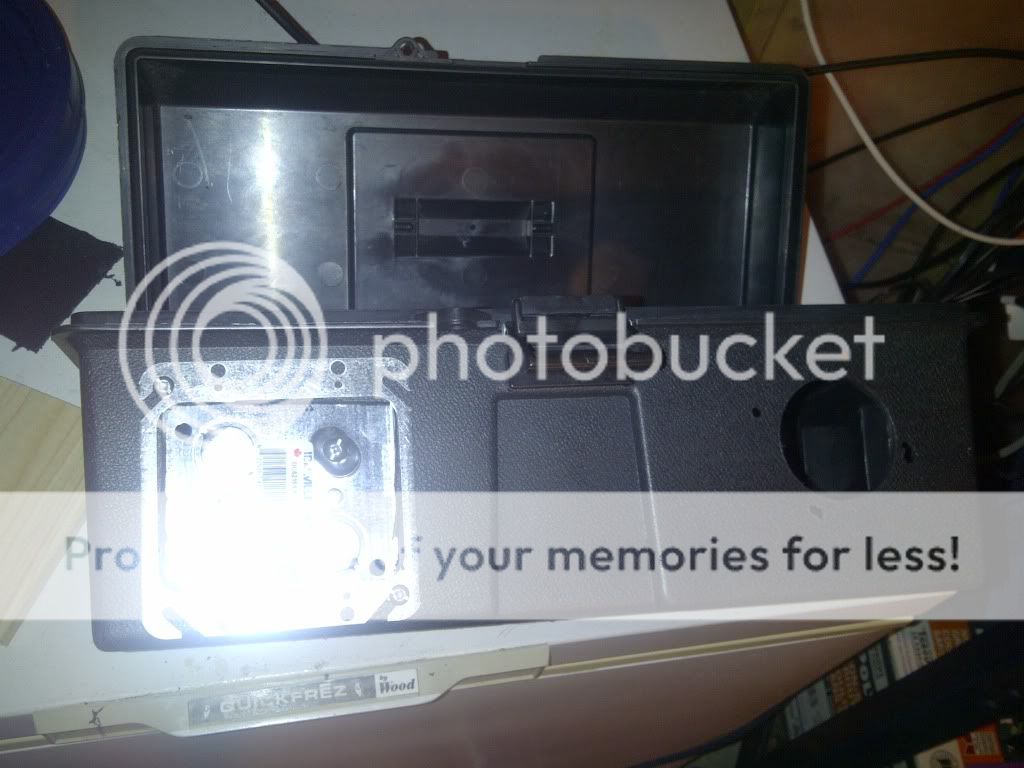
I used a 2 1/8" hole saw to cut the main hole for the main drive of the magnet to fit through. Was a perfect fit. I used my dremel tool to cut out the plastic for the project box.
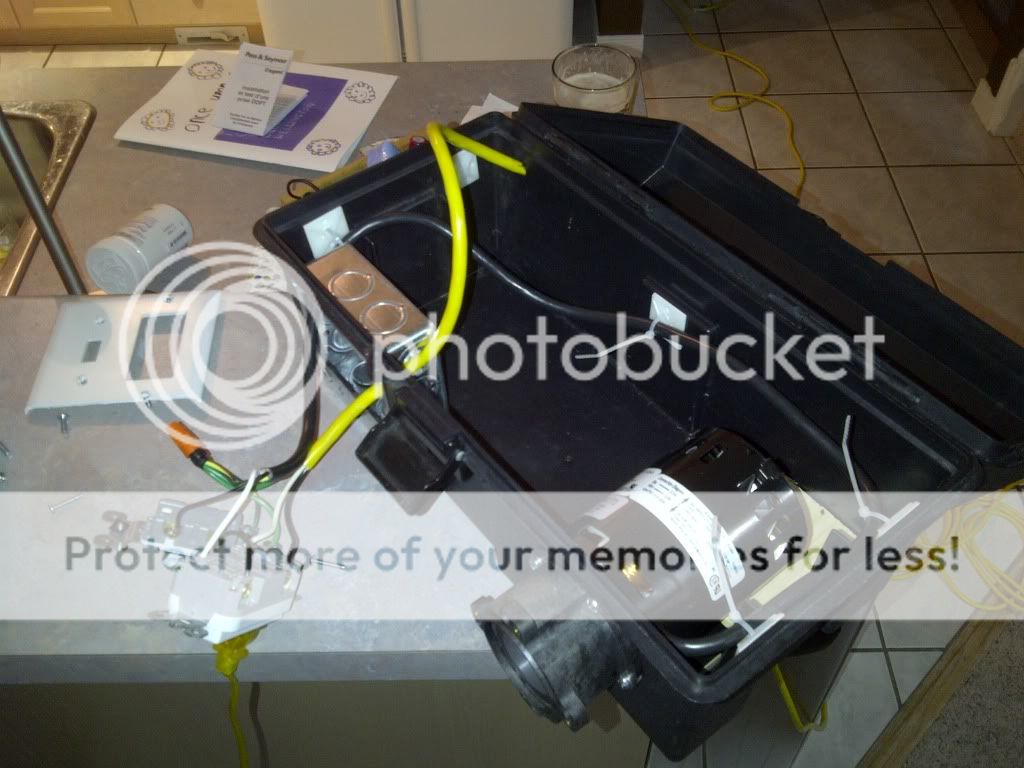
It might be hard to see, but heres what the wiring looks like. Line in goes straight to GFCI LINE connections, then out the GFCI LOAD connection to the switch (switching on the hot wire) to the pump.
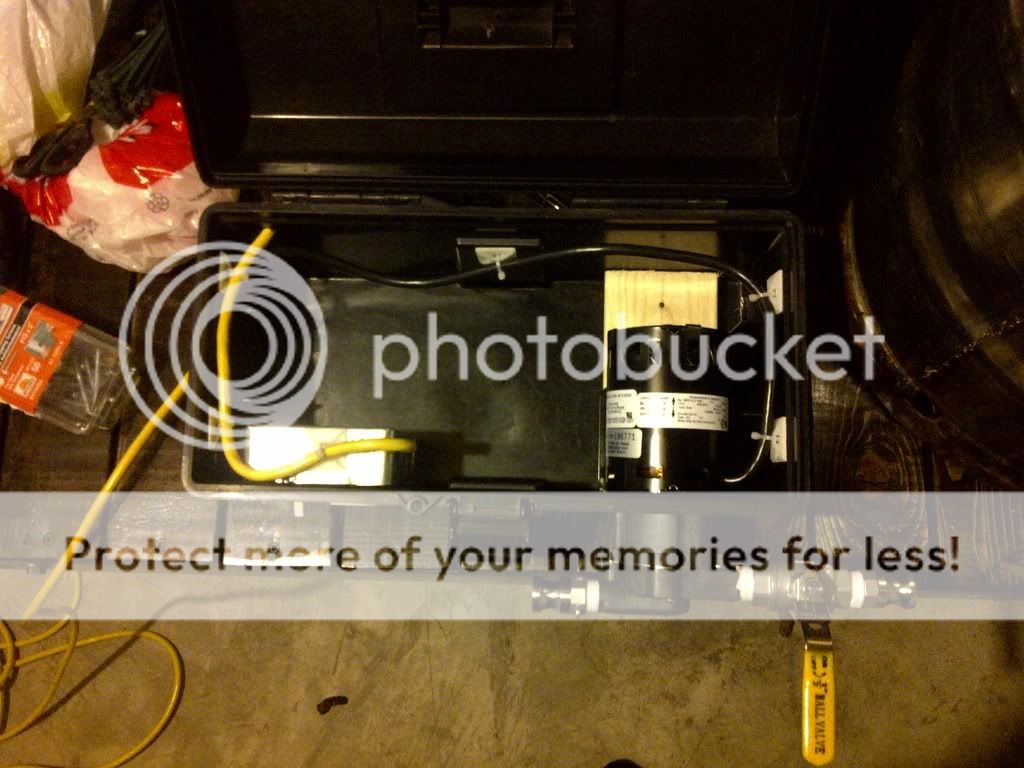
Getting there... I mainly wanted to show how the pump head was installed in this pic. I bolted the pump to the side of the toolbox, and used a spare length of 1x4" wood for the pump to sit on in the box itself.
Completed wiring
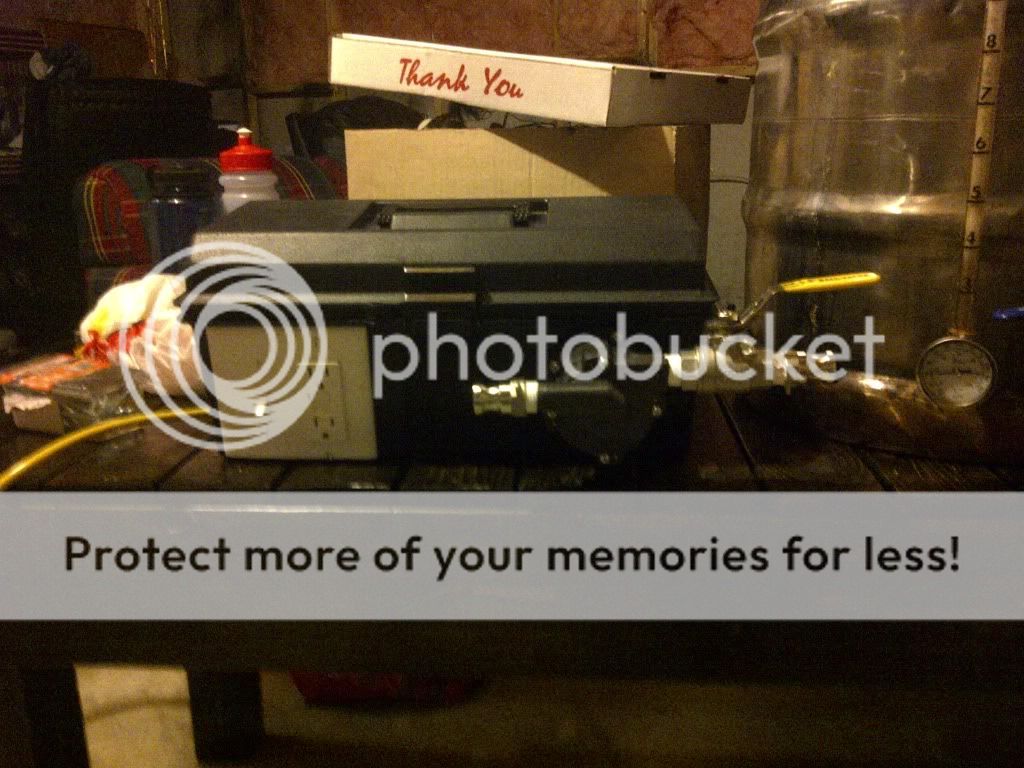
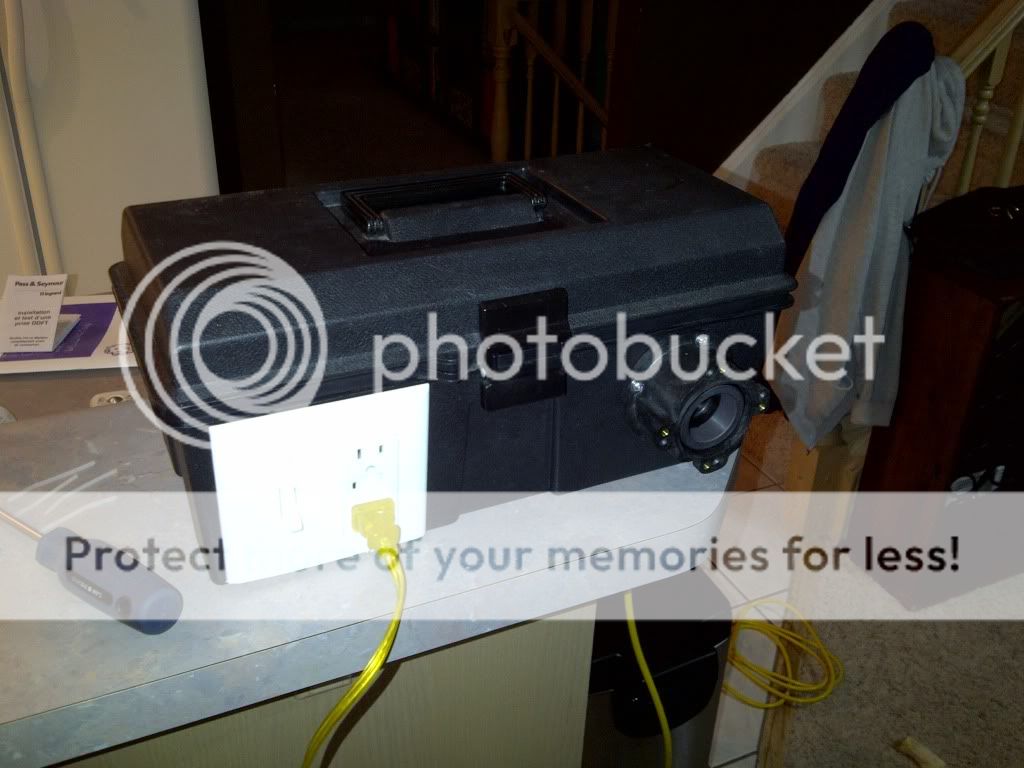
And here's the completed toolbox build. I had to cut a bit of the faceplate to get it to fit which was a bit ghetto, but I'm happy with how it turned out overall.
I've already run some tests with the pump and it is good to go. i cannot wait to start incorporating this little beast into my brew day
I took an old rubbermaid wal mart toolbox I had laying around, installed the pump with a GFCI outlet and a switch for turning the pump on and off.
Parts:
- Toolbox (already had)
- GFCI outlet/$29 @ lowes
- Light switch/$2 @ lowes
- Extension cord/$20 @ lowes
- Project box/$4 @ lowes
- Faceplate/$3 @ lowes
- March 809 pump/$149 @ austinhomebrew
- SS ball valve/$14.99 @ austinhomebrew
- Camlock Type A fitting/$4.39 @ austinhomebrew
- Camlock Type F fitting/$4.39 @ austinhomebrew
So the total cost for the pump setup set me back about $230, not including hoses and fittings, the pump making up half that cost, I could have gone cheaper if I really wanted to but I'm happy with what I have.
An important note is I have never wired up anything in my life, but if I can do this, I'm sure anyone can. It was pretty straightforward and I made sure to triple check every connection before I powered everything up.
I'm also planning on converting a cold room to a brew room, but I felt this toolbox option is great option for portability vs mounting to a stand.
Here's some pics I snapped while I was putting it all together:
I used a 2 1/8" hole saw to cut the main hole for the main drive of the magnet to fit through. Was a perfect fit. I used my dremel tool to cut out the plastic for the project box.
It might be hard to see, but heres what the wiring looks like. Line in goes straight to GFCI LINE connections, then out the GFCI LOAD connection to the switch (switching on the hot wire) to the pump.
Getting there... I mainly wanted to show how the pump head was installed in this pic. I bolted the pump to the side of the toolbox, and used a spare length of 1x4" wood for the pump to sit on in the box itself.
Completed wiring
And here's the completed toolbox build. I had to cut a bit of the faceplate to get it to fit which was a bit ghetto, but I'm happy with how it turned out overall.
I've already run some tests with the pump and it is good to go. i cannot wait to start incorporating this little beast into my brew day
