mikescooling
Well-Known Member
Wow, that is nice! You made that window to fit the box fan; from a guy that did HVAC for 15 years, I bet it works great, just like a Whole-house fan. You do nice work!

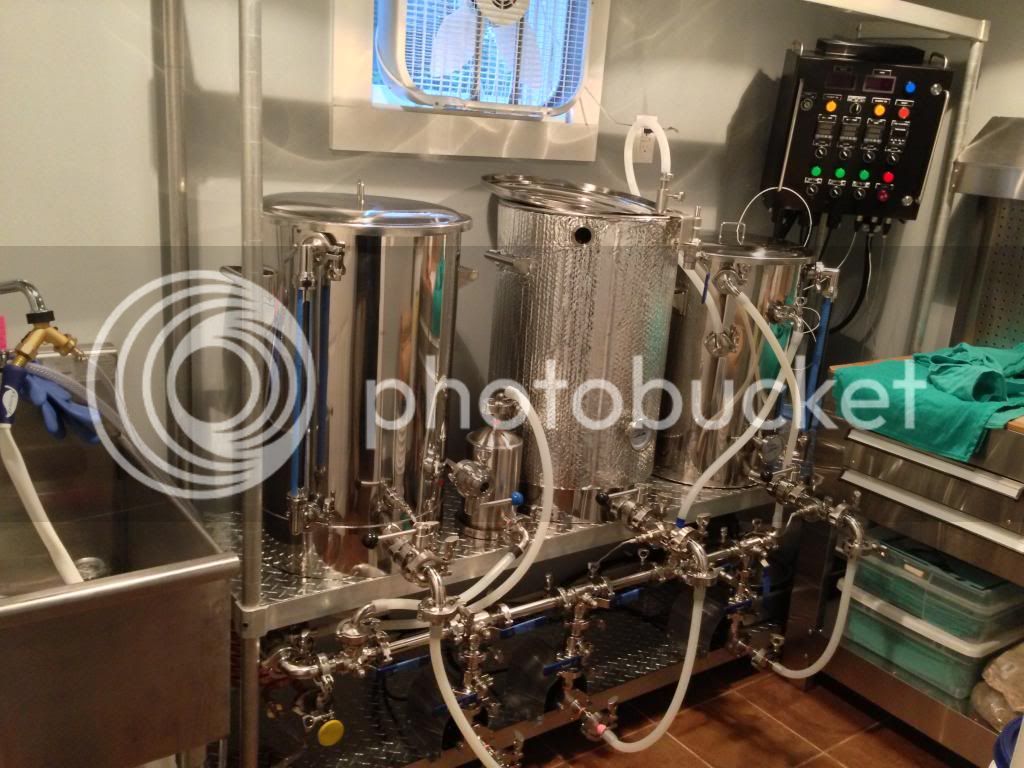
@mikescooling The window was included when we bought the condo. The box fan fit nicely and pulls the vapors right out of the room. We also epoxy painted all of the walls in the room. So far so good after 6 brews. Now to improve my HERMS recirculation flow rate. My HLT runs at about 5-6 degrees higher than my mash temperature. I have no idea if this is normal, but the flow through the Morebeer Ultimate Sparge Arm is just a trickle. Though we haven't made a bad beer yet.
Built this in my 5'x10' laundry room. It's a 20 Gallon HERMS electric system fully plumbed with 3 pumps, inline chiller, and aeration stone. The cheapest item was the box fan.
")
Hey up there ^ - this is the "Show us your sculpture or brew rig".
Promises don't feed the bulldoggies...
Cheers!
True. Separate thread for the build (which we absolutely want to see) but final shiny pictures here.
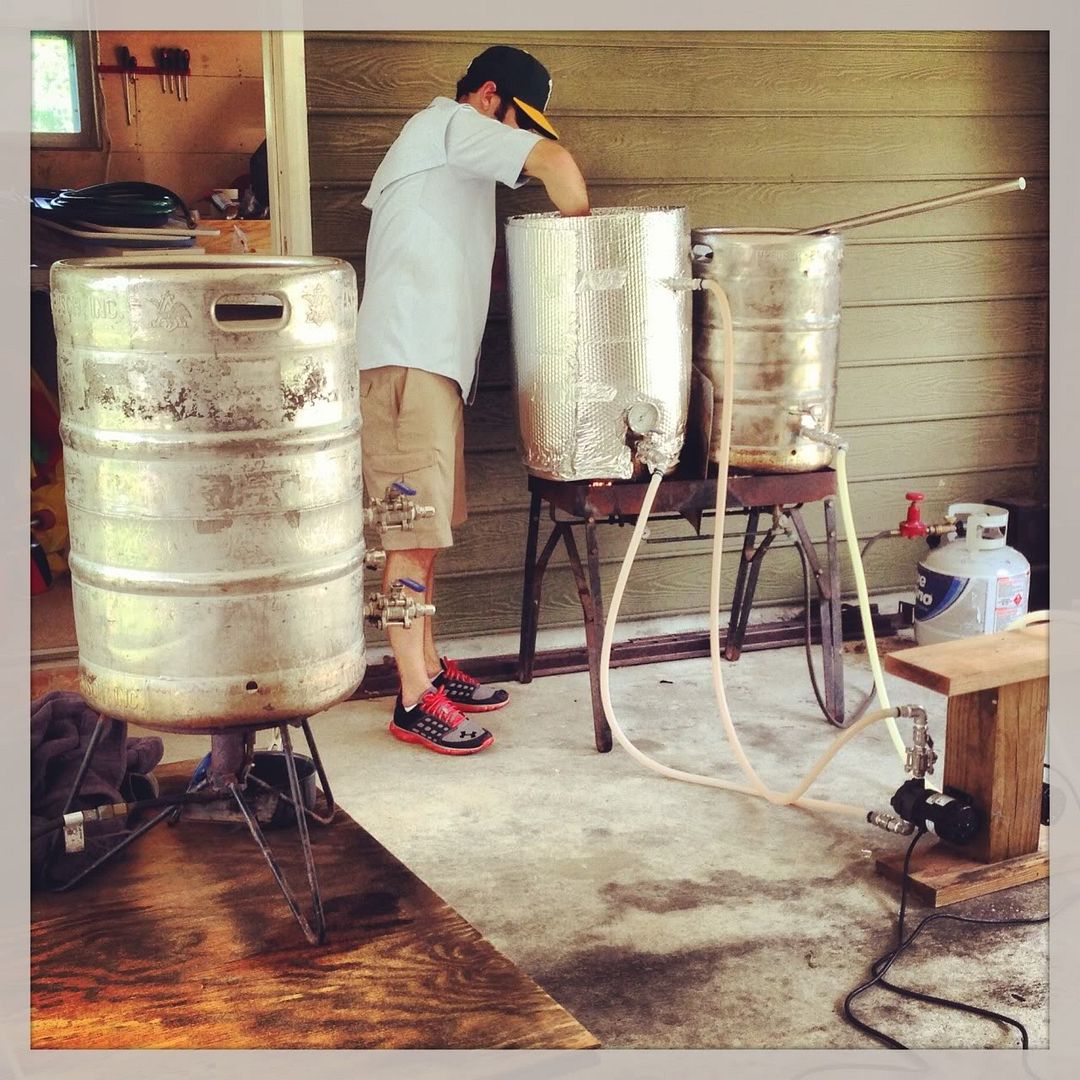
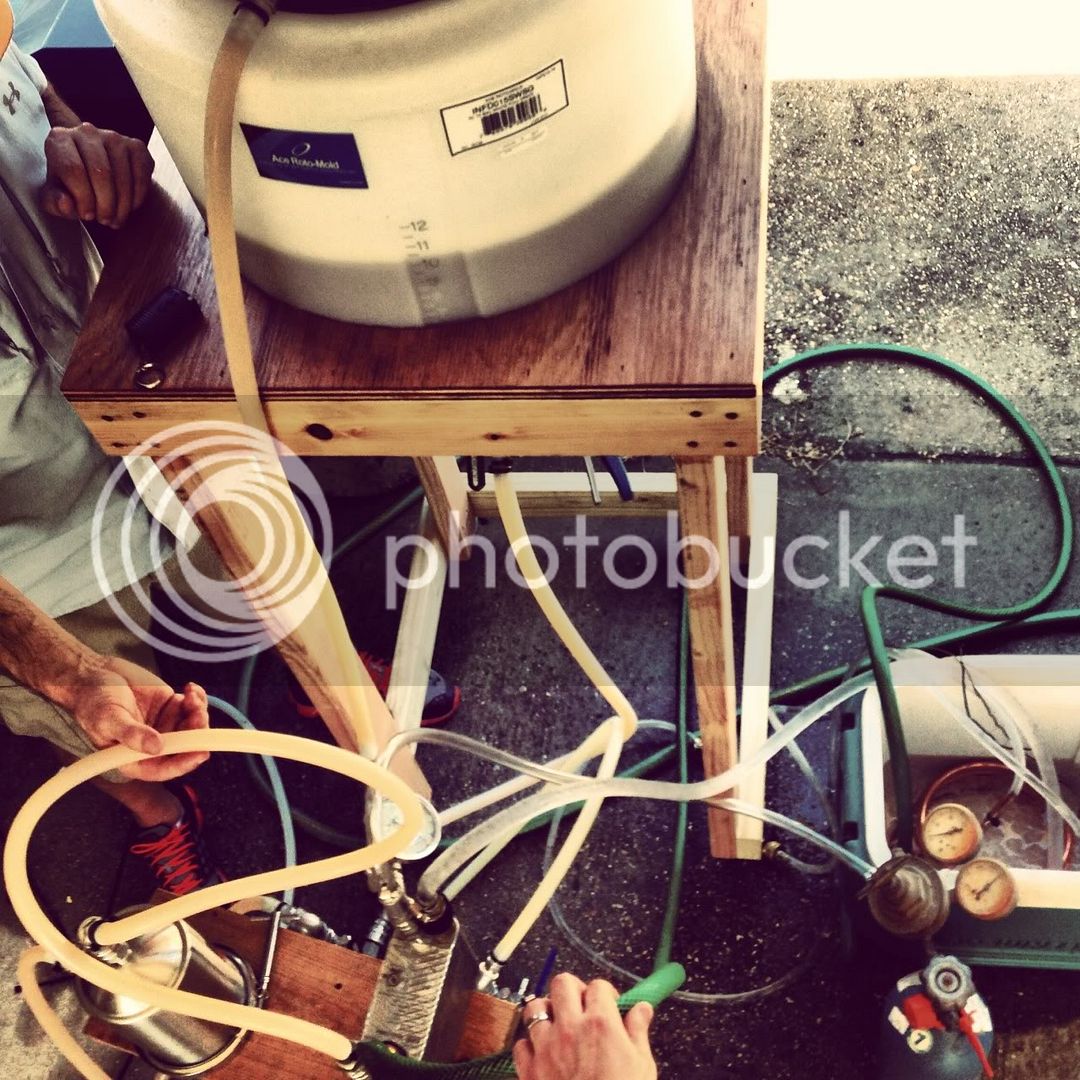
boredstate said:nothing fancy. all manual propane setup & single infusion:
slowly piecing the new system together:
boredstate said:nothing fancy. all manual propane setup & single infusion:
slowly piecing the new system together:
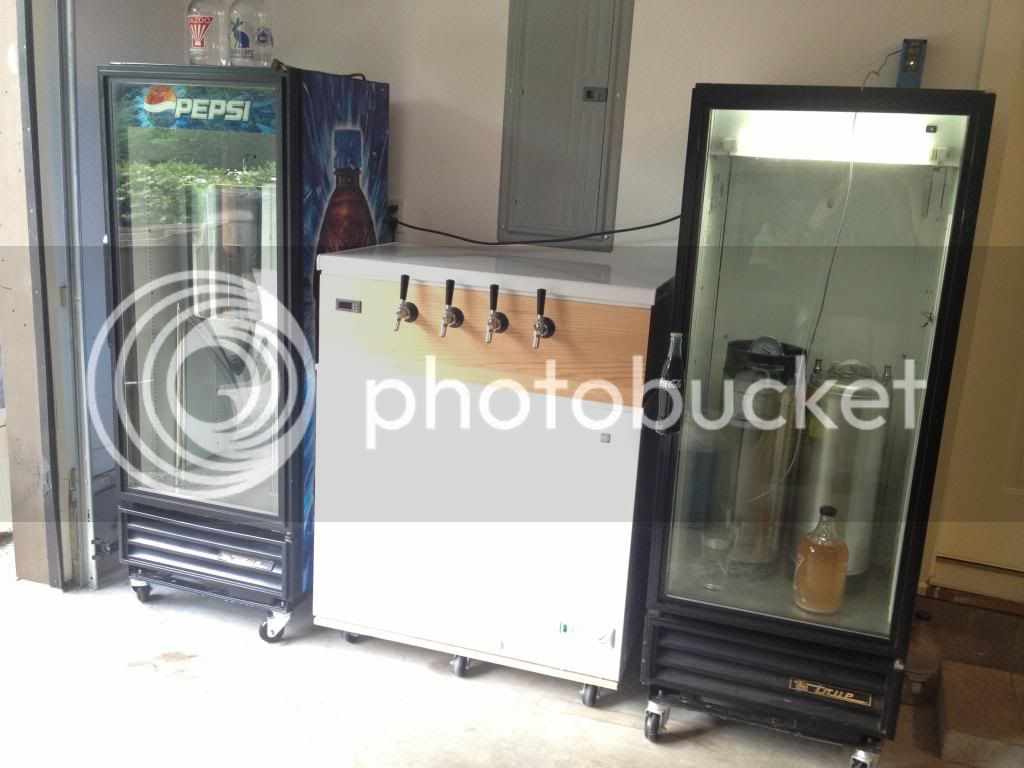
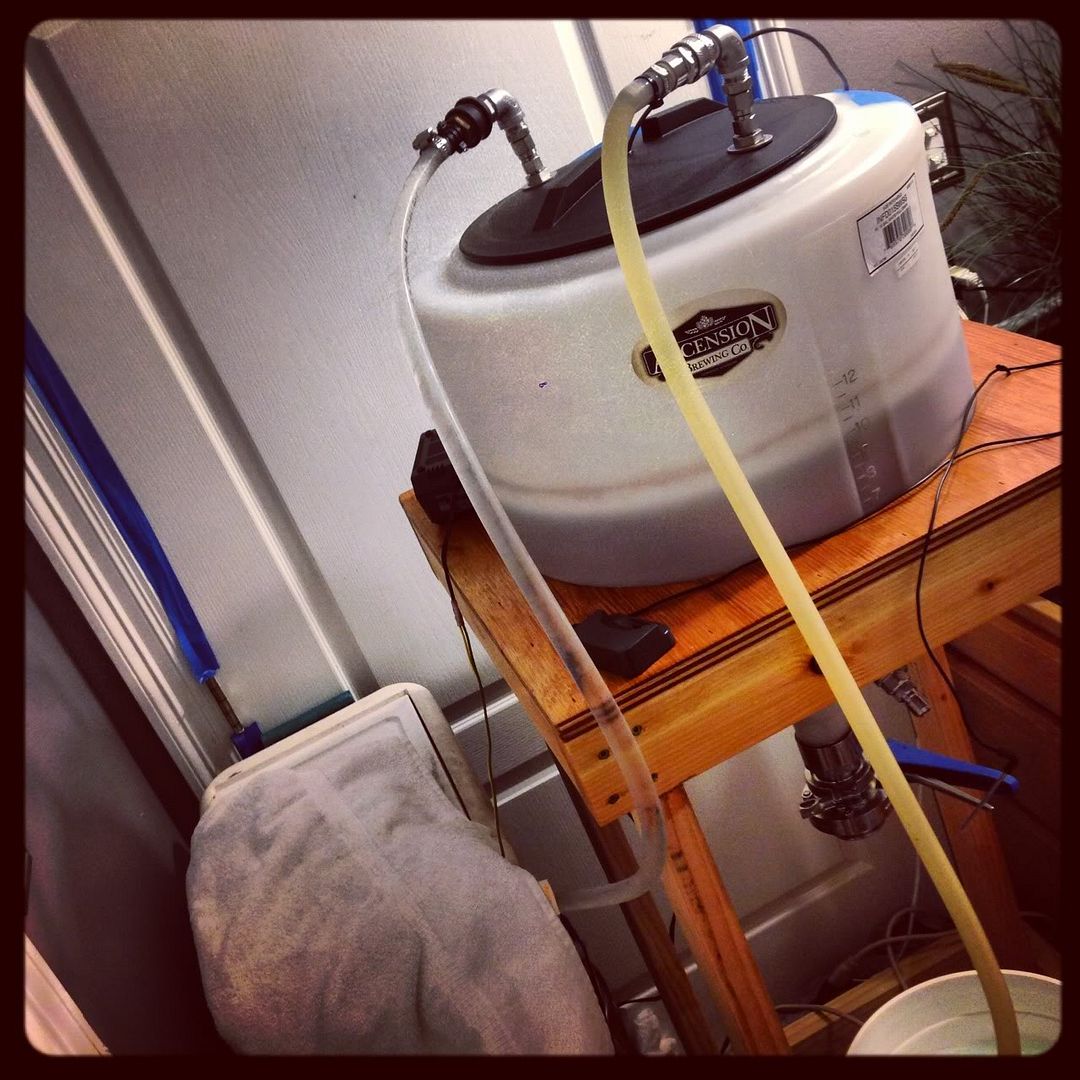
Love the fermentor setup, what do you use to control the temp for it? I'm assuming you have coils in the top with water or glycol.
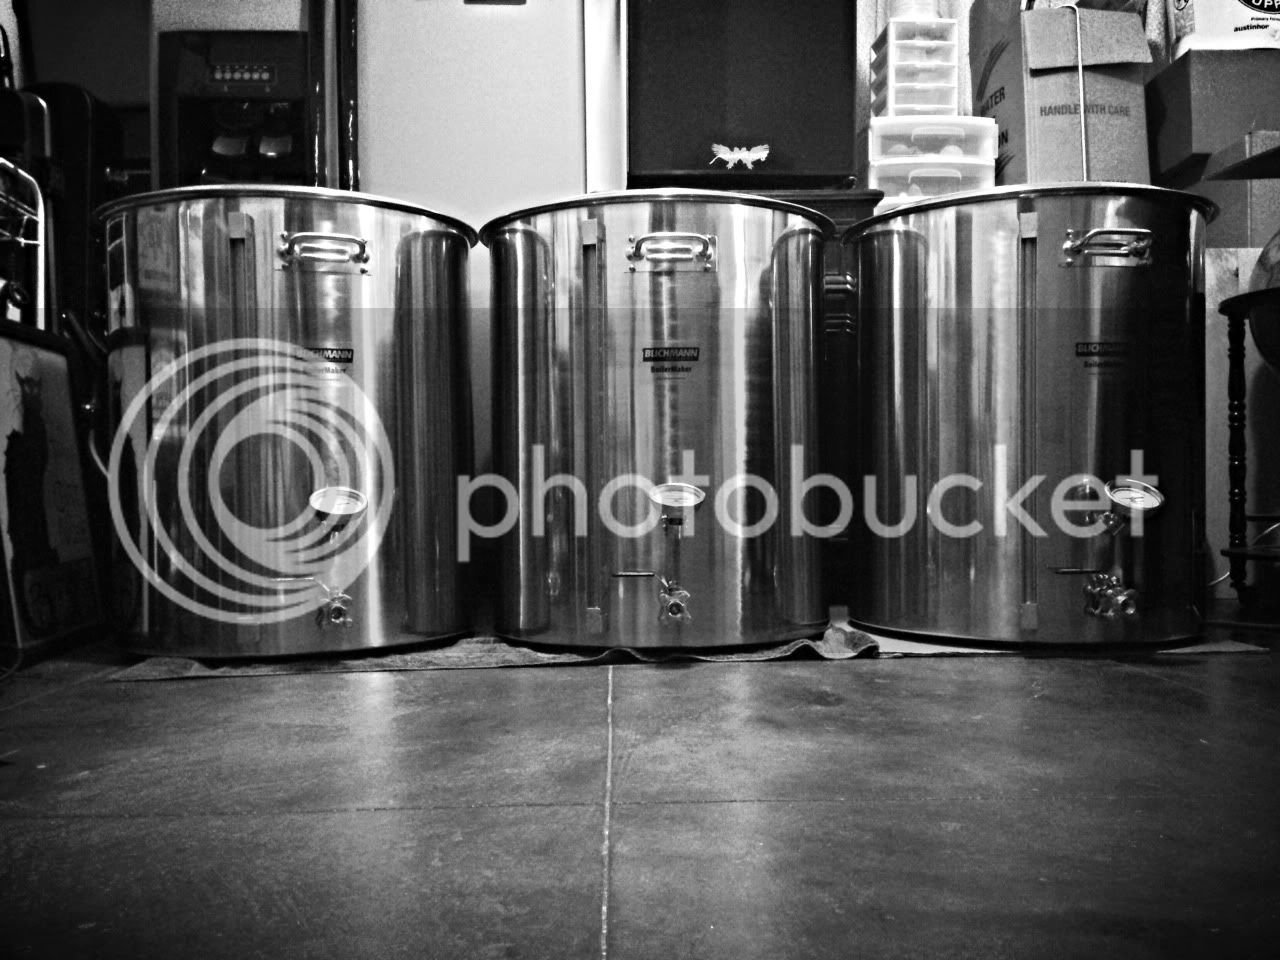
Wow is that last kettle photo stock or yours? Serious investment.. But how nice!
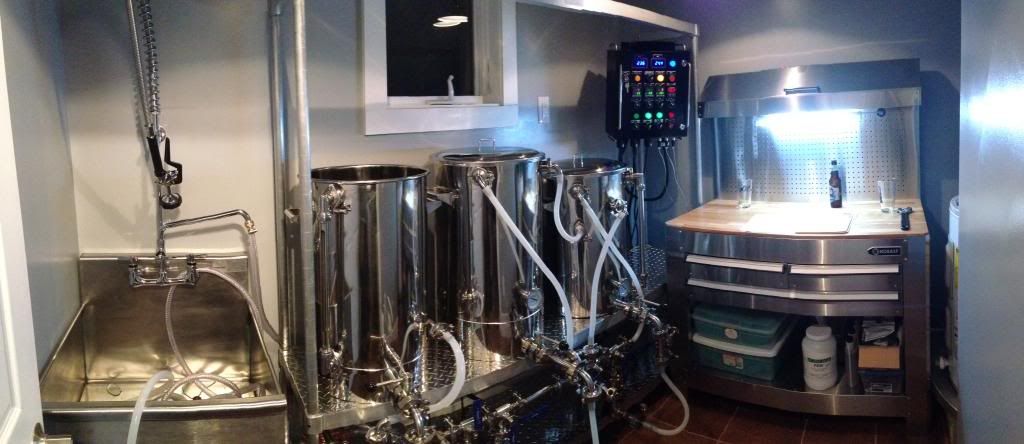
jstebell said:Operational not finished tho. New Stout kettles 20 gal all the way around w/ herms and hard plummed in the near future.
mikescooling said:That looks like something sold at IKEA, like art deco. If the welds are good it should be strong enough. Just freekey to look at.
Whats the muffler on your plate chiller? I've never seen it, I think I want one?
jammin said:It's the hop filter from brewers hardware
http://www.brewershardware.com/FILTER1.html
That looks like something sold at IKEA, like art deco. If the welds are good it should be strong enough. Just freekey to look at.
Whats the muffler on your plate chiller? I've never seen it, I think I want one?


nextgenxx said:My new 1000 gallon brew kettle! Jk!
fdemt84 said:Being military and moving around A lot don't always have a lot of space and time. So I like my mobile rigged together stand.
I am wondering if I read this correctly. You said one thousand gallon kettle? How many barrels will you brew at a time? I would love to see this.
Mark
jstebell said:Operational not finished tho. New Stout kettles 20 gal all the way around w/ herms and hard plummed in the near future.
day_trippr said:You missed the "JK"...
Cheers!
And people told me I needed a center brace on my stand. Nice design work, me thinks you may have plenty of folks will be adopting that design, after all form should go with function.

I built my stand out of galvanized strut. Is there a paint I could use that won't just burn off around the burners like the galvanized finish did?
Rustoleum barbecue grill paint.
http://www.amazon.com/gp/product/B0010O0C94/?tag=skimlinks_replacement-20
I built my stand out of galvanized strut. Is there a paint I could use that won't just burn off around the burners like the galvanized finish did?
fur_252 said:I finally got done with my new brew stand! Brewed with it this last weekend everything went really good besides the rookie mistake of a boil over.....just learning the ins and out of the stand!!
501irishred said:Before painting over galvanized metal, wipe it down with vinegar. I don't understand the chemistry behind it, but it is a night and day difference getting paint to "stick" to galvanized surfaces.
AlleyBrewer104 said:First time post for me. I went through this epic thread several months back and got tons of inspiration from all of the clever approaches I saw. So inspired, that I parked my cooler MT, got a welder, some steel and other parts to make my latest rig. It's a keggle based, 2 tier, single pump, HERMS setup. The dumps of the MT and BK are real handy and the CFC is the bomb. Three batches so far, so I'm still learning the flow. Now I'm working on how can I get done in less than 6 hours. I'm considering skipping mashout... It's making me quite popular on the alleyway. I guess the neighbors deserve some benefit after weeks of hearing a screeching grinder
Rustoleum barbecue grill paint.
http://www.amazon.com/gp/product/B0010O0C94/?tag=skimlinks_replacement-20
AlleyBrewer104 said:It's a keggle based, 2 tier, single pump, HERMS setup. The dumps of the MT and BK are real handy and the CFC is the bomb. Three batches so far, so I'm still learning the flow. Now I'm working on how can I get done in less than 6 hours. I'm considering skipping mashout... mug:
Enter your email address to join:
 :fro:
:fro:


