CidahMastah
Well-Known Member
- Joined
- Nov 12, 2010
- Messages
- 4,201
- Reaction score
- 46
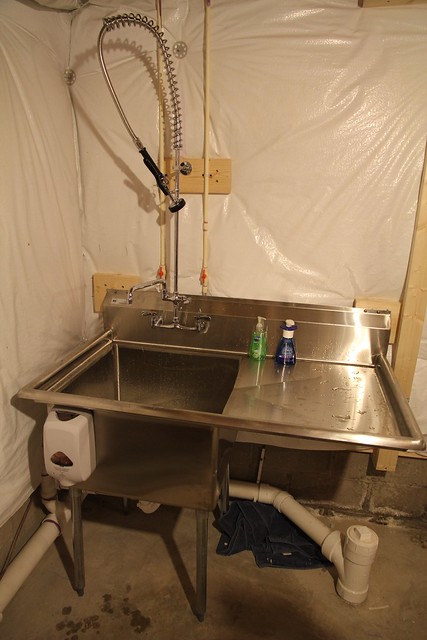
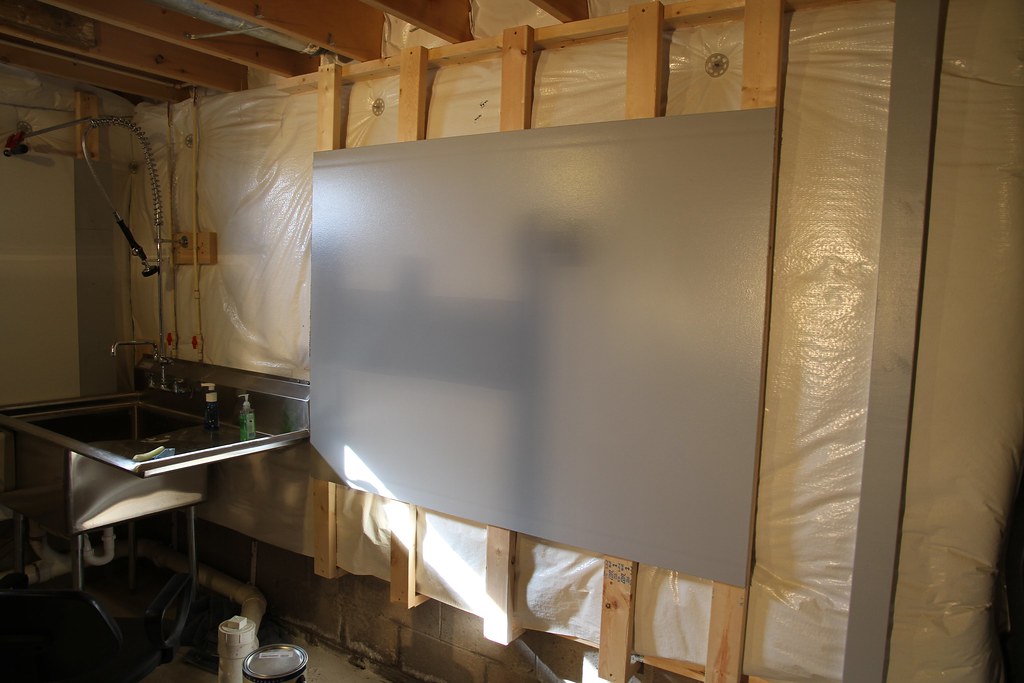
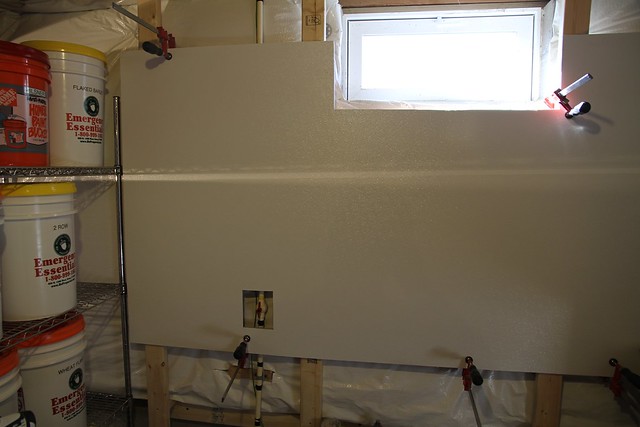
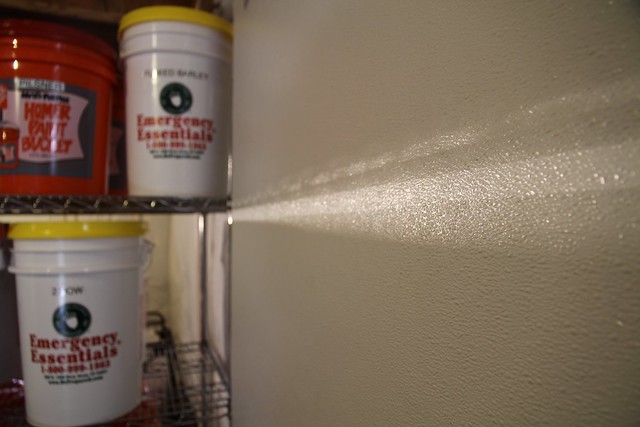
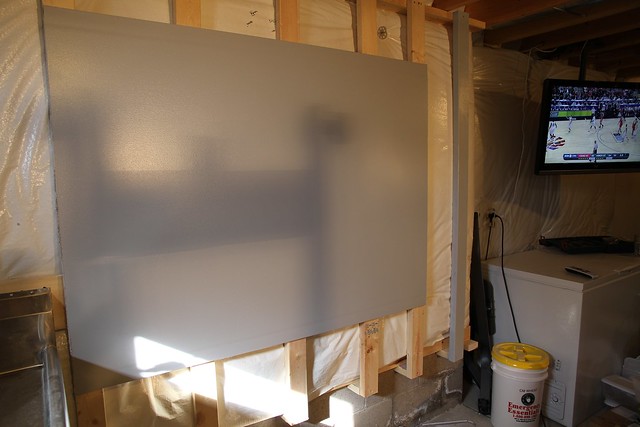
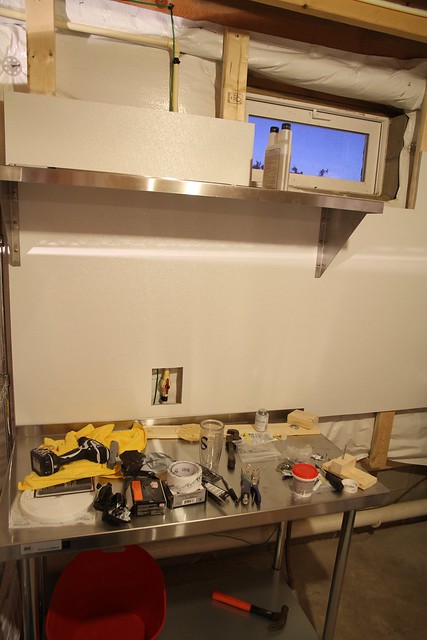
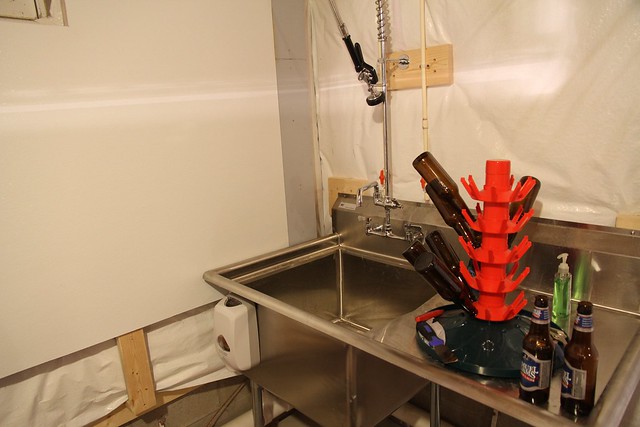
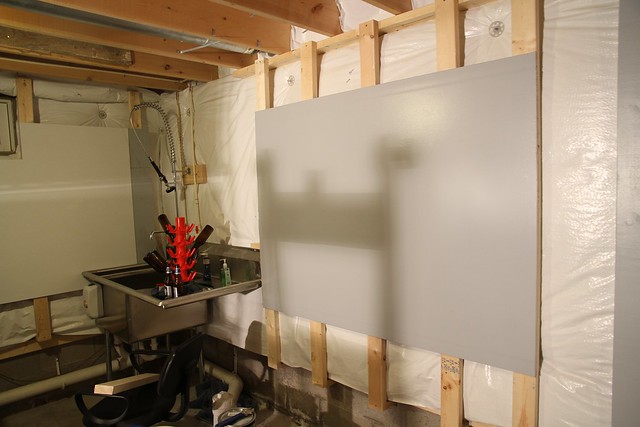
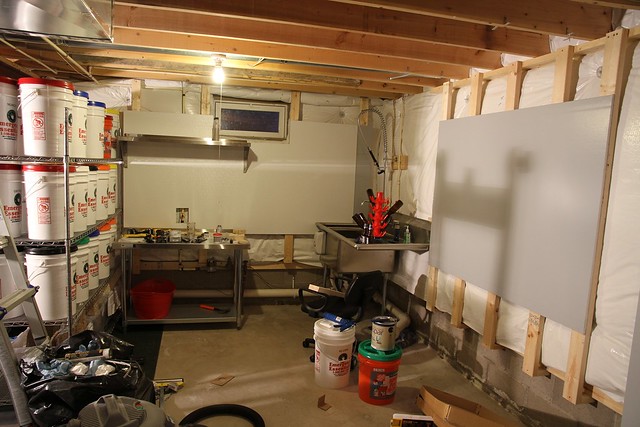
I would think if you are going for style points a tile back splash type arrangement would be very cool. However it will sure cost more than some water resistant drywall (blueboard or purple depending on brand) with a couple coats of a high gloss paint on it.
Unless you are a real bull in the china shop I would think you wouldn't be smacking into the back wall with your pots.
Unless you are a real bull in the china shop I would think you wouldn't be smacking into the back wall with your pots.
") .
.