Mash Tun DIY With Pics **Thanks FlyGuy!**

Homebrew Talk - Beer, Wine, Mead, & Cider Brewing Discussion Forum

Help Support Homebrew Talk - Beer, Wine, Mead, & Cider Brewing Discussion Forum:

This site may earn a commission from merchant affiliate links, including eBay, Amazon, and others.

pkincaid

Supporting Member
HBT Supporter
Joined
Aug 24, 2010
Messages
418
Reaction score
35
Location
Bakersfield
My hubby and I finished the Mash Tun tonight! It was an easy build and not too expensive, these things sell online for $100 plus, we spent $64.80 and that's because I went with slightly higher quality pieces for the sake of long term use.

I really want to thank FlyGuy for the overview on what is needed. We switched a few things around, but 10 gal of water sat in it and was drained from it and it's working like a charm!

*from top to bottom*
-3/8" Barbed stem adapter $3.66
-1/2" OD compression nuts (I only used one) $2.92
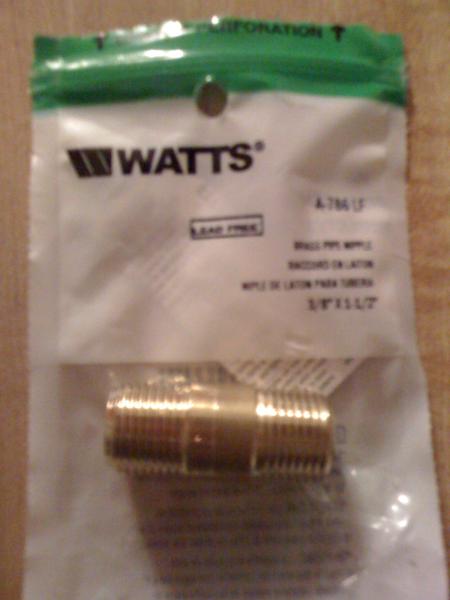
-3/8" x 1 1/2" Nipple $3.98
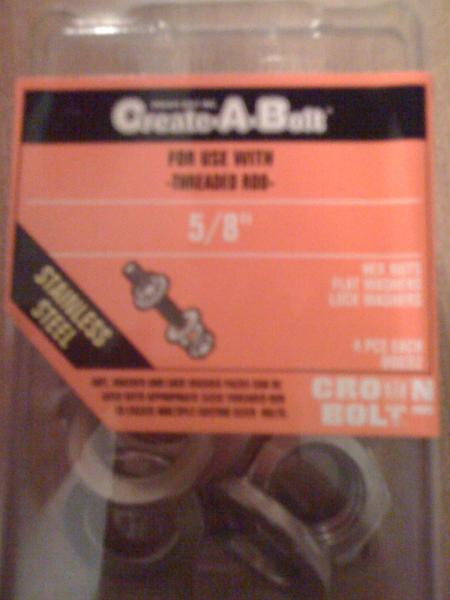
-Package with the orange sticker is the only package at my store with SS 5/8" washers $3.77

IMG_0926.jpg


IMG_0927.jpg


IMG_0928.jpg


IMG_0929.jpg


IMG_0930.jpg
 
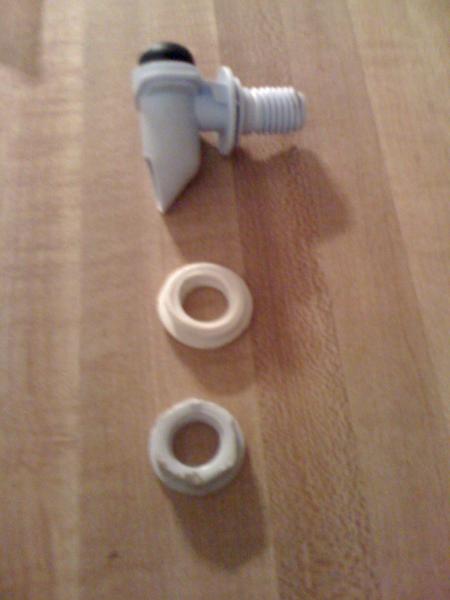
Photo #1 These are the pieces that came out of the water cooler
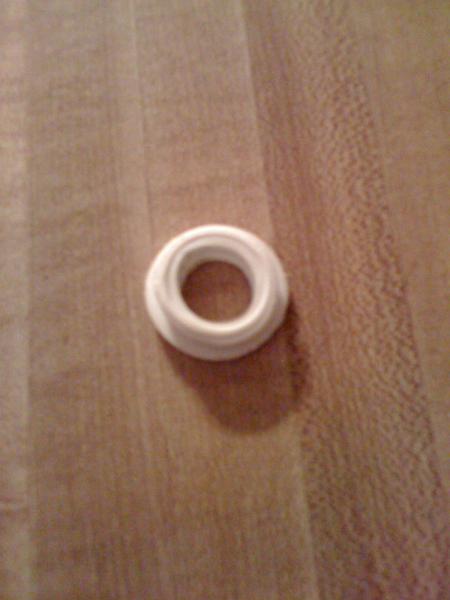
Photo #2 This is the only piece we kept (rubber seal)
Photo #3 This is the nipple with Teflon tape on it and the rubber seal in the middle. This fits in the spot where the coolor spigot once was.
Photo #4 Three (3) stainless steel washers and a compression nut goes on the inside of the cooler.
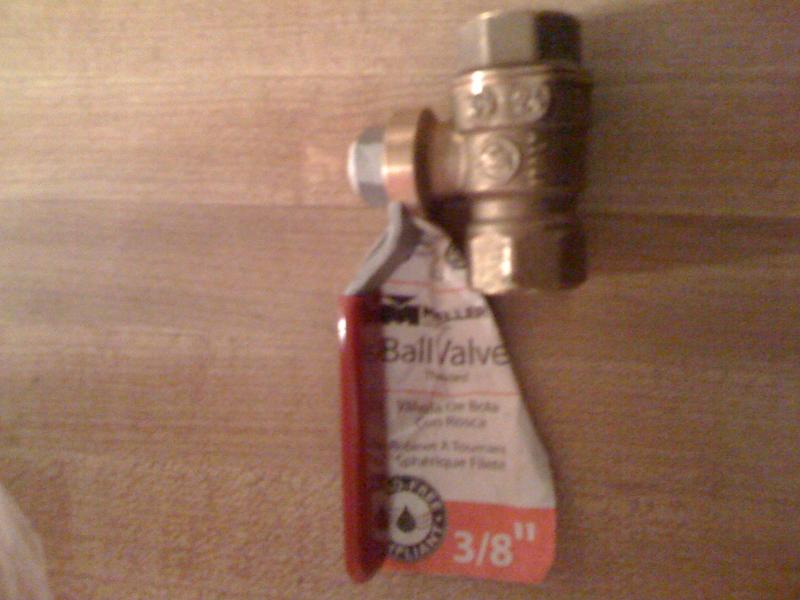
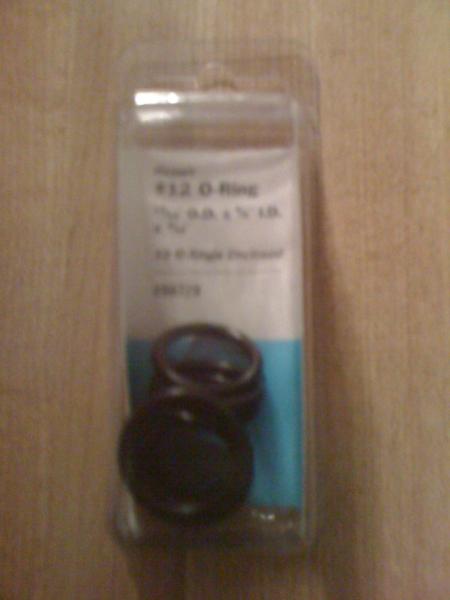
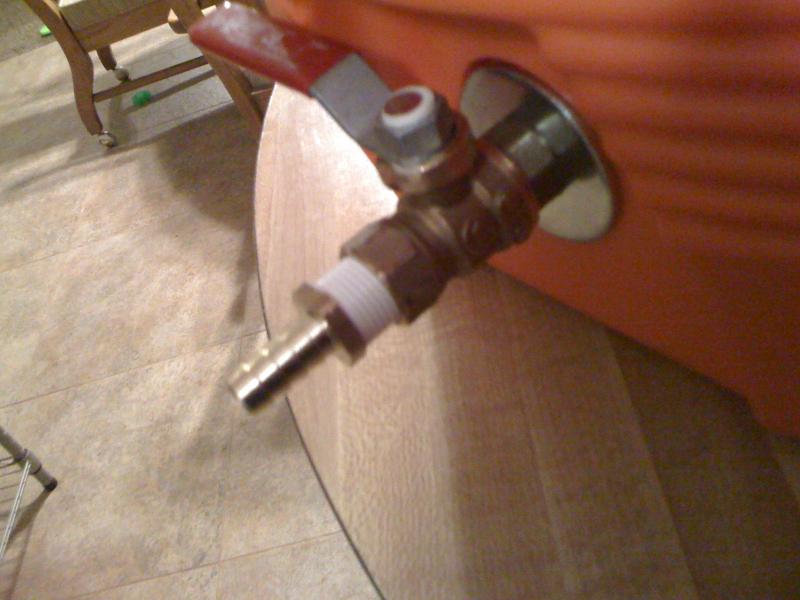
Photo #5 One (1) O-ring, One (1) washer, the ball valve, and the barb (with teflon tape) go on the outside.

IMG_0936.jpg


IMG_0937.jpg


IMG_0944.jpg


IMG_0946.jpg


IMG_0949.jpg
 
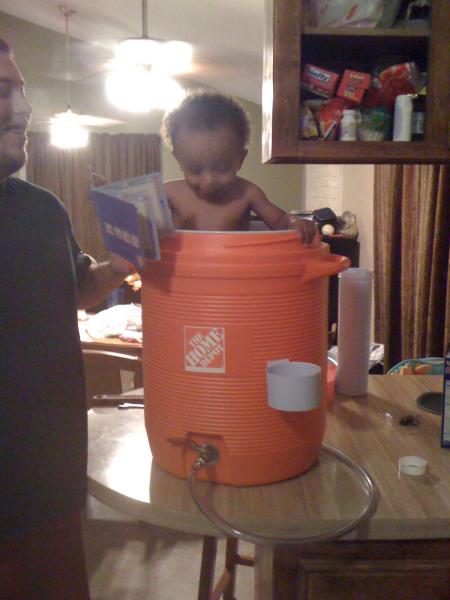
Tada!!!! Finished product with 3/8in'' hosing on the barb and my son inside :)

Thanks again FlyGuy! Couldn't have done it without your original thread.

1st All Grain in it on saturday! I'll post pics! Maybe not as many lol.
Hope you guys enjoy the thread!

**P.S. We put a false bottom in it to keep the grain bag off of the bottom. It was an old 8'' round pie cooling rack.

IMG_0952.jpg
 
Very cool, I made one just like this 2 weeks ago, works great, I used a Hose Braid instead of a false bottom, seems to work great got 68% eff outa the first batch, we'll see what I can get the eff up to next brew day!
your gonna love it!
 
The braids work great, and the bazooka screens better.

Also, you might look into quick disconnects from McMaster Carr (pm me for part numbers). when you want to make your tubing thing a little easier.

Looks great. Good Luck Sat.
 
The braids work great, and the bazooka screens better.

Also, you might look into quick disconnects from McMaster Carr (pm me for part numbers). when you want to make your tubing thing a little easier.

Looks great. Good Luck Sat.

Will do... :)
What's a bazooka screen? **blush** sometimes I remind myself i'm noobish. lol
 
love that you and yours are making it a family hobby, the family that brews together,drinks together. and the pix are great. the world needs more lady brewers.
 
love that you and yours are making it a family hobby, the family that brews together,drinks together. and the pix are great. the world needs more lady brewers.

Thanks! My husband is the hands on type... he builds all my stuff for me. Including the current project of the kegerator. In return I supply him with flowing rivers of beer lol :) He brought me home flowers an emerald necklace, and a 8 gallon SS kettle the other day for our anniversary (Sept 11th) What a gift huh?! I'm a lucky woman! lol :ban:

**and my son just loves all the big boxes that everything comes in. :) He's 14 mo.
 
Back
Top