
Just over a year ago my wife and I sold our house. We decided to buy a new construction house not far from our old house. With a delivery date estimated around late October early November, we moved in with my mother in-law. This meant most of our stuff went into storage. Rather than put my three tier in storage, I decided to sell my equipment and build a new system. A fellow HBT member bought my stuff, and I haven't been brewing since.
We've now been in the new house a few months, and I'm finally getting around to starting my new system. Over the summer I did buy some of the new equipment. I built a counter flow chiller, and looked through the show us your brew sculpture thread more times than I'd like to admit.
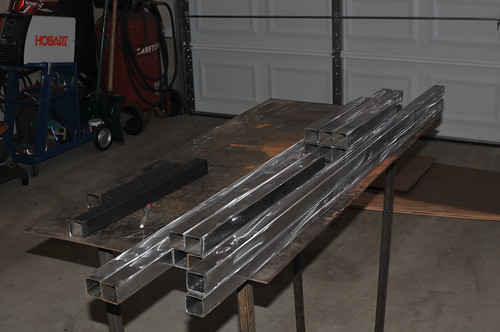
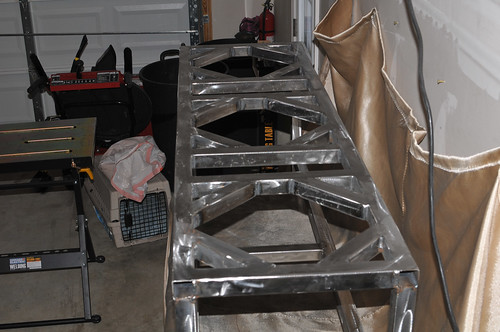
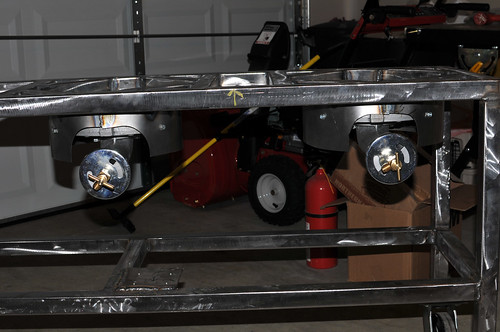
Here's the start. For now I'll be using one pump, and batch sparging. Direct fired MLT.
Steel all cut up.
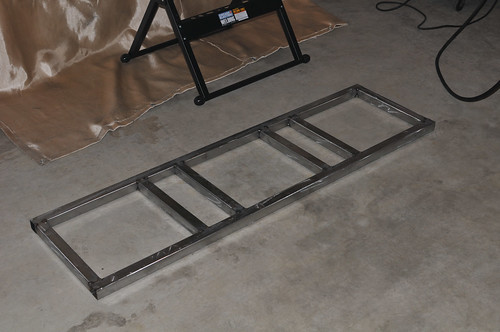
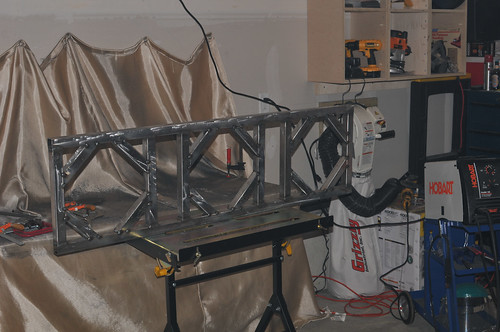
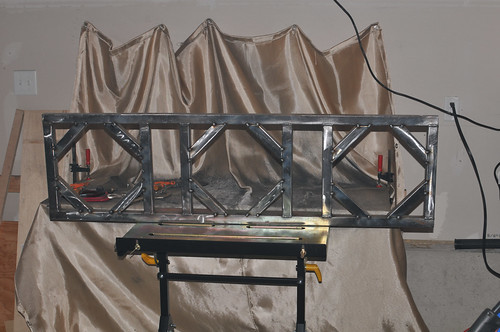
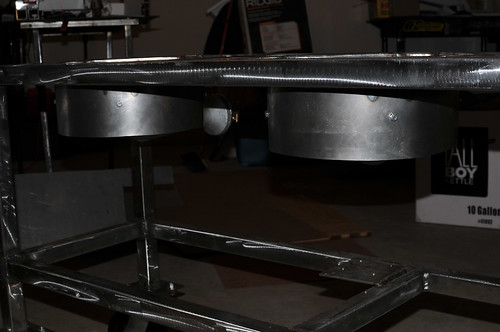
Top started
We've now been in the new house a few months, and I'm finally getting around to starting my new system. Over the summer I did buy some of the new equipment. I built a counter flow chiller, and looked through the show us your brew sculpture thread more times than I'd like to admit.
Here's the start. For now I'll be using one pump, and batch sparging. Direct fired MLT.
Steel all cut up.
Top started


")